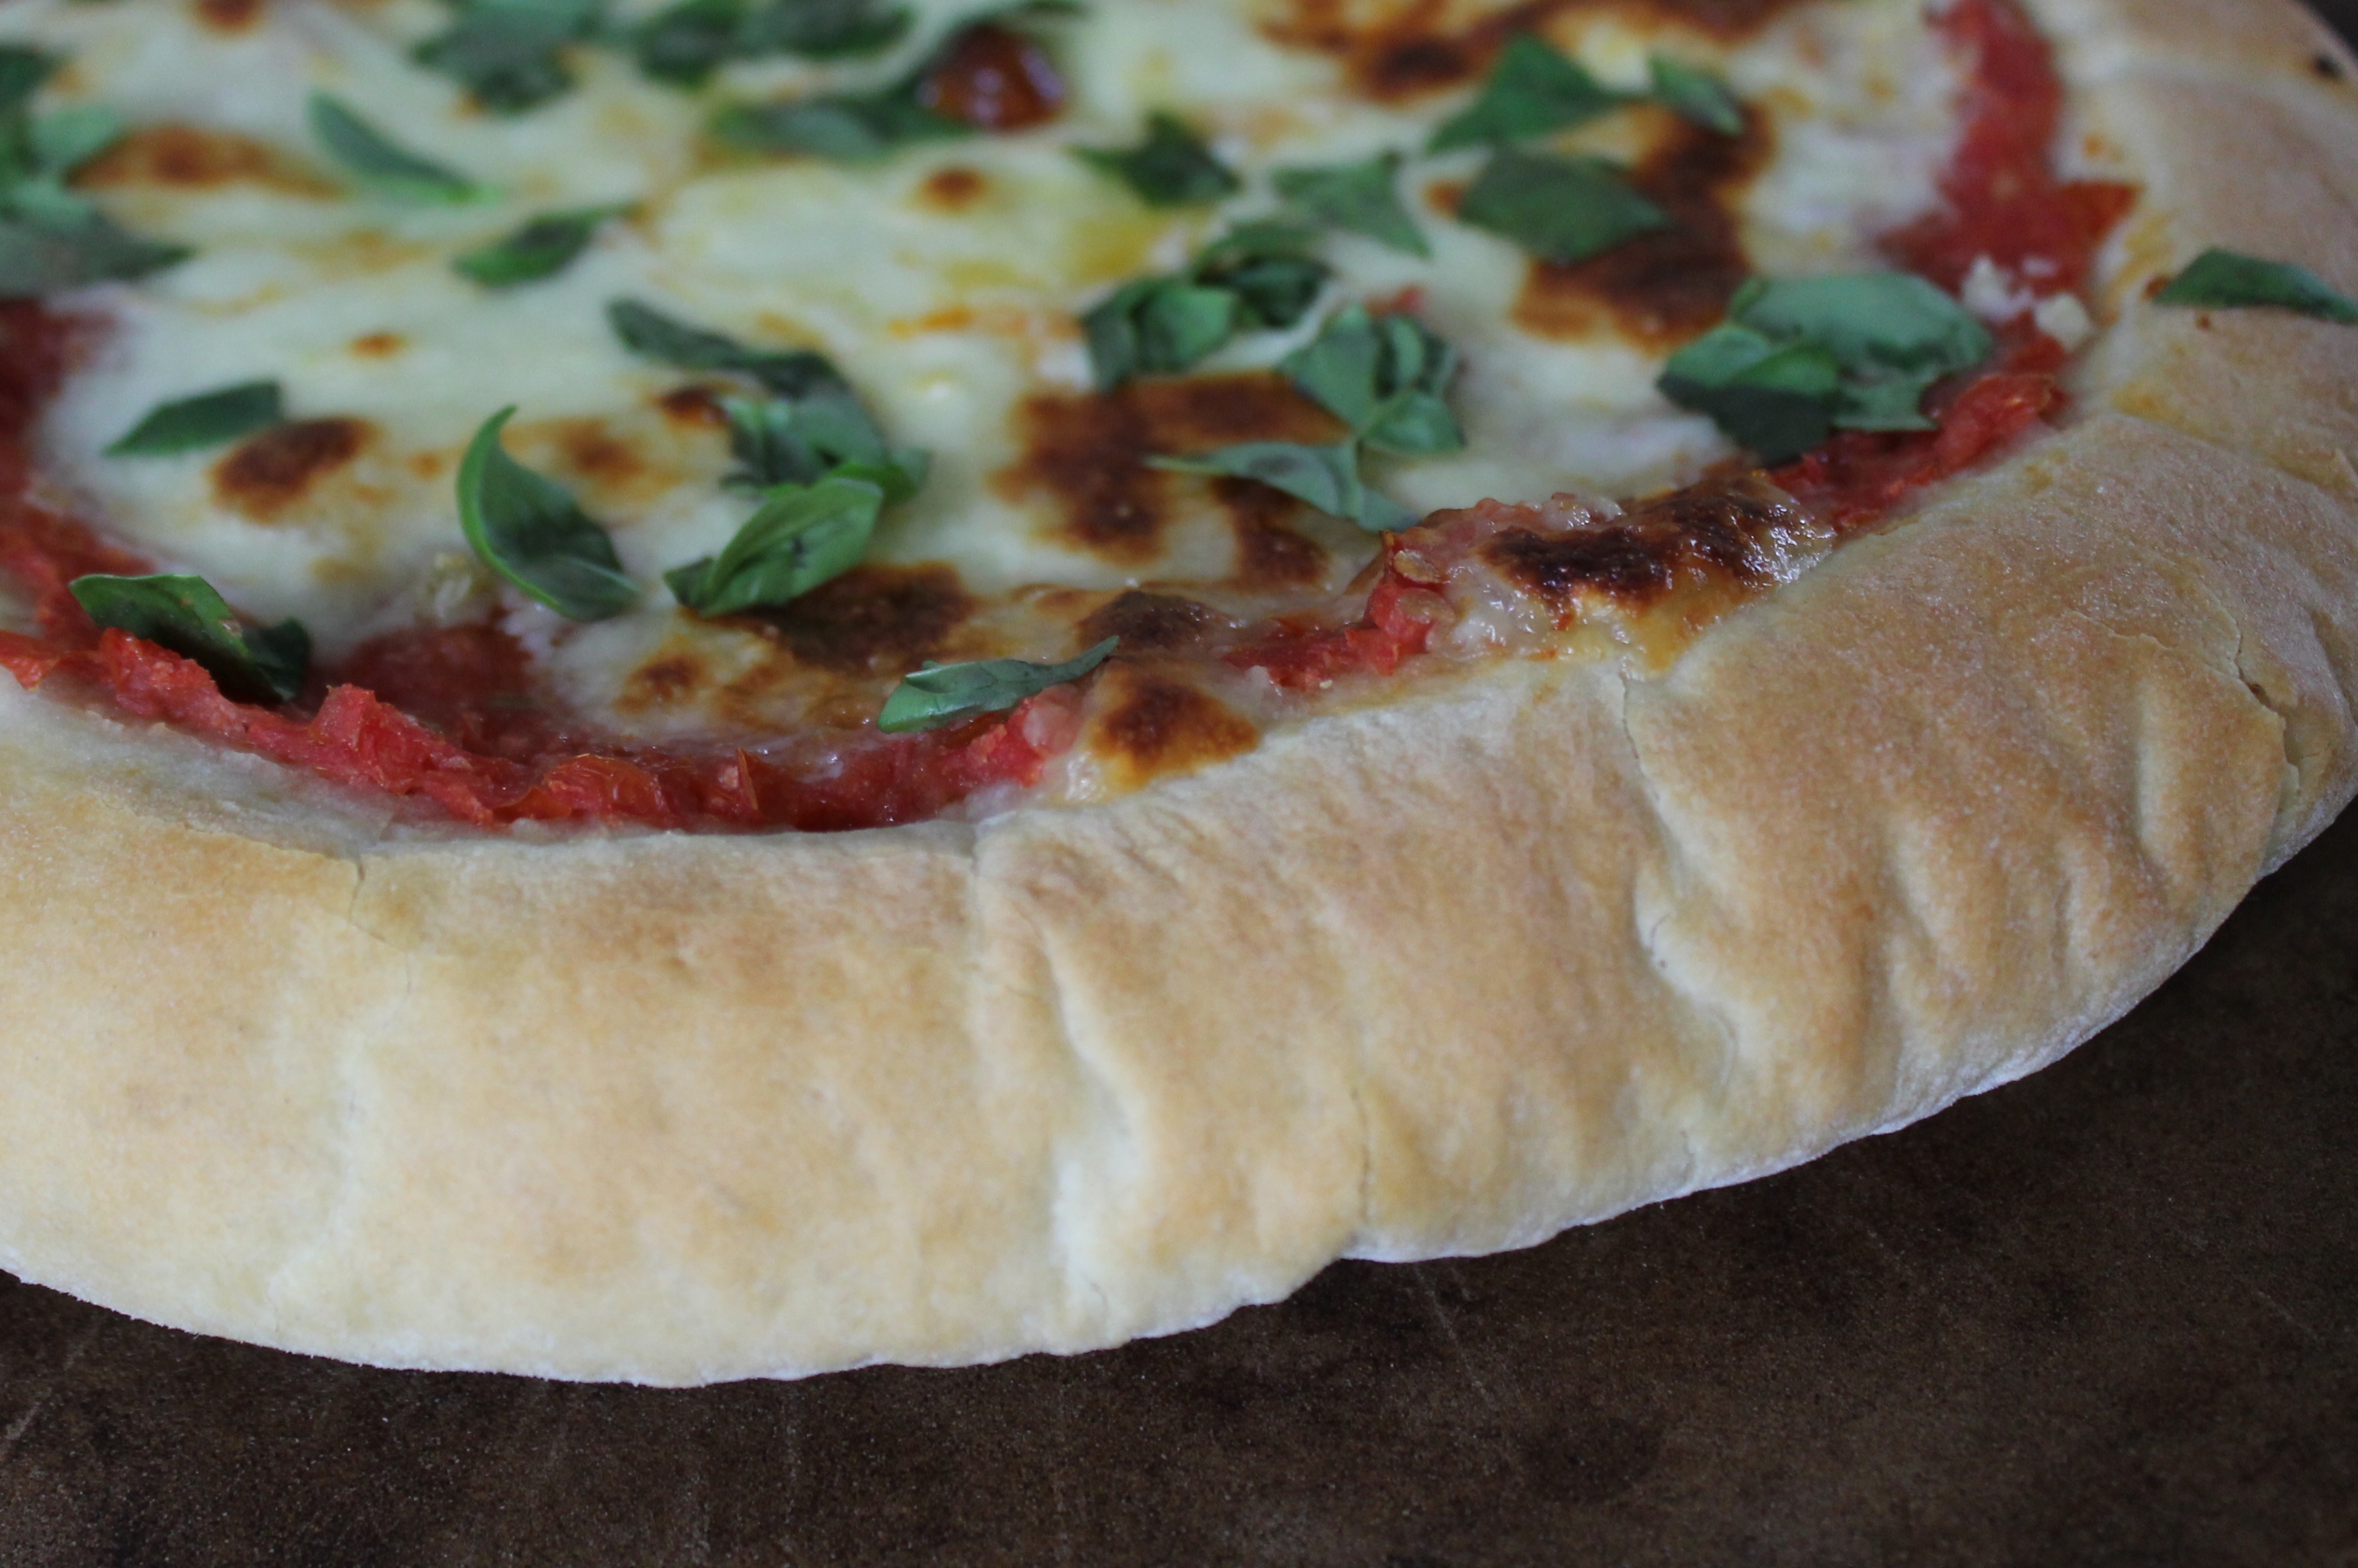
Crusts.
They just taste better when they are homemade. It’s not a judgment, just a fact.
I get a lot of raised eyebrows, sighs, smirks, and shrugs thrown my way when it comes out that I make my own pizza crust (and pie crust).
But here’s the thing. It’s really not hard! I don’t know what you’ve heard, but it takes about 10 minutes of actual effort to make bread—or pizza crust. Kneading isn’t a big deal, and you can often let your stand mixer do the work. Then you just ignore it for about 2 hours to rise (rising time, that’s what the 5-minute-artisan-bread folks don’t mention…) before tossing it in the oven.
If you make your own pizza crust, in addition to having something delicious to eat and feeling totally accomplished and proud of yourself, you have the added benefit of knowing exactly what you’re eating: no unpronounceable additives or preservatives! I think it’s fun to save a few pennies and do it yourself.
Let me convince you. This pizza crust is thick and bready, just perfect!
Abandon the store crust. You should definitely whip up your own pizza dough! This recipe makes enough for two pizzas, and you can even freeze it to bake later, if that’s your thing.
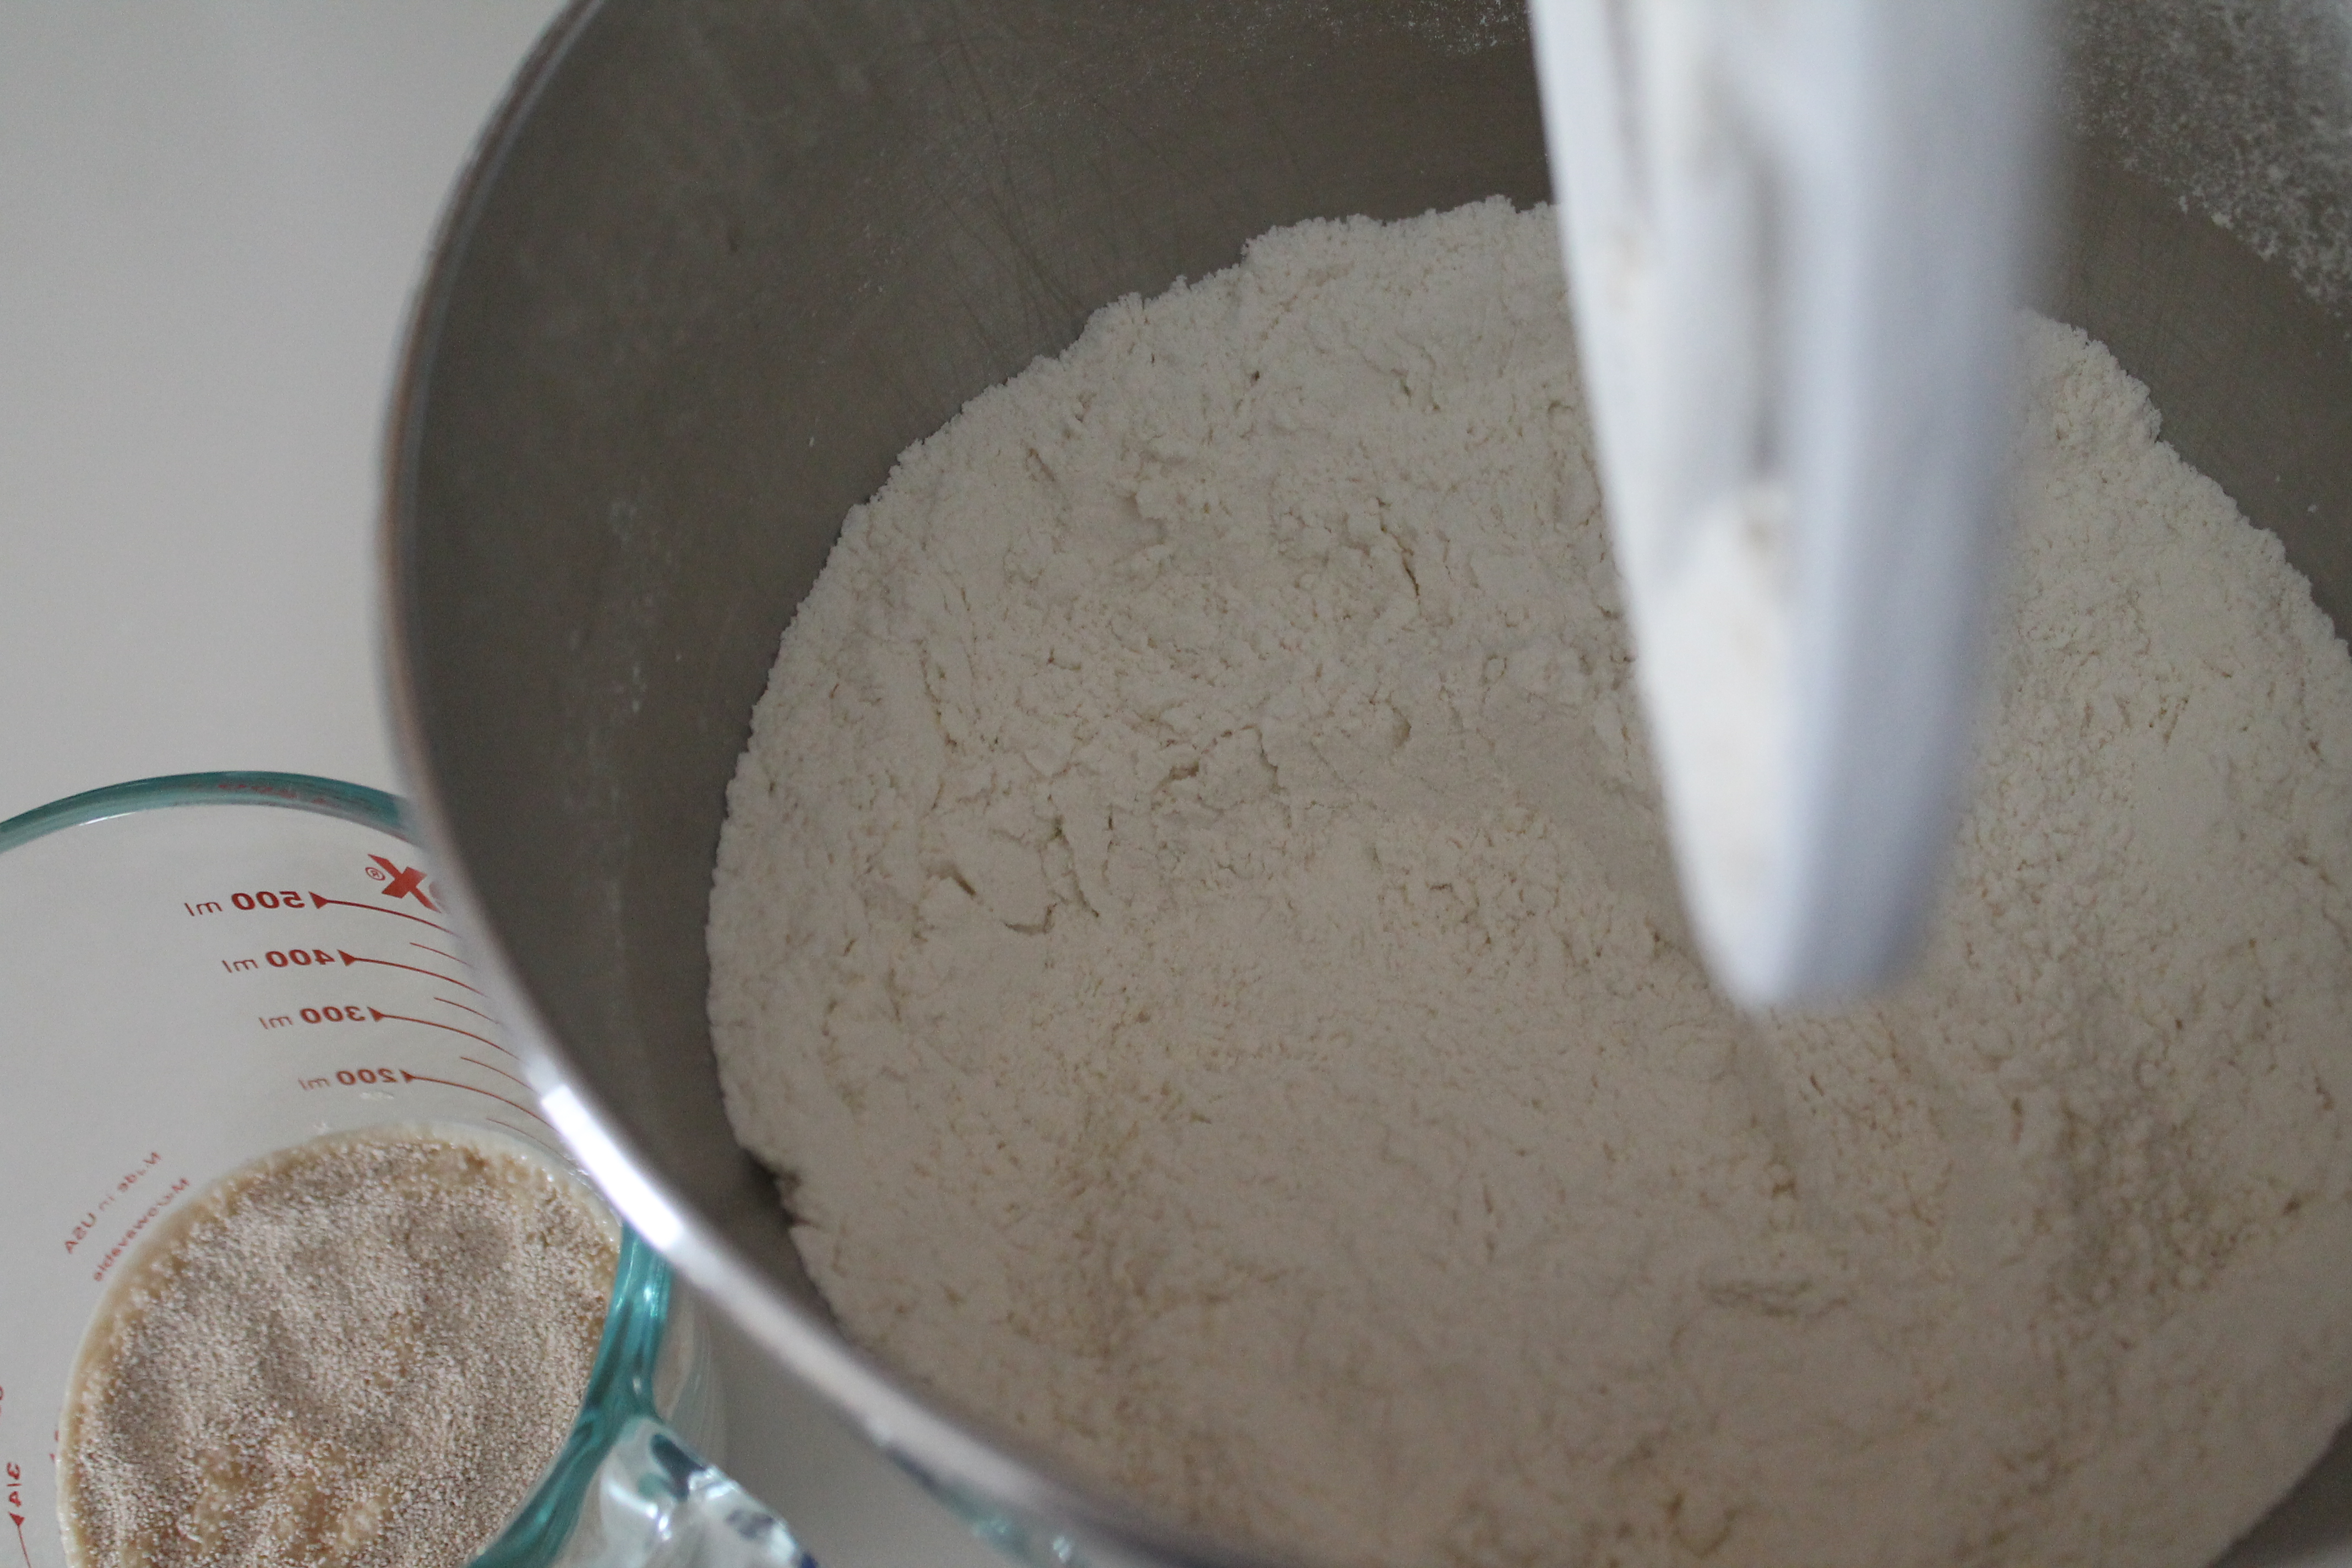 We begin this bread like almost every other yeast bread, by activating the yeast. Simply stir yeast into warm—but not hot—water (or whey! you know, if you made your own cheese recently…) and let it begin foaming on the counter, about 10 minutes.
Meanwhile, dump the flour and salt into a stand mixer bowl and stir with the paddle. This aerates the flour and also gets the salt well mixed throughout.
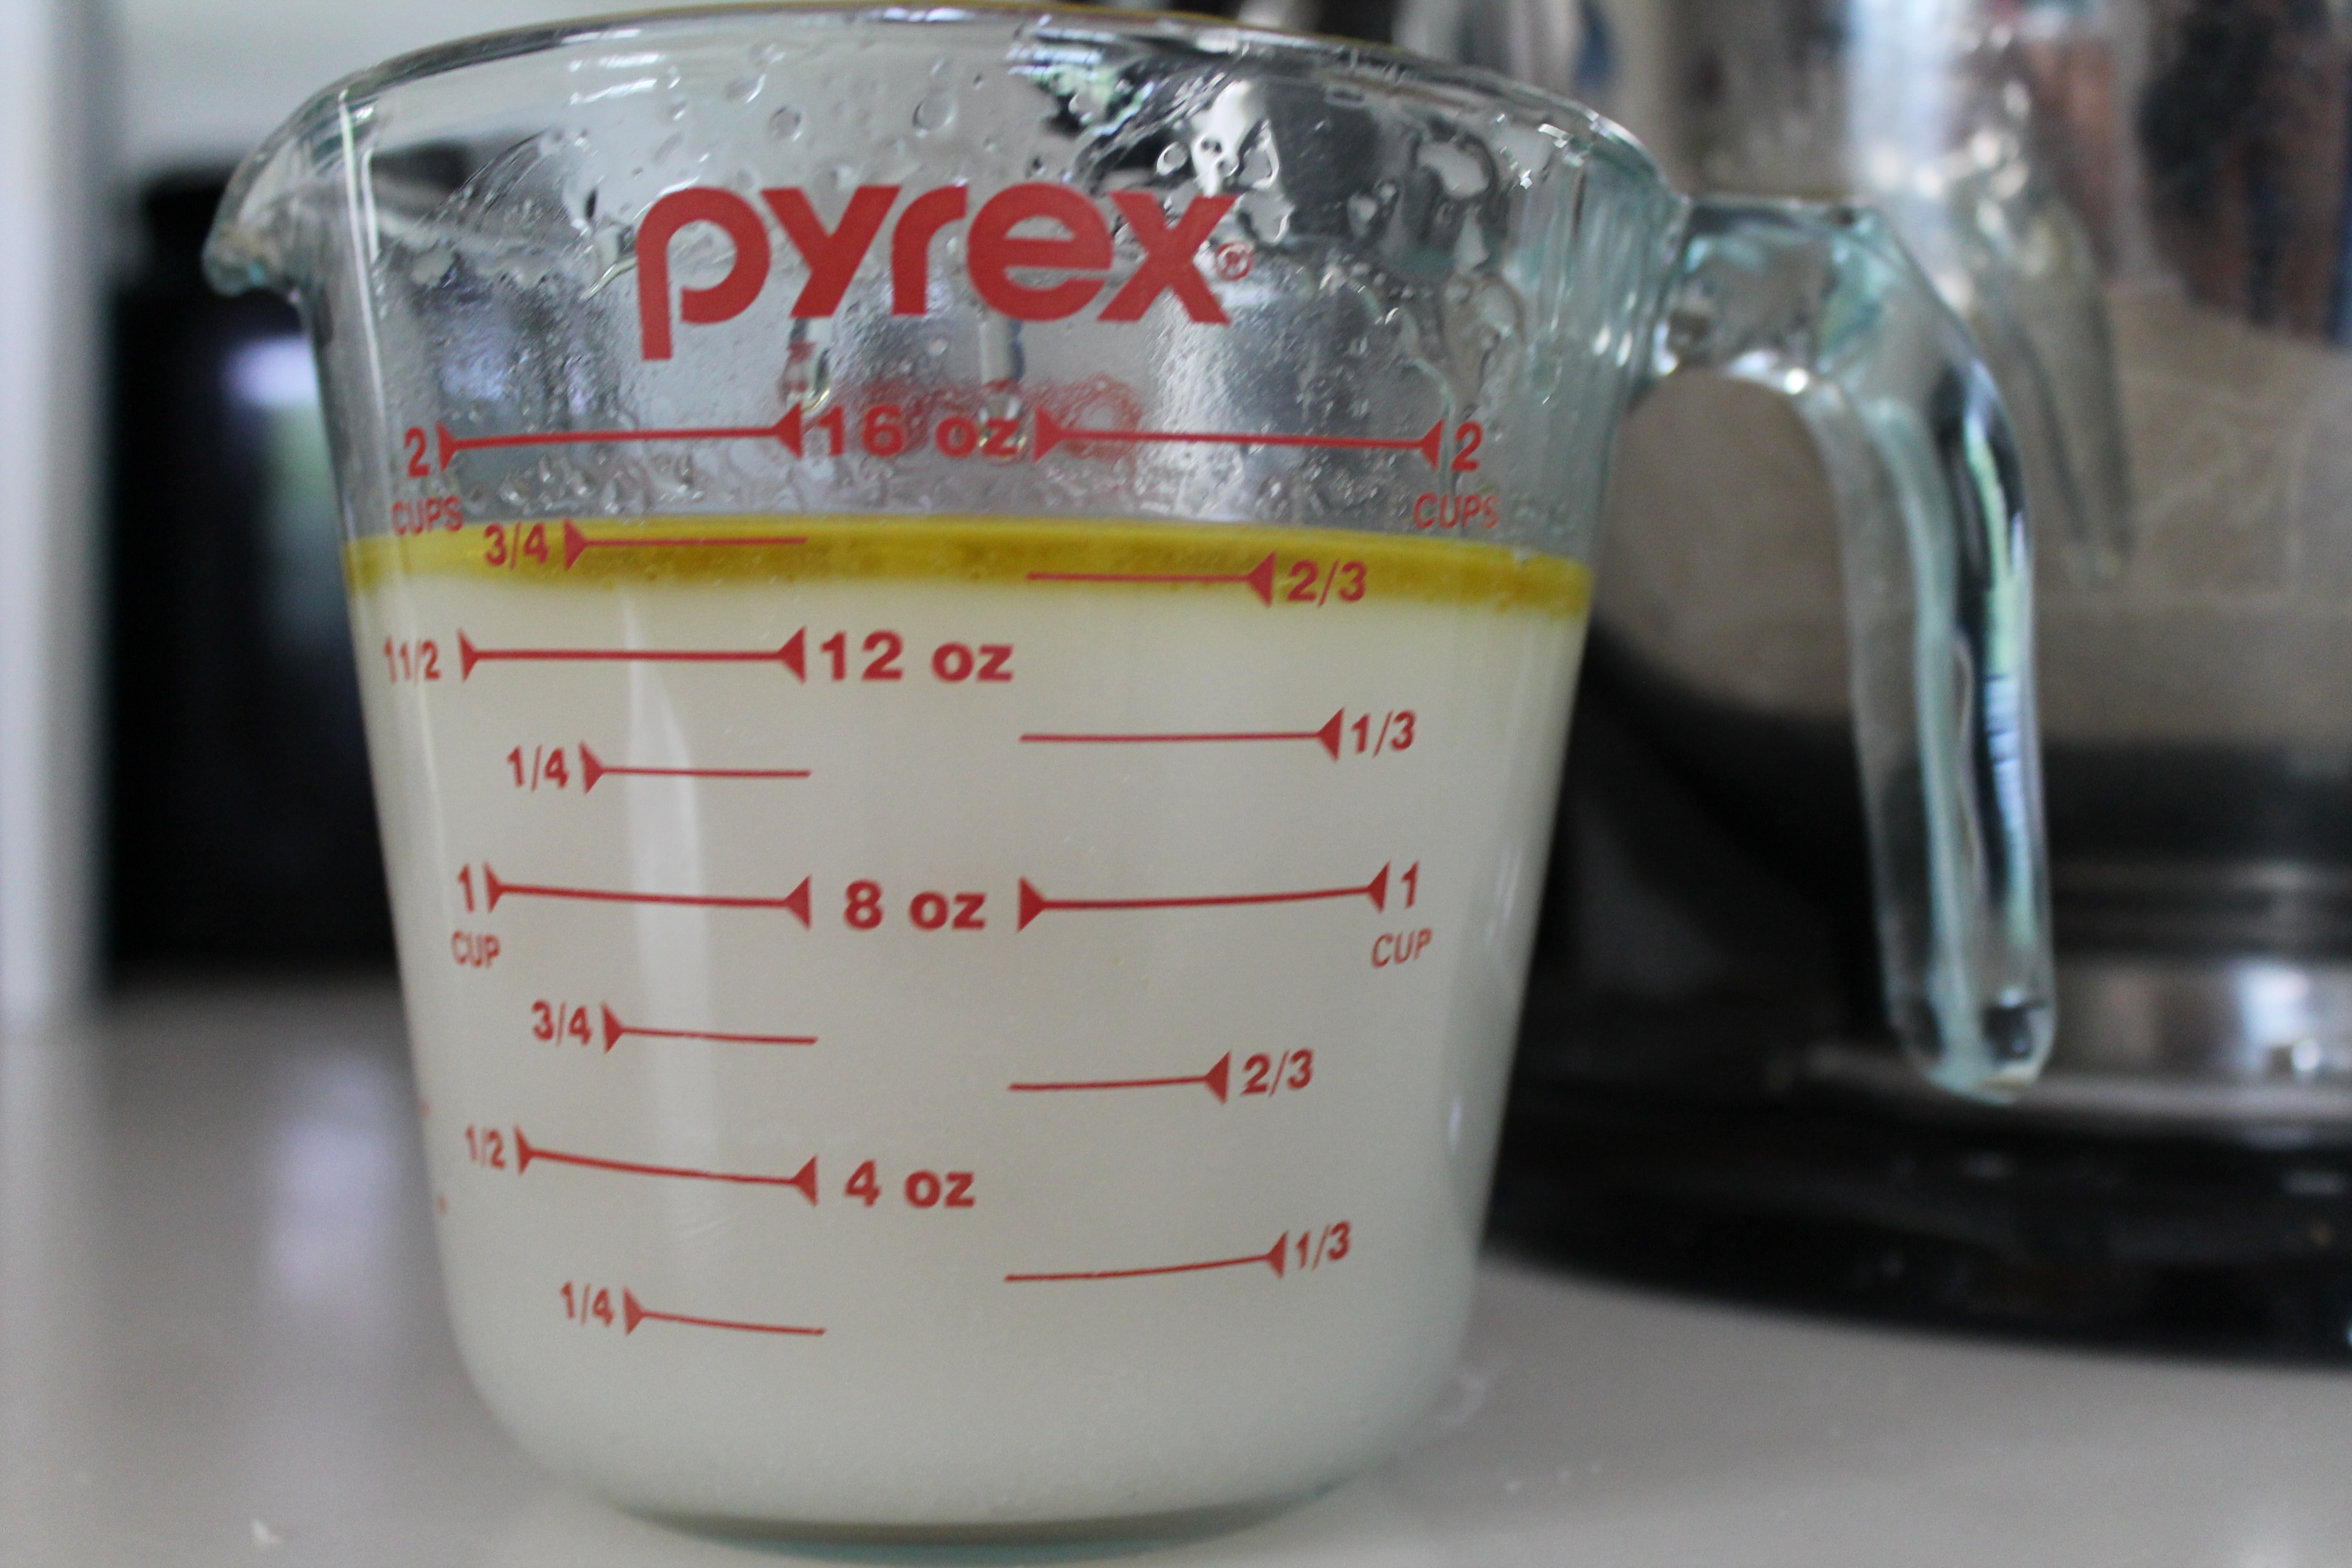 When the yeast is nice and foamy, add the room temperature water and the olive oil and whisk with a fork.
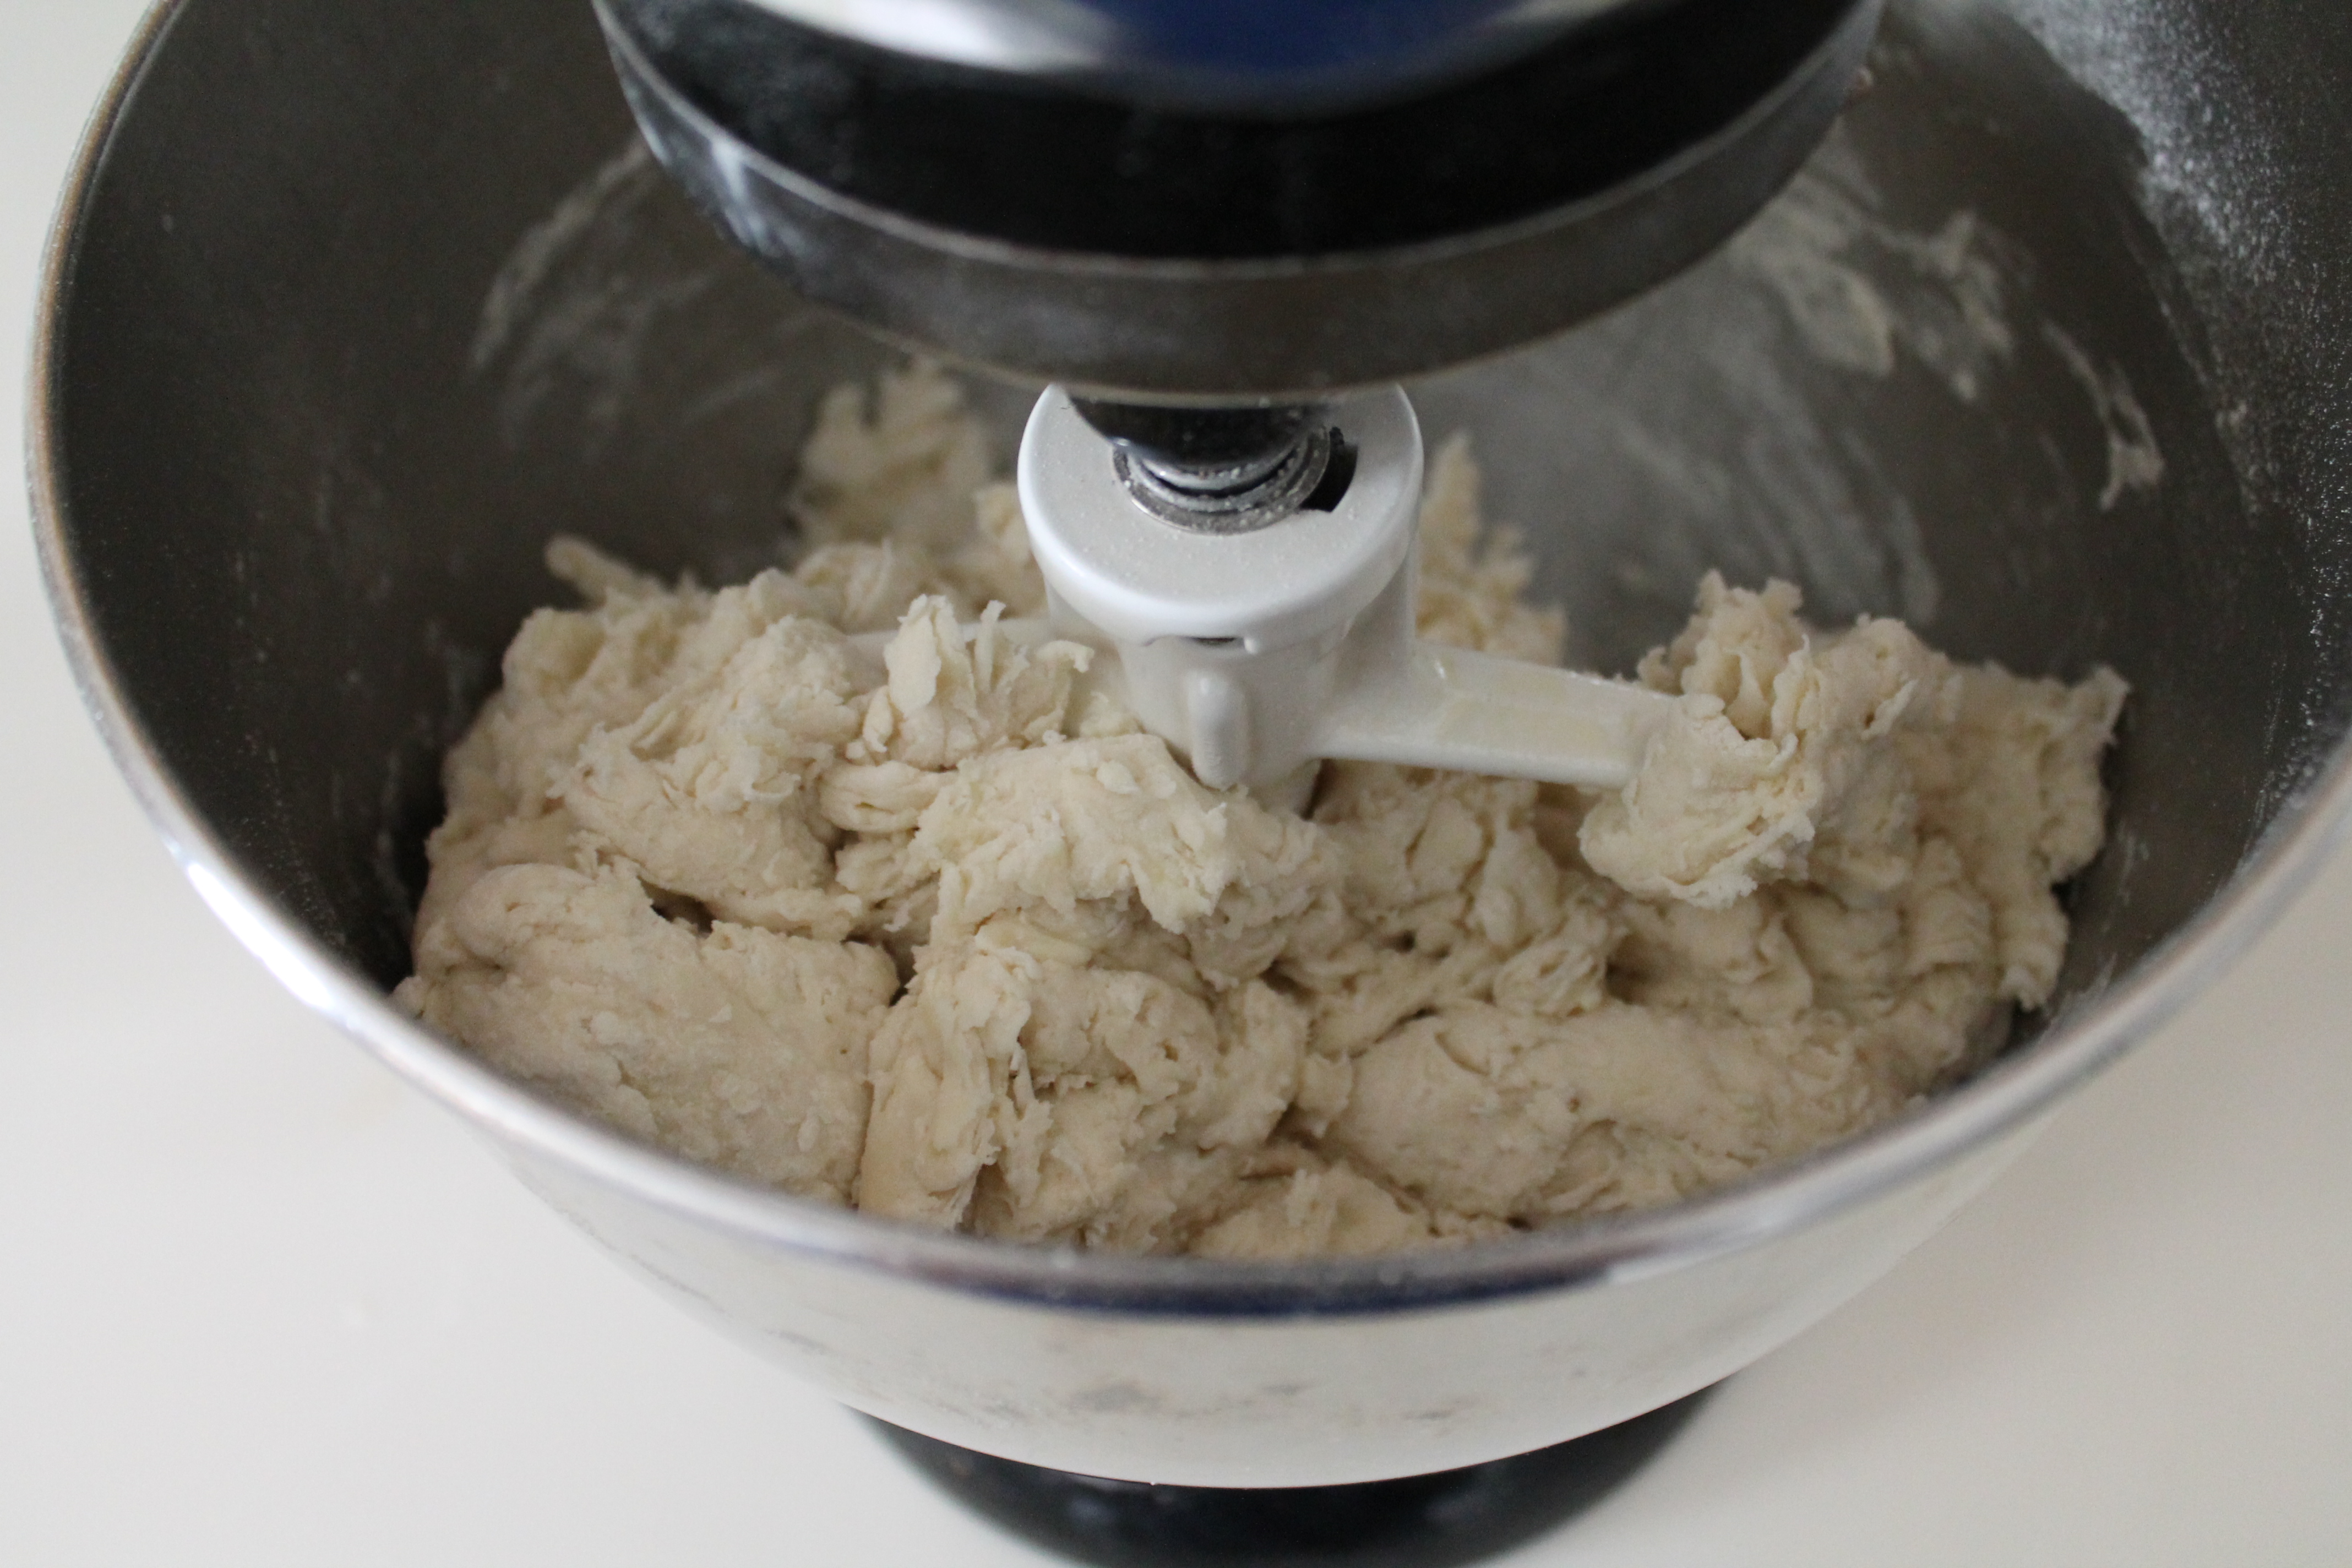 Pour the liquid over the flour in the mixer bowl. Stir on low speed until it comes together.
Now, I actually kneaded this on the counter, because it’s fun. But you could totally just knead in the mixer bowl with the dough hook for 5 minutes or so. You’ll know when you’re done because you will end up with a smooth, somewhat stretchy ball. Go gluten! (Sorry, GF folks.)
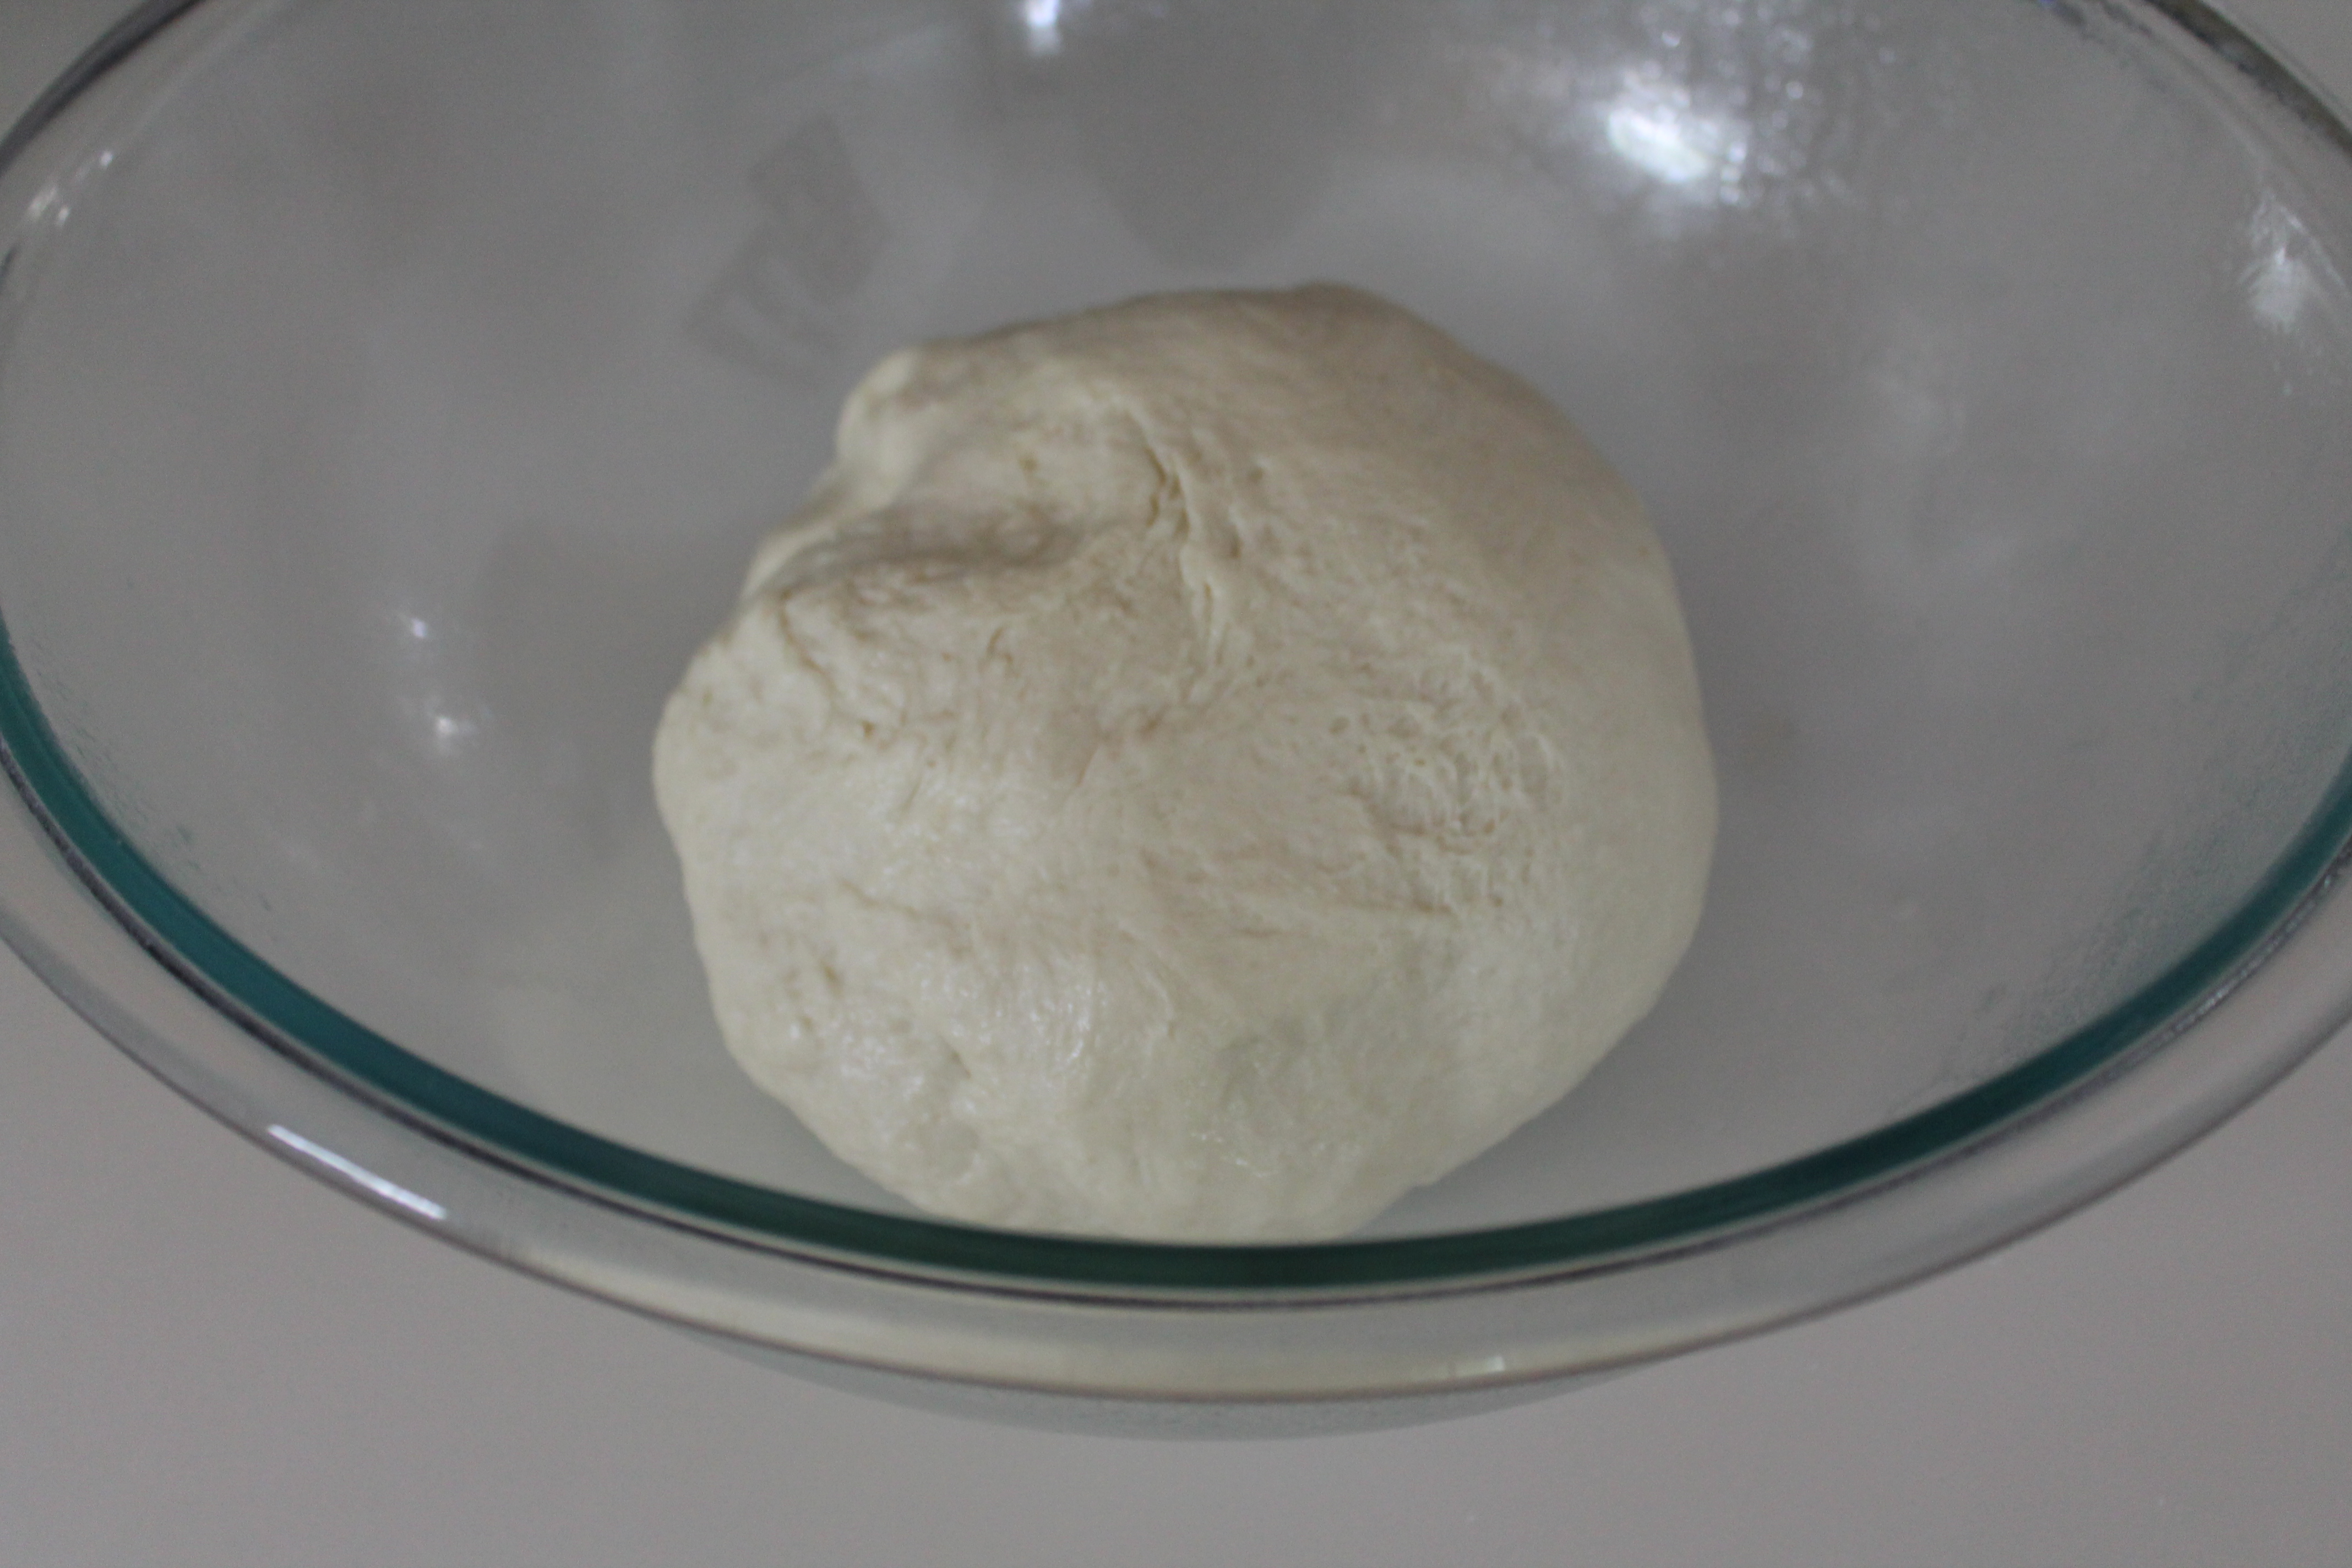 Place the dough ball into a lightly oiled bowl and cover the bowl with plastic wrap or a damp cloth. Let it rise in a warm place until doubled, about 90 minutes.
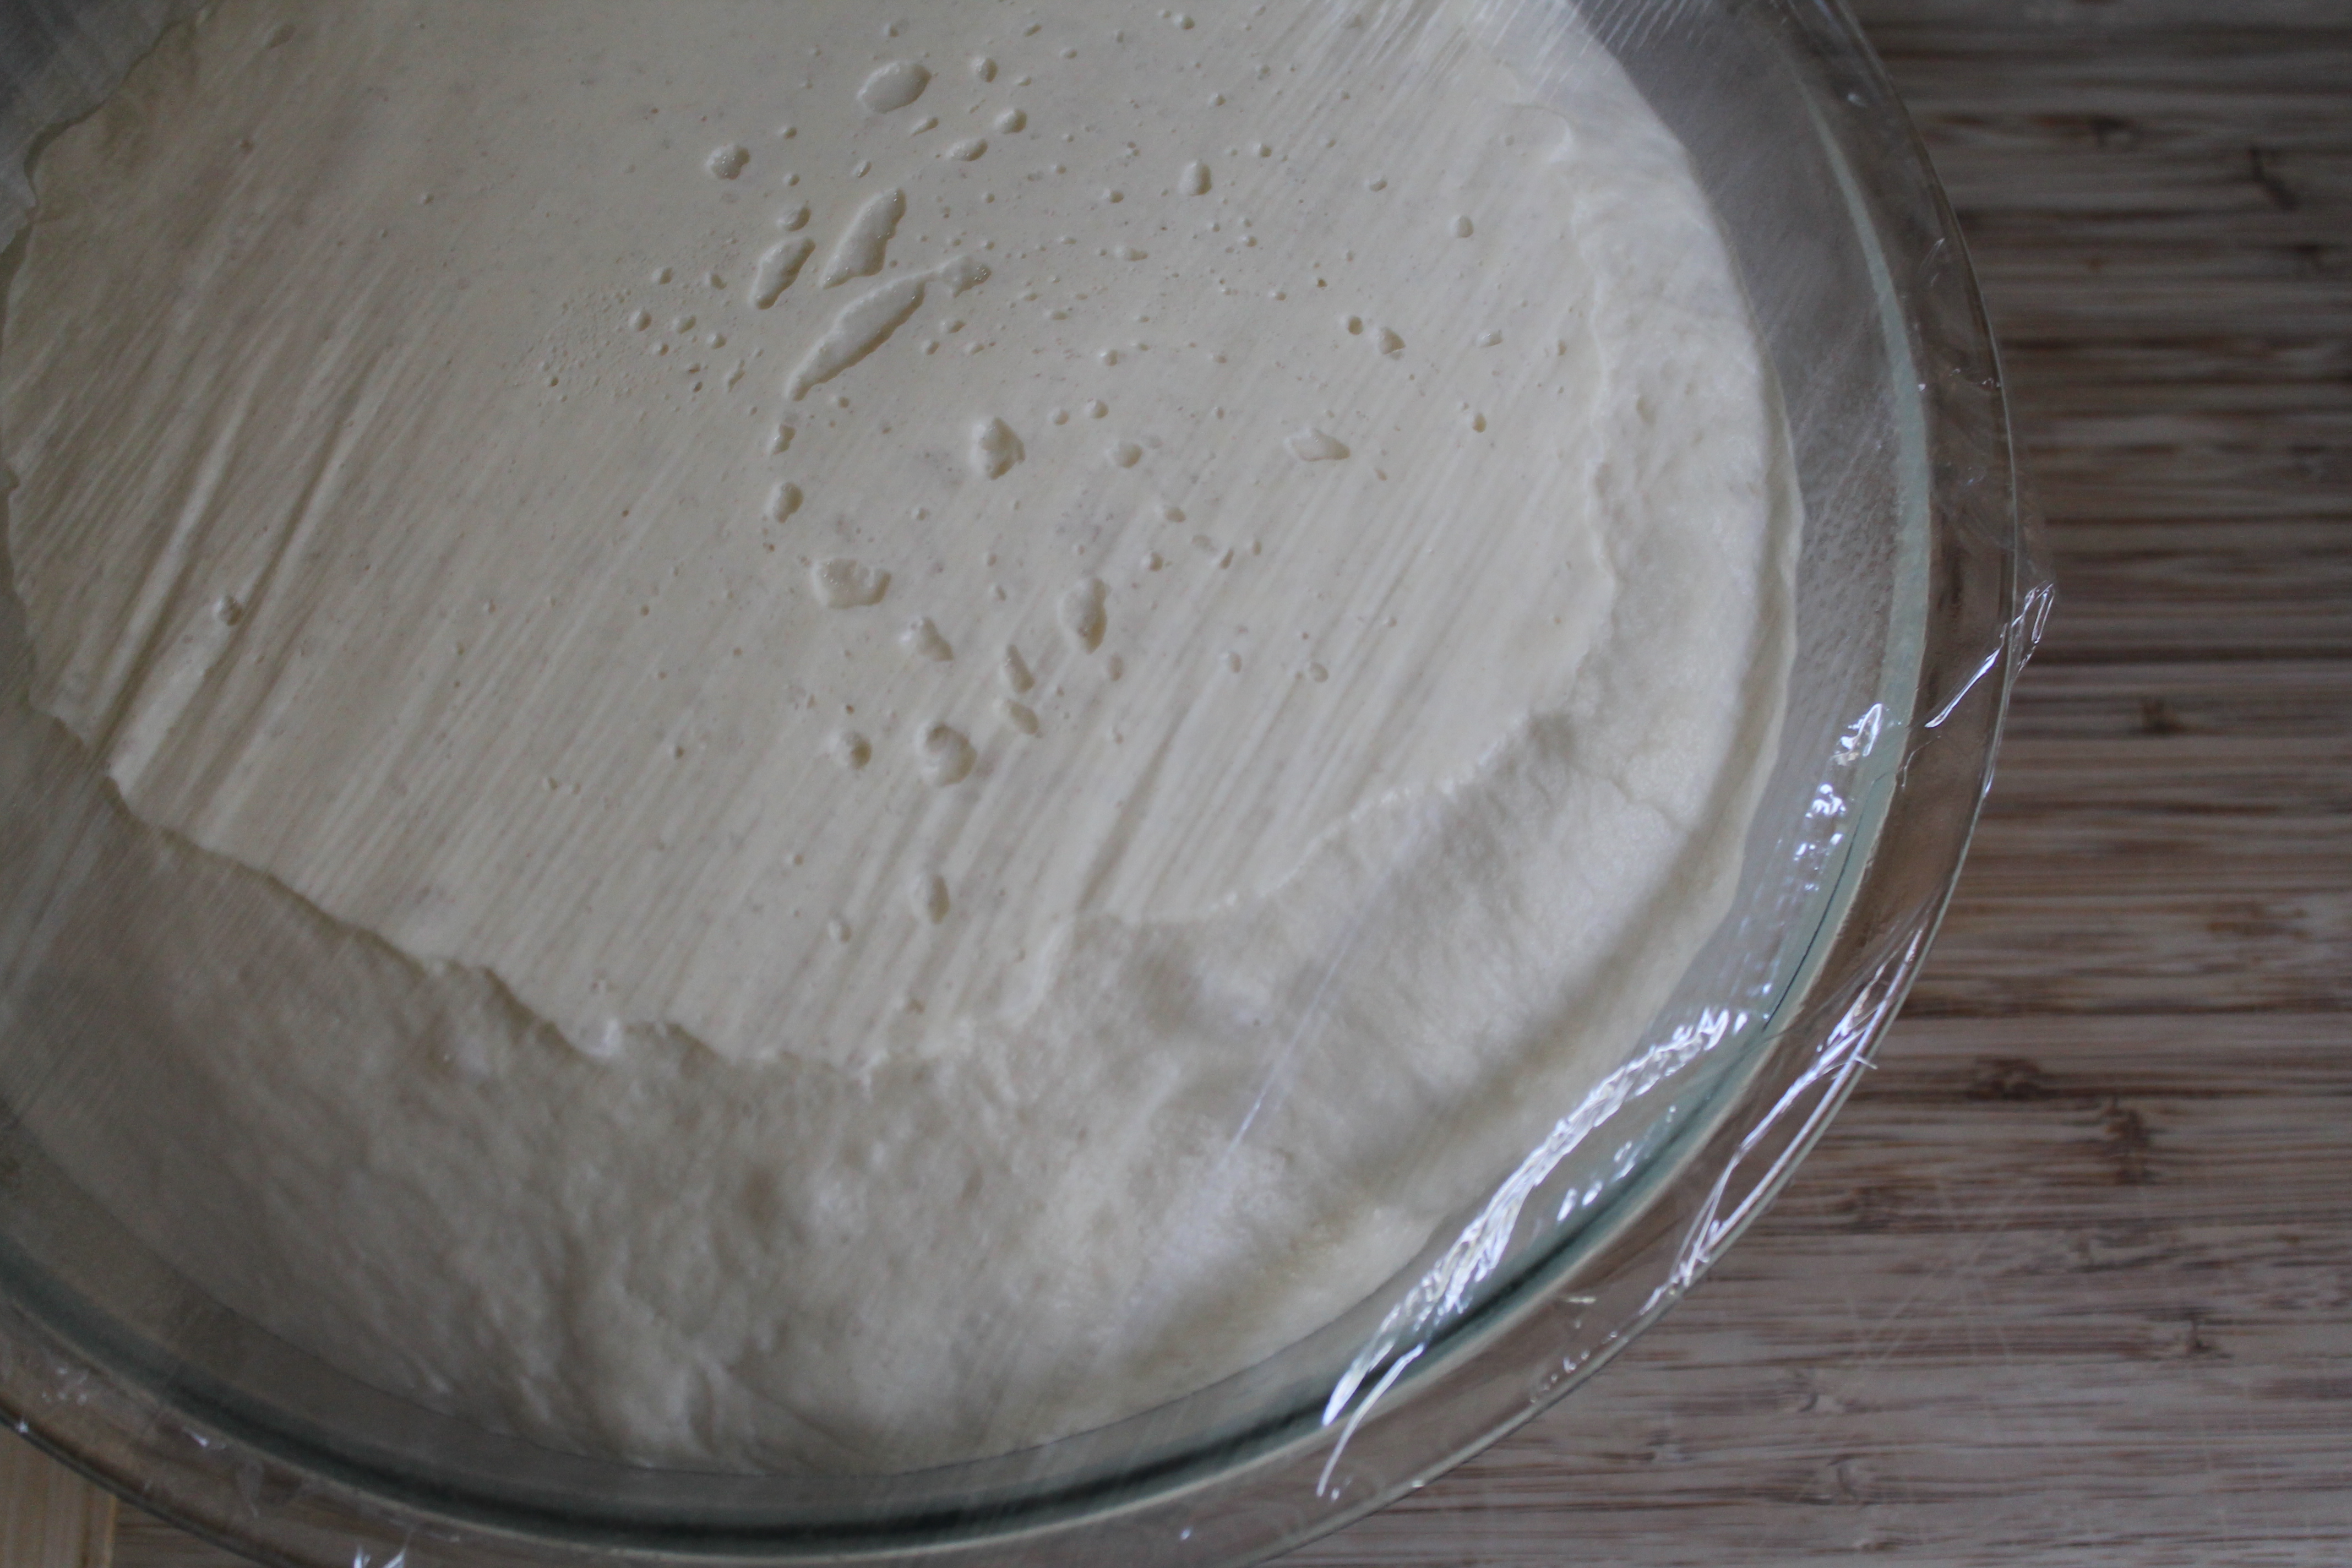 Here’s a nifty little trick to use if your kitchen is a bit chilly: stick the dough in the oven. I like to turn the oven on to the lowest setting ( in my case, 170°) and let it begin to warm up for a few minutes. Then I turn the oven off, place the bowl in the oven, and close the door. Yeast likes a warm, damp environment, so if you have a particularly cold kitchen (e.g., in winter, or due to all that cold, natural stone), you may want to give your dough a helping hand!
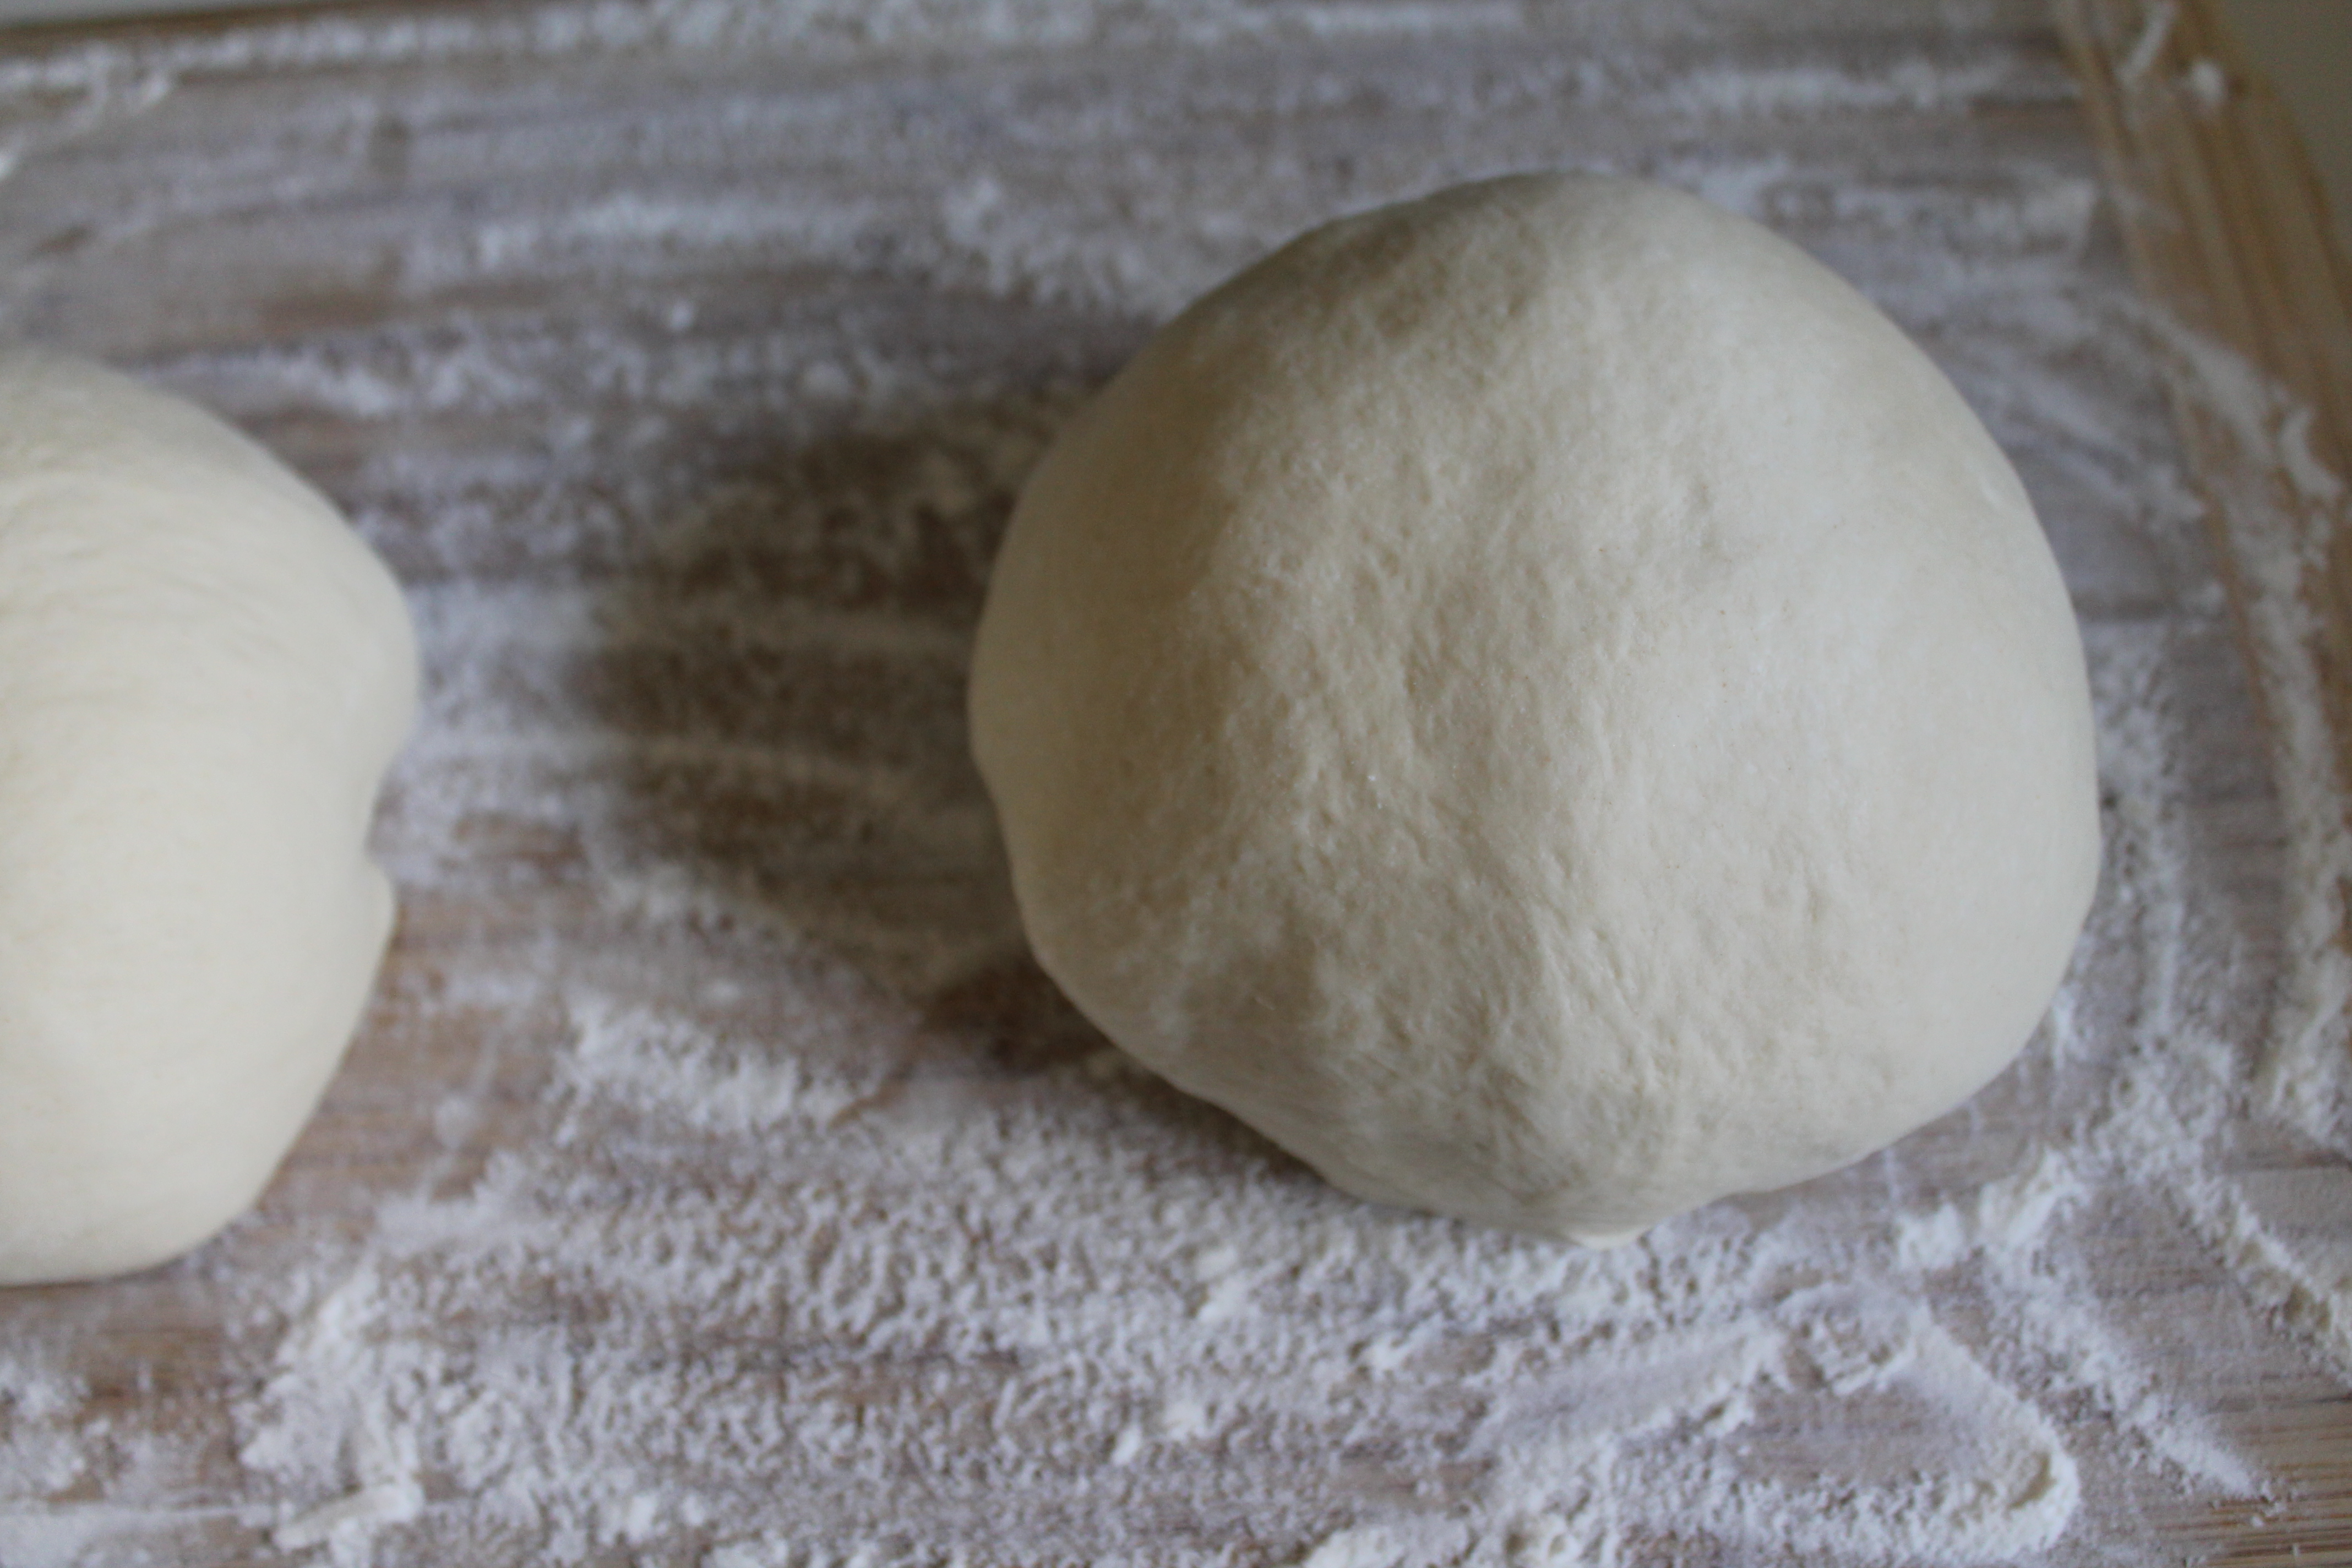 Once the dough has risen to double its original size, divided it into two balls. At this point, you could actually freeze one or both of the dough balls for use later! But if you are going to be making pizza right away, then set them on a lightly floured surface to rise another 30 minutes.
Meanwhile, place your baking stone in the oven! We will preheat the stone along with the oven, that way the bottom of the crust will get nice and crisp while you bake your pizza.
Now is a great time to get your pizza toppings together. This crust is a perfectly chewy, neutral backdrop (but no one ever said it was extremely healthy. White flour, anyone?) for classics such as margherita pizza or newer faves such as shaved asparagus white pizza!
Ten minutes before you are ready to roll out the pizza crust, turn the oven on and heat to 450°. (You could do this earlier, but I find that my pizza stone starts to blacken and even smoke a little when I heat it solo for more than 20 minutes.)
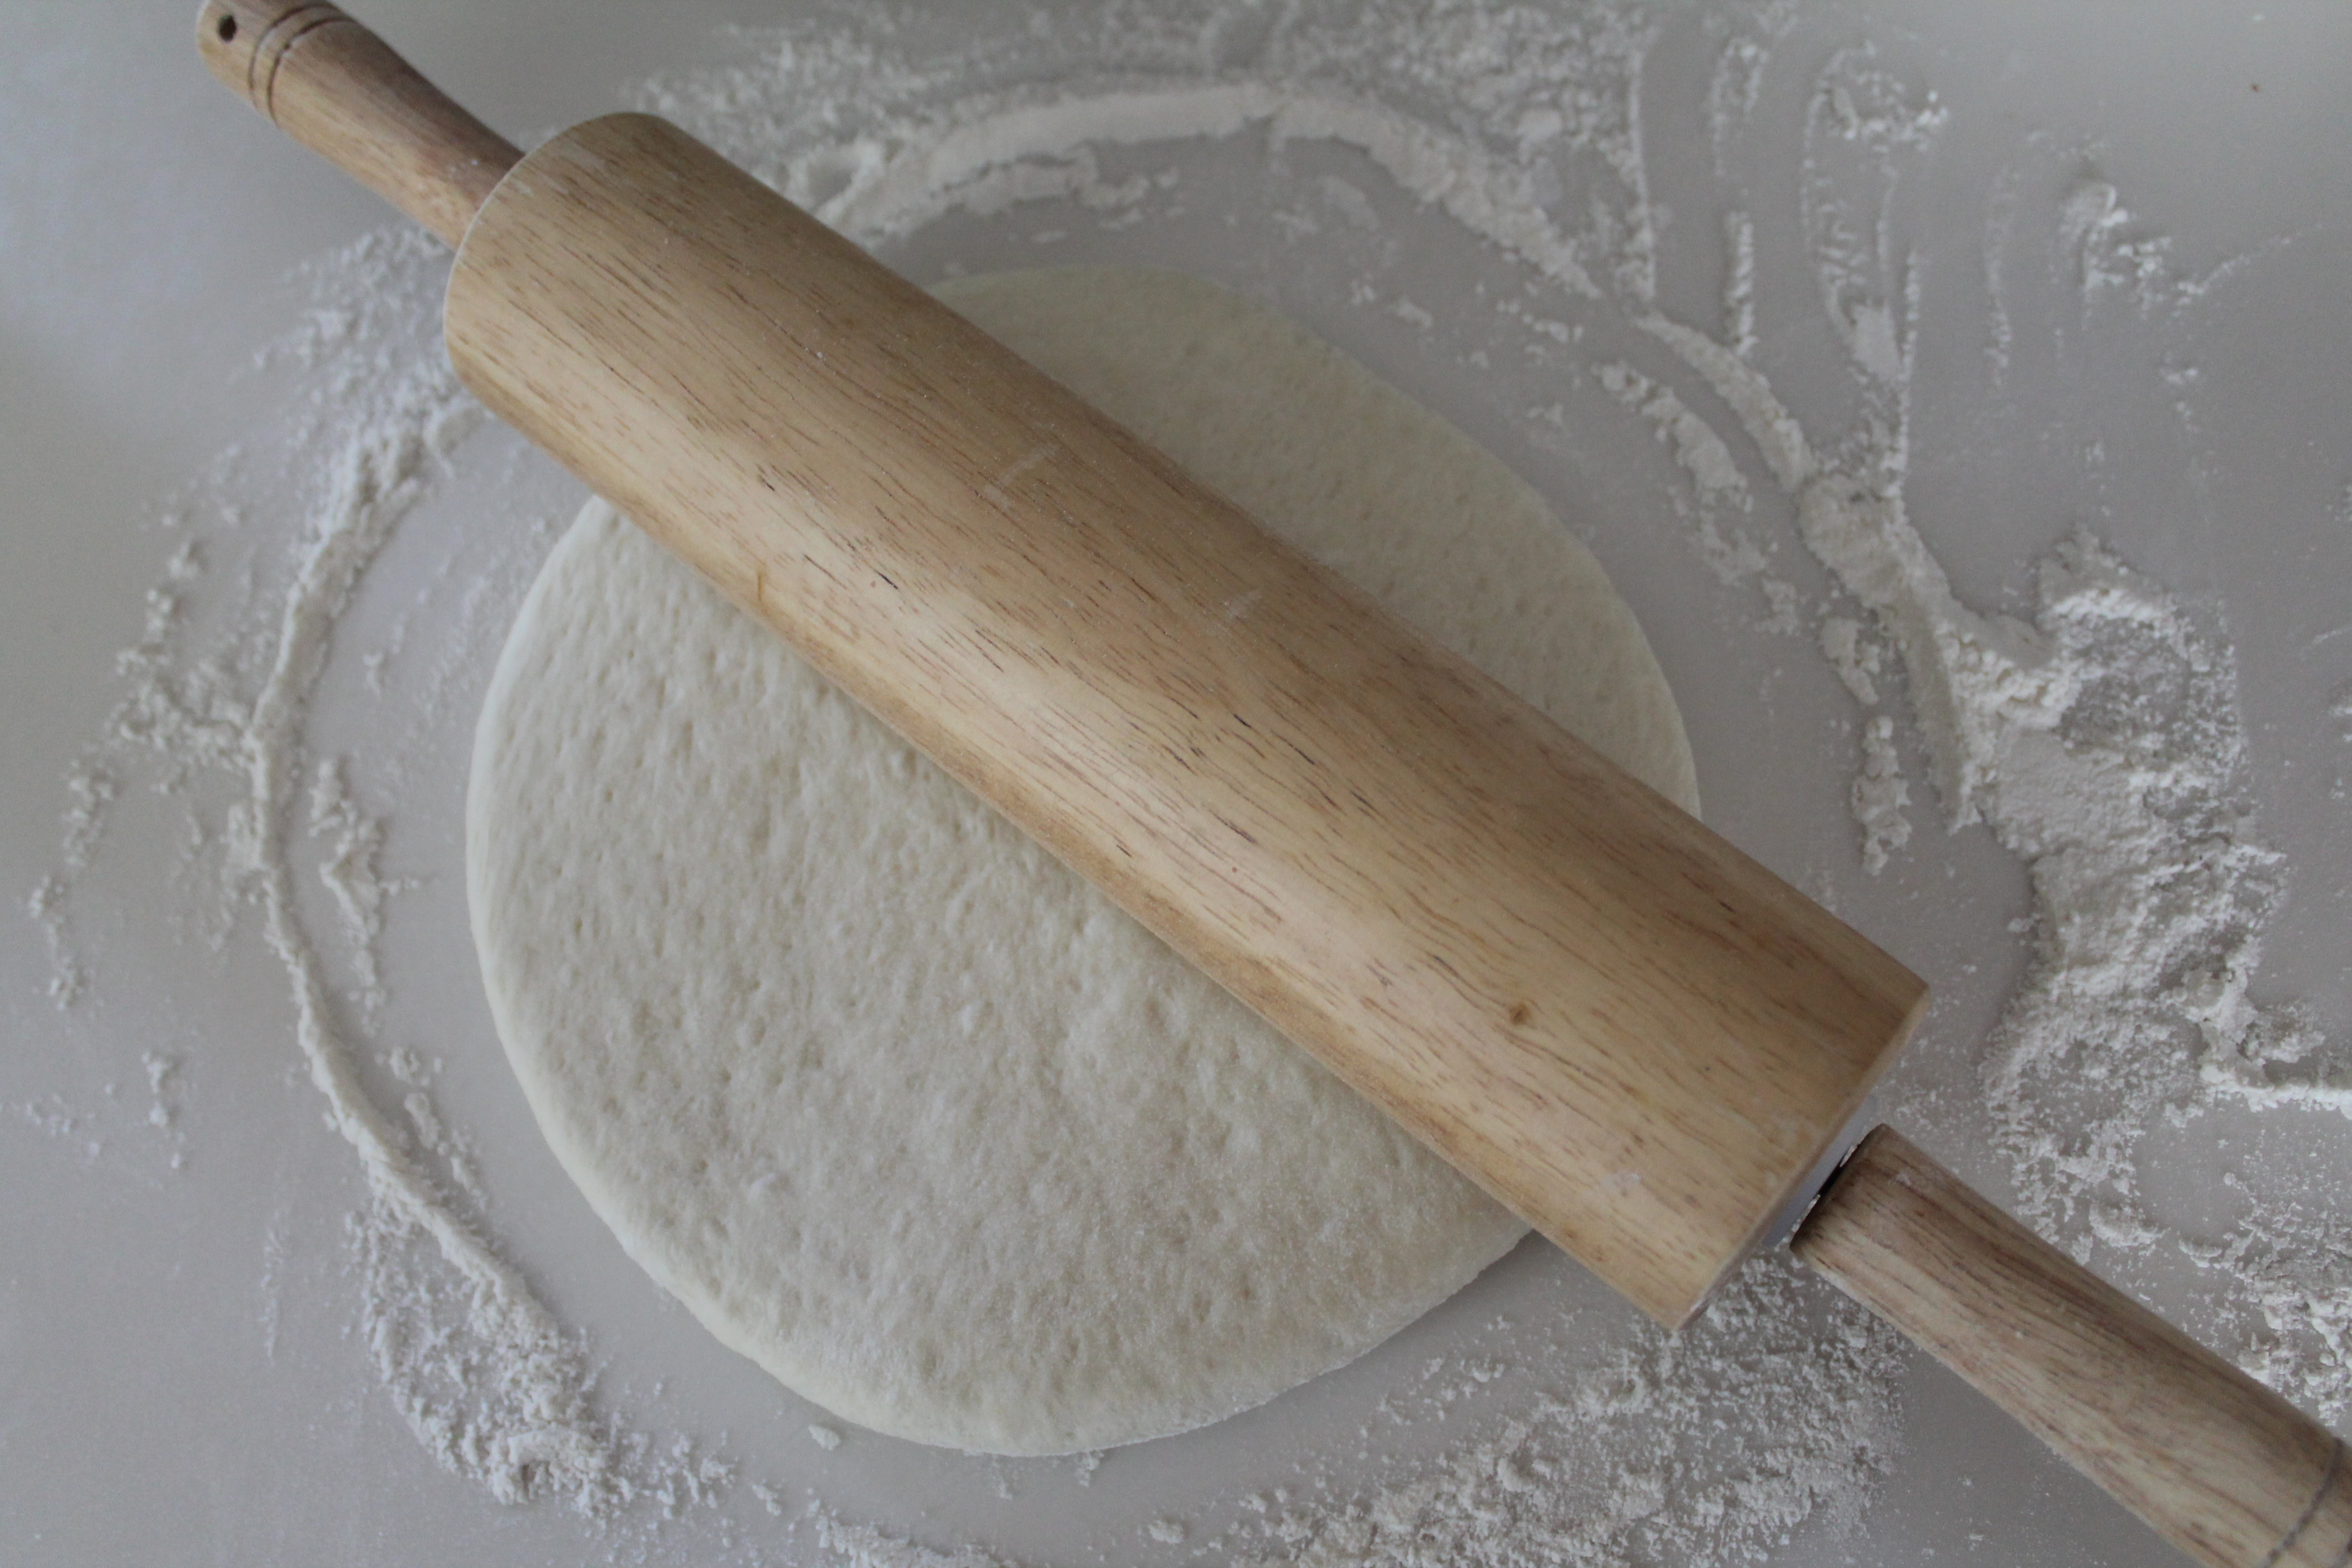 When the dough is nice and soft and puffed, grab your rolling pin and lightly flour a large workspace. Roll the dough out into a 14″ circle. I also like to take my dough and work it a little with my fists after I roll it out. This helps it to pull itself into a more circular shape, and it gives the very edges of the circle a bit more mass, which makes a better crust to hold on to.
Set the crust on a pizza peel (or the back of a large cookie sheet). You can par-bake it for 5 minutes or so, if you like. This produces a much crisper crust that is perfectly baked…but it also takes more time, and sometimes the center of the crust puffs up a bit, making it harder to apply the toppings.
Another perfectly lovely option is to go ahead and top the raw crust with your favorites! Sauce, cheese, deliciousness.
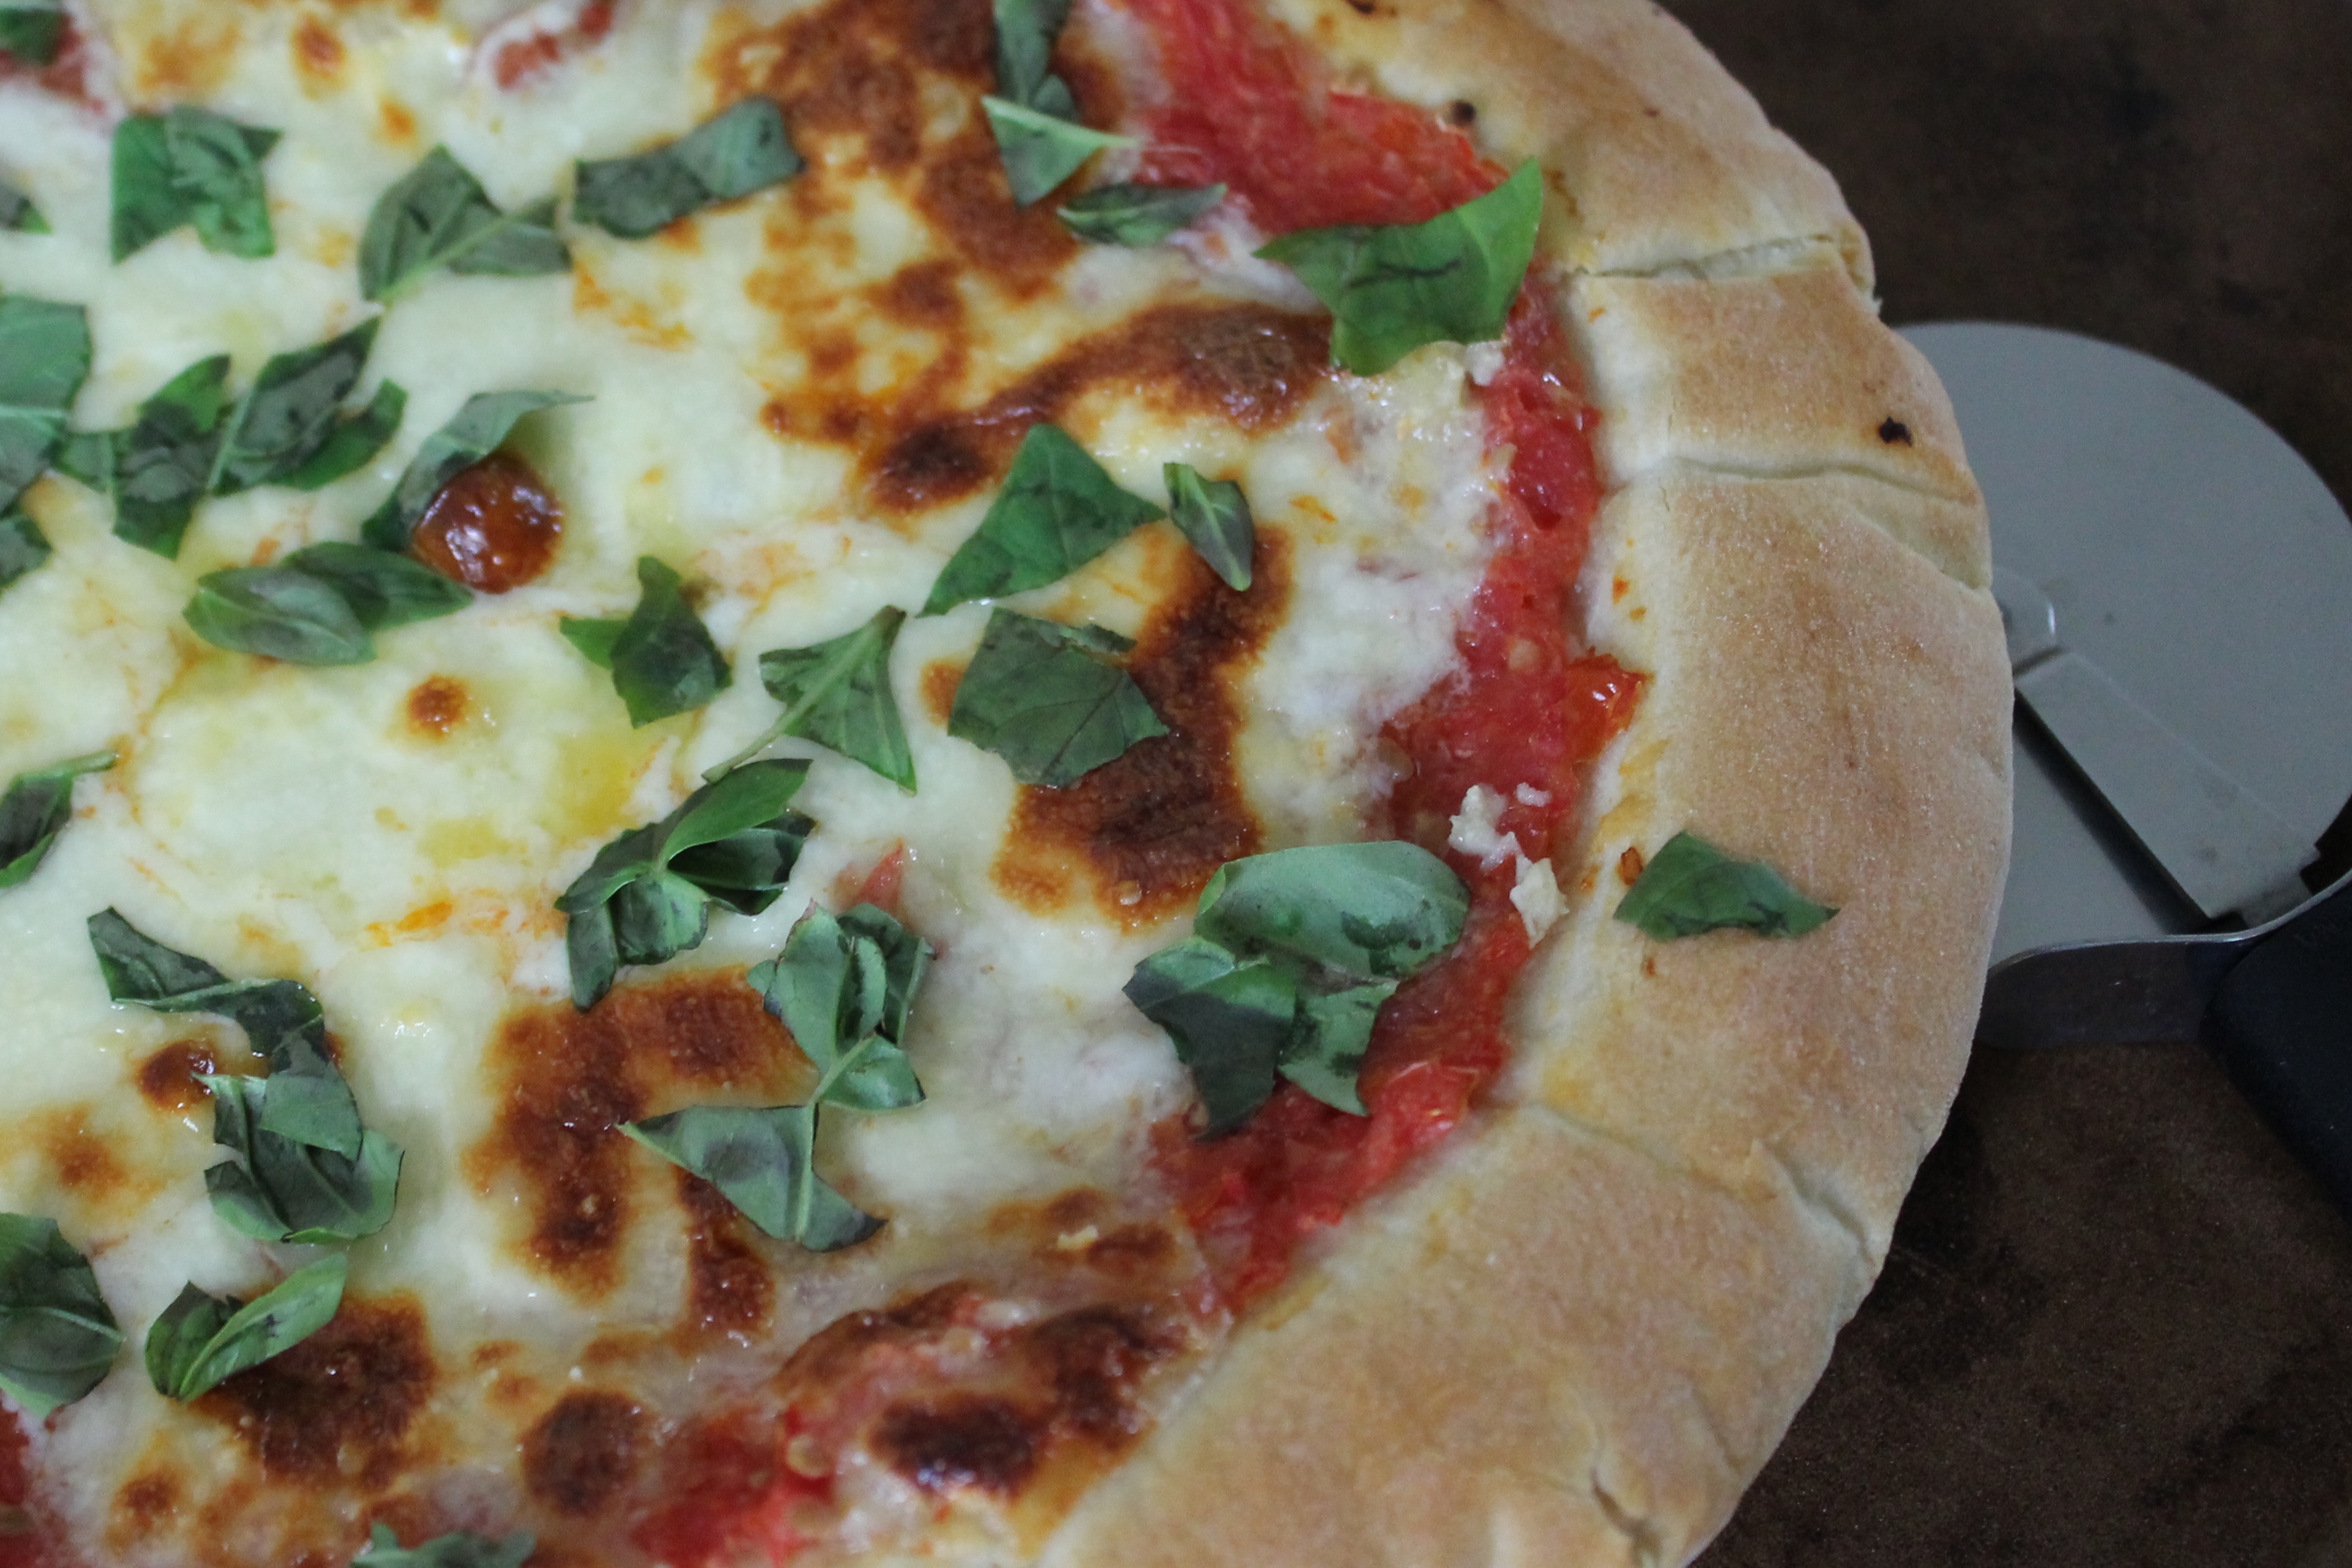 Bake the topped pizza for 10–12 minutes. Or, if you are going to use entirely fresh toppings, bake the crust solo for 10 minutes, then brush the edges with olive oil and let them brown another 2 minutes.
Yum! Homemade crust is heaven!
Classic Pizza Crust
makes 2 14″ crusts
from The New Best Recipe via Annie’s Eats
Ingredients:
½ cup warm water (about 110°)
2¼ tsp. active dry yeast (1 envelope)
1¼ cups water, room temperature
2 tbsp. olive oil
4 cups bread flour, plus extra for dusting
1½ tsp. salt
Directions:
Combine the warm water and yeast in a large measuring cup. Let stand until the yeast becomes foamy, about 10 minutes. Add the room temperature water and oil and stir to combine.
Place the flour and salt in a mixer bowl. Using either the paddle or the dough hook, briefly combine the dry ingredients at low speed. Add the liquid ingredients and continue to mix at low speed until a cohesive mass forms. Switch to the dough hook and knead until the dough is smooth and elastic, about 5 minutes.
Form the dough into a ball; place it into a deep, oiled bowl; and cover with plastic wrap. Let rise until doubled in size, about 1½–2 hours.
Divide the dough in half and form into two smooth, round balls. Set on a lightly floured surface and cover with a damp towel. Let sit 10–30 minutes to relax and rise again.
To bake, place a pizza stone in the lower third of the oven. Heat the oven to 450° for at least 10 minutes.
Working with only one dough ball and keeping the other covered, roll out to a large round. Transfer to a pizza peel dusted with flour or cornmeal. Top as desired. Slide the dough onto the hot pizza stone.
Bake until the crust edges brown and cheese is golden brown in spots, about 10–12 minutes.
Repeat with remaining ball of dough or freeze for later use.
Enjoy!
- One year ago: Spicy Pimiento Cheese
- Two years ago: Green Onion Potato Salad
- Three years ago: Ricotta Cheesecake

