The end of an era has arrived: this month marks the last Secret Recipe Club exchange, ever.
I have to admit that I have mixed feelings about this. I have been part of this group since I was pregnant with Jake (who just turned 4!) so the SRC has influenced a lot of my cooking and baking throughout the years. Forty-two recipes on this blog happened because of the SRC. When I joined, it was with the idealistic hope that I would make friends with like-minded bloggers and find some delicious, well-curated recipes to add to my repertoire. What I found was that my preferences and standards were quite different from most of the rest of the group. I’m sure I haven’t been alone in struggling to find that single recipe from an assigned blog that fits into my own tastes and cooking style.
The challenge of the SRC exchange was often truly a challenge, and honestly, not always something I felt excited or joyful about. But I have grown as a cook and baker because of it! Because of the SRC, I have learned to look for something good in unexpected places. I have cooked some dishes I might not otherwise have tried. I have grown in testing new recipes and tweaking them to work better, or to work better for me. I have also grown as a blogger in taking my posts more seriously and making sure I am proud of what I write about.
This month, the last month of the Secret Recipe Club, I am working from the blog I’m Hungry, written by Traci. Her great strength is semi-homemade foods: if you are looking for ways to get food on the table quickly and easily, she is your gal. I was originally looking for a good Thanksgiving side dish, since it is November, but I ended up settling on soft pretzels, something I’ve been planning to bake for almost as many years as I’ve been part of SRC.
Soft pretzels start out like any other bread, but eventually get boiled in a baking soda bath, which gives them their beautiful, dark brown crust and chewy texture.
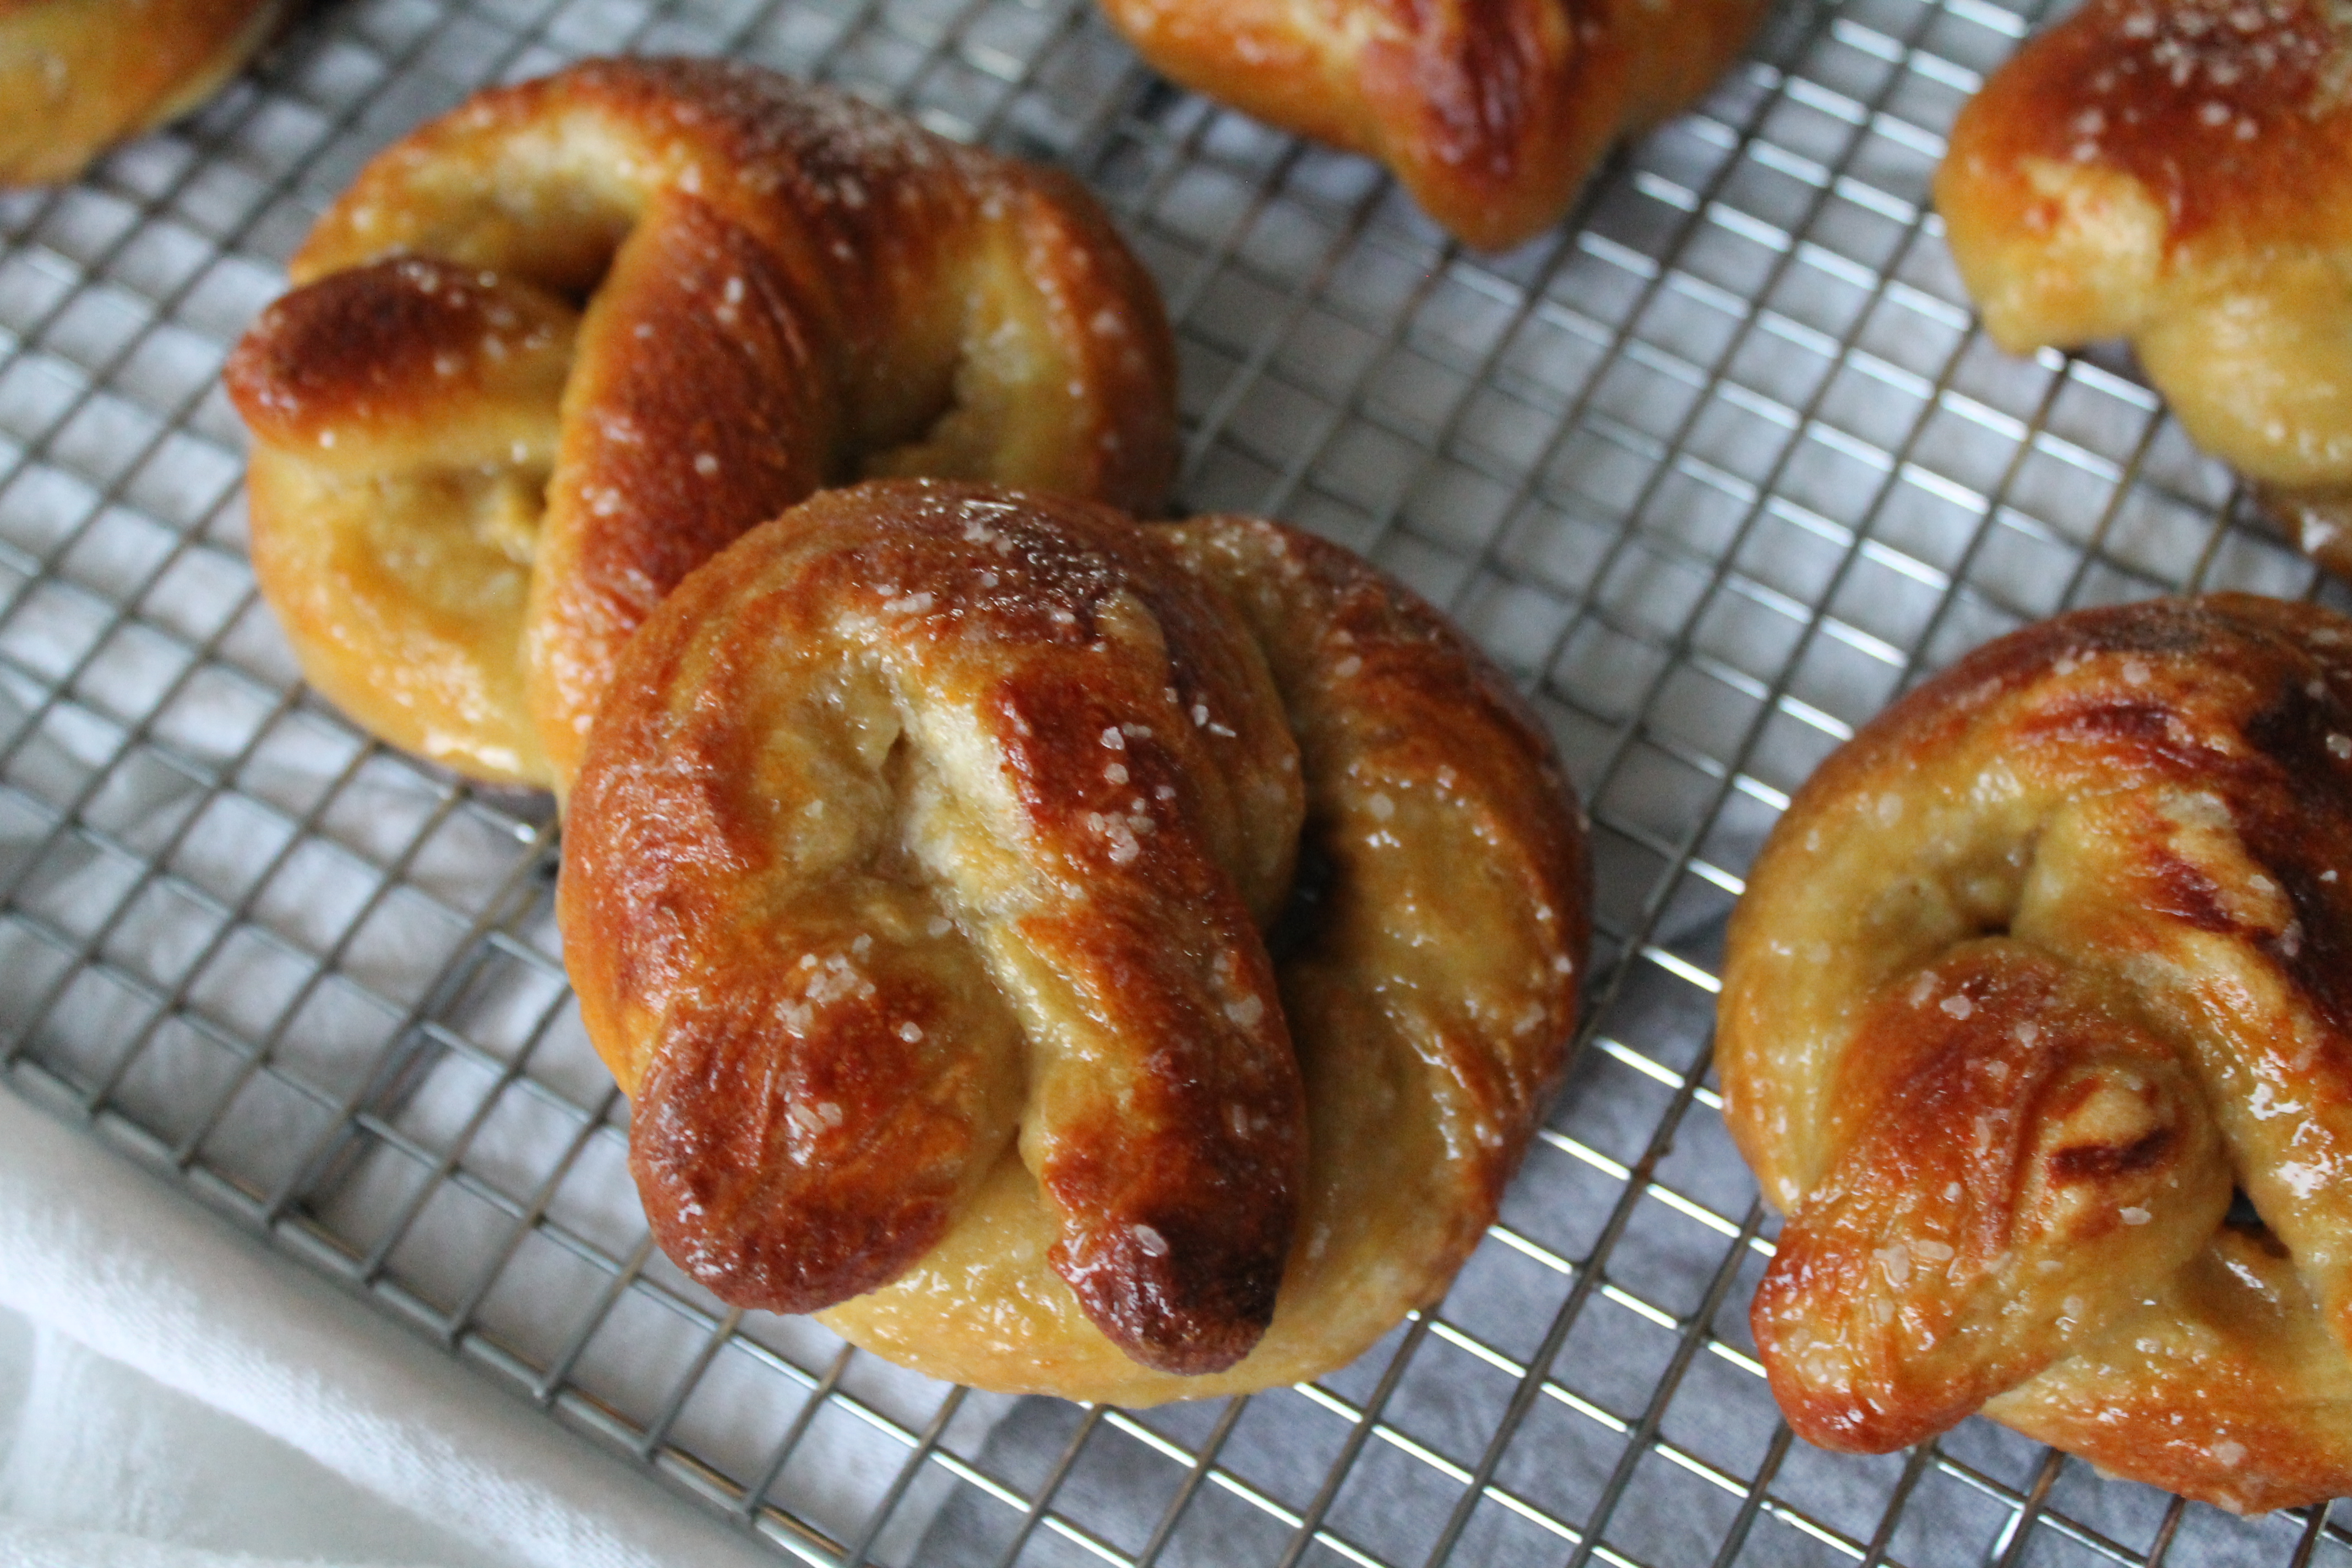 I have resisted making soft pretzels for a long time because I once read that true, restaurant soft pretzels are made using food-grade lye instead of baking soda. Part of me just rebelled against making something halfway. If lye is the “real” ingredient, then baking soda would clearly be inferior, right?
But…you know how baking soda can lend a sort of soapy flavor to baked goods when not balanced properly by something acidic? Yeah…you know where I’m going with this!
Let’s make dough. I love that this dough rises for about a quarter of the time a typical bread recipe must rise!
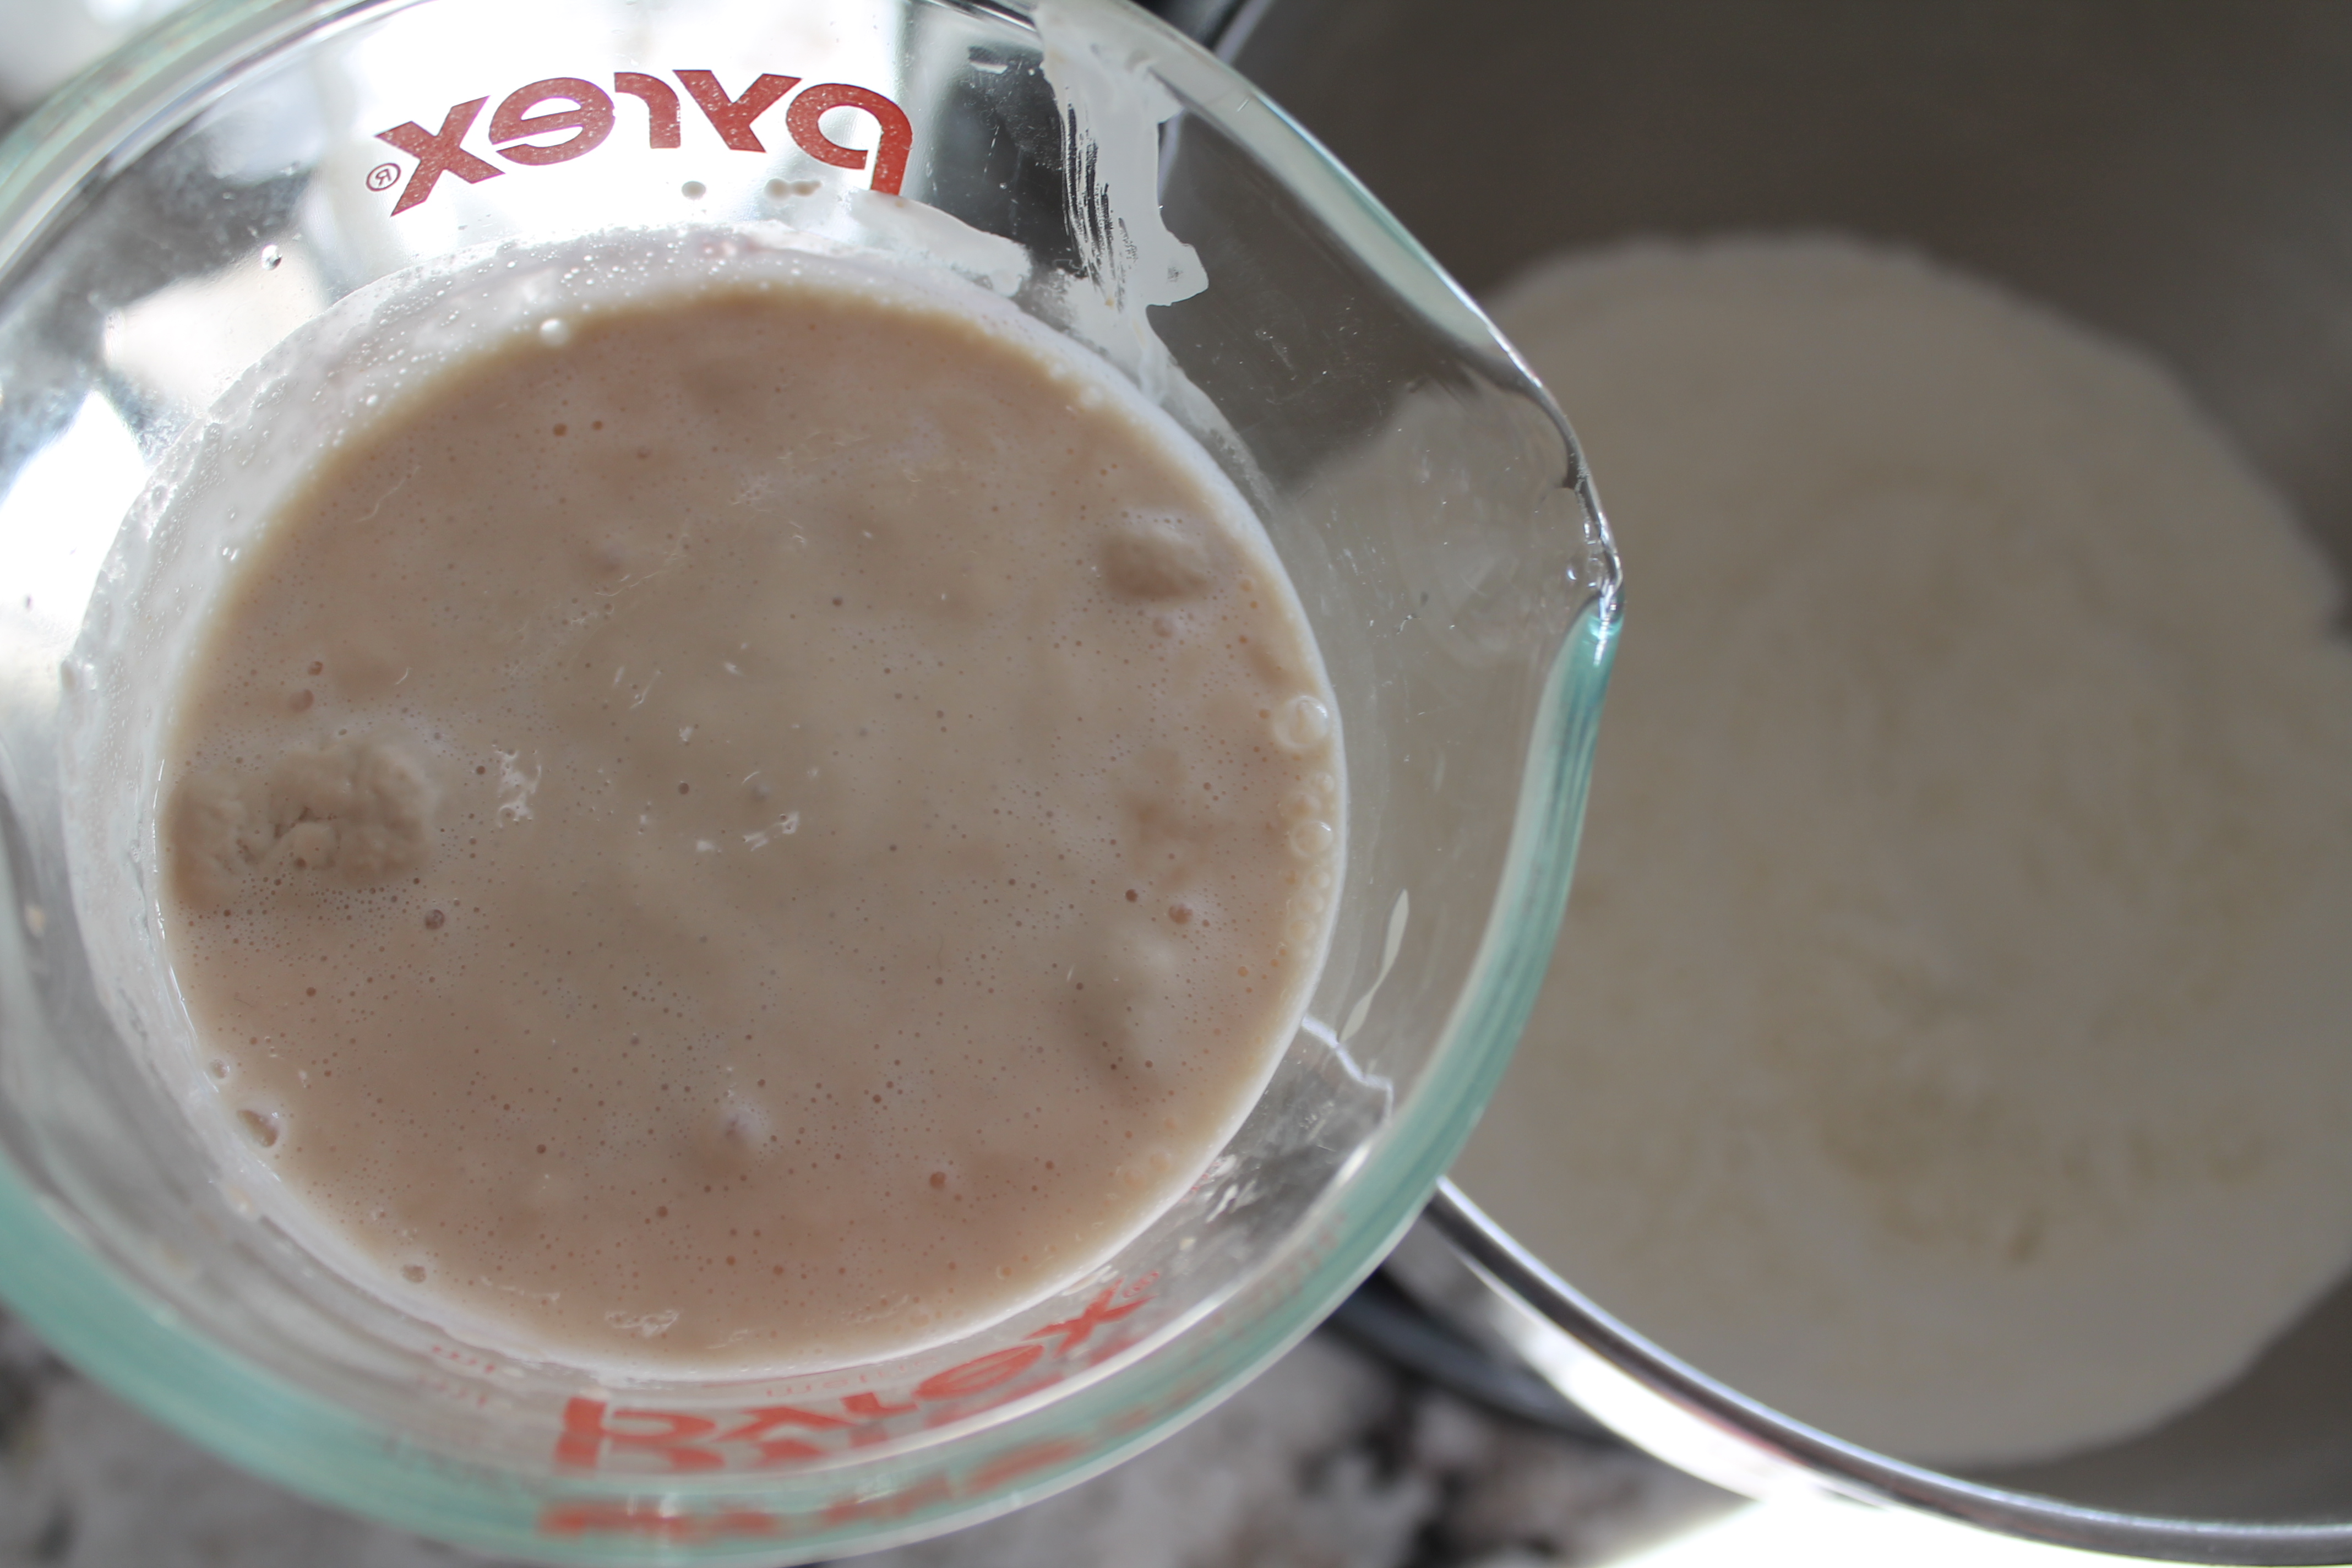 First, activate your yeast. You could use instant yeast and skip this step, but I always keep active dry yeast on hand. It’s not hard to activate your yeast. Simply sprinkle the yeast over warm water and then ignore it for 10 minutes. (Hey, it’s really not hard. You could also stir your yeast in, or add the sugar to the water now instead of to the dry ingredients later, and the yeast will do its thing!)
In your mixer bowl, combine the flour, salt, and sugar.
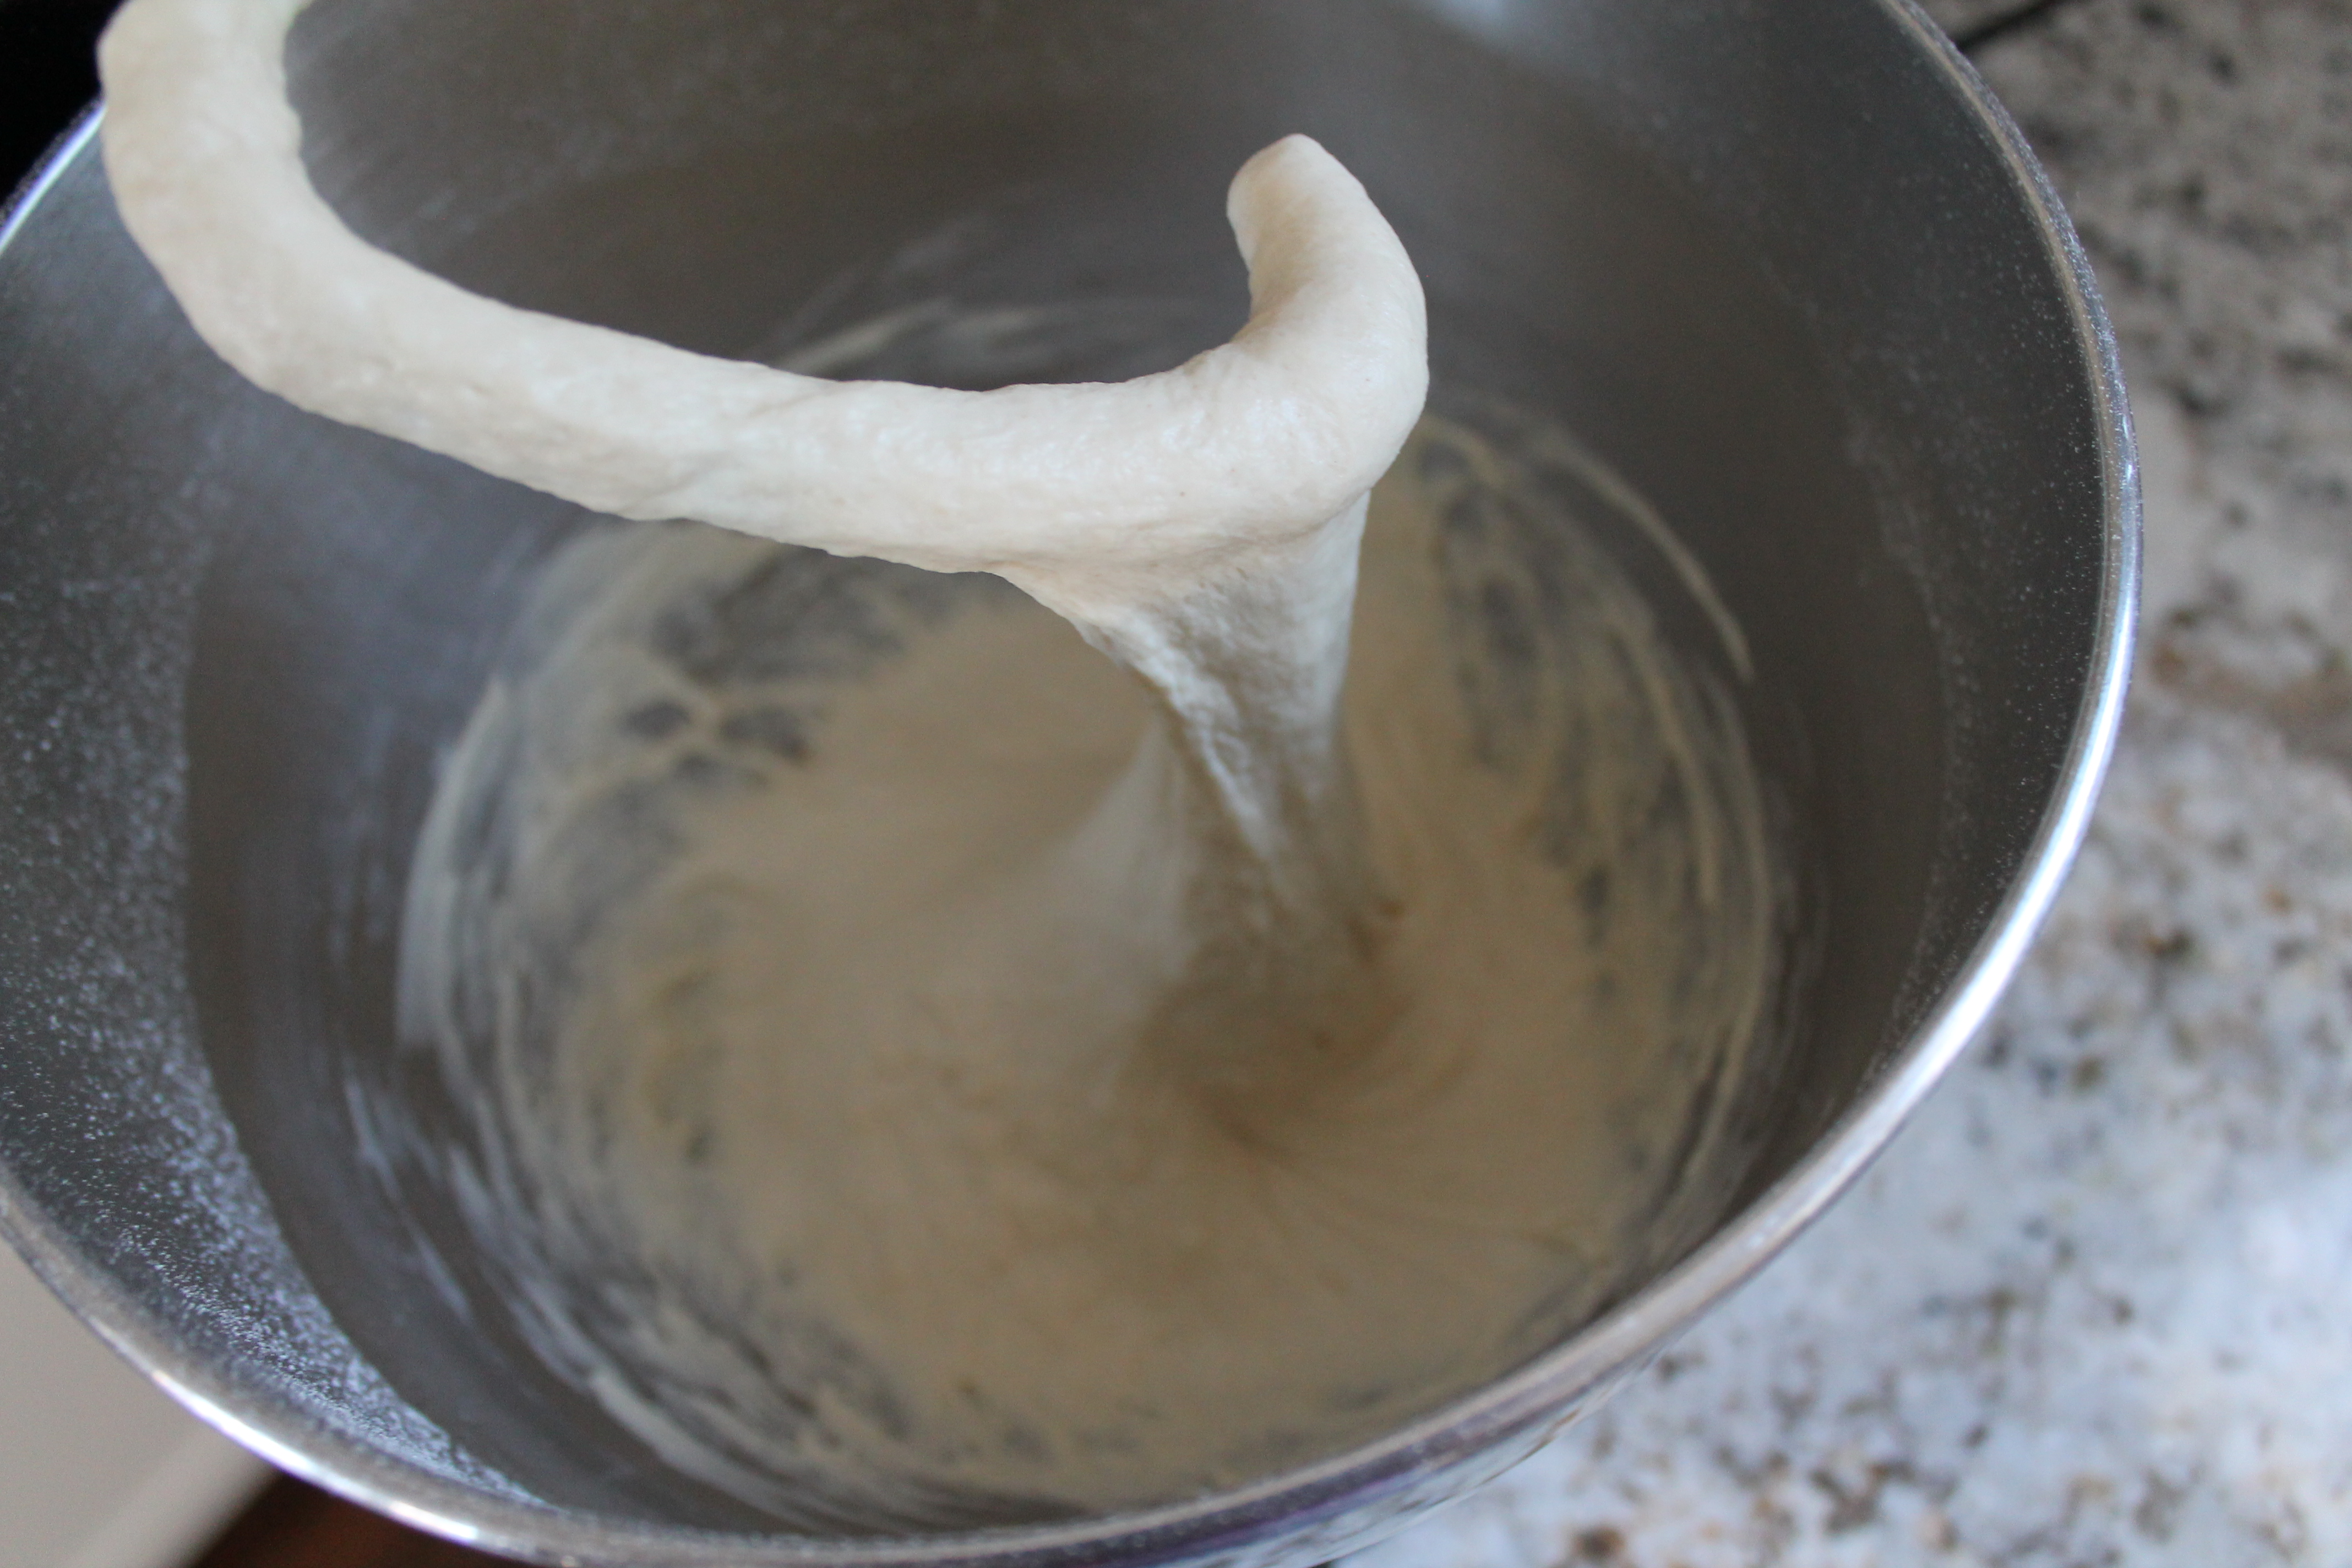 Pour the yeasty water into the mixer bowl and stir to combine. Knead using the dough hook for 5 minutes, until the dough is soft and stretchy.
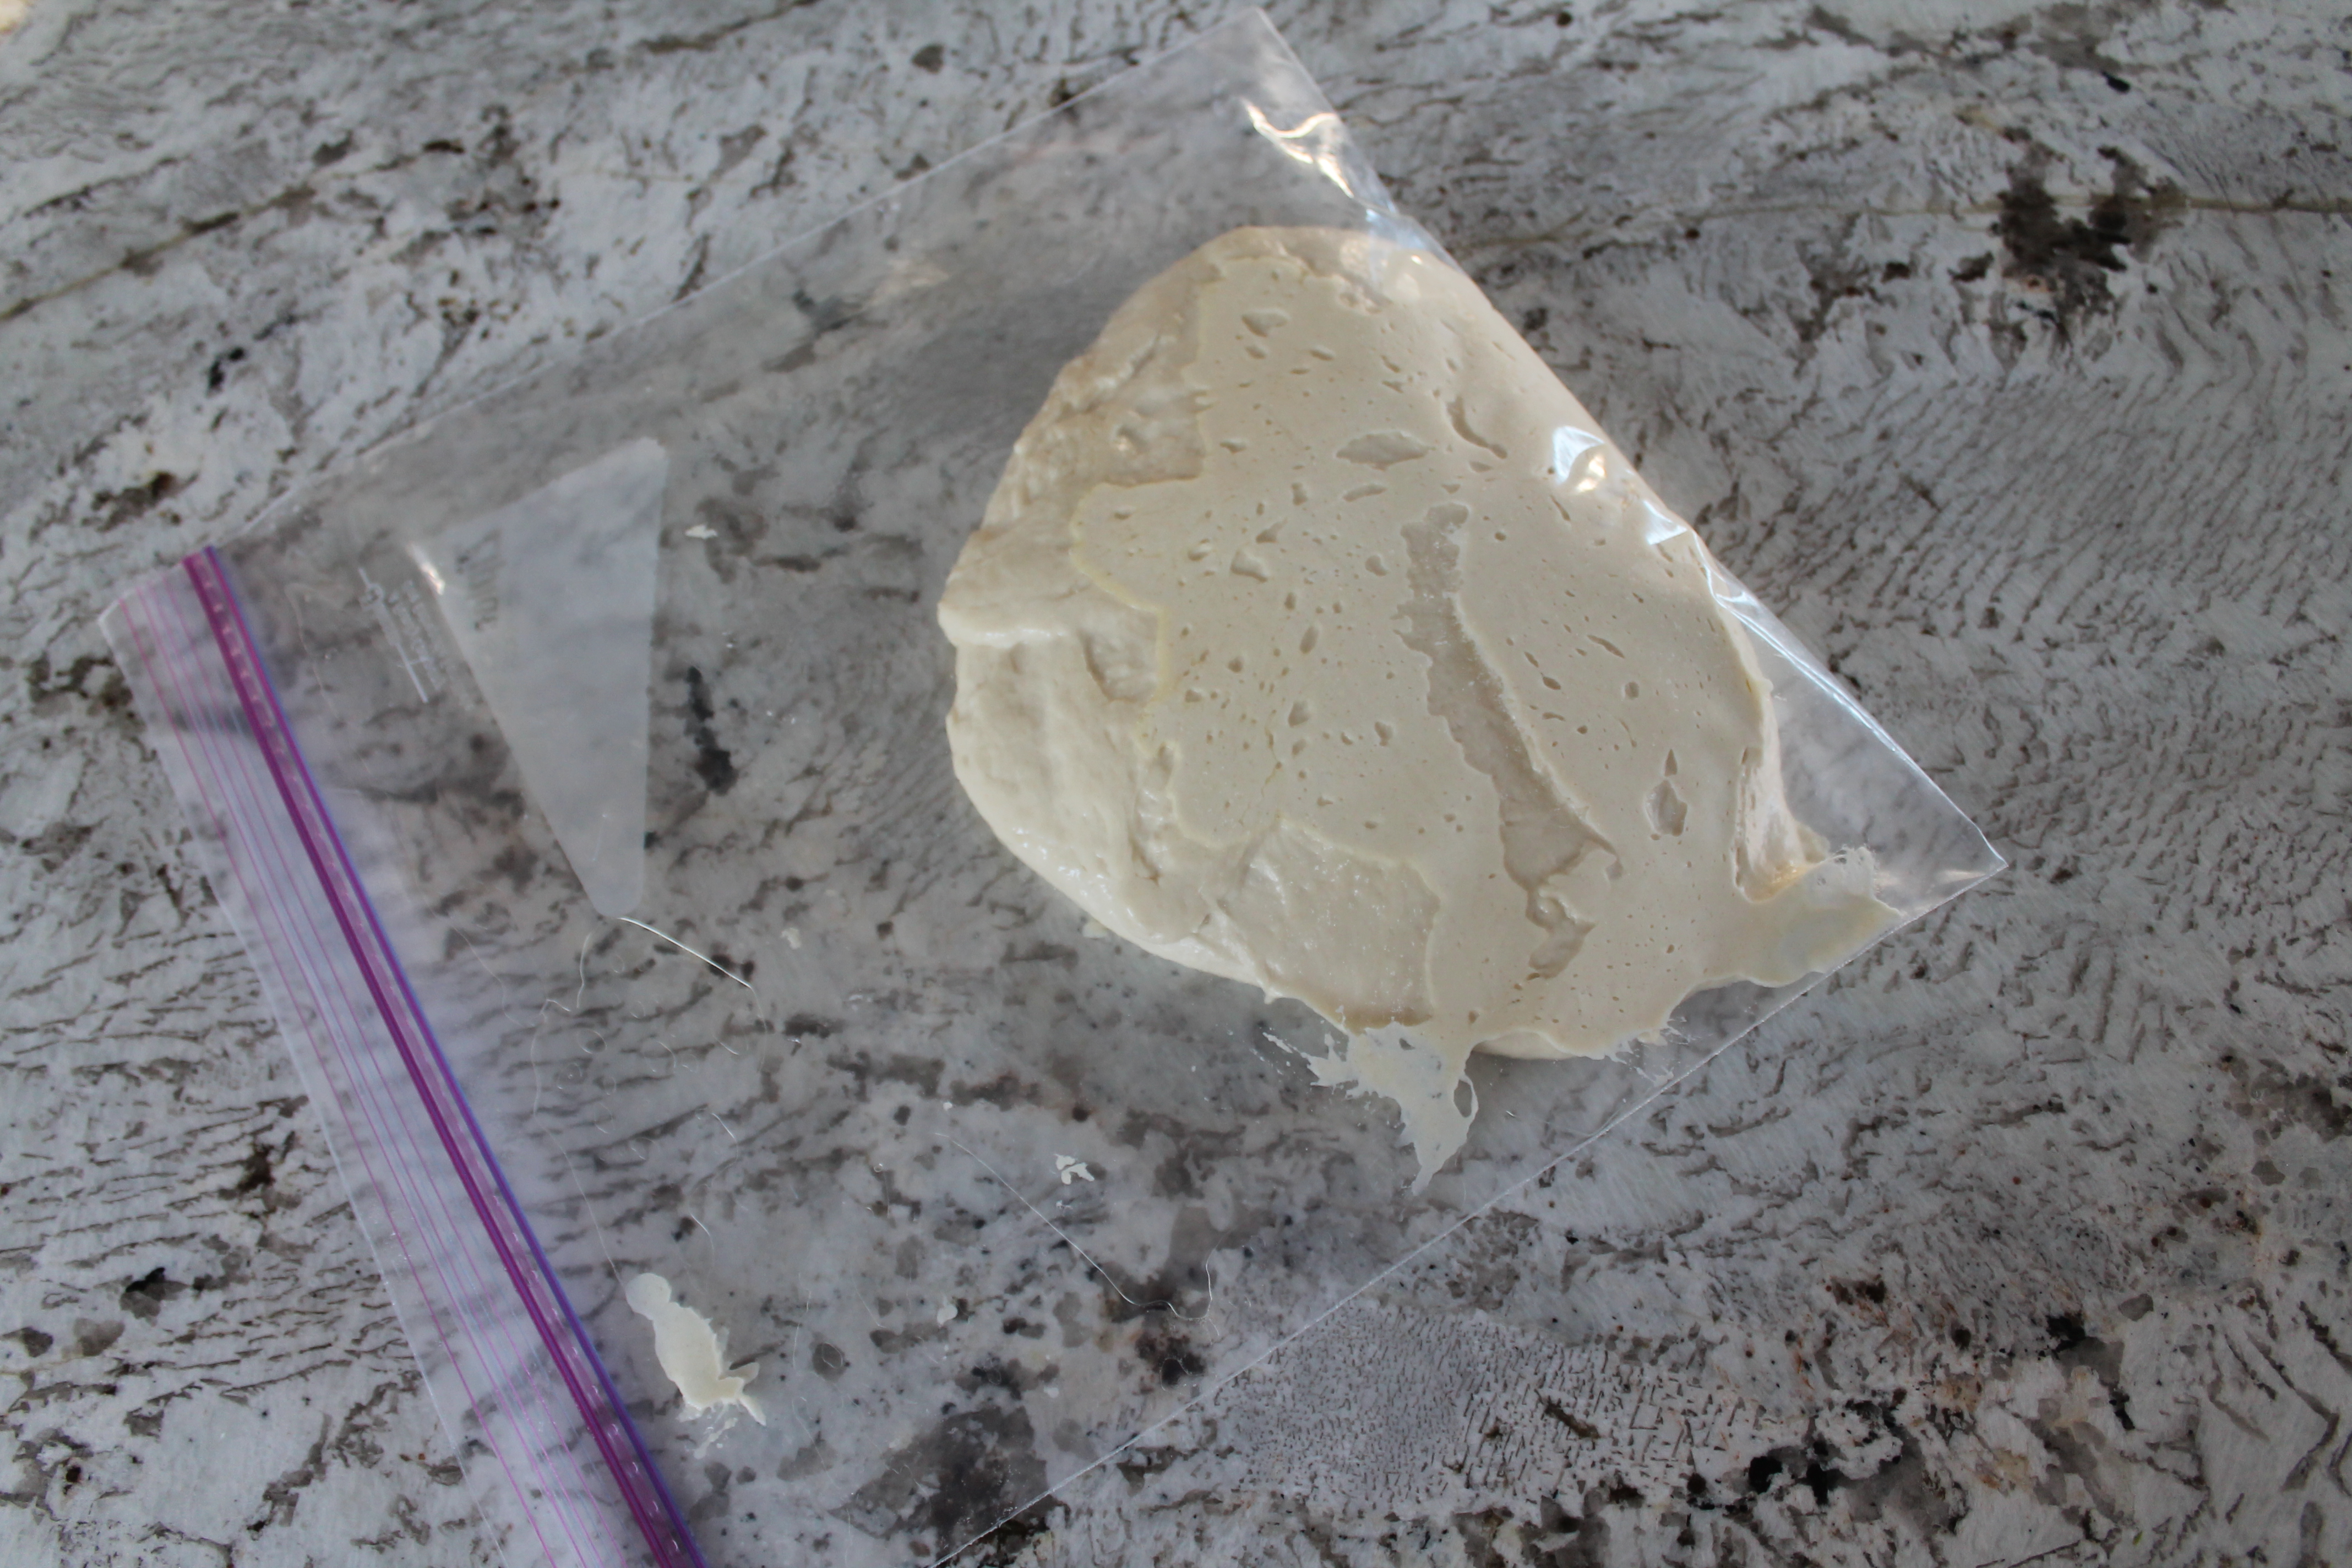 Coat the inside of a gallon-size Ziploc lightly with oil and turn the dough into the bag. Leave a lot of slack in the bag as you close it up.
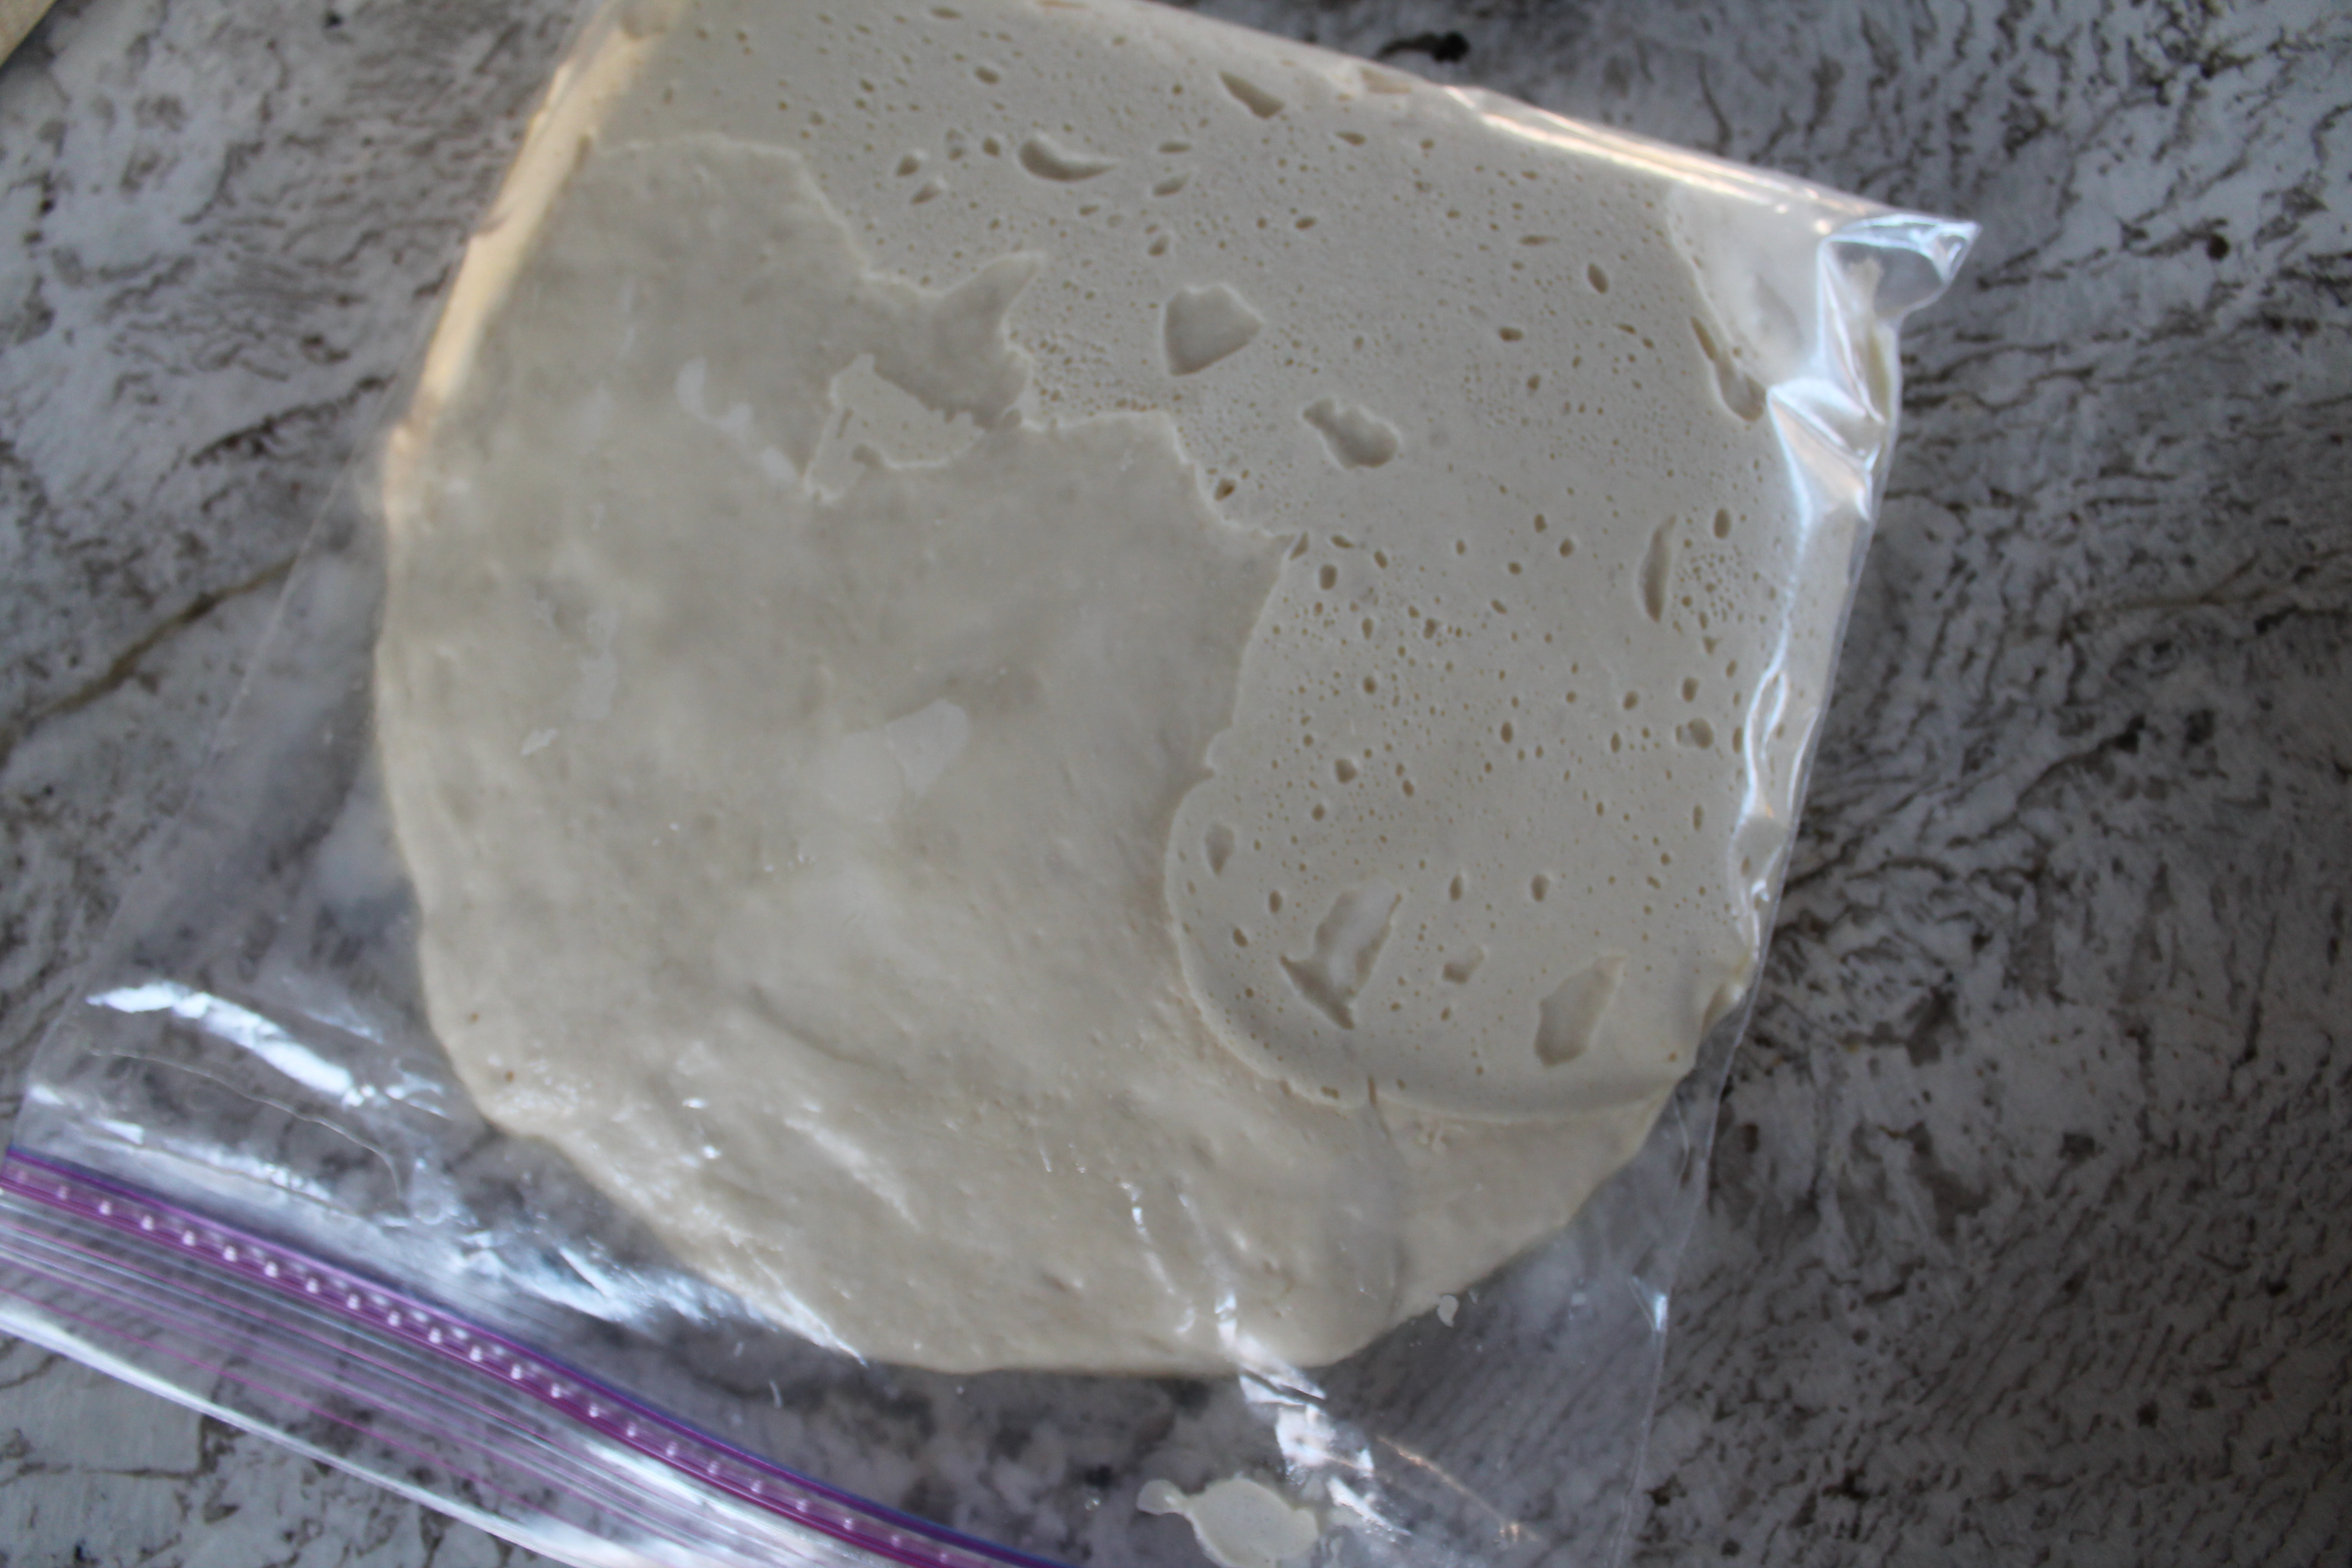 Let the dough rise for 30 minutes. That’s right. 30 minutes is all you really need! You could go as long as an hour, if you are busy and get distracted.
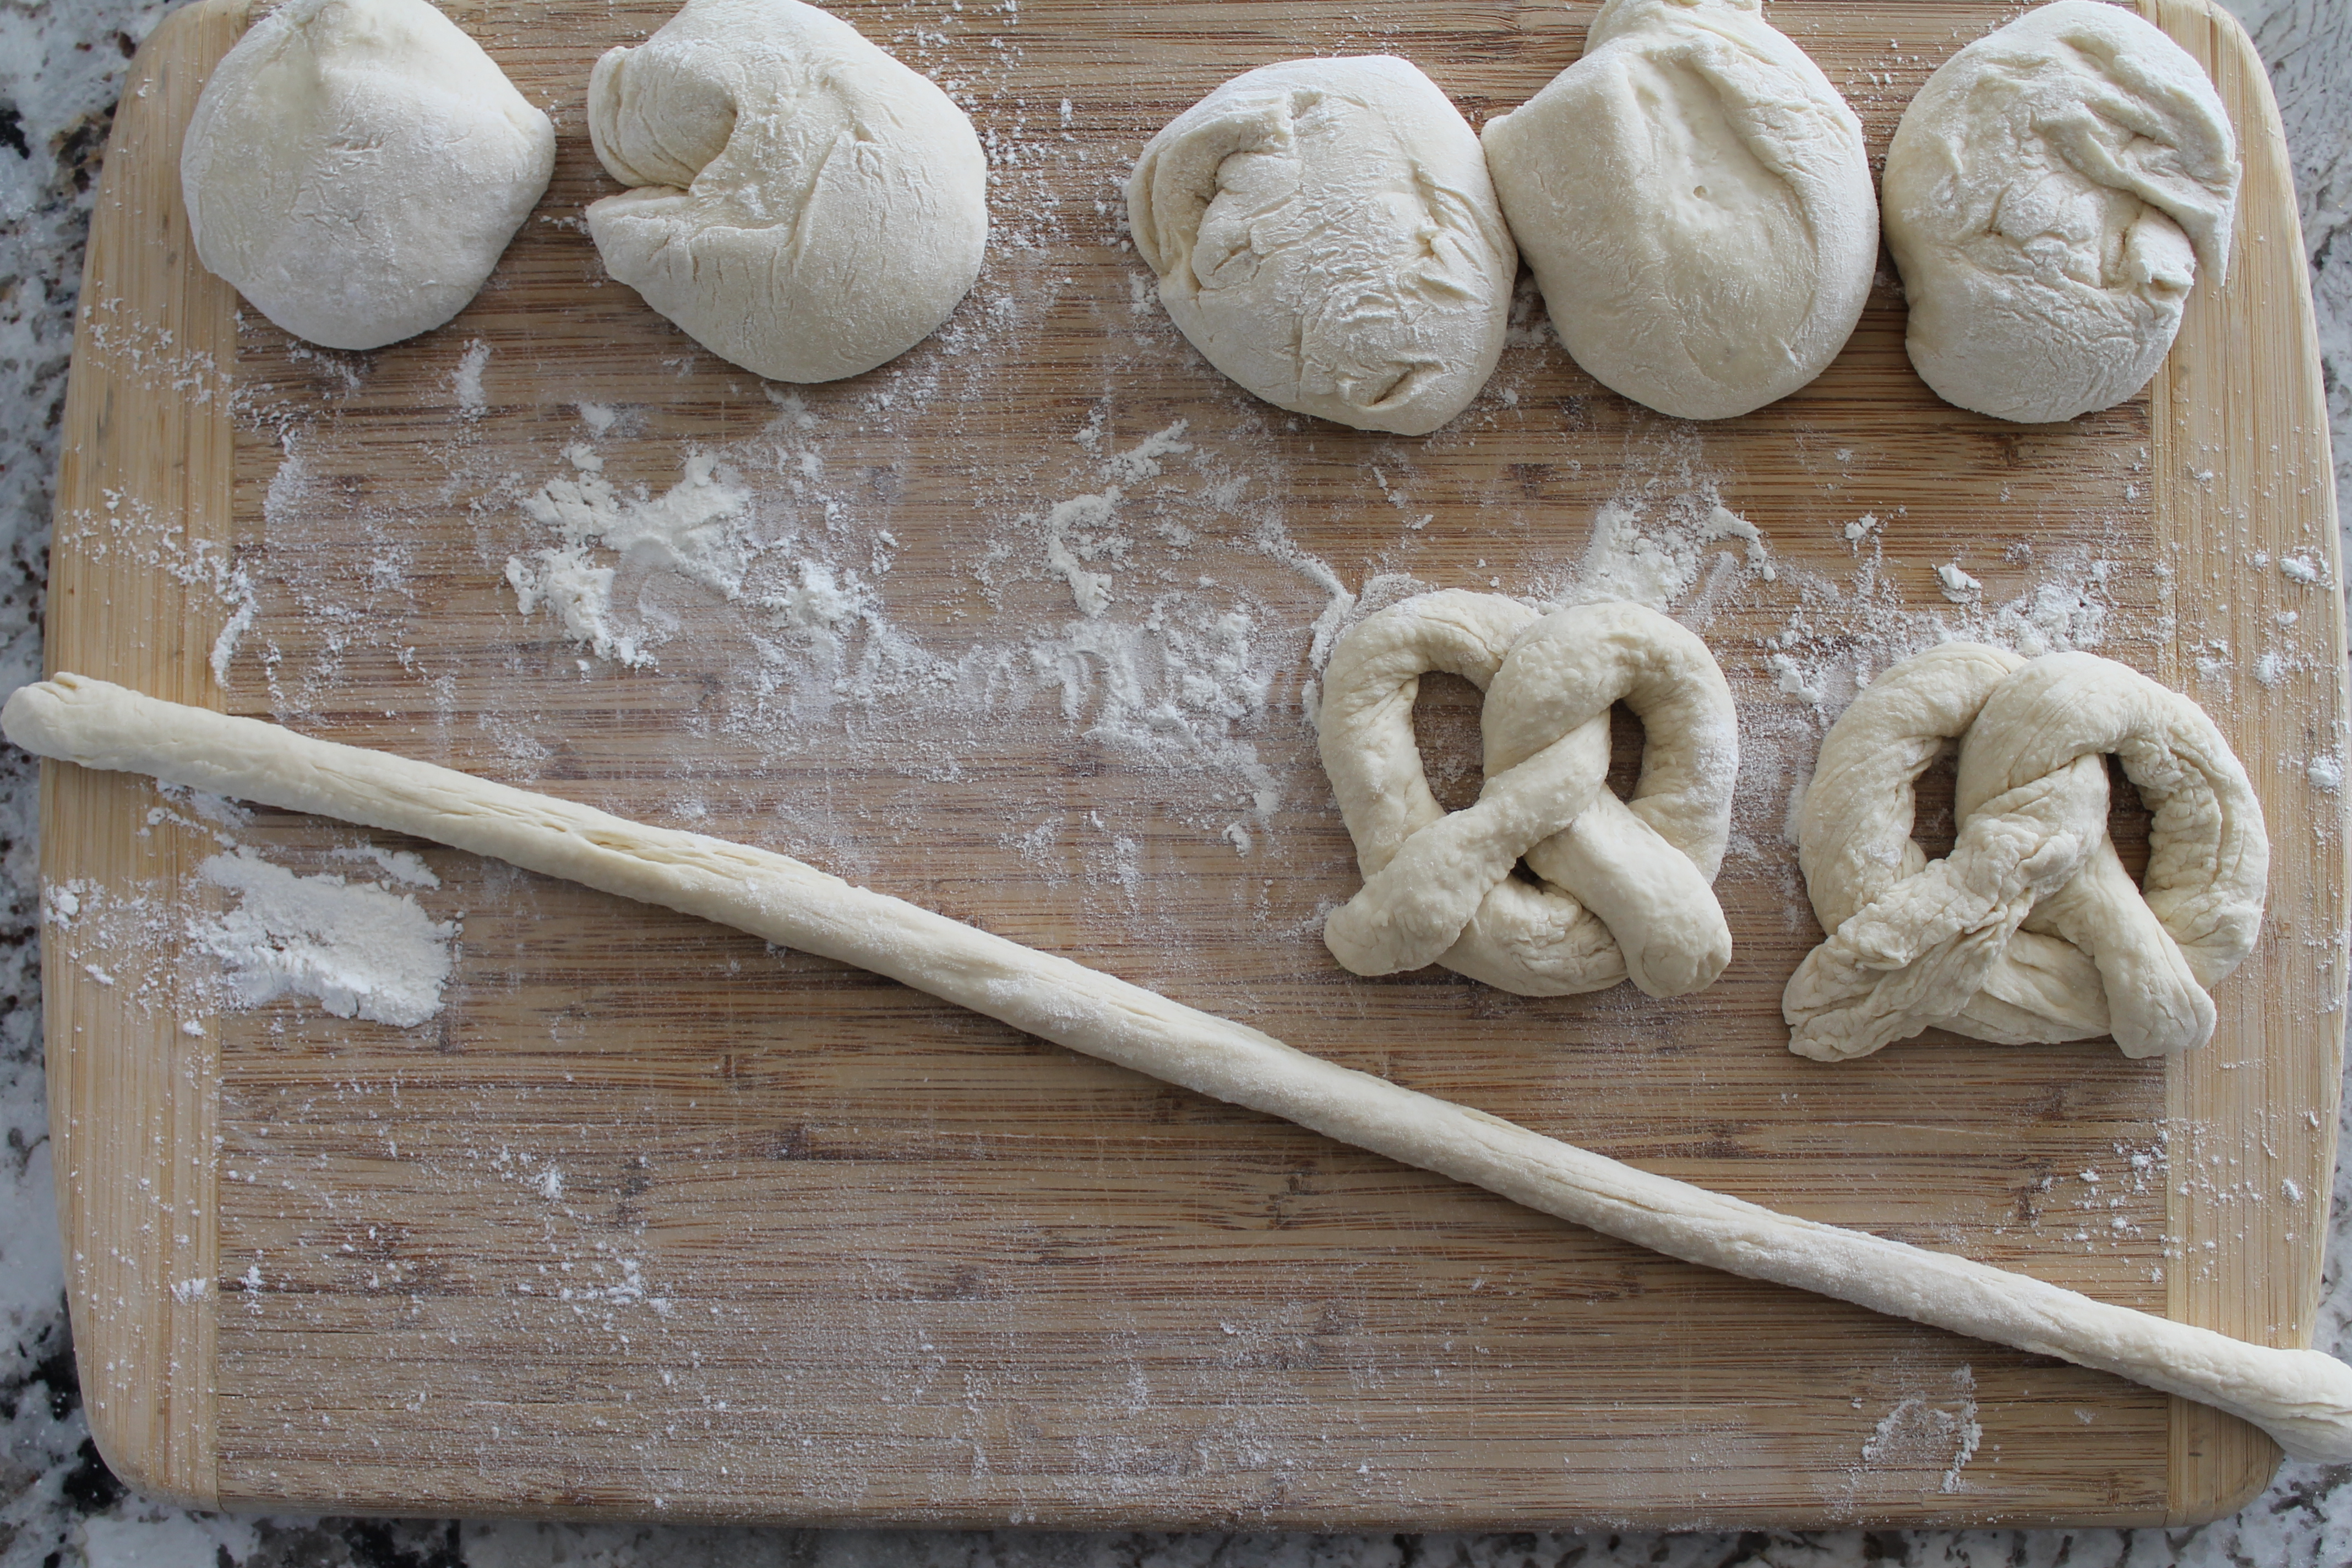 At the end of 30 minutes, turn the dough onto a lightly floured work surface. Traci originally made her recipe as pretzel bites, but I am all about twisty soft pretzels. Cut the dough into eight equal portions. I am a geek, so I weighed mine to make sure they were all approximately even. Aim for between 2¼ and 2½ oz. per piece.
Let the dough rest for 5 minutes.
One by one, roll the portions of dough out into long, thin ropes, about 24″.
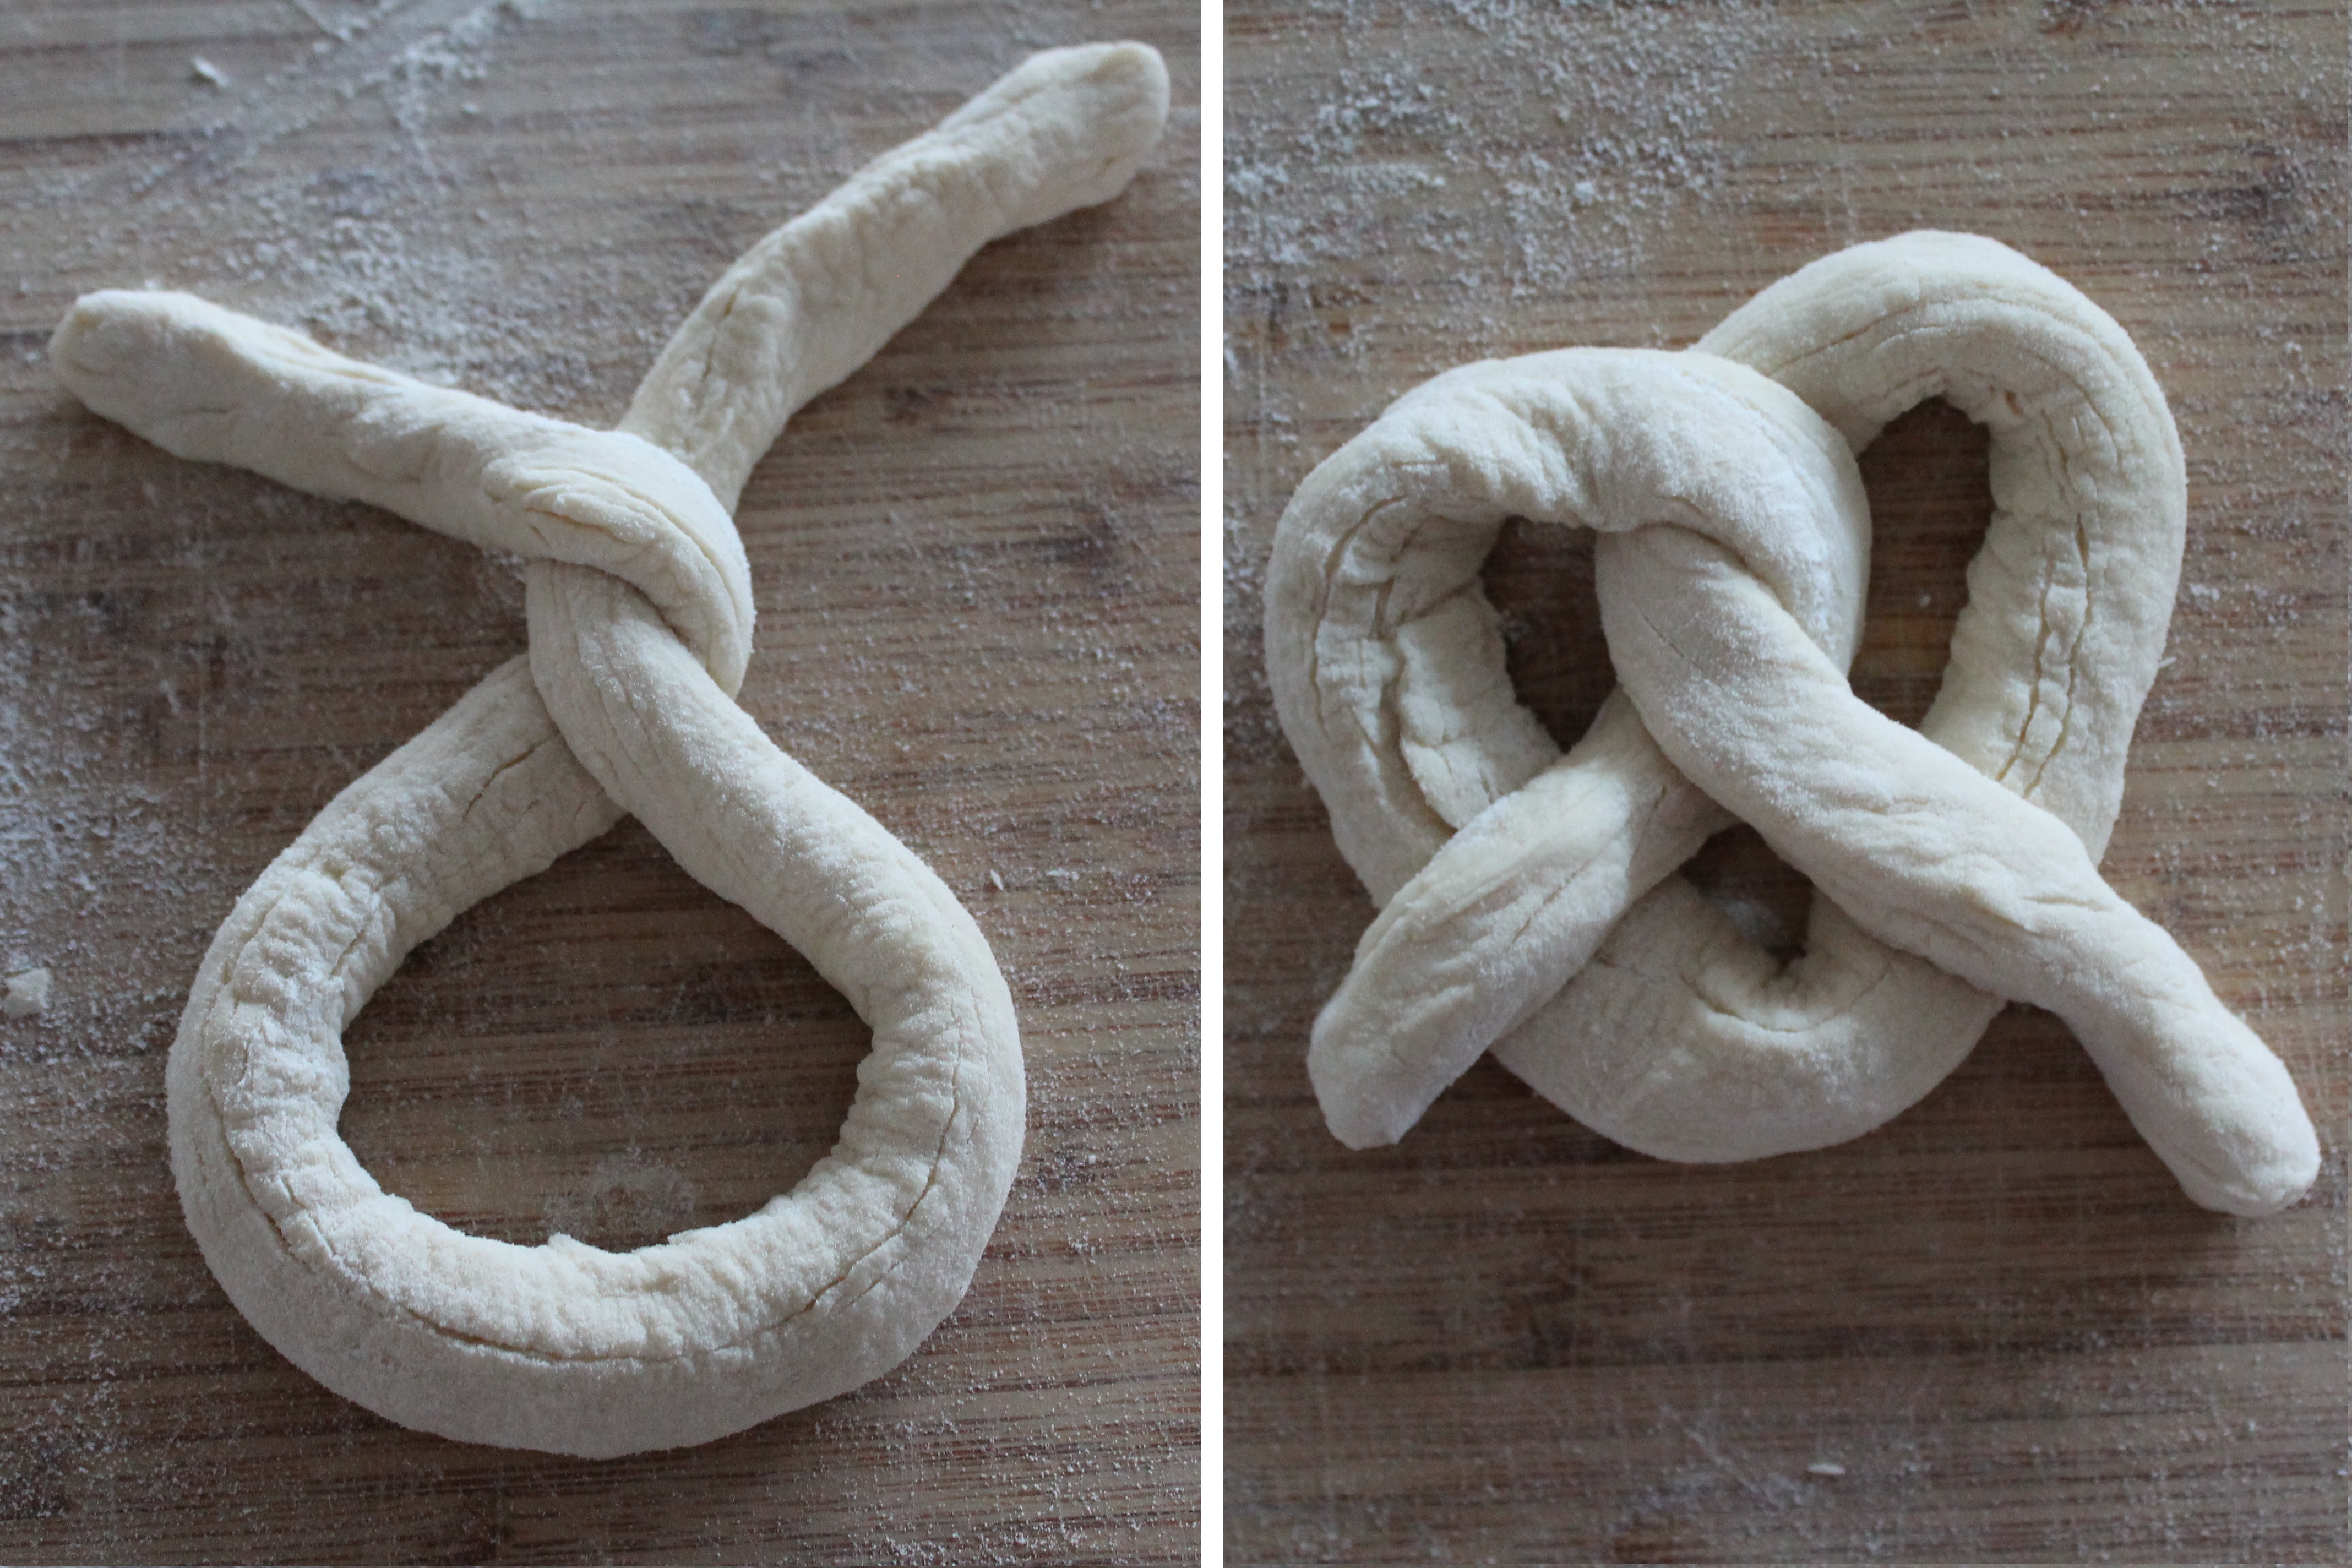 Shape into twisted pretzels. I’ve seen people just flick the dough out and twirl it at the same time, crossing the tails as they set the dough back on the counter. If that’s too much for you, the easy way is to lay the dough on the counter, holding the ends. Twist the ends up into a U and then cross them over each other twice. Fold the ends back down. You should have a classic twisted pretzel shape.
Now here is where I deviated significantly from Traci’s recipe. I tried using her recipe for the shallow baking soda bath, but I concluded that it probably works better for pretzel bites than for large-size pretzels. So instead of doing a 2-minute soak in a warm soda solution, which allowed my dough to continue rising and become misshapen and soggy, I did a boiling soda bath, as per Alton Brown.
This method does require significantly more baking soda: I used ½ cup soda in 6 cups water. What I like about the boiling bath is that the baking soda can dissolve completely (which it will not in warm water). More than that, the boiling water helps set the shape of the pretzels, and it is very easy to spoon the solution over the top of the pretzels while boiling them.
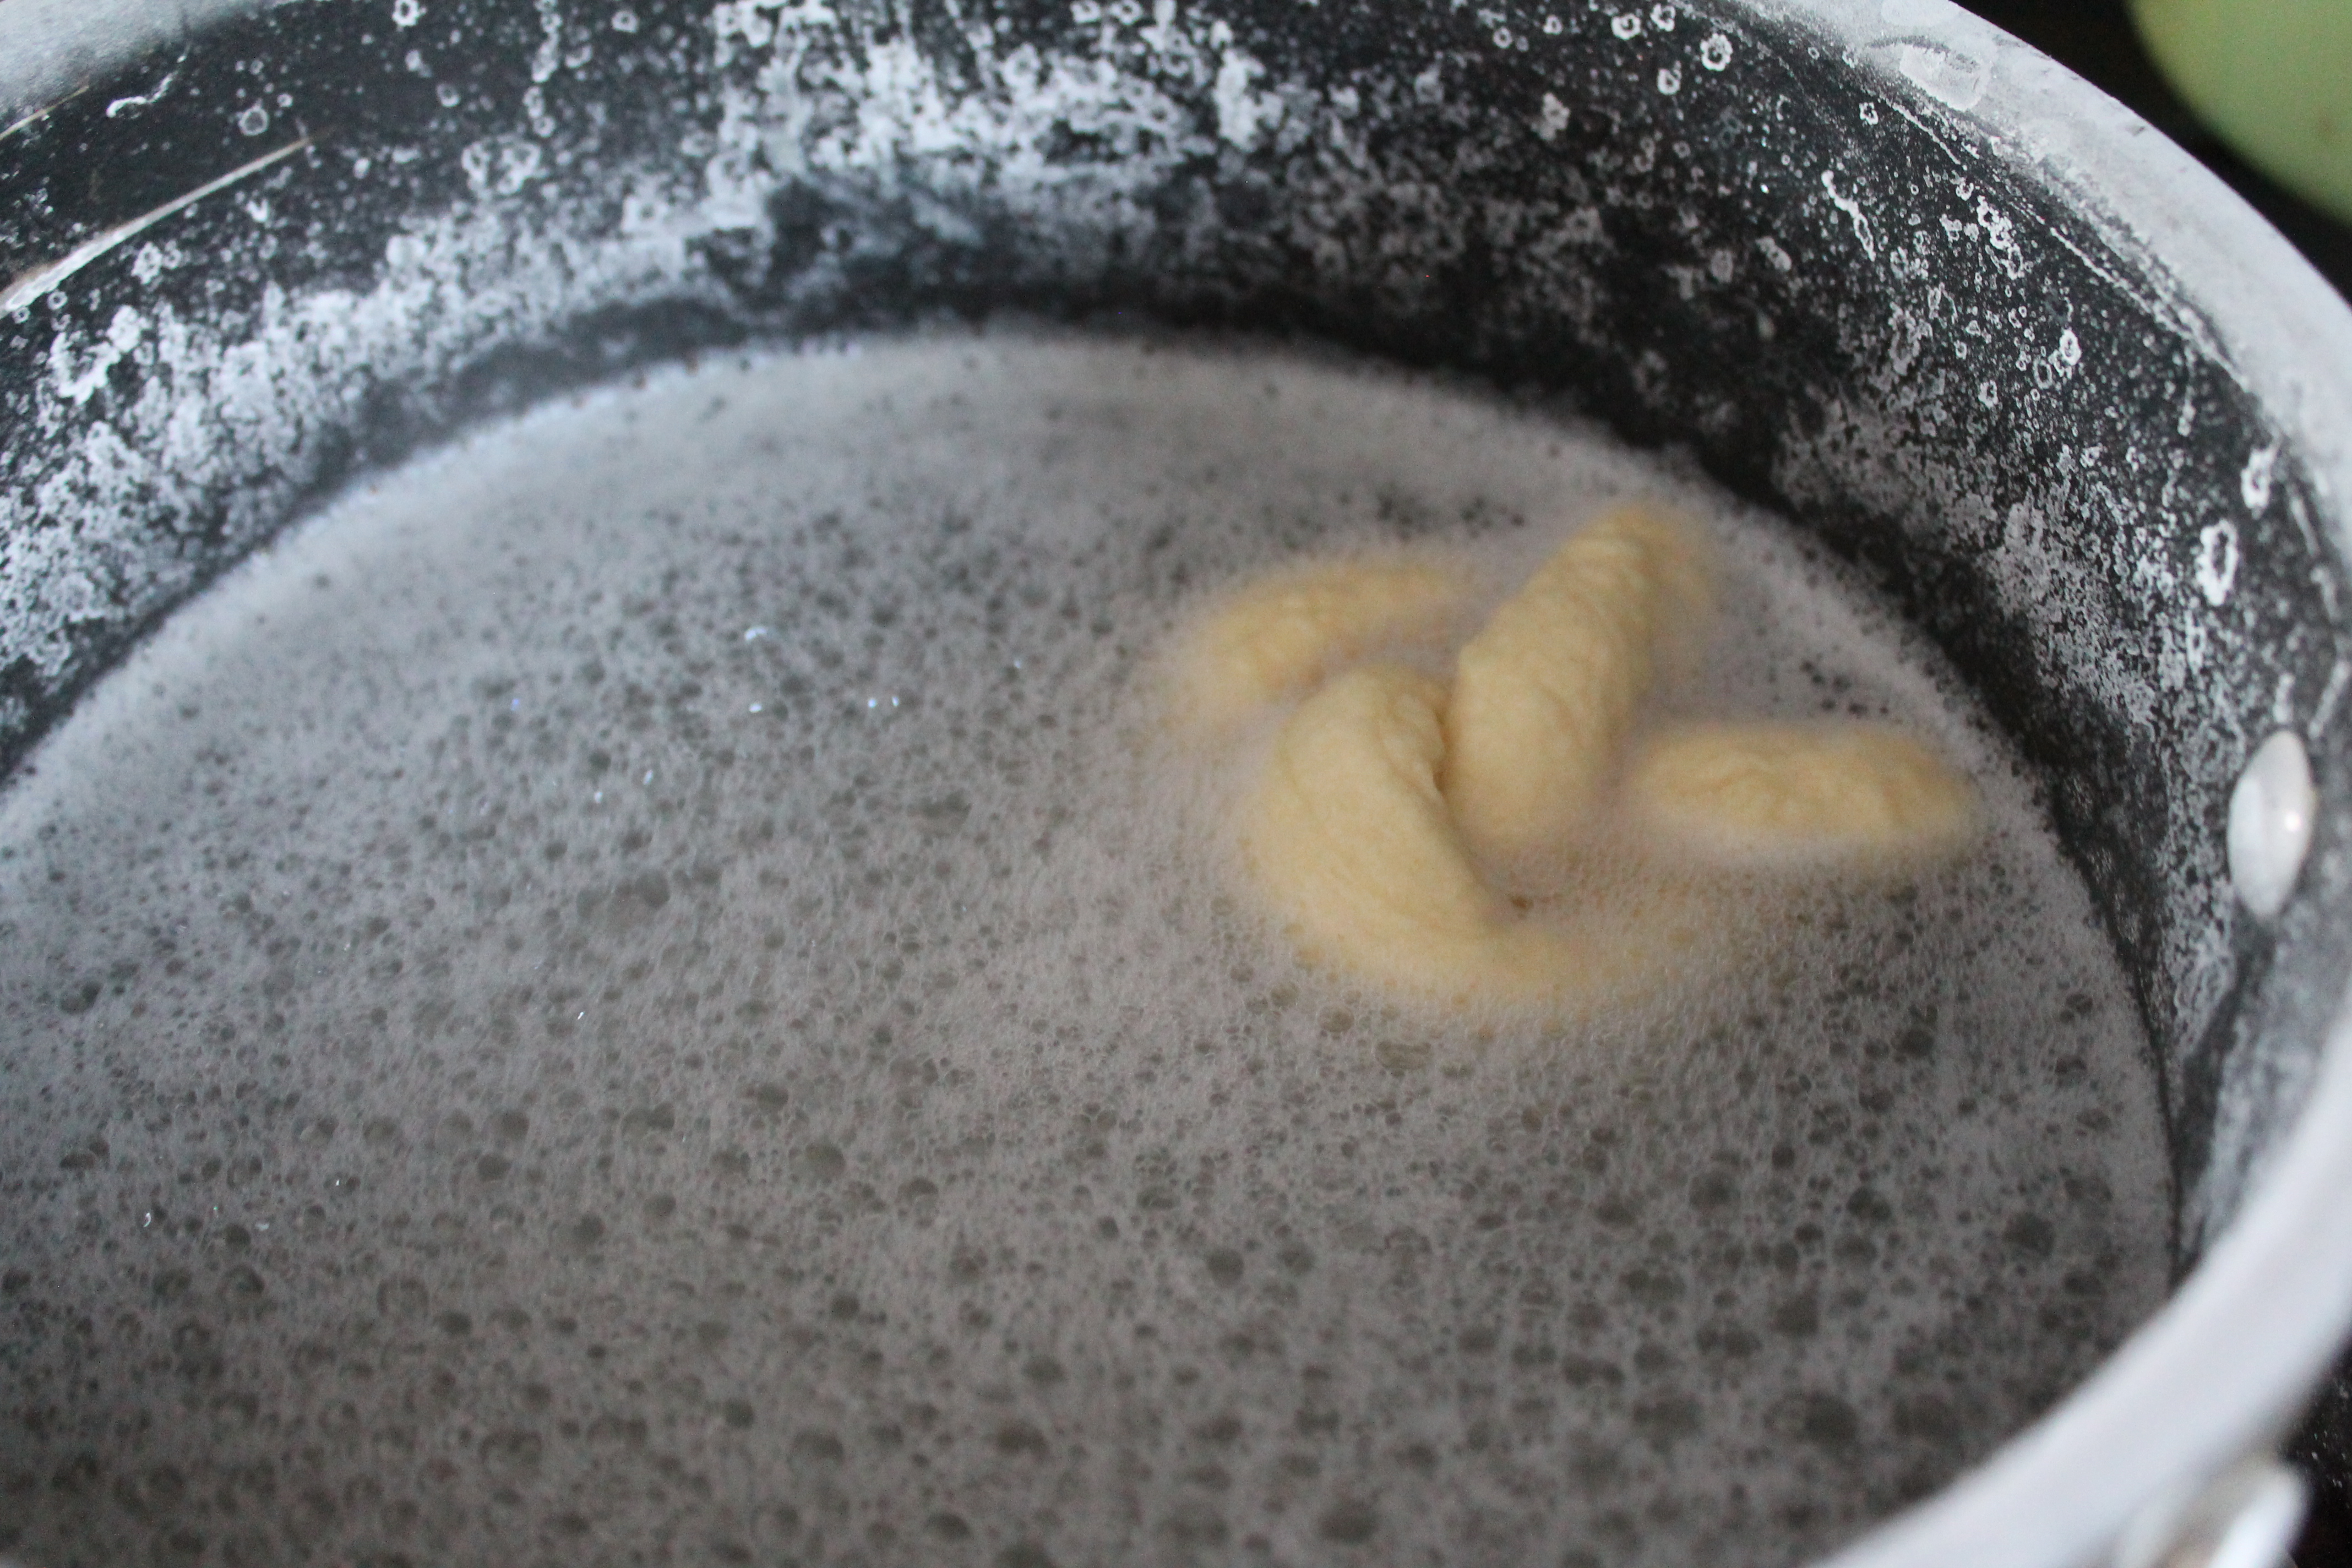 Please keep an eye on the temperature of the boil, however. If you let your baking soda solution bubble and foam, like in the picture above, your pretzels might end up with more of a soapy taste than you would like. Keep the boil low, and the soda solution will not foam.
Boil each pretzel for 30–45 seconds. I did mine for 45 seconds, to see if the baked color would be a richer, darker brown. The longer boil did not seem to deepen the color, so next time I would opt for speed!
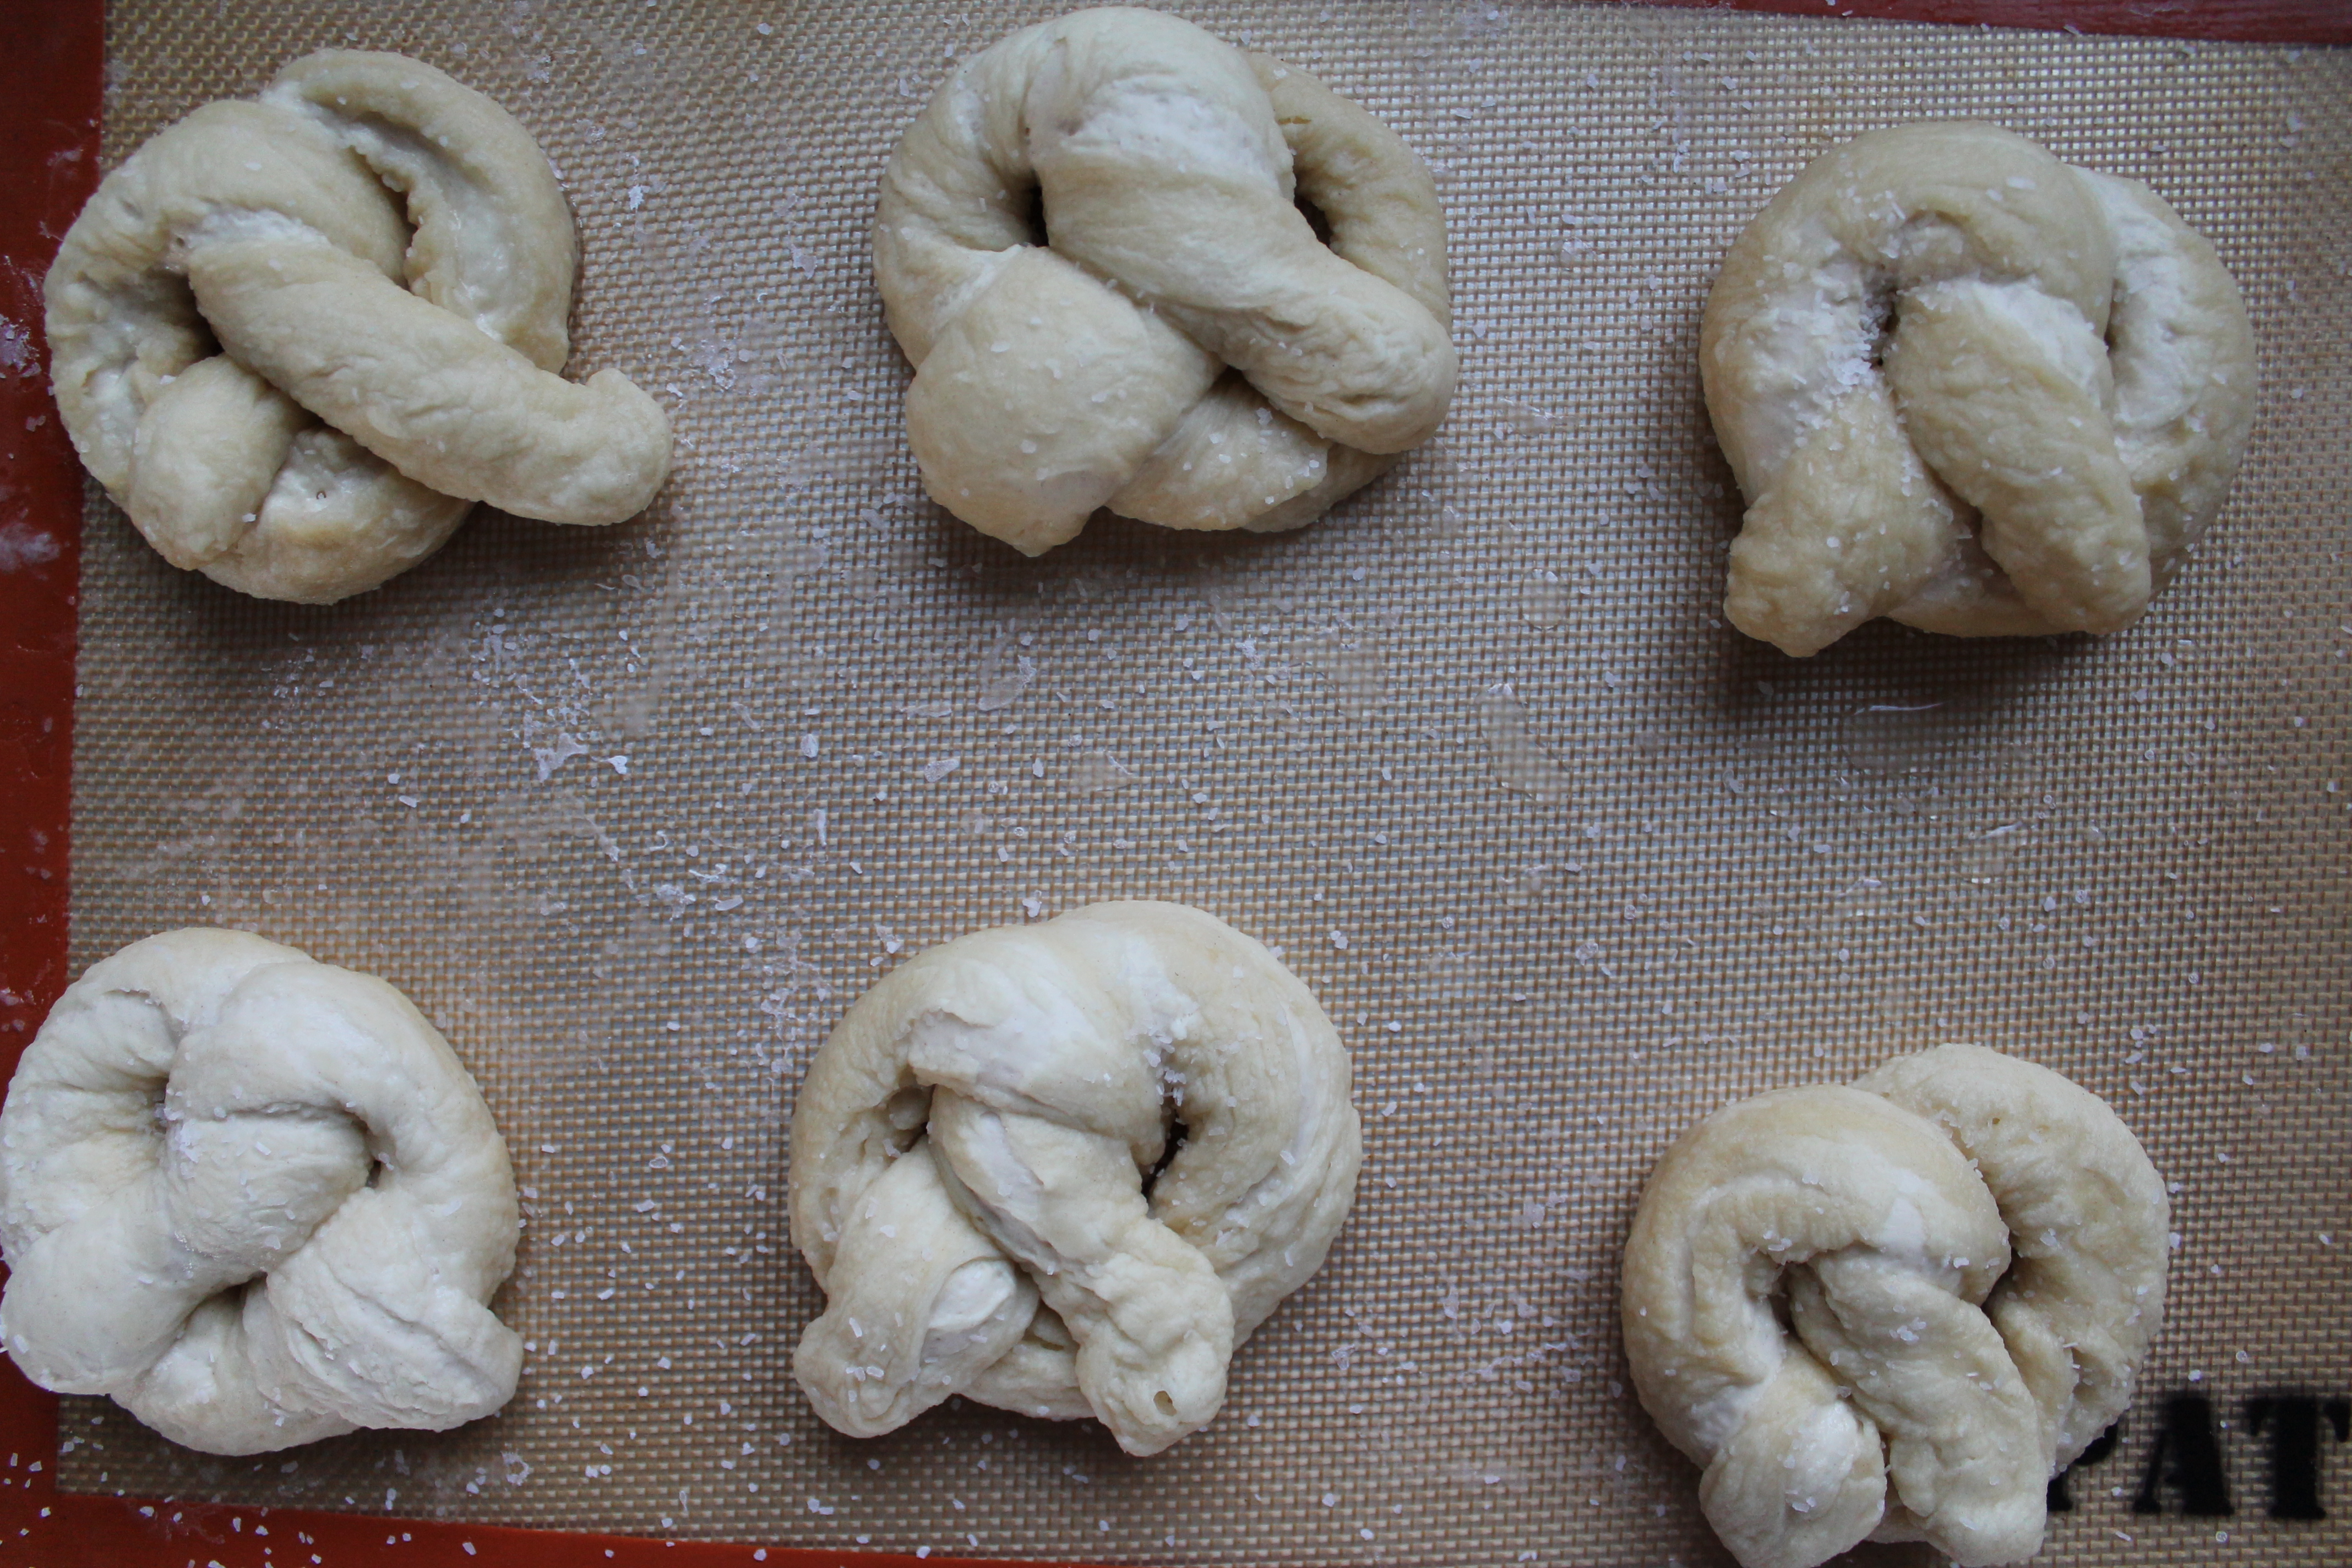 Scoop the boiled pretzels out onto a lined baking sheet. Sprinkle with coarse kosher salt.
I really debated whether or not to add an egg yolk wash to the pretzels, for the sake of the dark brown color. Most recipes do not call for this, as Traci’s does not, but I wanted to achieve the classic shade of pretzel so badly! I decided not to use the egg wash. More on this later.
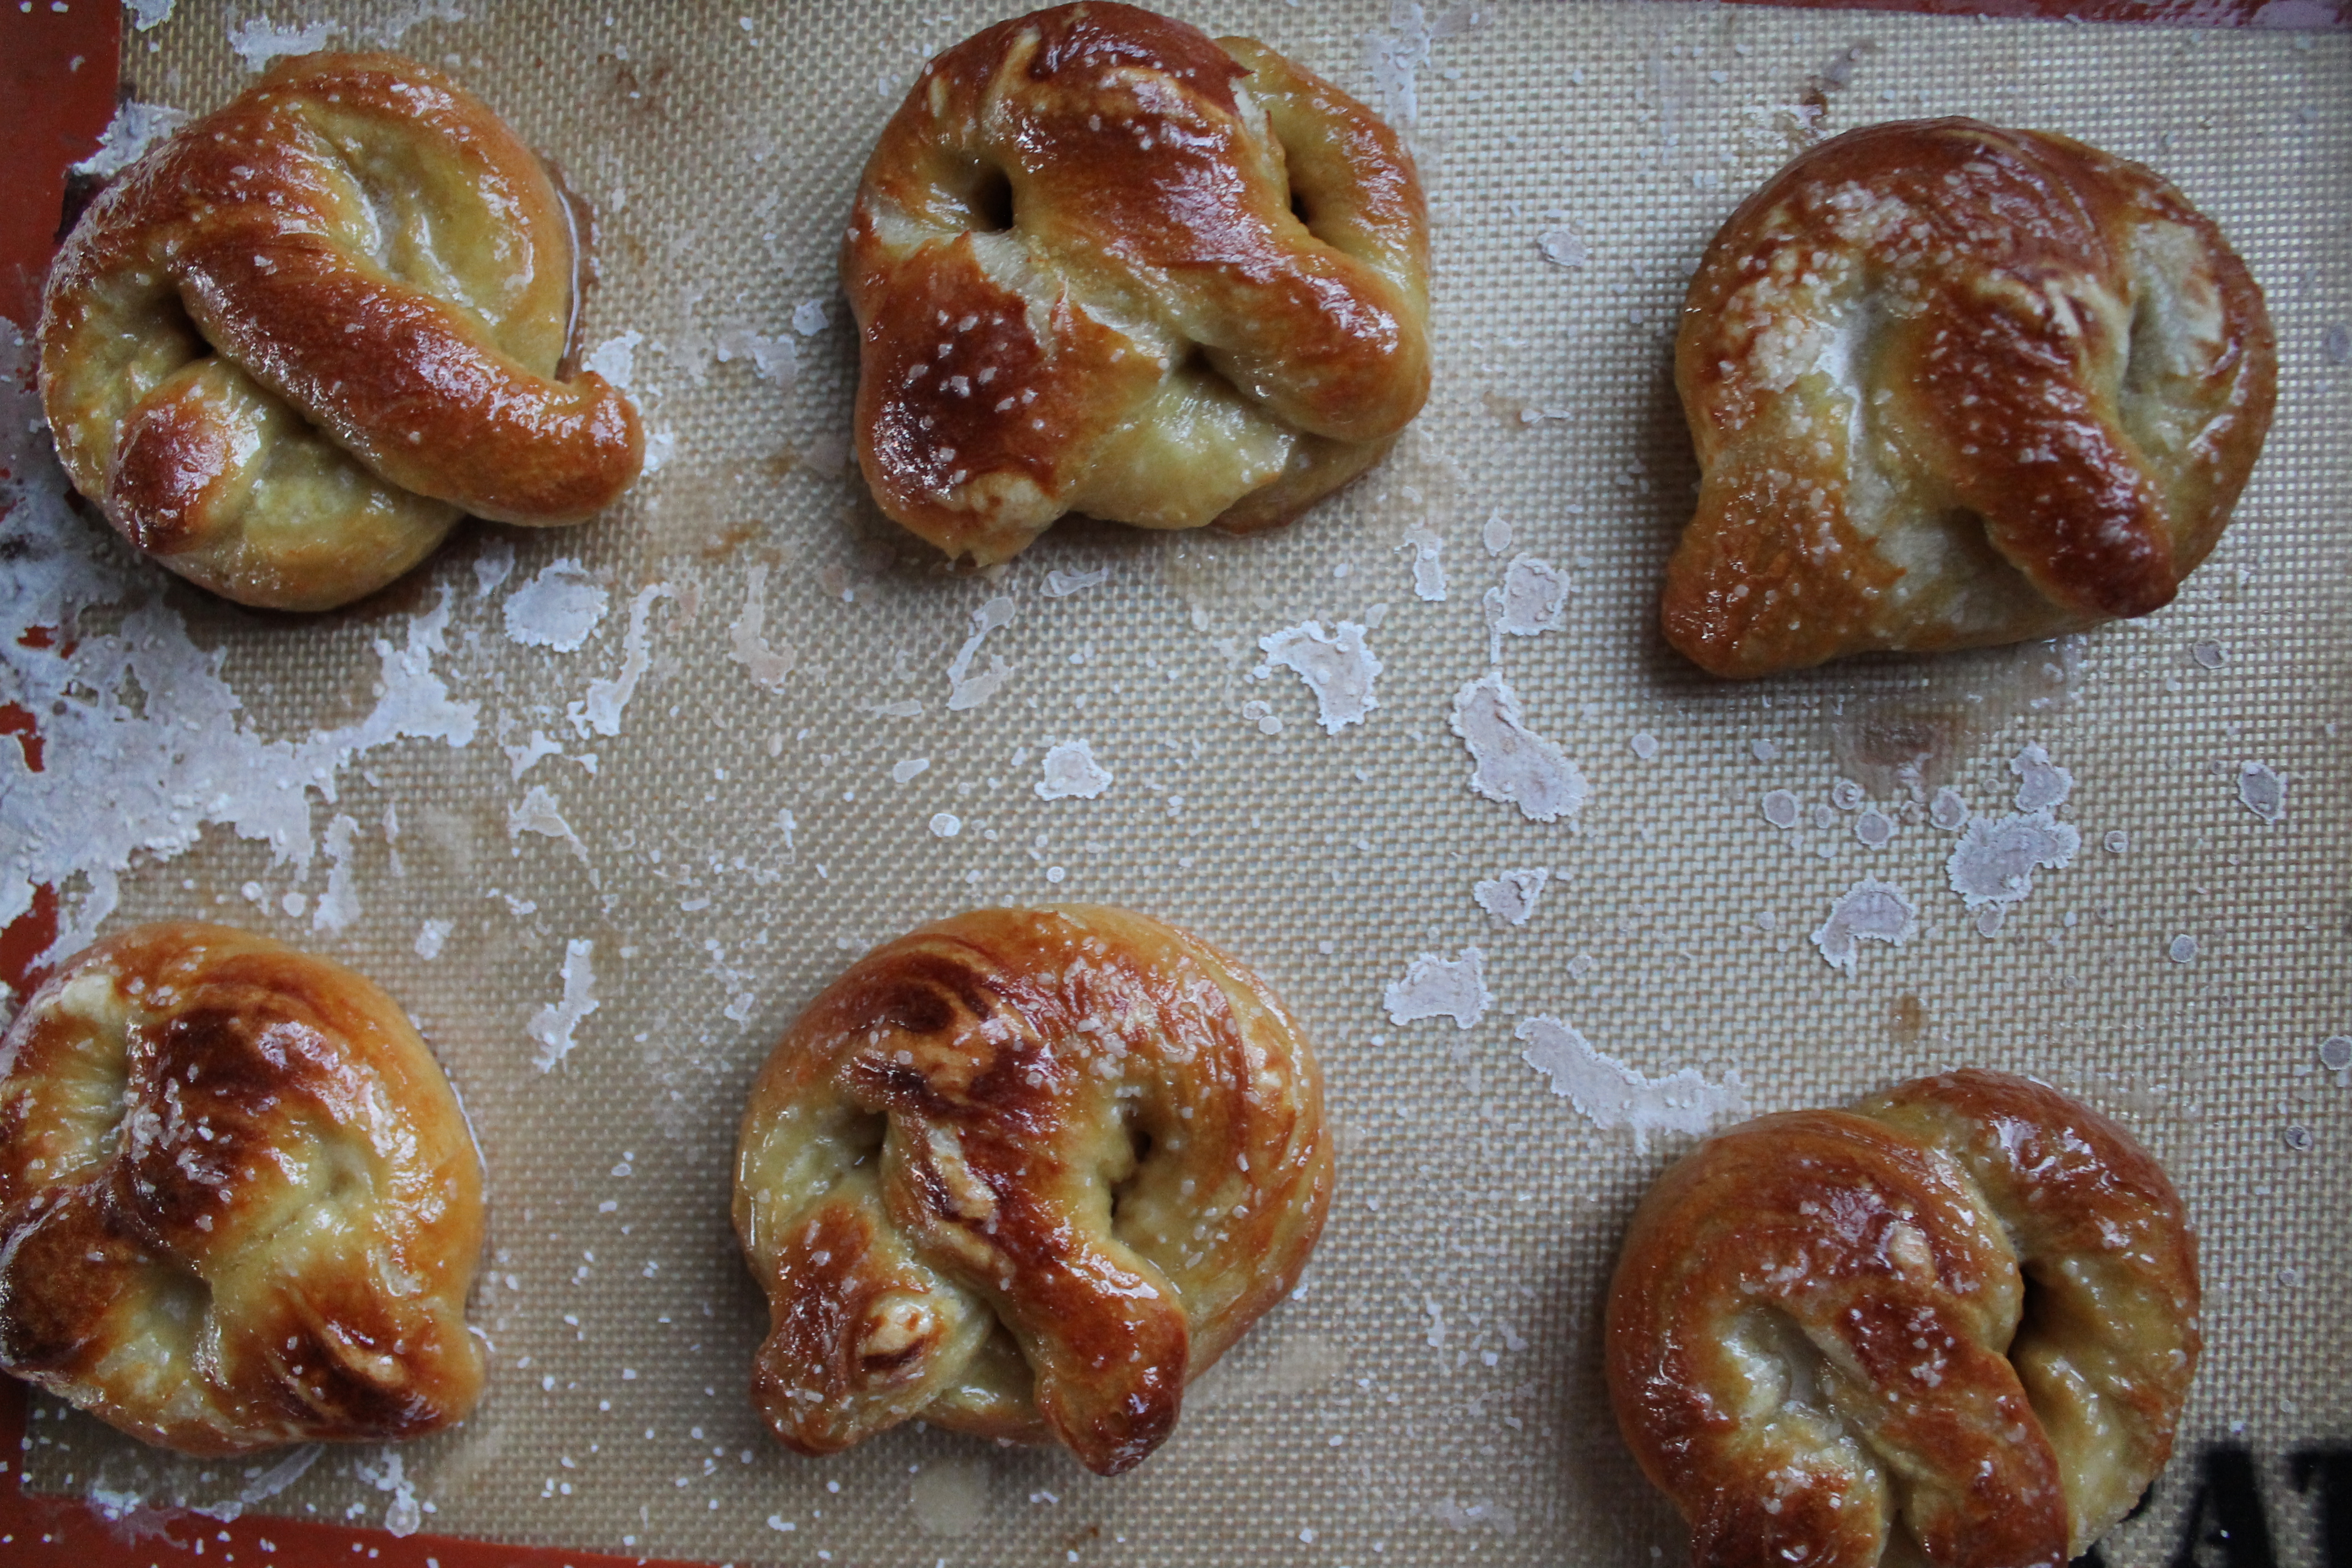 Bake the pretzels for 9 minutes at 500°. When they come out of the oven, immediately brush them with melted butter. You could use salted or unsalted, but if you go unsalted, make sure to sprinkle a bit more salt over the pretzels, as the brushing process can remove some of the precious salt, and the pretzel flavor really requires a good salting!
Let the pretzels cool for 10 minutes before eating.
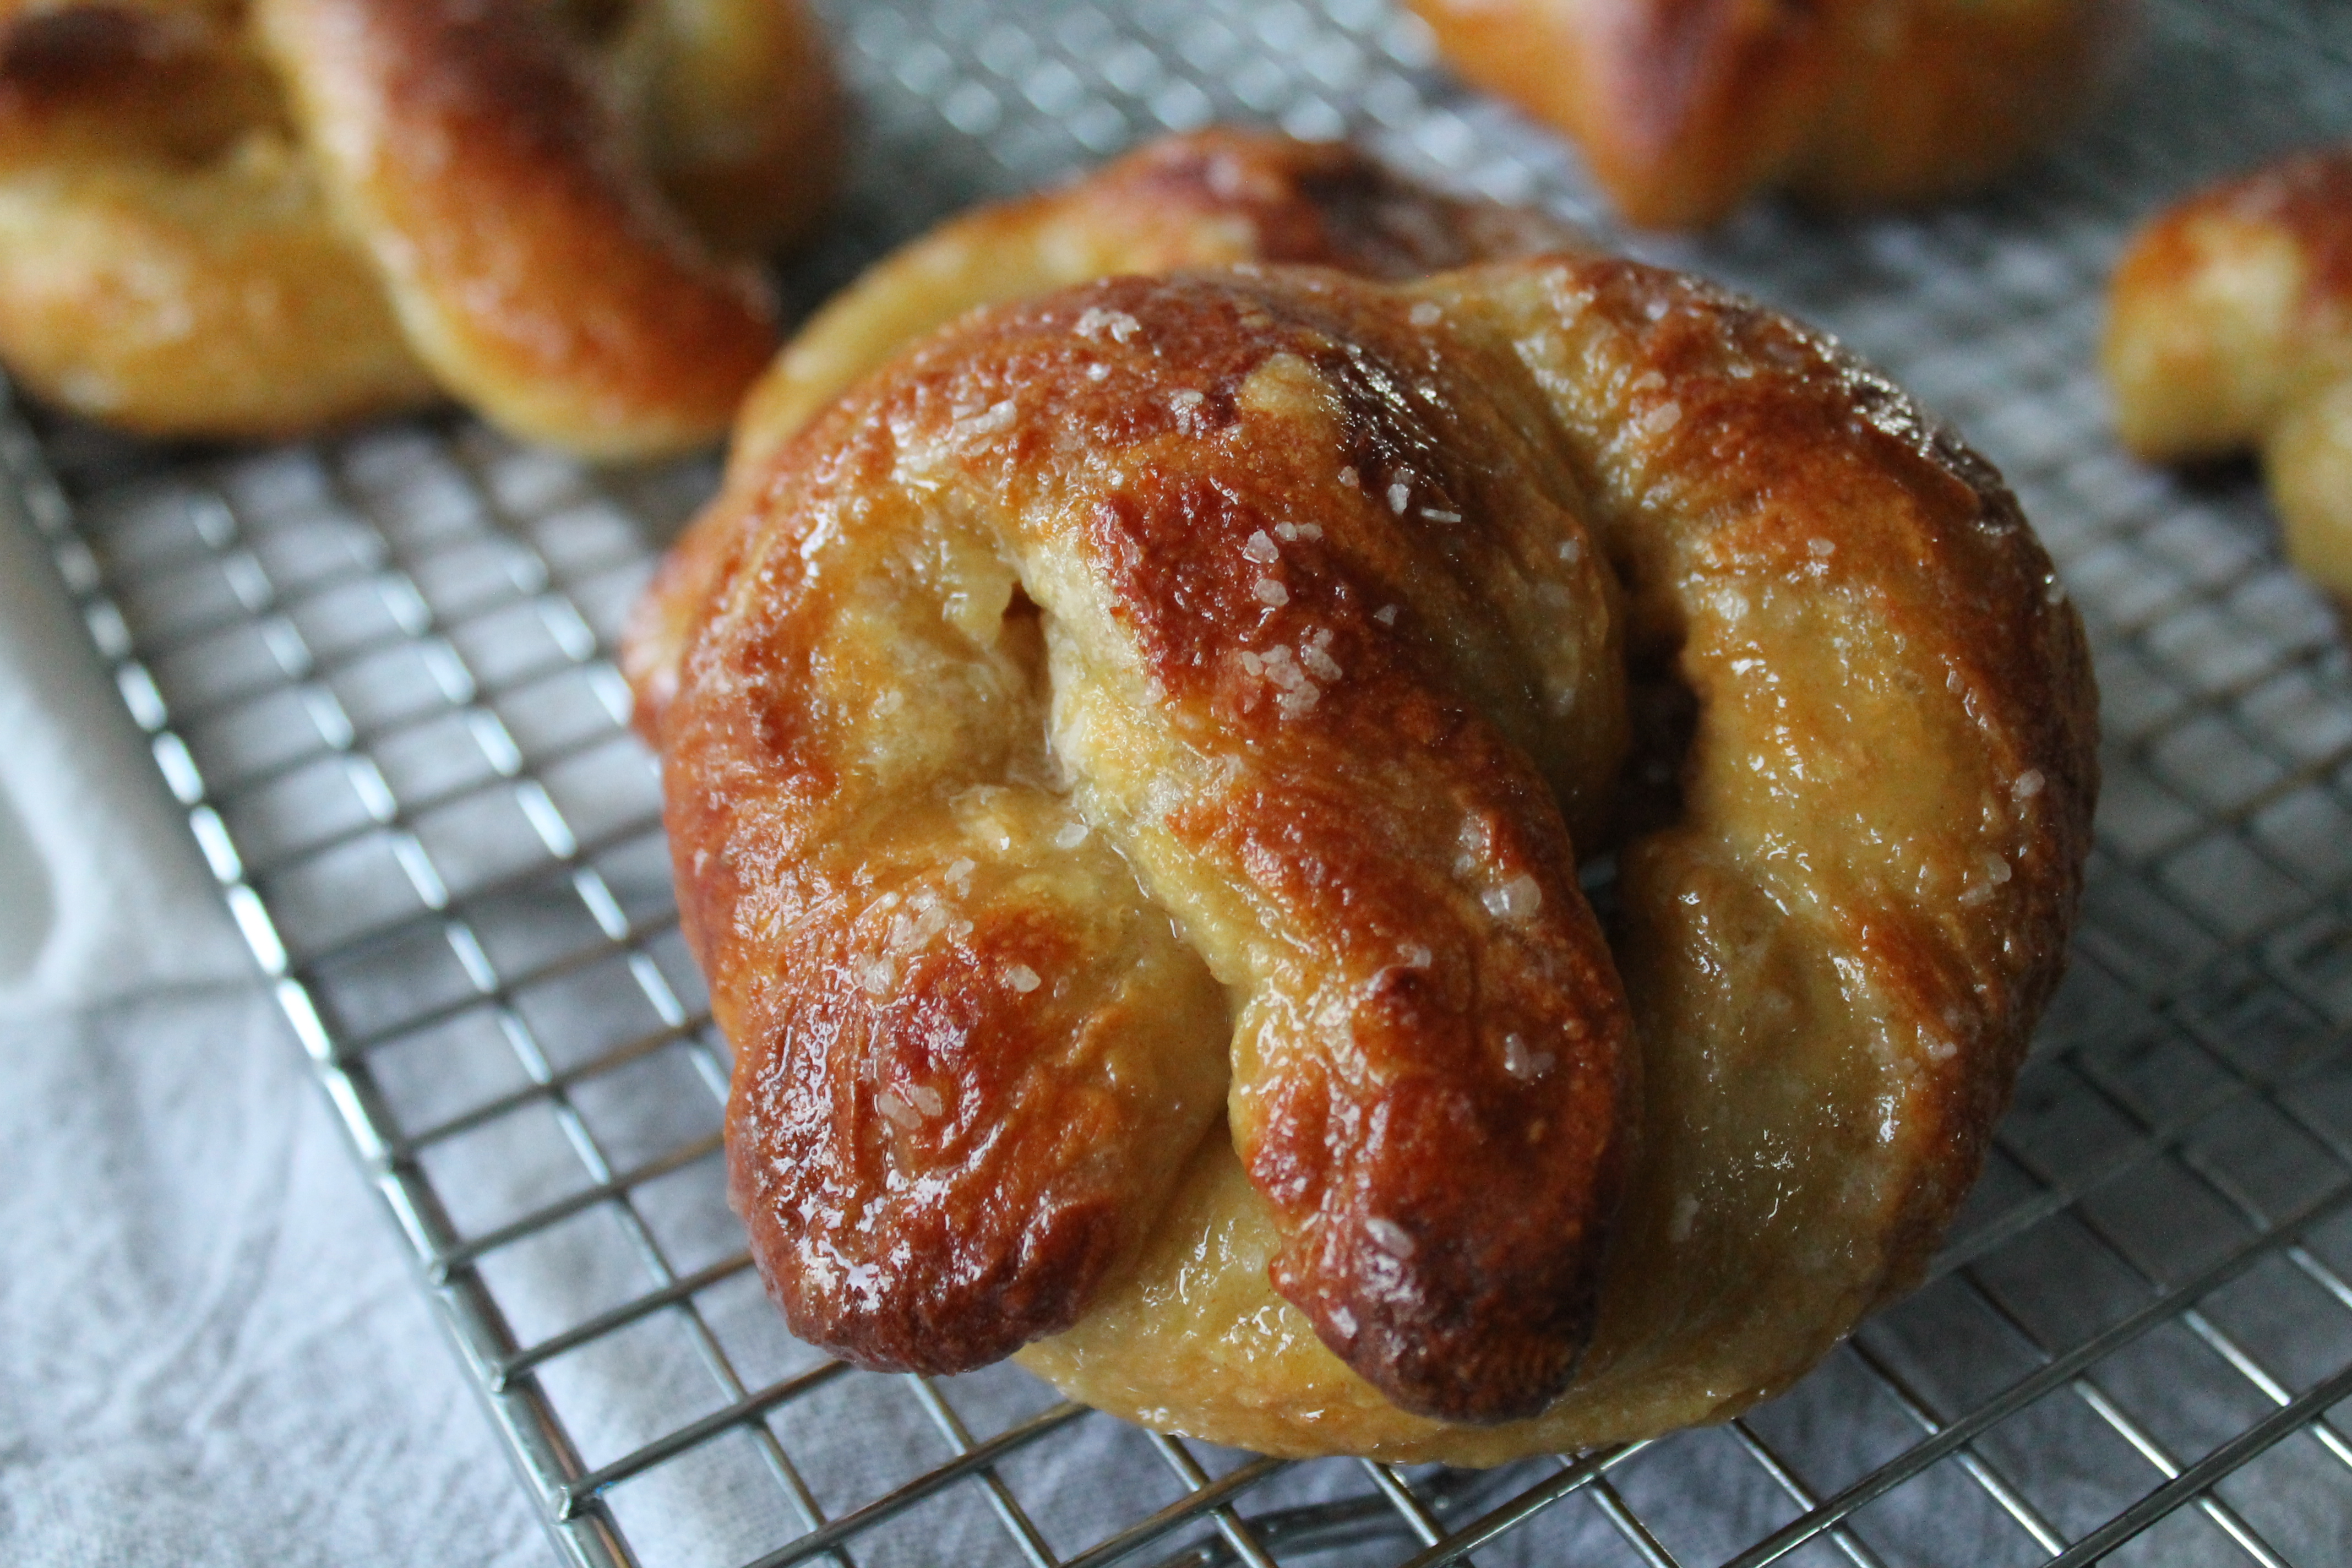
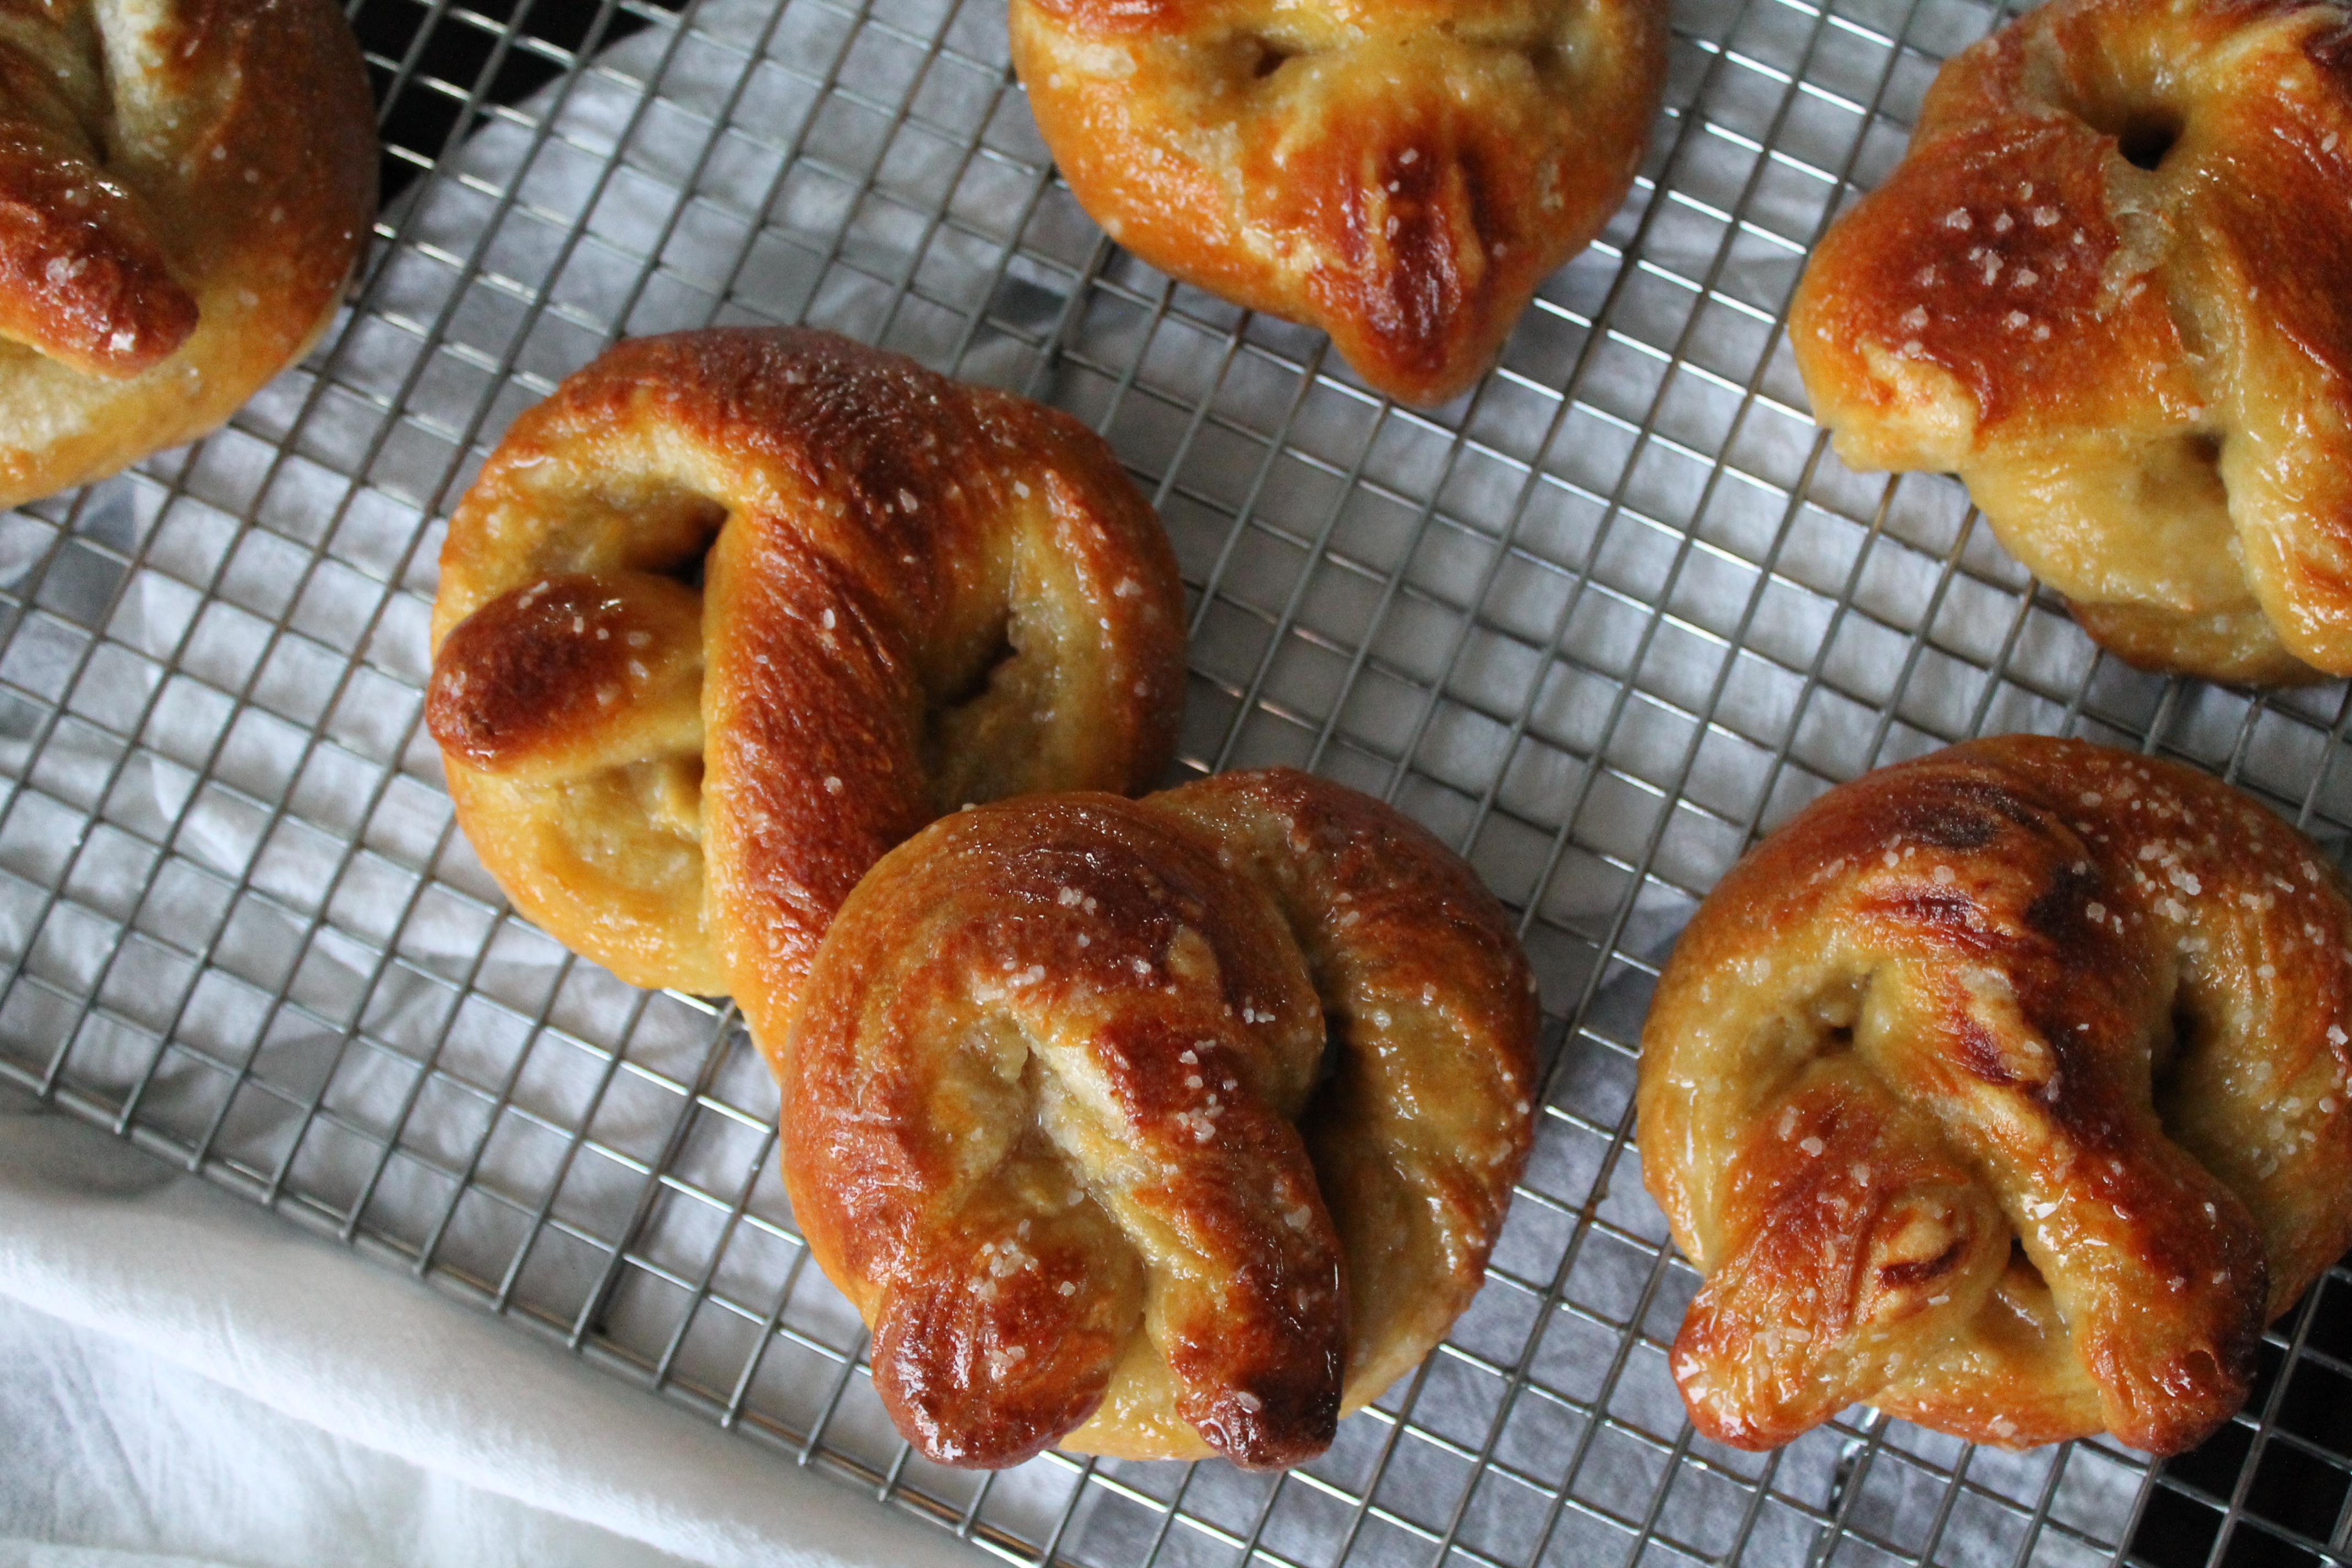 In the end, the pretzels were delicious, and a lot easier and quicker to make than I had anticipated! But I was a little disappointed by their color, which was more dark yellow than dark brown. Next time I would add the egg wash.
Then, of course, I would go wild and coat some of my pretzels in cinnamon sugar, while dipping plain pretzels in hot mustard. Soft pretzels. Yum.
Soft Pretzels
adapted from I’m Hungry with help from Alton Brown
makes 8
Dough Ingredients:
1 cup warm water
1 tsp. sugar
2¼ tsp. active dry yeast
2½ cups flour
½ tsp. table salt
Assembly Ingredients:
6 cups water
½ cup baking soda
coarse kosher salt
3 tbsp. butter, melted
Directions:
Dissolve the sugar in the warm water. Sprinkle the yeast over top and let stand for 10 minutes to activate. The yeast should become foamy.
In a mixer bowl, combine the flour and salt. Pour in the activated yeast liquid. Stir to combine.
Knead the dough for 5 minutes using the dough hook on the mixer. The dough should be soft and slack but not too sticky.
Lightly grease the inside of a gallon-size Ziploc and place the dough inside. Turn to coat the entire lump of dough with oil. Leaving a generous amount of air, seal the plastic bag. Let the dough rise for 30–60 minutes.
When the dough is risen and the bag is puffed, open the bag and turn the dough out onto a lightly floured surface. Cut the dough into 8 equal portions, weighing between 2¼–2½ oz. each. Let the divided dough rest for 5 minutes.
Roll each piece of dough out into a large rope, about 24″ long. Twist the ropes into a pretzel shape.
Meanwhile, heat the oven to 500°. Also bring the water and baking soda to a low boil in a large pot.
One by one, boil each pretzel for 30–45 seconds, spooning some of the soda solution over the top of each pretzel as they boil. Take care not to allow the soda solution to become hot enough to foam. If it foams, lower the temperature and wait until the foam subsides before continuing to boil and more pretzels.
Remove the pretzels from the soda solution using a slotted spatula, and place on a Silpat-lined baking sheet.
When all the pretzels have been boiled in the soda solution, sprinkle them liberally with kosher salt.
Bake for 9 minutes, until richly colored and fragrant. Remove from the oven and immediately brush with melted butter. Add more salt if the brushing process removes most of the granules.
Let the pretzels cool for 10 minutes before eating! These are best enjoyed on the day they are baked.
Enjoy!
- One year ago: Grandma’s Knotted Rolls
- Two years ago: Garlic Butter Roasted Mushrooms
- Three years ago: Black Bean Brownies
- Four years ago: Apple Cheddar Quickbread
- Five years ago: Pumpkin Caramel Layer Cake


8 comments to “Soft Pretzels”
Corina - November 14, 2016
The finished pretzels look amazing! I’ve also been a member of the group for a long time and although most months there have been more than enough choices to choose from, I have also had the occasional month where my assigned blogger has had a quite different cooking style to mine and those months have been a little more challenging! I am going to miss it so much though.
Wendy Klik - November 14, 2016
Your pretzels turned out lovely. I think being challenged by different tastes and cooking styles was one of the things I will miss most. Different strokes for different folks. I hope to meet up with you in other events out there in blogland. Keep baking and stay happy.
Tracy | Pale Yellow - November 14, 2016
Wow! I’ve always been intimidates by homemade pretzels, but your instructions are clear and these sound great!
Kathy Walker - November 14, 2016
Pretzels have been on my list of things I must make for a long time. I am thinking it needs to be moved up a notch or two. Your pretzels look perfect!
Cookaholic Wife (@cookaholicwife) - November 14, 2016
Perfectly golden!
Amy | Amy's Cooking Adventures - November 14, 2016
I love homemade pretzels!! These look perfect!
Terri Steffes - November 16, 2016
These pretzels look amazing. I made your dad’s poached eggs in milk. I hope I did them justice. I am in love with this recipe. Love to hear what you think !
Linda @ 2 Cookin Mamas - November 18, 2016
How brave to take on making homemade pretzels! I’ve often looked at recipes to make then but never took the plunge. Yours look fantastic! I wonder where I can go find a pretzel right now? lol