I really wish I had been one of those kids who stood in the kitchen with her grandmother, wearing a humongous apron and up to her elbows in flour. (Instead, I was generally quite preoccupied with the book attached to my nose.)
We love to eat, but my family wasn’t built on a long history of beloved food traditions. Except for these rolls.
These rolls are the stuff of legend. Thanksgivings and Christmases, as we piled into the car to drive to Grandma’s for dinner, we would start talking about these rolls practically before buckling our seat belts.
Because they are amazing.
Pretty much the best rolls in the universe.
And here’s the really important thing: these rolls are just made for salty butter. They are a little sweet and doughy, and most of their salt comes from the thick slab of delicious butter you smear on the top. They are a perfect complement for the thick flavors of a traditional Thanksgiving dinner, but before you take a big bite, don’t skimp on the butter. (And really, why would you?)
Thanksgiving dinner just isn’t Thanksgiving dinner without Grandma’s rolls!
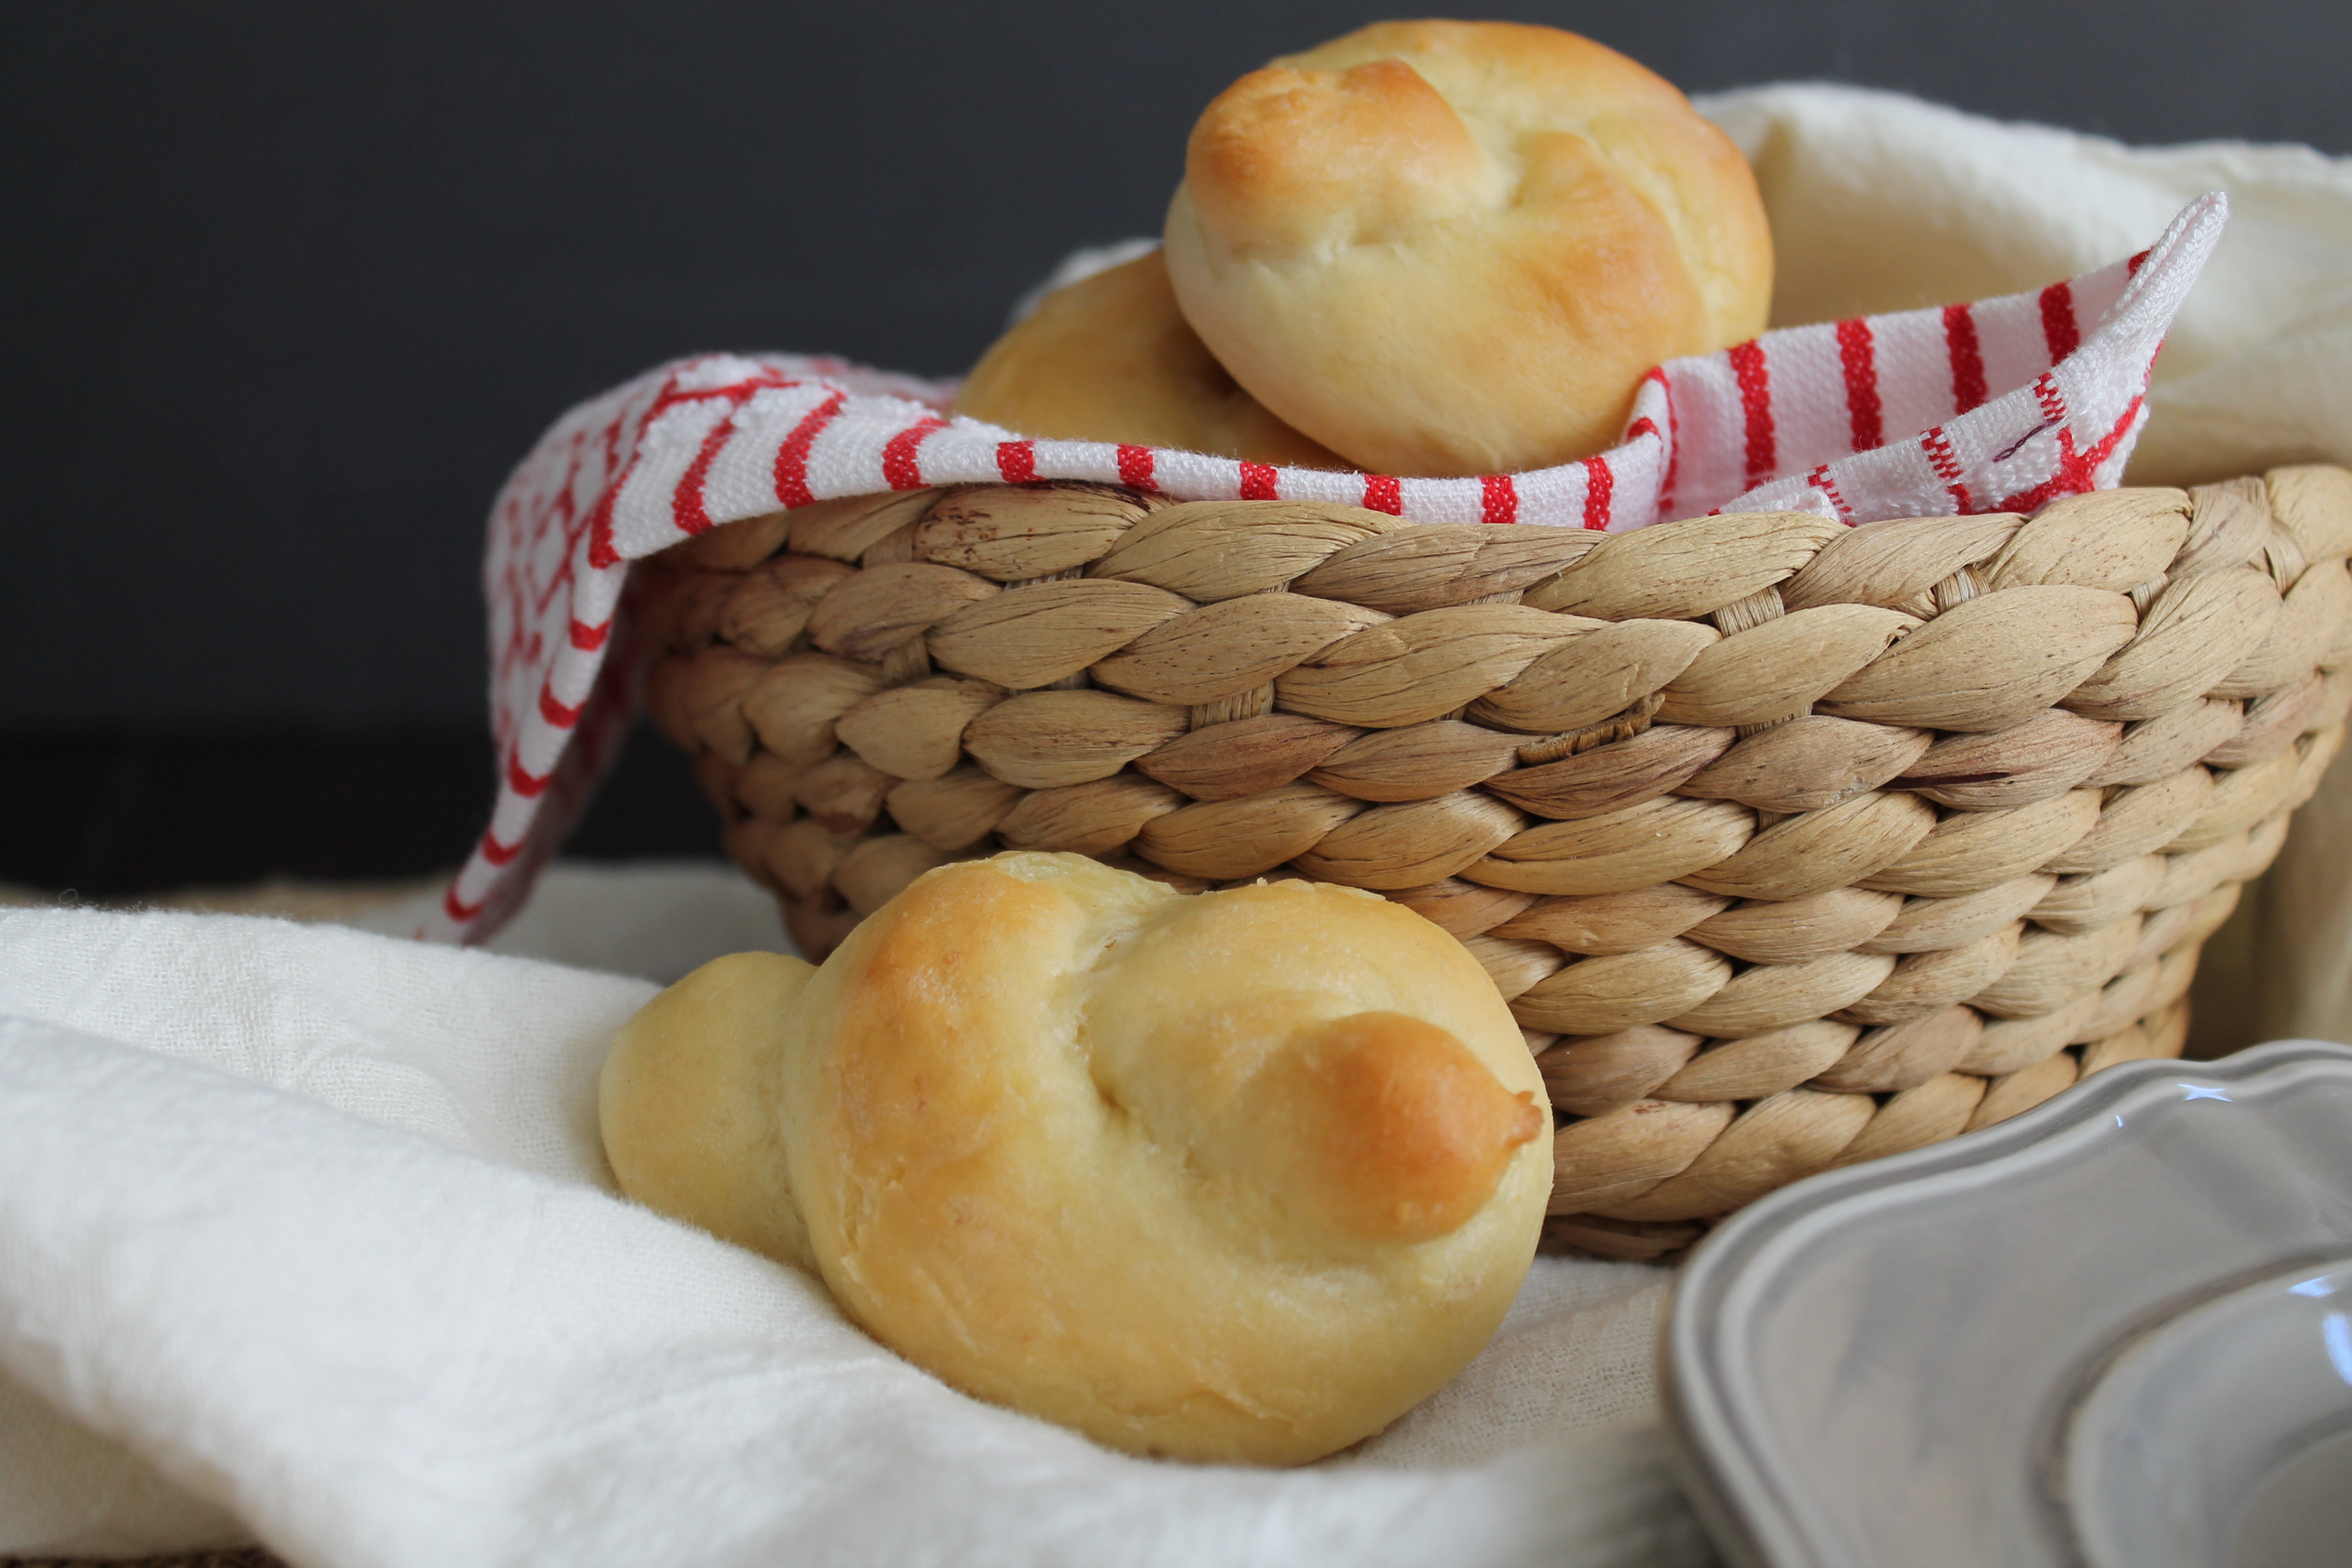 My Grandma was one of those amazing cooks who could just do everything by feel. She made these rolls a million and two times, and she never used a recipe or leveled a measuring spoon. (More reasons I wish I had spent time learning from her in the kitchen!)
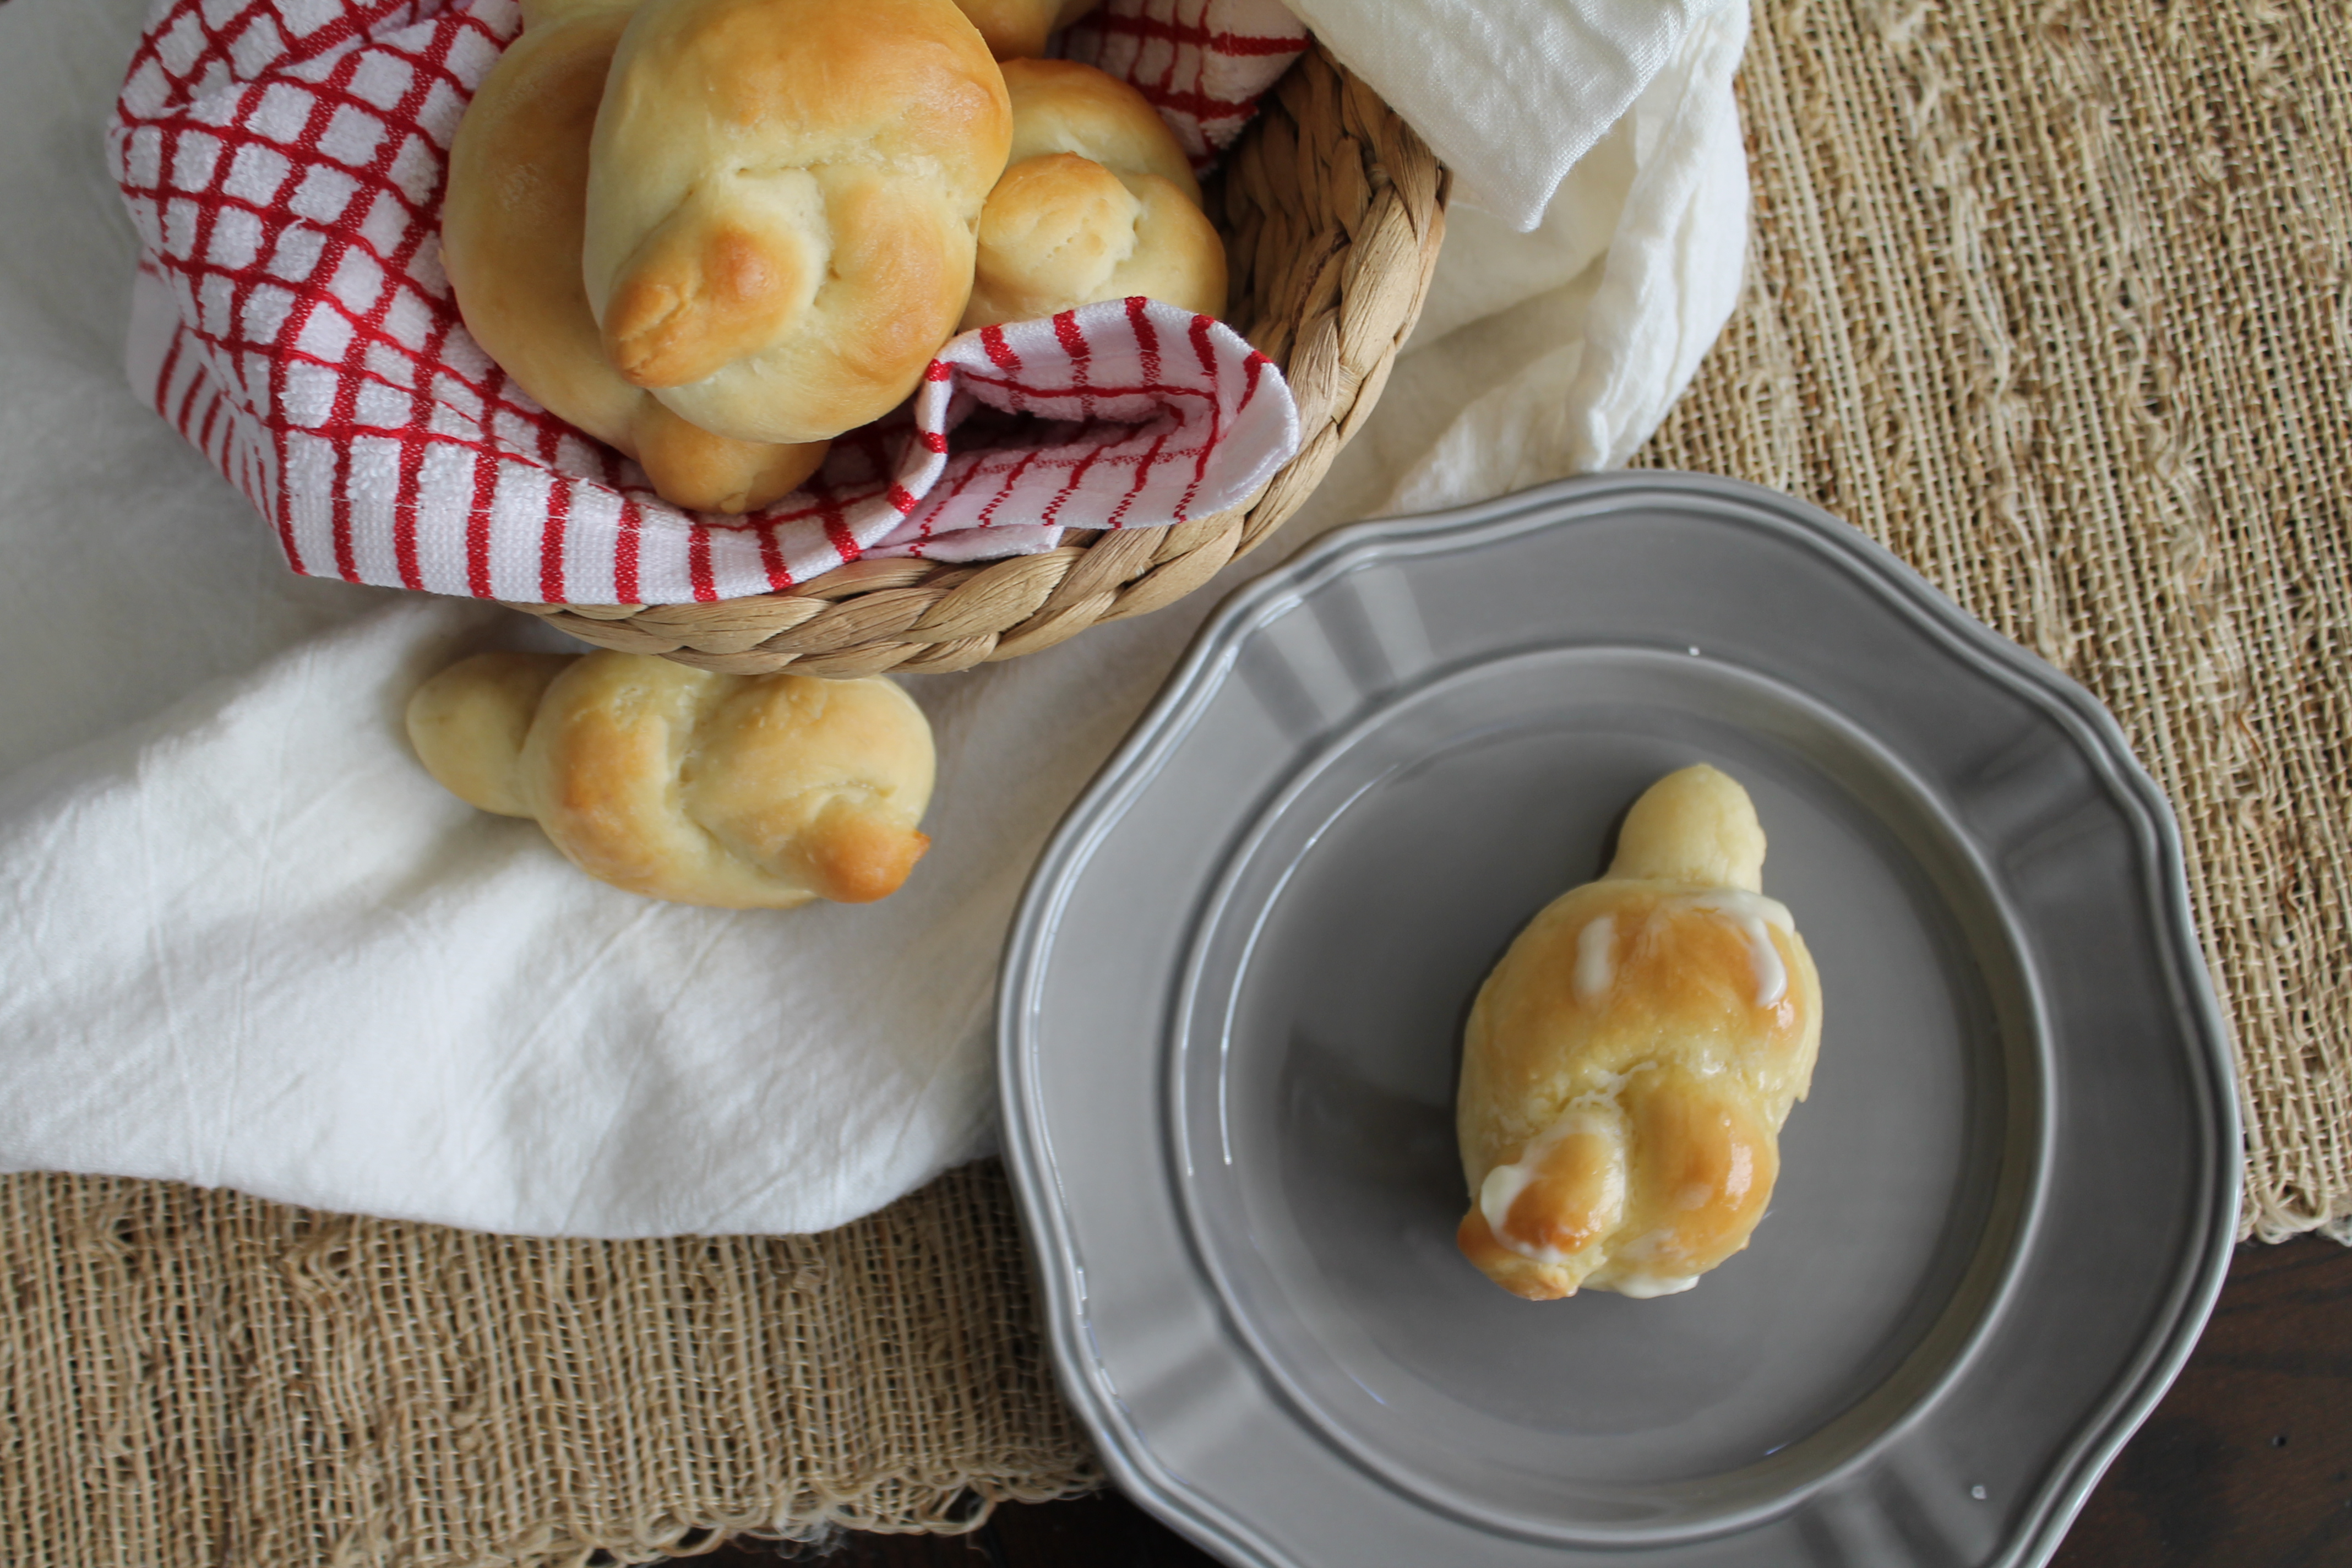
I am so grateful to my uncle for taking the time to document her making these beautiful, knotted, butter-topped rolls before she died. Every time I make them, I am immediately transported to her house, in the middle of a cacophony of voices and feet running, the stampede to get a hot roll or three before they disappear.
And now I can share them with you!
Let’s get into the groove of cooking by feel instead of exact measurements. These rolls might not be perfect the first time you make them, but after two or three times, those knots will be expert and you won’t be agonizing over a few tablespoons of flour!
 Mix together melted, salted butter, sugar, an egg, and warm water.
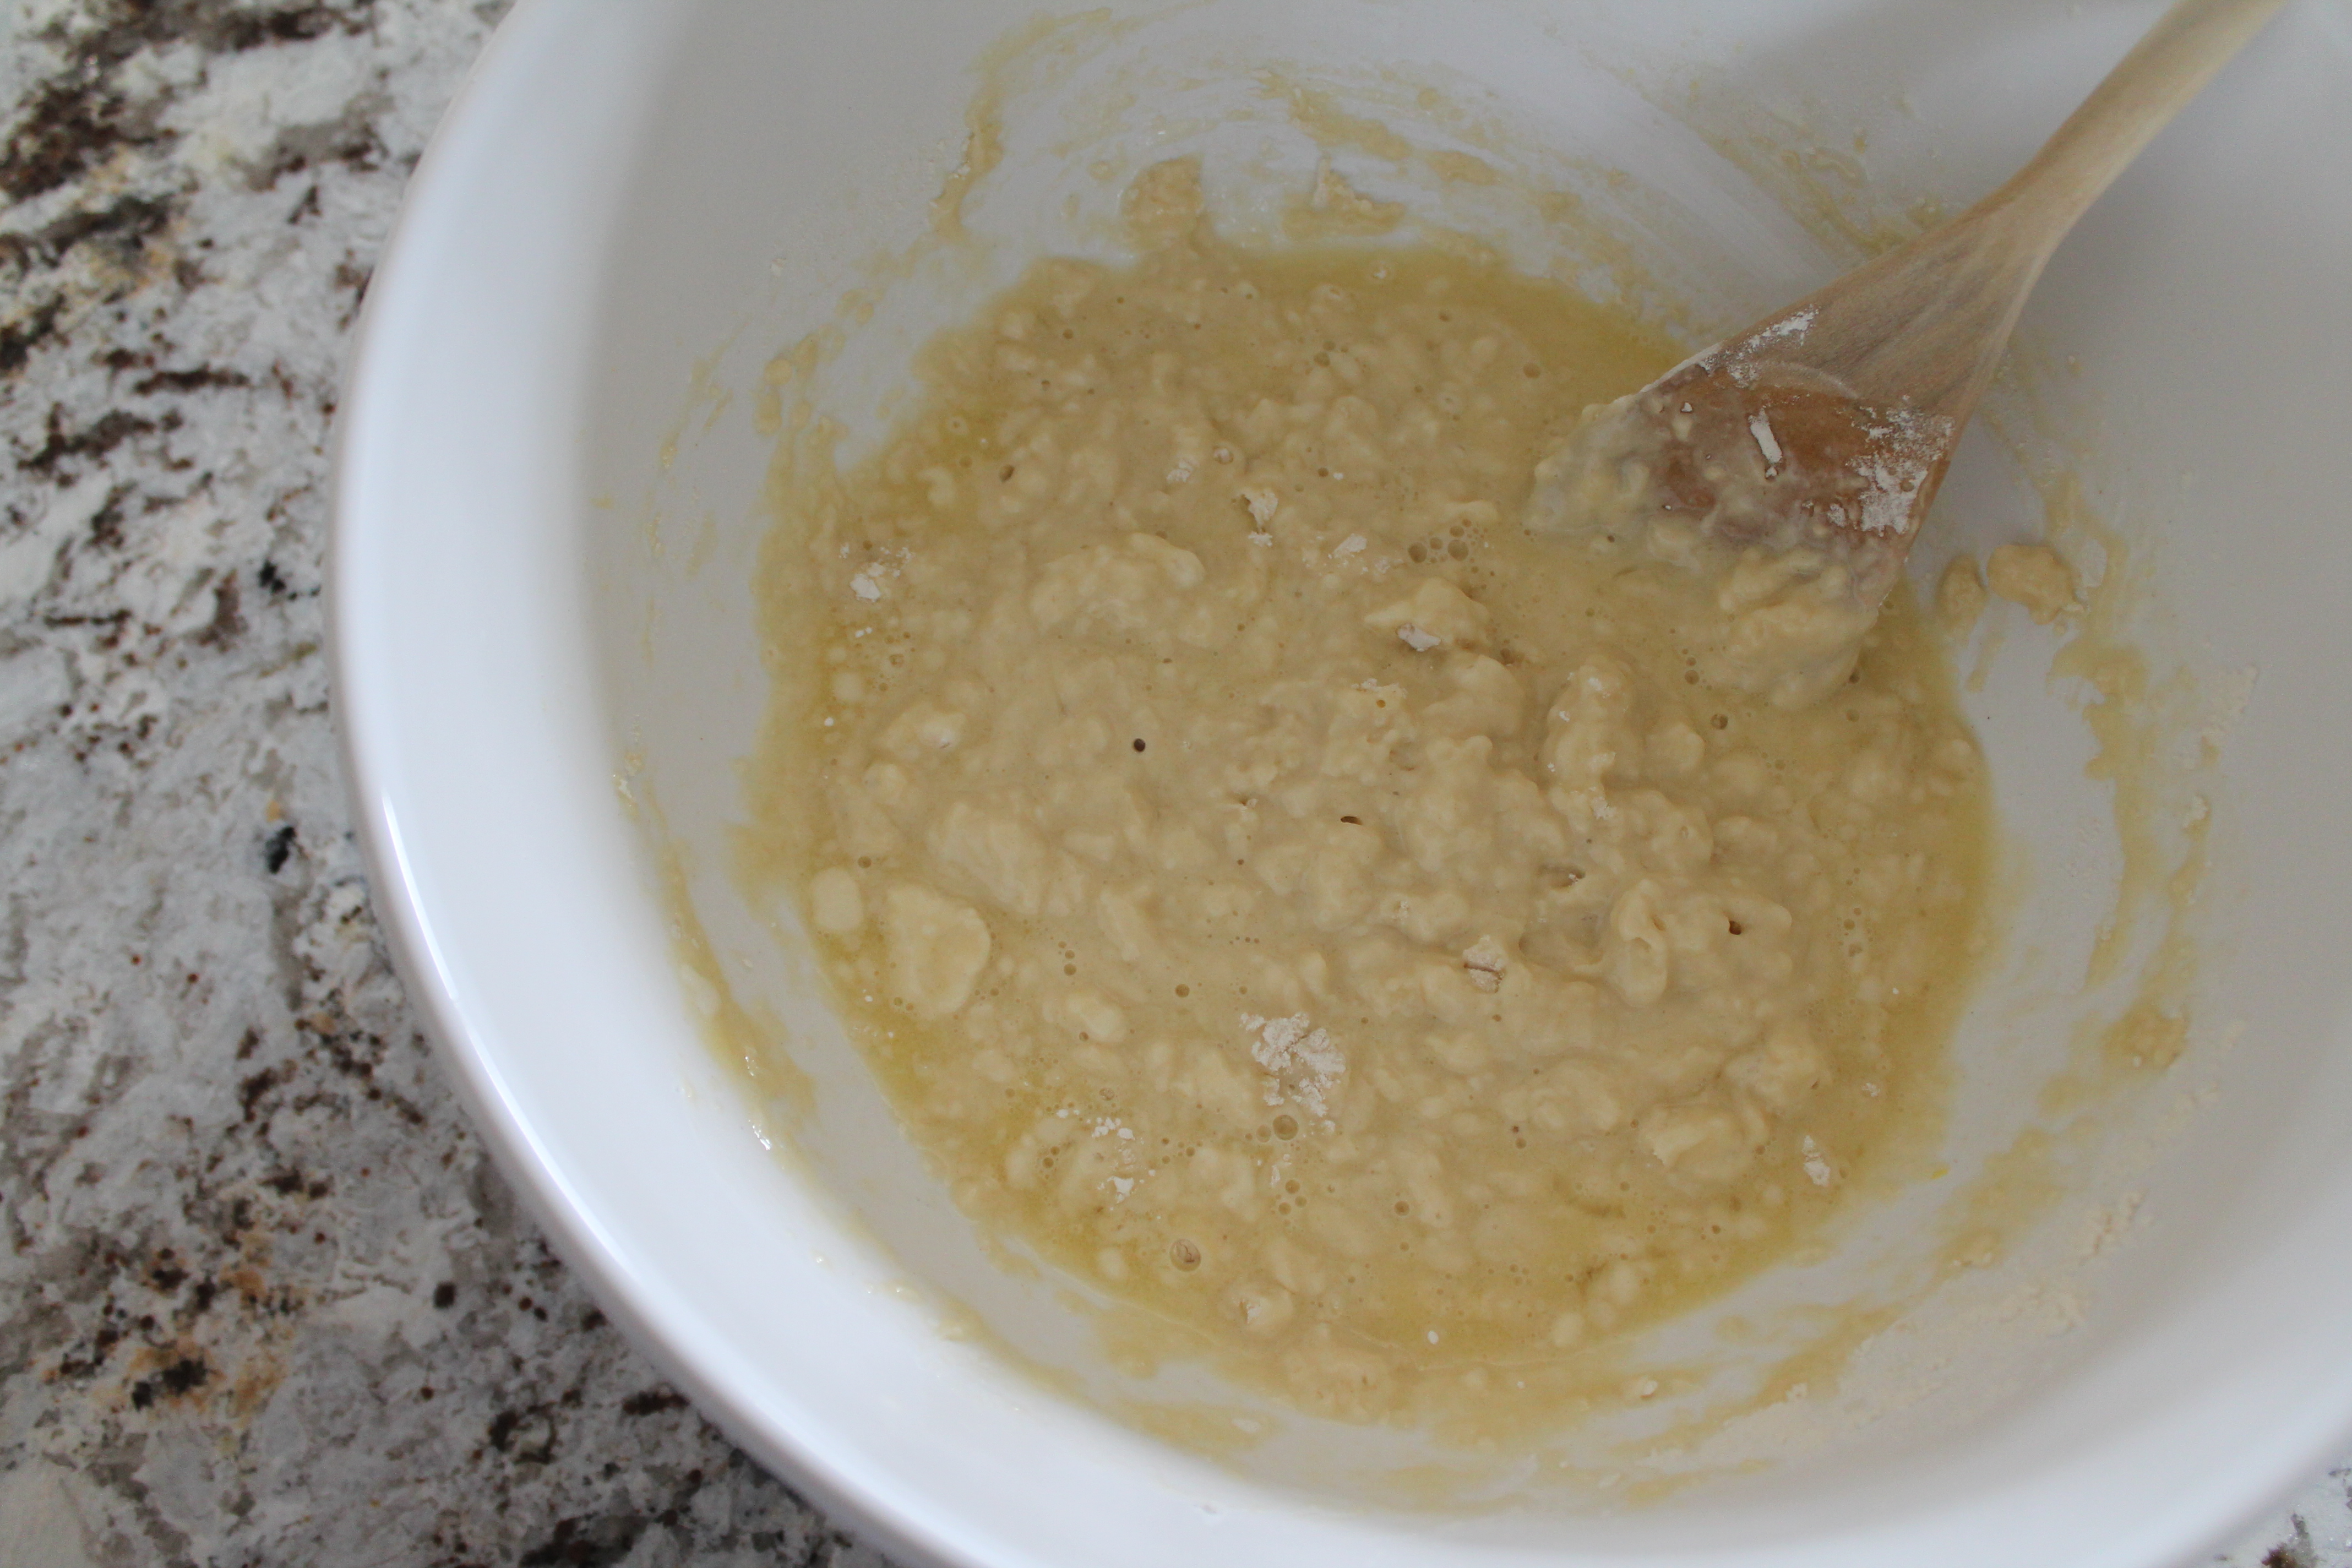 Add flour until it looks like a soupy tapioca pudding. This usually requires less than 2 cups of flour. Don’t stir until it is completely even in texture! Leave the batter lumpy. (You know how, when you make muffins, you want to leave the batter a little lumpy so you don’t overwork it and the muffins don’t become tough and chewy? Well, these rolls are light and tender, and the same philosophy applies. We are not going to be working the dough or stretching the glutens too much as we make these rolls.)
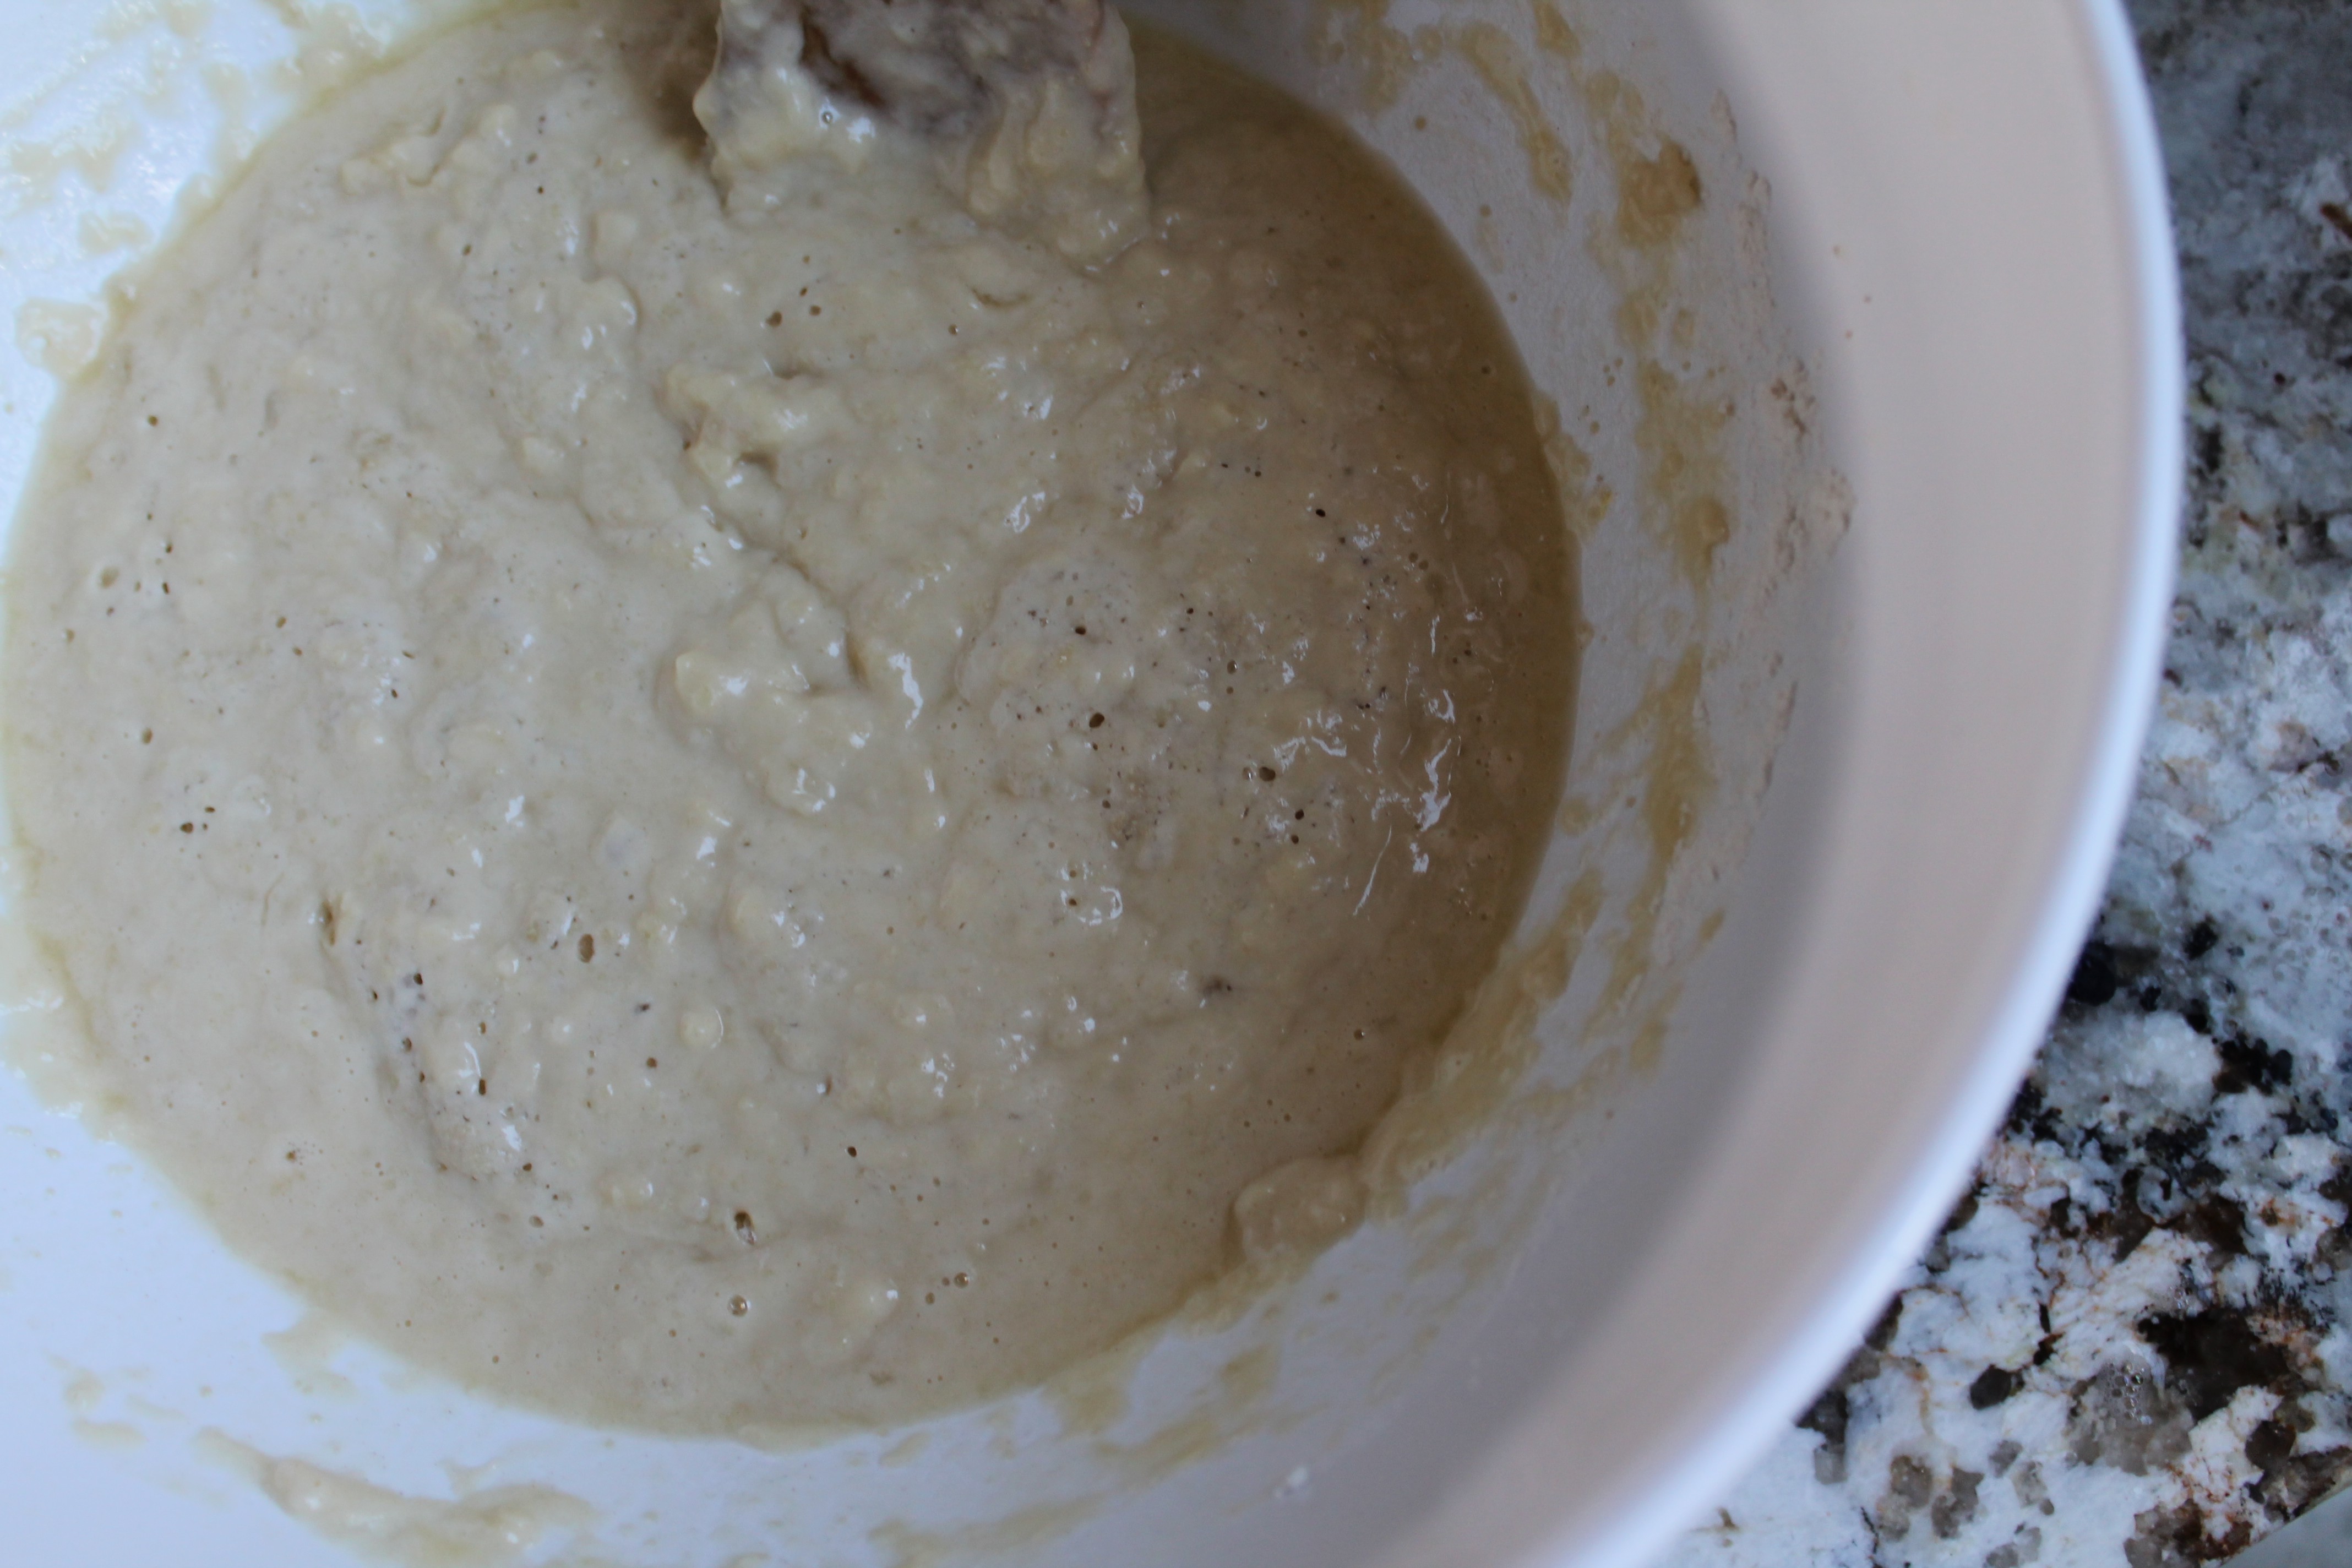 Sprinkle yeast over the wet, lumpy dough. Let it sit for 10 or 15 minutes, until the surface of the dough is bubbly.
Now let’s make the perfect environment for the dough to rise in. Yeast loves a warm, moist place to grow. Grab a small cup or mug and fill it half full of water. Place it in the back corner of your microwave and heat it for 2 minutes, until it boils. (If you don’t own a microwave, you could boil water in a kettle and then sit it in your oven, but you will want more water, probably two or three small mugs, because the oven is a larger space.)
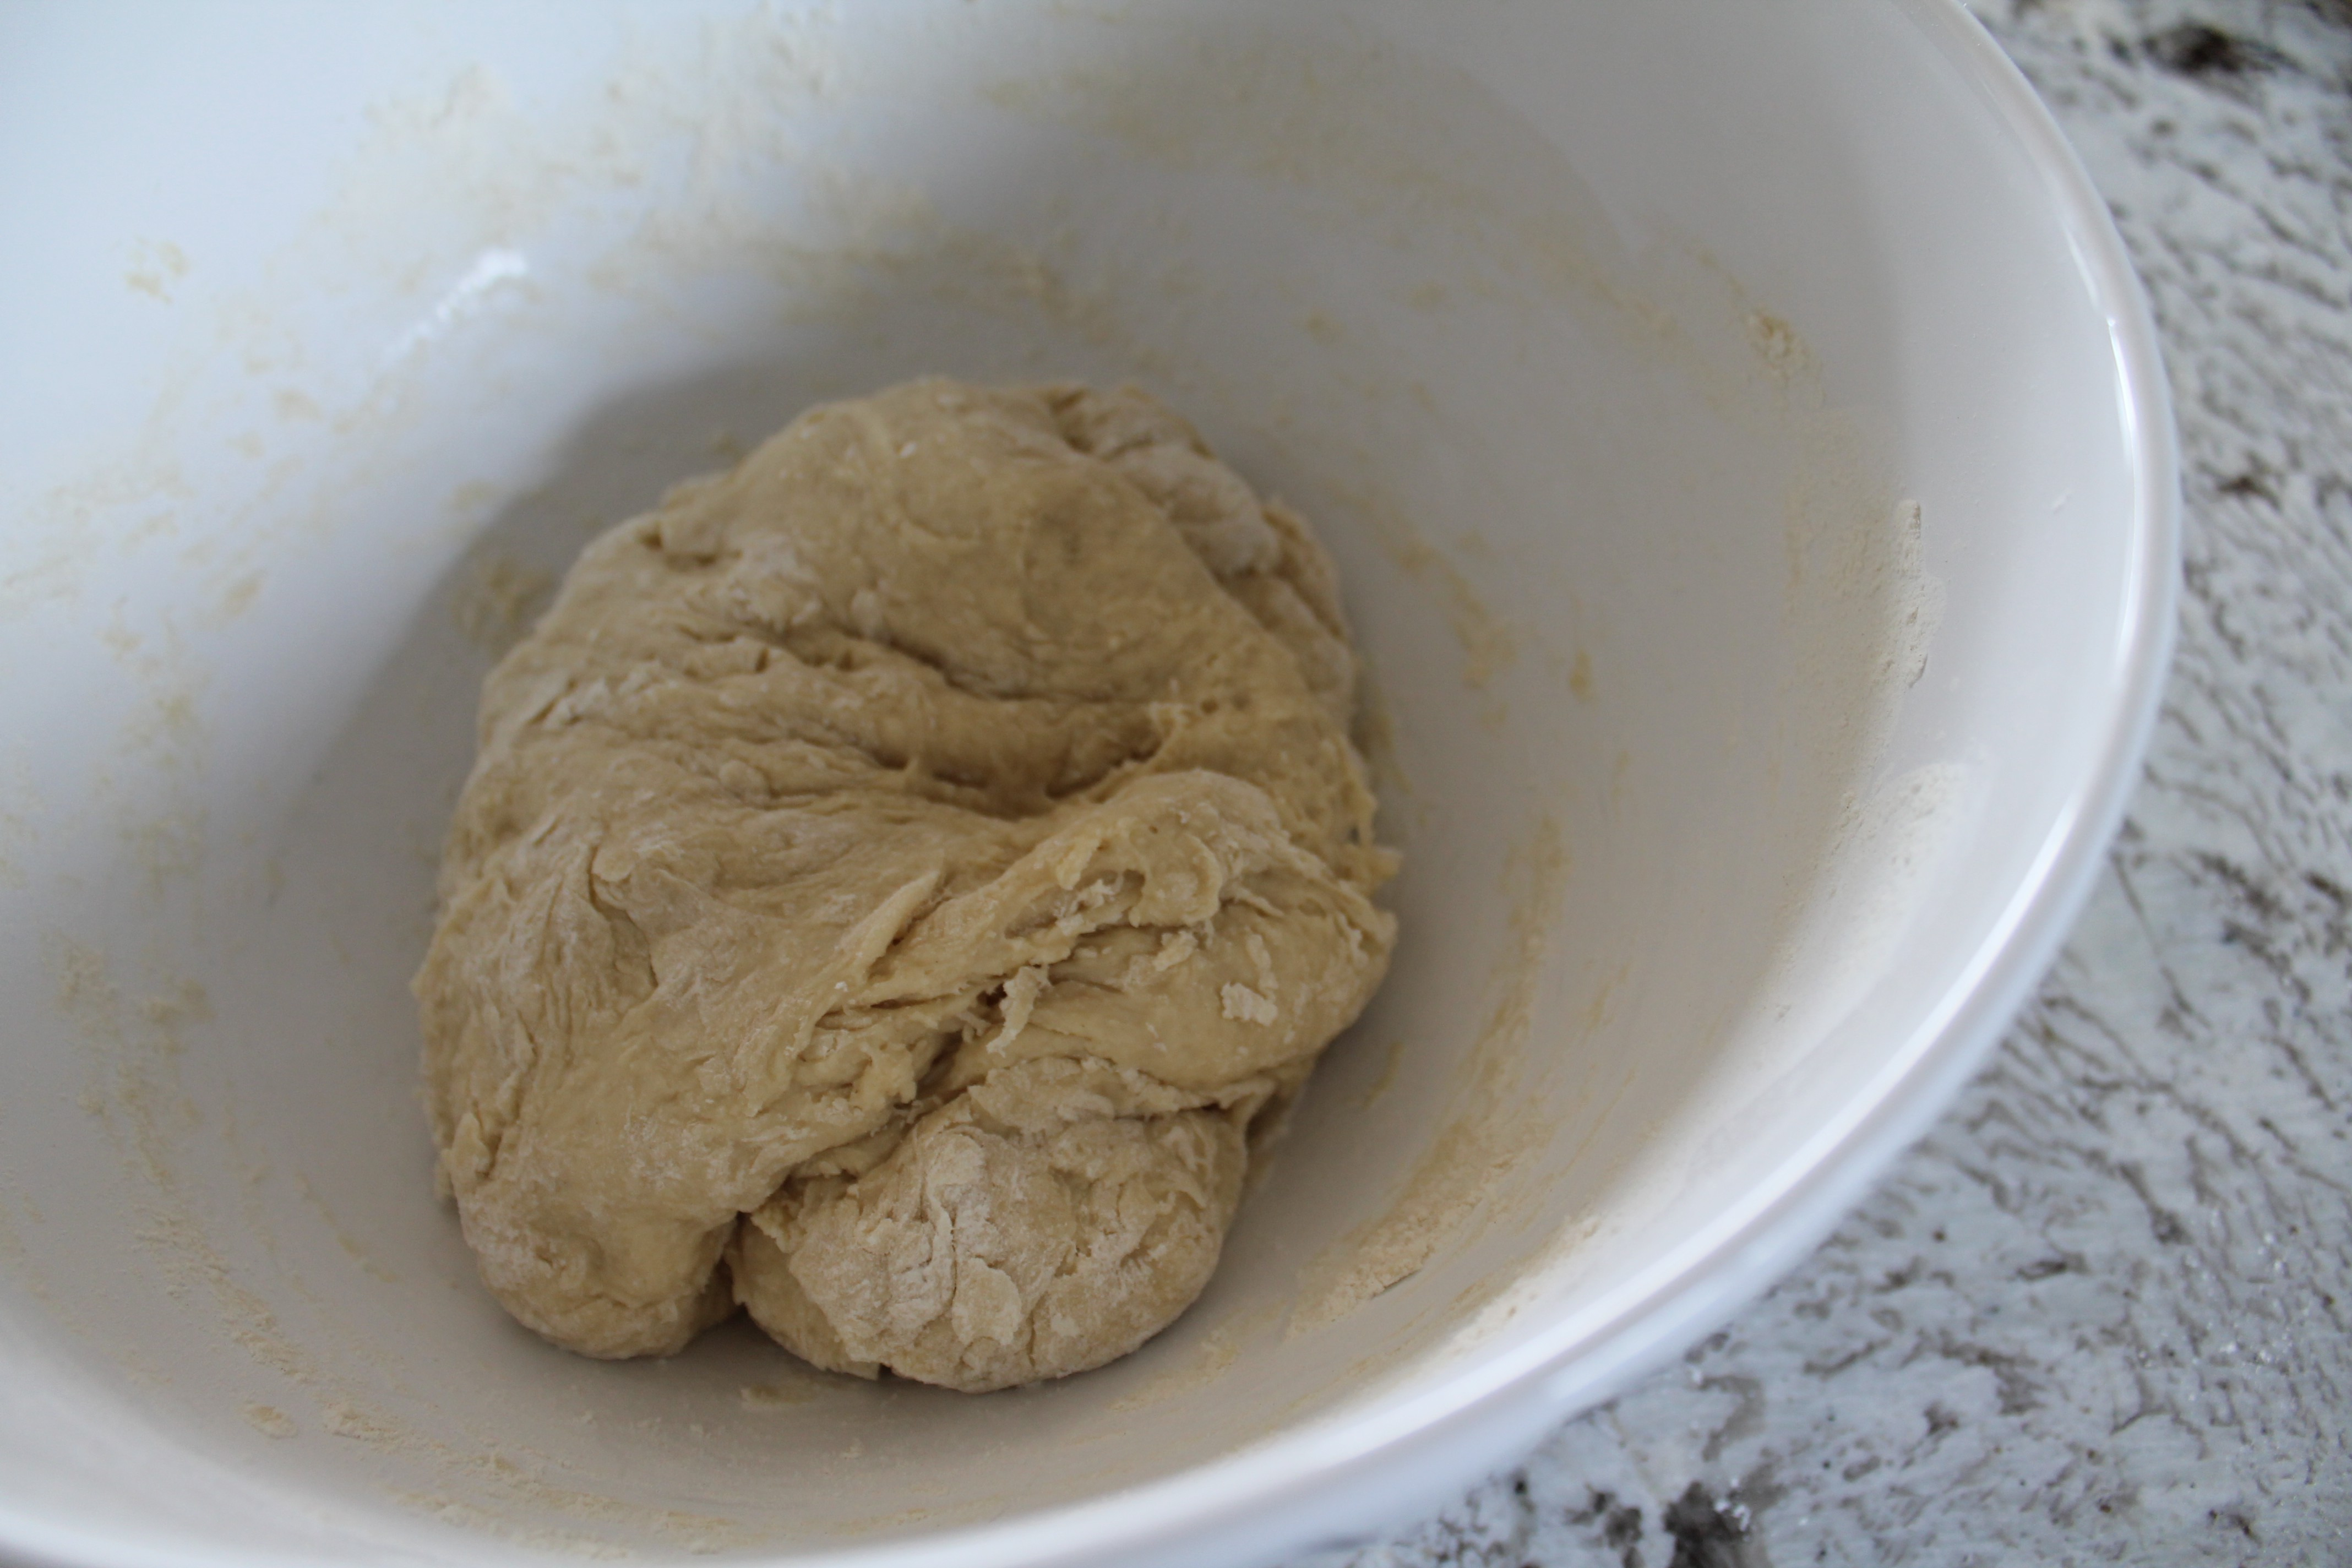 While the microwave gets a little humid, finish adding flour to the dough! We are aiming for about 1¼ cups, enough to make the dough sticky and stretchy, but stiff enough to hold its shape. I usually use my quarter-cup scoop and add flour one scoop at a time (no, I don’t level! But it is pretty close to ¼ cup each time) and stir between each addition until the flour is completely incorporated.
Okay. If you really must, you can add some salt to the dough. No more than ¼ teaspoon, or you will totally lose the character and loveliness of the rolls! I, personally, love them without the salt. The butter is the salt! But my silly husband (sorry, honey) keeps telling me that he wants more salt, so I have taken to appeasing him with just a pinch, despite my nostalgia for the real thing.
Now. Knead in the bowl about 8–10 times, which will stretch the proteins and the gluten just enough for the bread to have a little chewiness, but still be light and airy.
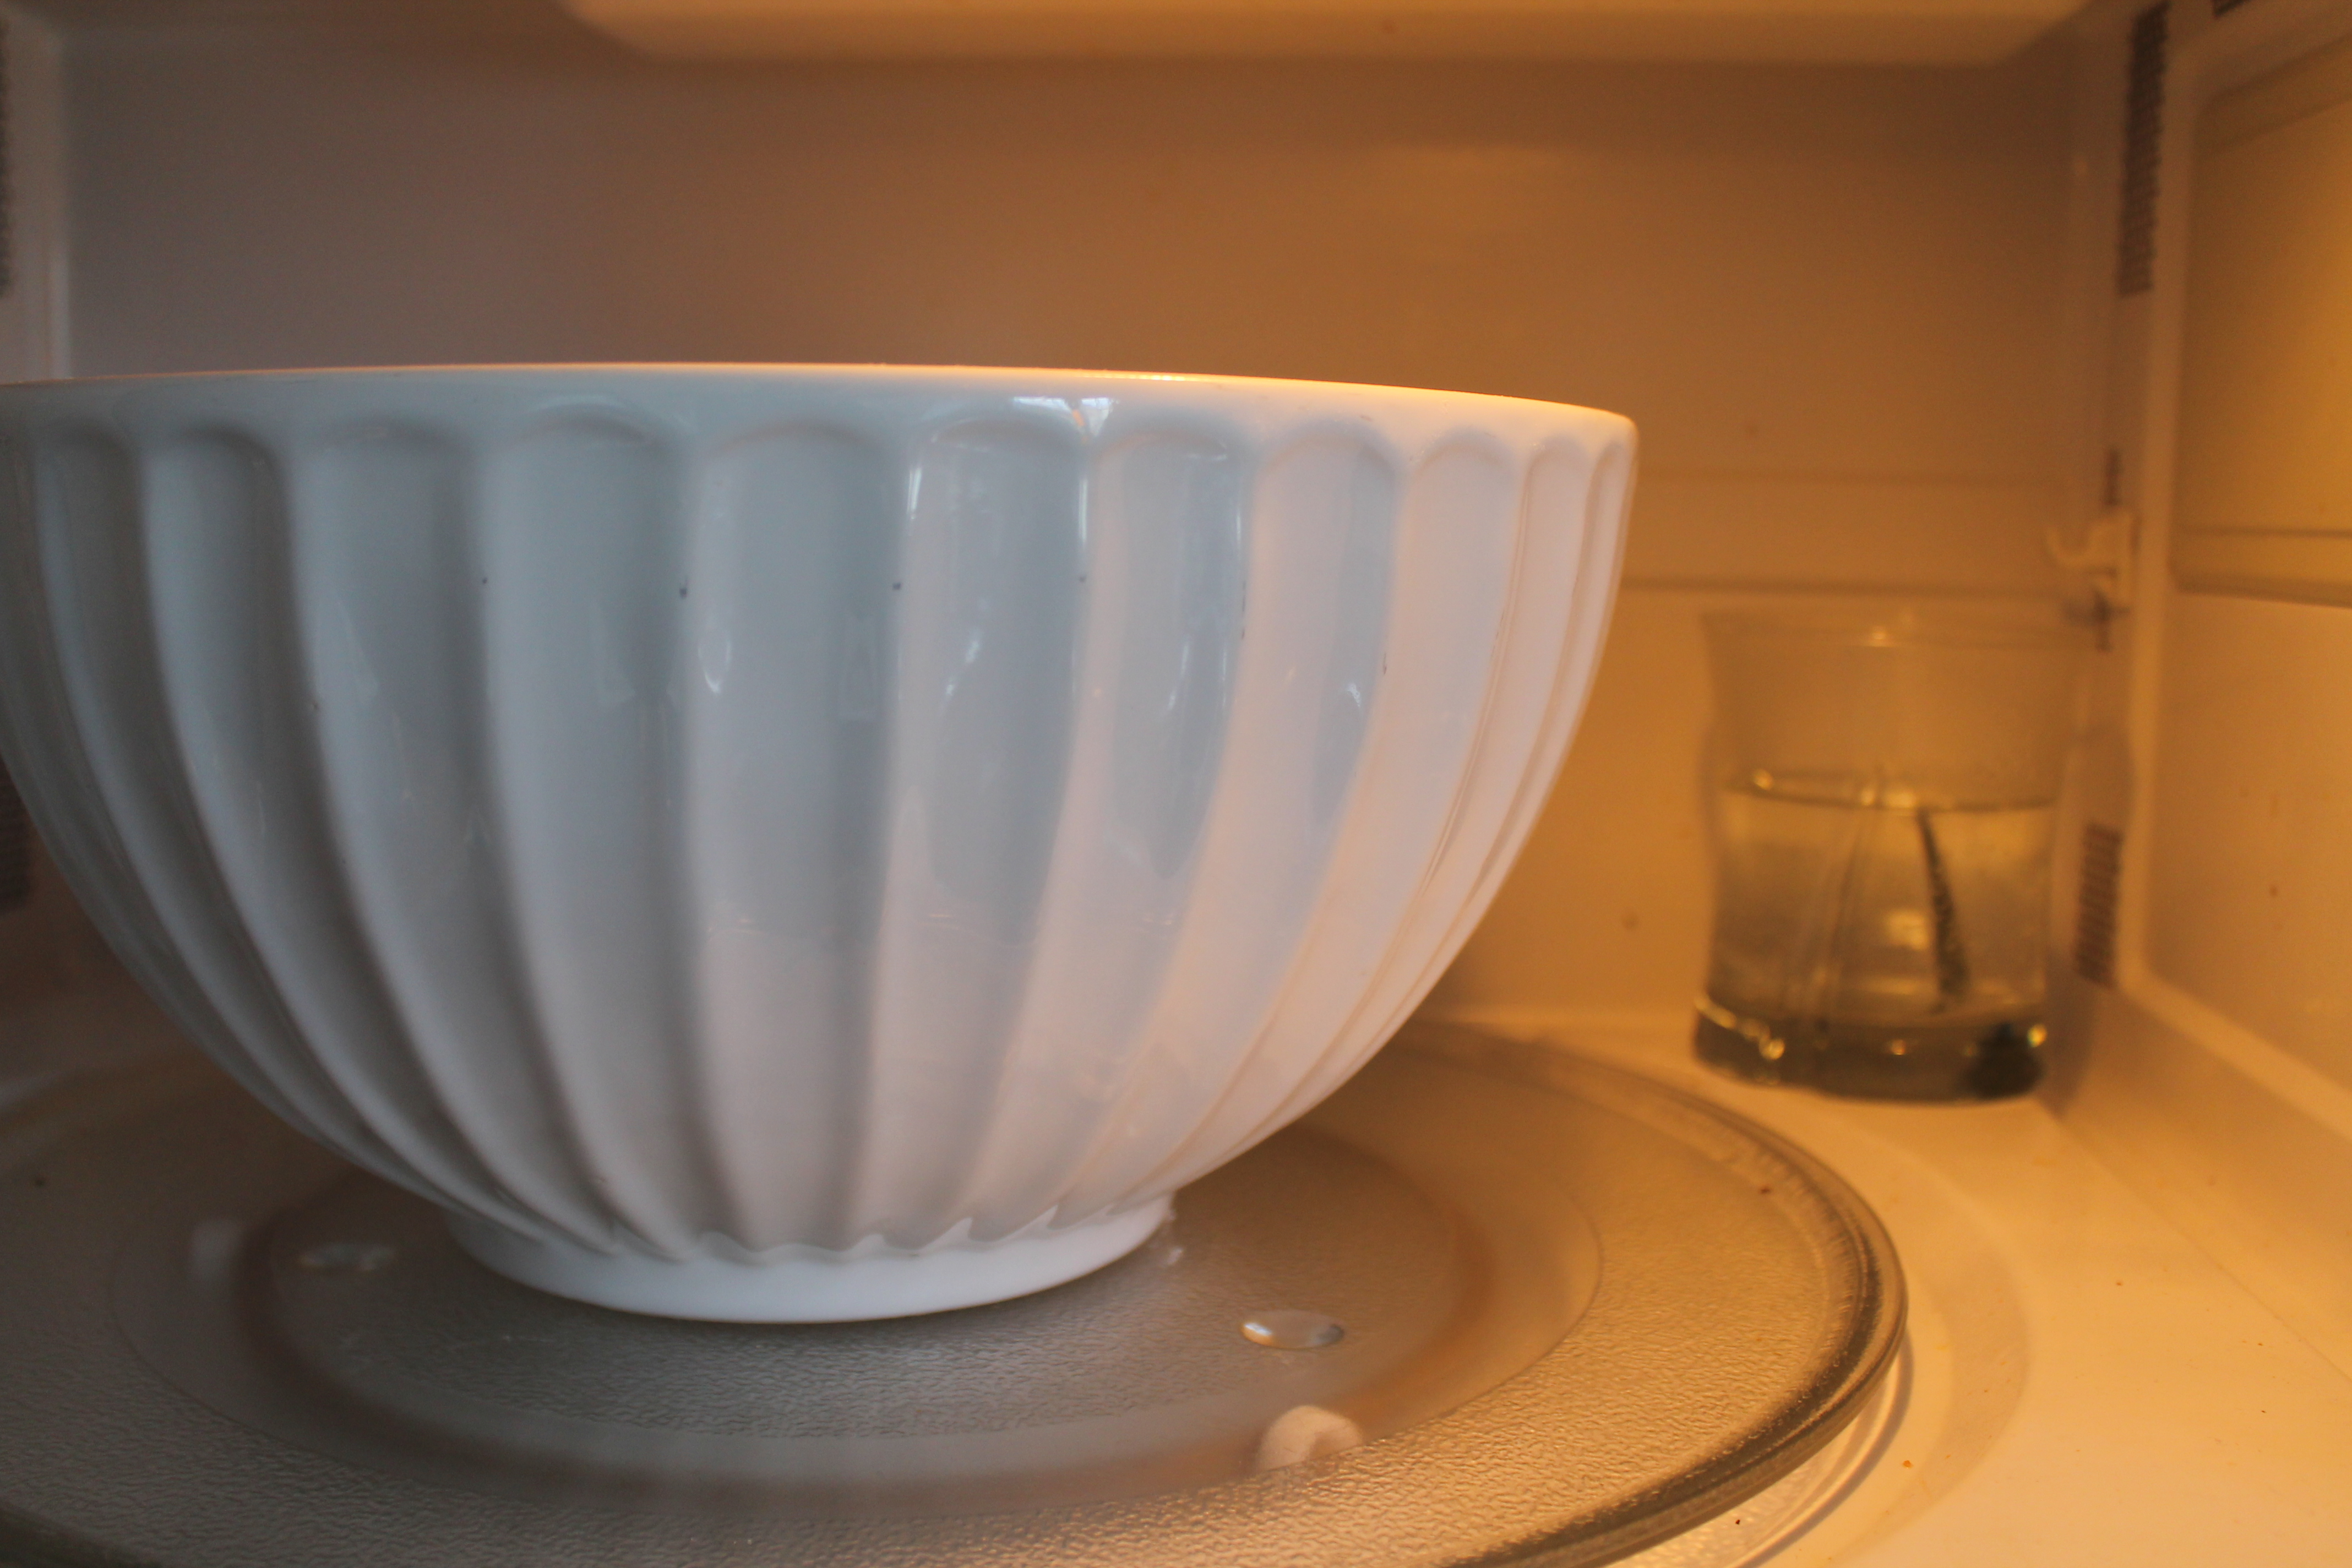 Spray the top of the dough with cooking spray. This eliminates the need to cover the bowl with a towel, because it prevents the surface of the dough from drying out and getting crusty. Place the dough in the humid microwave to rise for 1 hour. Don’t open the microwave door during that time, in order to give the yeast the best environment for rising.
Punch the dough down. Rewarm the water, then let the dough rise again, another 30 minutes. If you are in a humongous rush, you can skip this second rise, because they will rise again after you shape them. This rise is just contributing further to volume of the rolls.
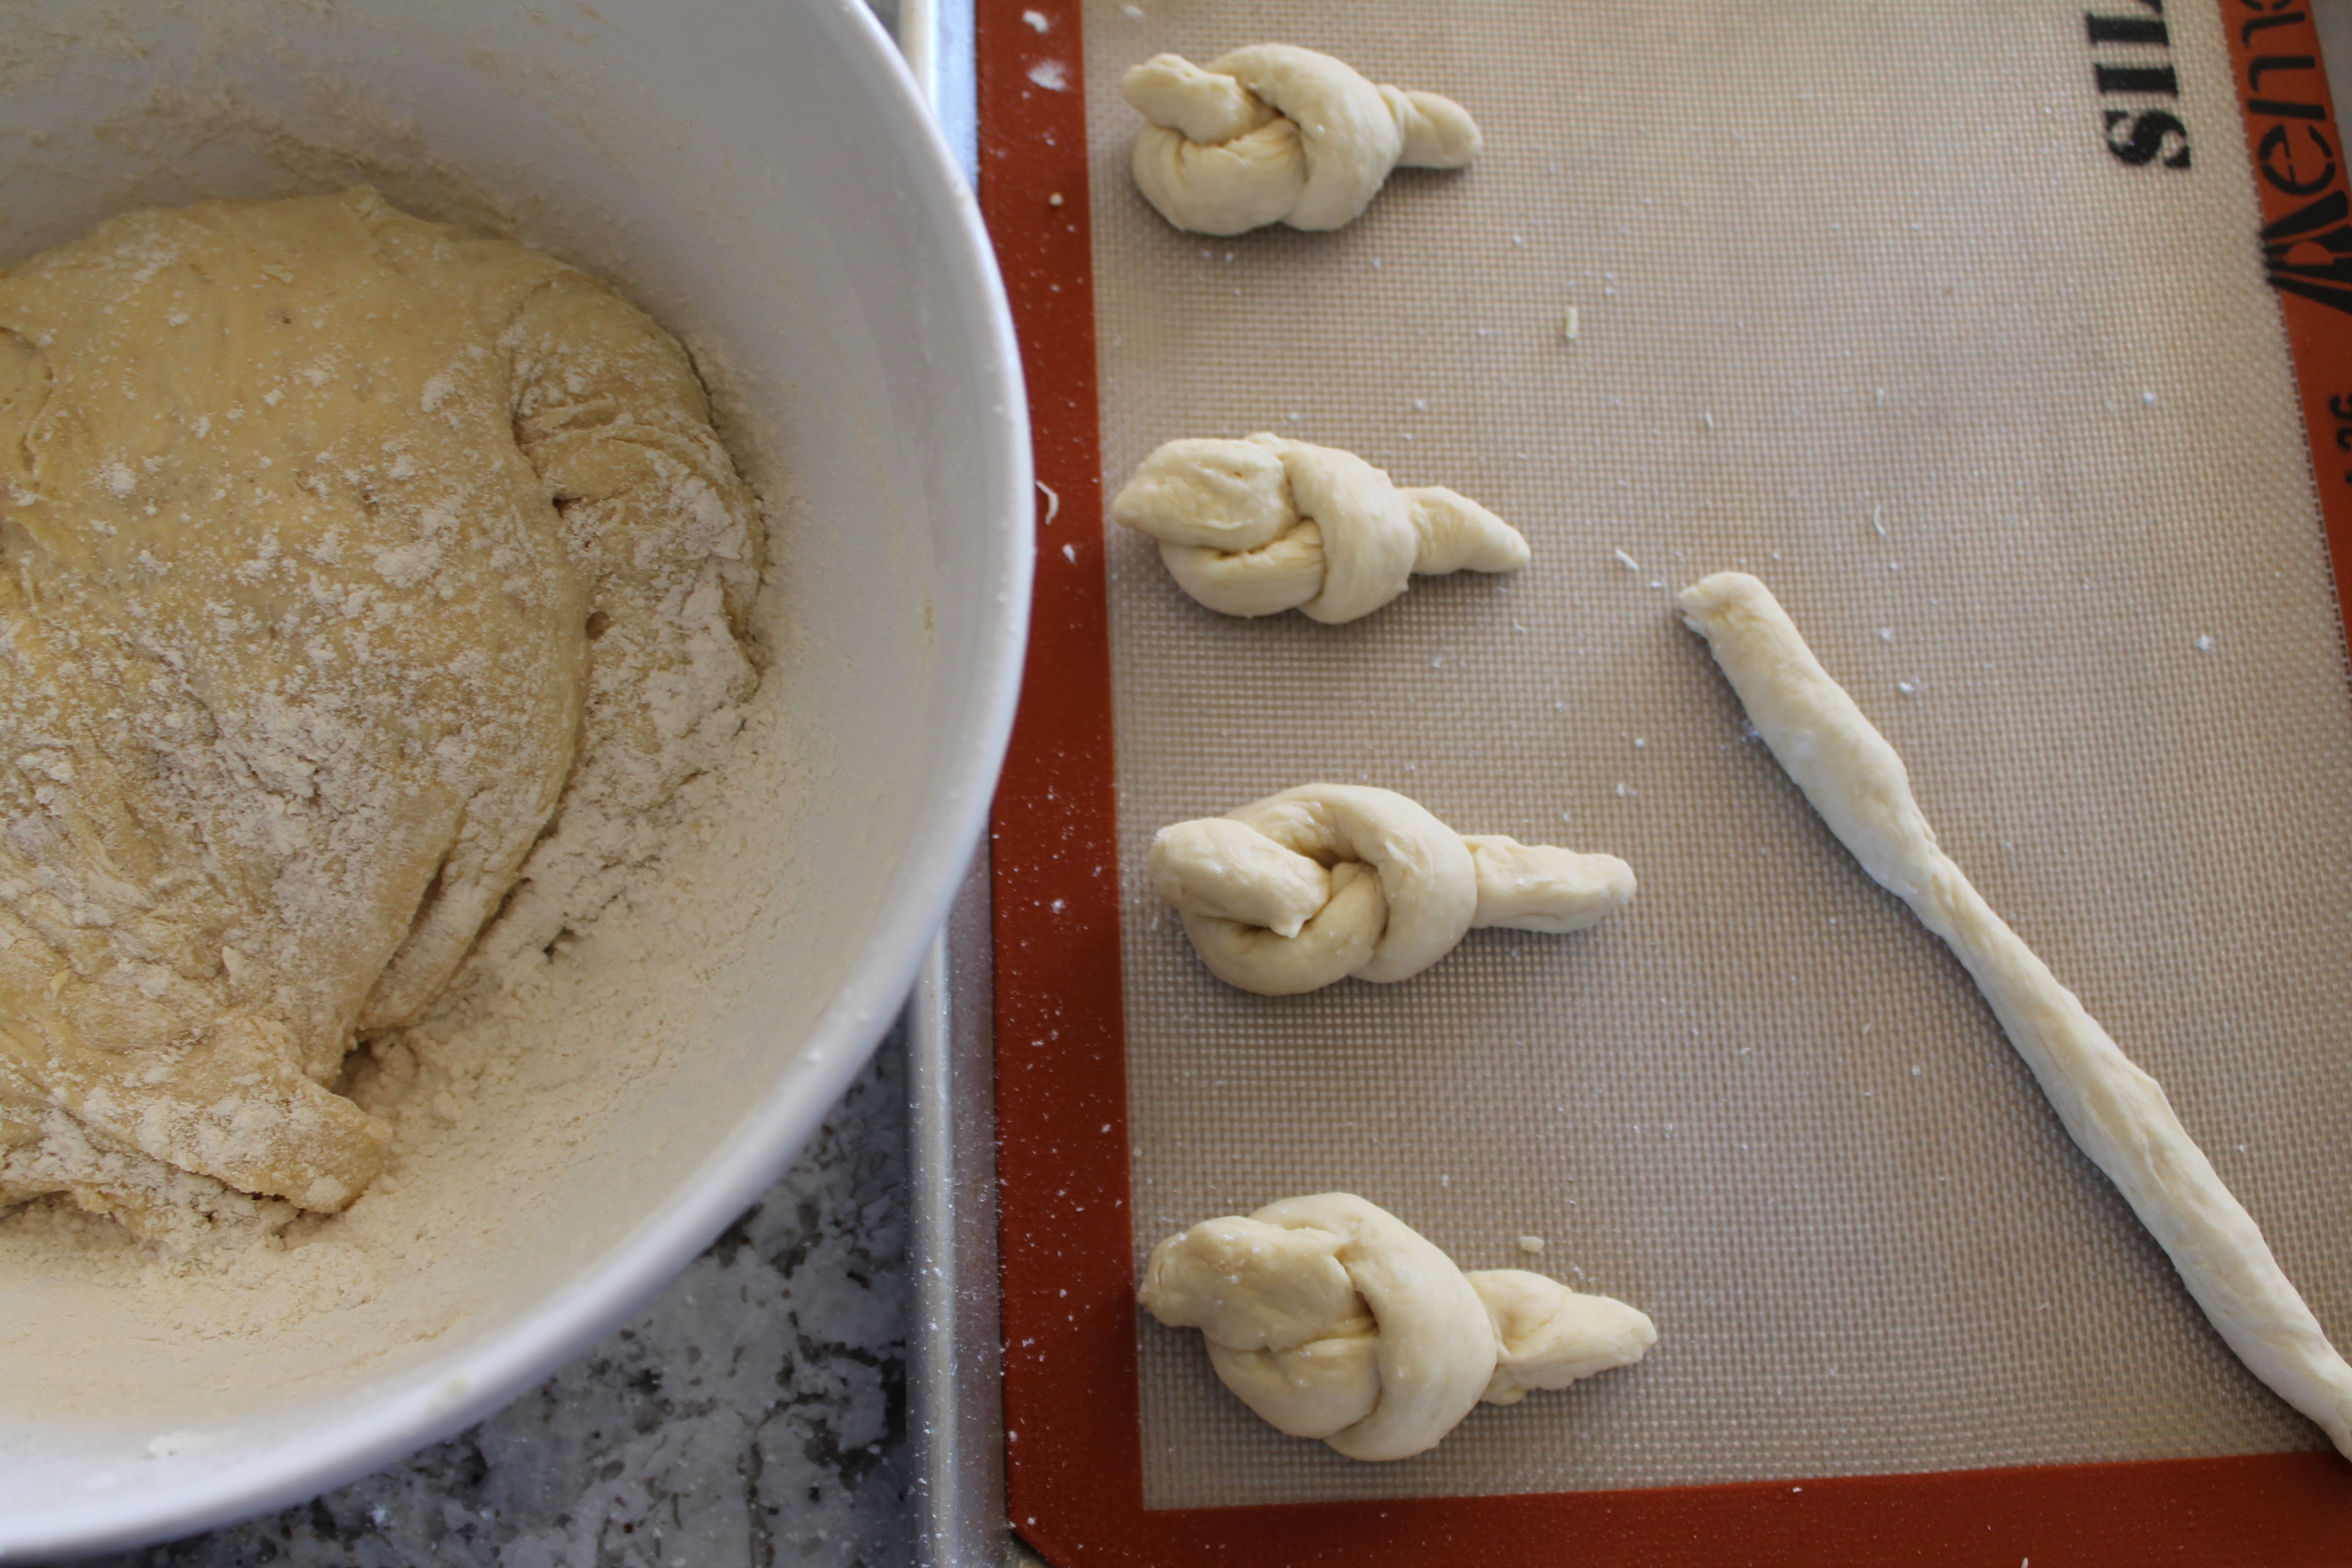 Now it’s time to tie the rolls! This may look a bit scary, but it’s easy to fall into a rhythm. The dough is light but sturdy, so just think of it like tying an overhand knot.
Drop a little bit of flour into the edge of the bowl. Working from the floury edge, grab a pinch of dough about the size of a golf ball. Roll it between your hands until you have a long, skinny rope, about 10″ long.
Tie it into a knot. This takes a bit of practice, but after two or three knots, you will get the hang of it!
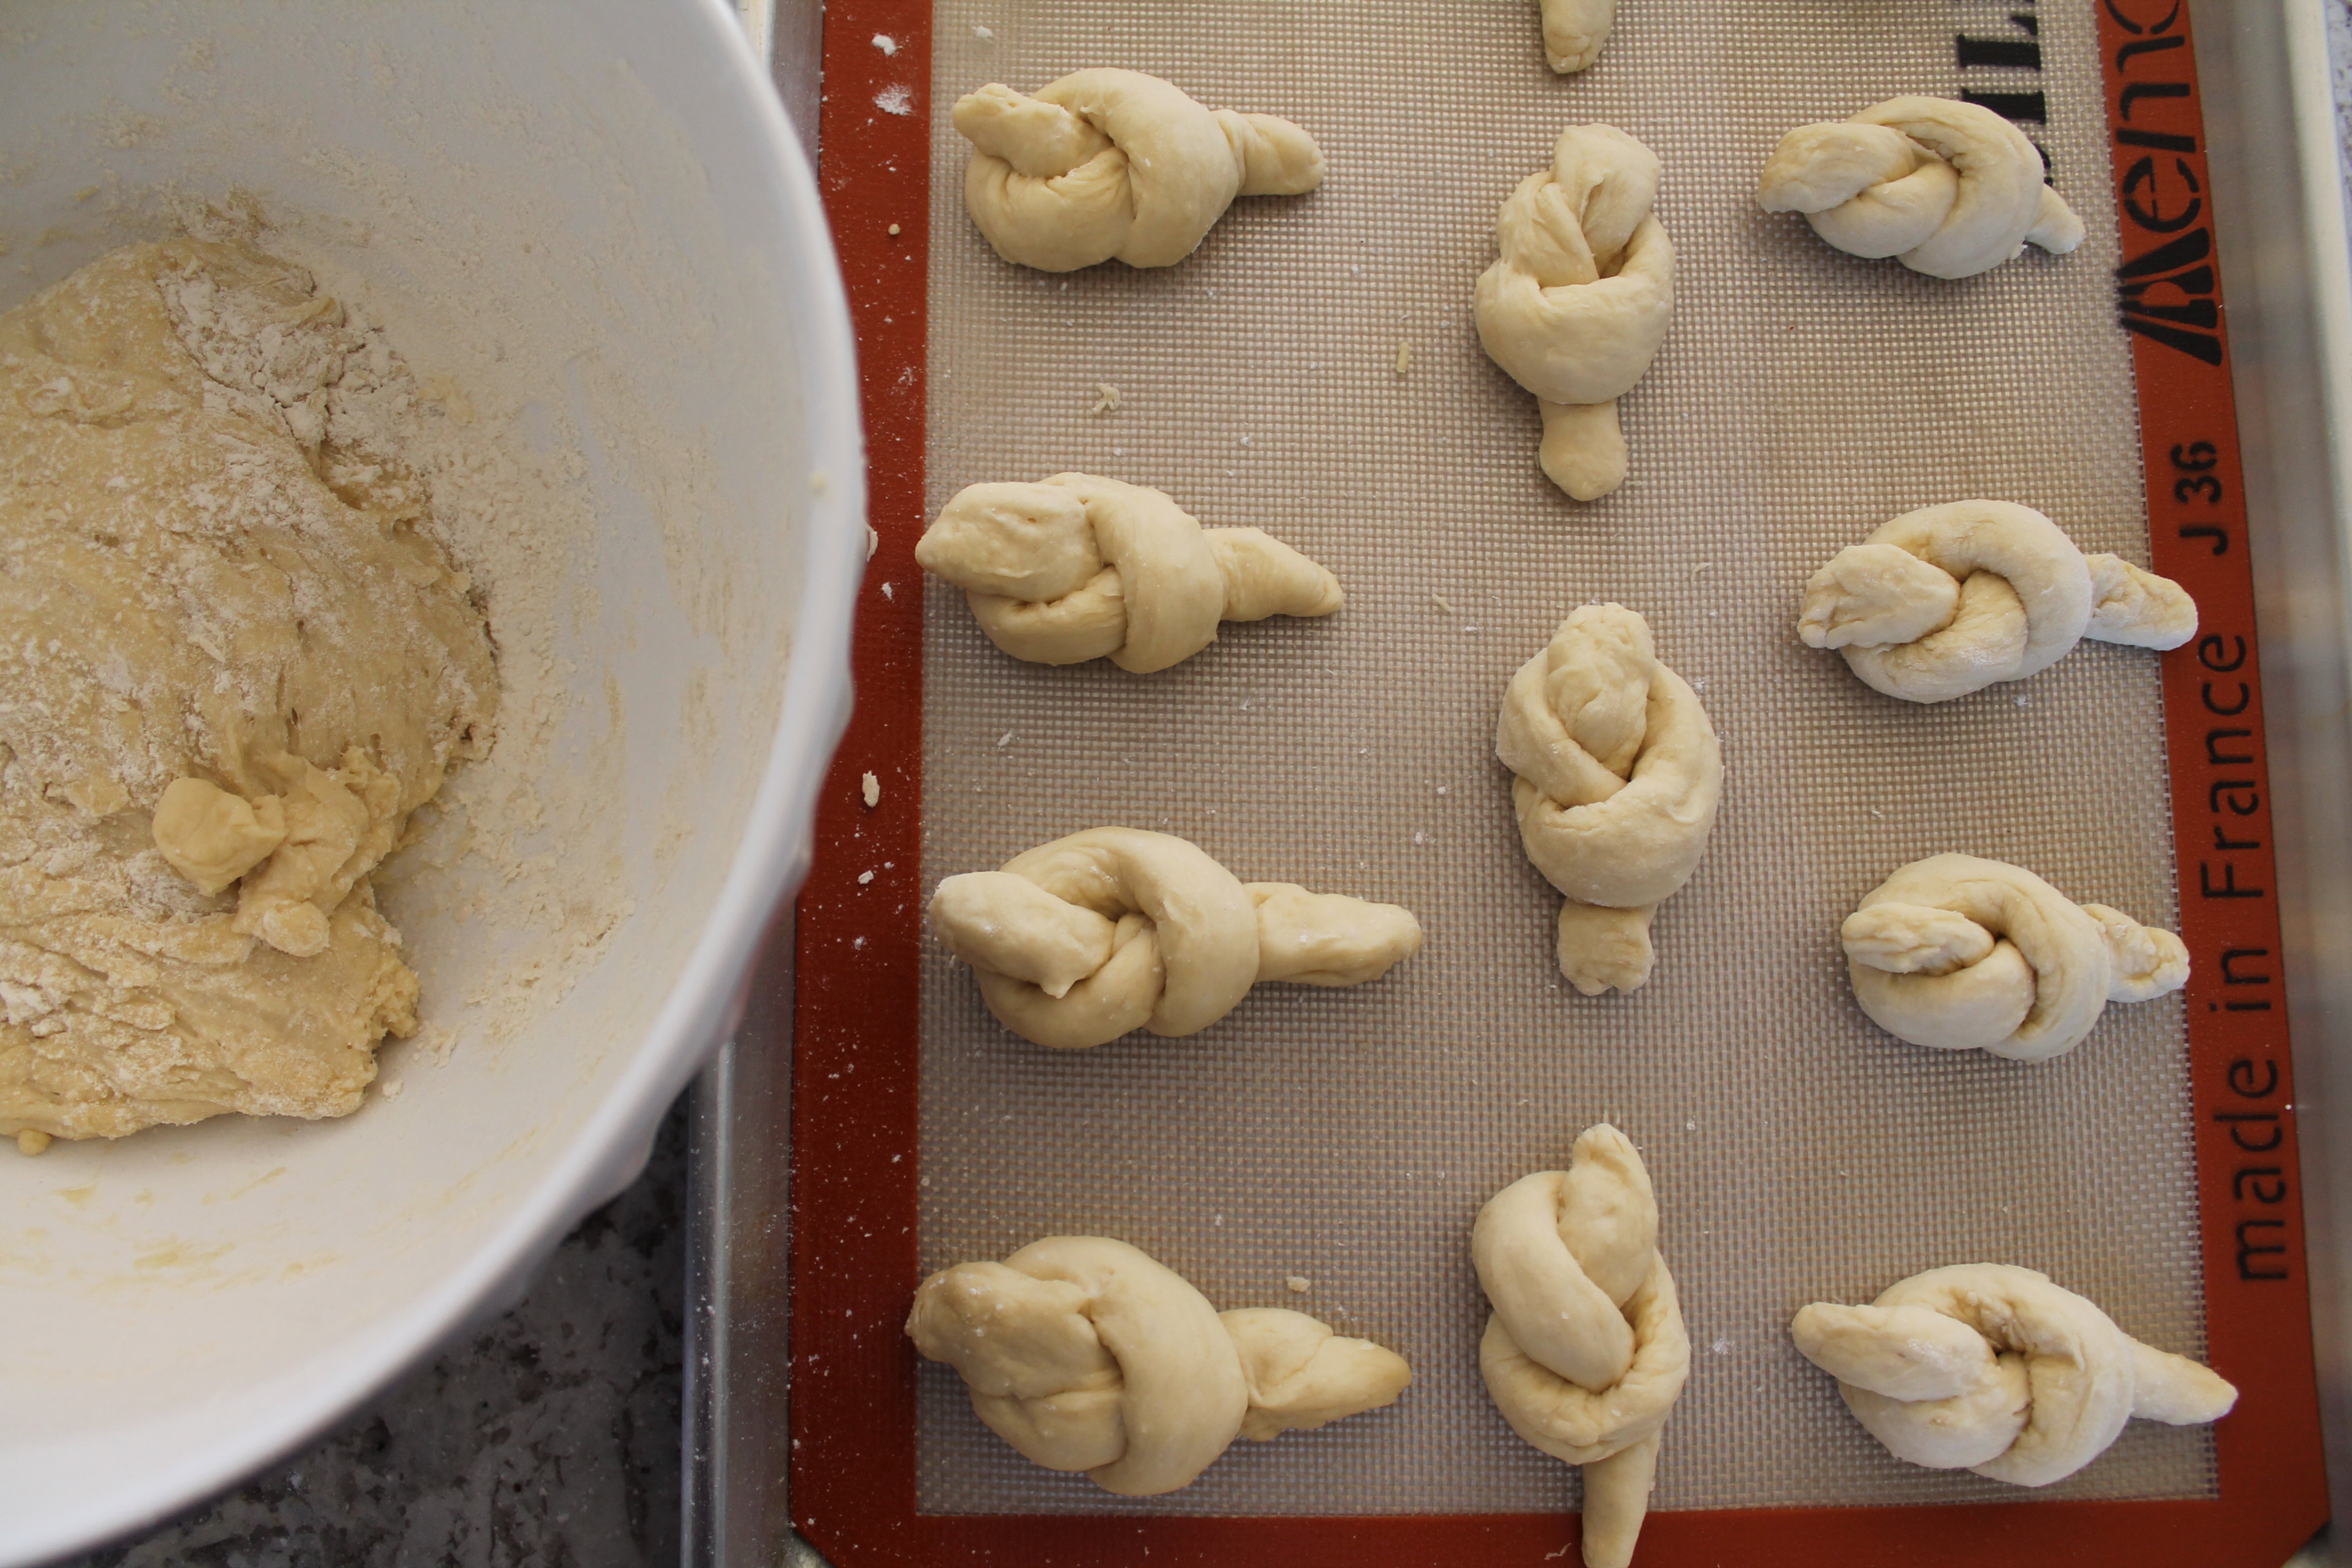 Place the knotted dough on a lined cookie sheet, at least 2″ apart. Let the rolls rise for 30 minutes.
Bake for 12–15 minutes, until puffed and golden on top. Seriously, let them get a little brown. A baker friend once told me that Americans do not bake things long enough, and that we have a tendency to be so worried about overbaking that we don’t get the beautiful and delicious caramelization most baked goods need to be their best!
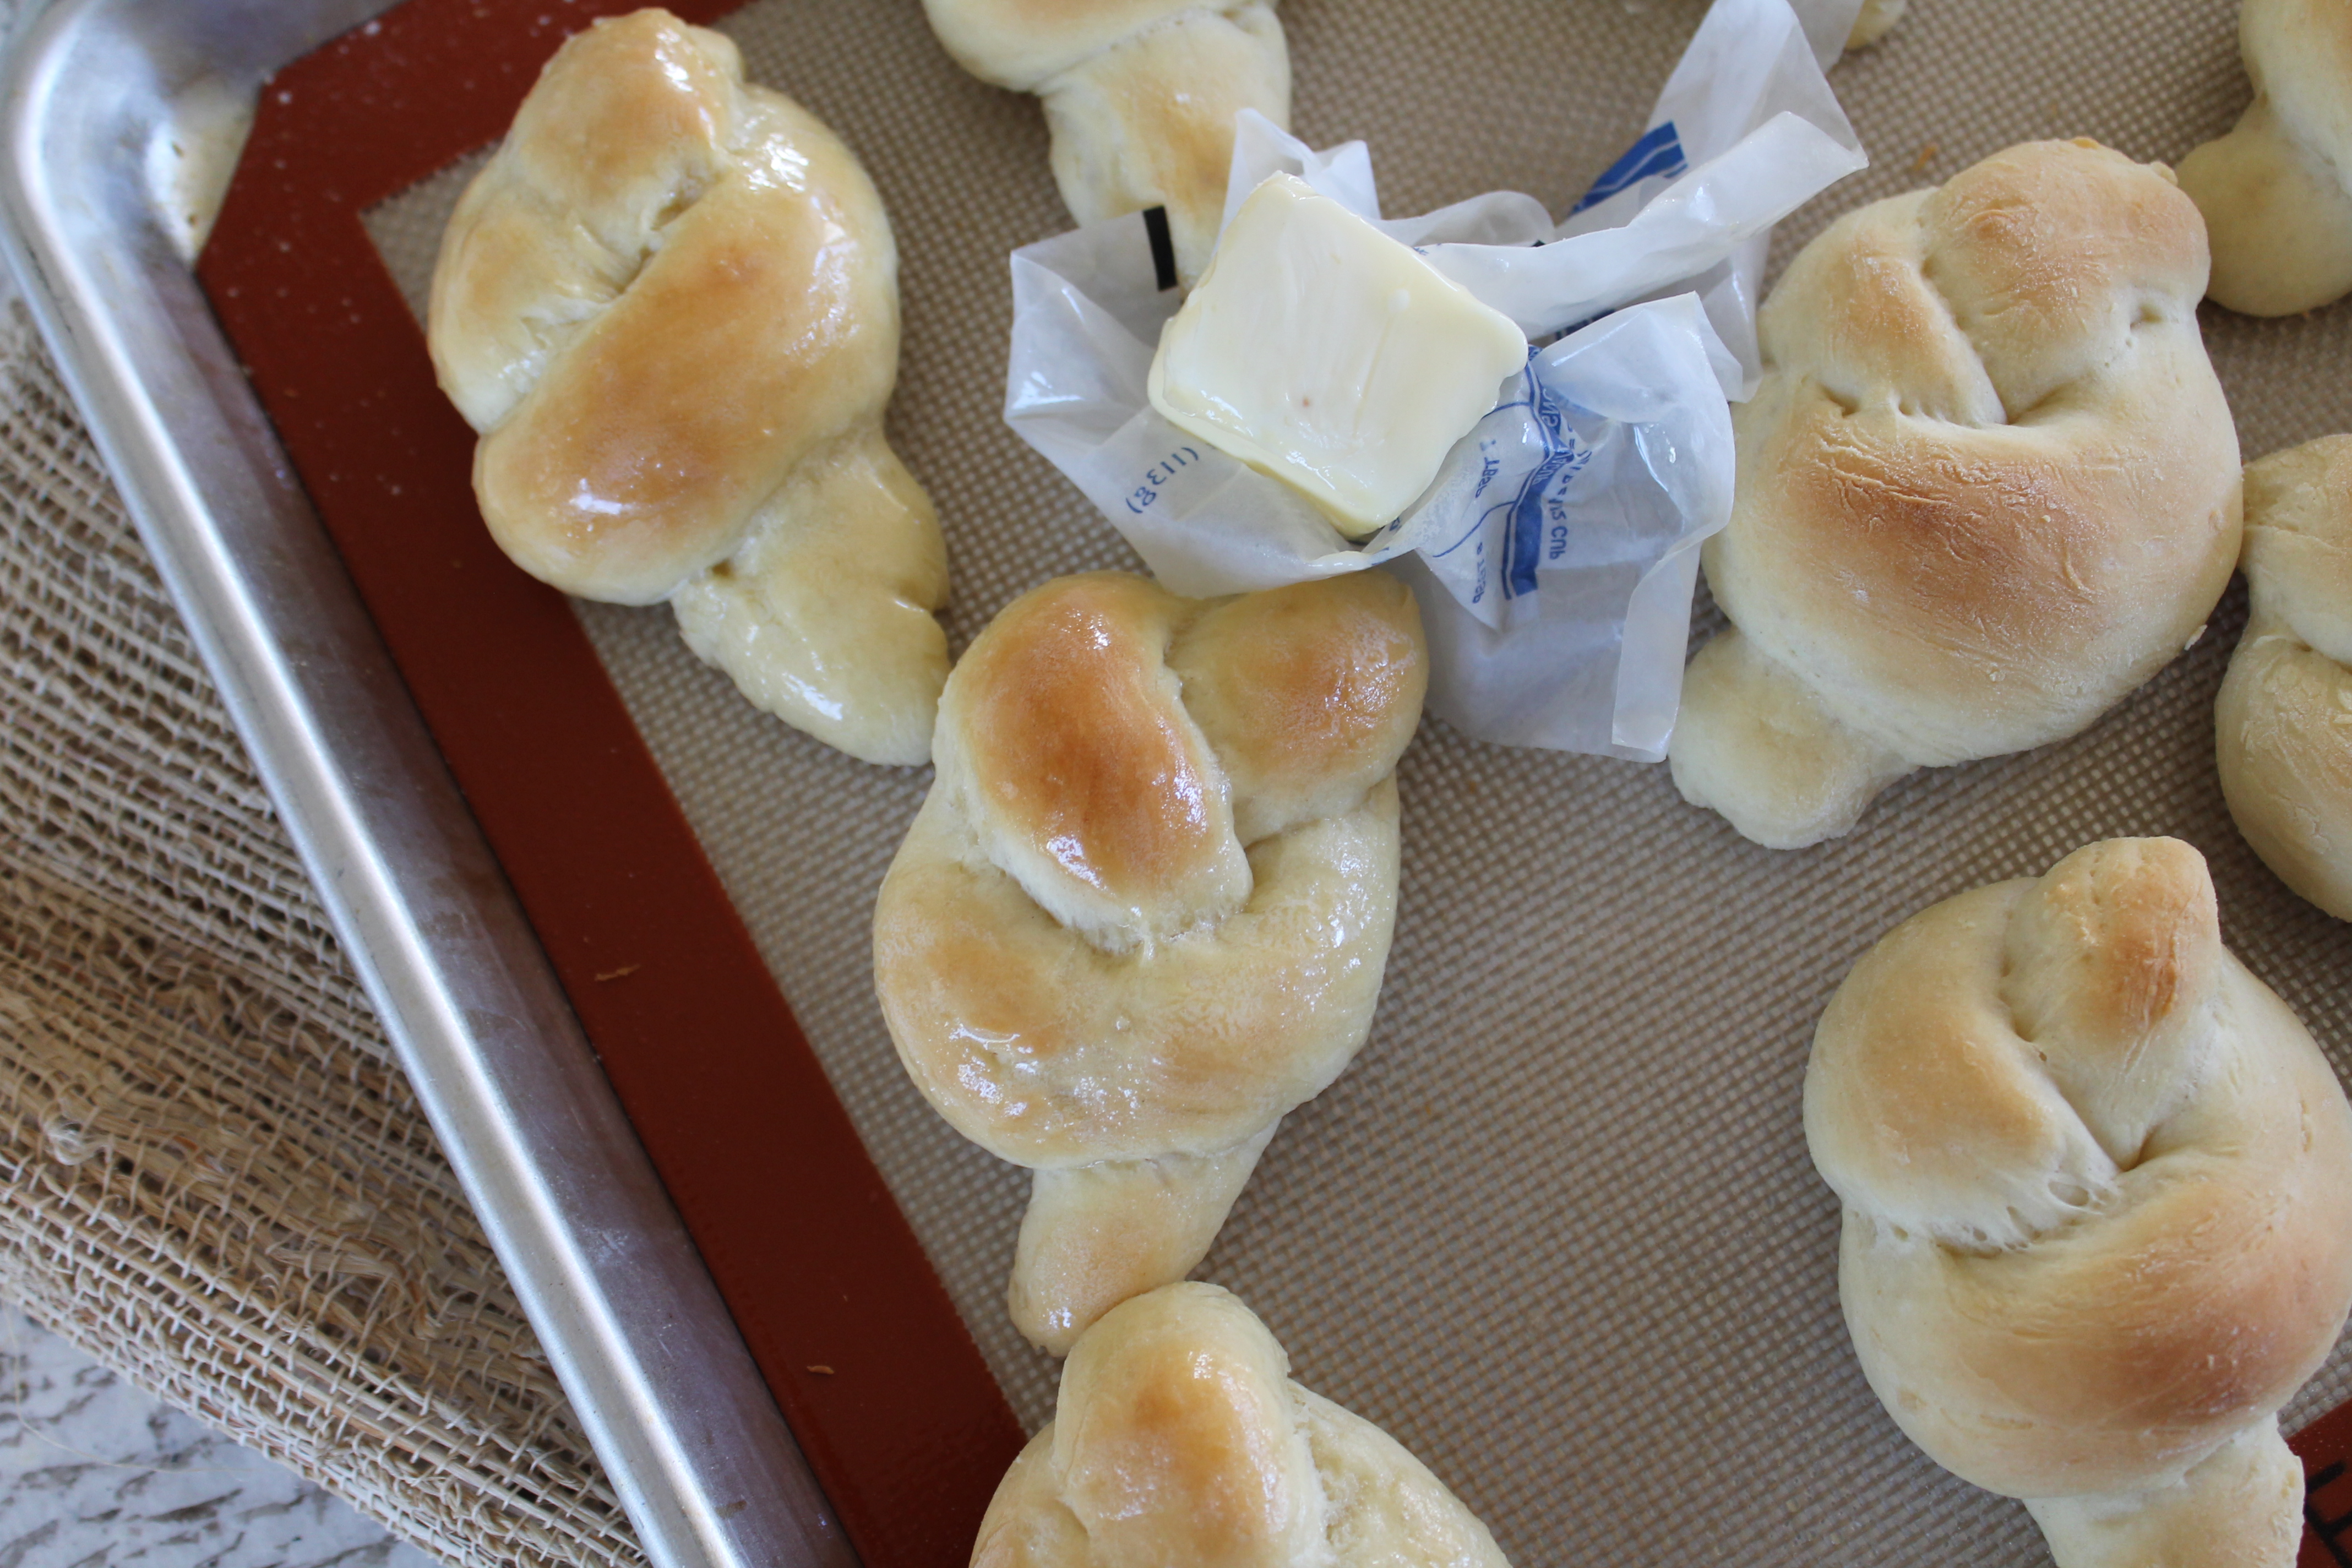 As soon as the rolls come out of the oven, immediately rub butter all over the tops. Salted, of course. Grandma always used the stick of butter for this, letting it melt as it came in contact with the hot rolls, but I suppose you could take the extra step of melting butter ahead of time and brushing it on if that’s your thing.
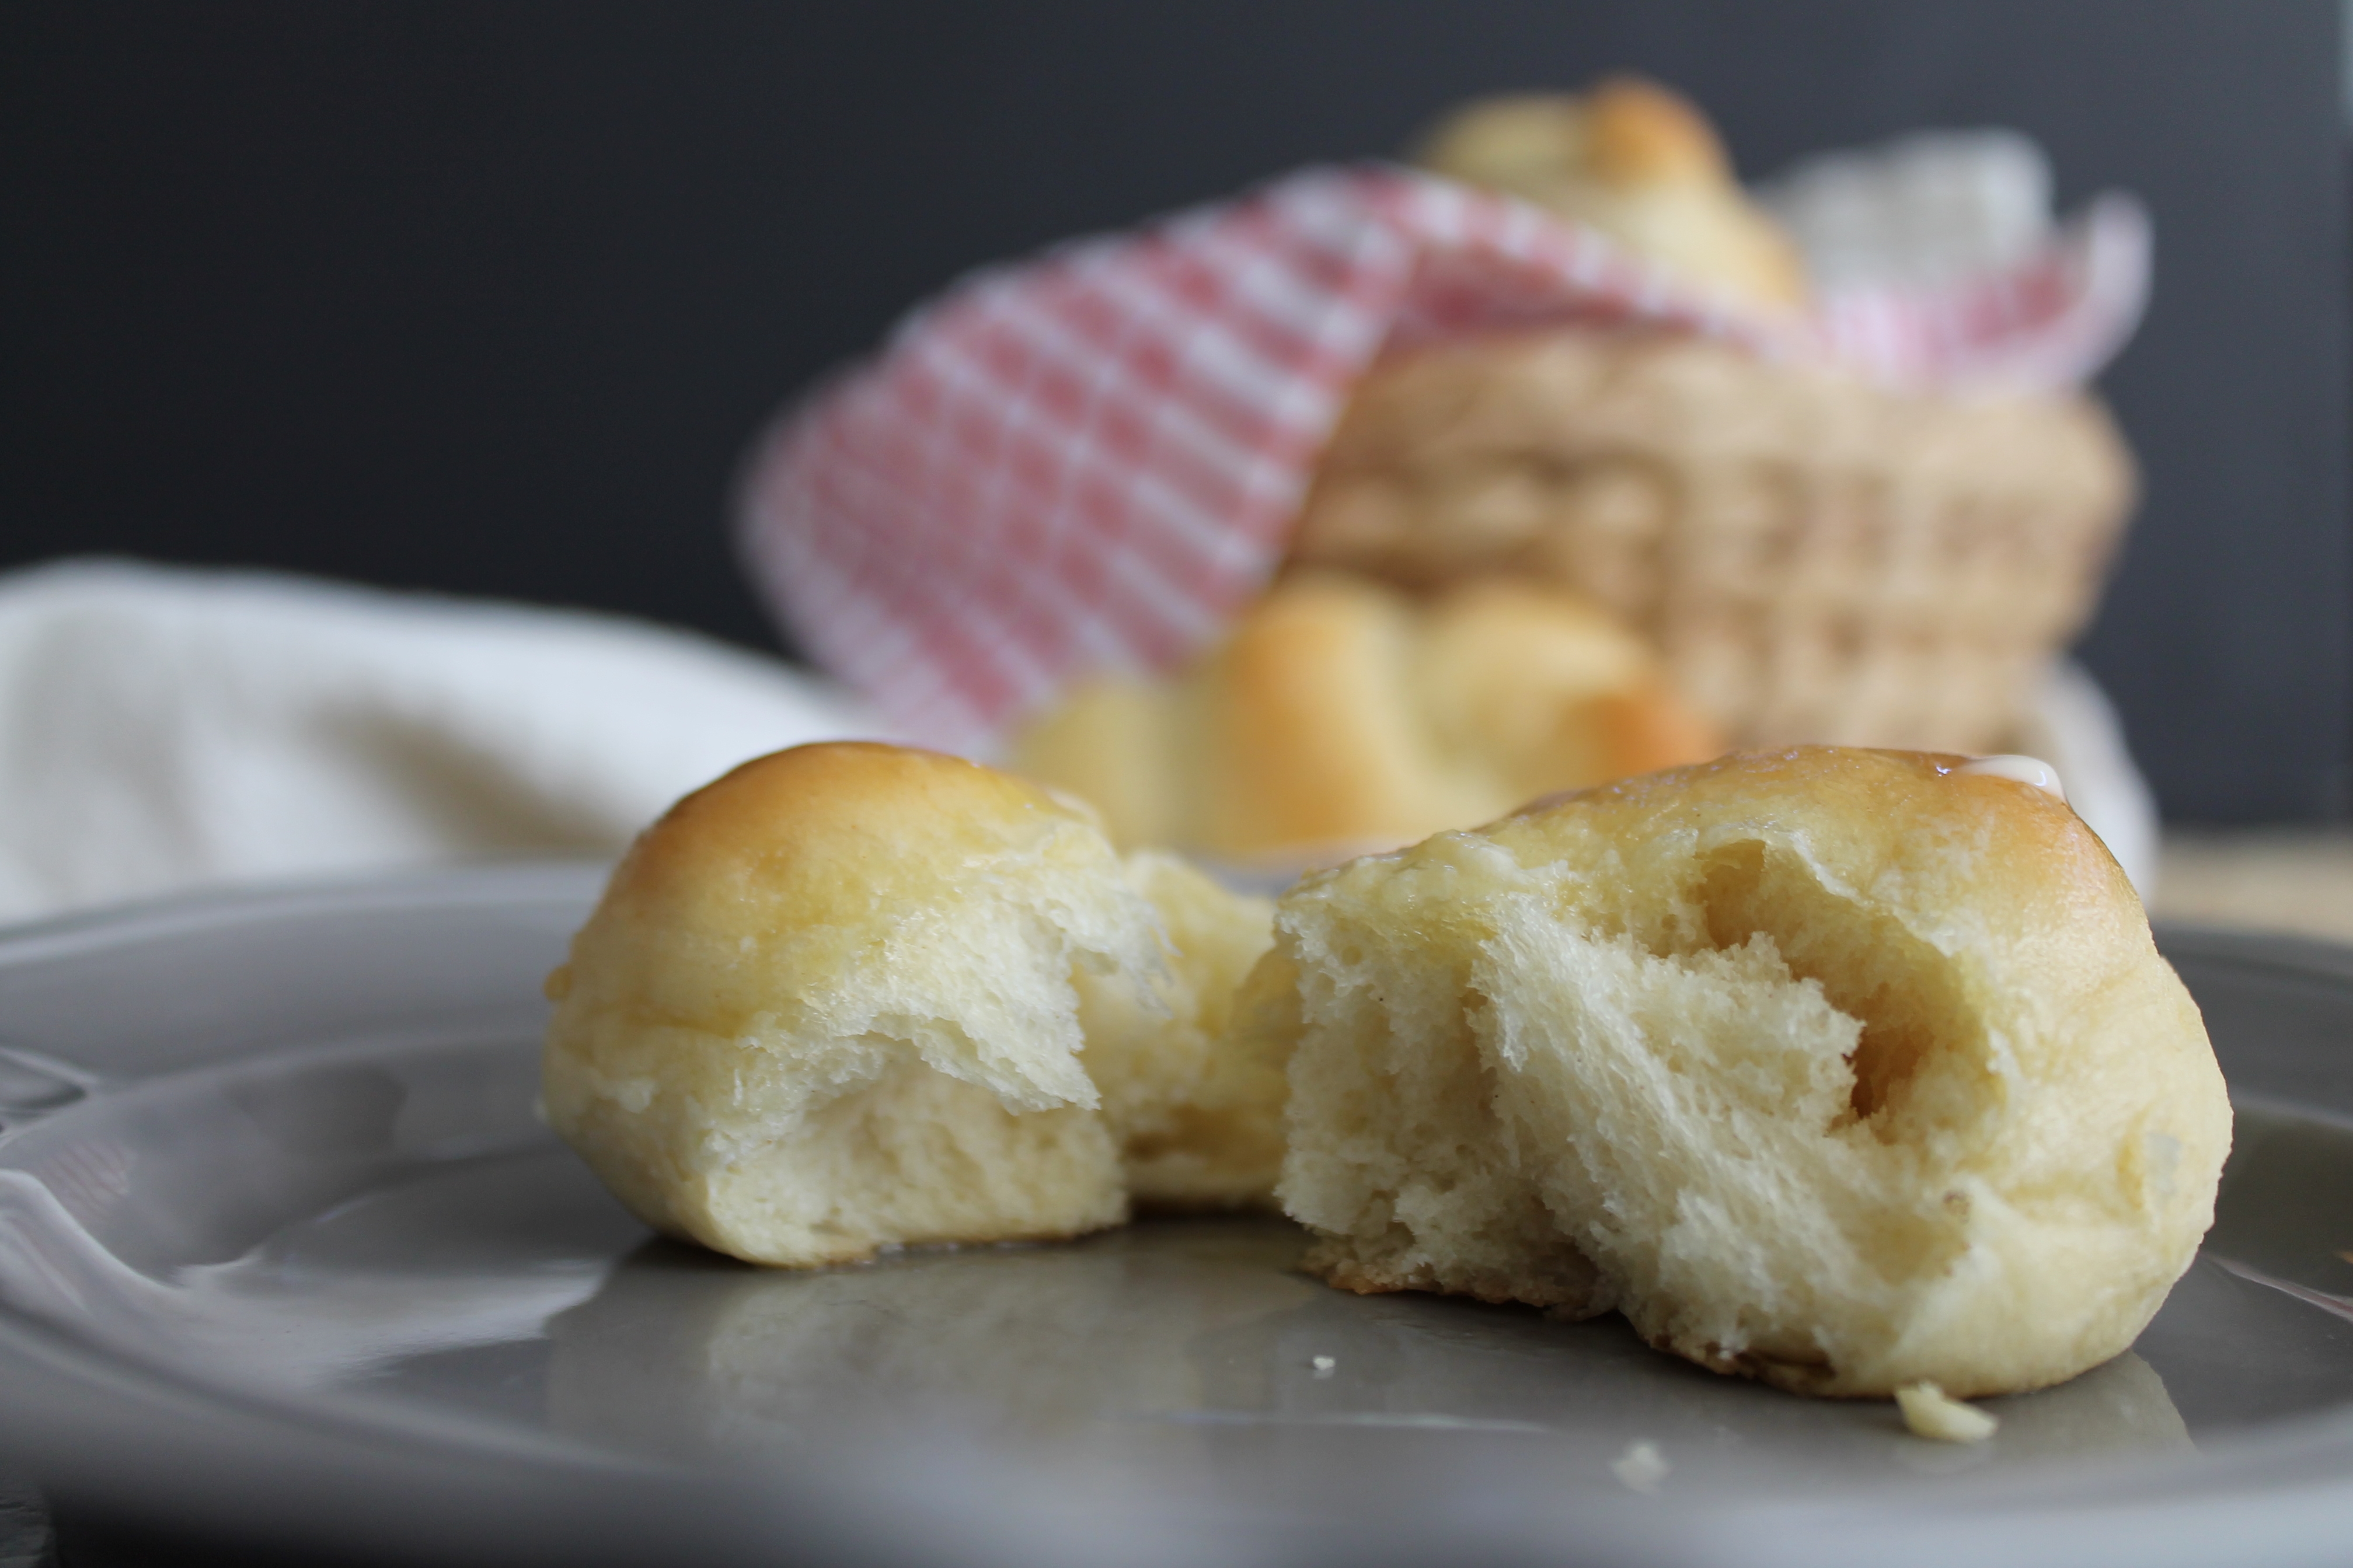 And now you can eat them! All of them! In your face! Eat them while they are still hot and the steam billows out of them after the first bite. Sneak another one when no one is looking. These rolls are the beeeeeest!
Grandma’s Knotted Rolls
from Mary Edwards
makes about 2 dozen
Ingredients:
¼ cup salted butter, melted
⅓ cup sugar
1 egg
1 cup warm water
4 cups flour, as needed, divided*
1 package (2¼ tsp.) active dry yeast
¼ tsp. salt (optional)
cooking spray
Directions:
Mix together butter, sugar, egg, and warm water in a large bowl. Add flour until the mixture looks soupy and clumpy like tapioca pudding, less than 2 cups.
Stir in the yeast and let the dough sit for 15 minutes, until bubbles form under the service.
Meanwhile, fill a 2-cup measuring cup with water and heat it in the microwave for 2 minutes. This creates a warm environment for the dough to rise in once all the flour is mixed in.
When the dough is bubbly, mix in more flour, about 1¼ cup, a bit at a time, until the dough is no longer gooey but is still sticky. Knead the dough 8–10 times in the bowl, adding a few sprinkles of flour as needed to help the dough be workable and it prevent sticking to your hands.
Spray the top of the dough with cooking spray, then set in the hot, moist microwave to rise for 30 minutes.
Remove the dough from the microwave and punch down. Rewarm the water, then return the dough to the microwave for another 30 minutes.
Spray a cookie sheet with cooking spray. Take the dough out of the microwave.
Working from the edges of the bowl into the center, pinch off small, golf ball–size chunks of dough to form the rolls. Roll each piece of dough between your palms to make a tube. Pull the ends of the tube and tie the dough into a knot. A knot of dough should be about 2″ in diameter. Set the knots onto the cookie sheet about 2ʺ apart, to allow them room to rise.
When all the rolls are tied, spray the tops with cooking spray and let them rise until double, at least 30 minutes.
Heat the oven to 350°.
Bake the rolls for 12–15 minutes, depending on their size. They should be very lightly brown and still soft to the touch.
When the rolls come out of the oven, immediately coat the tops in butter.
*Note: The amount of flour needed for this recipe is flexible, but about 3½ cups, including the flour sprinkled over the dough while kneading, is all that should be needed. Too much flour and the rolls will not be light and tender.
Enjoy!
- One year ago: Garlic Butter Roasted Mushrooms
- Two years ago: Black Bean Brownies
- Three years ago: Apple Cheddar Quickbread
- Four years ago: Butternut Squash and Goat Cheese Flatbread Pizza

3 comments to “Grandma’s Knotted Rolls”
Sarah@WellDined - November 12, 2015
These were SO GOOD!
deliciousdaydreams - November 12, 2015
Oh my gosh. They look so soft and squishy. Drool.
chefceaser - July 28, 2016
Reblogged this on Chef Ceaser.