“Don’t you just love New York in the Fall? … It makes me want to buy school supplies. I would send you a bouquet of newly sharpened pencils if only I knew your name and address. On the other hand, this not knowing has its charms.”
One of my favorite movies of all time is the Meg Ryan/Tom Hanks version of You’ve Got Mail. I haven’t watched it in ages, partly because I only own it on VHS (!!). But when I look outside at the beautiful golden and red leaves (which are now carpeting our lawn), I almost always find myself thinking about children’s bookstores, scotch tape, and bouquets of sharpened pencils.
I’ve only been to New York once (and it was about a thousand degrees outside…definitely not Fall), but when I think about an iconic New York food, I don’t think pizza or hot dogs or even bagels. I think black and white cookies. Go into any deli on any street corner and you will find a dozen of these gigantic cookies sitting at the cash register, looking perfect and wrapped in plastic wrap. Unfortunately, I learned the hard way that black and white cookies can fall anywhere on a spectrum from moist and sweet with slightly crunchy frosting, to dry and flavorless through and through.
But since I’m not in New York right now, I figured I’d better learn how to make my own black and white cookies, so I will never have to take a gamble on quality, and I can spend each bite debating: is the chocolate side better than the vanilla, or vice versa? You’d be surprised how hard it is to answer that question…
In honor of New York in the Fall, let’s make black and white cookies together!
These cookies are really like puffs cake coated in cookie glaze. They look complicated, but I promise they really aren’t.
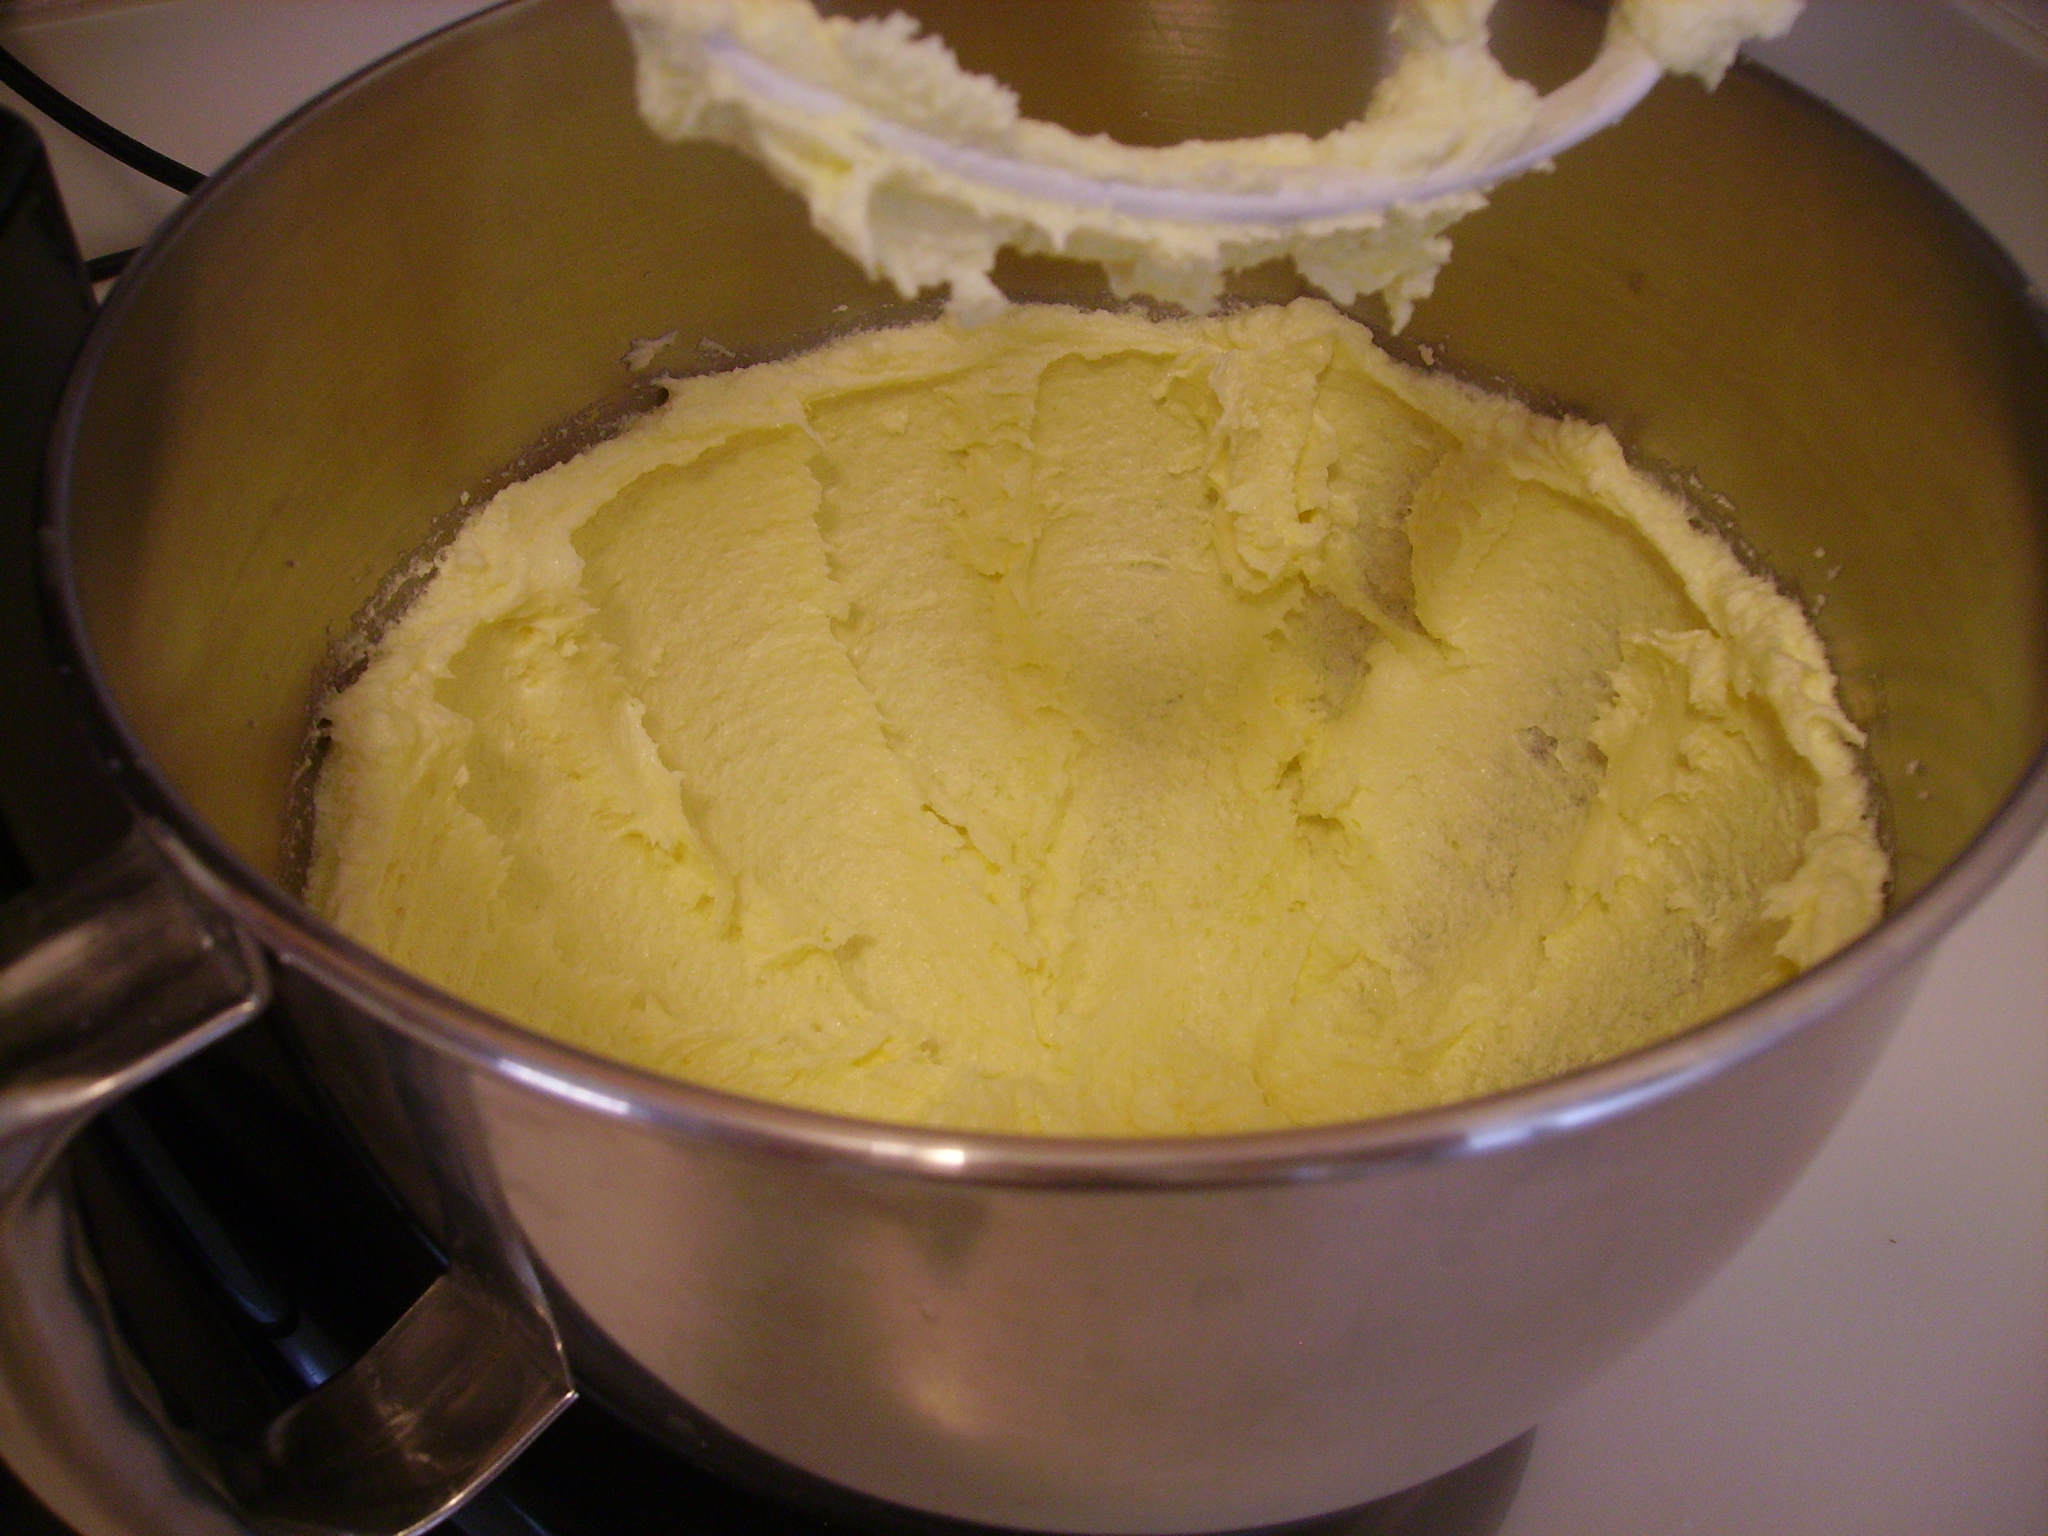 Start as you would with any cake, by creaming your butter and sugar together. Meanwhile, whisk together the dry ingredients and stir together the wet ingredients.
Traditional black and white cookies are a little bit lemony. Now, I am not a huge fan of lemon, but I figured I’d better do it right, so I tossed a little bit of lemon zest into the creamed butter and stirred that in before adding the eggs.
Stir in the eggs, making sure to scrape the sides of the bowl really well so none of the butter stays stuck to the edges. Your mixture should look really soft and silky.
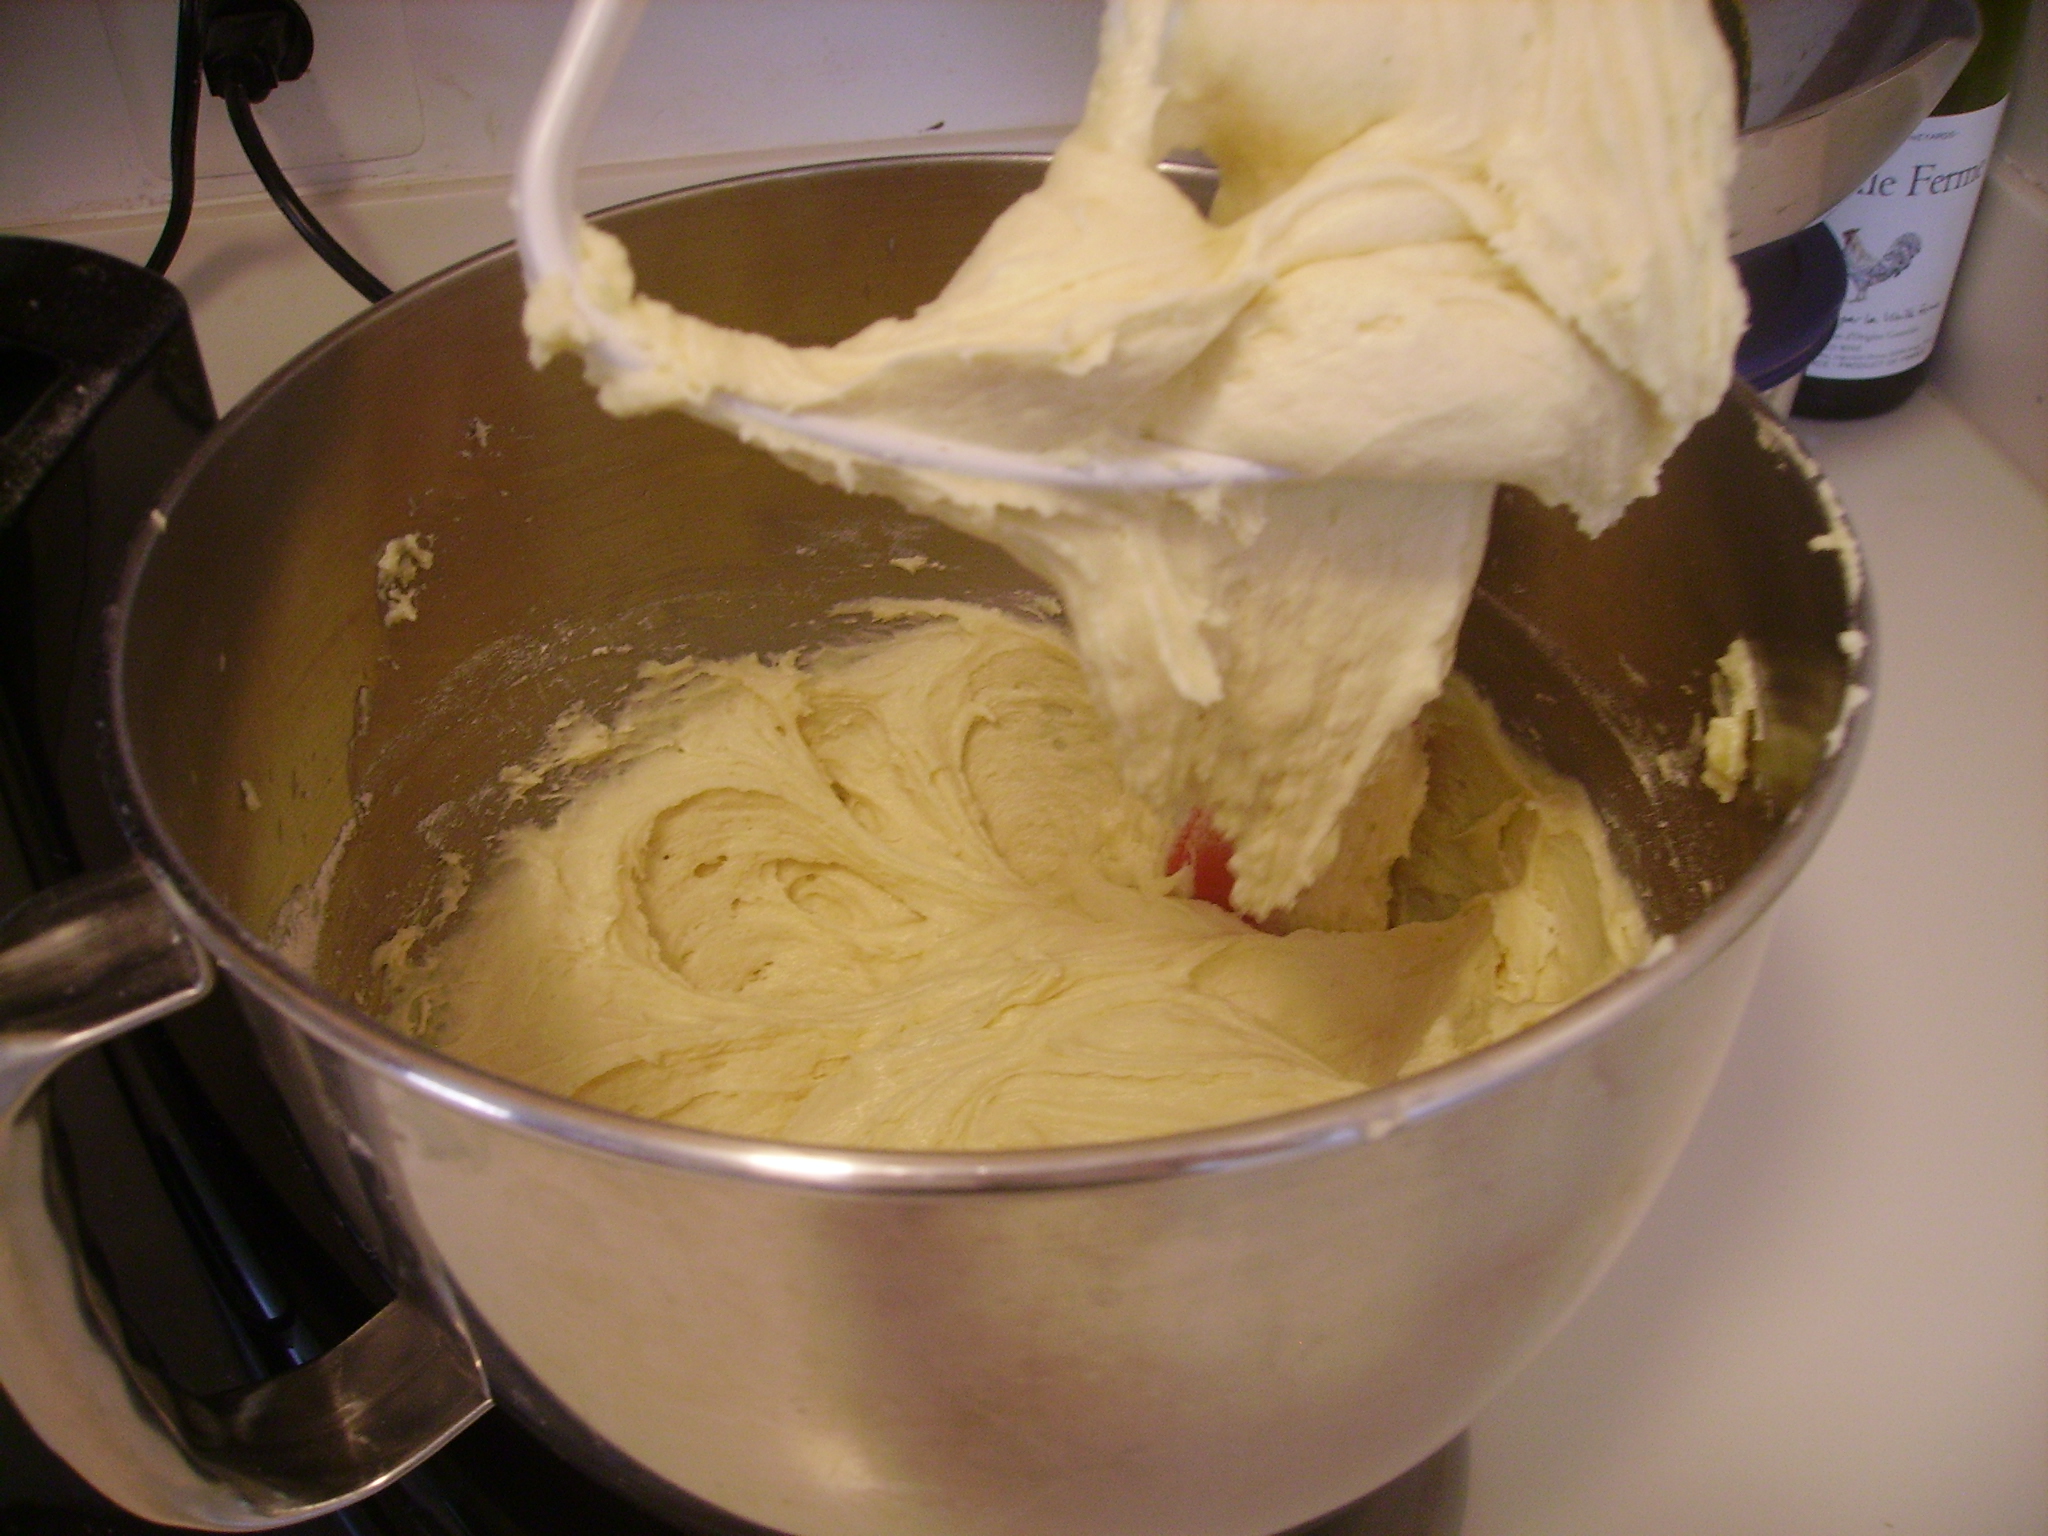 Again, as with any cake, alternate adding the dry ingredients and the wet ingredients, starting and ending with the dry, and stirring between each addition. I did this step quickly, adding half the flour mixture to start, then all of the buttermilk, then the remainder of the flour mixture.
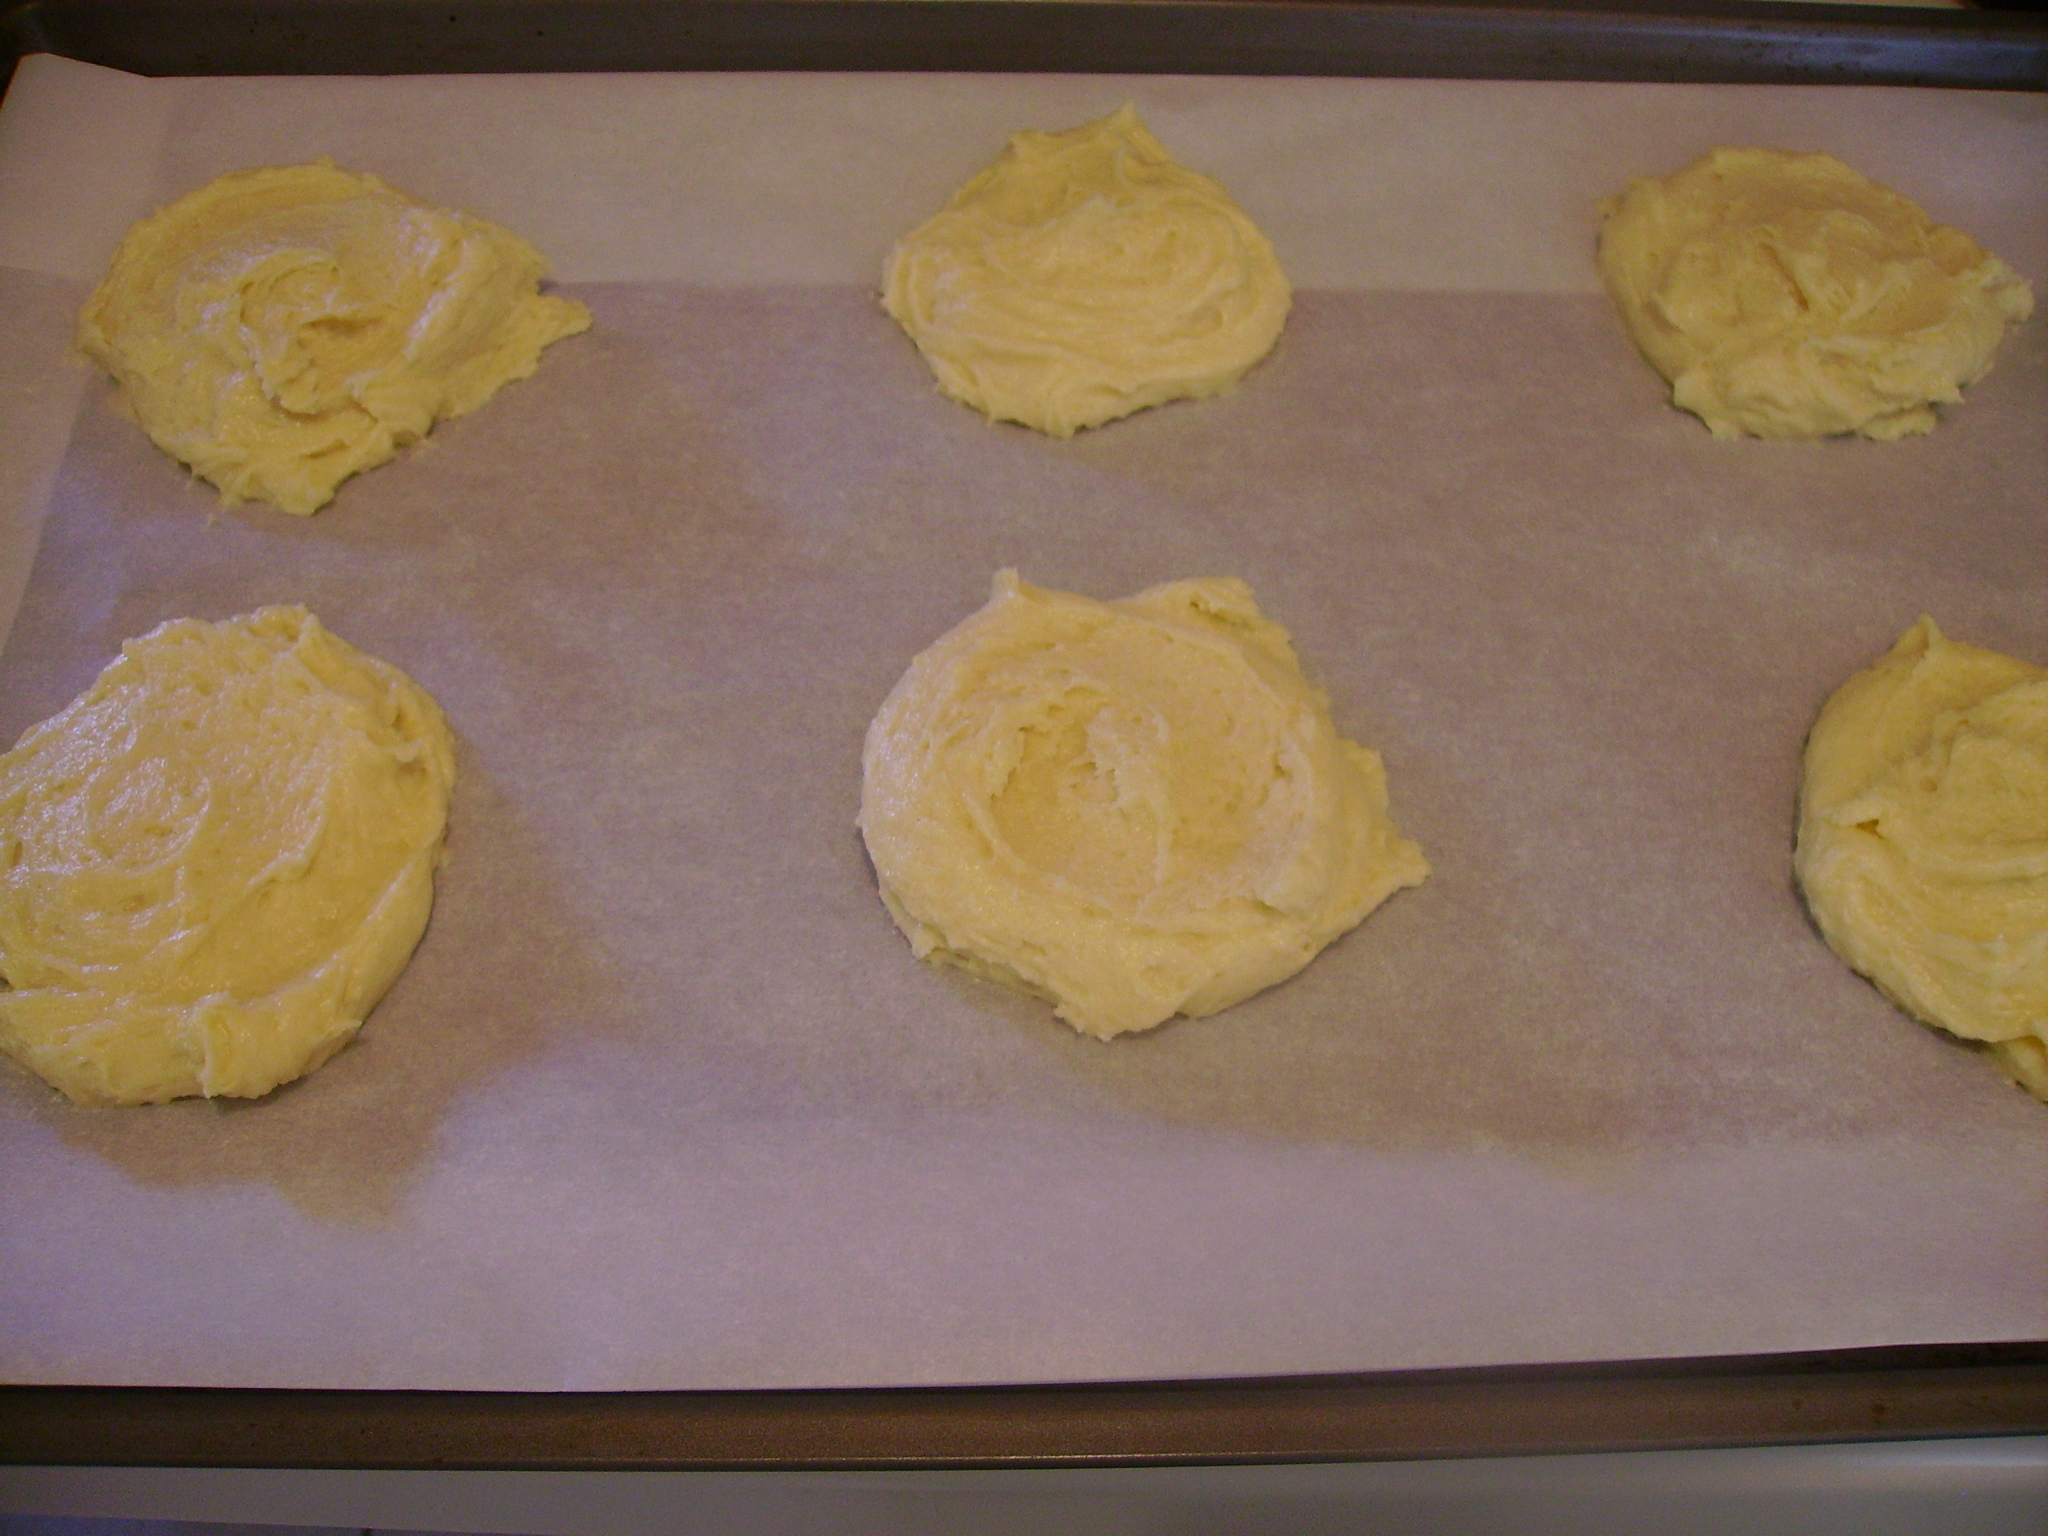 Line two baking sheets with parchment paper. Using a large spoon, scoop about ¼ cup of dough onto the sheet and spread it out slightly. Try to get it into a circle…I failed at the shaping, so my cookies were ovals and hearts and funky, bumpy-edged discs. Repeat, leaving at least 2″ between each wide circle. Don’t try to fit more than 6 cookies on one sheet, unless your cookie sheet is seriously industrial-sized.
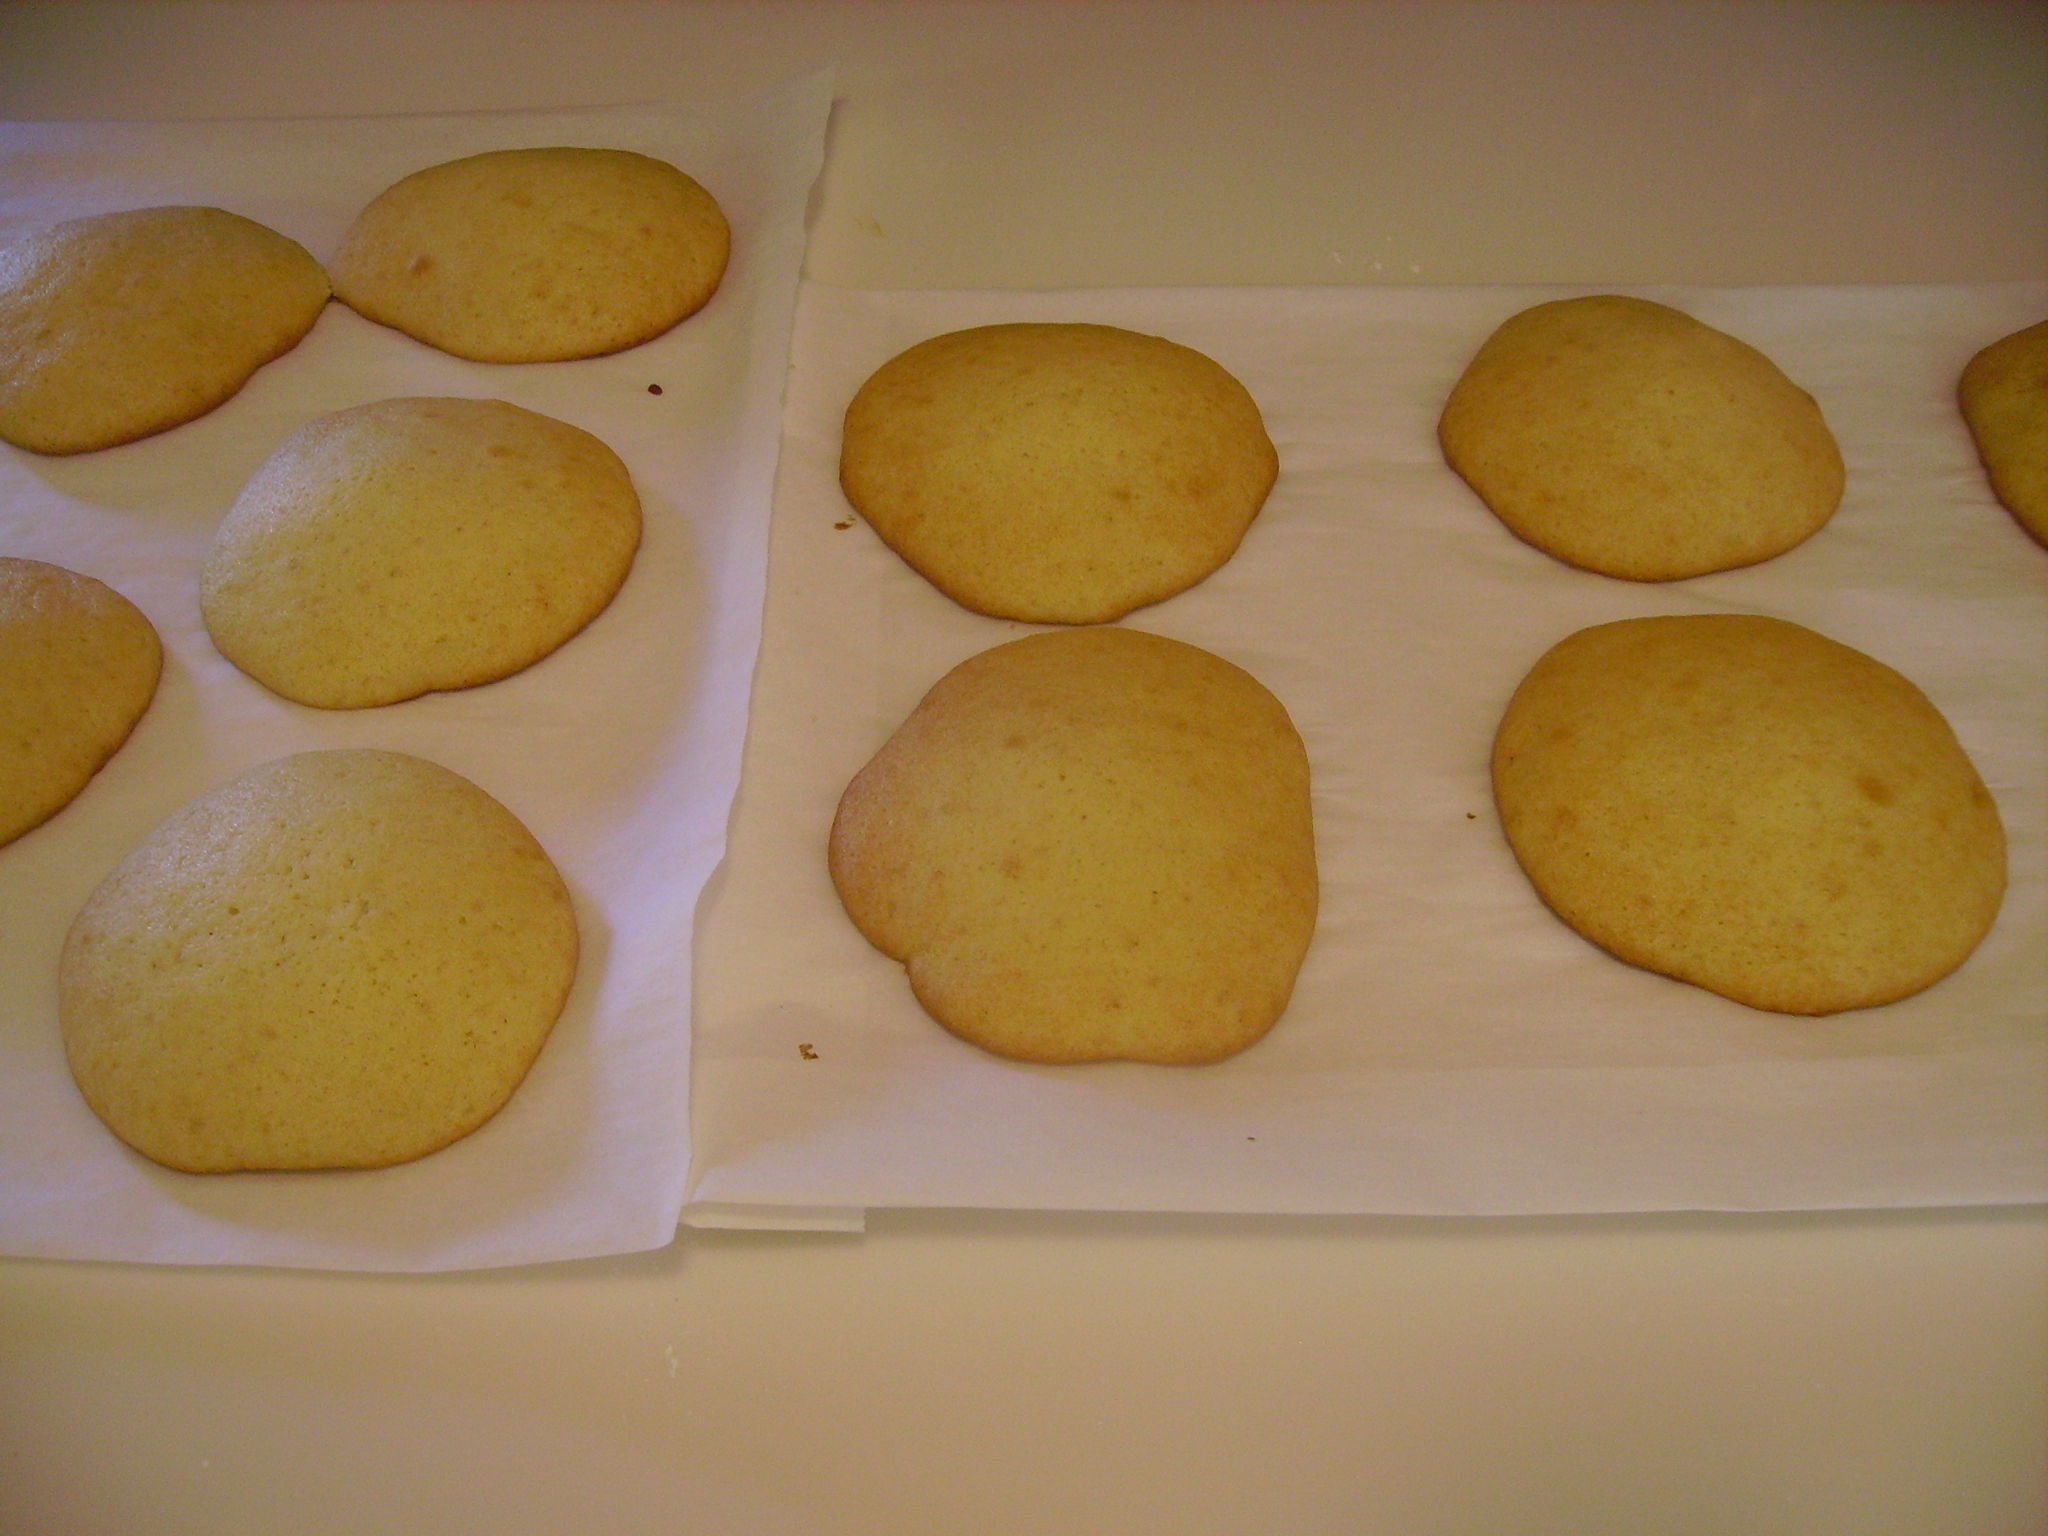 Bake the cookies for 13–16 minutes. Mine were puffy and golden after about 14 minutes.
Remove the parchment from the baking sheet with the cookies still on it. Set it on the counter to cool completely.
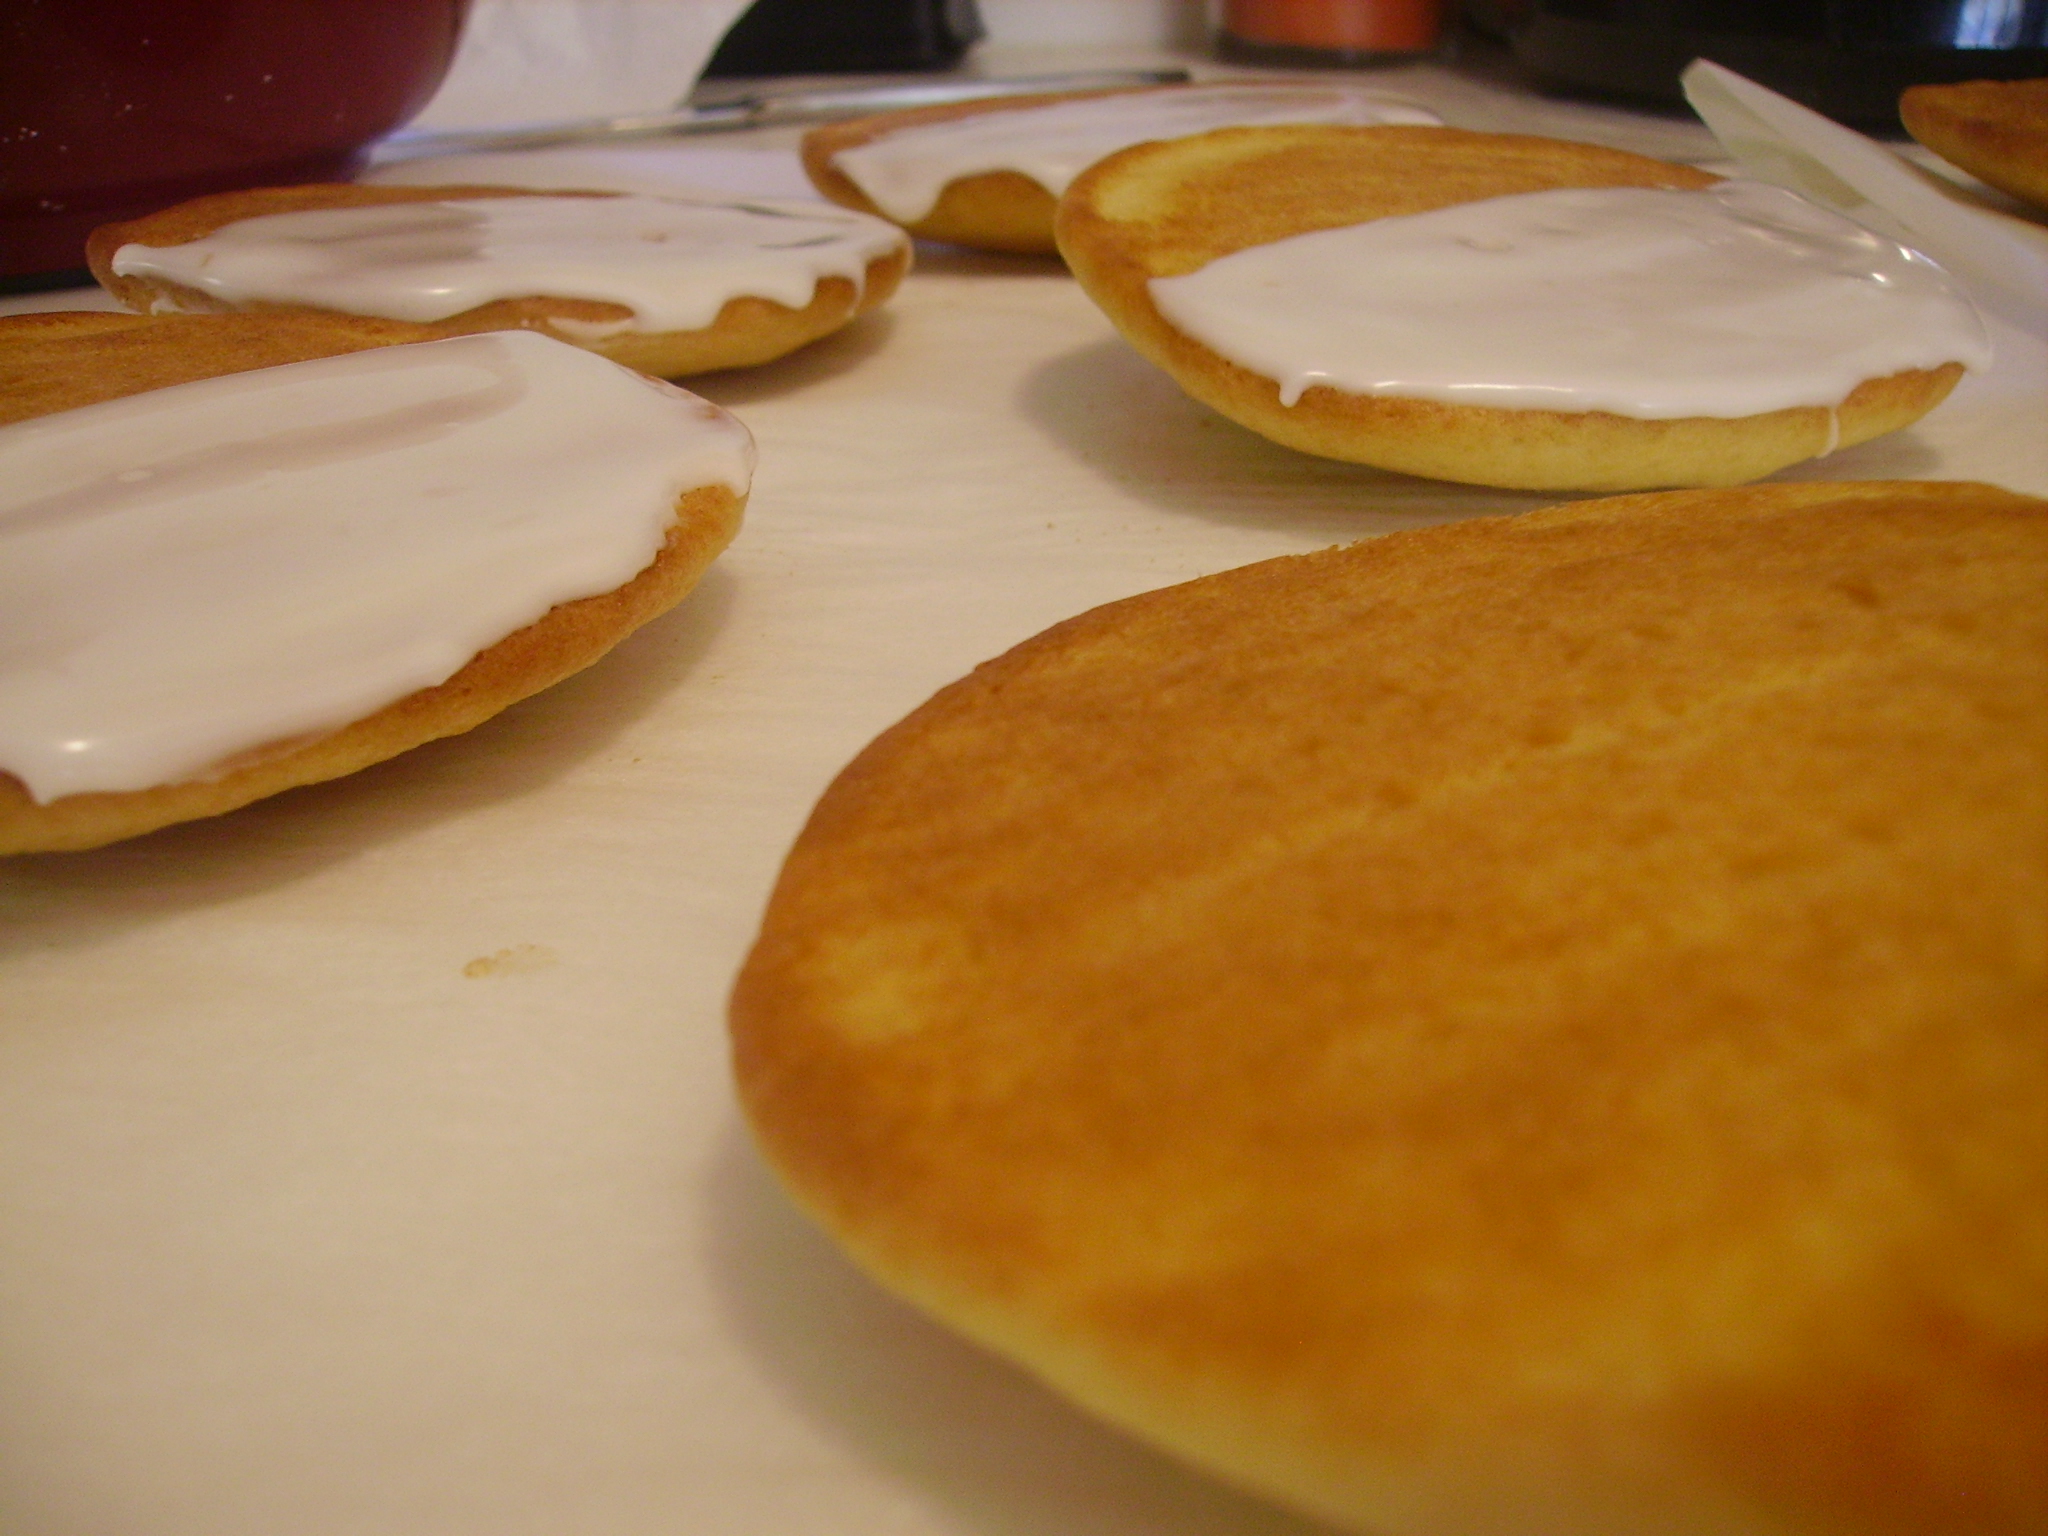 When the cookies are completely cooled, turn them over so you can frost the bottoms. Yes, that’s right…frost the dark, flat bottom side instead of the top. You want the icing to stay put rather than drip down away from the center of the cookie.
Stir together the vanilla frosting first. Add the milk carefully, 1 tbsp. at a time, until you reach a thick but liquidy, spreadable consistency. Using a spoon or a knife, cover half of each cookie with vanilla frosting.
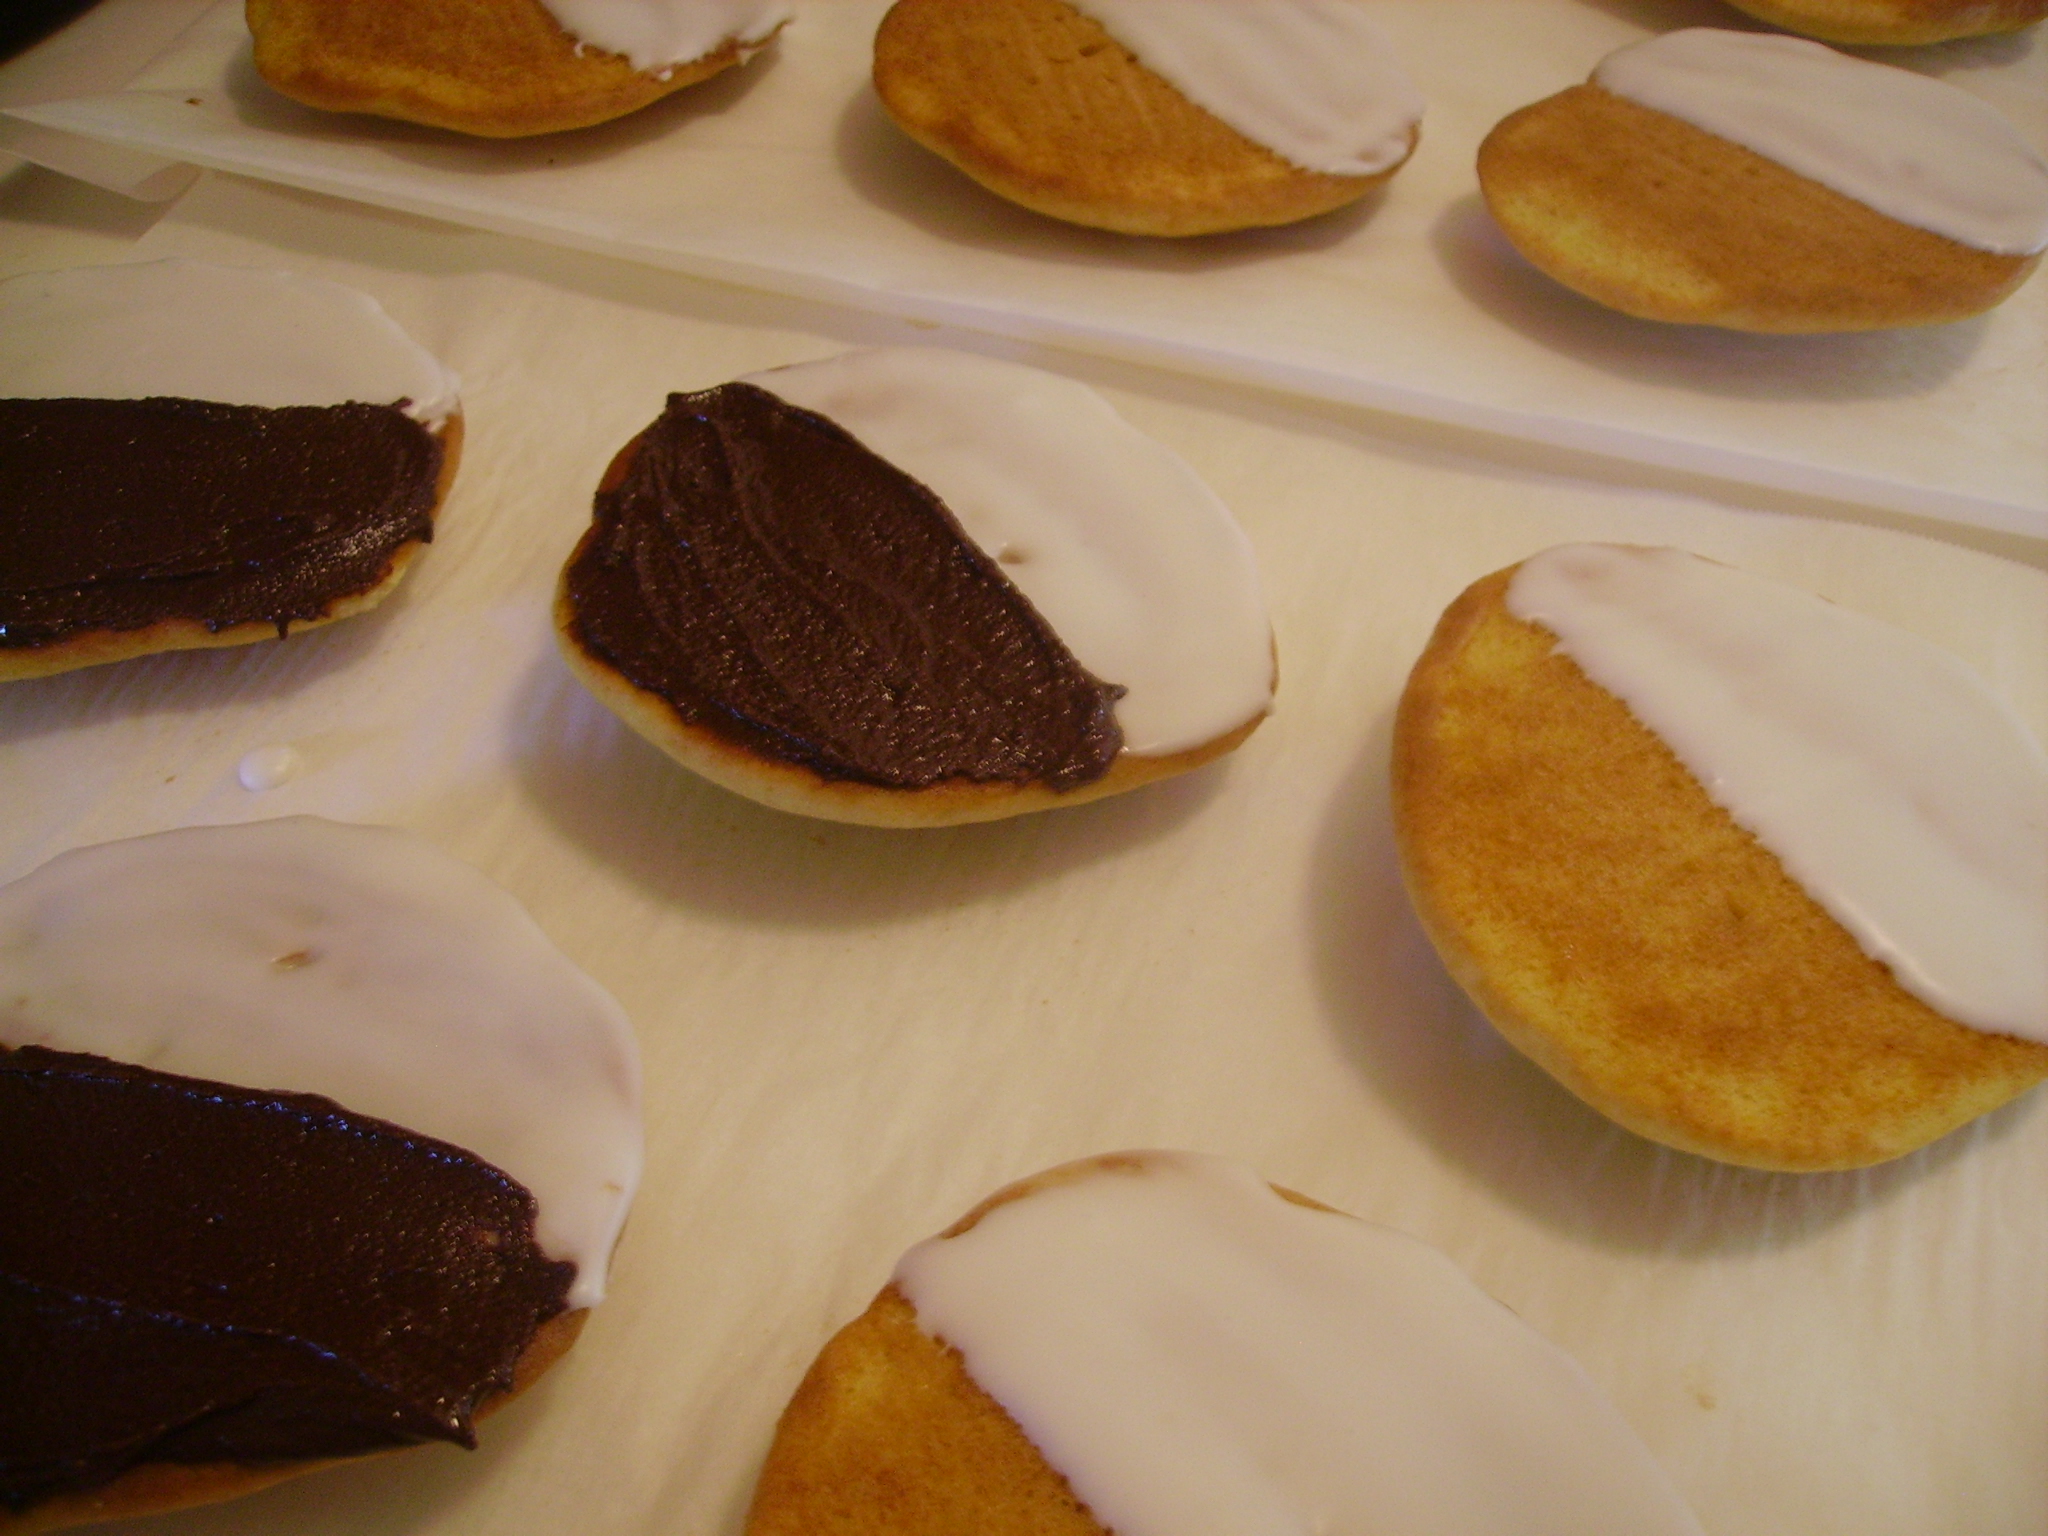 Stir together the chocolate frosting. While the chocolate is still warm, spread the other half of each cookie with chocolate. Let the cookies sit out for at least 1 hour so the frostings will set.
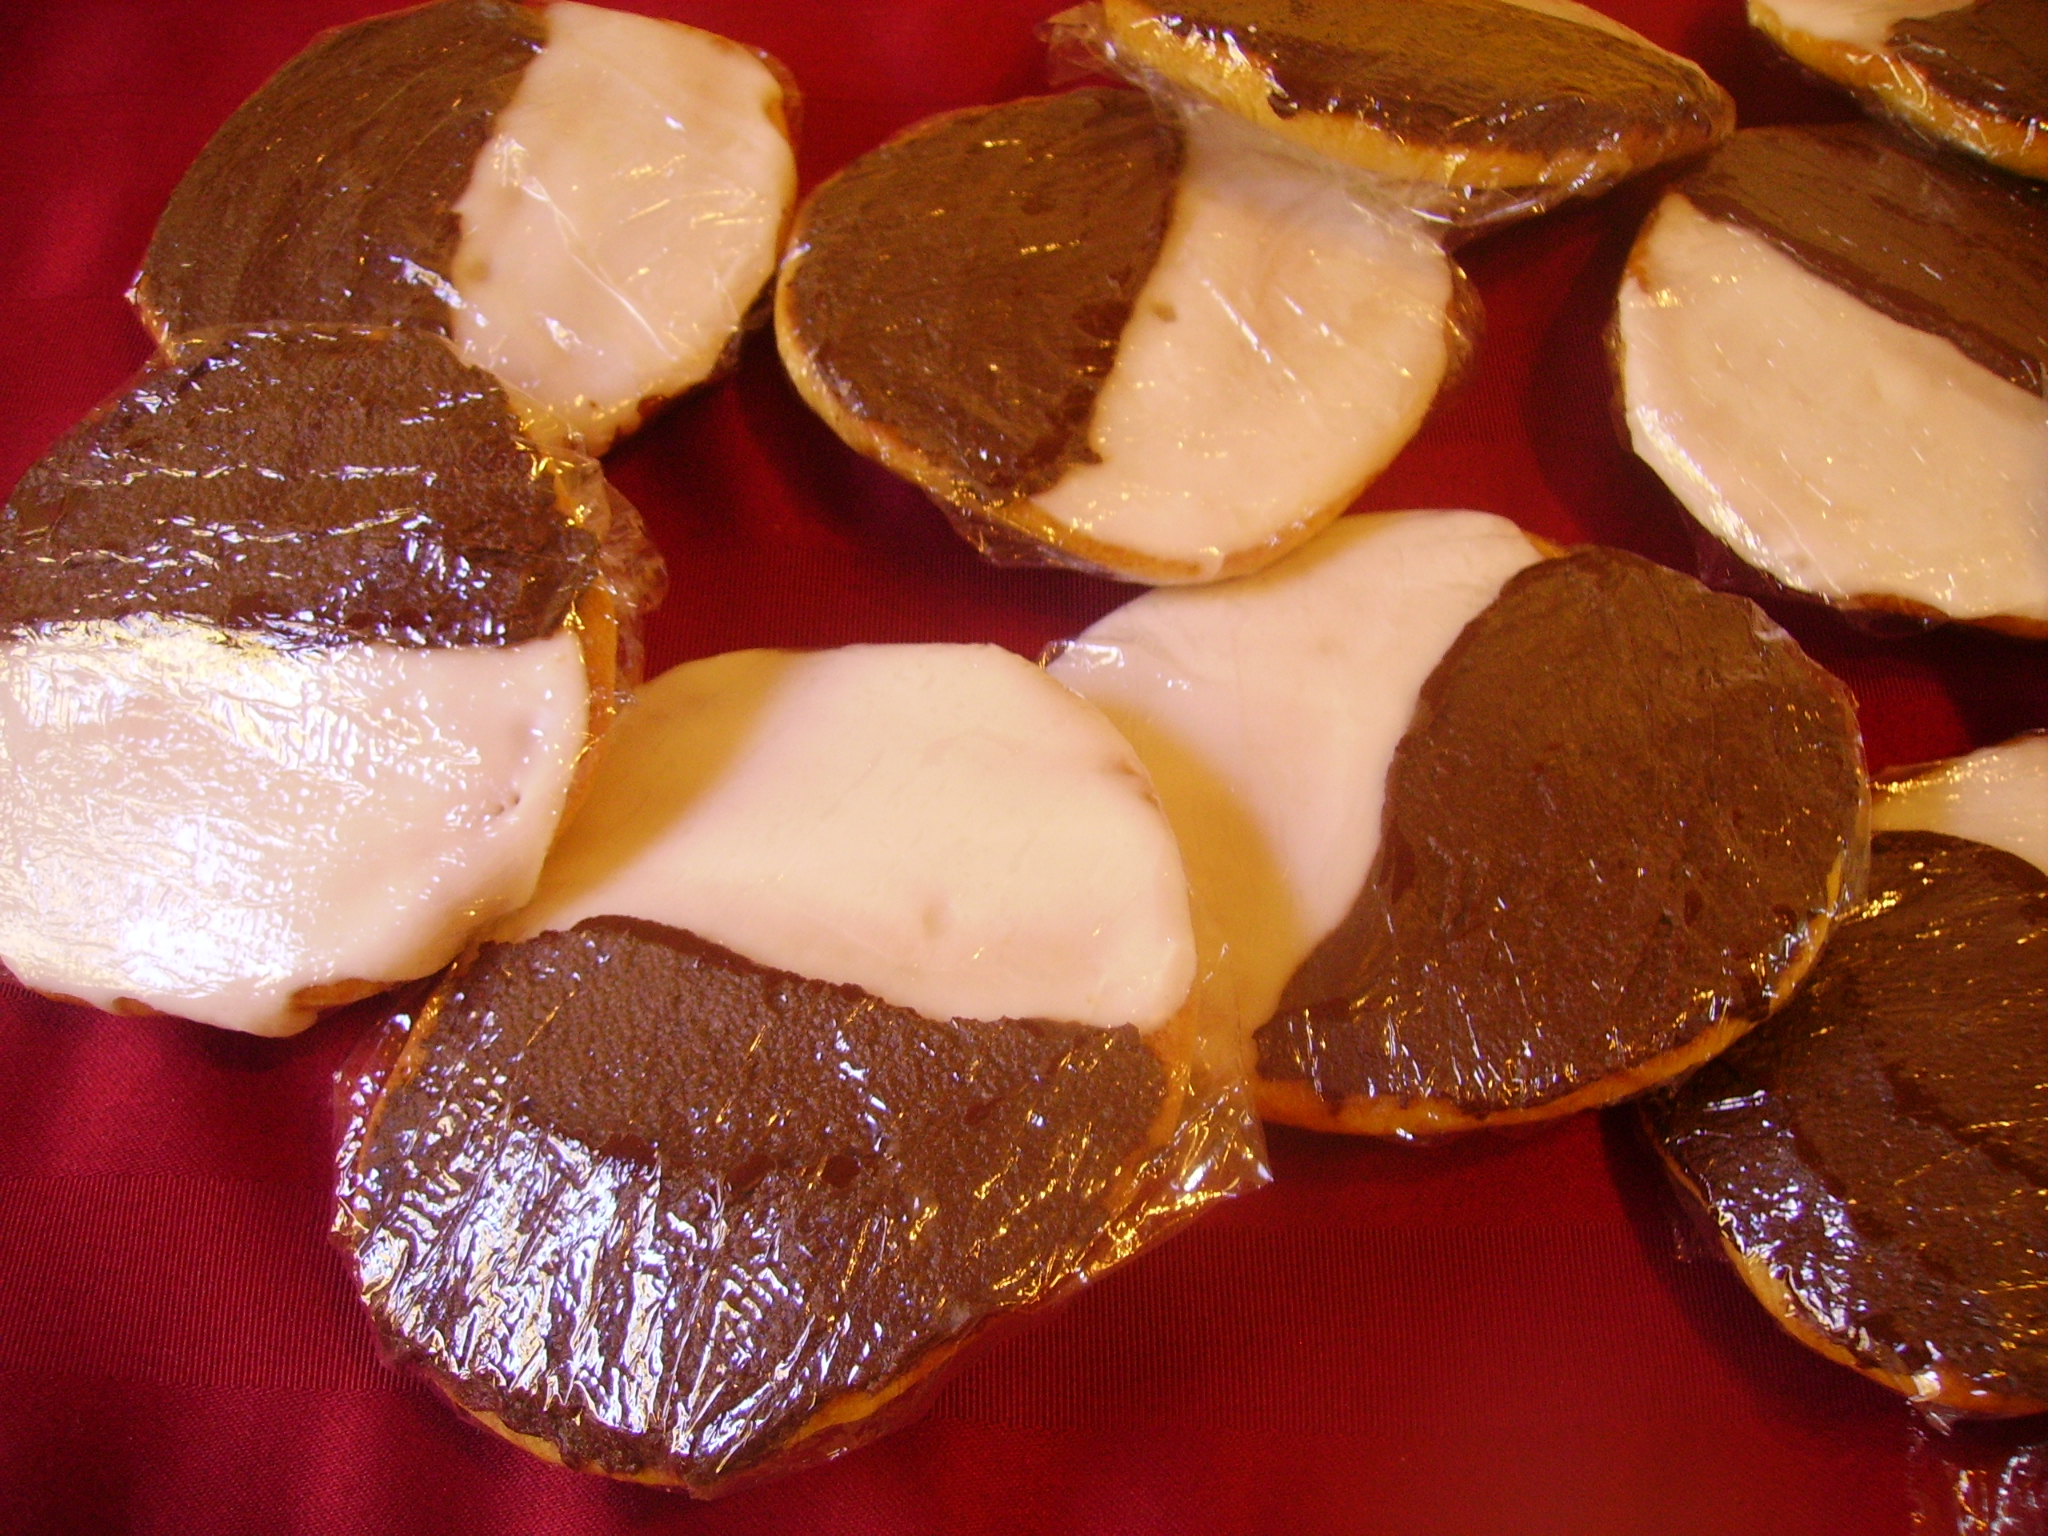 If you are so inclined, wrap the cookies up in plastic wrap, just like the New York delis do. They are perfect to share, but you can also dole them out to yourself one at a time, perhaps after polishing off a sandwich or a slice of pizza.
Black and White Cookies
lightly adapted from Joy the Baker
makes 15 large cookies
Cookie Ingredients:
10 tbsp. unsalted butter, room temperature
1 cup sugar
¼ tsp. lemon zest
2 eggs
2½ cups flour
1 tsp. baking soda
1 tsp. salt
⅔ cup low-fat buttermilk
1½ tsp. vanilla extract
Vanilla Glaze Ingredients:
2 cups confectioner’s sugar, sifted
½ tsp. vanilla extract
2–3 tbsp. milk
Chocolate Glaze Ingredients:
6 oz. semisweet chocolate chips
3 tbsp. butter
1½ tbsp. Karo light corn syrup
Directions:
Preheat oven to 350°. Line two or three baking sheets with parchment paper.
Beat together butter and sugar in a mixer bowl until pale and fluffy, about 3 minutes. Stir in the lemon zest. Add the eggs, beating until combined, scraping the sides of the bowl at least once.
Meanwhile, whisk together flour, baking soda, and salt in a bowl. Stir together buttermilk and vanilla in a cup.
Mix the flour mixture and the buttermilk mixture alternately into the creamed butter and sugar, beginning and ending with the flour mixture. Mix until smooth, scraping the sides of the bowl between each addition.
Spoon ¼ cups of batter at least 2″ apart onto a the prepared baking sheets (no more than 6 cookies per sheet).
Bake 13–16 minutes, until tops are puffed and golden, and cookies spring back when touched. Remove the parchment with the cookies still on top from the hot cookie sheets and let cool on the counter for 30 minutes.
Prepare the vanilla glaze by stirring together the sifted confectioner’s sugar, vanilla extract, and milk. Add in the milk 1 tbsp. at a time until the mixture is smooth and liquidy, but spreadable.
In a separate bowl, melt the butter and the chocolate in a microwave for about 1 minute. Be careful not to burn the chocolate. Add the corn syrup and stir until smooth.
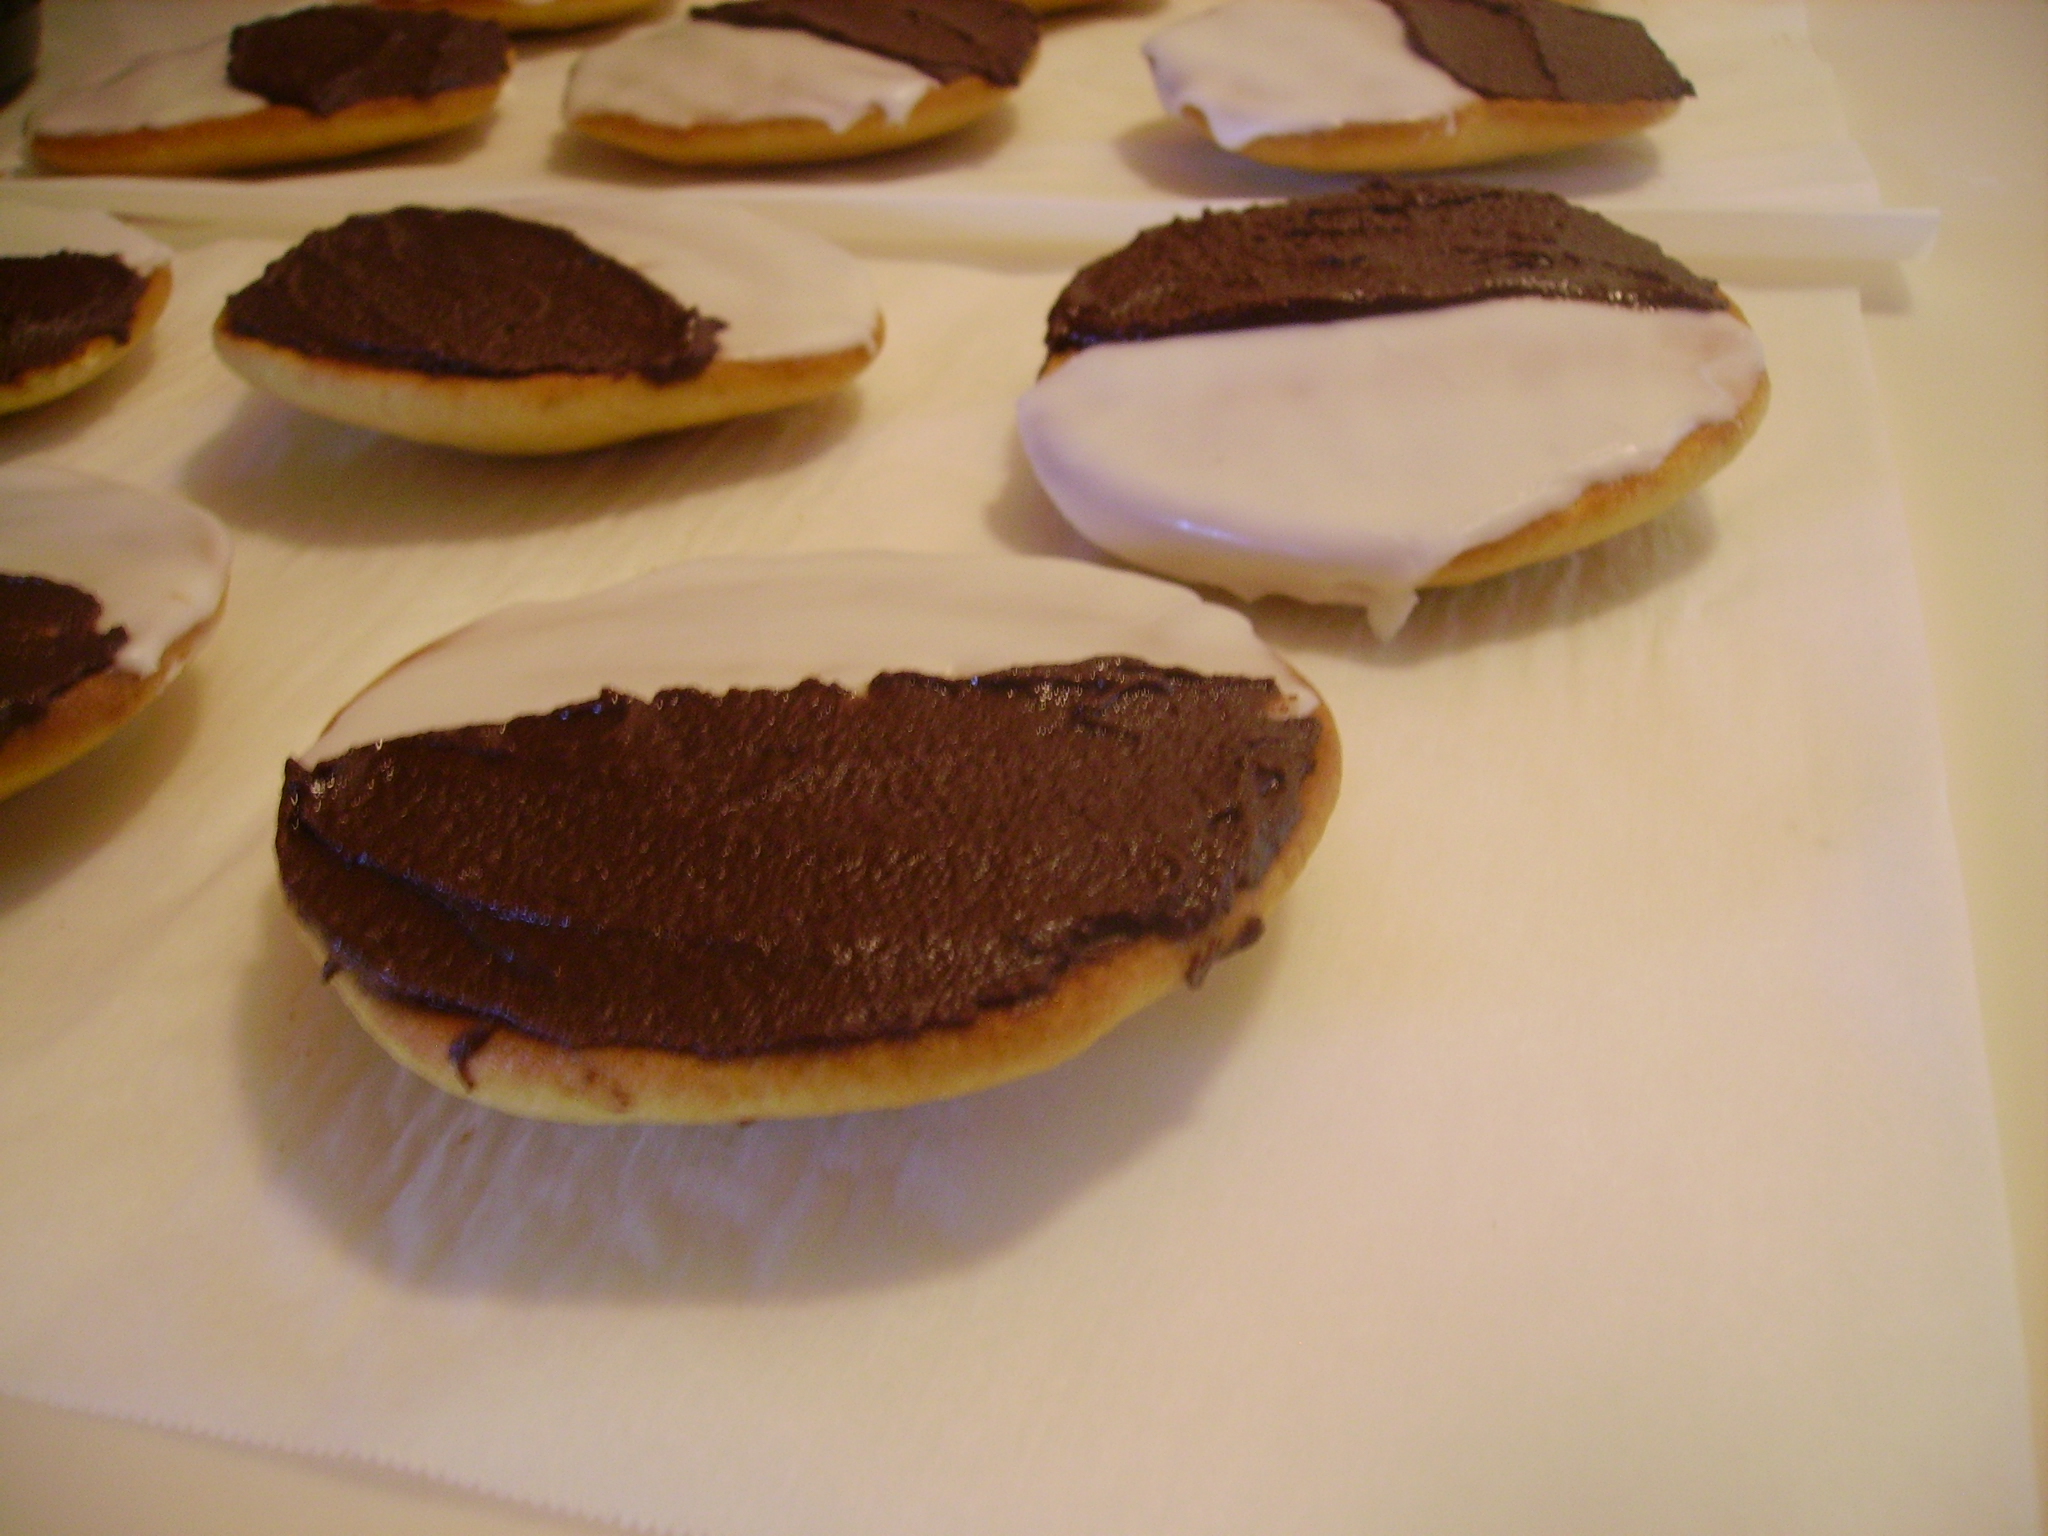
Glaze the backs of each cookie. First spread vanilla over one half of each cookie, then let it set for a minute or two. Then spread the chocolate over the second half, trying to keep a neat line down the center if possible.
Let the cookies set at room temperature for at least 1 hour. Store in an airtight container, or wrap individually in plastic wrap.
Enjoy!

2 comments to “Black and White Cookies”
anickh - April 8, 2012
i bought few of these while visiting NY and your right they wrap them in cling wrap just like u did. so weird LOL. also all the black & white cookies i saw/ bought were HUGE (like same size as the pink granny b sugar cookies)
Melissa - April 8, 2012
I hope you were able to get cookies that were soft and flavorful! Some of the ones I bought while I was there tasted like the inside of a dustbuster, even though they looked amazing…