A few weeks ago, Sarah and I decided that the next logical step in our cooking adventures was making our own cheese. She promptly sent away for a cheese making kit and we geared up to eat some very fresh mozzarella!
Okay, before I lose you (geez, crazy lady always making things that are readily available in any grocery store…), let me just say that making cheese is a fun adventure, and it really is a lot easier than it sounds! If you’re really doubtful, you should try your hand at fresh ricotta first, because it is the simplest cheese of all. But if you are willing to be brave and have 30–45 minutes to spare, you won’t be sorry!
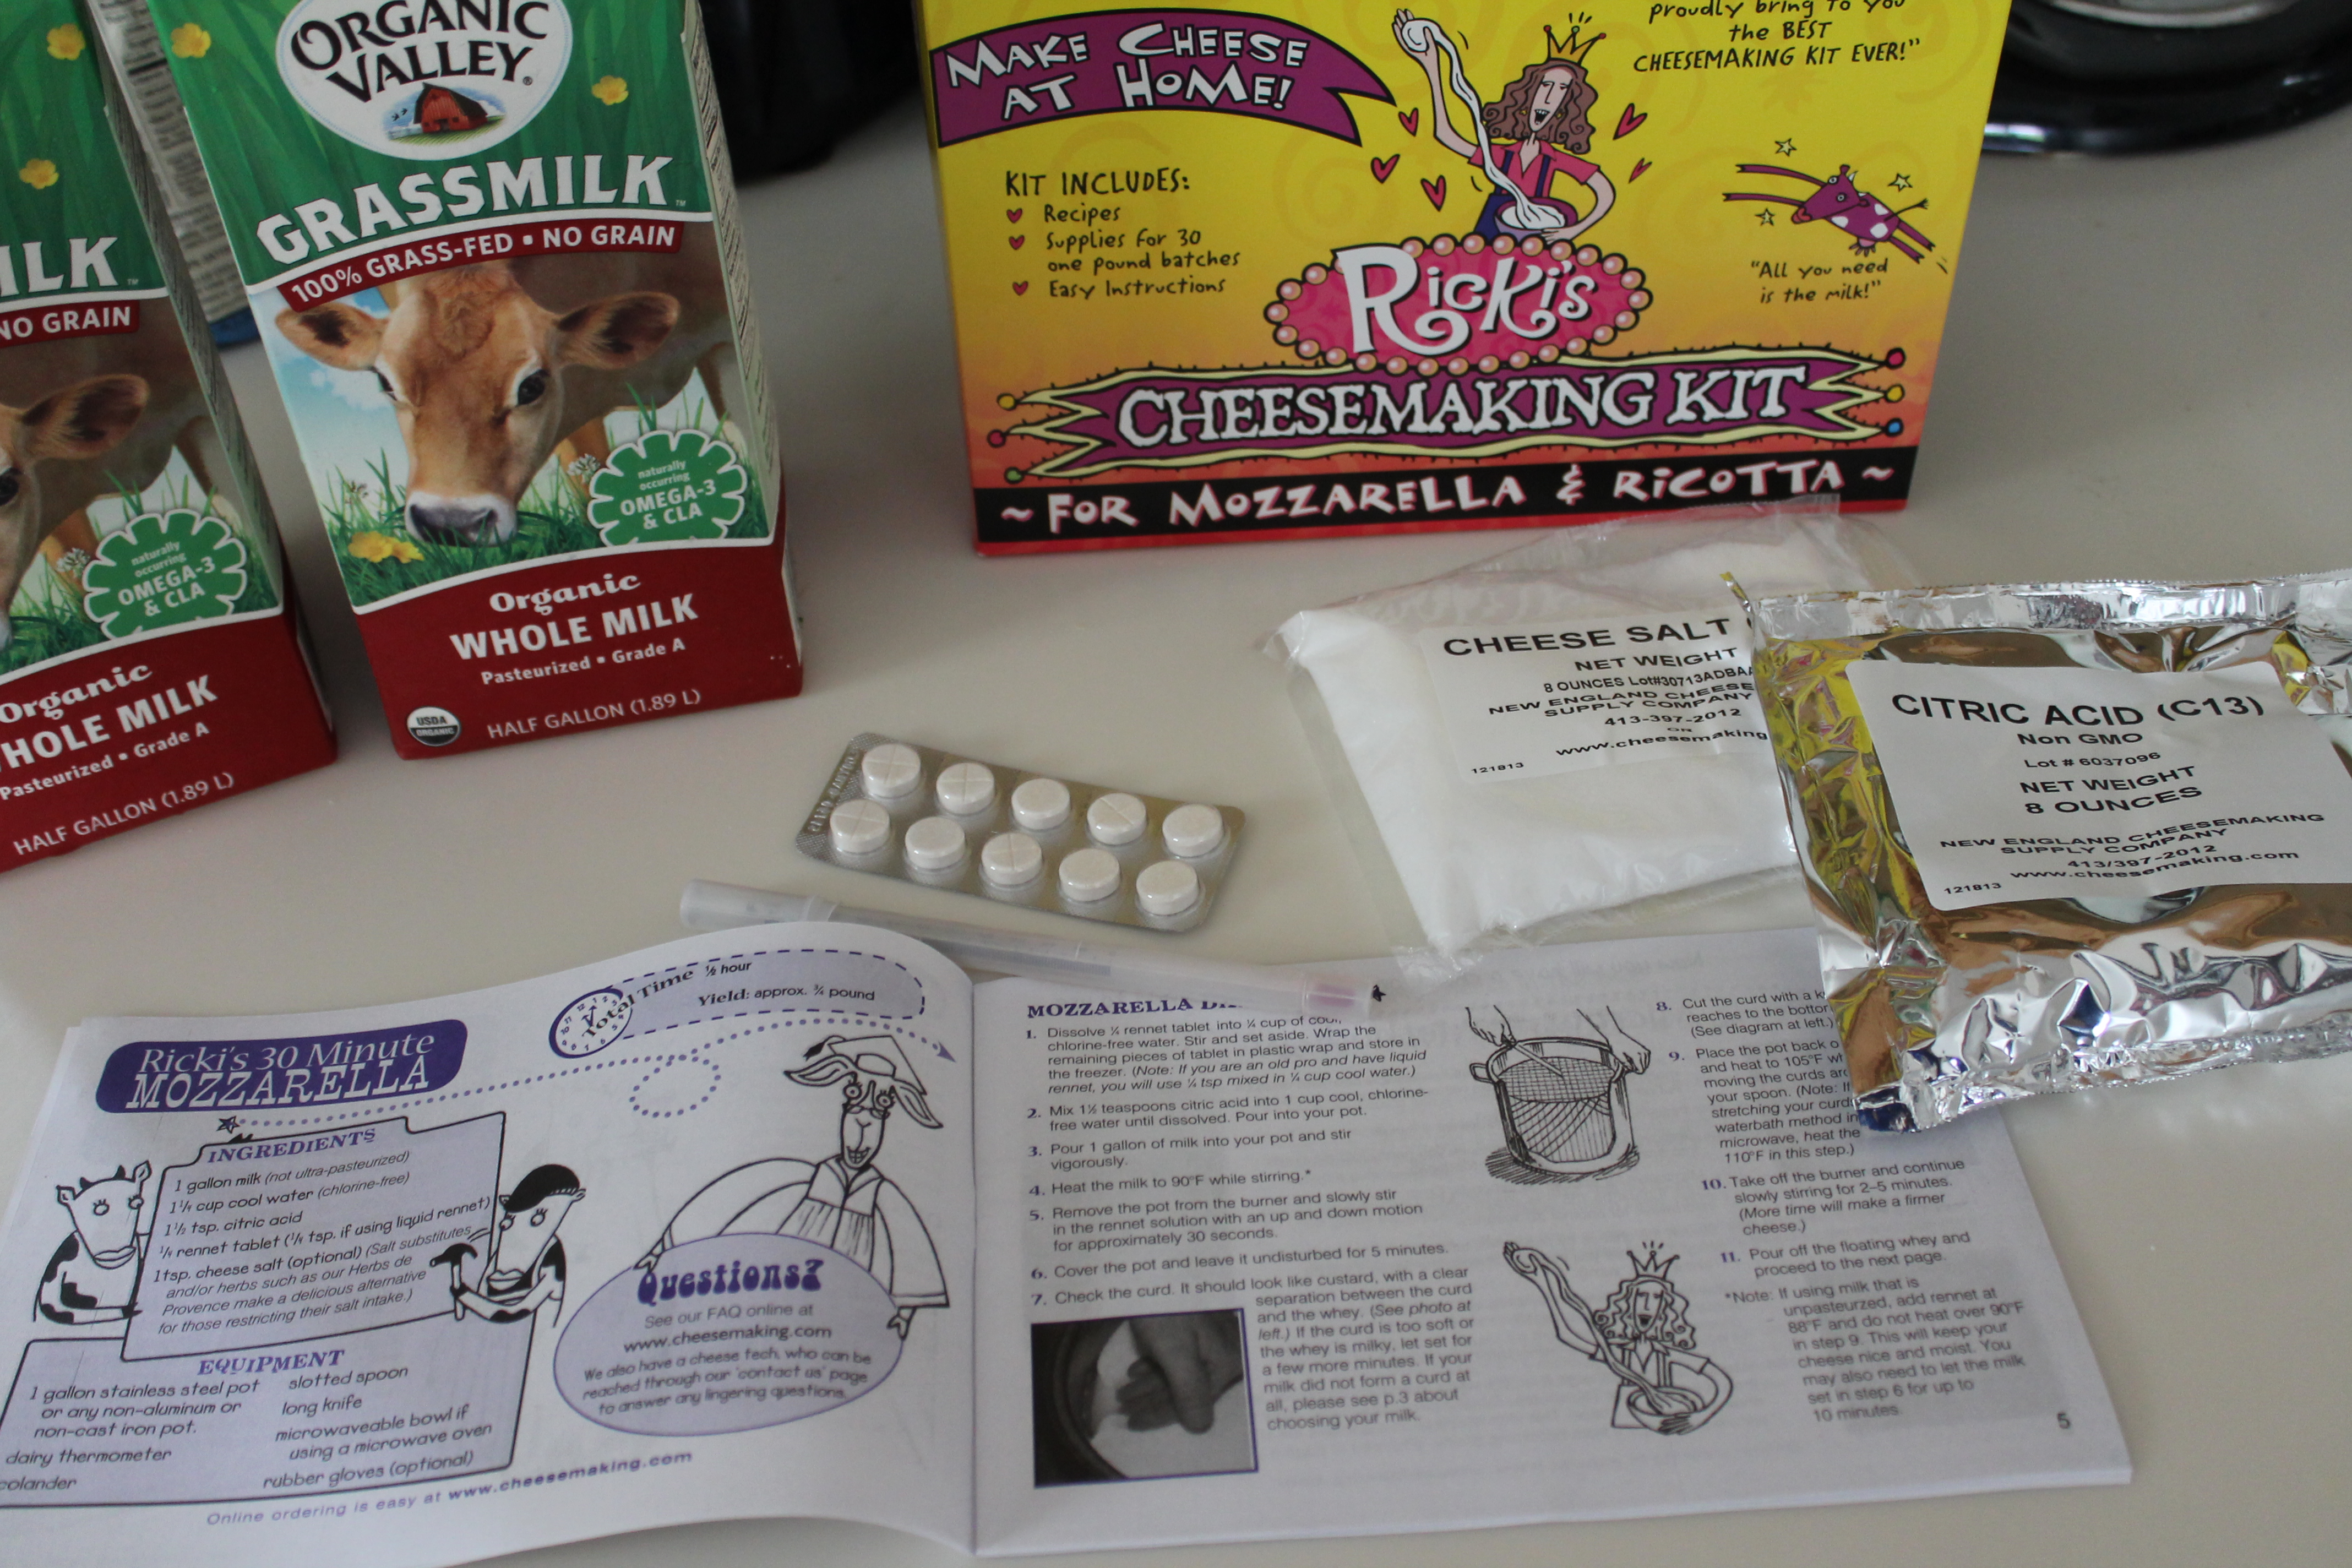 The best way to make your own cheese is to start with the best milk. It’s absolutely required that you use pasteurized but not ultra-pasteurized whole milk. But we went for locally produced milk from grass-fed cows. I am not a milk connoisseur, but anecdotal accounts show that milk from grass-fed cows has more nutrients and even more flavor! What a better base for your cheese?
You also need a cheese making kit, complete with rennet (surprise! our kit came with veggie rennet, which means this cheese is vegetarian!), citric acid, and cheese salt. If you don’t want to buy a cheese kit but are interested in trying out some fresh cheese, you could try this delicious, herby goat cheese spread! I made this cheese a few years ago and it was divine. You could definitely use the same technique with cow’s milk and vinegar, as well, for a slightly less tangy flavor.
So. First things first. The rennet comes in little tablets; you only need a quarter tablet per gallon of milk, so cut up the tablet, crush it, and mix it with ¼ cup filtered water. We couldn’t get all the granules to dissolve completely, but everything turned out just fine!
By the way, you can make 30 pounds of cheese with the ingredients included in the cheese kit, so it will go a long way!
 Next, stir 1½ tsp. citric acid into 1 cup filtered water. Pour that into your largest Dutch oven and set the oven on the stovetop.
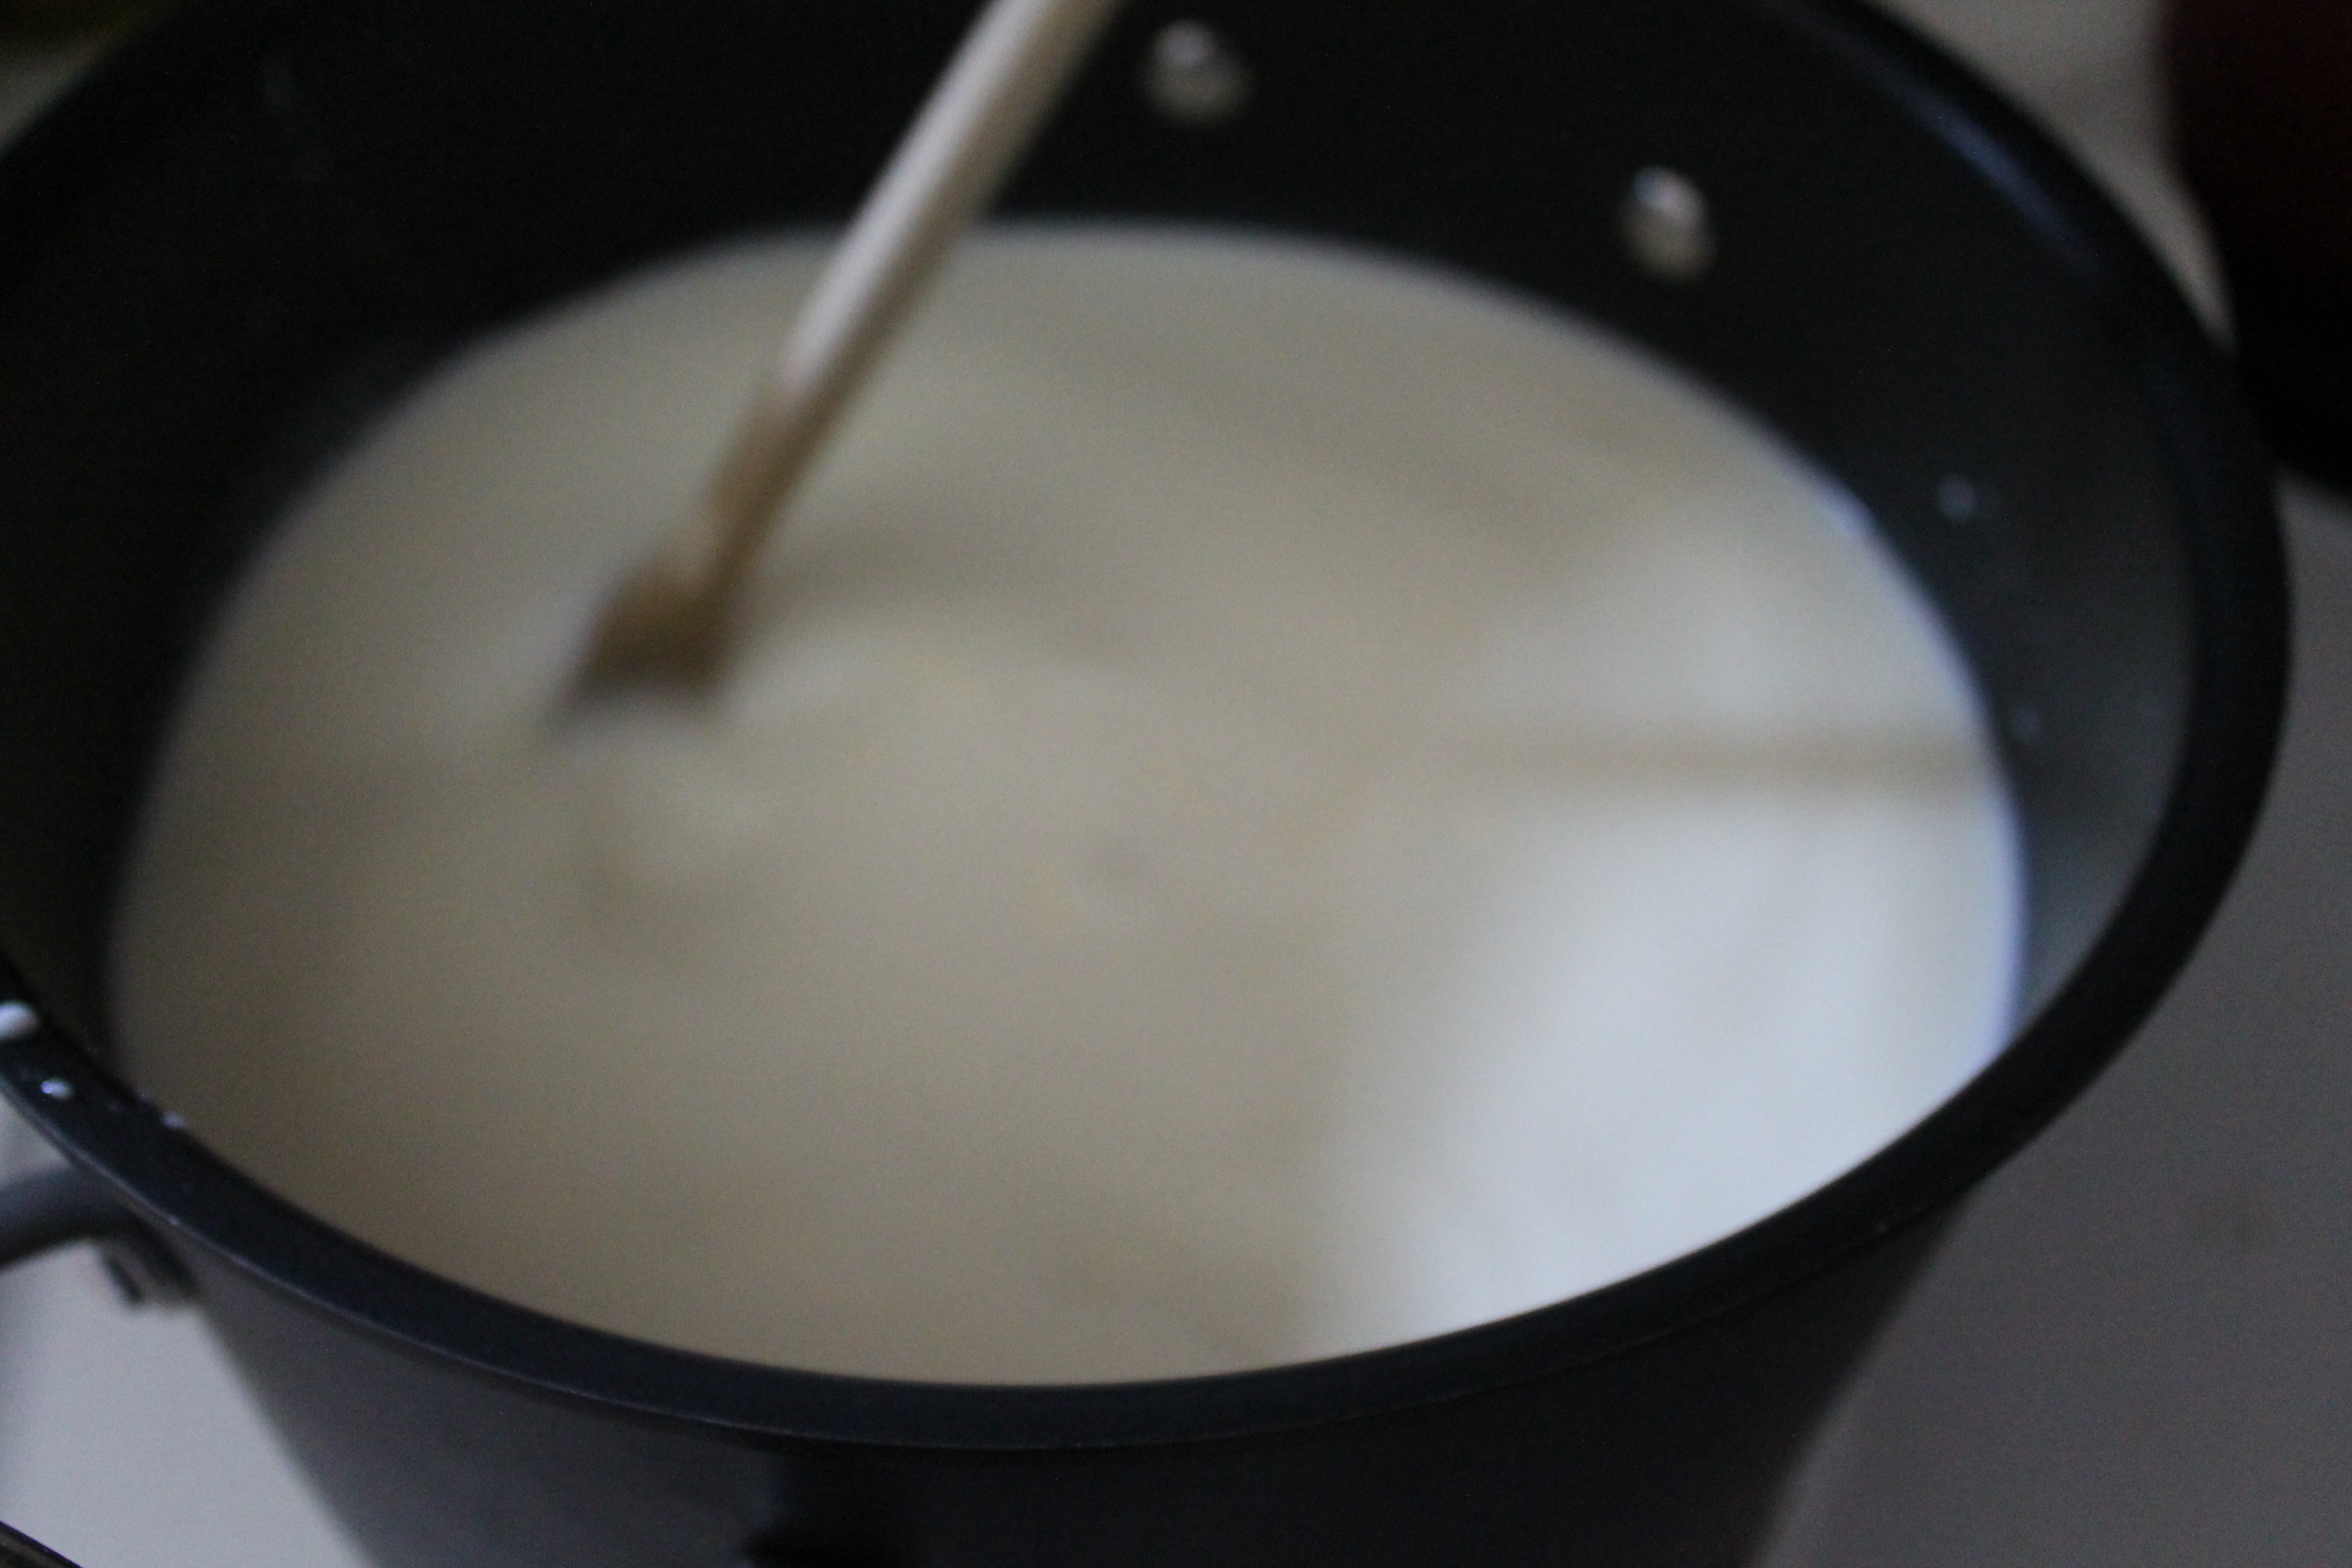
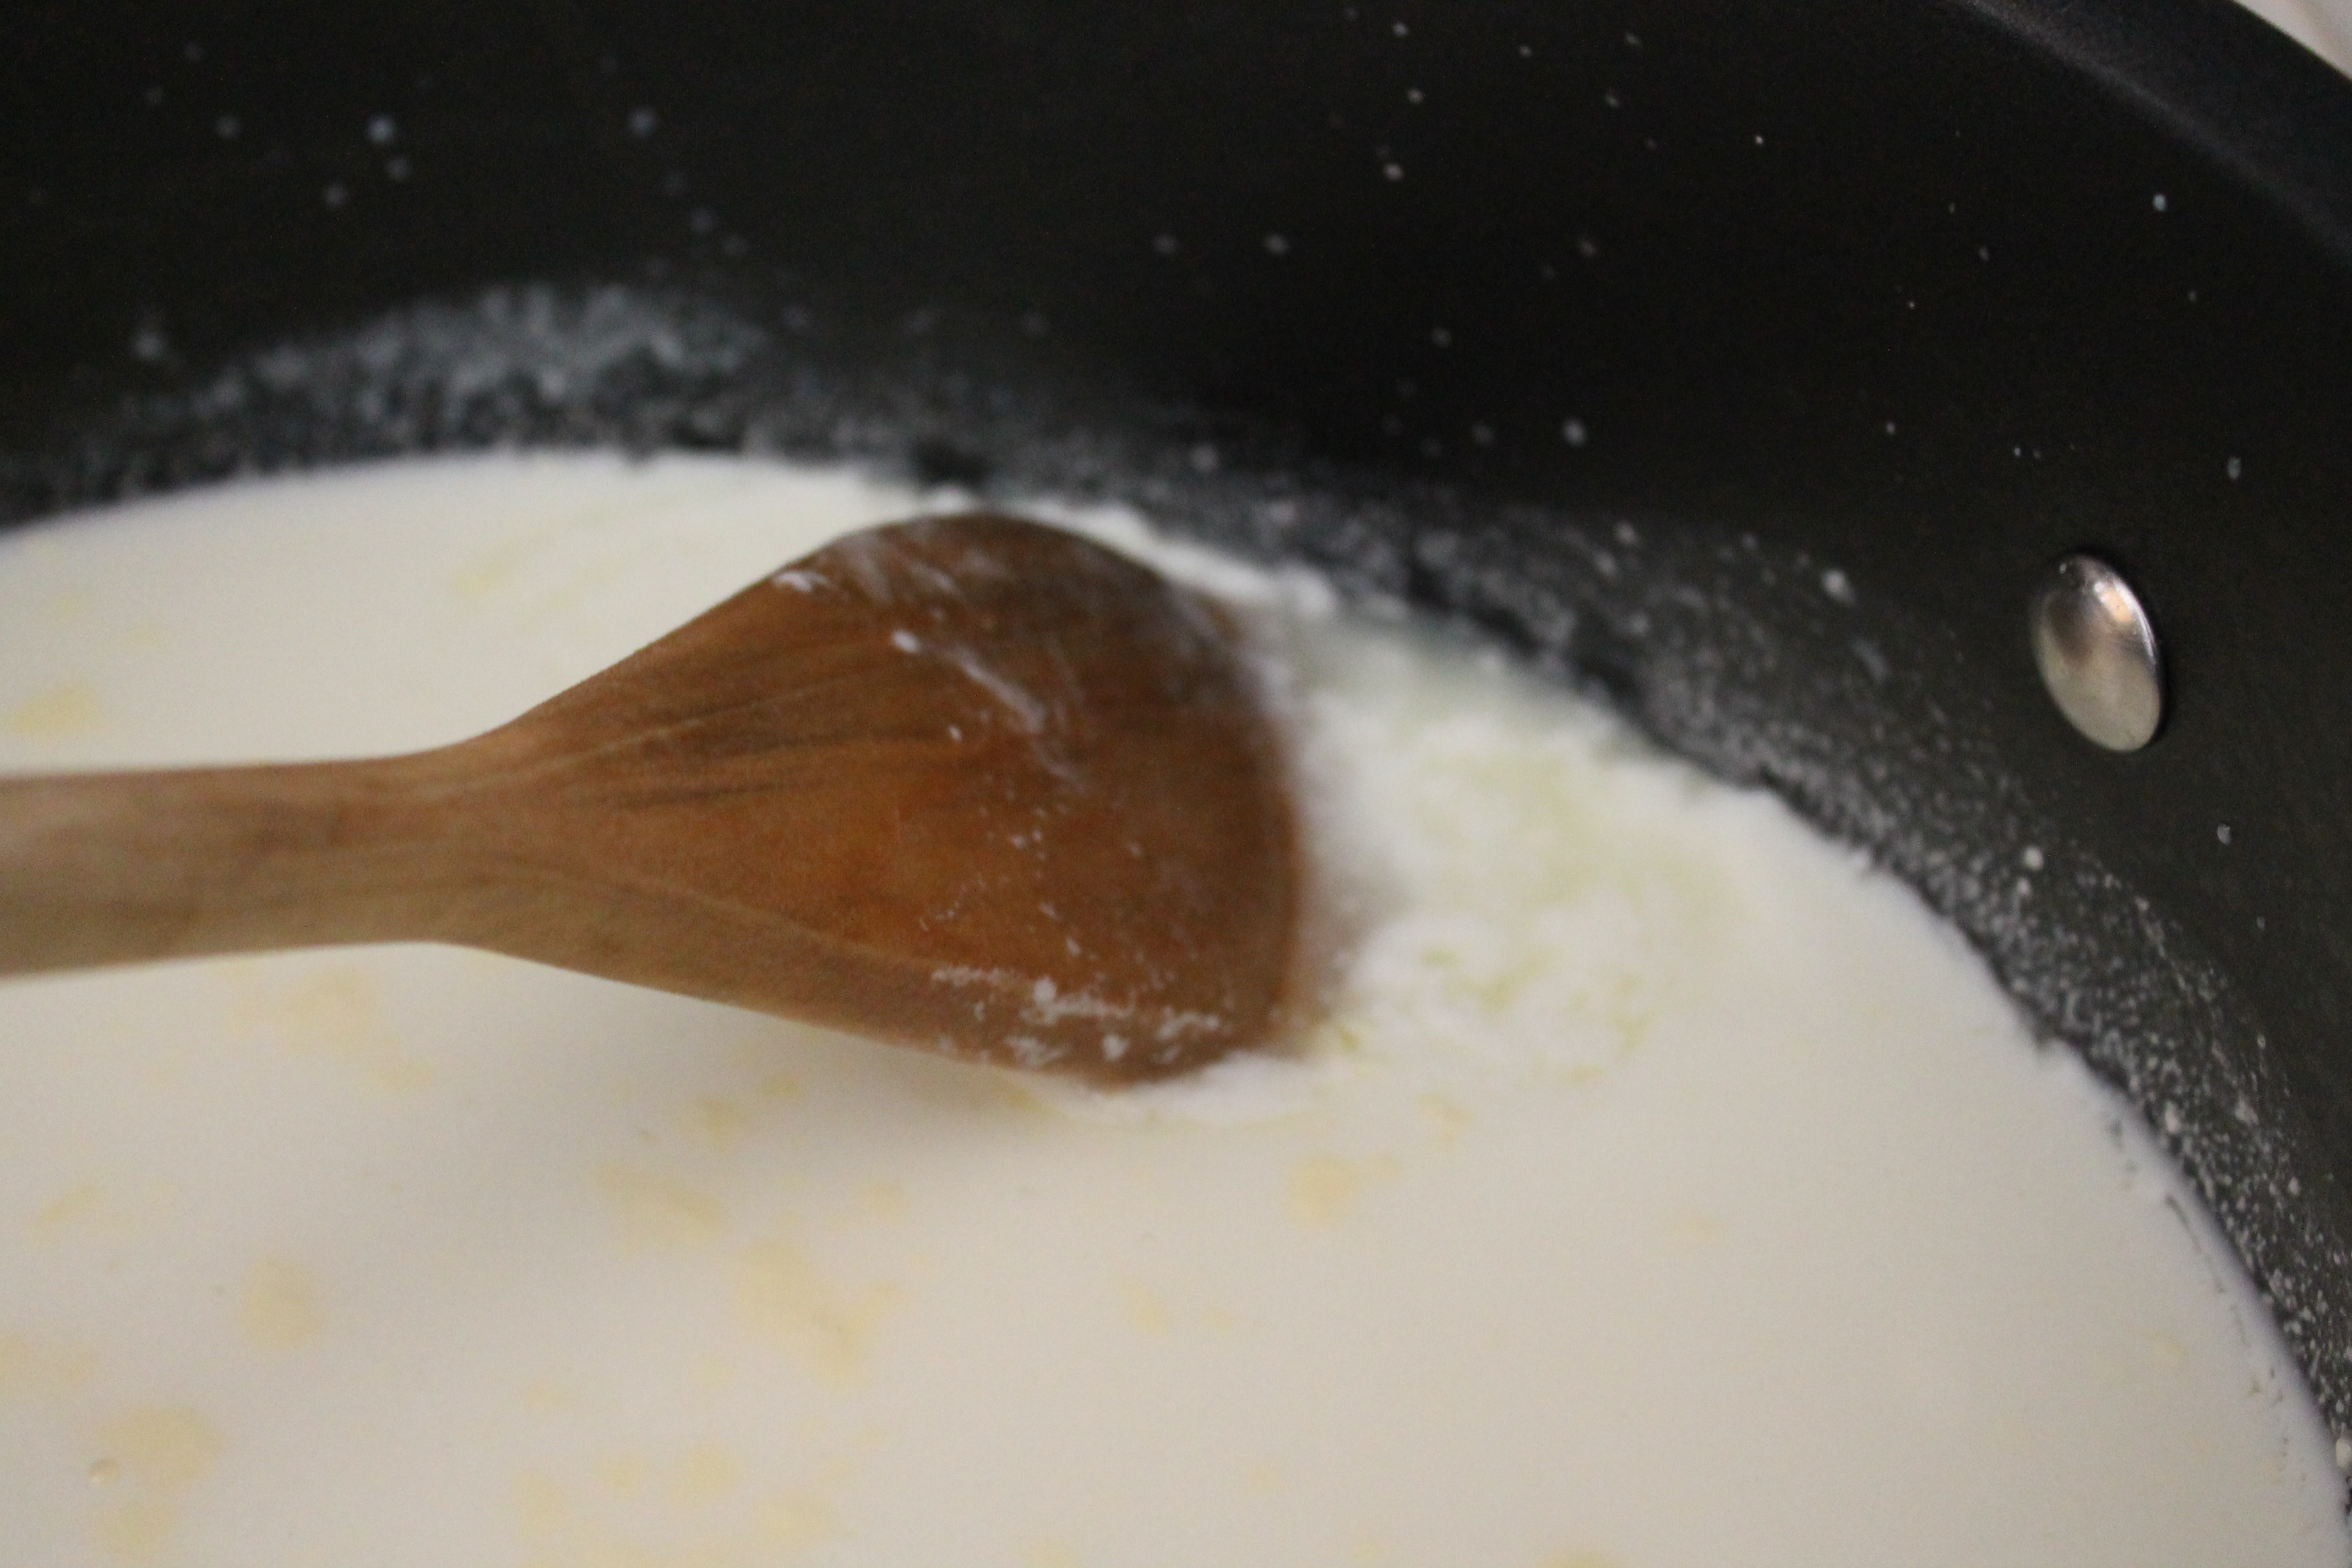
Pour in the milk. (Note: If you purchased non-homogenized milk, make sure you first shake or stir it well!) The milk will immediately begin to curdle because of the citric acid, so stir vigorously while pouring and continue stirring, more calmly, while you heat up the milk. P.S., sorry for the horrible focus above…I was stirring vigorously…
Heat the milk to 90° over medium heat, stirring constantly. This took about 5 minutes. There was a thermometer in the kit, but it was about the size of an old mercury thermometer, like the ones your mom used to shove under your armpit when you were a little kid. (No? That’s just me?) A candy thermometer would be lovely, but they typically start at 100°. Sooo if you don’t have a second pair of hands to hold the thermometer while you stir, just be careful not to drop the thermometer into the pot!
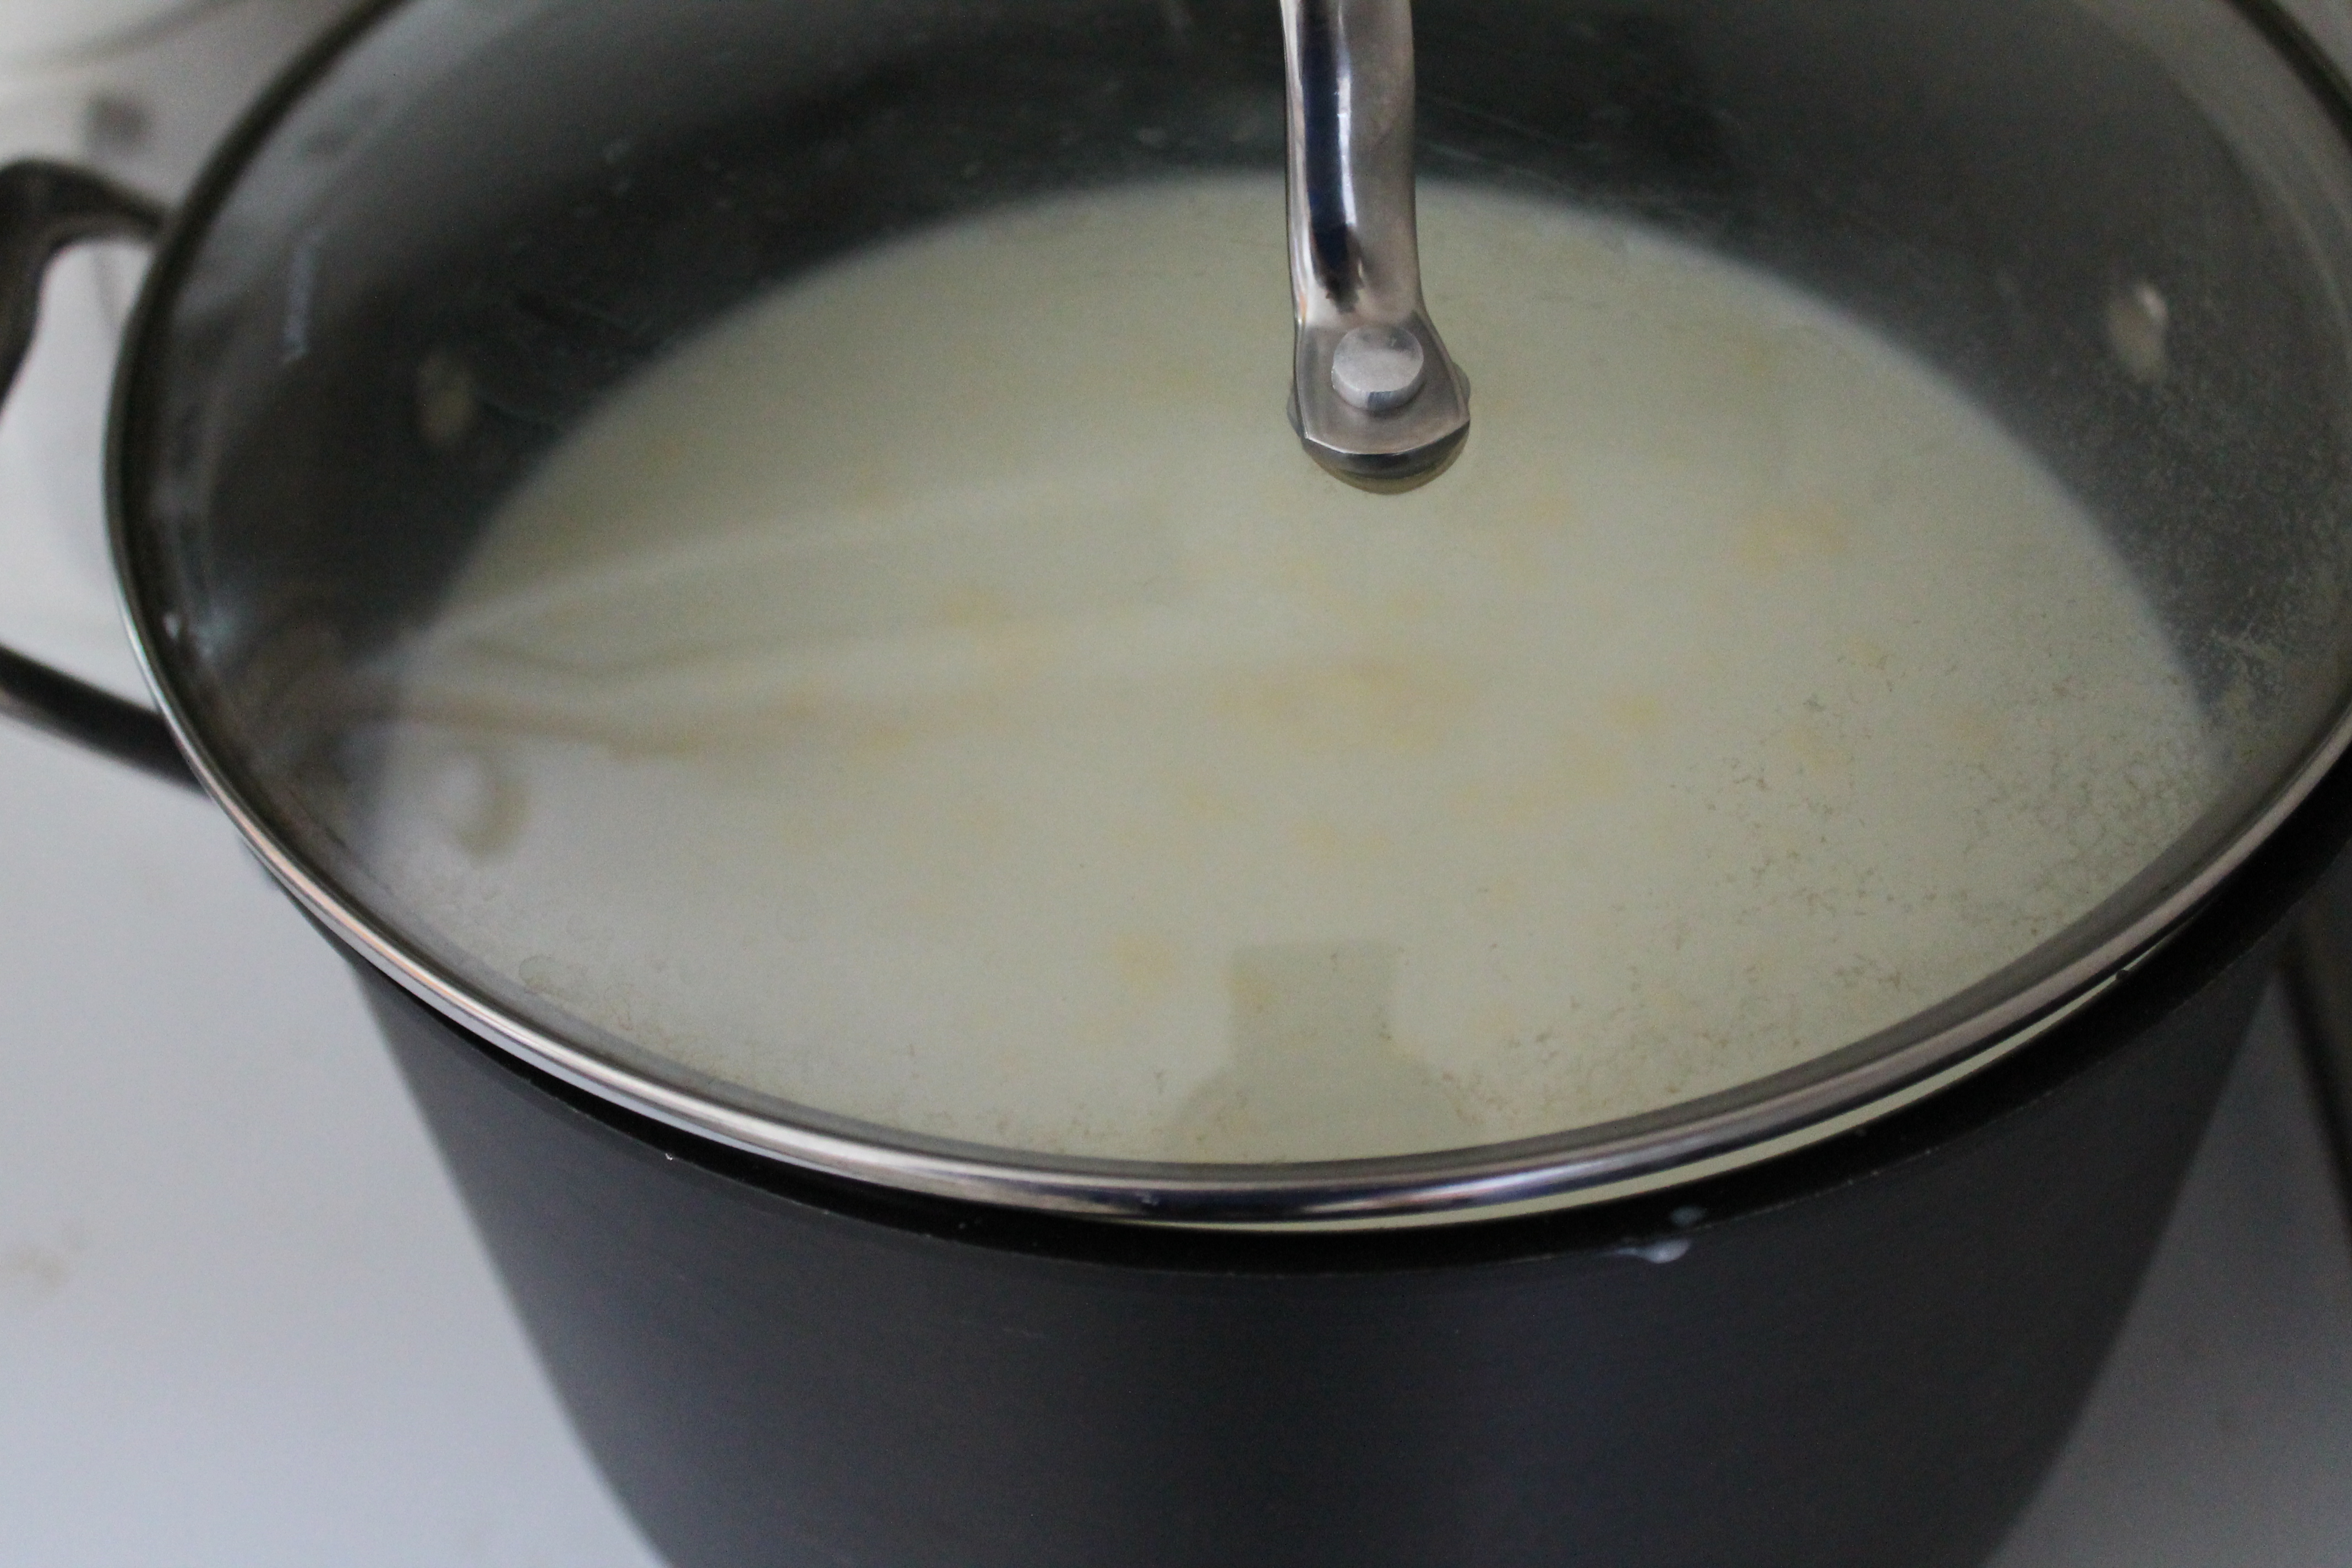 Remove the pot from the burner and stir in the rennet using an up-and-down paddling motion. Cover the pot and let it sit for 5 minutes.
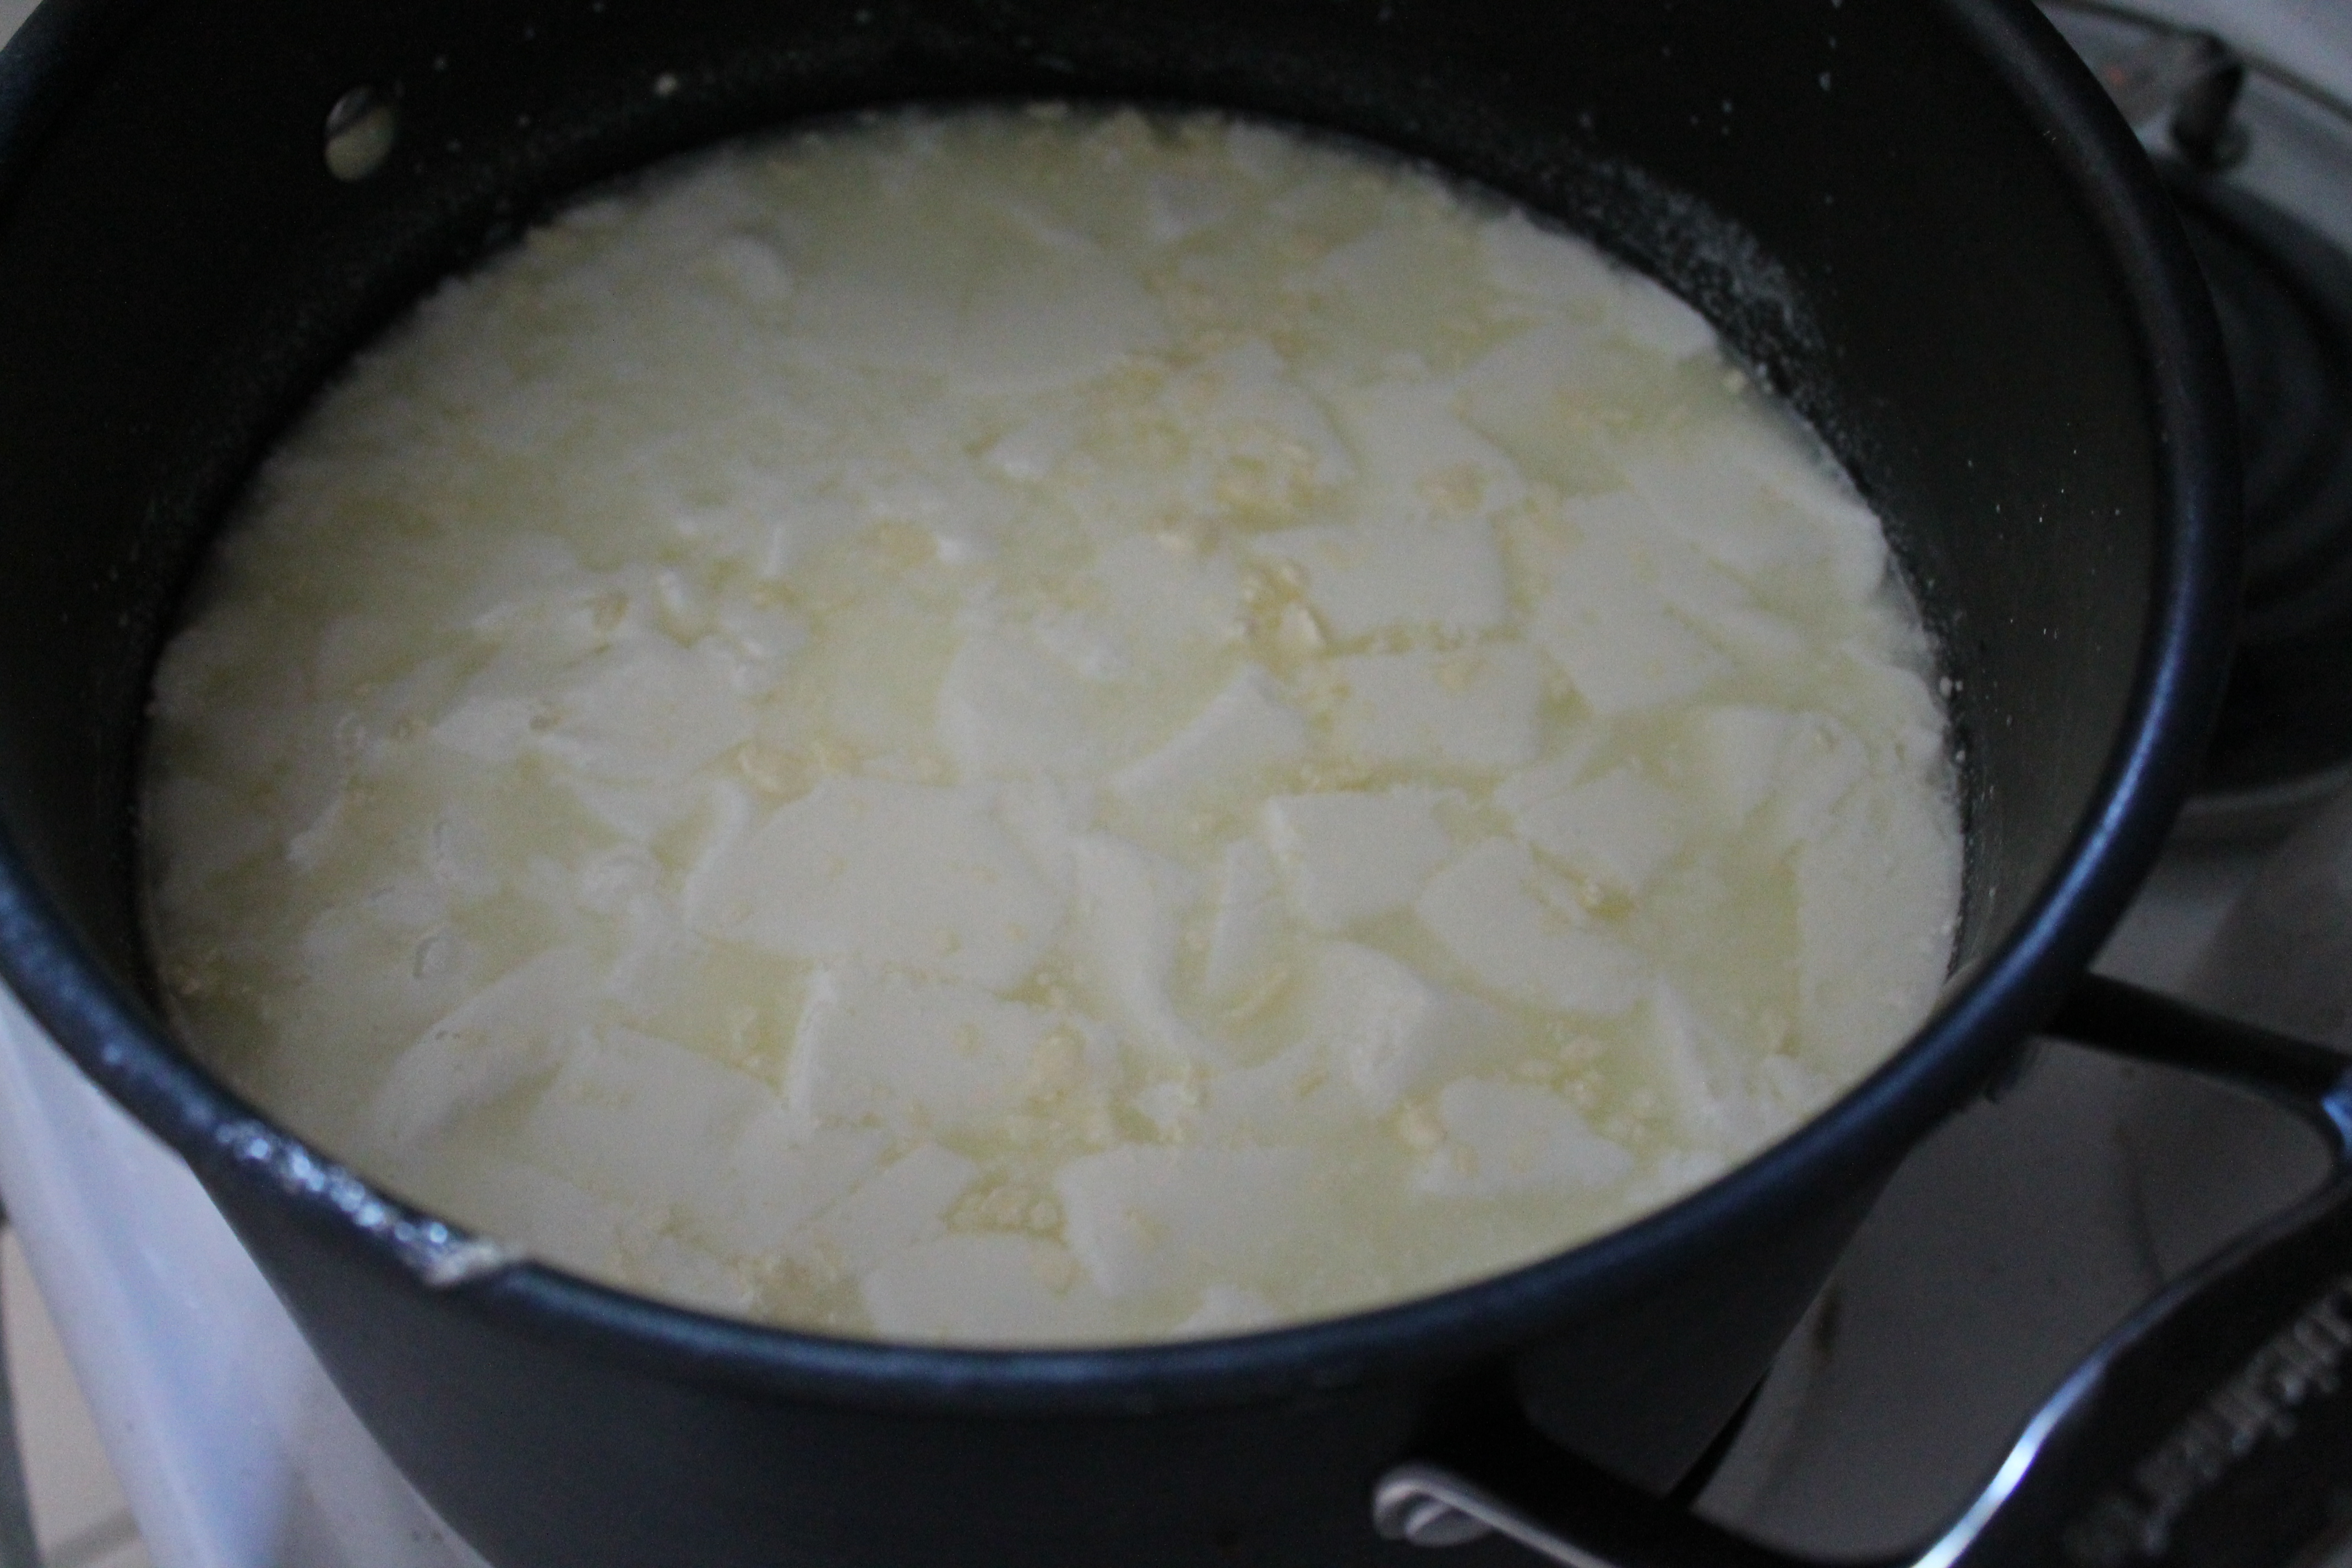
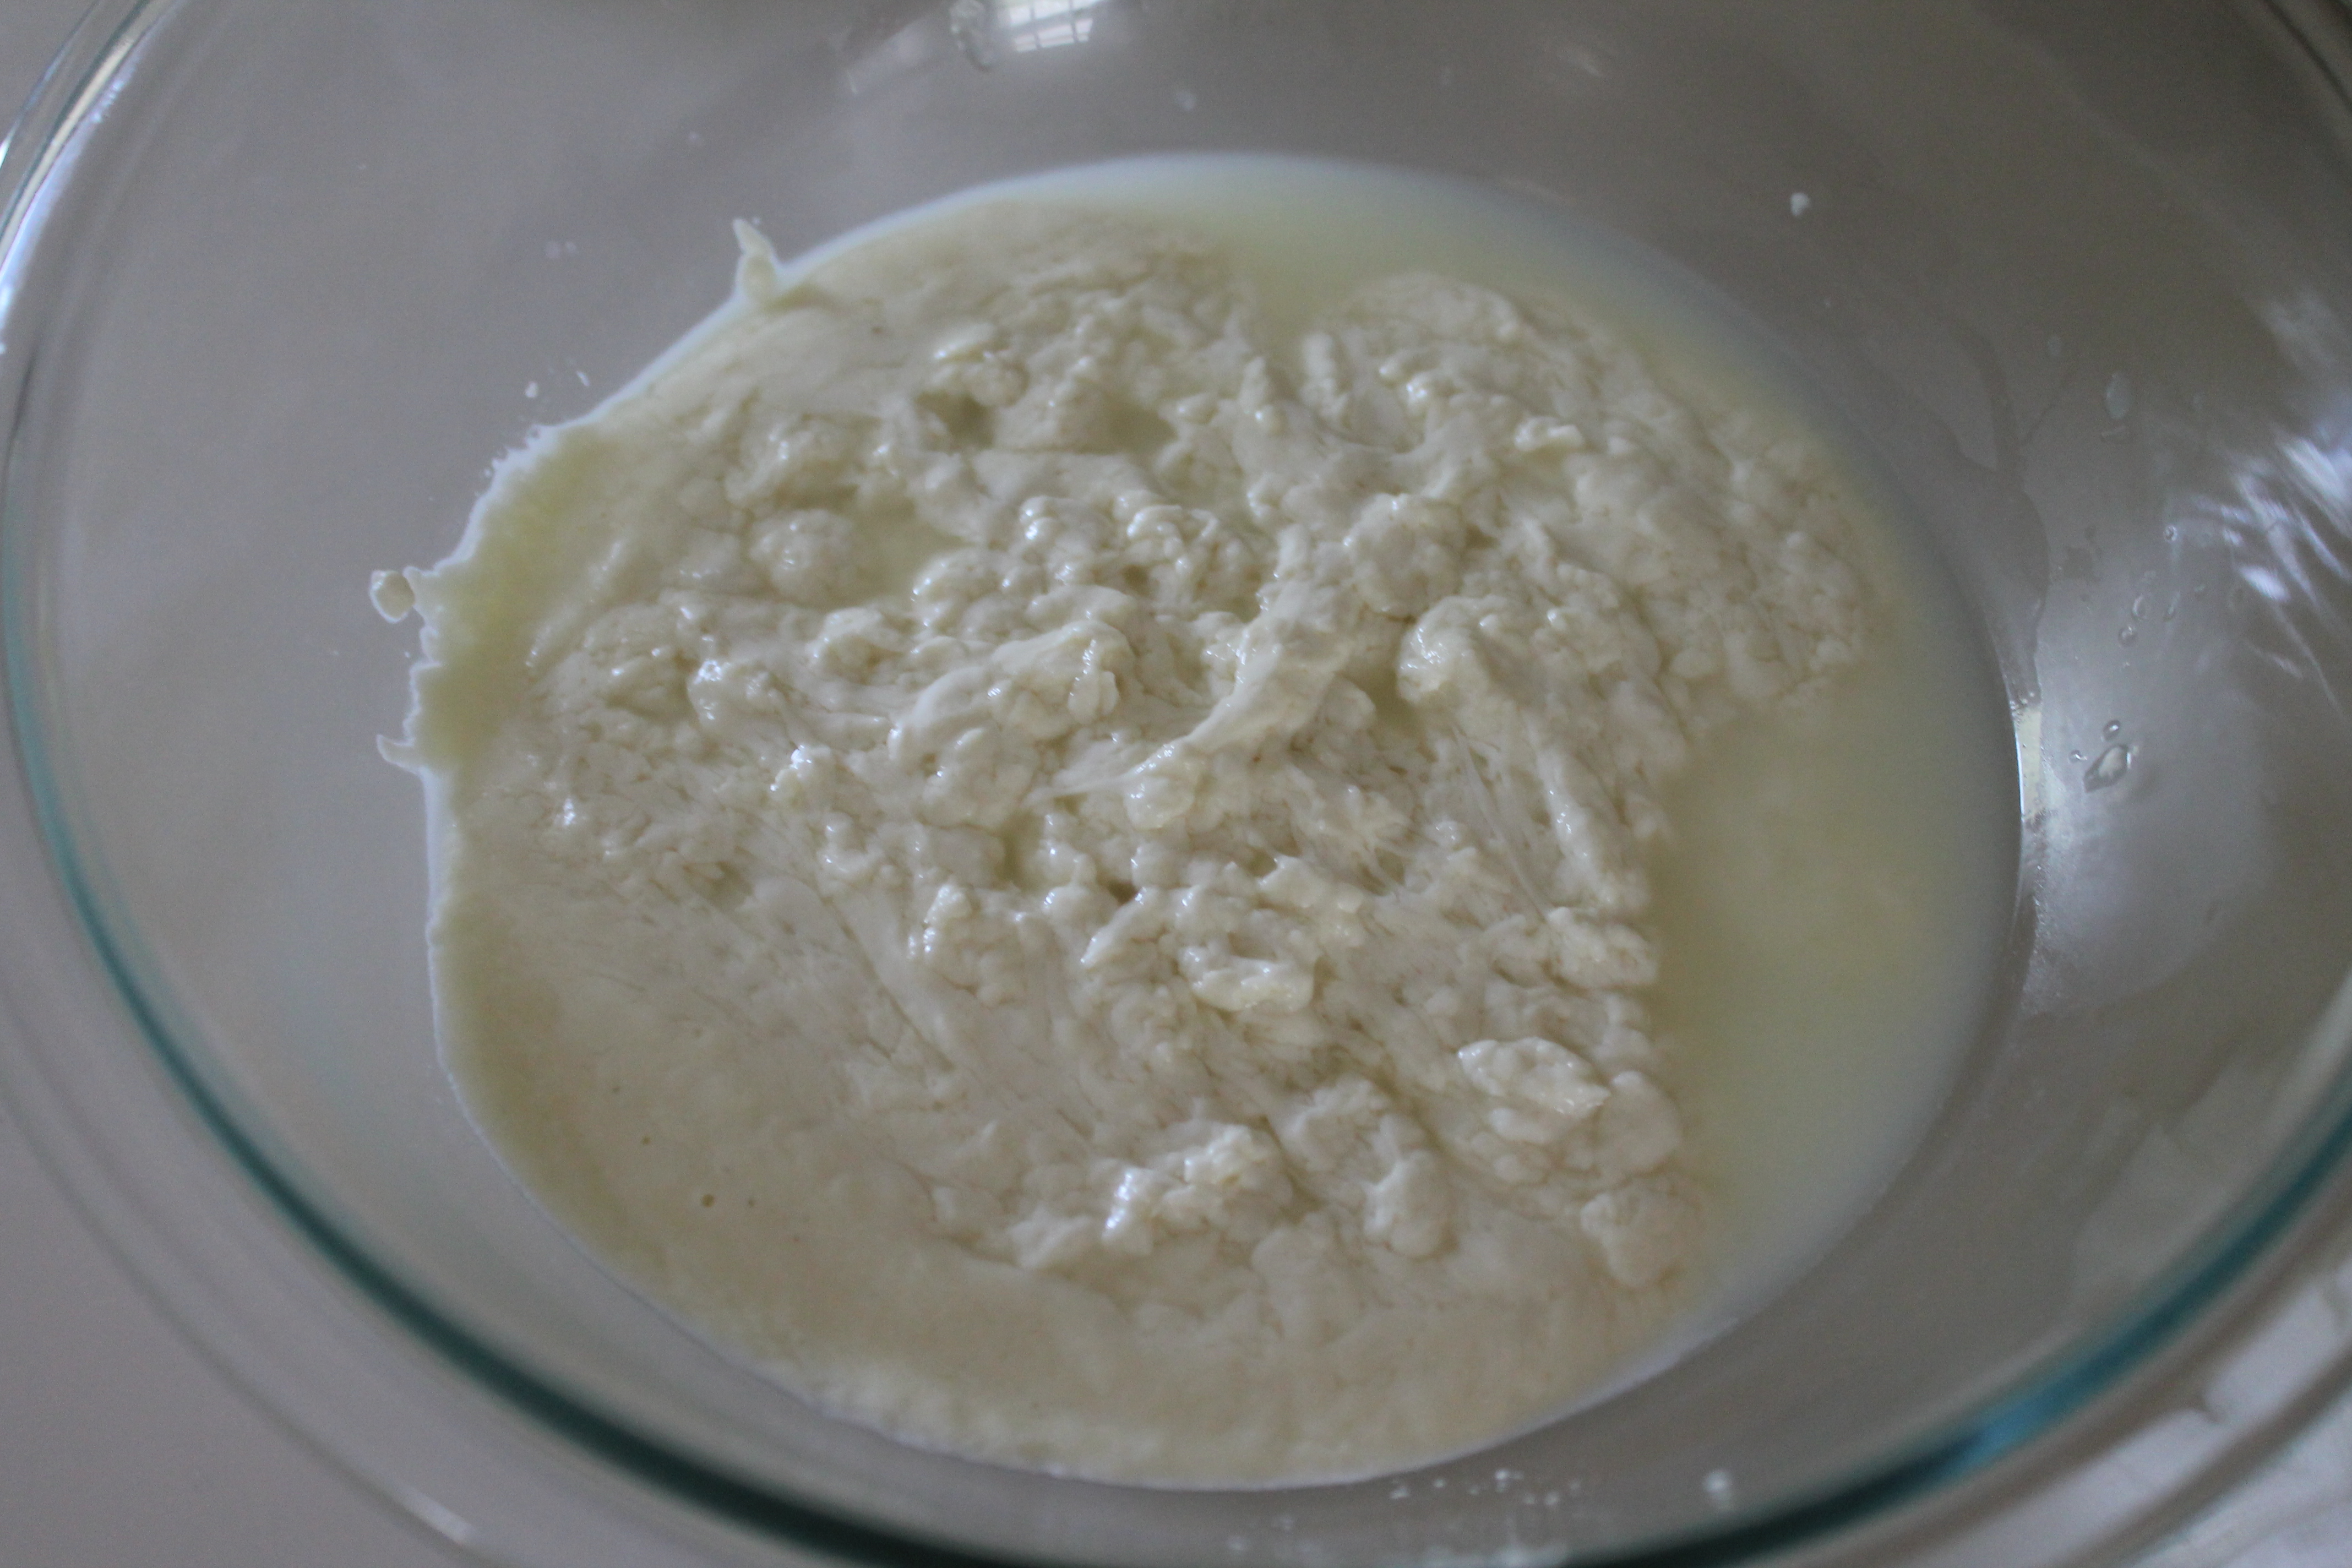
 Check the curd. Oooh, curd! There should be a semi-solid layer of cream on the top and a layer of clearish liquid (the whey) below. If you don’t quite have curd yet, re-cover the pot and let it sit another minute or two.
 Now, grab a long knife or a skewer and “slice” the curd into small cubes, reaching all the way to the bottom of the pot as you cut.
Set the pot back on the heat and bring up to 105°, stirring slowly. You should be able to see the cubes at first, and then they will begin to melt into longer glops. Yes, glops.
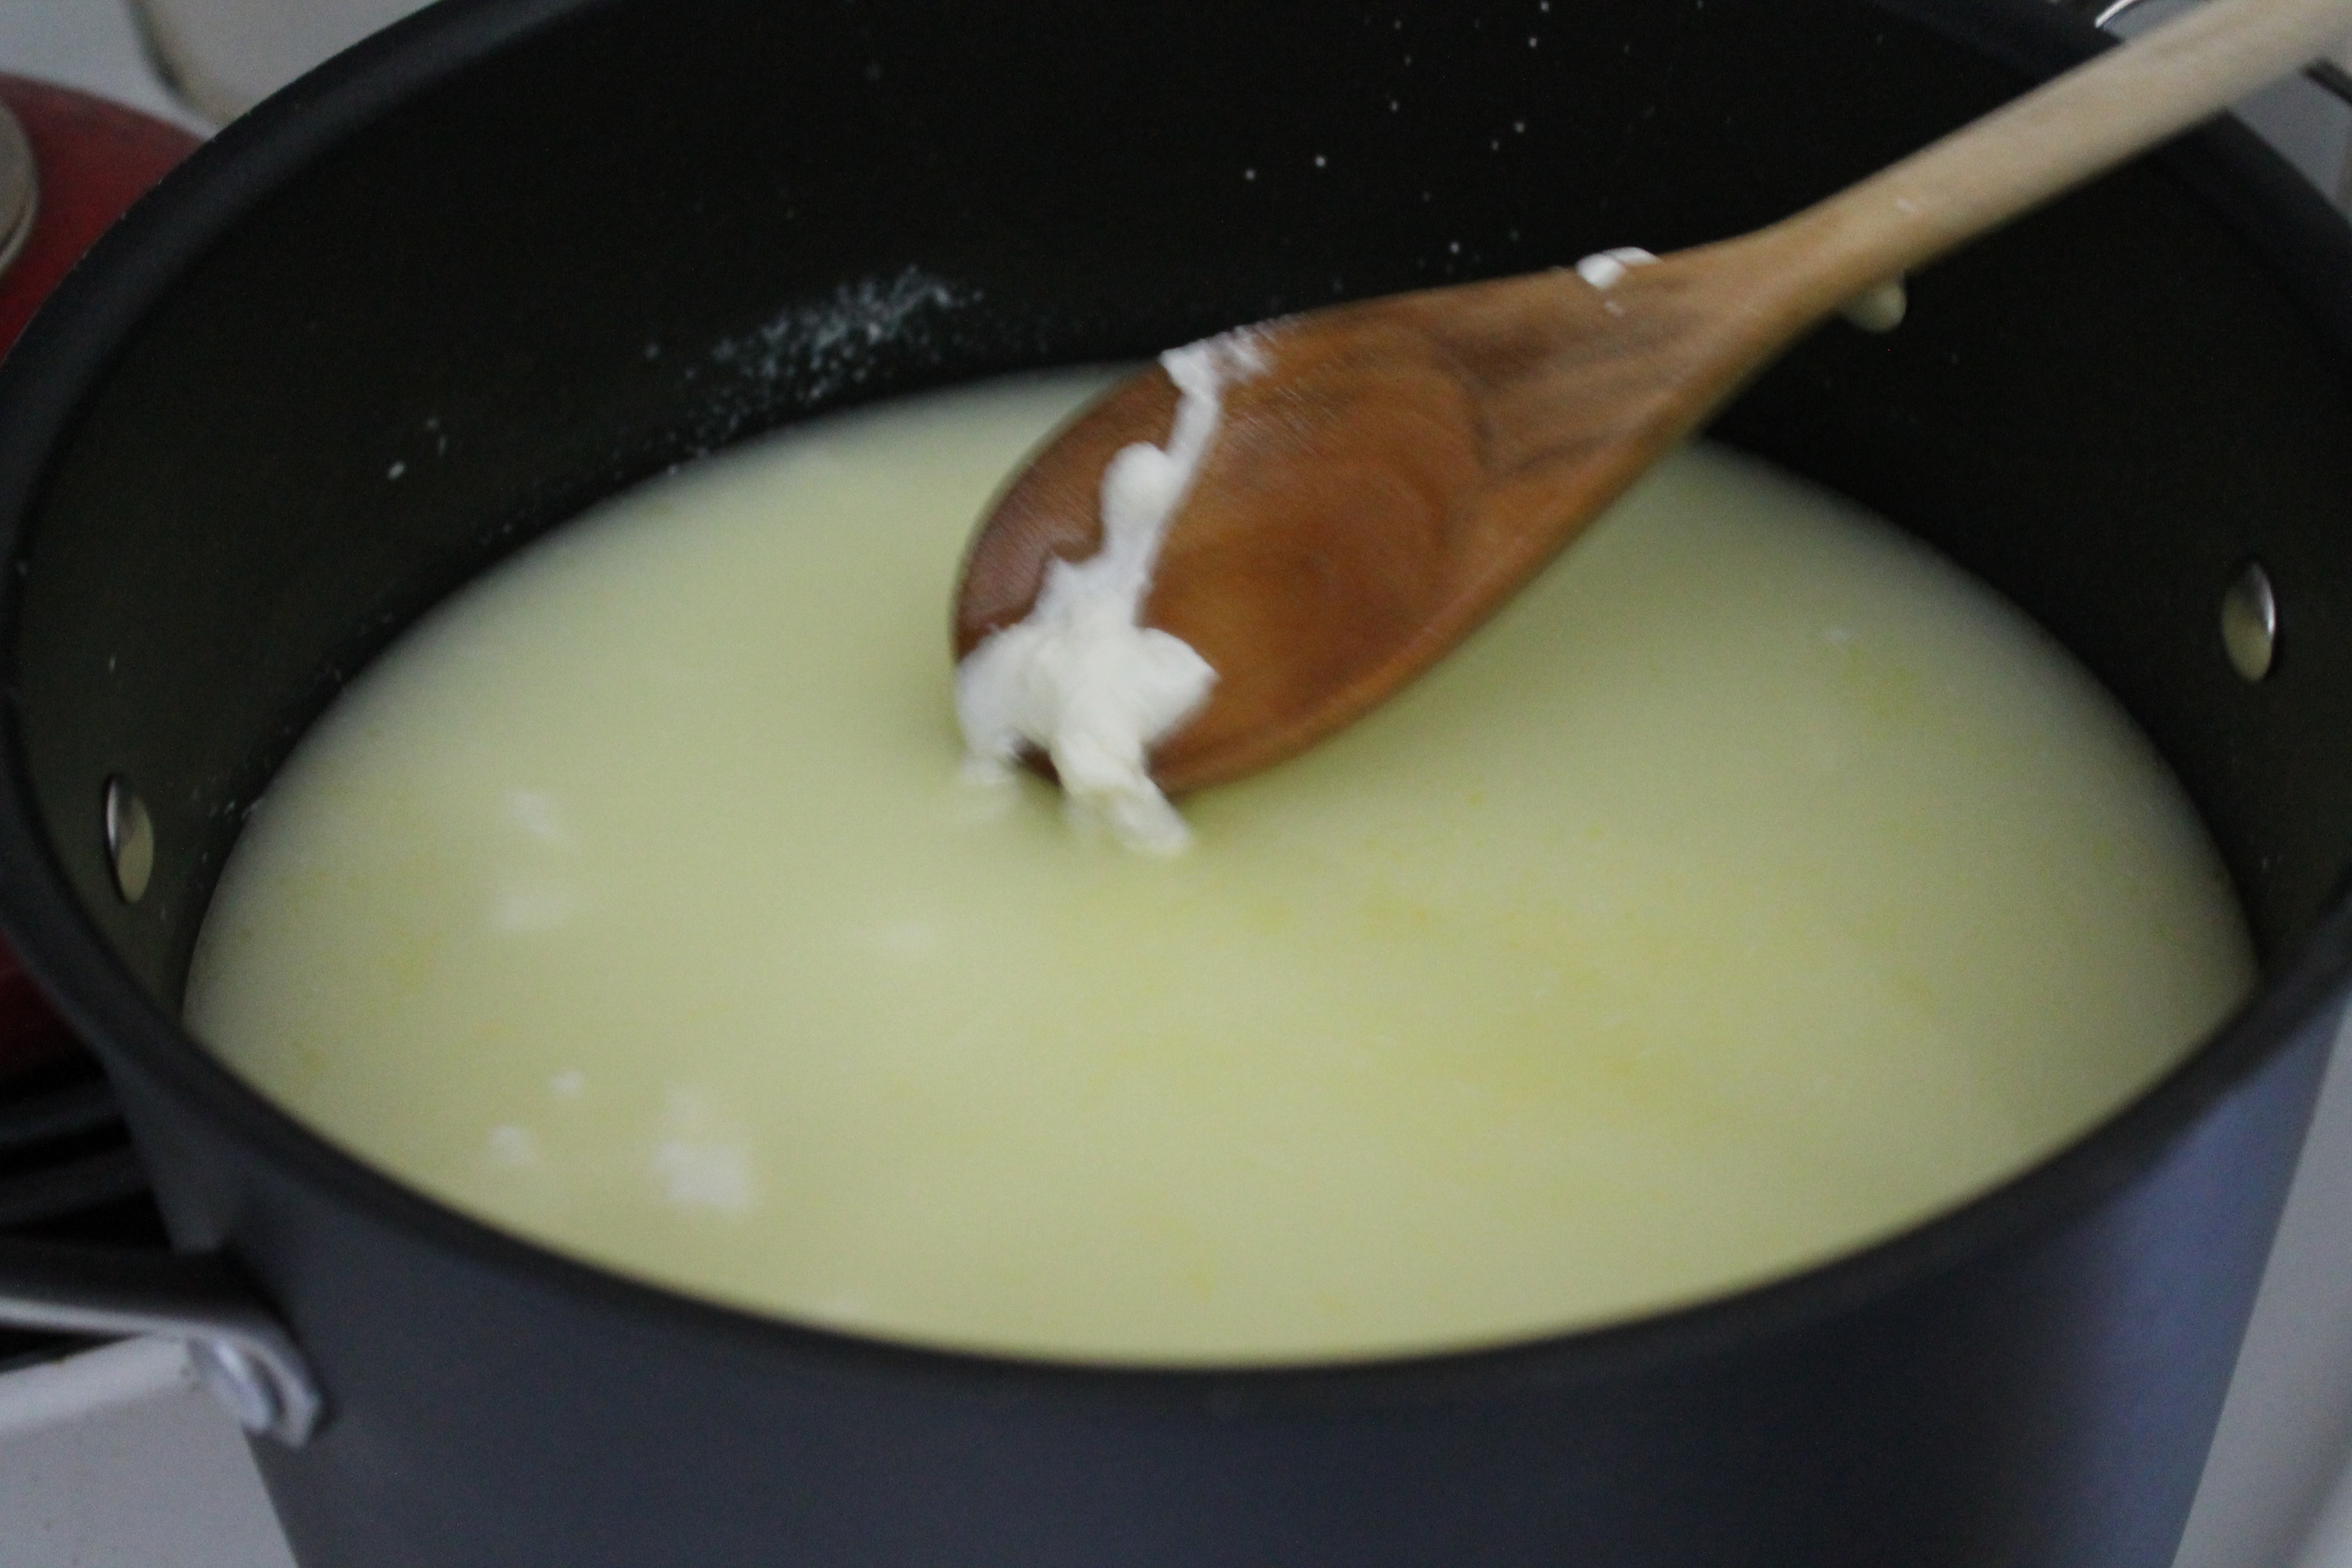 When the mixture hits 105°, turn off the burner and continue stirring another 2–5 minutes. The longer you stir, the firmer the cheese will be. Note: It may sound like a great idea to go for the firmest cheese possible…but think about all the mozzarella you have ever eaten. My preference is actually for soft and supple fresh cheese, the kind that is actually kind of impossible to grate, rather than firm string cheese. Don’t automatically stir longer just because you can! We found that 3 minutes was about the right amount of time.
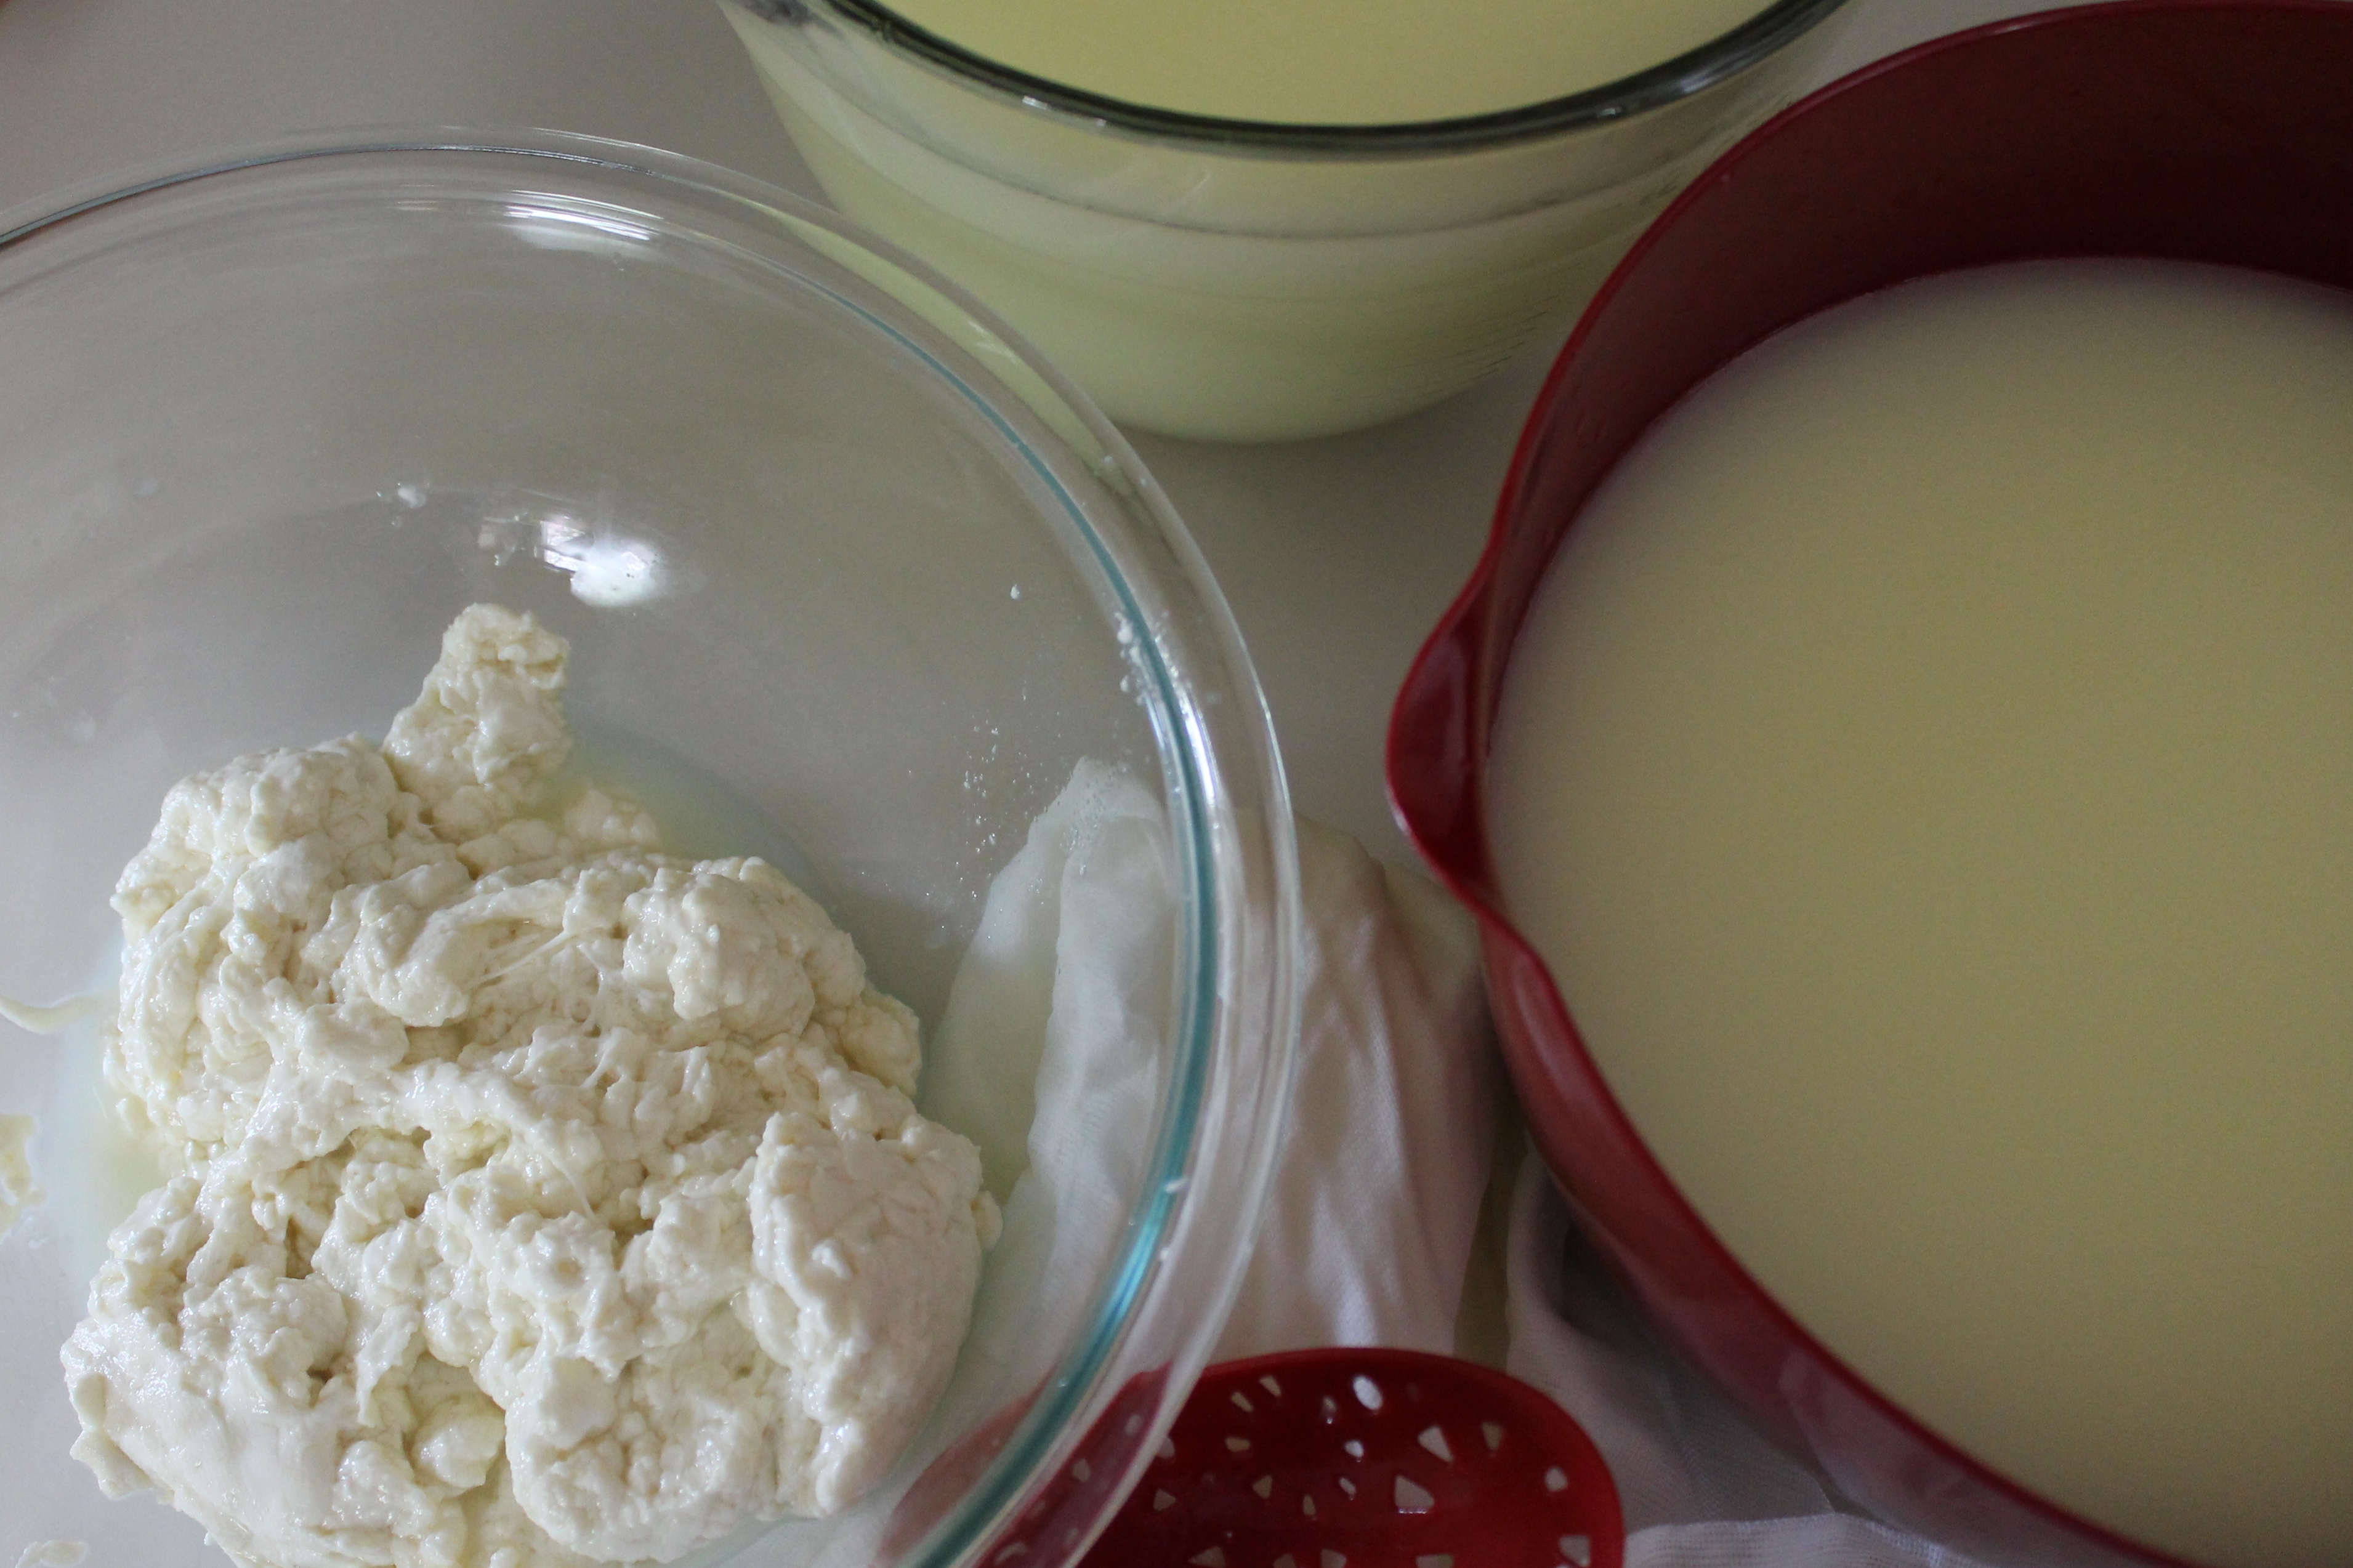 Now it gets a little messy: we need to pour the whey out of the pot. There will be a lot of whey (remember, we started with a gallon of milk, and from that we are going to get about a double-fist-sized ball of mozzarella, so allllll the rest of the gallon of milk has separated out as the whey). I advise having at least 2 large bowls ready to catch all the whey.
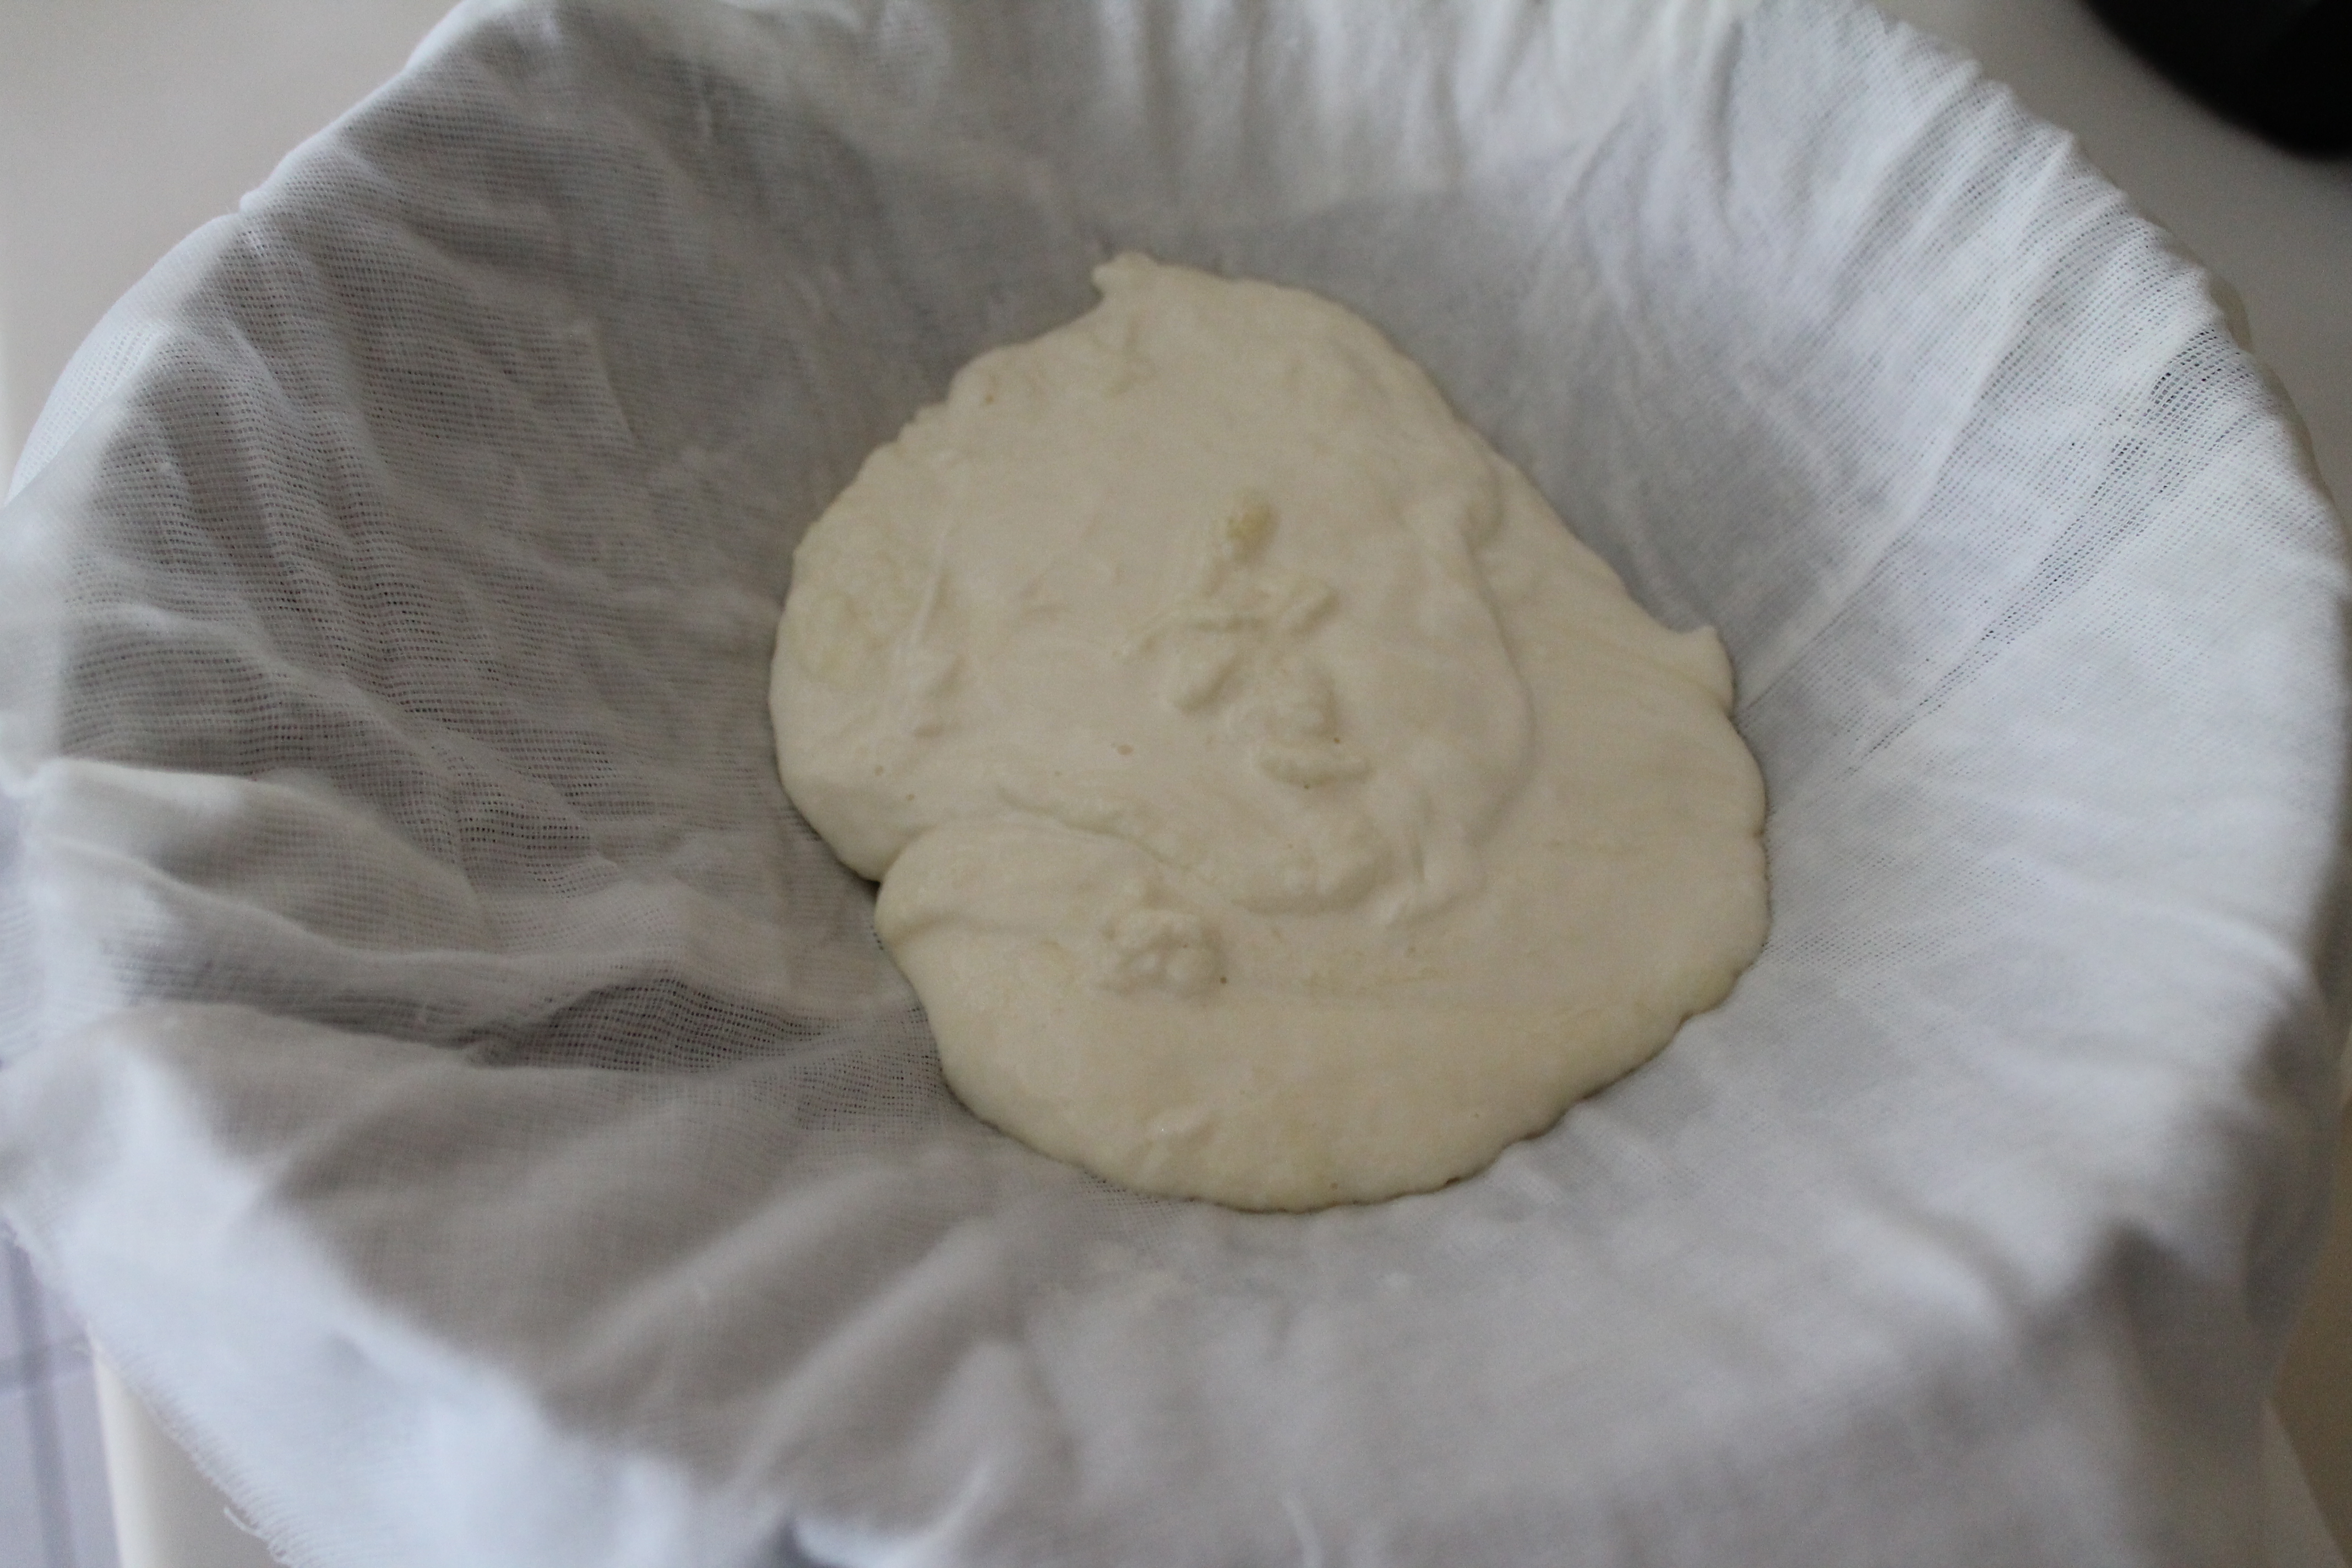
Pour slowly and carefully through a cheesecloth—a very large, porous cloth, generally folded over on itself once or twice to create a finer mesh, that will catch the separated curds while allowing the whey to pour right through. The curds may still be hot and will therefore stick to the cheesecloth, so try not to pour the whole contents of the pot out if you can avoid it. Otherwise, you may have to spend a few minutes scraping hot curds off the cheesecloth…waste not, want not…
Transfer the curds to a microwave-safe bowl.With rubber-gloved hands, press lightly and squeeze out a bit of the extra whey swimming with the curds (let it drip into the bowl with the rest of the whey).
DO NOT throw out the whey! We will work on baking with whey very soon, but let me just tell you now that whey is a fantastic substitute for buttermilk or milk in baked goods! Plus, if you splurged on organic or grass-fed milk, you should take full advantage of that cost and find a way to use the whey! It takes forever to go bad in the fridge, so make space and think about scones….
 Okay, back to the curds. Microwave the curds for 1 minute.
Fold the curds together and drain off the rest of the whey. Add 1 tsp. cheese salt after draining the whey.
 Microwave another 30 seconds and drain off any excess whey again (but not into the same bowl with the rest of the whey, as it is now salty!). Then take the cheese’s temperature. It needs to be 135° so you can stretch it! If it’s not hot enough yet, pop it back in the microwave for another 15–30 seconds. It took us a full 30 seconds extra, so don’t panic if your cheese is not warm enough initially…it will get there.
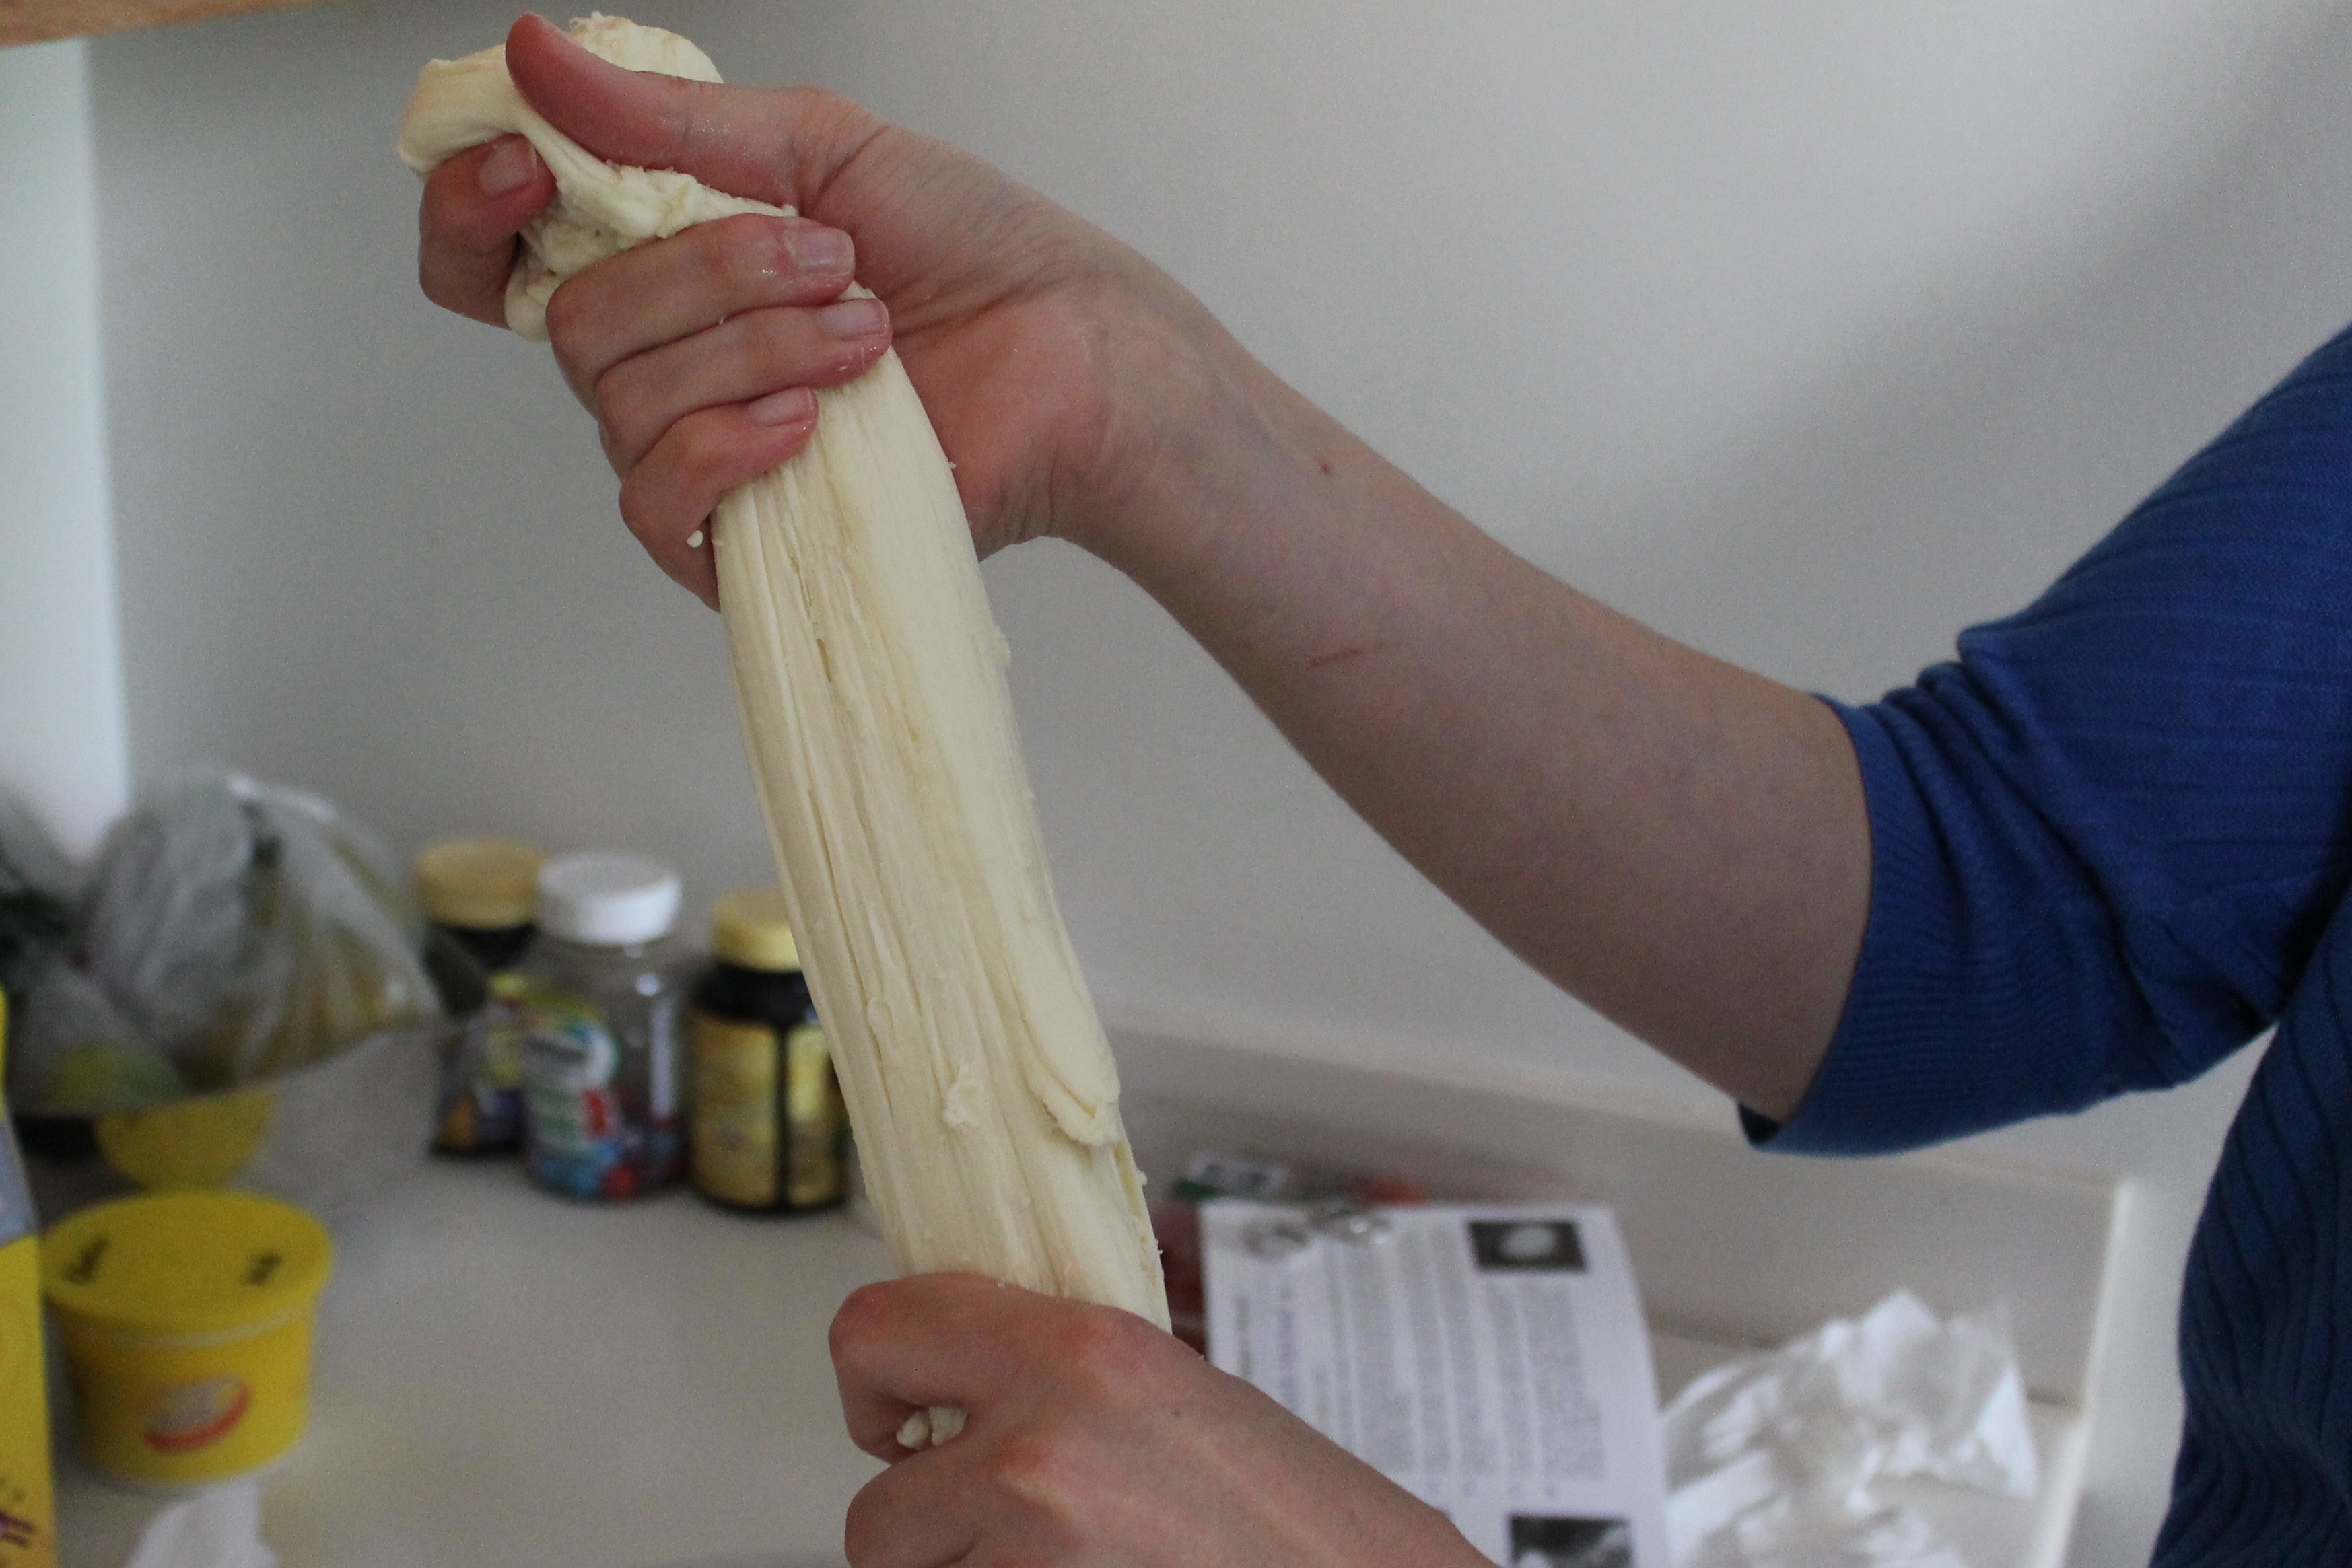 Now, okay, be brave and be quick! Grab the cheese and stretch it several times (like 5 or 6 times. Don’t go crazy or you will end up with string cheese), working quickly. Form it back into a smooth ball.
Drop the cheese into a large bowl of cold water. Make sure even the top is covered, otherwise there will be an oddly firm spot on one side of the ball. Let the cheese set for 5 minutes, then drop in a huge handful of ice cubes and continue to set for another 15 minutes (it is a good idea to refresh the ice cubes if they melt).
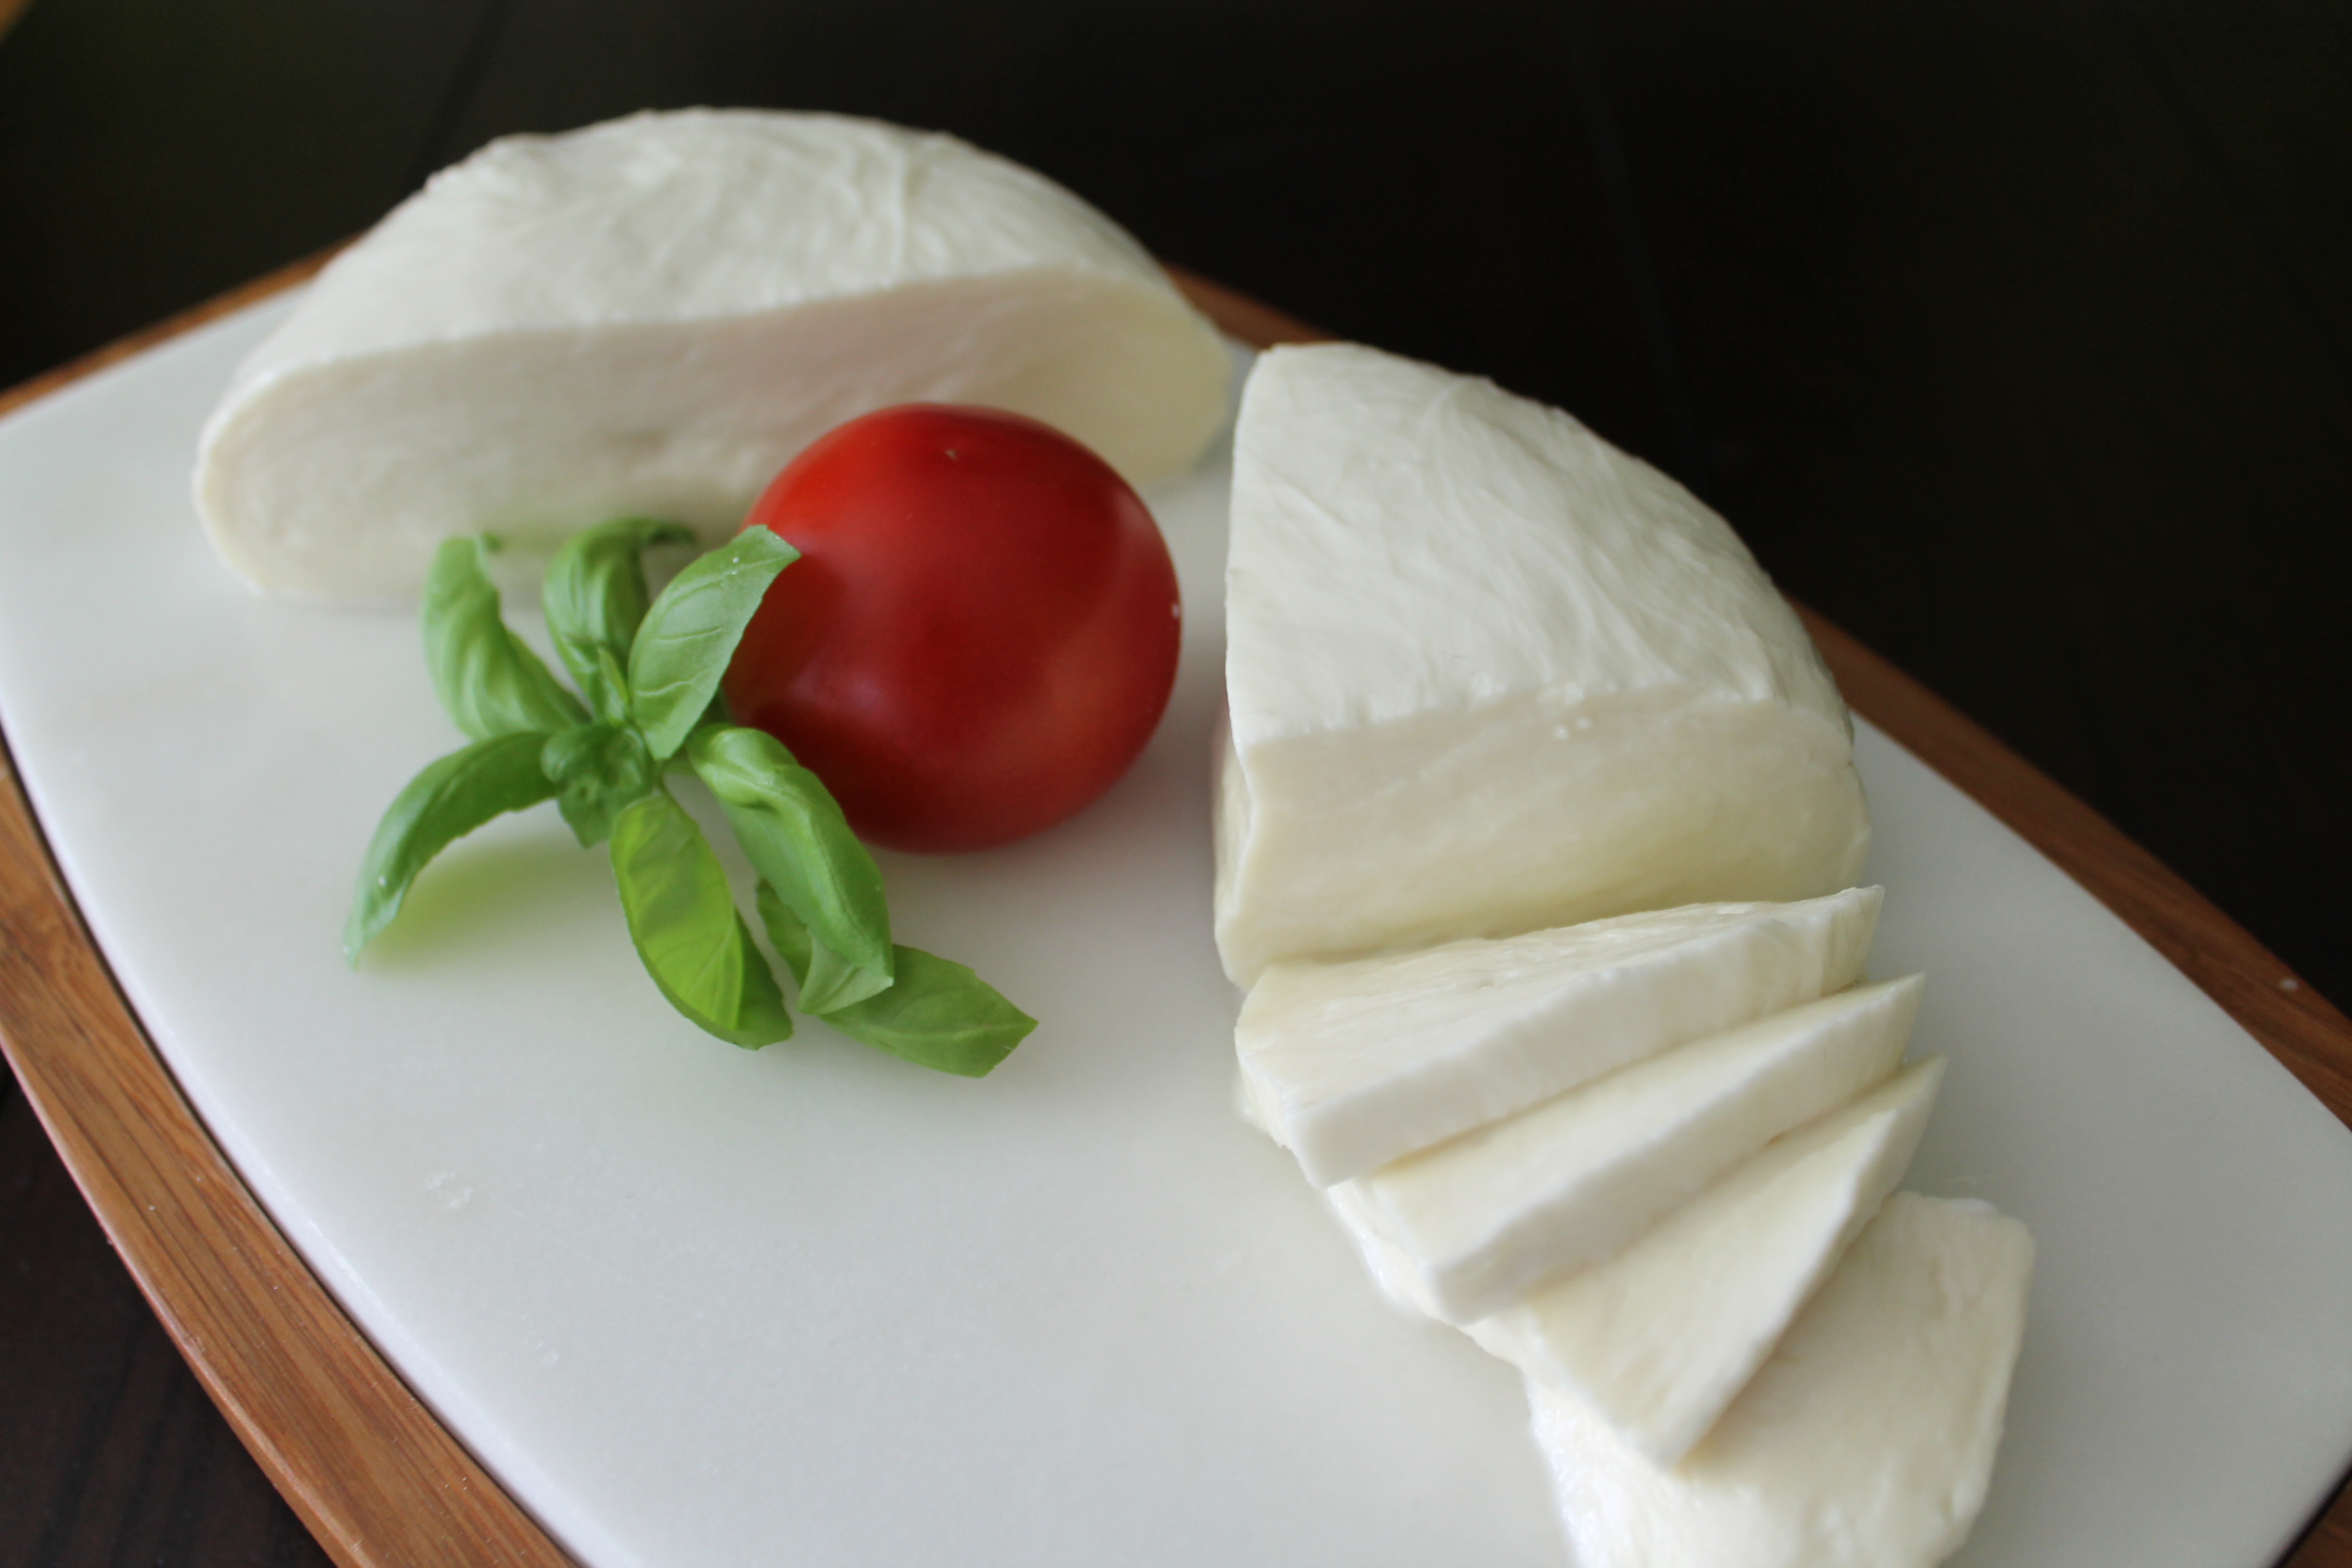
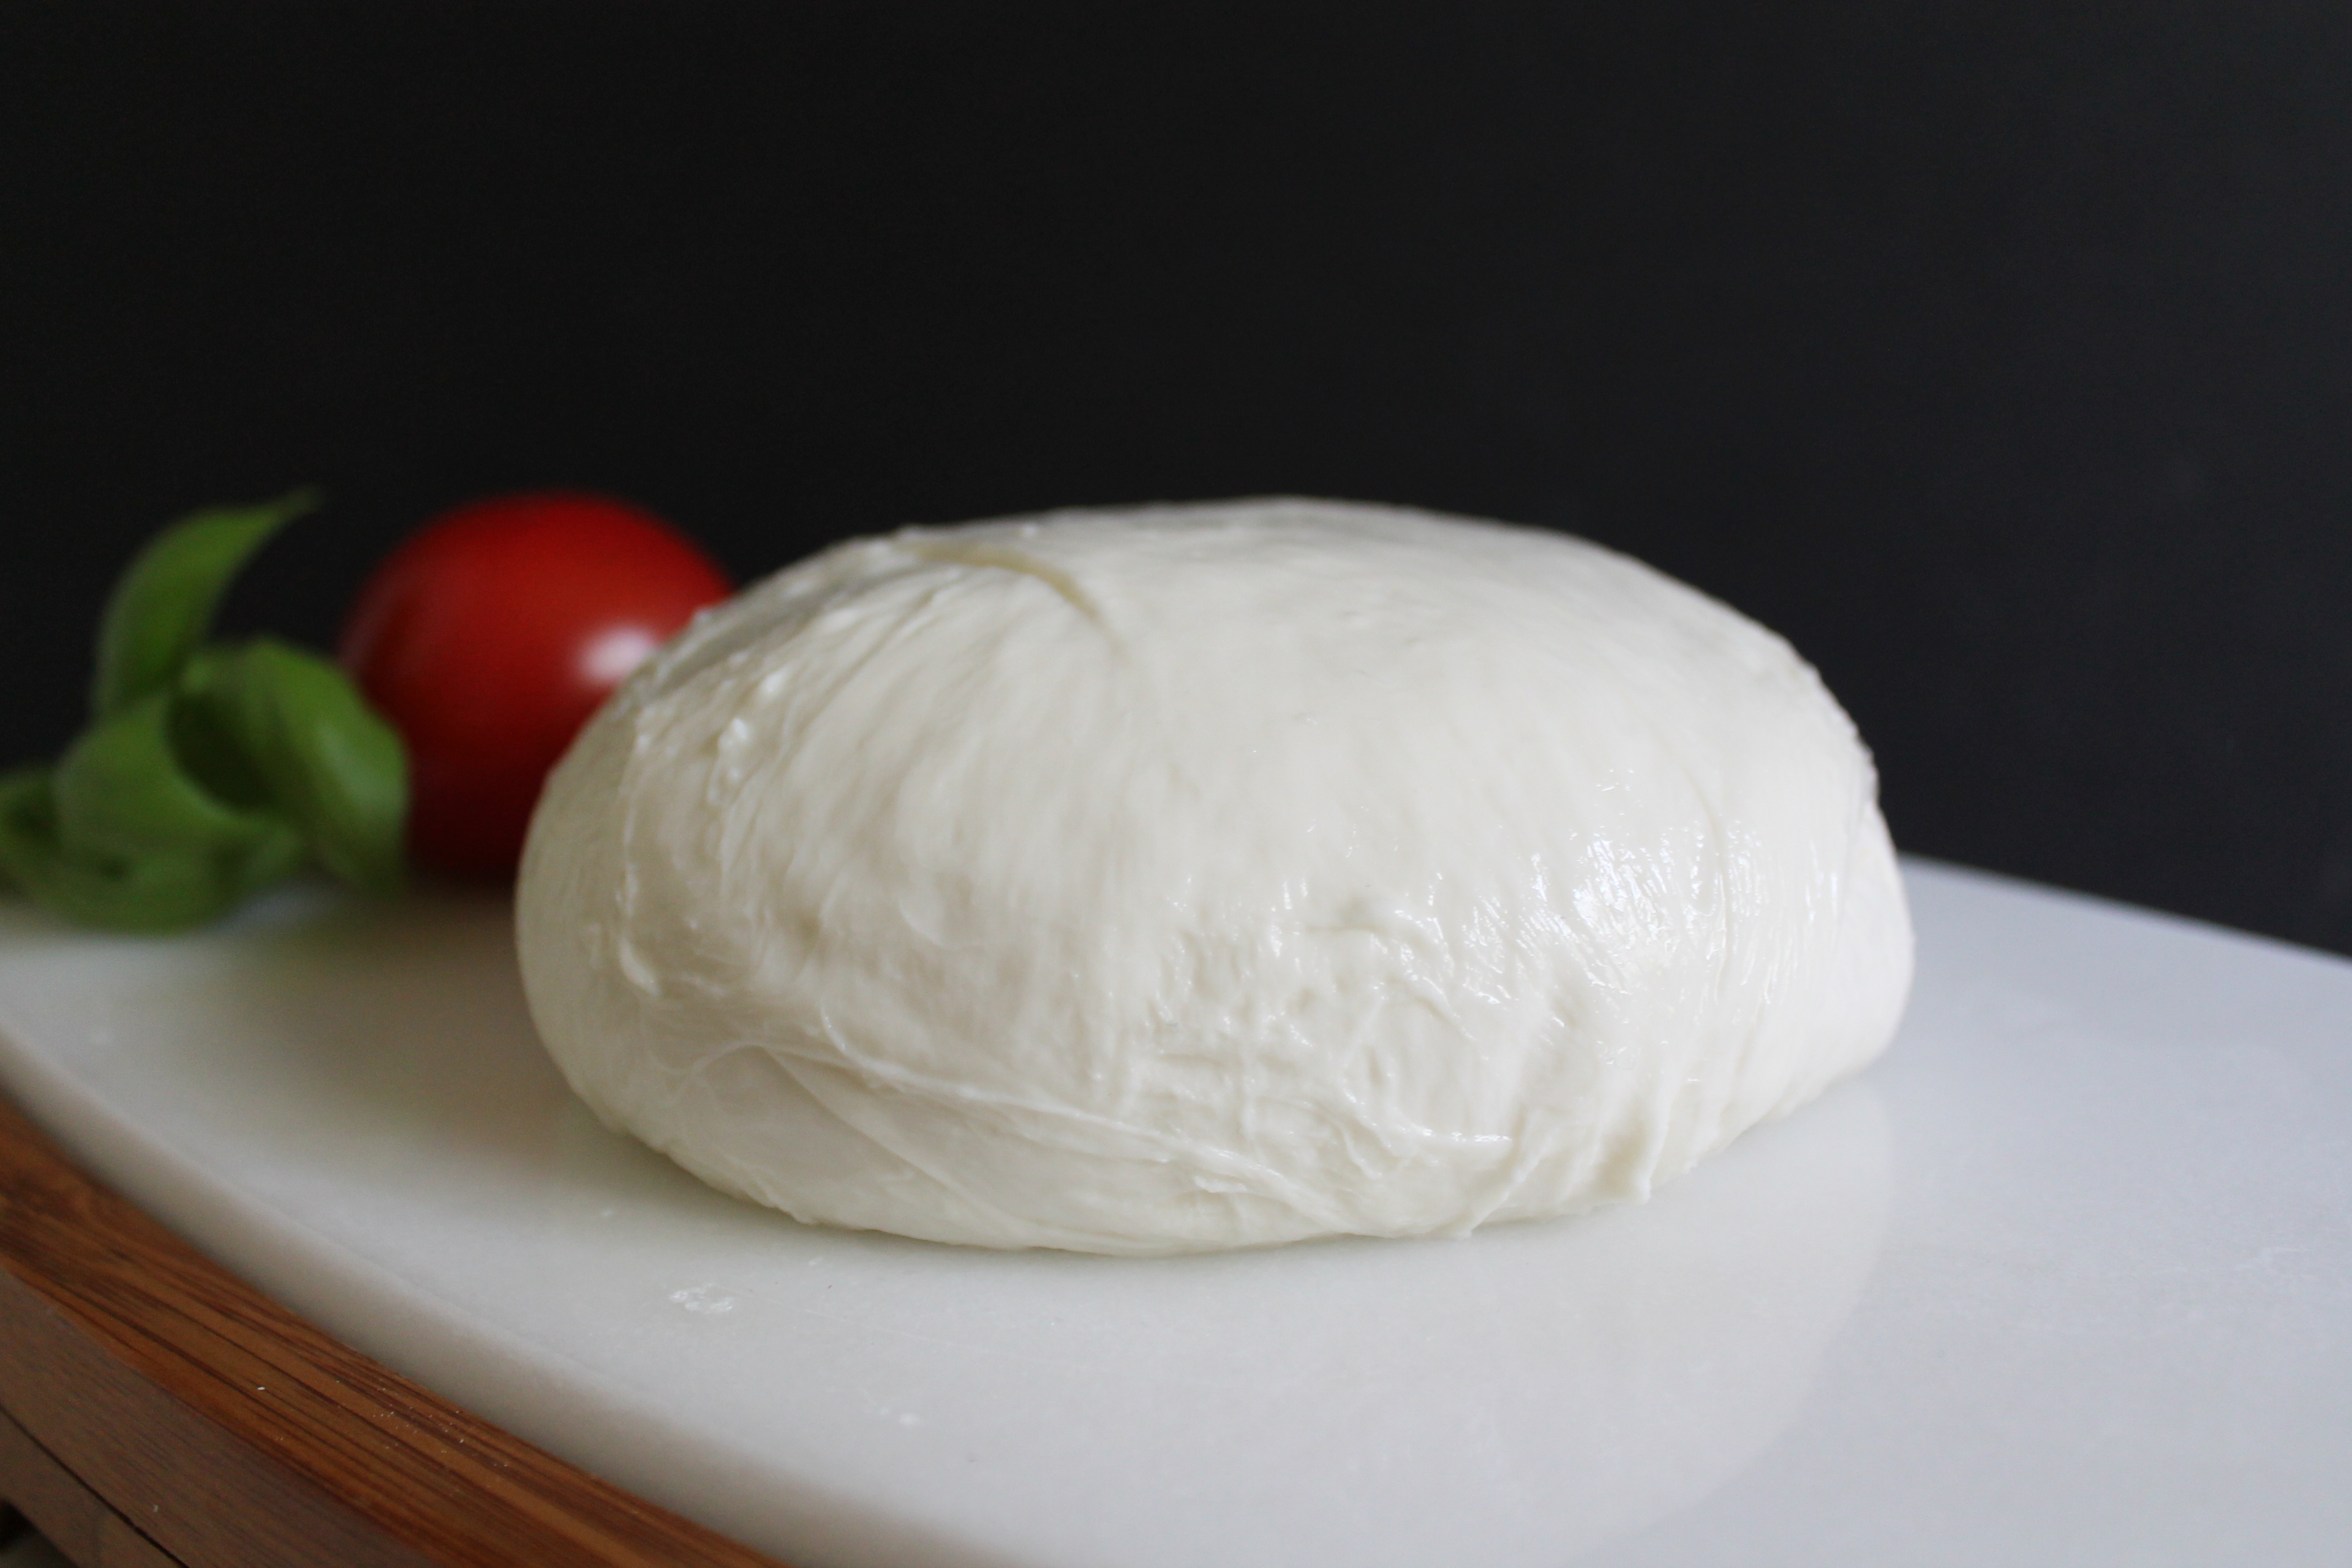 You should have a beautiful, firm ball of fresh mozzarella!
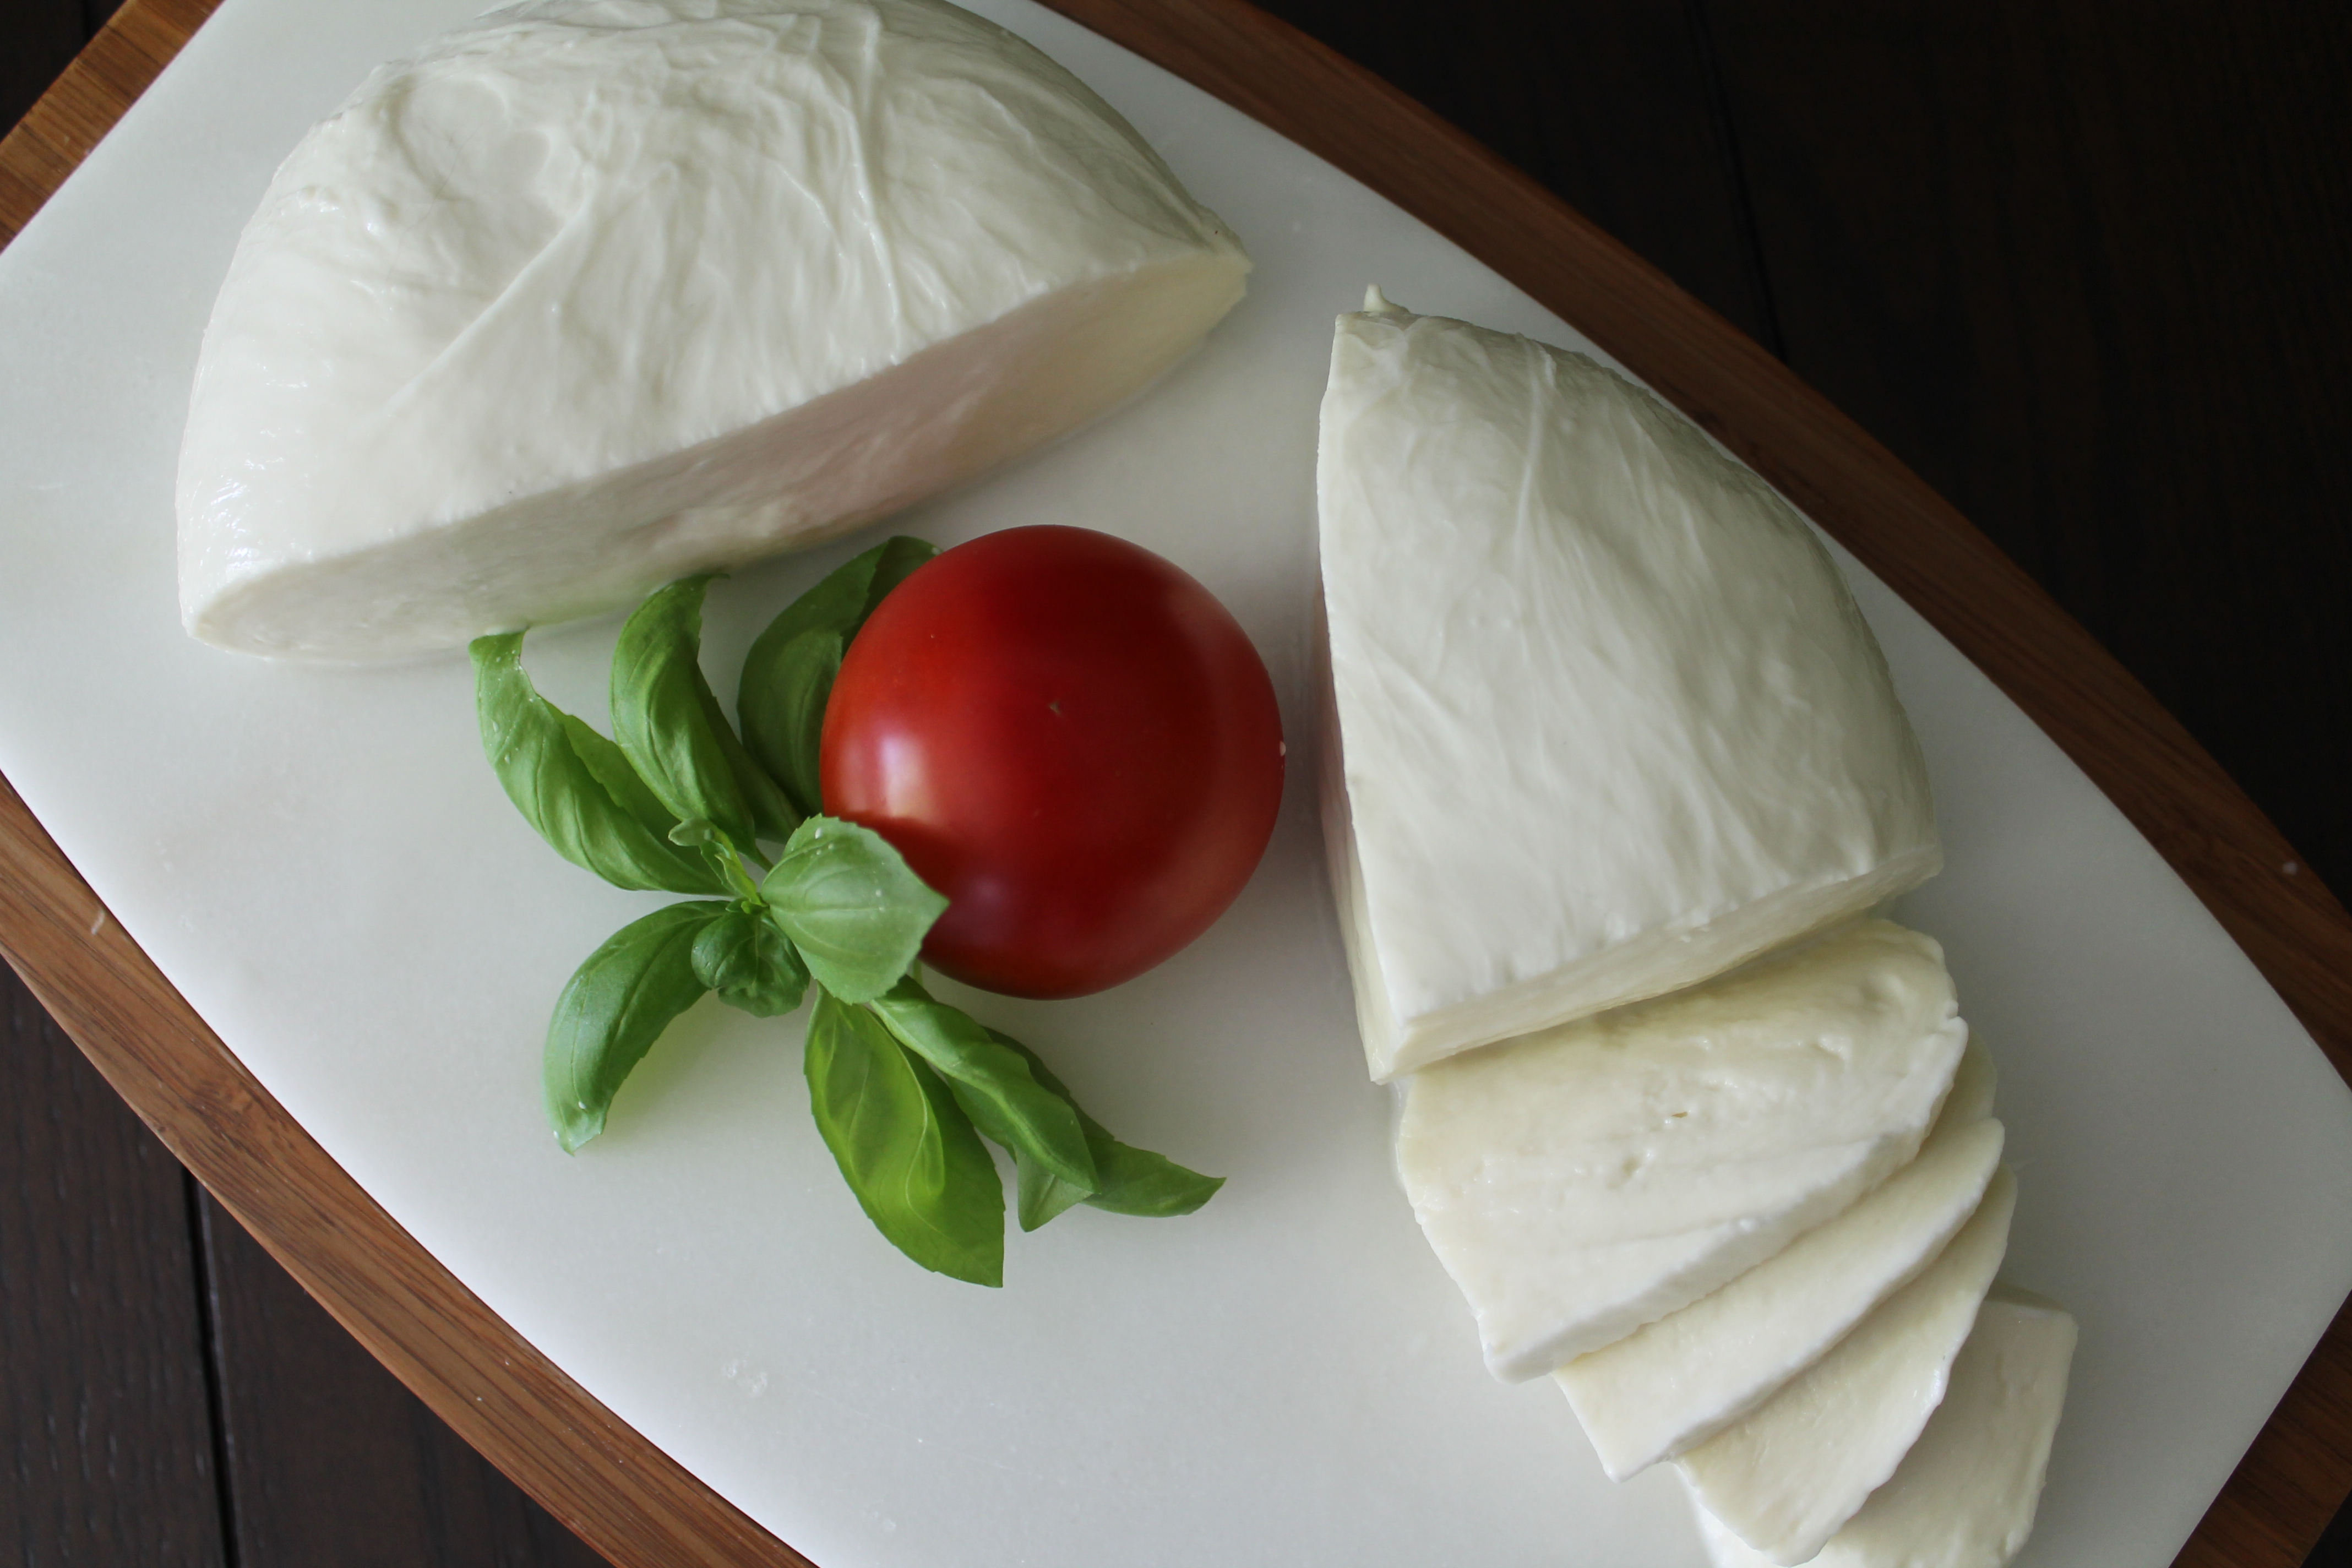 Slice and enjoy it! Maybe as part of a caprese salad? Maybe on a delicious pizza? You decide!
Fresh Homemade Mozzarella
from The New England Cheesemaking Supply Company
makes about 1 lb.
Ingredients:
1½ tsp. citric acid
1¼ cups unchlorinated, filtered water, divided
¼ tablet vegetable rennet
1 gallon pasteurized (not ultra-pasteurized) whole milk
thermometer, cheesecloth
1 tsp. cheese salt
Directions:
Mix the citric acid and 1 cup water together in a large Dutch oven.
In a separate bowl, crust the vegetable rennet and stir together with remaining ¼ cup water. Set aside.
Pour the milk into the citric acid mixture, stirring vigorously. Set the pot over medium heat and heat the milk to 90° while stirring.
Remove the pot from the burner and slowly stir in the rennet solution using an up and down motion, about 30 seconds.
Cover the pot and leave it undisturbed for 5 minutes. After 5 minutes, check the curd: It should look like custard, with a clear separation between the curd and the whey. If the curd is still too soft (it separates or smushes when pressed gently), re-cover the pot and let it sit another 2–3 minutes.
Cut the curd into small cubes with a knife or skewer that reaches the bottom of the pot.
Place the pot back on the stove and heat to 105° while slowly moving the curds around with a spoon.
Take the pot off the burner and continue stirring another 2–5 minutes (longer stirring times produce firmer cheese). Pour off the floating whey (use the cheesecloth to catch small bits of curd that pour out with the whey).
Transfer the curds to a microwaveable bowl and drain off as much extra whey as possible without pressing too hard on the curds.
Microwave for 1 minute. Drain the excess whey, folding the curds into 1 pieces, then add the cheese salt.
Microwave another 30 seconds. Drain again, then heck the temperature: the curds need to be 135° in order to stretch properly. Microwave 30 seconds more if the cheese is too cool.
Stretch the cheese by pulling like taffy until it is smooth and shiny (about 5 or 6 pulls is ideal; the more the cheese is stretched, the firmer it will be). Form into a tight ball and submerge completely in cool water.
Let the cheese set for 5 minutes, then add ice cubes to the water and chill for 15 minutes.
Pat the ball dry, then slice and serve as desired.
Enjoy!
- One year ago: Rhubarb Pie
- Two years ago: Vegetable Khorma
- Three years ago: Double Chocolate Buttermilk Cookies
Has one comment to “Homemade Mozzarella”
Sarah@WellDined - May 20, 2014
Updated my post a little bit after reading yours, and linked here 🙂