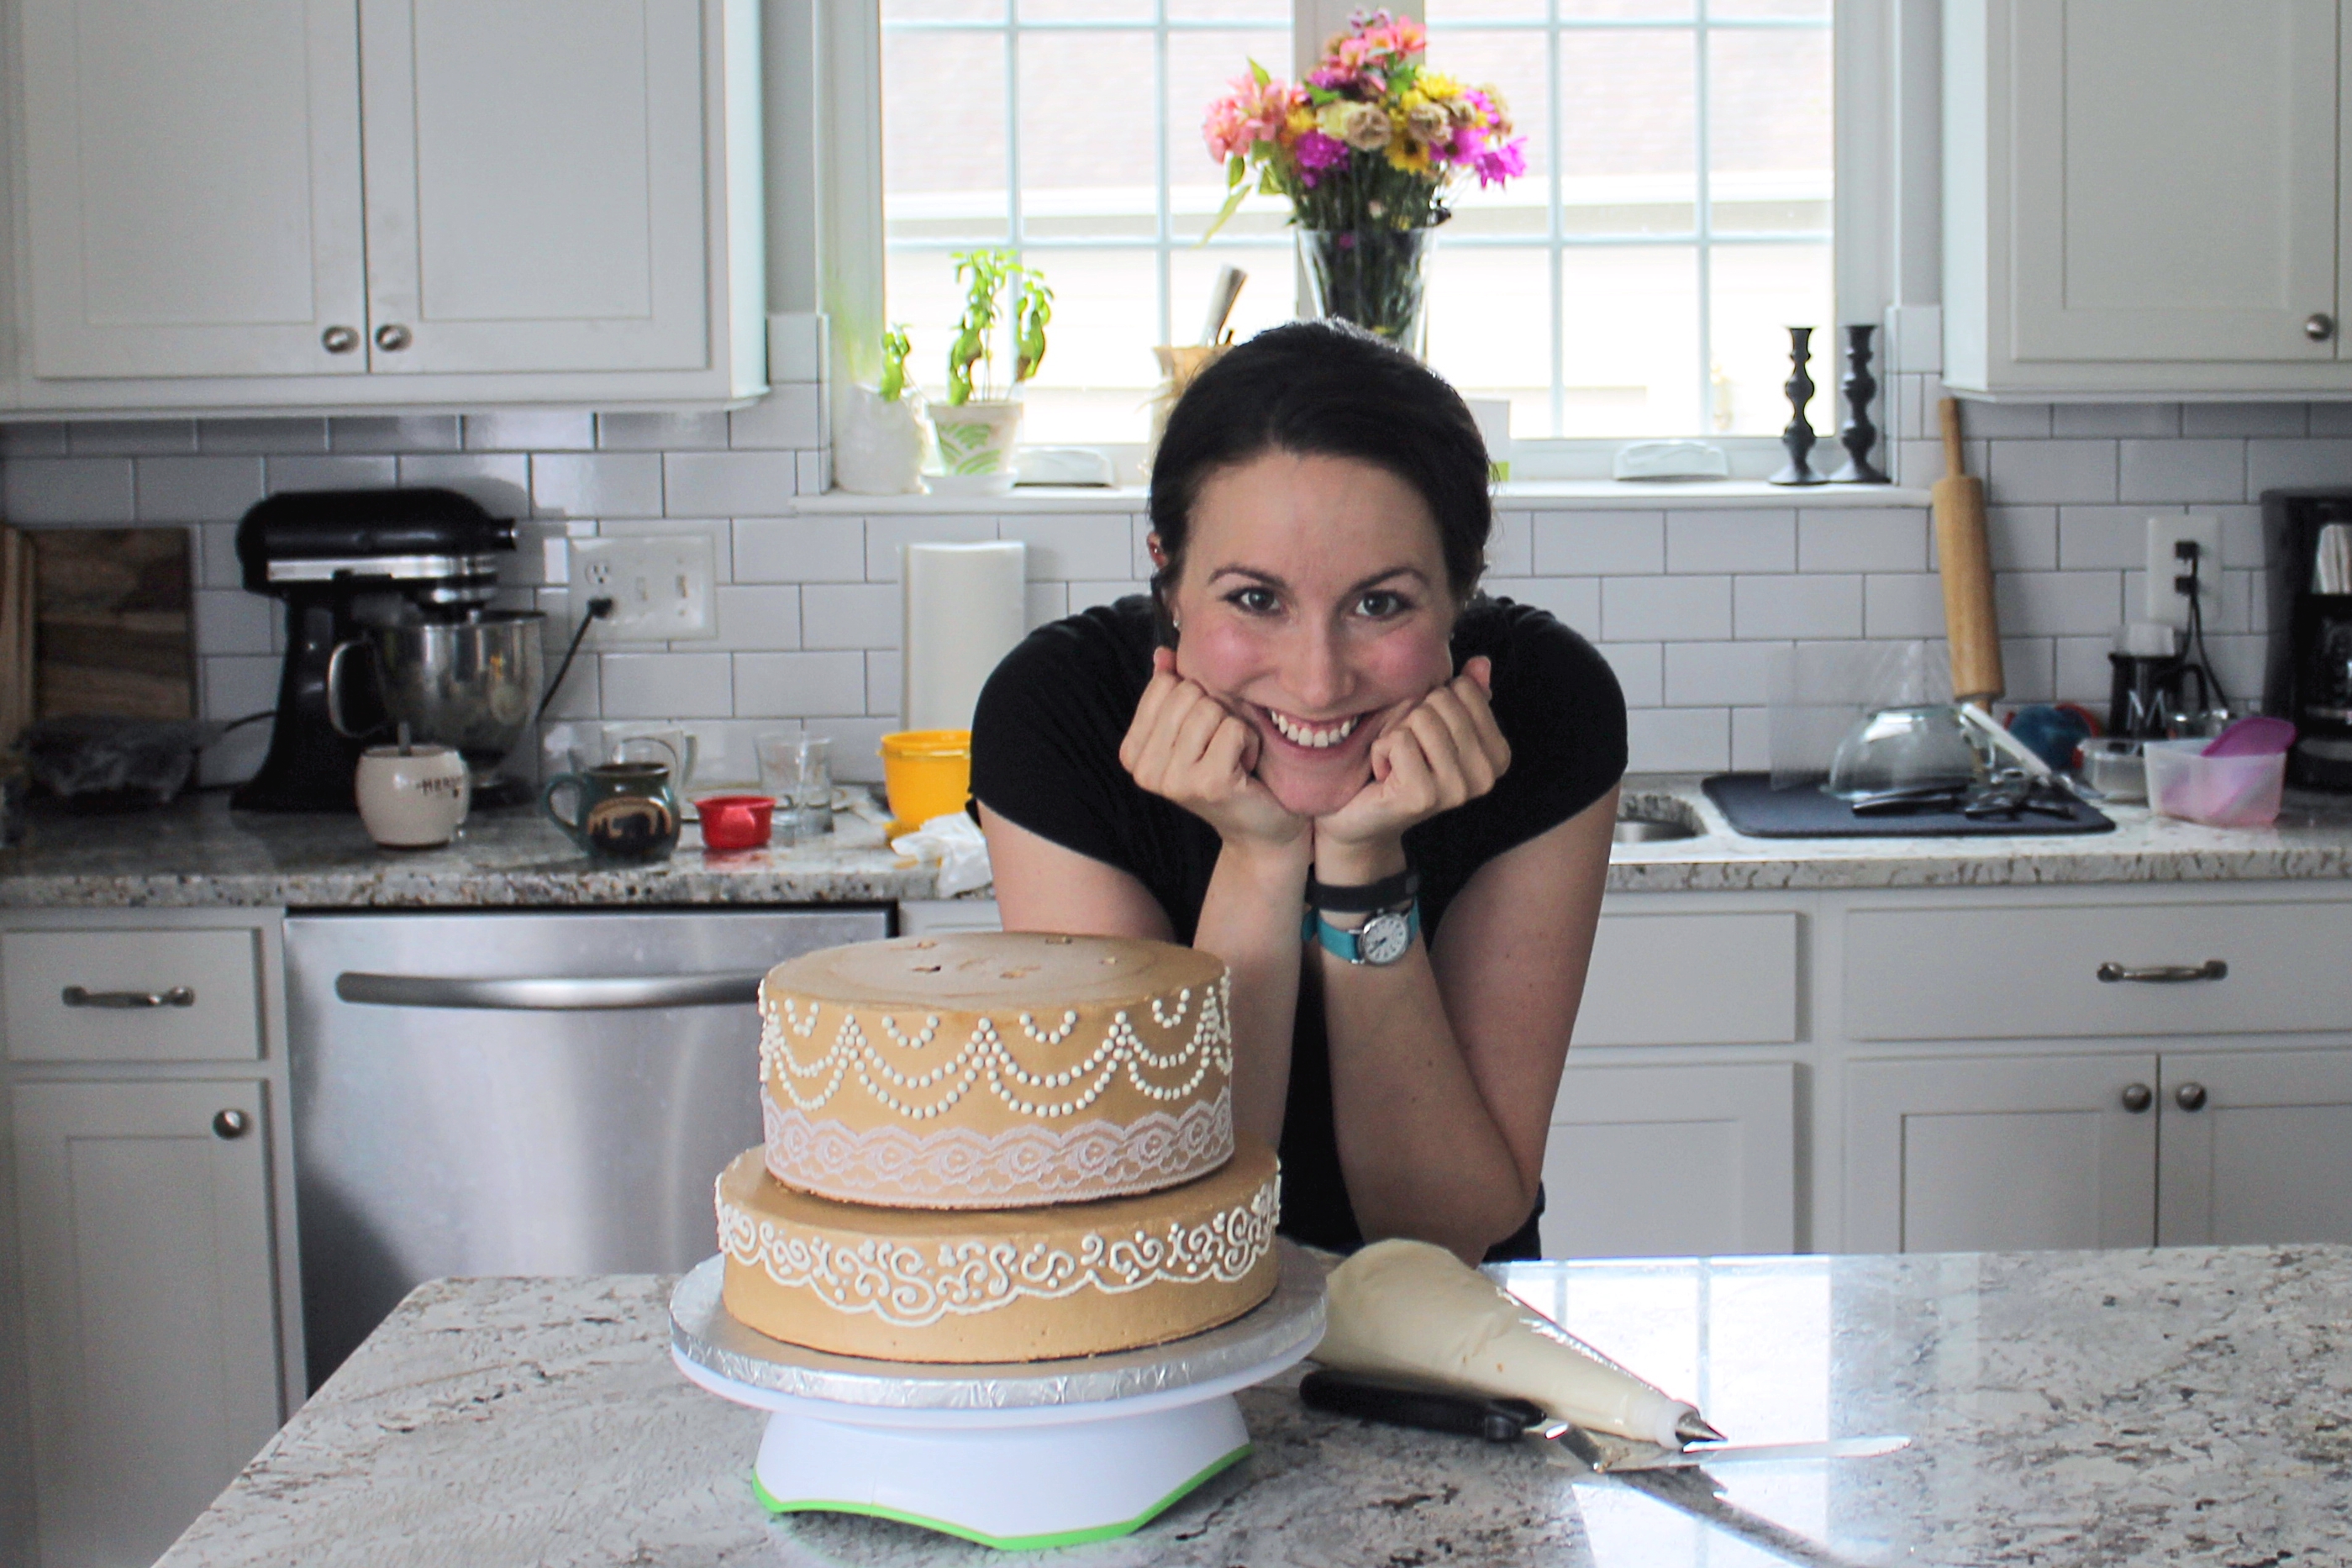
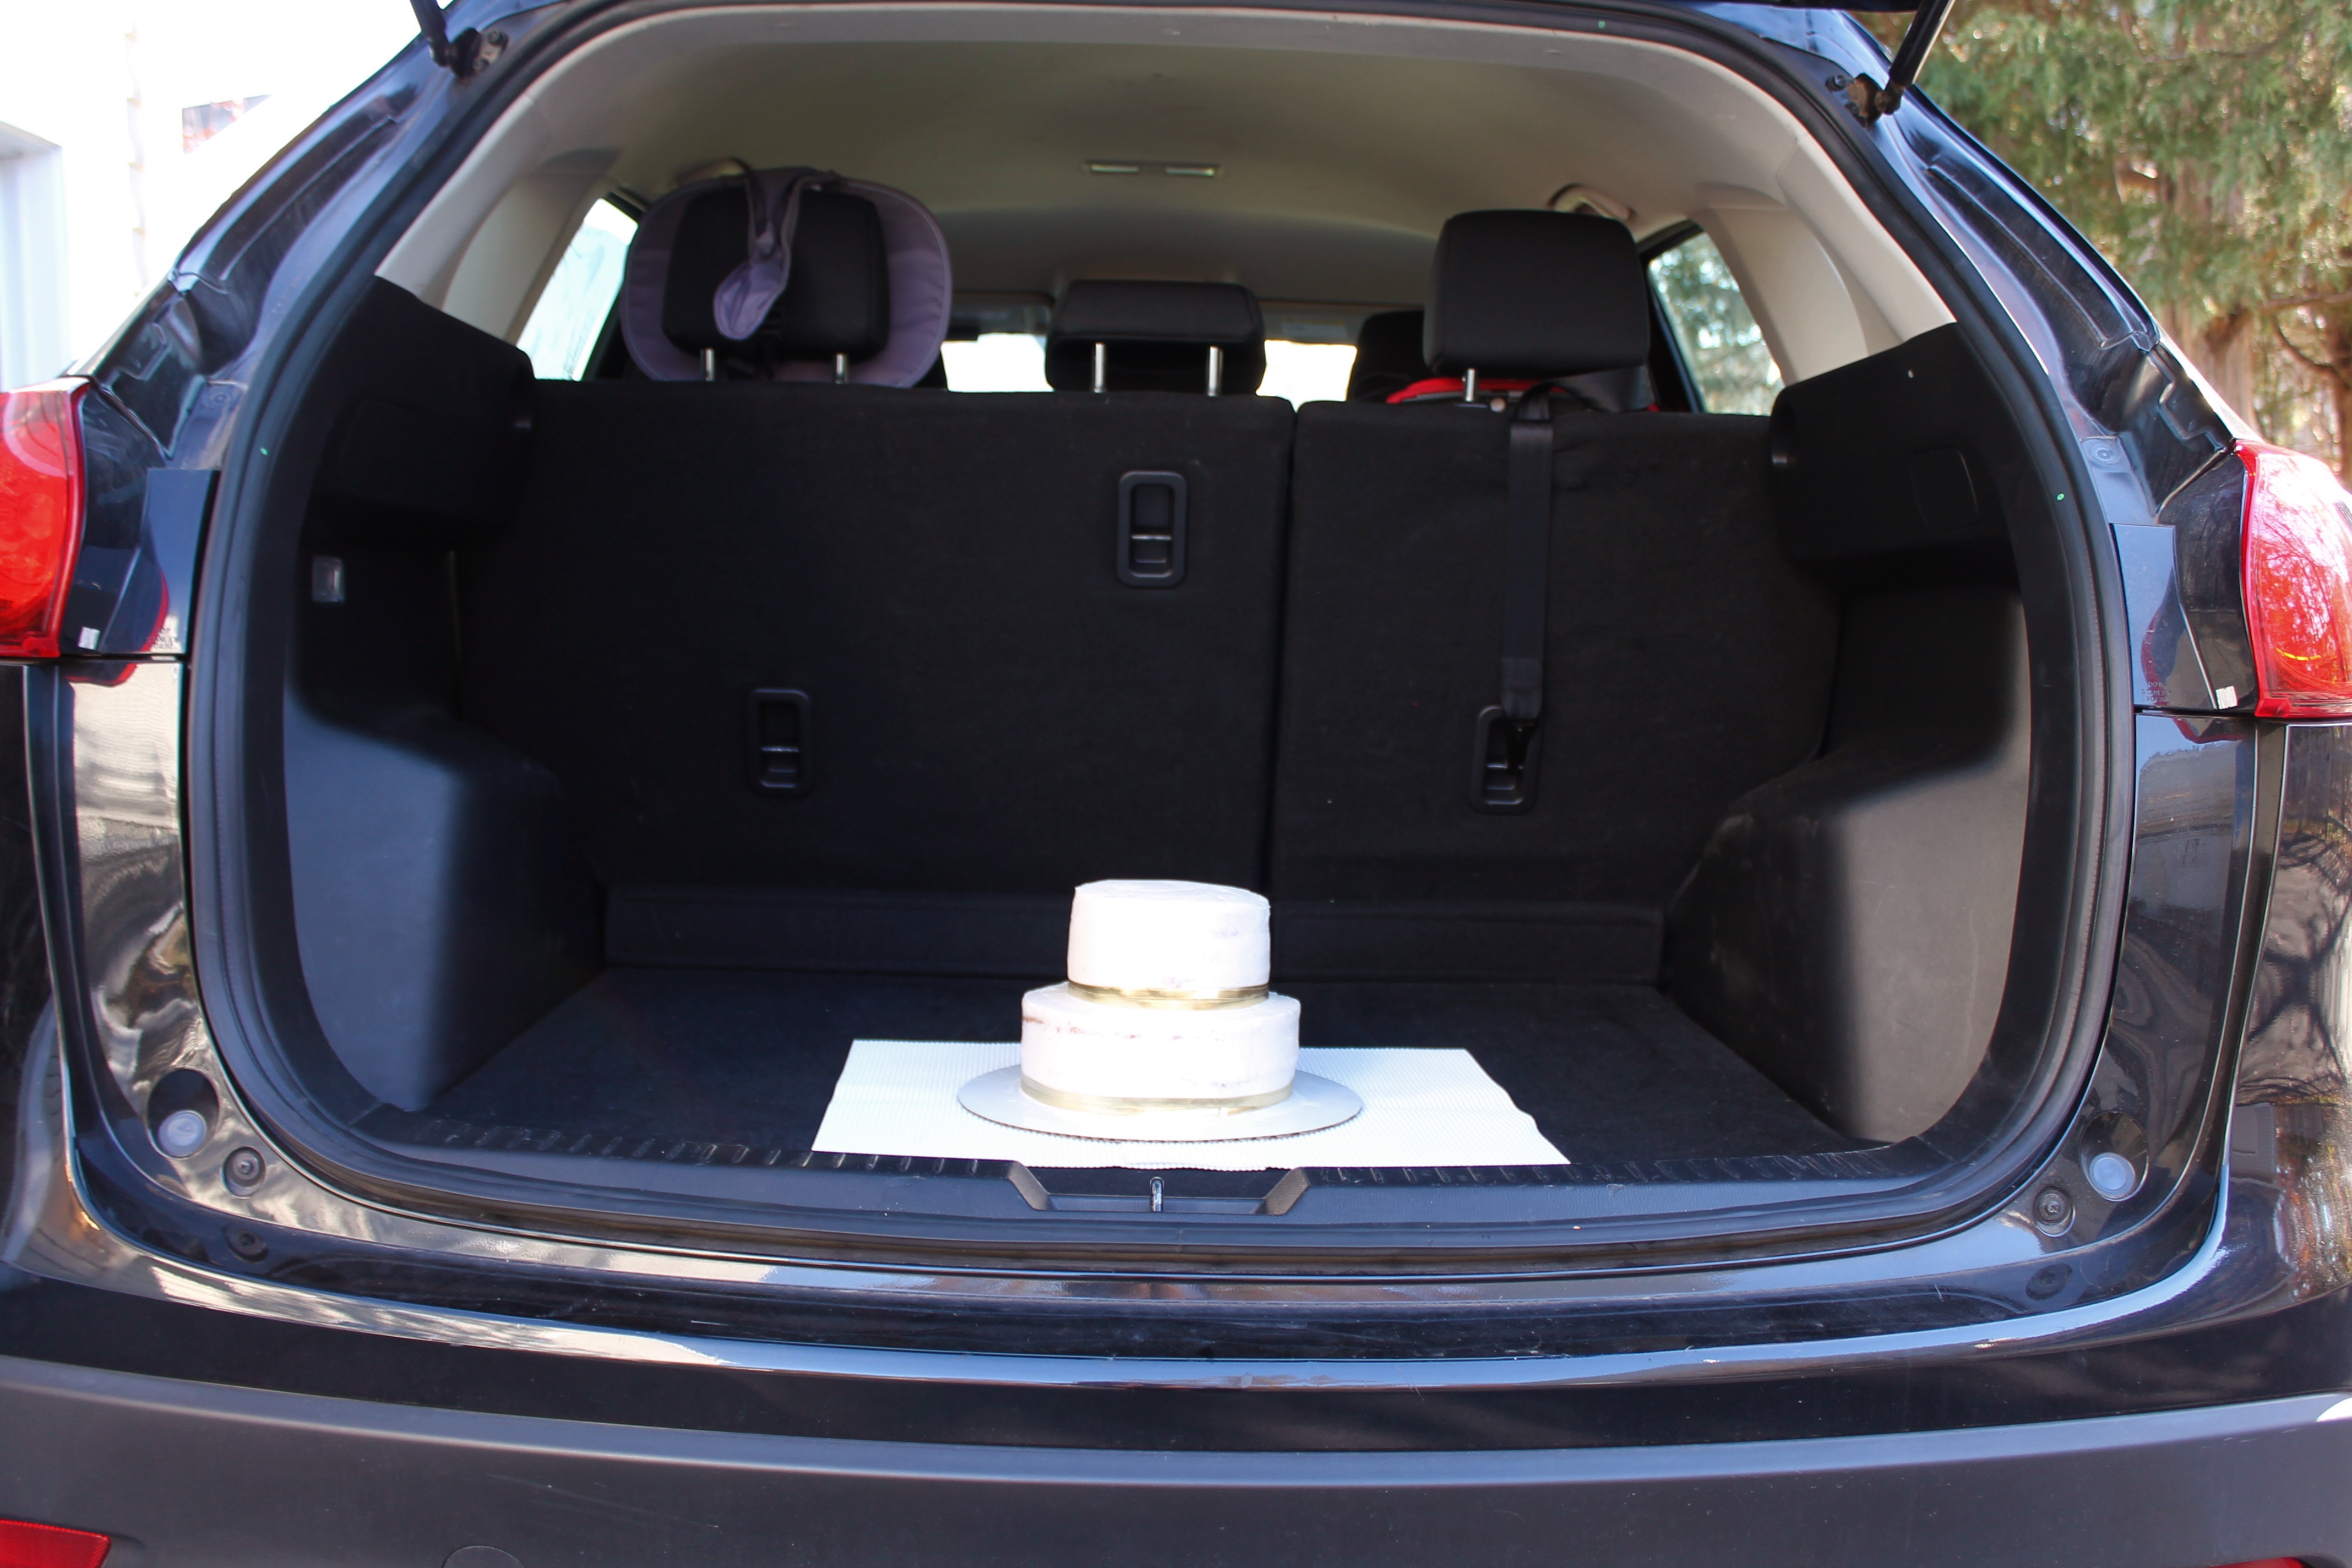
I dearly wish I had taken pictures of the fancy cakes I baked last summer when they were in the car. Then I could have shown you that they did actually survive being in my car. Alas. I must have been too panicked about delivering them in pristine condition despite the scorching heat. You will just have to take my word for it! Instead, I will share a few photos of a smaller, much simpler cake I made for a baby shower.
Transport is the most terrifying part of baking a wedding cake. After spending about 24 hours actively working on these cakes, I had to put them in the back of my car, where I couldn’t see or protect them, and drive them away from my house.
I am a big believer in “practice makes perfect,” so I practiced transpo, as well! I gingerly placed that trial bridal cake in my trunk and drove 20 minutes away, down windy two-lane roads, to see whether the cake would arrive at the bride’s house in one piece. It did! What a relief.
And the Big Day went without a hitch, as well, all cakes delivered as pristine as they started.
There is a lot of mixed advice online for home bakers about how to transport a wedding cake. Here is my two cents, as a home baker who has done this now several times.
1. Do all the decorating prior to stacking the tiers.
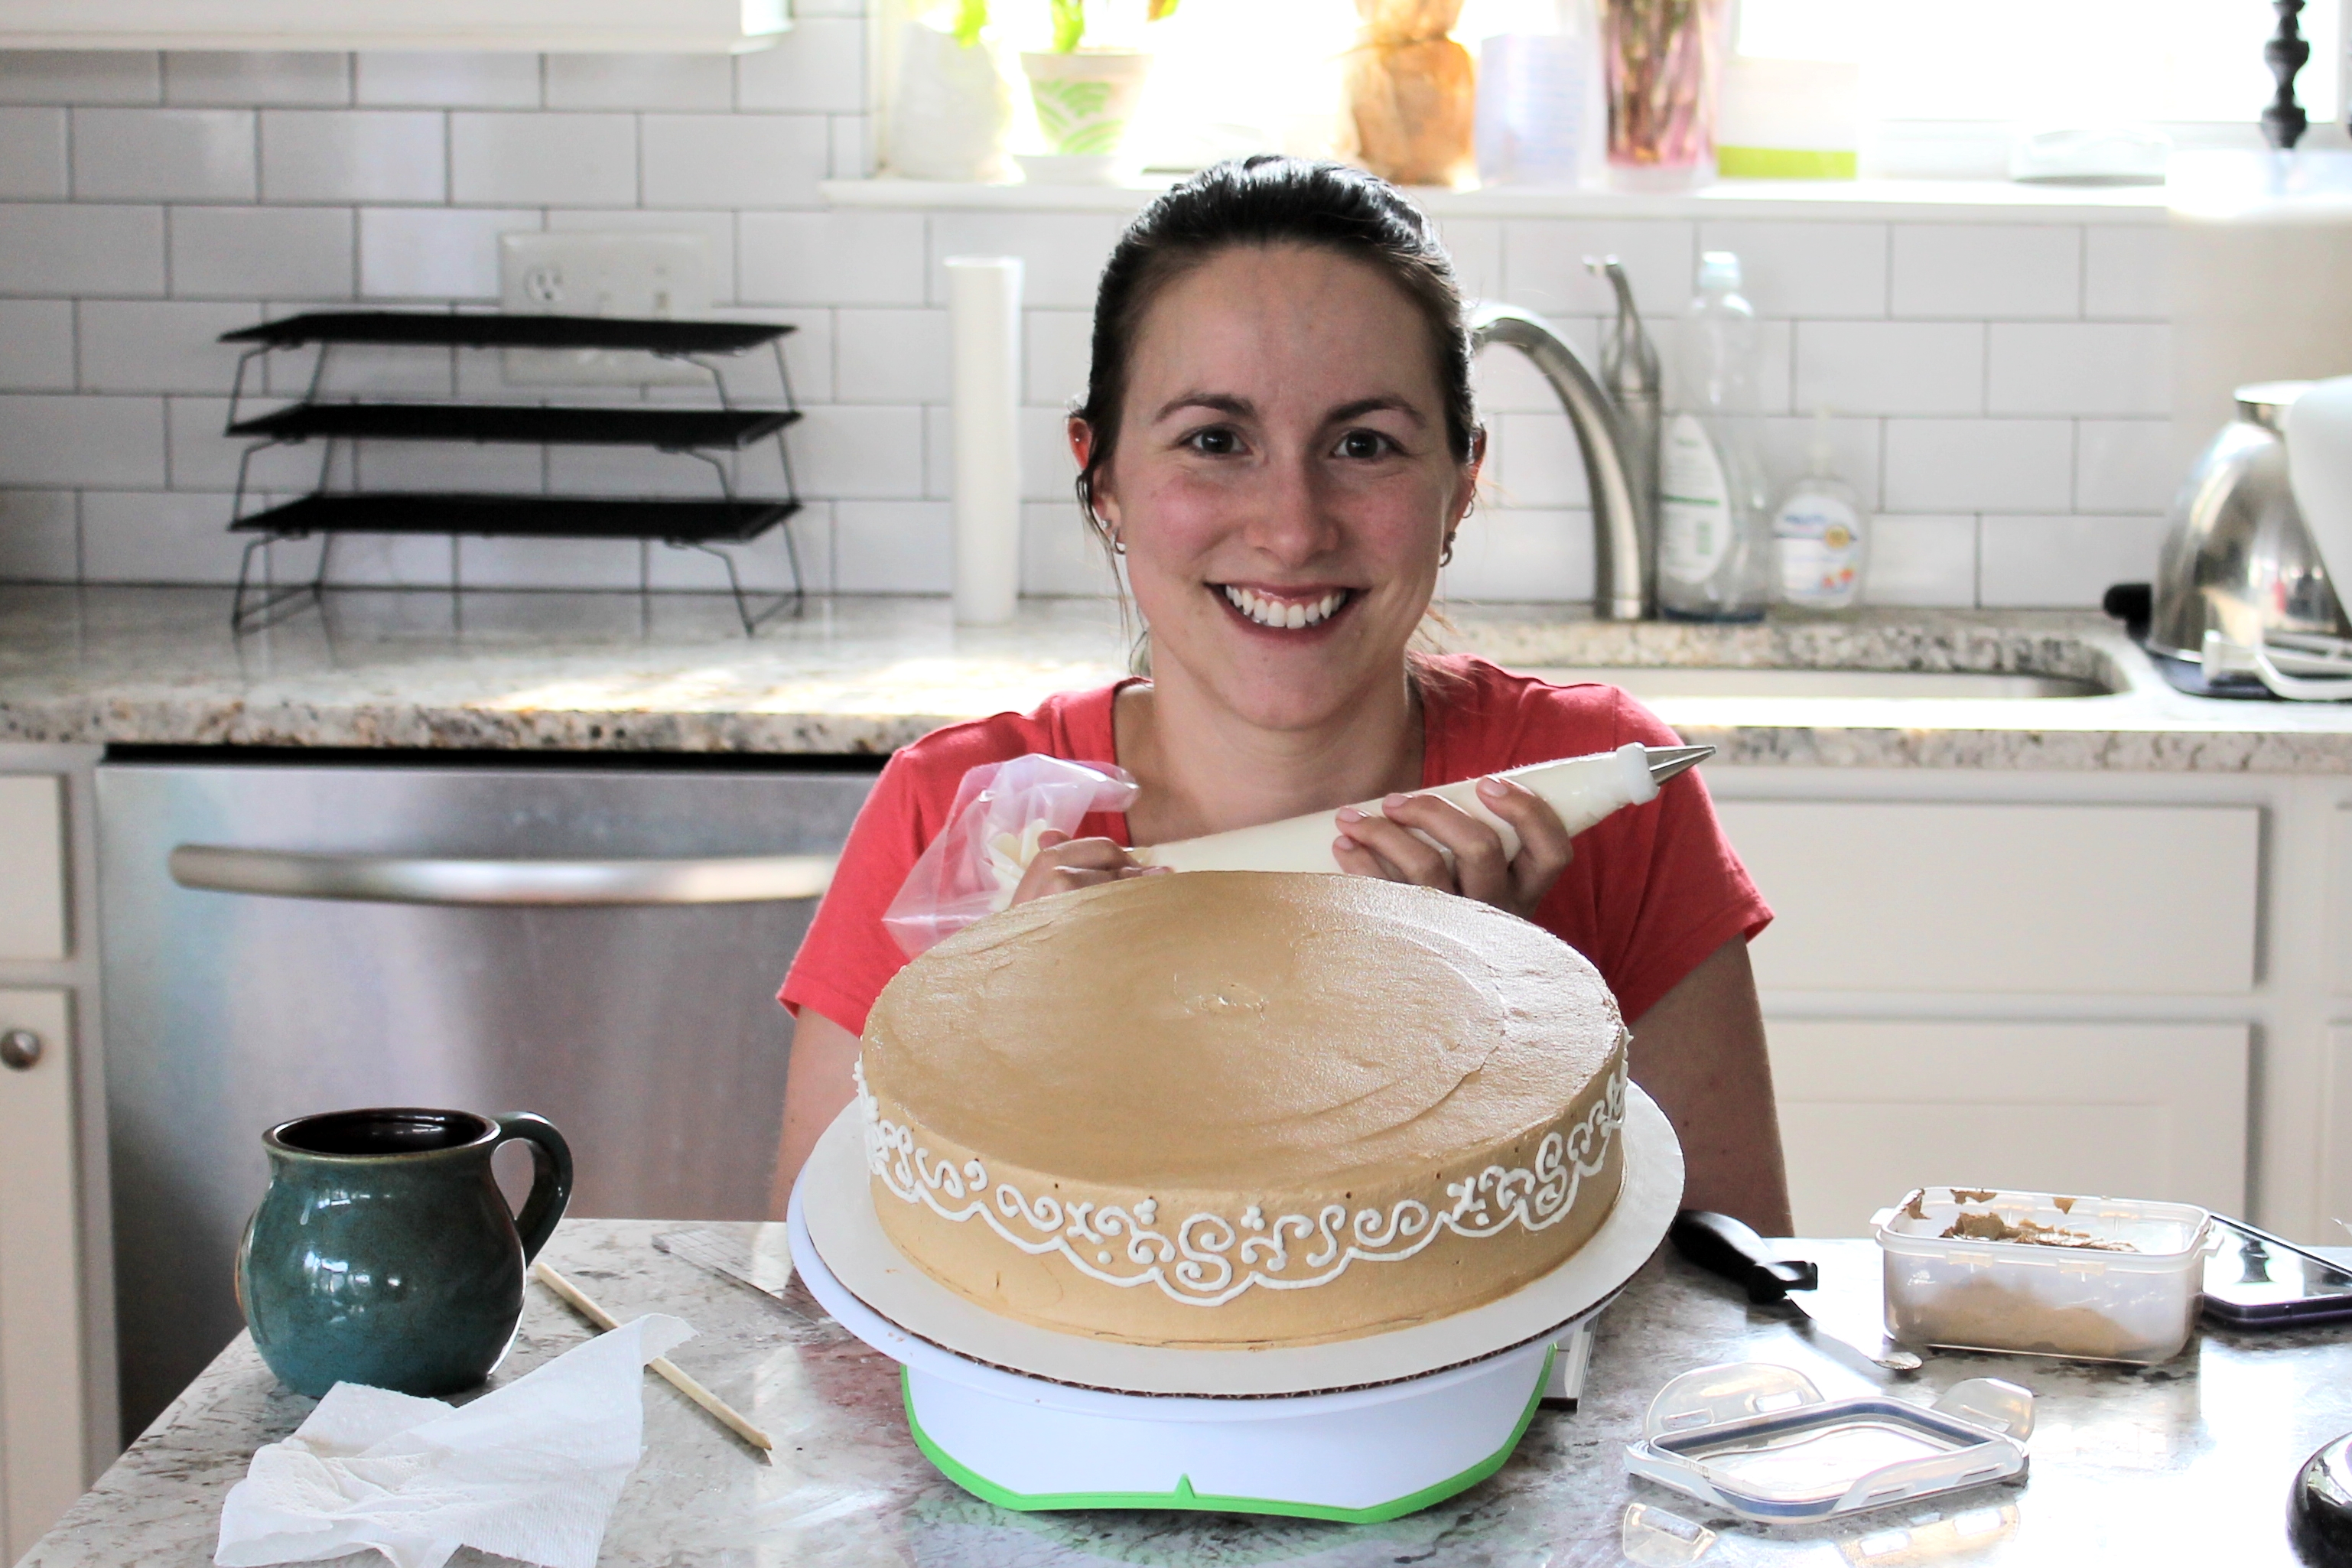
As I was researching, I saw several posts on baking forums about people who wanted to stack their tiers and decorate them on site, in reverse order. This is definitely asking for trouble. Yes, handling the decorated tiers is tricky and scary. You have to try not to touch the sides of the cake at all while you stack them. But you will have more opportunity to react to mistakes if you work smaller first. (Hey—ssshh—you can align the ugliest sides of each tier and place them at the back of the cake if you piped the designs before assembly, instead of just hoping that all your piping will be 100% uniform and perfect all the way around. I’m just saying.)
2. Stack the tiers of your cake at home.
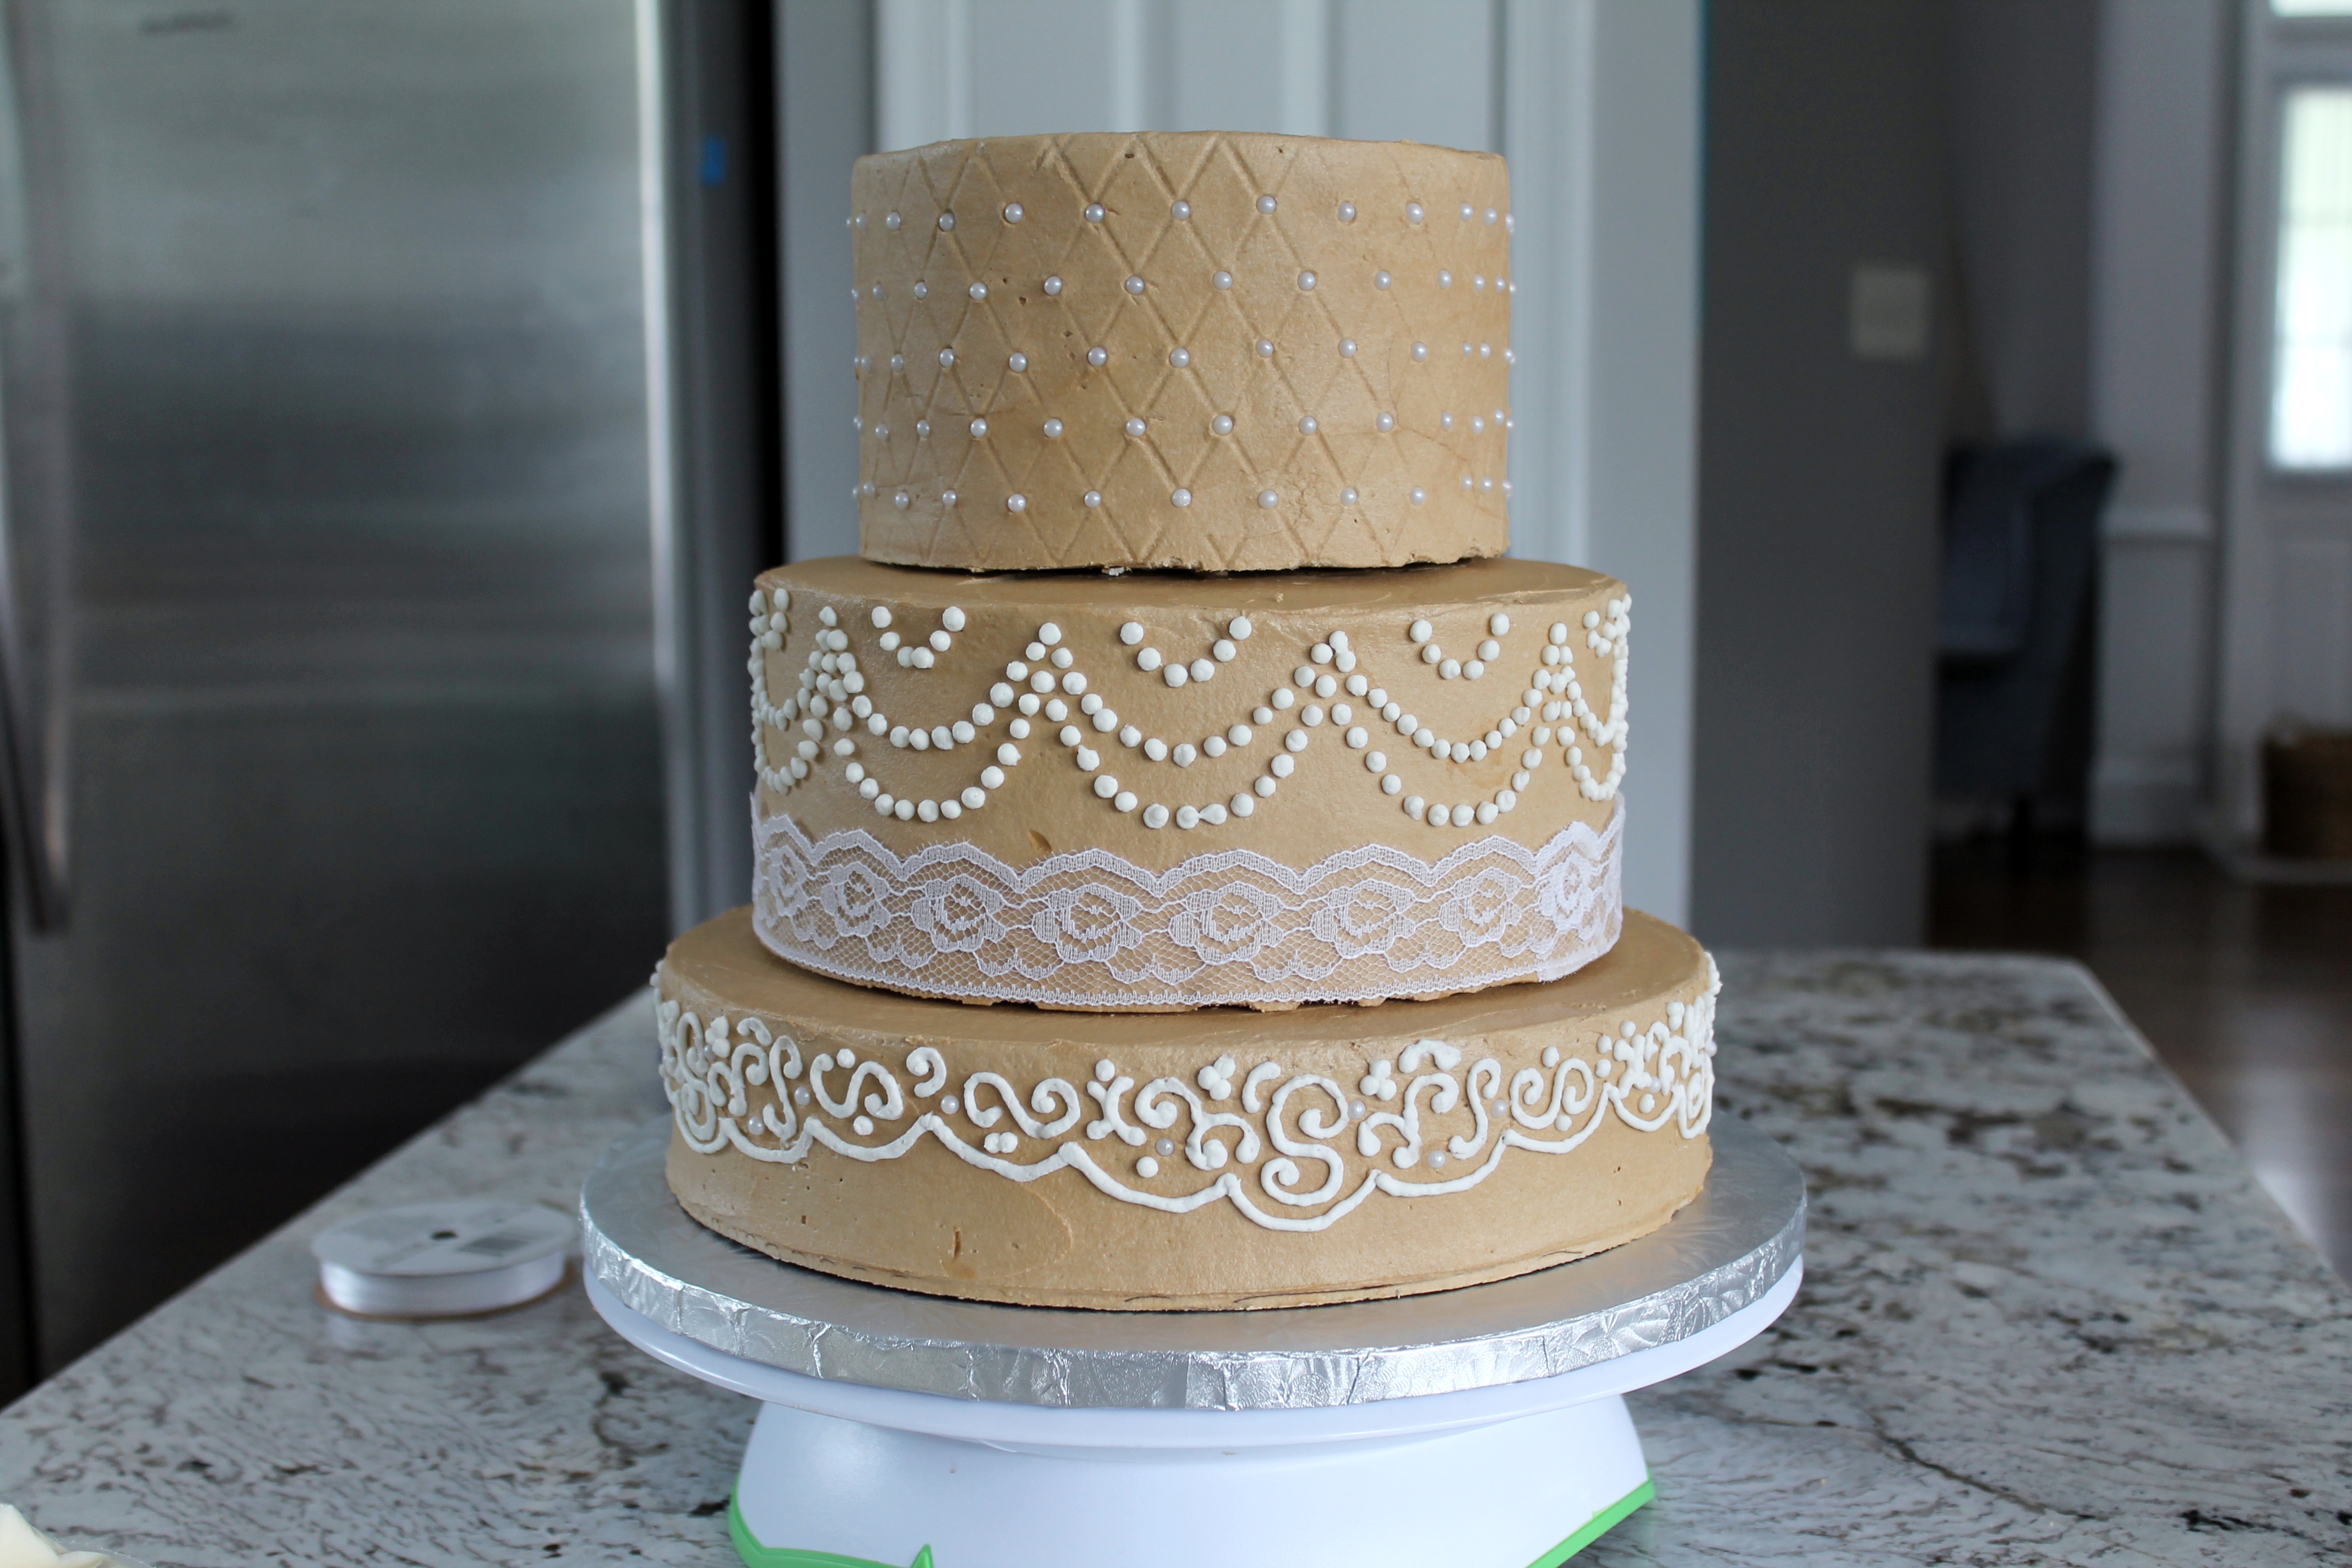
I have tried assembling the cake on site, as well as assembling the cake at home. When I assembled the cake on site, I was so nervous (hey, caterers and event staff are watching you!) that I almost dropped the top tier of the wedding cake on the floor while I was trying to set it on top of the rest of the cake. Miraculously, I did not…but that mistake would have been hard to cover up with extra frosting!
So much can go wrong on site. More, probably, than can go wrong at home, where you can work methodically and react to any catastrophes.
Not only that, but if you transport the tiers separately, you have to worry about two, three, or four separate cakes sliding around in your car every time you turn or brake! Seriously, who can take that kind of anxiety?
I recommend stacking the tiers of your wedding cake at home! (Please note that this advice is not meant for extremely tall cakes, such as those over four tiers, or those taller than 16″.) Make sure your bottom tier is firmly supported by a cake board (and use a swirl of frosting to glue the bottom tier down) that can bear the weight of the whole cake, so that you can lift the stacked cake as a unit. Also, if you are using ribbons, it is a good idea to put the ribbons on prior to stacking the tiers, so that you don’t scrape or smudge the frosting! (If you read my post about the bridal cake, you may have noticed that the top tier of this cake is also ribbon wrapped, and it doesn’t appear to be in the photo above…this is because the ribbon for the top tier had to hide the seam between the layers. There’s the exception to the ribbon-first suggestion.)
After you stack the tiers, pipe some extra frosting all the way around the base of each tier, in any pattern or design that fits the rest of the cake decor. This hides the seams, yes, but it also adds a little “glue” to hold the layers precisely in place, a sweet encouragement for each tier to stay put exactly where you want it.
3. Properly dowel the cake tiers.
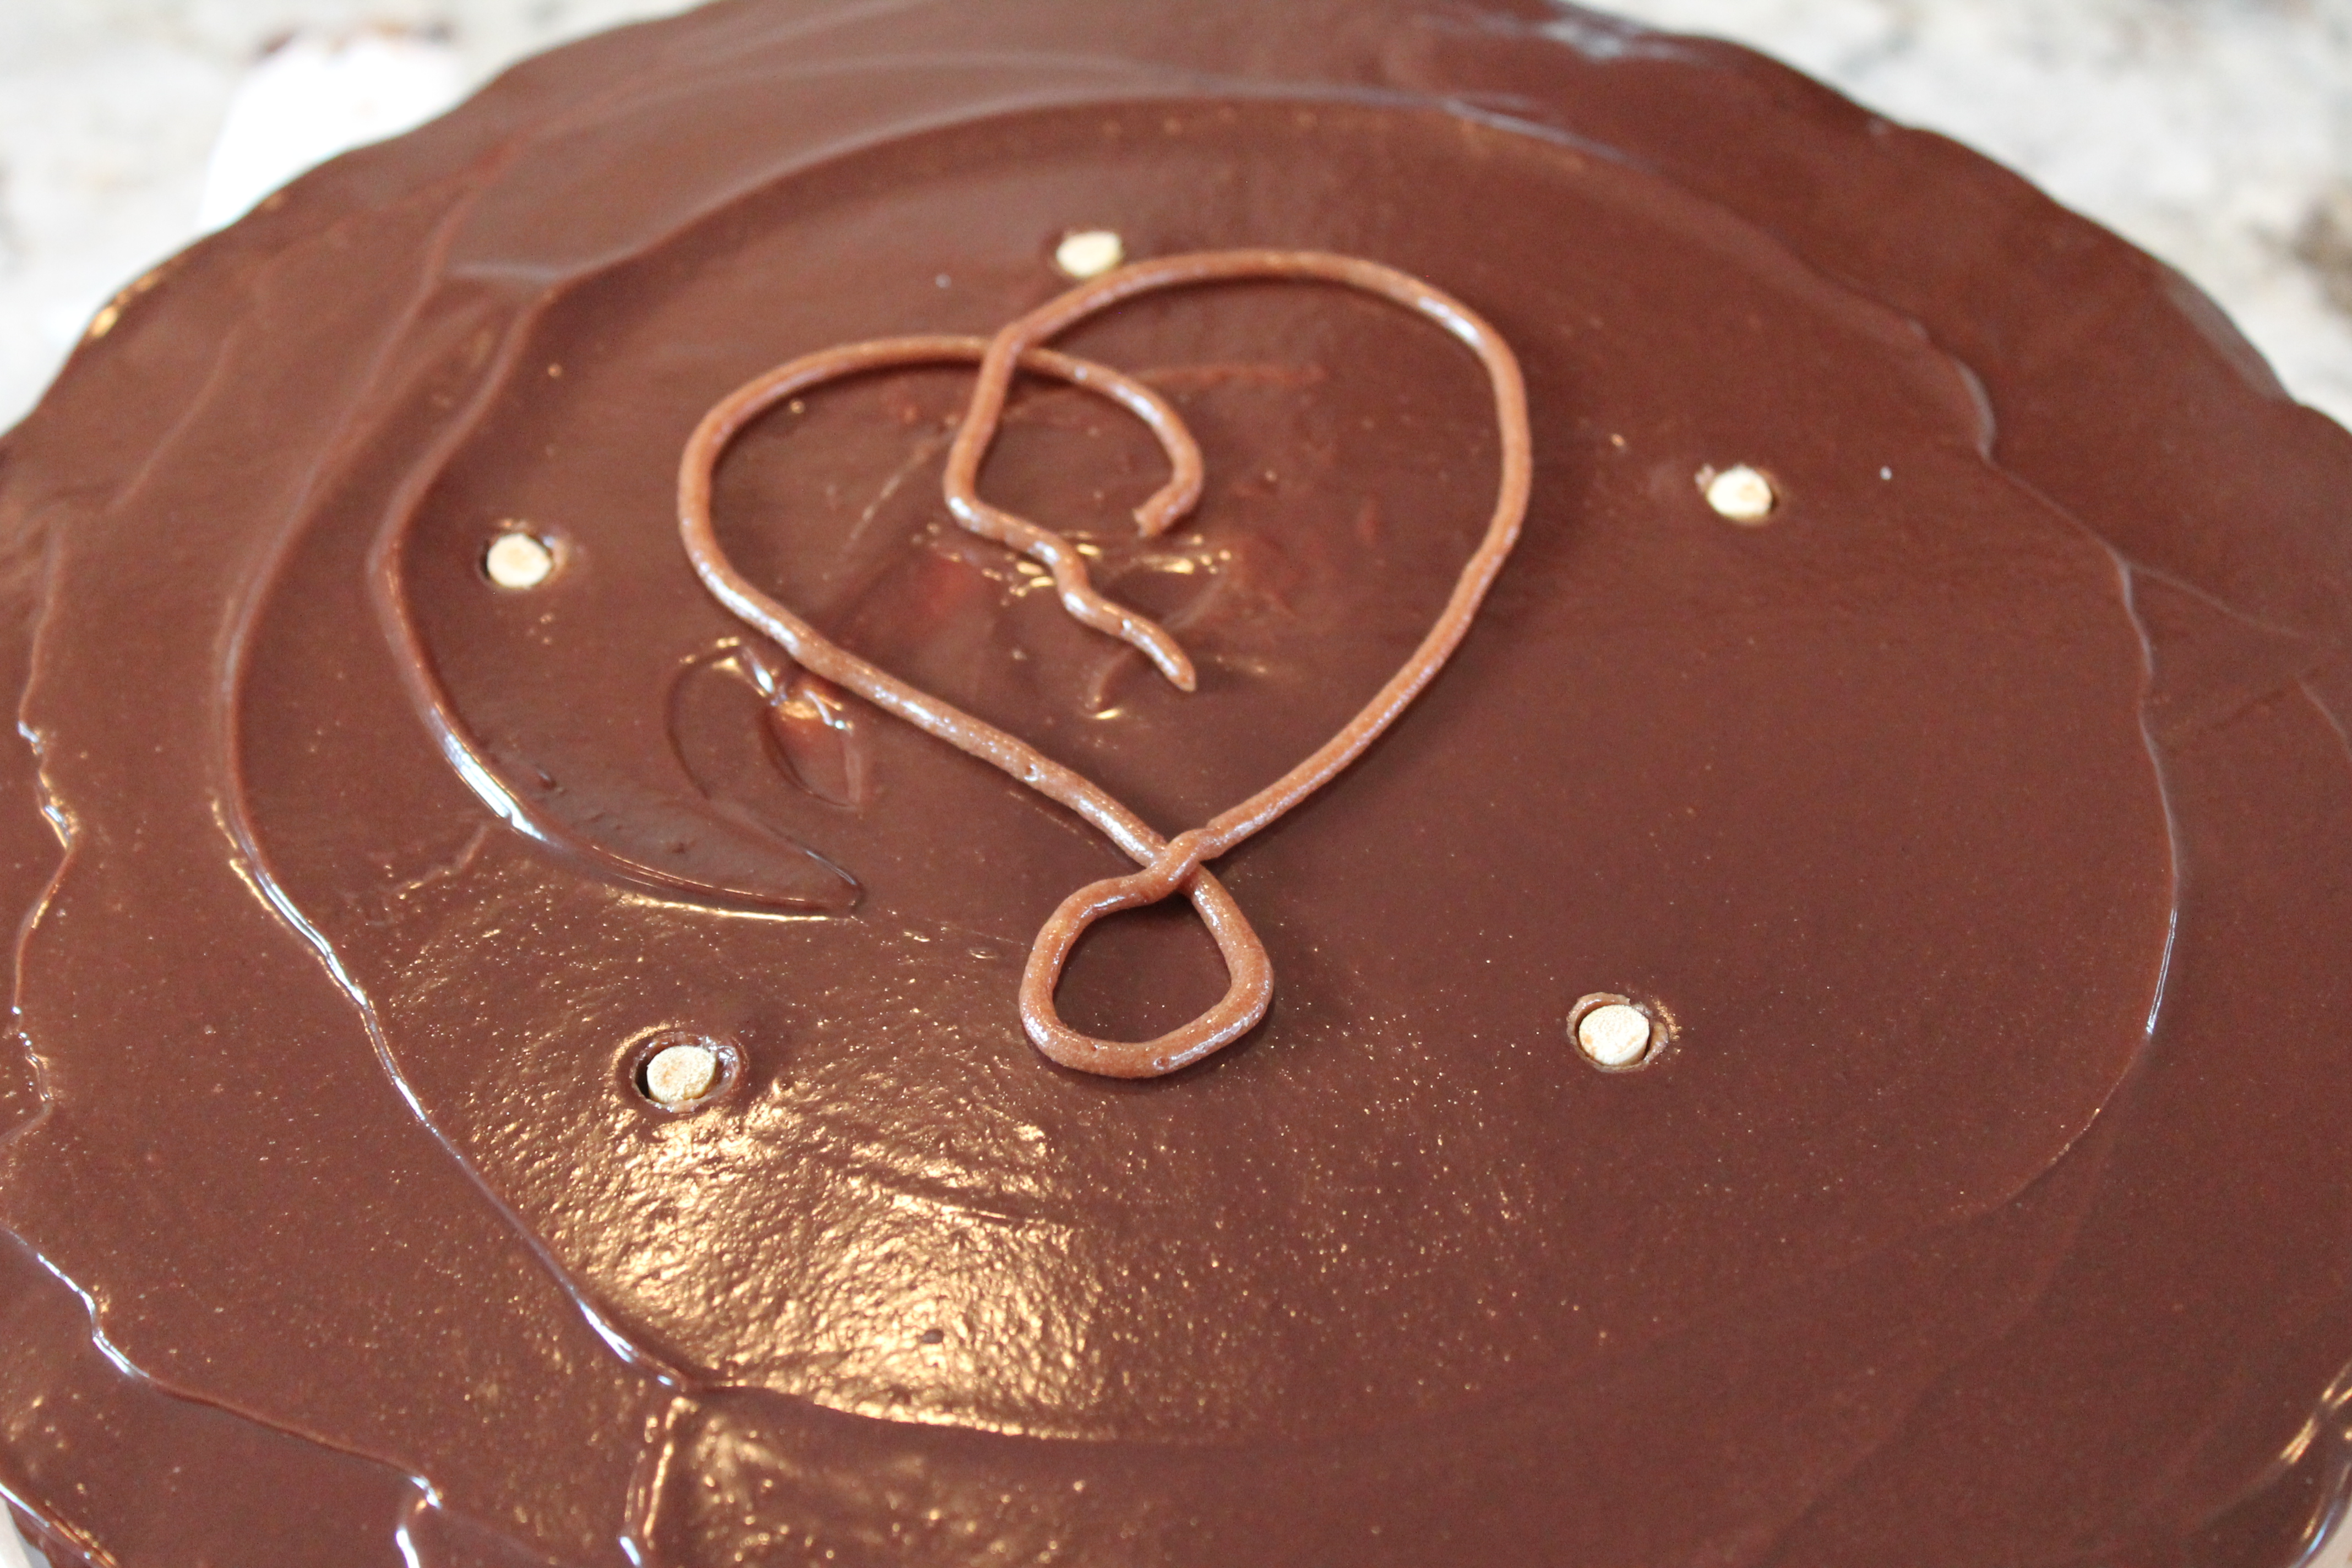
Make sure to dowel each layer prior to stacking for proper structural support. Use wooden dowels: they are strong and narrow, so you can cut them evenly in one stroke, and they will easily support the weight of the cake tiers above!
For transport, it is very important that you drive a long, sharpened wooden dowel down through the center of the whole cake, carefully boring through the cardboard cake circles that support each tier until you reach the base of the cake. Many bakers like to do this with the cake already on the serving board, pressing the point of the dowel down into the serving board.
All of this ensures that the tiers don’t slide around. The center dowel will keep the cake upright and centered.
I have read a few horror stories about cakes breaking apart around the central wooden dowel. This is extremely unlikely, unless several other things have already gone very wrong. If the baked cake is a hot mess, by which I mean underbaked or overbaked, then it could be crumbly or sludgy, which wouldn’t be structurally sound to begin with. Or, if the cake tiers are not glued to the cake board with a swirl of frosting, then they could potentially slide right off the cake board given enough centripetal force around a turn. But, as I said…pretty unlikely.
Stack the tiers. Dowel the center of the cake.
4. Chill the cake for 24 hours.
Cold cake. I can’t recommend this step enough. Cold buttercream is kind of like armor for the cake. You can touch it gently without leaving a fingerprint. This also means that it will help hold the cake together during transport. When the frosting is cold, it won’t slide down or around every time you hit an inevitable bump in the road. Cold cake, people. Cold cake.
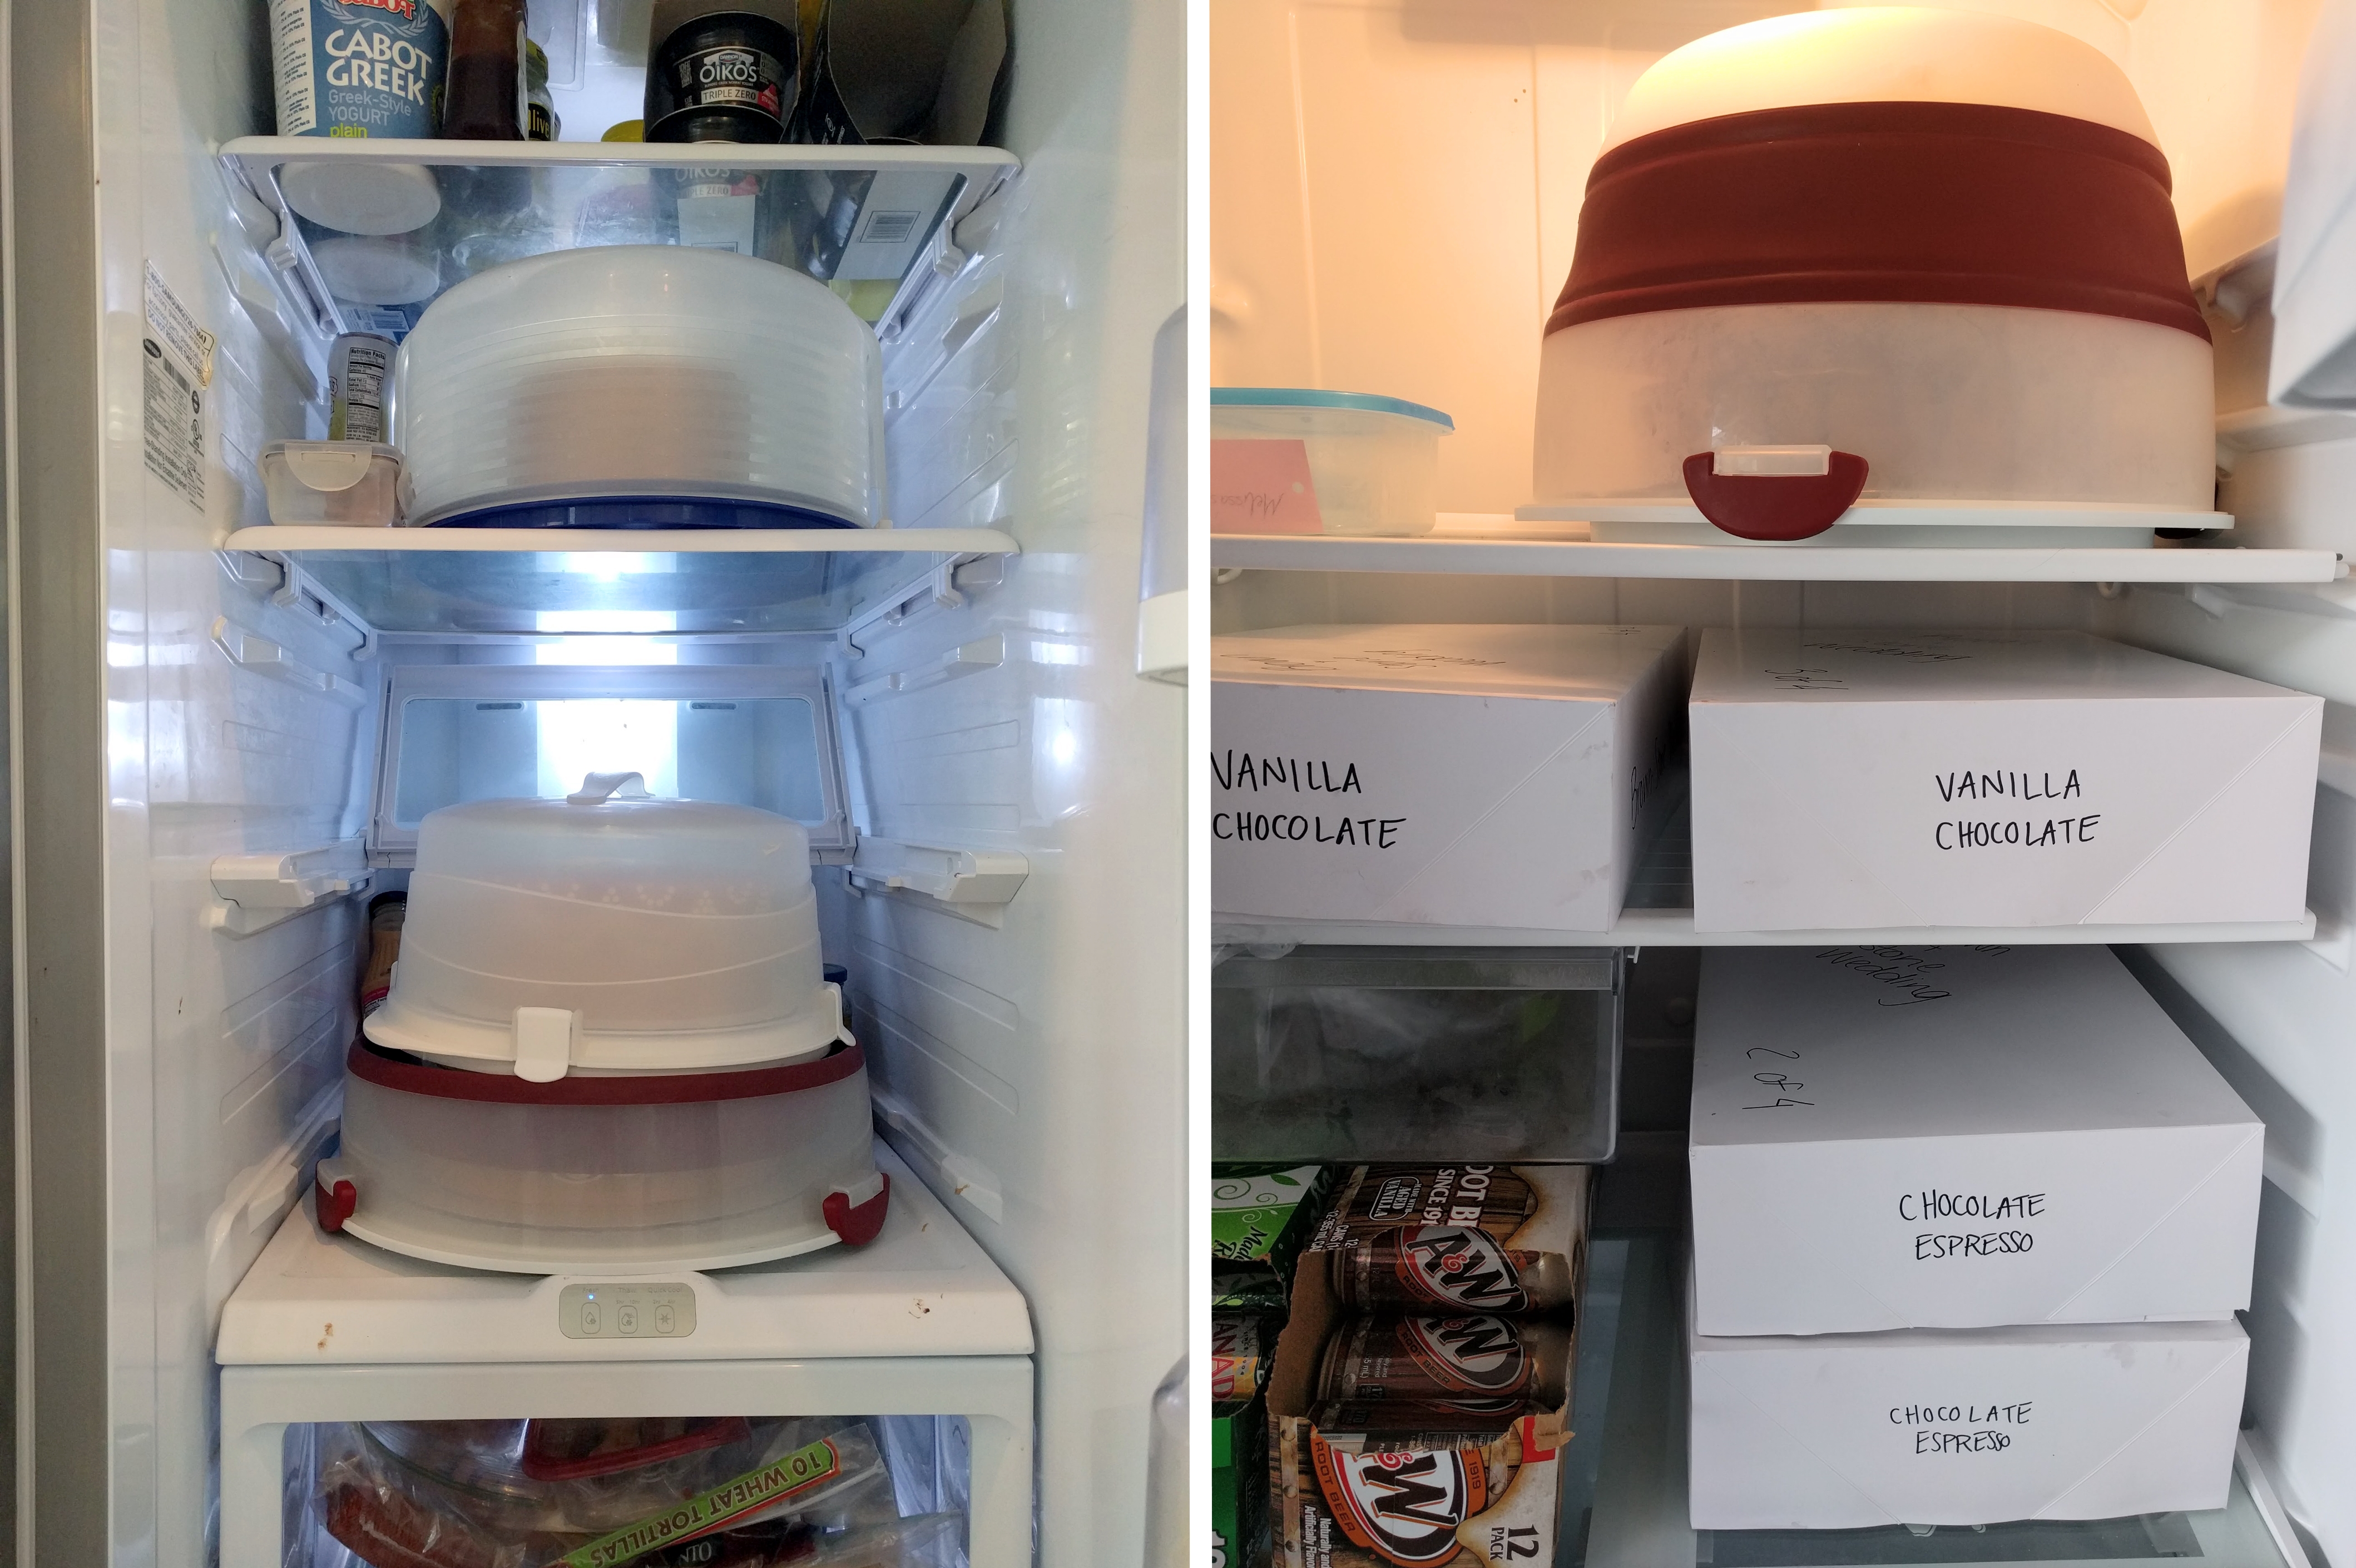
If you don’t have enough room in your fridge to store the entire stacked cake safely (i.e., without other things potentially touching it), then chill the tiers separately in protective containers. But it would be best to chill the stack, as well, even just for a brief period, because the frosting you pipe to hide the seams between layers will also help glue the stacked tiers in place better if it is cold. (My process was: chill the tiers separately overnight, as pictured above, then stack them a few hours before I needed to drive to the reception site, so they could have some extra chill time; I also threatened everyone in my house on pain of death not to open the fridge or even think about anything in the fridge until I took the cake out. Ha. Thanks to my understanding family!)
5. Use non-skid padding.
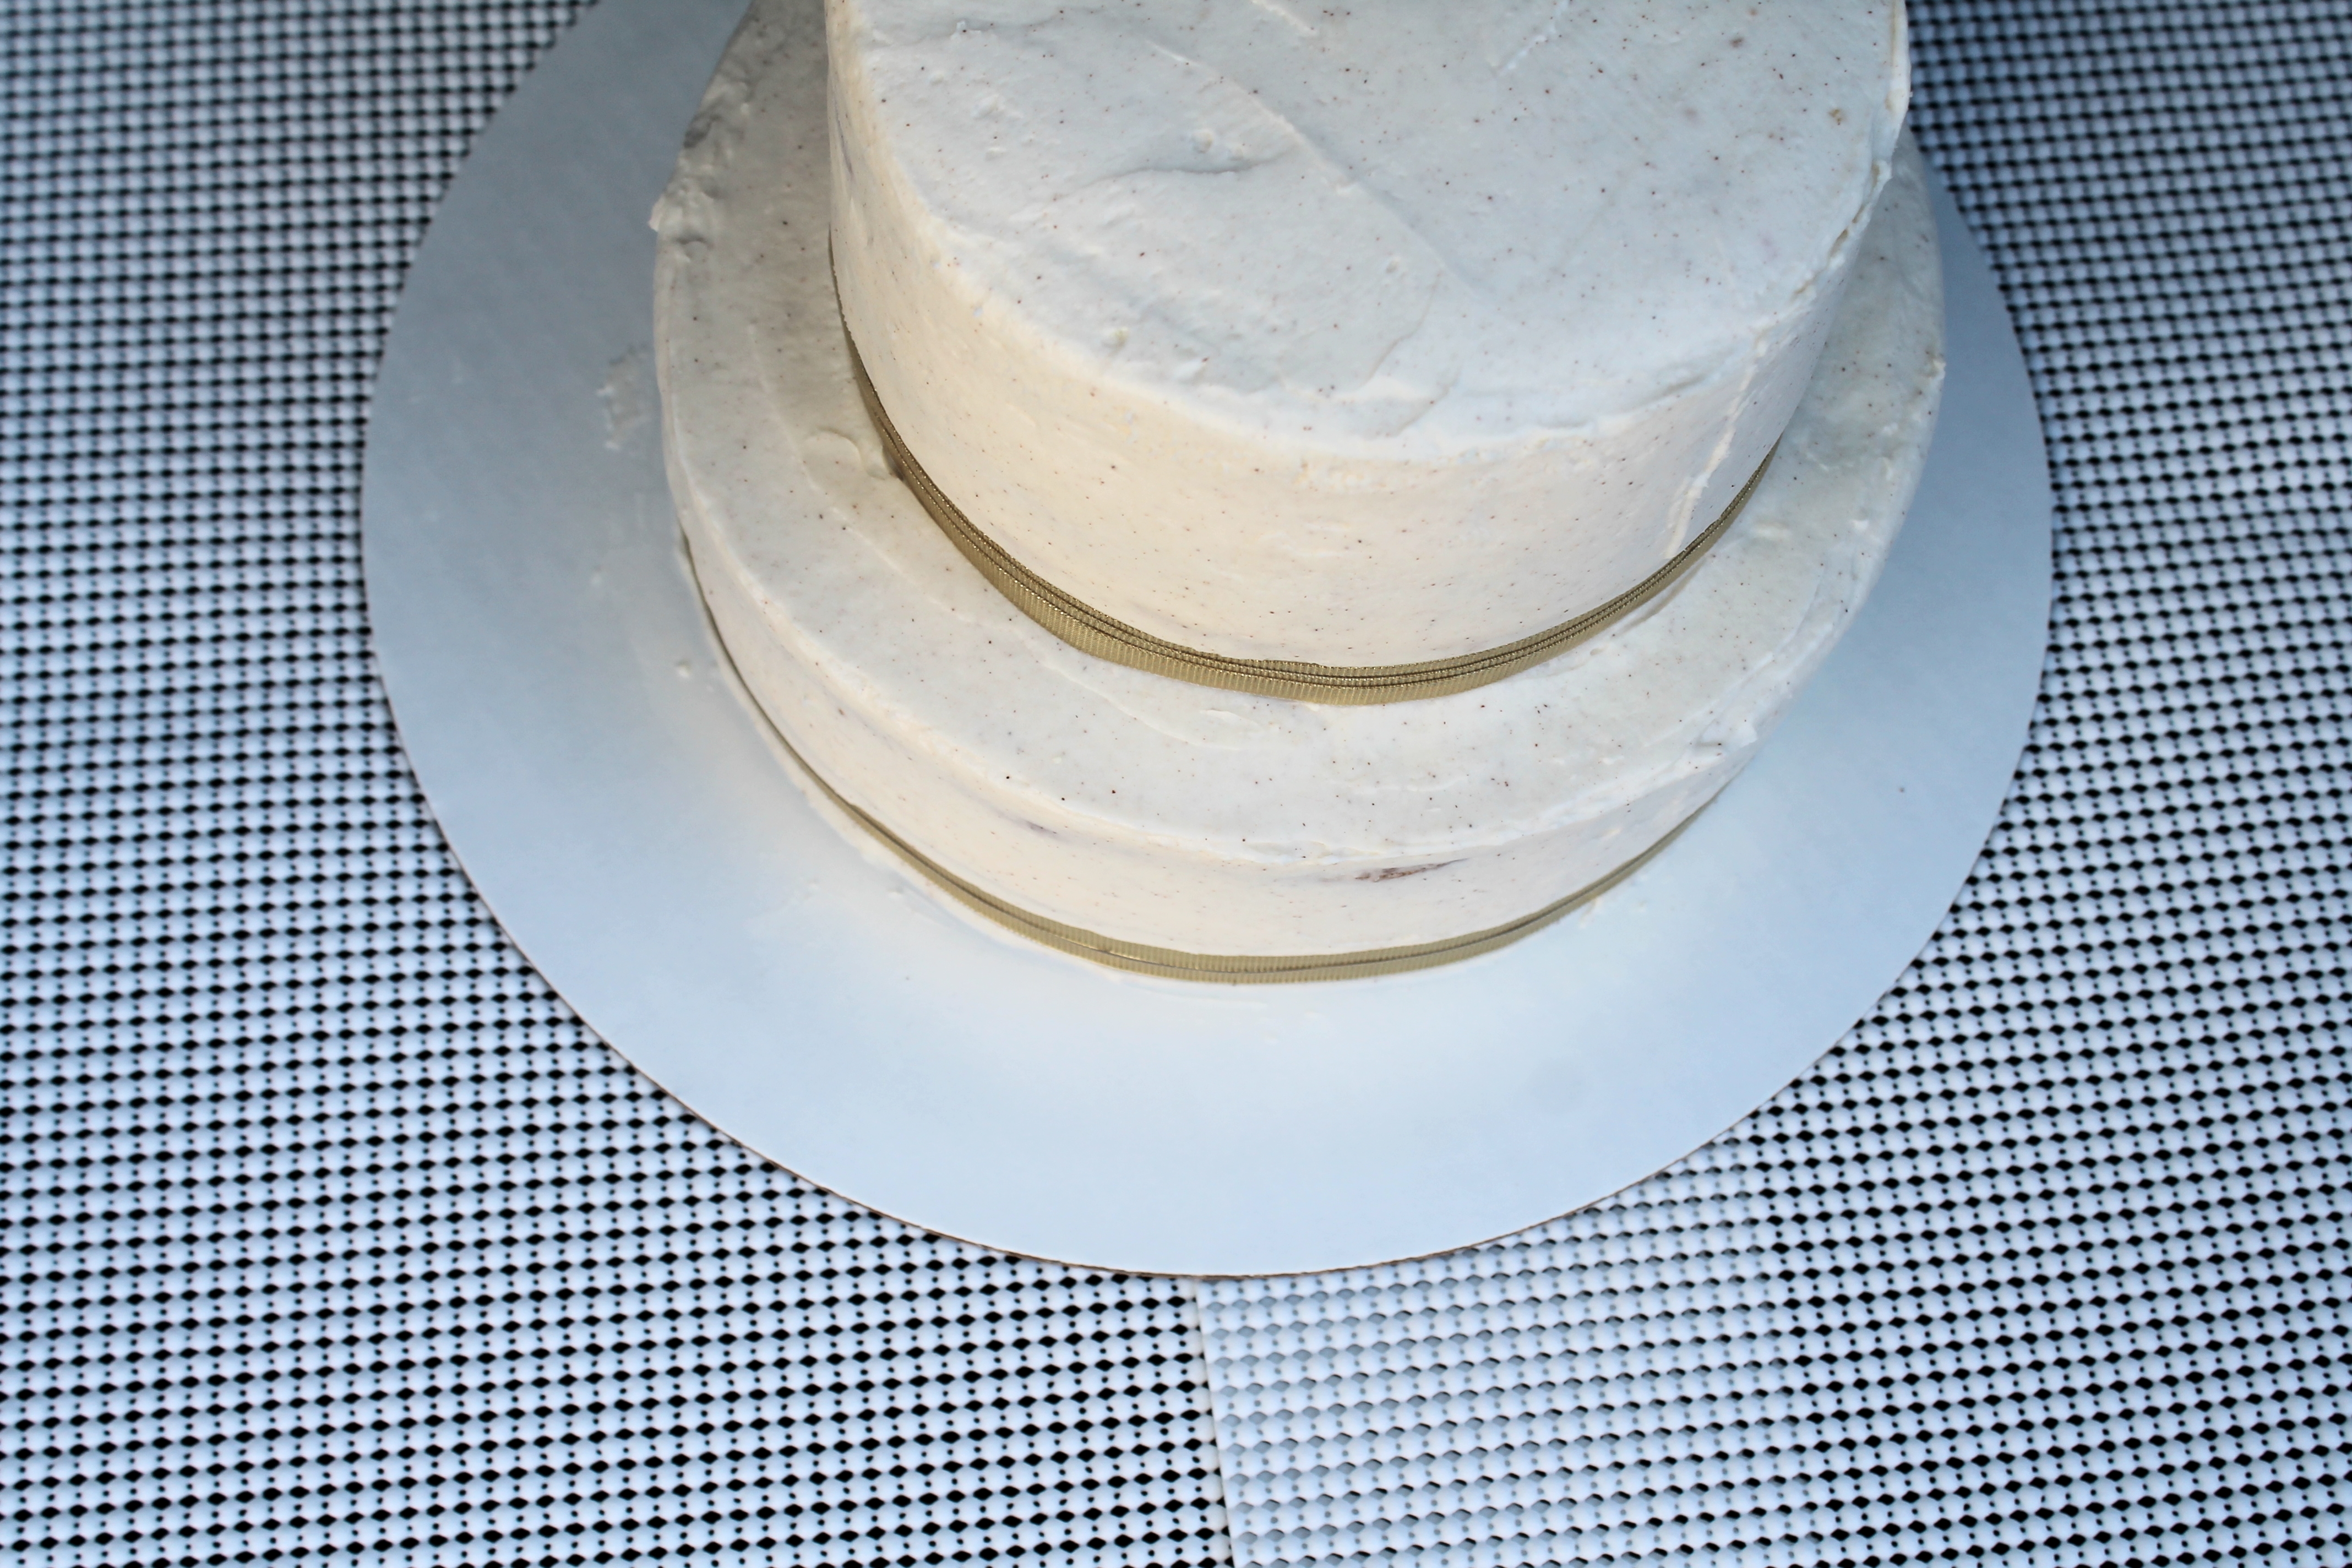
You can buy non-skid drawer and shelf liners at any big box store. It looks like a thinly padded tight grid. This stuff is your best friend when you are transporting a wedding cake.
Simply clean out the back of your car, and vacuum it so there will be minimal dust and grit. I drive a crossover SUV, which has a flat, open trunk. This helps with transferring the cake into the car, plus providing an open space where it won’t touch anything; I recommend you borrow an SUV or minivan if you don’t have one and need to deliver a fancy cake somewhere.
Next, lay a very large piece of non-skid padding down right in the center of the trunk area. I actually used several pieces of non-skid padding all next to each other. This just seemed safer to me…even though I’m sure I was going overboard…
Carefully walk the cake out to the car and place it squarely on the non-skid padding.
Did you notice that cake is very heavy? Seriously, a tiered cake has some heft to it. This weight will bear down on that non-skid padding and help hold it in place!
6. Make your car cold.
You car is not a refrigerator, but you should get it as close as possible. Turn the AC on full power and make your car cold (no, this will not dry your cake out, unless, perhaps, you have a naked cake: the frosting is a moisture barrier for the sponge underneath; moreover, most cars do not have AC vents in the trunk area, so the air will not be blowing directly on the cake itself). Give your car at least a 5 minute head start before you put the cake inside. This is especially important on warm or humid days. Better for you to wear a jacket in June than for the cake frosting to melt! Additionally, since your cake will be coming out of a cold refrigerator before transpo, keeping your car cool will make it less likely that the cake will start to sweat while you drive.
7. Drive like no one else is on the road.
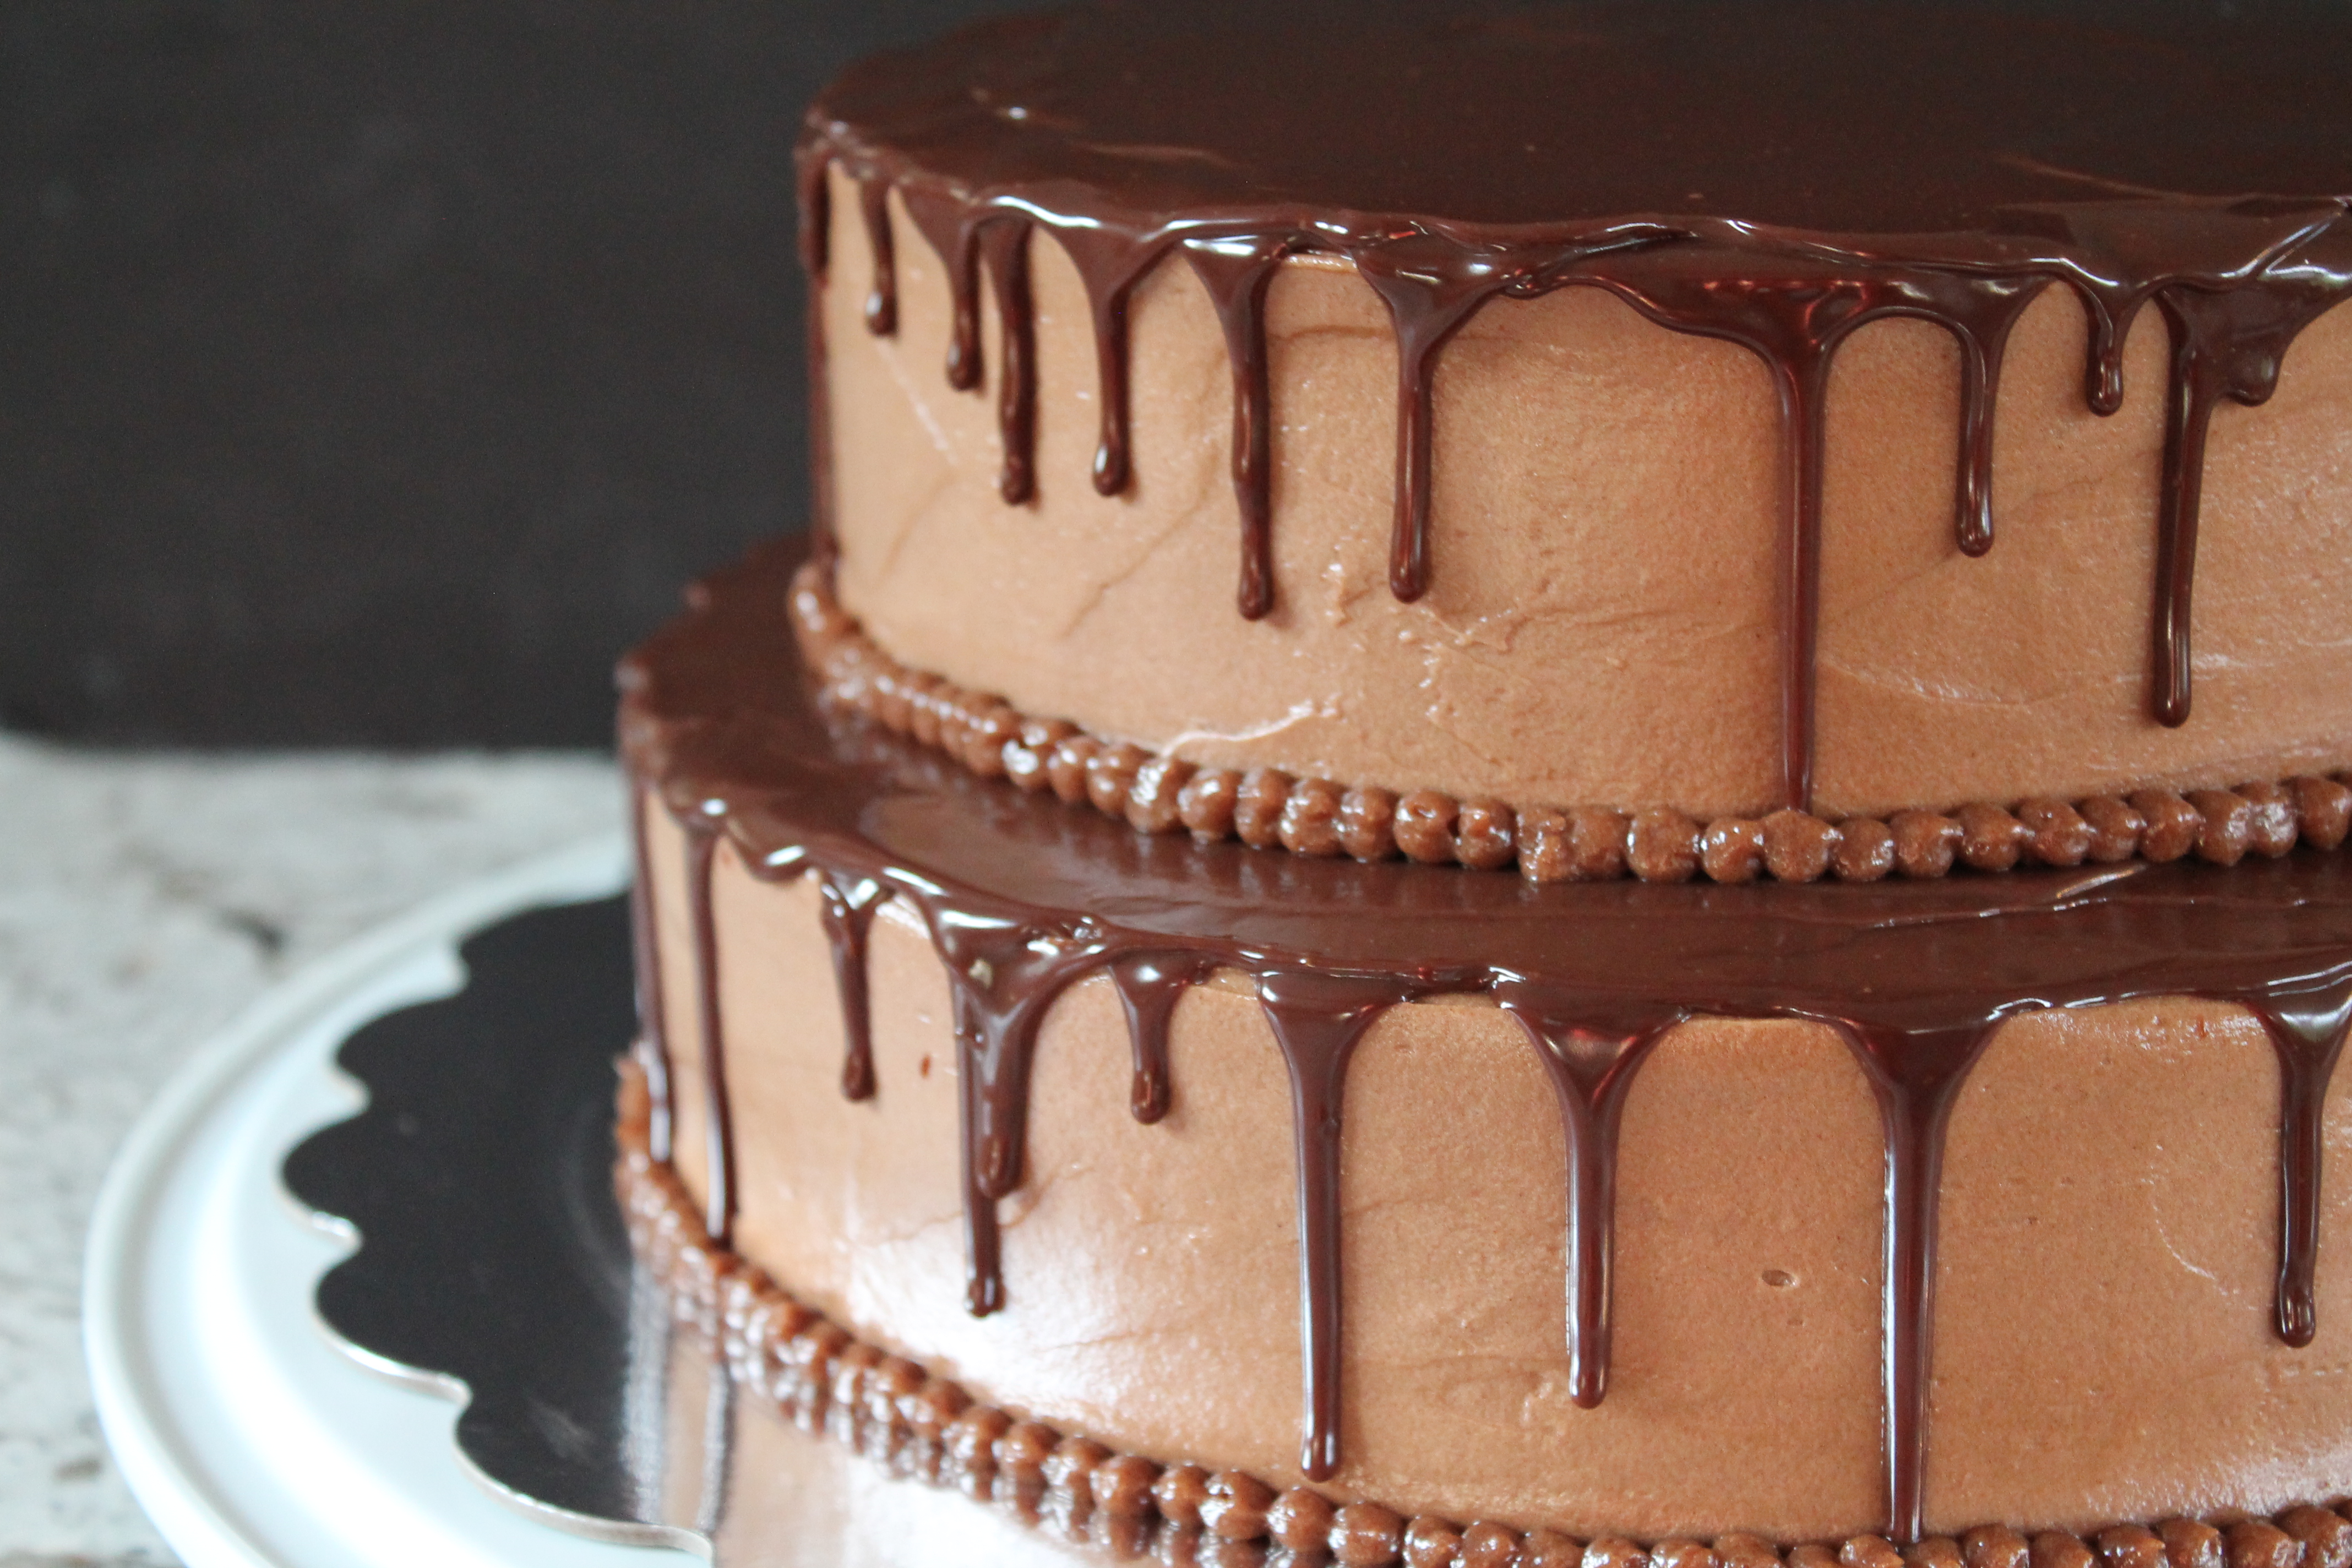
Okay, this part is a little awkward…but when I’m delivering a fancy wedding cake, or any tiered cake, I drive like I own the road.
Like no one else is on it.
Like it definitely doesn’t matter or inconvenience anyone if I go 10 miles under the speed limit. (At which point, I also make a mental note to give a little more grace to randomly slow drivers when I am the one in a hurry.)
Because at the end of this car trip, it doesn’t matter if another car or two sped around you and the drivers glared at you menacingly as they passed. It doesn’t matter if someone honked at you.
It matters that you arrive with a cake that does not have its frosting smushed in or sagging (with many thanks to taking sharp turns at 15mph.).
Rest assured, all of the previous steps, such as doweling and chilling and non-skid padding, are really doing most of the work to keep your cake beautiful. But drive carefully anyway. Drive like you have your precious baby rolling around unfastened in your trunk, and her life depends on your ability to gain absolutely zero sideways momentum when you turn. Because you do.
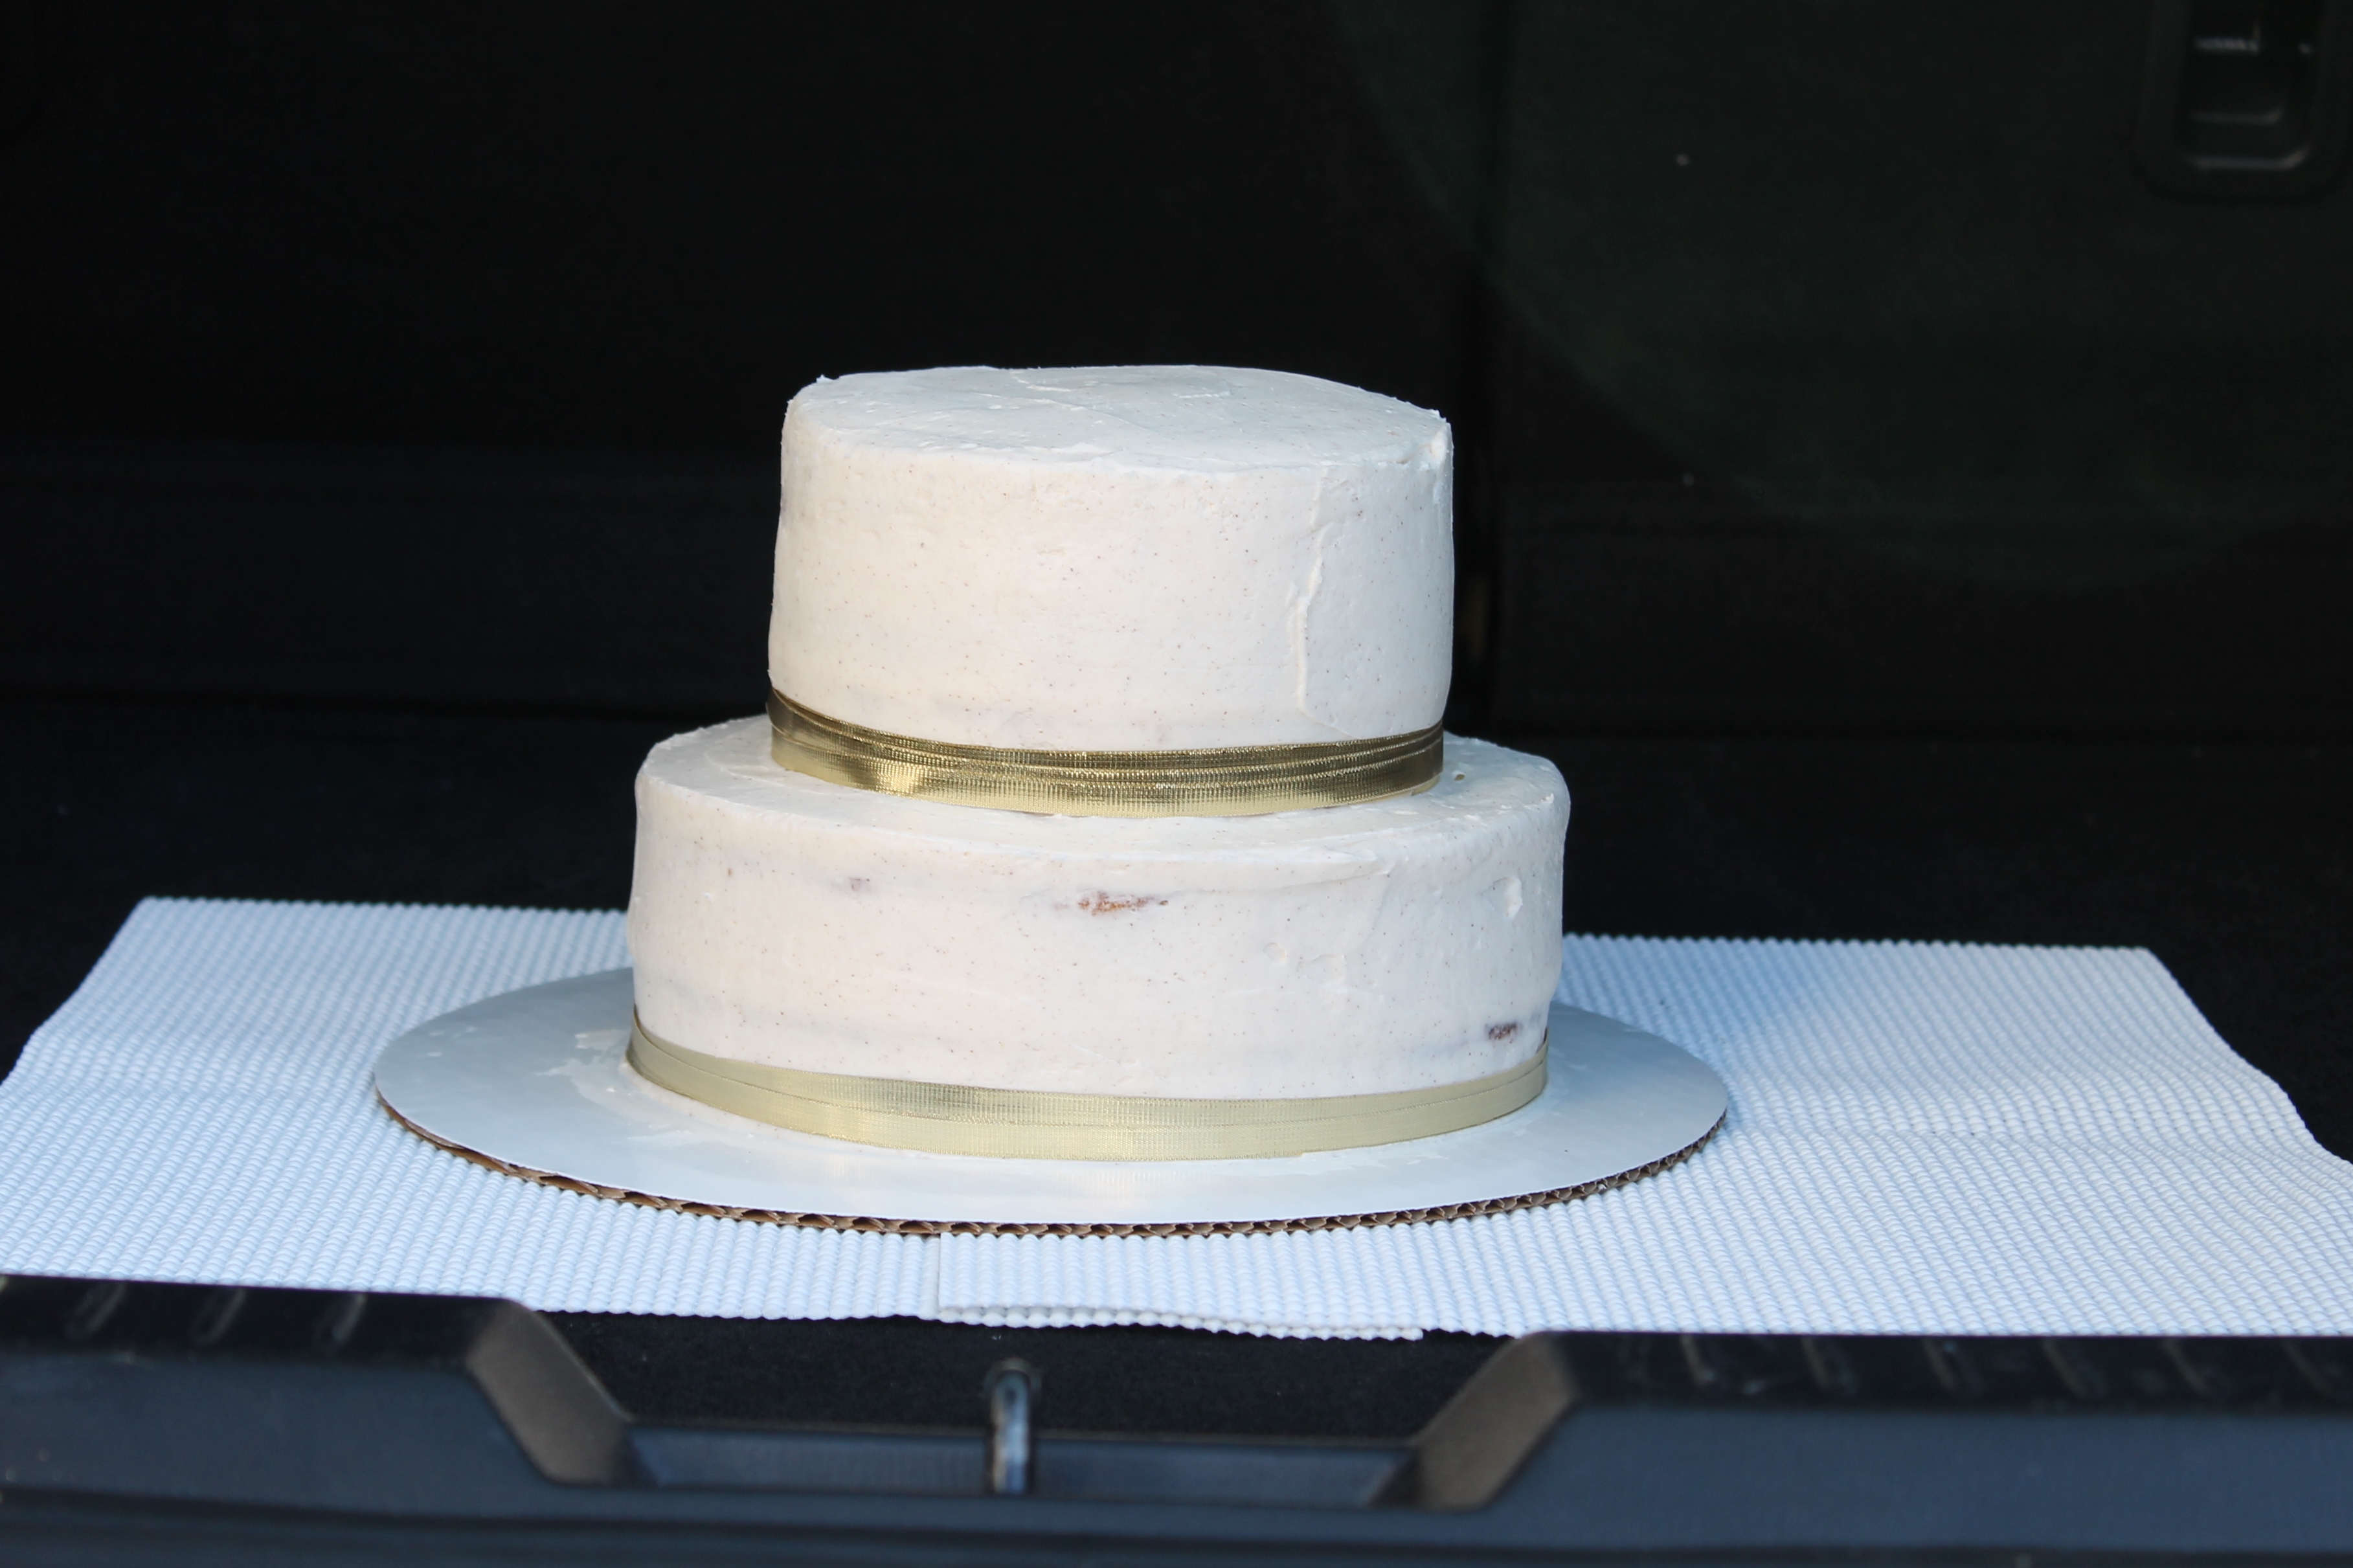
Because if—heaven forbid—you arrive at the venue and your cake is somehow less pristine than when you loaded it into the car, wouldn’t you regret not driving like a little, old person? Wouldn’t you always wonder if you could have saved the poor beautiful beast by driving ultra cautiously?
It’s one car trip. An important, nerve-wracking car trip. But the other cars on the road won’t deliberately hit you if you go slowly. They will just earn a funny story about why they are late if they can’t pass you. Don’t let anyone pressure you into driving in such a way that you put your darling wedding cake at risk. That would be heartbreaking.
So drive like no one else is on the road. Put on your blinkers if anyone tailgates you, or if you know you are going to be irrationally slow where there is no passing lane. And then ignore all the other cars.
The final not-so-little component you need for the actual drive is: trust. Trust and prayer. Because you know you did everything right. You did the doweling and the chilling and the non-skid padding. And this was literally made to be driven to the venue. You’re only doing what must be done, come what may. So when you have to stomp on the brakes in order to avoid running a red light at the bottom of a long hill, or when you roll right over a huge pothole (because the other option was sideswiping a minivan), you just have to trust and pray that the cake will be fine, and there’s nothing you can do about it from the driver’s seat anyway.
Last notes
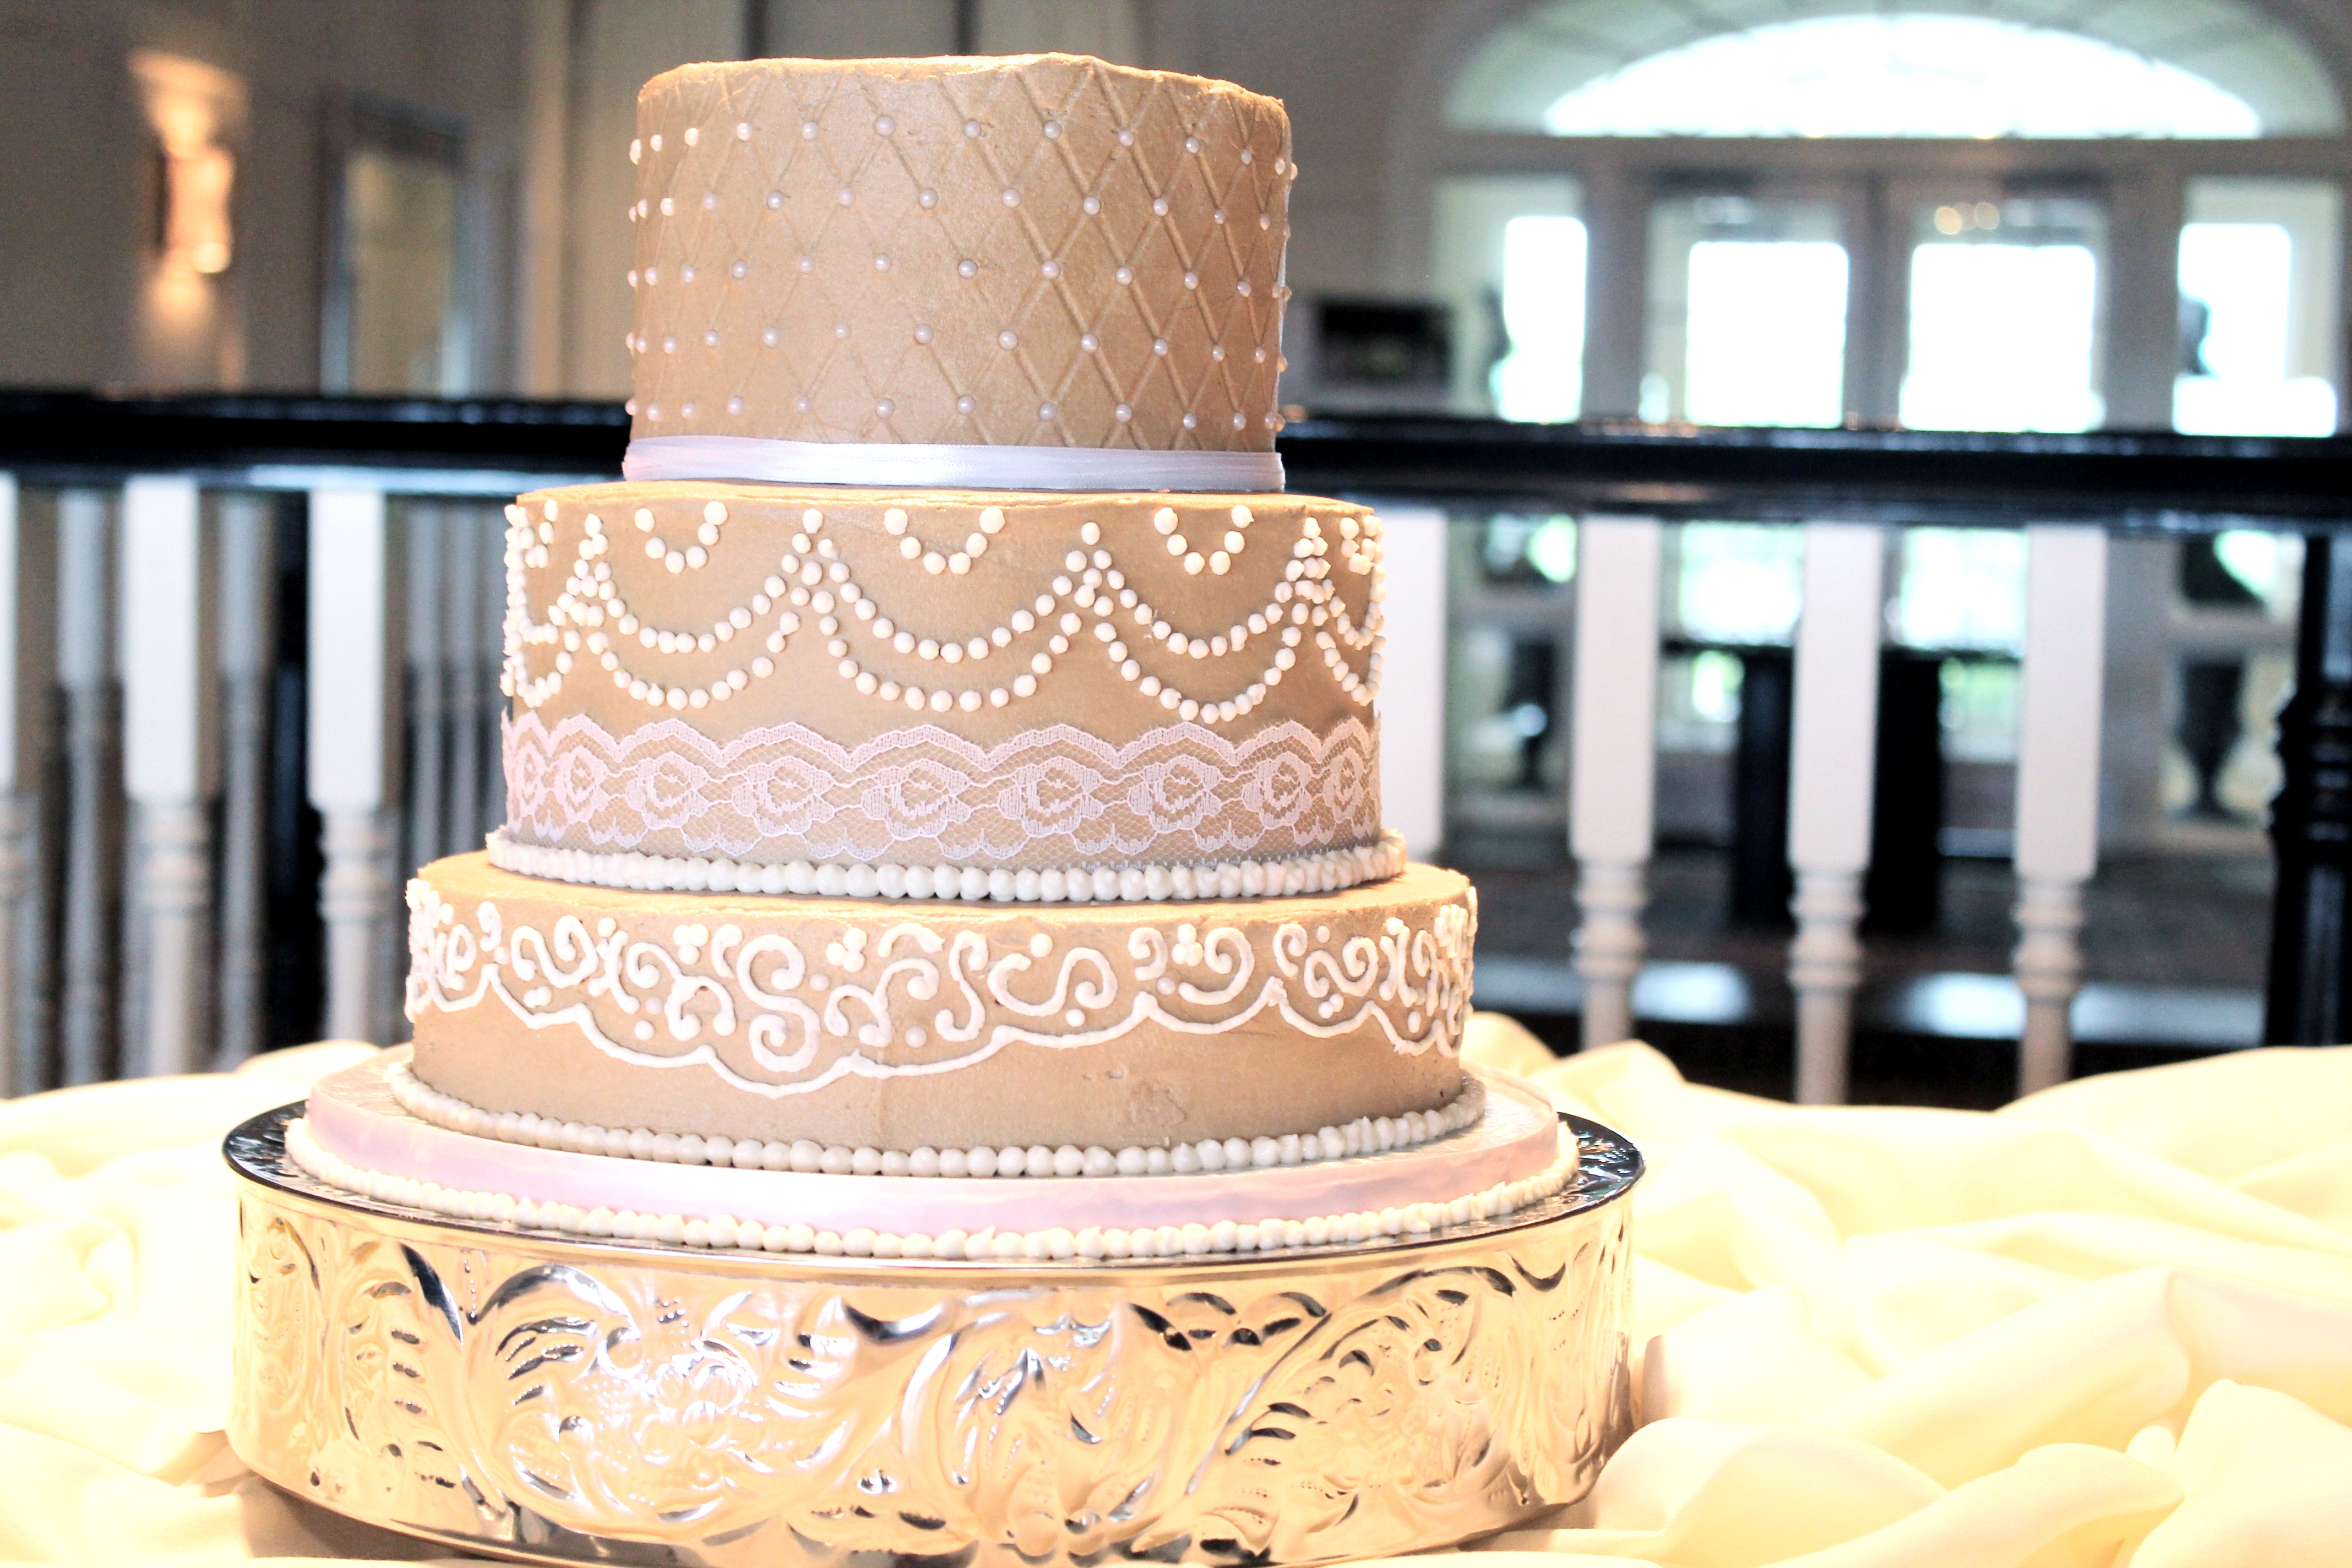
If your wedding cake is supposed to sit on top of a metal cake plateau at the reception site, do not transport it on top of the cake plateau! Instead, when you are stacking your tiers, “glue” the bottom tier to a sturdy, foil-lined cake board with some frosting. The board should be thick and strong enough to bear the weight of the entire cake. (If the foil look is not appealing to the bride, or doesn’t quite match the metal of the plateau, you can always wrap the edge of this in ribbon when you deliver the cake.) Then, when you get to the reception site, place the cake on top of the plateau. You can also pipe some extra frosting around the base of the plateau, if desired.
Which brings me to the second major note: always bring at least 1 cup extra frosting with you during transport, along with a piping bag and frosting spatulas, to touch up any frosting that gets injured or smudged during transport. When I made the big, fancy bridal cake last summer, a few of the frosting dots fell off, not in the car, but while the florist was adding a cascade of flowers to the cake! A wedding cake will be photographed more than any other dessert ever will, and you will regret it if you didn’t bring extra frosting to do on-site touch-ups.
And the third important thing is to call ahead to the venue so you know what to expect when you get there. It is a good idea to request a catering cart to wheel your cake to the table where it will be displayed. It is also a good idea to find out things like which entrance should I use, and is this a high-traffic area? are there stairs or hills I will need to navigate? how do I get from the entrance to the cake table? Let them know what time to expect you and/or ask them what the venue schedule is on the big day. Get the name of the person you should call when you get there. Bring a cake cutting diagram for the caterers if you are at all concerned about portion sizes (they will probably not need this, but if you need a very specific number of servings, it doesn’t hurt to make sure they are aware of that!), or if you have any special instructions such as please do cut and serve the top tier of cake; the bride and groom have commissioned a fresh one for their anniversary and will not be saving this top tier.
Don’t forget to look for the back of the cake as you are placing it on the display table, and actually position it appropriately.
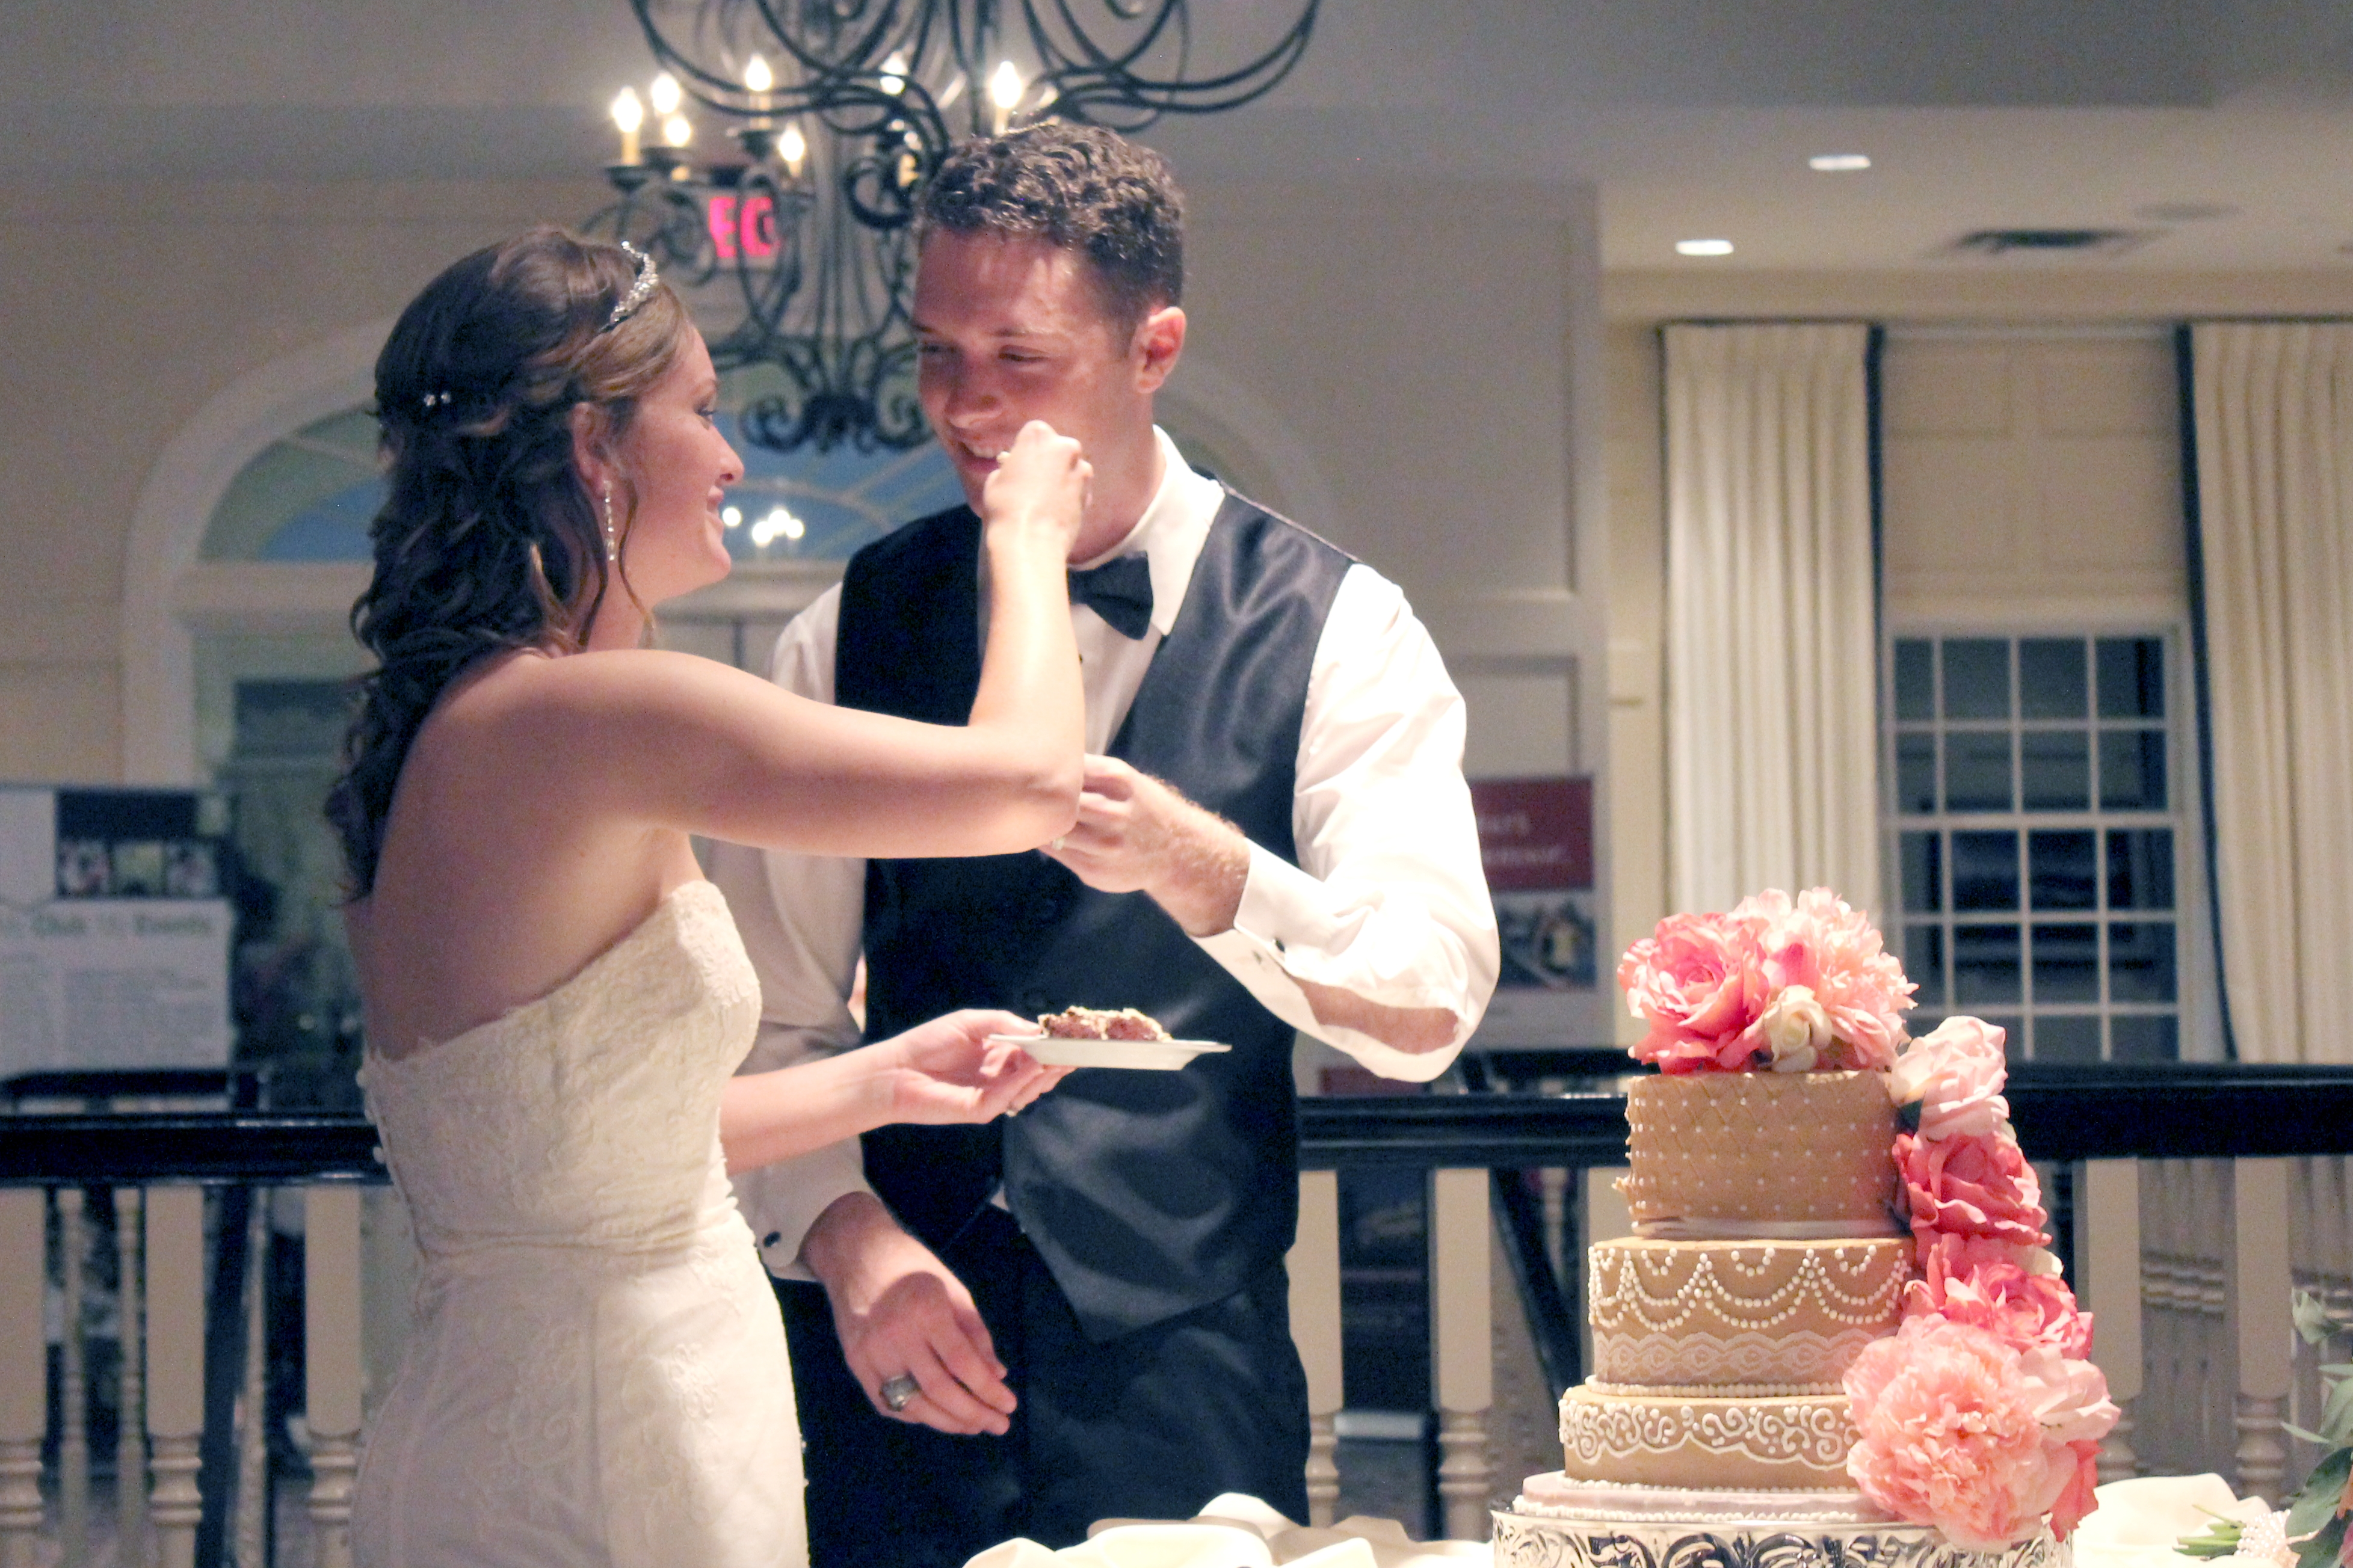
My final encouragement is: you can do this! Transporting a wedding cake, or any tiered cake, from your safe home where you baked it to the site where it will be cut and enjoyed, is scary. But you can do it, and you should be proud of yourself!
A few thoughts about real flowers on your wedding cake
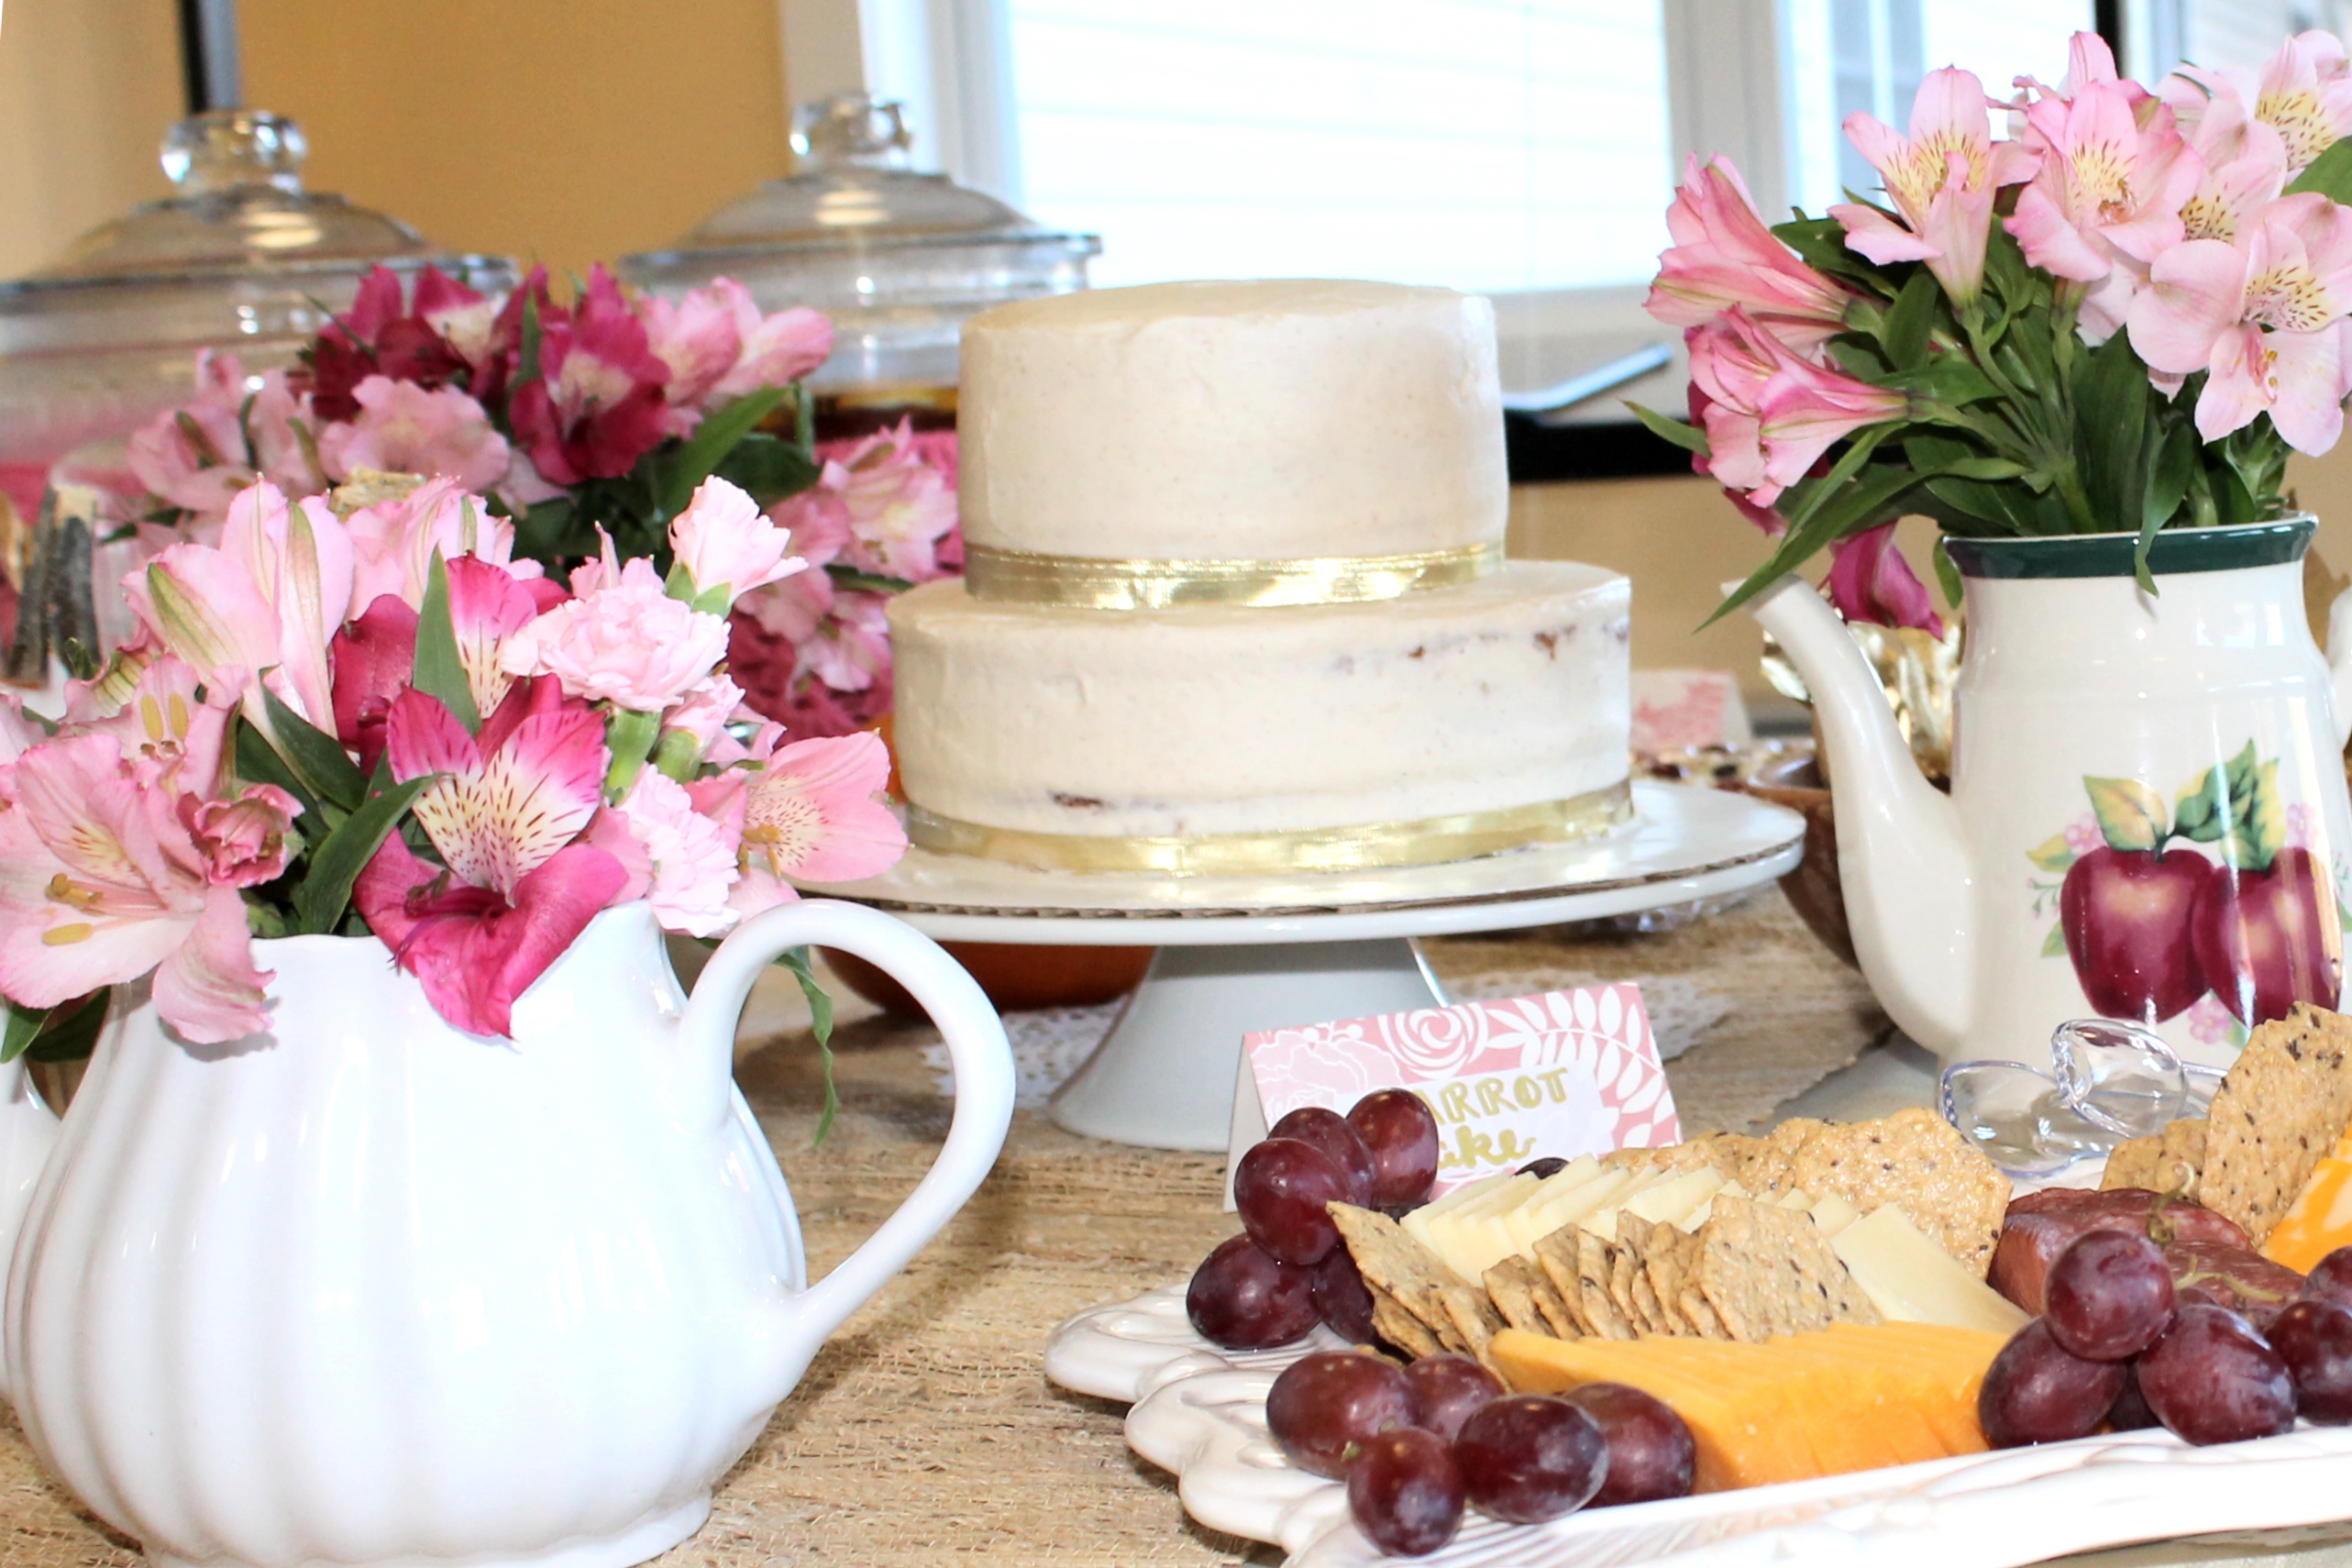
If the bride has requested real flowers or something that is not food on top of the cake, while lovely, this creates a weird gray zone of responsibility (flowers aren’t food…are they food safe? bug- and pesticide-free? flavorless?…do you have to monitor the flowers, or actually place them on the cake, or does the florist’s expertise somehow also include taking immaculate care of the most important dessert at the party?). I highly recommend you find a way to communicate with the florist prior to the big day, so you can both get on the same page.
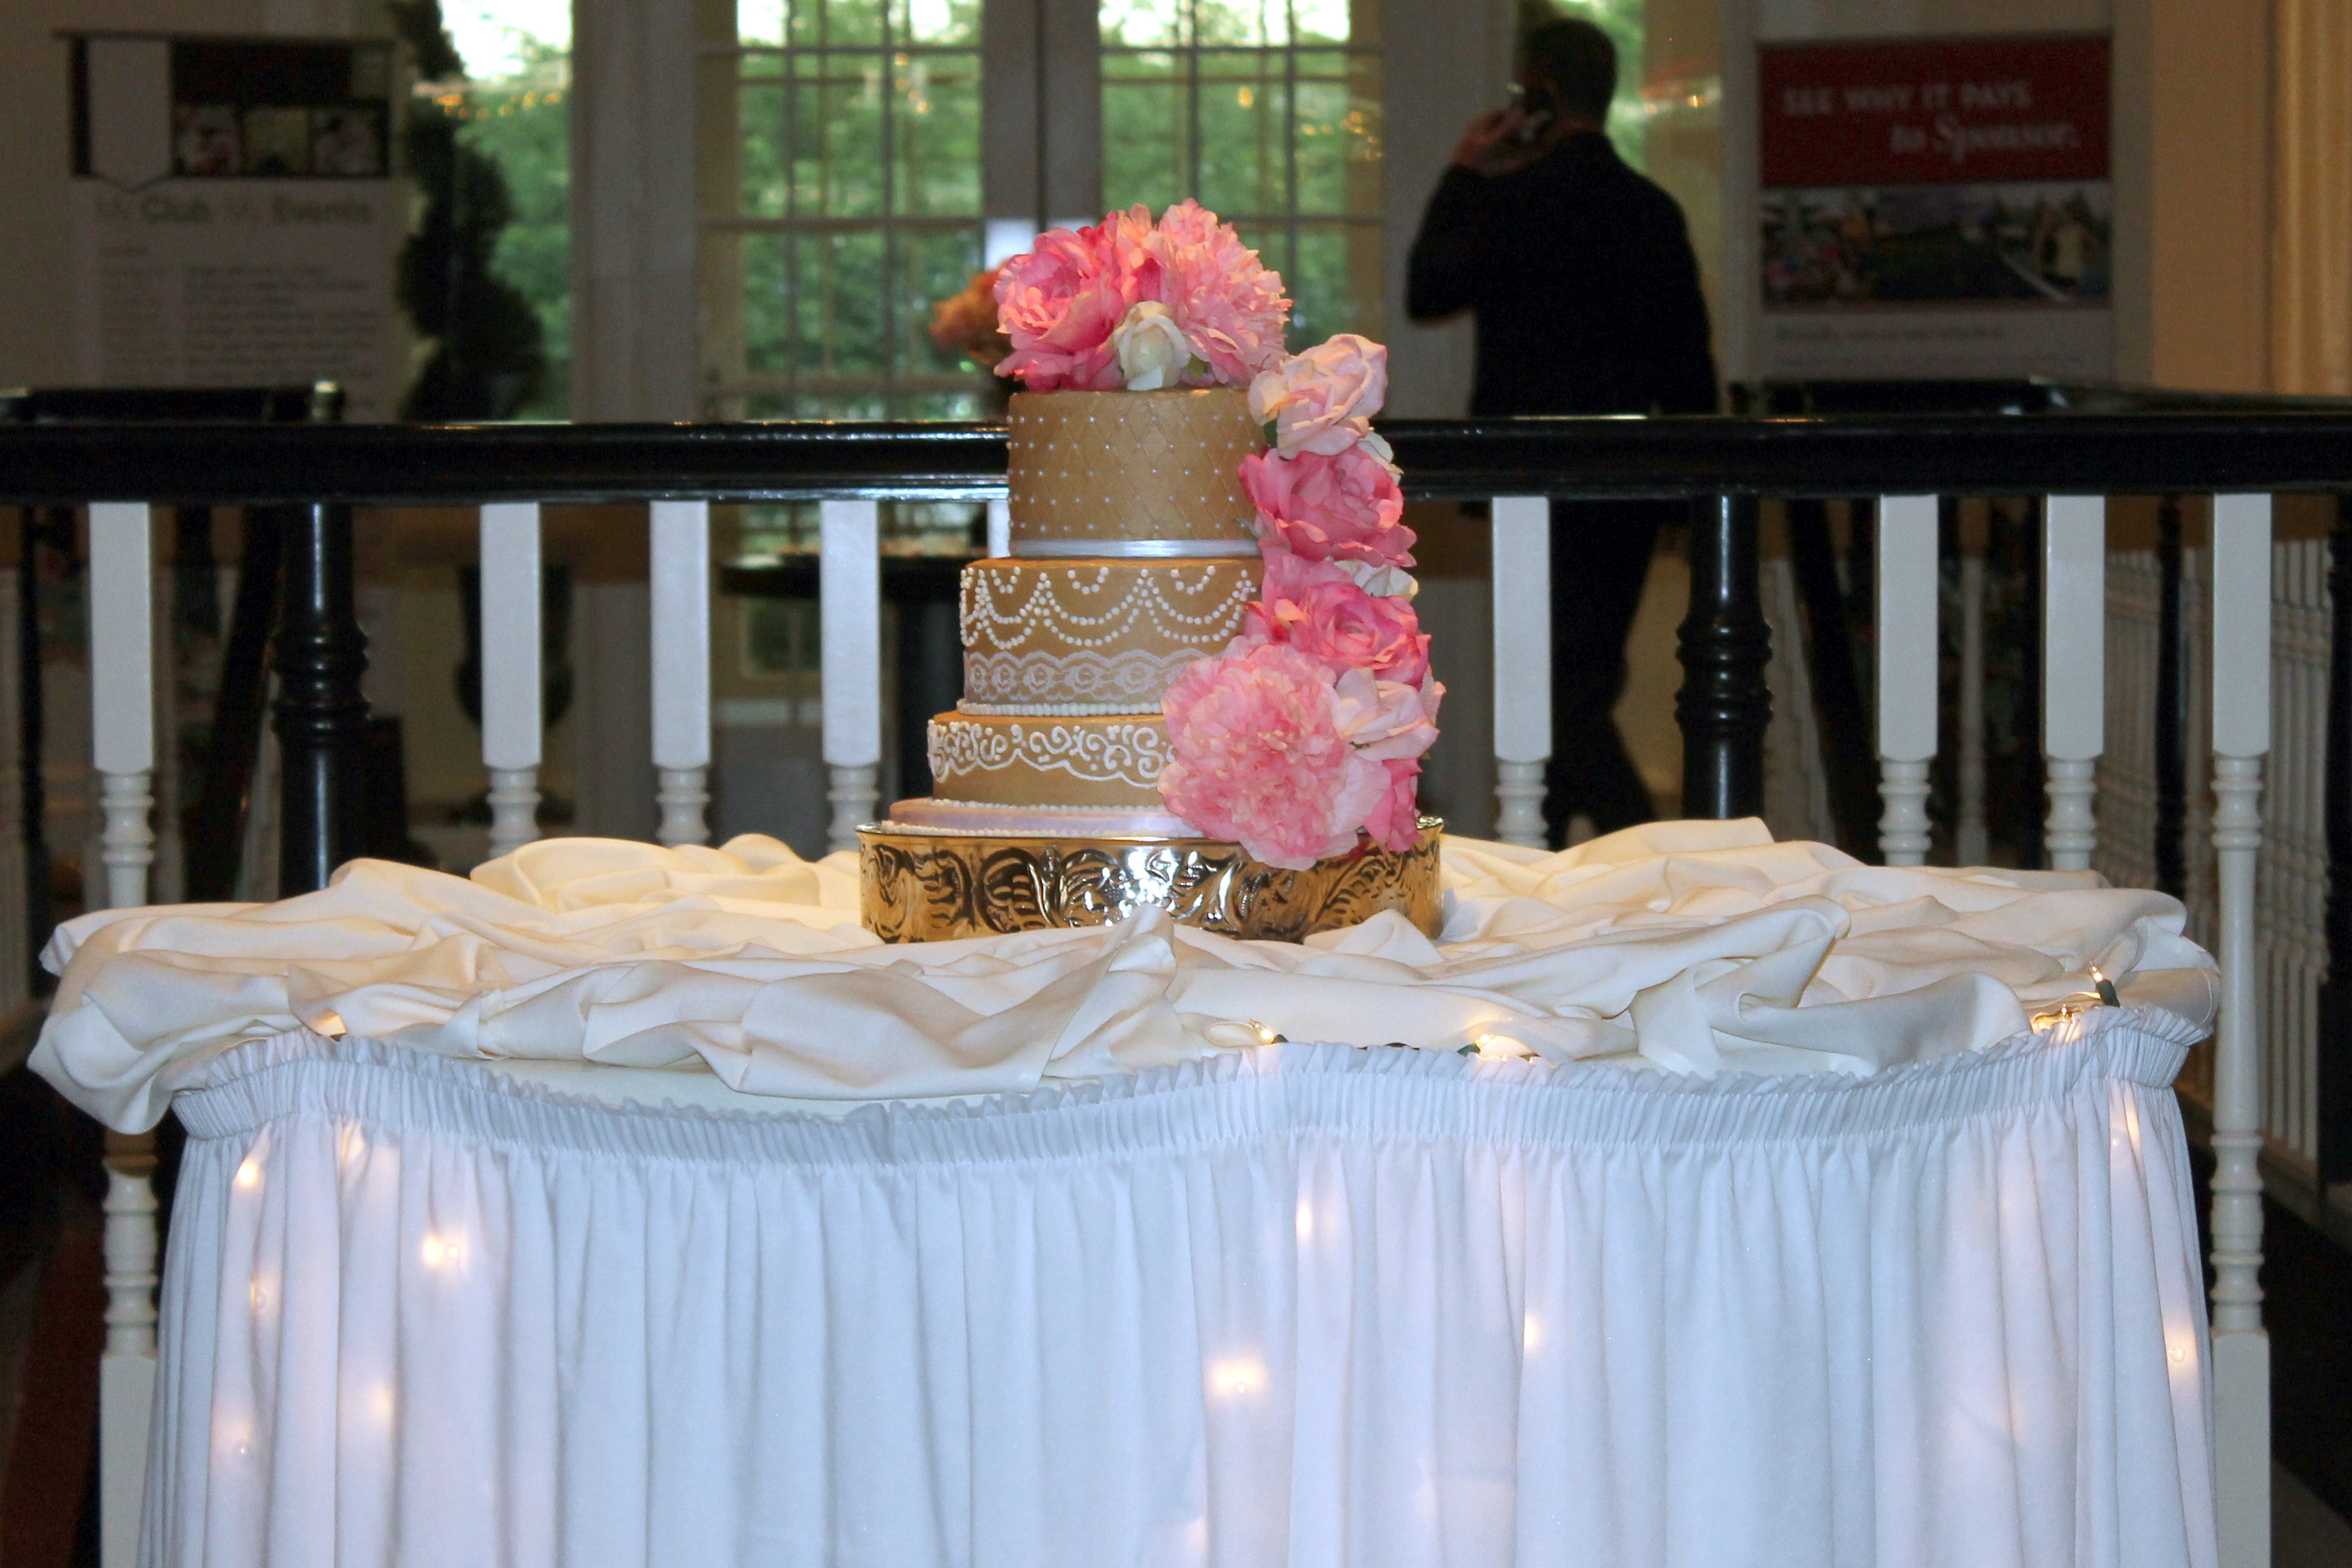
Happily, when I played the “professional” baker last summer, the florist was a dear friend, and basically a genius, and she was completely on the same page about issues of flowers and food safety. She and I met a month in advance and talked about the design the bride wanted, our concerns about pulling it off, and the ways we planned to work together when I delivered the cake.
If you are making a wedding cake that is due to be covered in real flowers, then meeting with the florist is a high priority! Wouldn’t you hate it, for example, if the bride requested live peonies, and your cake somehow ended up crawling with ants (which is how peonies open) because neither you nor the florist communicated about that issue? Or, less dramatic and more likely, if the live flowers are poisonous or were treated with pesticides that should not be ingested, and they are directly touching the cake you made?
In the event of live flowers, do your research: advocate for your cake, and for food safety (ideally, prior to the actual reception site…but do it here, as well!), and for the flavor and the form of the cake you worked so hard to make.
Even after you talk with the florist and straighten out the details, I recommend you do not leave your cake alone at the reception site until after the flowers are in place. Assume that anyone who gets near the cake will accidentally mess up the design (hey, they didn’t bake it, and it isn’t their baby, so they may not even realize this has happened!). You may need to stay and take care of/guard your cake until the reception starts. No one will mess it up on purpose, but anything can happen! And won’t you be happier if the bride is happier and the cake is absolutely perfect?
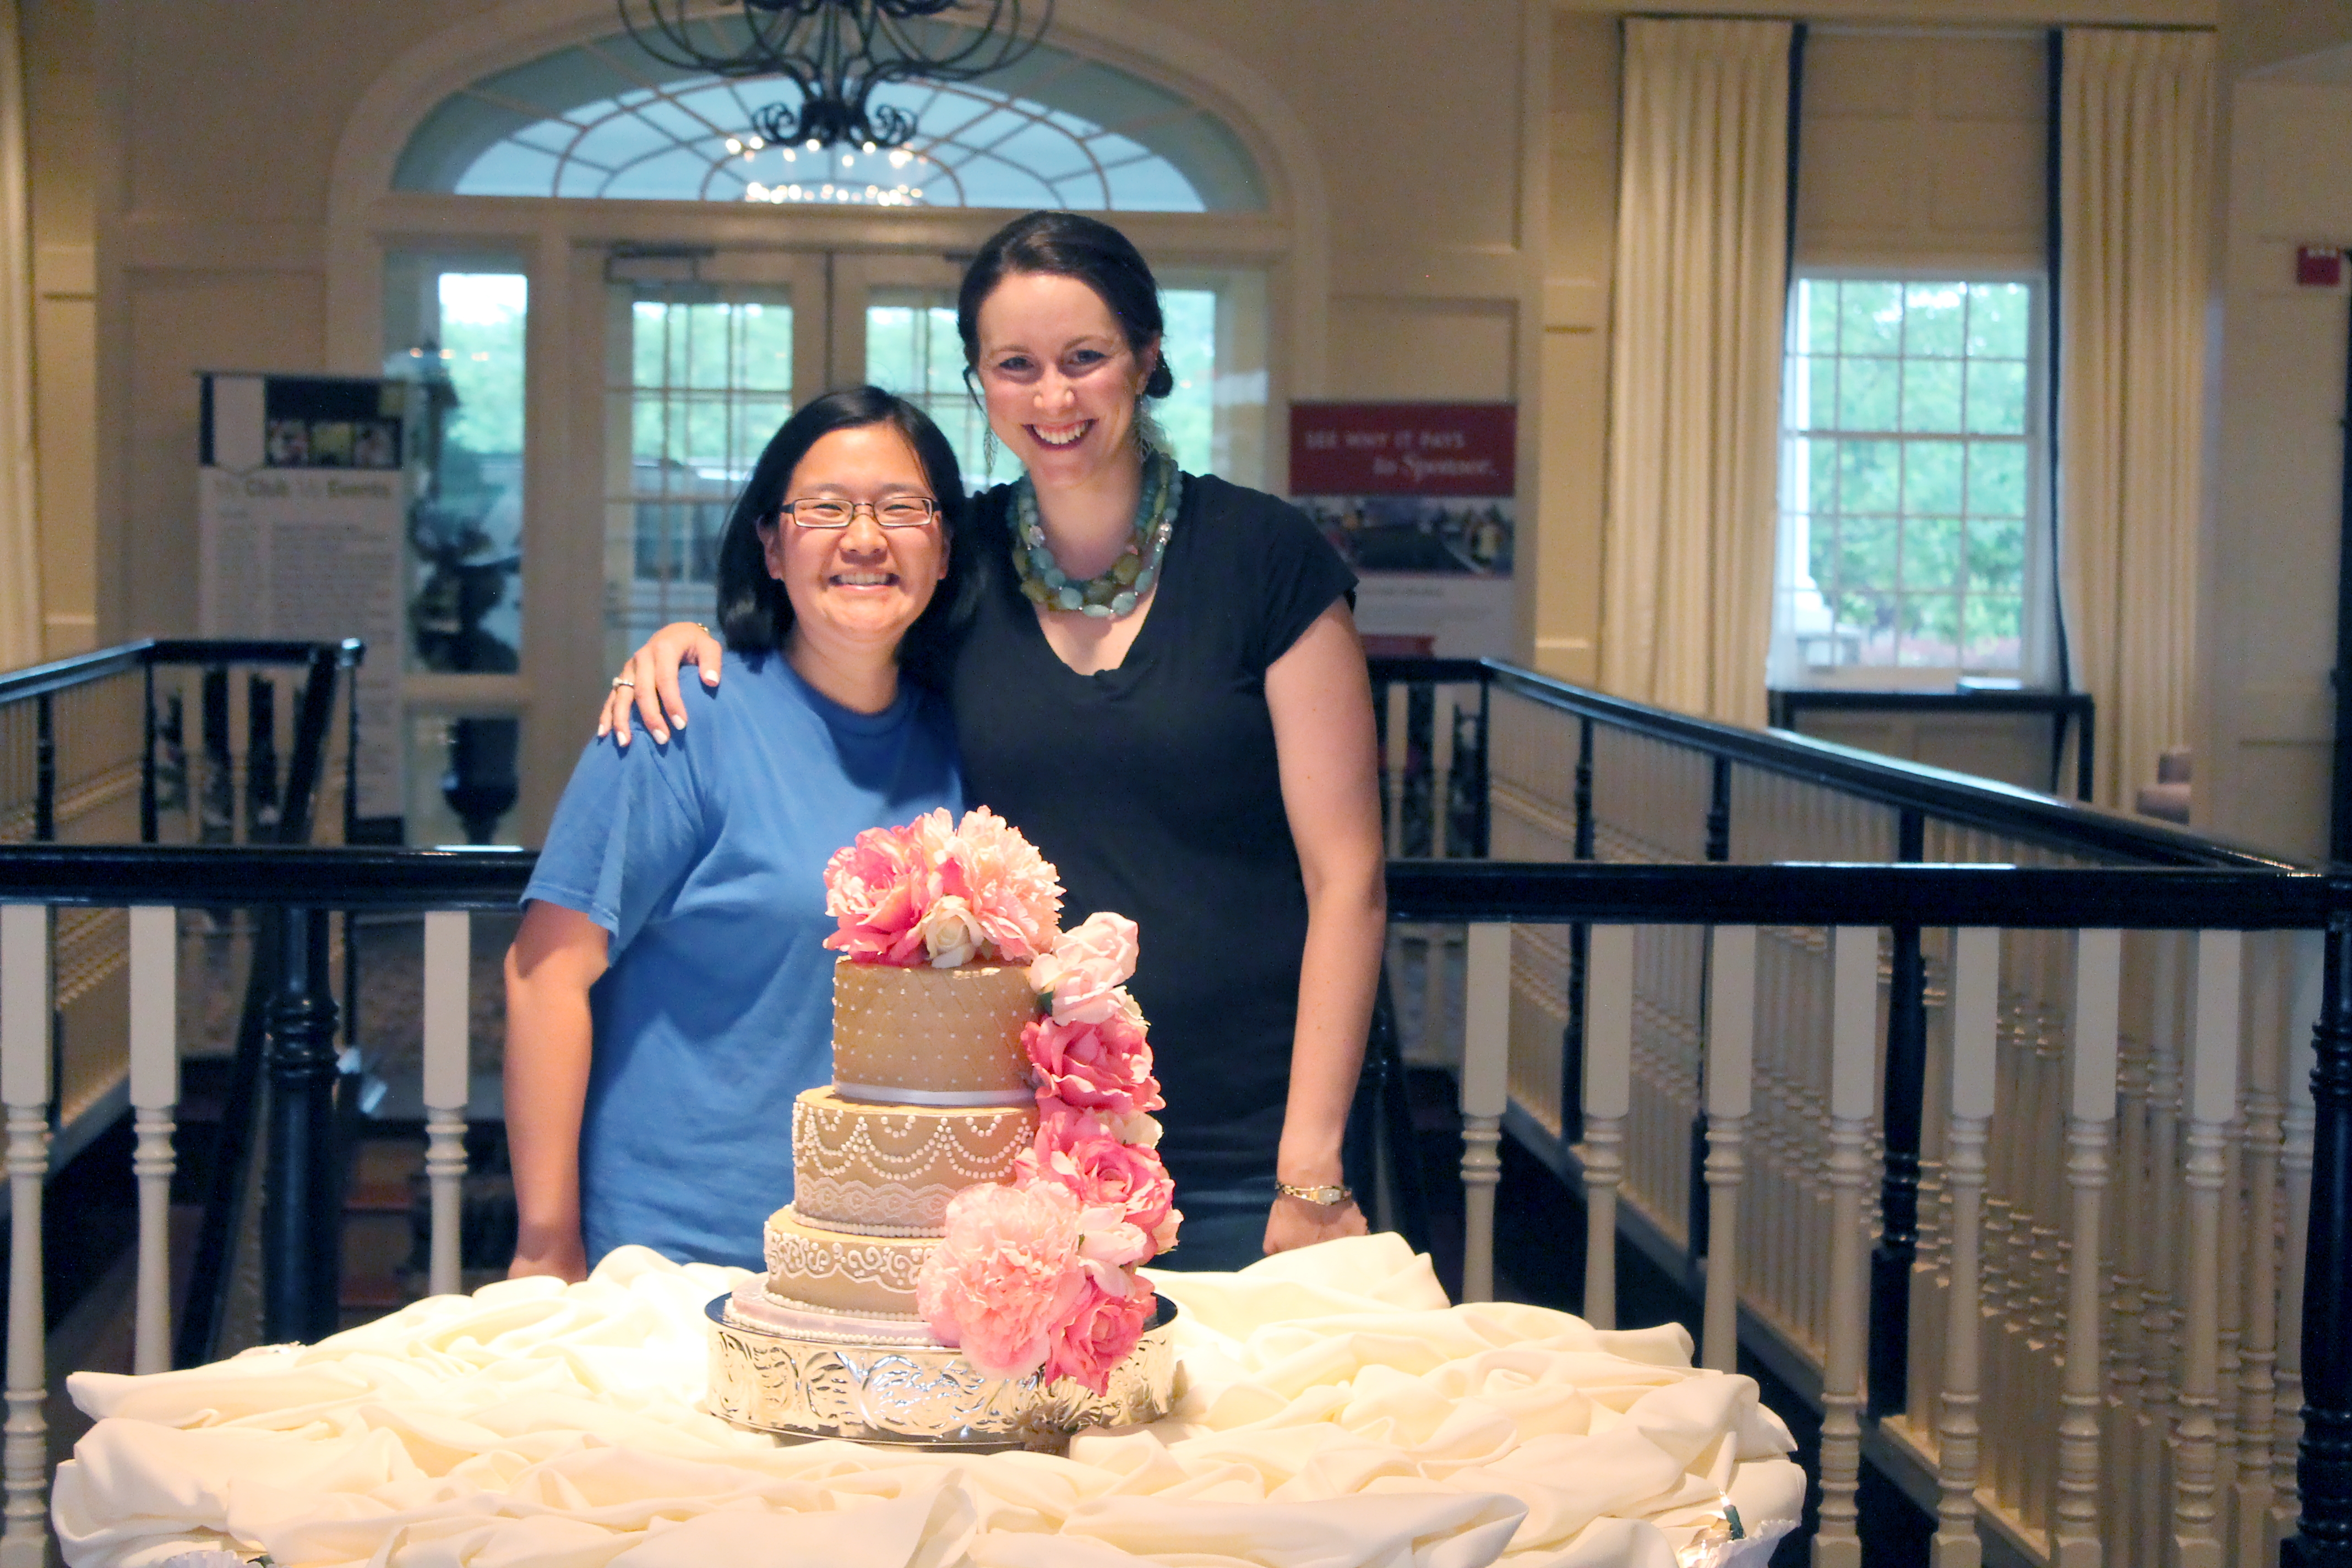
The florist for this wedding was beautiful and thoughtful, and she had a great eye for detail. She decided to use silk flowers for food safety—and she wrapped the stems with plastic wrap, so that we could be truly confident about the food safety of everything on the cake. I was so lucky to be working with her! I helped her place all of the flowers on the cake (minor heart palpitations as we jabbed giant clumps of flowers into my perfect cake), and then she helped spot a few of the frosting dots that needed to be fixed after we adjusted all the flower arrangements!
From start to finish, this was an epic experience for me. As a home baker, to bake and decorate two display cakes and four sheet cakes—270 servings of cake—in my own kitchen took such a tremendous amount of time and love and attention to detail. I’m so glad I had the opportunity to help the lovely newlyweds make their wedding day amazing!

18 comments to “How to Transport a Tiered Wedding Cake”
Maria Keelu - August 29, 2020
Hi there, I hope you’re ok.
I’m making my first wedding cake in a week or so and I was wondering if you have an additional advice for transporting cakes up extremely steep hills, which is what I’m going to have to do! I guess I’m just looking for reassurance really.
Thanks.
Maria. x
Melissa - October 31, 2020
Maria, I am so sorry I didn’t get to reply to this message in time. (The blog has taken a major backseat during this Covid season!) I hope your transport went well. I don’t have any special advice for super steep hills except to pray, don’t slam on your brakes, and take any turns very slowly!
DeeDee Smith - September 24, 2020
Thanks for this helpful info! I am making my first wedding cake for a friend. She is coming over a month prior and we are going to make a smaller rendition together- She wanted to make the cake herself, but family advised her to focus on other things, so this is the next best thing for her!
Melissa - October 31, 2020
What a wonderful friend you are! I hope the cake and transpo go (went?) well! I would love to see pictures of the finished cake!
Emily - April 7, 2021
This was wildly helpful! Thank you!
Tanya - June 22, 2021
Hi there,
Thank you for this blog it’s really helpful.
I may be missing something here but in terms of putting a dowel right down the centre of all tiers is this possible with a fondant covered cake? I assume if you just have butter cream you just cover the hole after? Stressing out at the prospect of having to construct once I get to my friends place!
Thank you.
Melissa - July 12, 2021
Sorry for my delayed reply! If you are working with a fondant cake, you should still assemble after each layer is covered and decorated; you will have a small little hole through the fondant that you can cover with buttercream (or maybe stick a tiny circle of fondant over it with a dab of buttercream?). Most cakes have some kind of decoration on the top, so it shouldn’t be noticeable! I HIGHLY recommend stacking the tiers before you get to the venue! I once almost dropped the top tier of a wedding cake right on the floor when I tried to assemble at the venue–that’s more stressful than the drive for me!
Henry Killingsworth - July 27, 2021
Next month, my sister is wanting to hire a cake maker to make a tiered cake for her wedding. It was really interesting when you talked about how it can be a good idea to use a board to hold the weight of a tiered cake. I will have to tell my sister that she is going to need to get a board so that she doesn’t have anything to worry about.
Taylor Hicken - September 6, 2021
You made a good point when you shared that the bride will surely be happy if the wedding cake is perfect. My cousin just mentioned the other day that she is planning to get married in a few months and she wants to have the most perfect wedding. I will suggest to her getting a nice custom cake that will make her day even brighter.
Telli - January 7, 2022
Love this blog! It has been so helpful. I have to make a 2 tier naked cake. Would you recommend putting it in the fridge over night still or do you think the cake will dry out?
Thank you!!
HA - April 6, 2022
Hi,
Thanks for this useful information. When transporting the tiered cakes, do you also put them in a box for the car journey itself. If so, what type of cake transporting boxes do you use?
Thanks,
A
Kristofer Van Wagner - August 7, 2022
I think this post made an excellent point that when looking to order custom cakes for any occasion, it is important that we ask about their transportation. It makes sense as that way, we can be guaranteed that our cakes will be transported safely. Assuming that I need a custom cake, I will be mindful of the transportation.
Rhonda - August 23, 2022
This is a great post and very timely. I have to transport a semi-naked cake to a venue the day before the wedding. Do I leave it in a cake box in their fridge? It will be covered in white chocolate buttercream.
Kate Hansen - September 14, 2022
It’s good to know that you should keep your car as cold as possible. My fiance and I are planning on getting a tiered cake for our wedding next month, and I wanted to know how to transport it safely once I find a baker that can make it for us. I’ll keep these tips in mind once I find a baker that can make the wedding cake for us.
Vickie Smith - September 20, 2022
Very good advice. I have only made one tiered cake but most of my other cakes are tall so they are also vulnerable during transport. I can verify from personal experience your advice for having the cake cold when you transport it. I have had two mishaps from not having the cakes cold. Even with dowels if the cake isn’t cold it moves too much. Conversely, one cake that was very cold (and in a cooler with dry ice because we were going to be in the car for many hours) survived my husband driving one wheel into the most massive pot-hole I’ve ever seen. I thought for sure it was done for. It was still in perfect condition when we reached the destination. The only tiered cake I’ve made was for my husbands birthday party and I took it to a restaurant. It was not cold enough because I was working on it until the last minute. It suffered some damage during transport from the shifting back and forth but it wasn’t completely ruined. At least he saw it and took pictures before we took it to the restaurant. Thanks for the great advice!
Car service Atlanta - April 3, 2023
Transporting a tiered wedding cake can be a nerve-wracking experience, but with the right preparation and care, you can ensure that your cake arrives at the venue in one piece. Here are some tips on how to transport a tiered wedding cake:
Use a sturdy base: Make sure that the bottom tier of the cake is placed on a sturdy base, such as a cake board or a piece of foam board. This will provide support and stability during transportation.
Chill the cake: Before transporting the cake, make sure that it is chilled. This will help the cake hold its shape and prevent it from becoming too soft during transportation.
Secure the tiers: Use dowels or straws to secure each tier of the cake to the base and to each other. This will prevent the tiers from shifting or sliding during transportation.
Use a cake box: Place the cake in a large, sturdy cake box that is big enough to accommodate the size of the cake. This will protect the cake from any bumps or jostles during transportation.
Drive carefully: When transporting the cake, drive carefully and avoid sudden stops or sharp turns. It’s also a good idea to have someone hold the cake box steady during transportation to ensure that it stays in place.
Set up at the venue: Once you arrive at the venue, carefully remove the cake from the box and assemble the tiers. Make any necessary touch-ups or repairs to the cake, and then display it in a safe and secure location.
By following these tips, you can transport your tiered wedding cake safely and securely, and ensure that it arrives at the venue in perfect condition.
Tiffany Bryant - August 3, 2023
I have to drive 1 hour and 30 minutes to deliver a birthday cake. My car really chills fast but I’m worried about it since I will go over a few bumps.
Tiffany Bryant - August 3, 2023
I have to drive 1 hour and 30 minutes to deliver a birthday cake. My car really chills fast so I’m great on that end. I’m worried since I have to travel a long distance to deliver the cake.