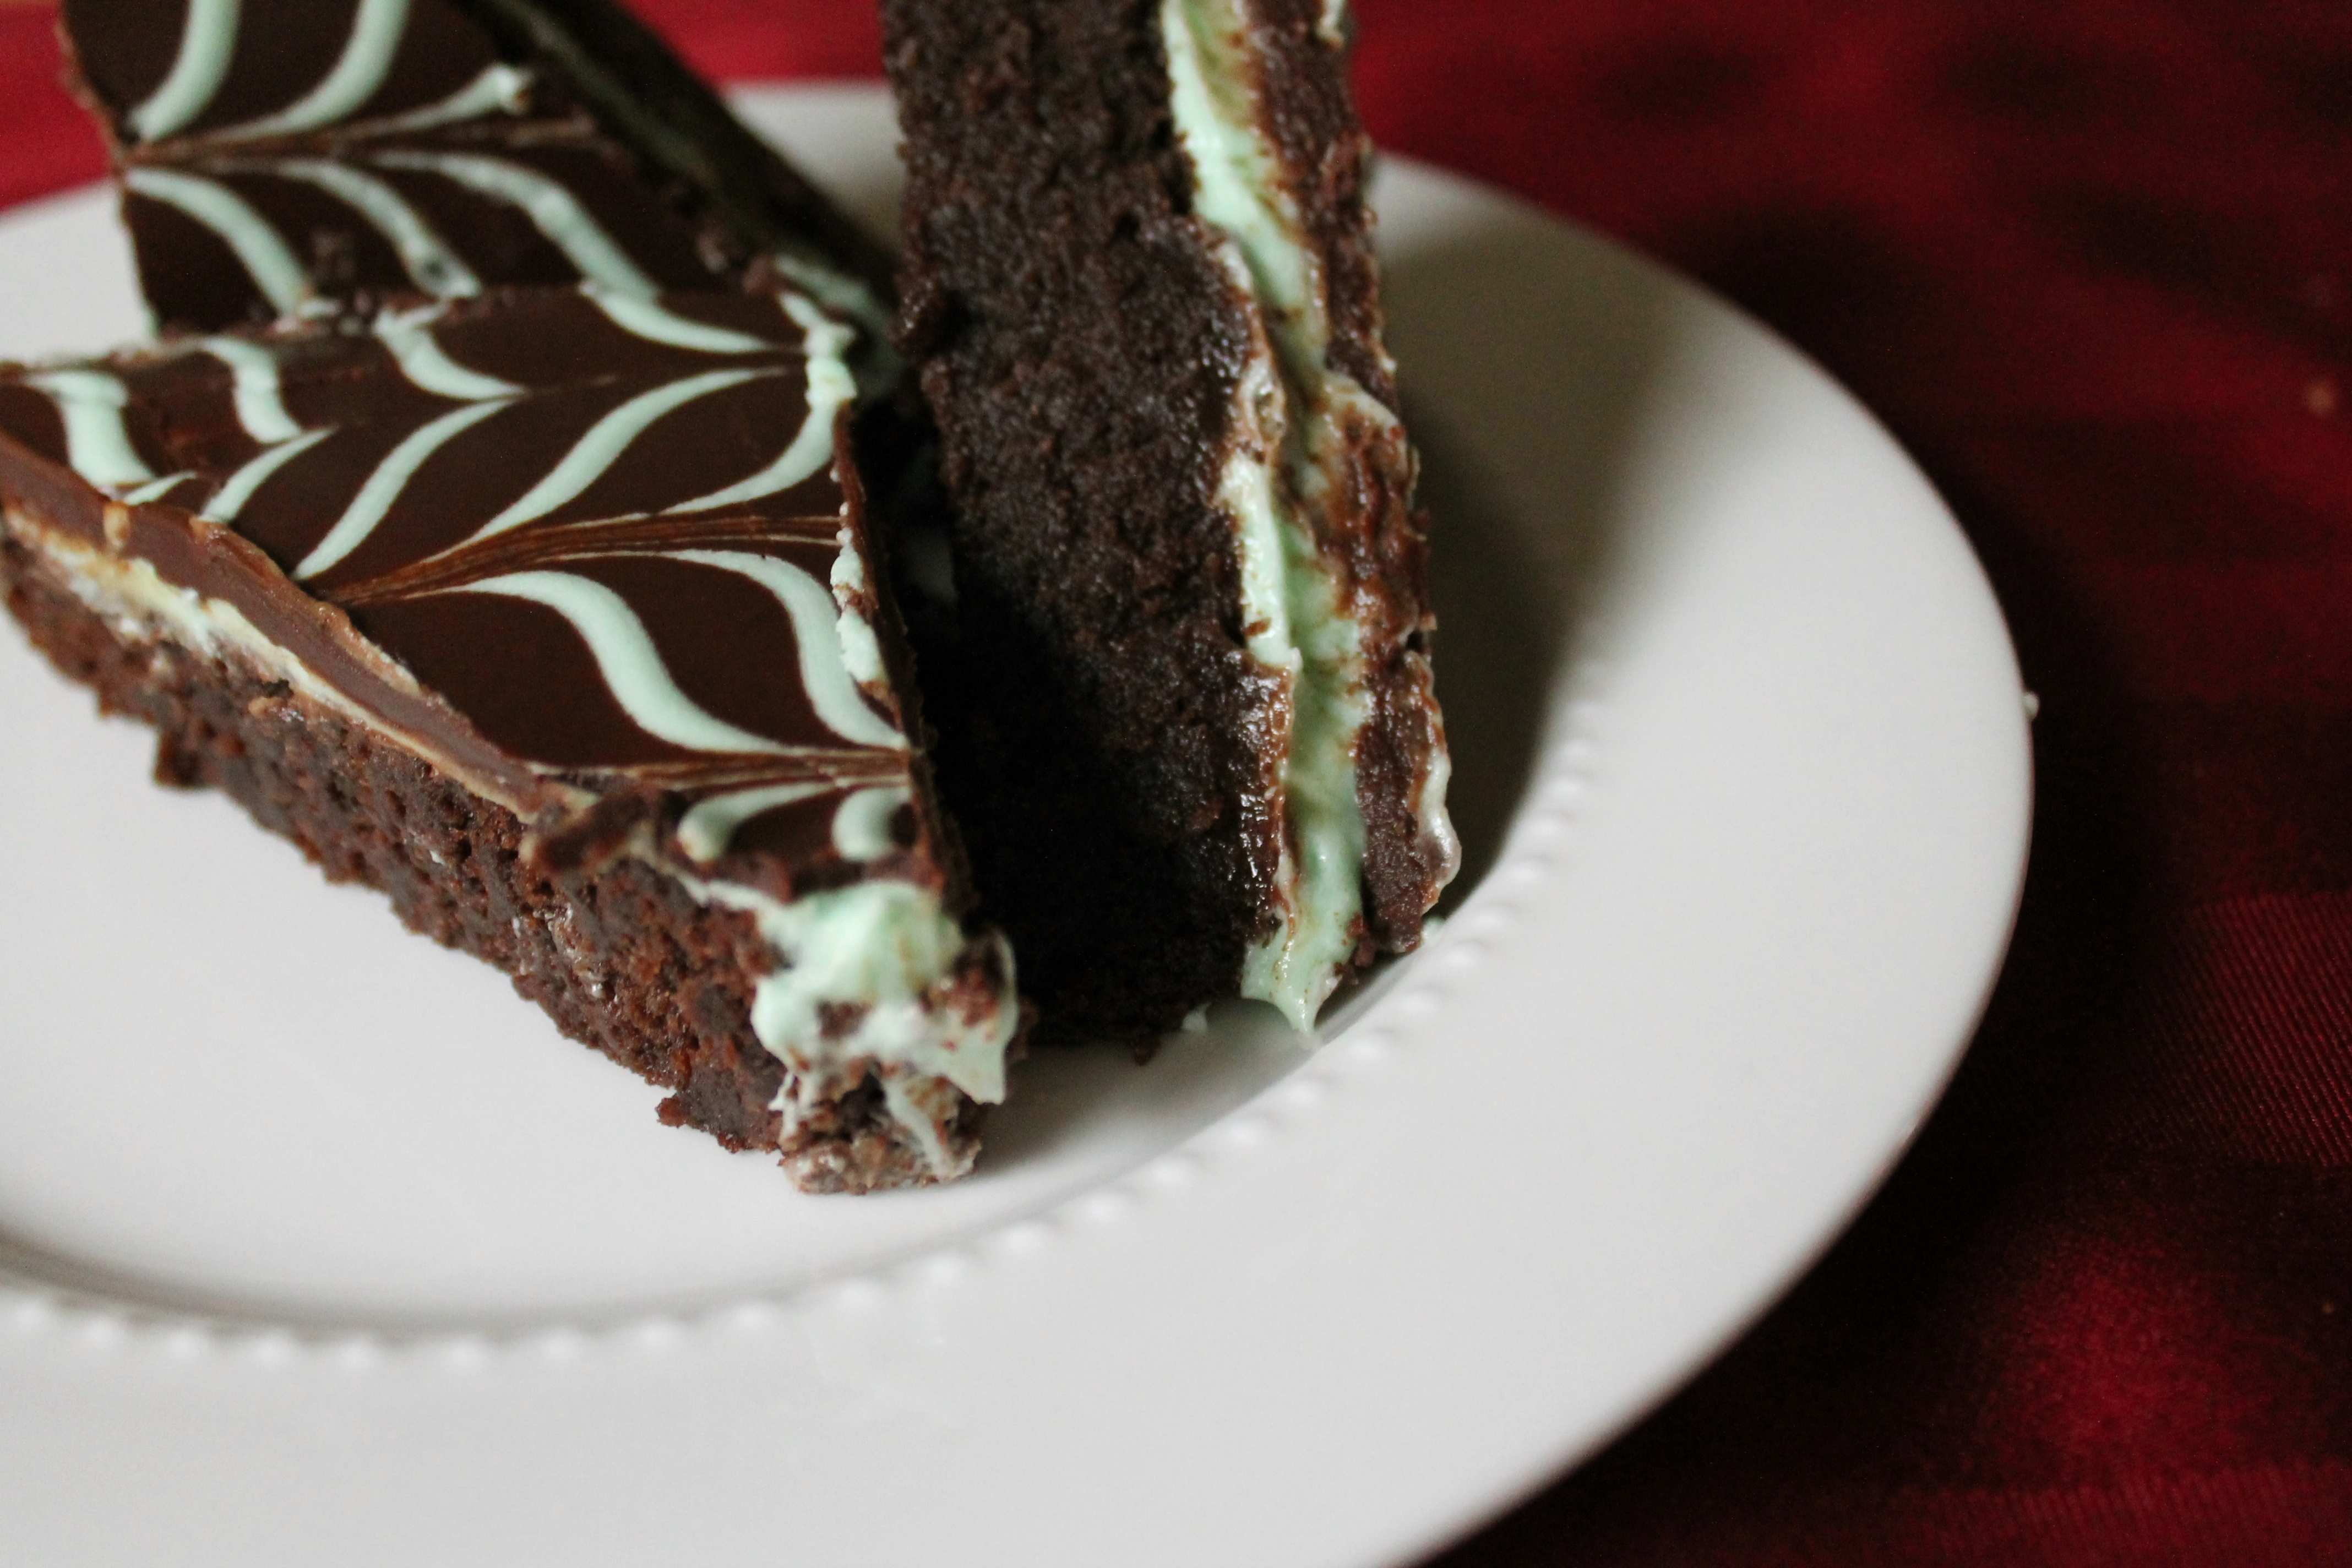
When I was in college, my best friend used to come visit me once a semester. Several times when she made the trip, she also lugged her baking equipment with her. We would wedge ourselves into the tiny, communal kitchen and whip up a batch of mint brownies. Later, we would sit ourselves down with the pan and two forks to watch chick flicks. By the end of the weekend, almost all the brownies would be gone and all of our clothes would be a bit tighter.
I have such fond memories of these brownies. Now that I am out of school, they have become a part of my Christmas tradition. With their pretty green, minty layer, they certainly fit right in with the season!
And hey, if they are easy enough to make in an ill-equipped college dorm, you can definitely pull them off, no sweat! The only hard part is waiting til after the frosting sets to eat them.
Okay. This recipe isn’t new. So don’t give me the crazy eyes when you see that the brownies are about 50% Hershey syrup. I didn’t make the rules…
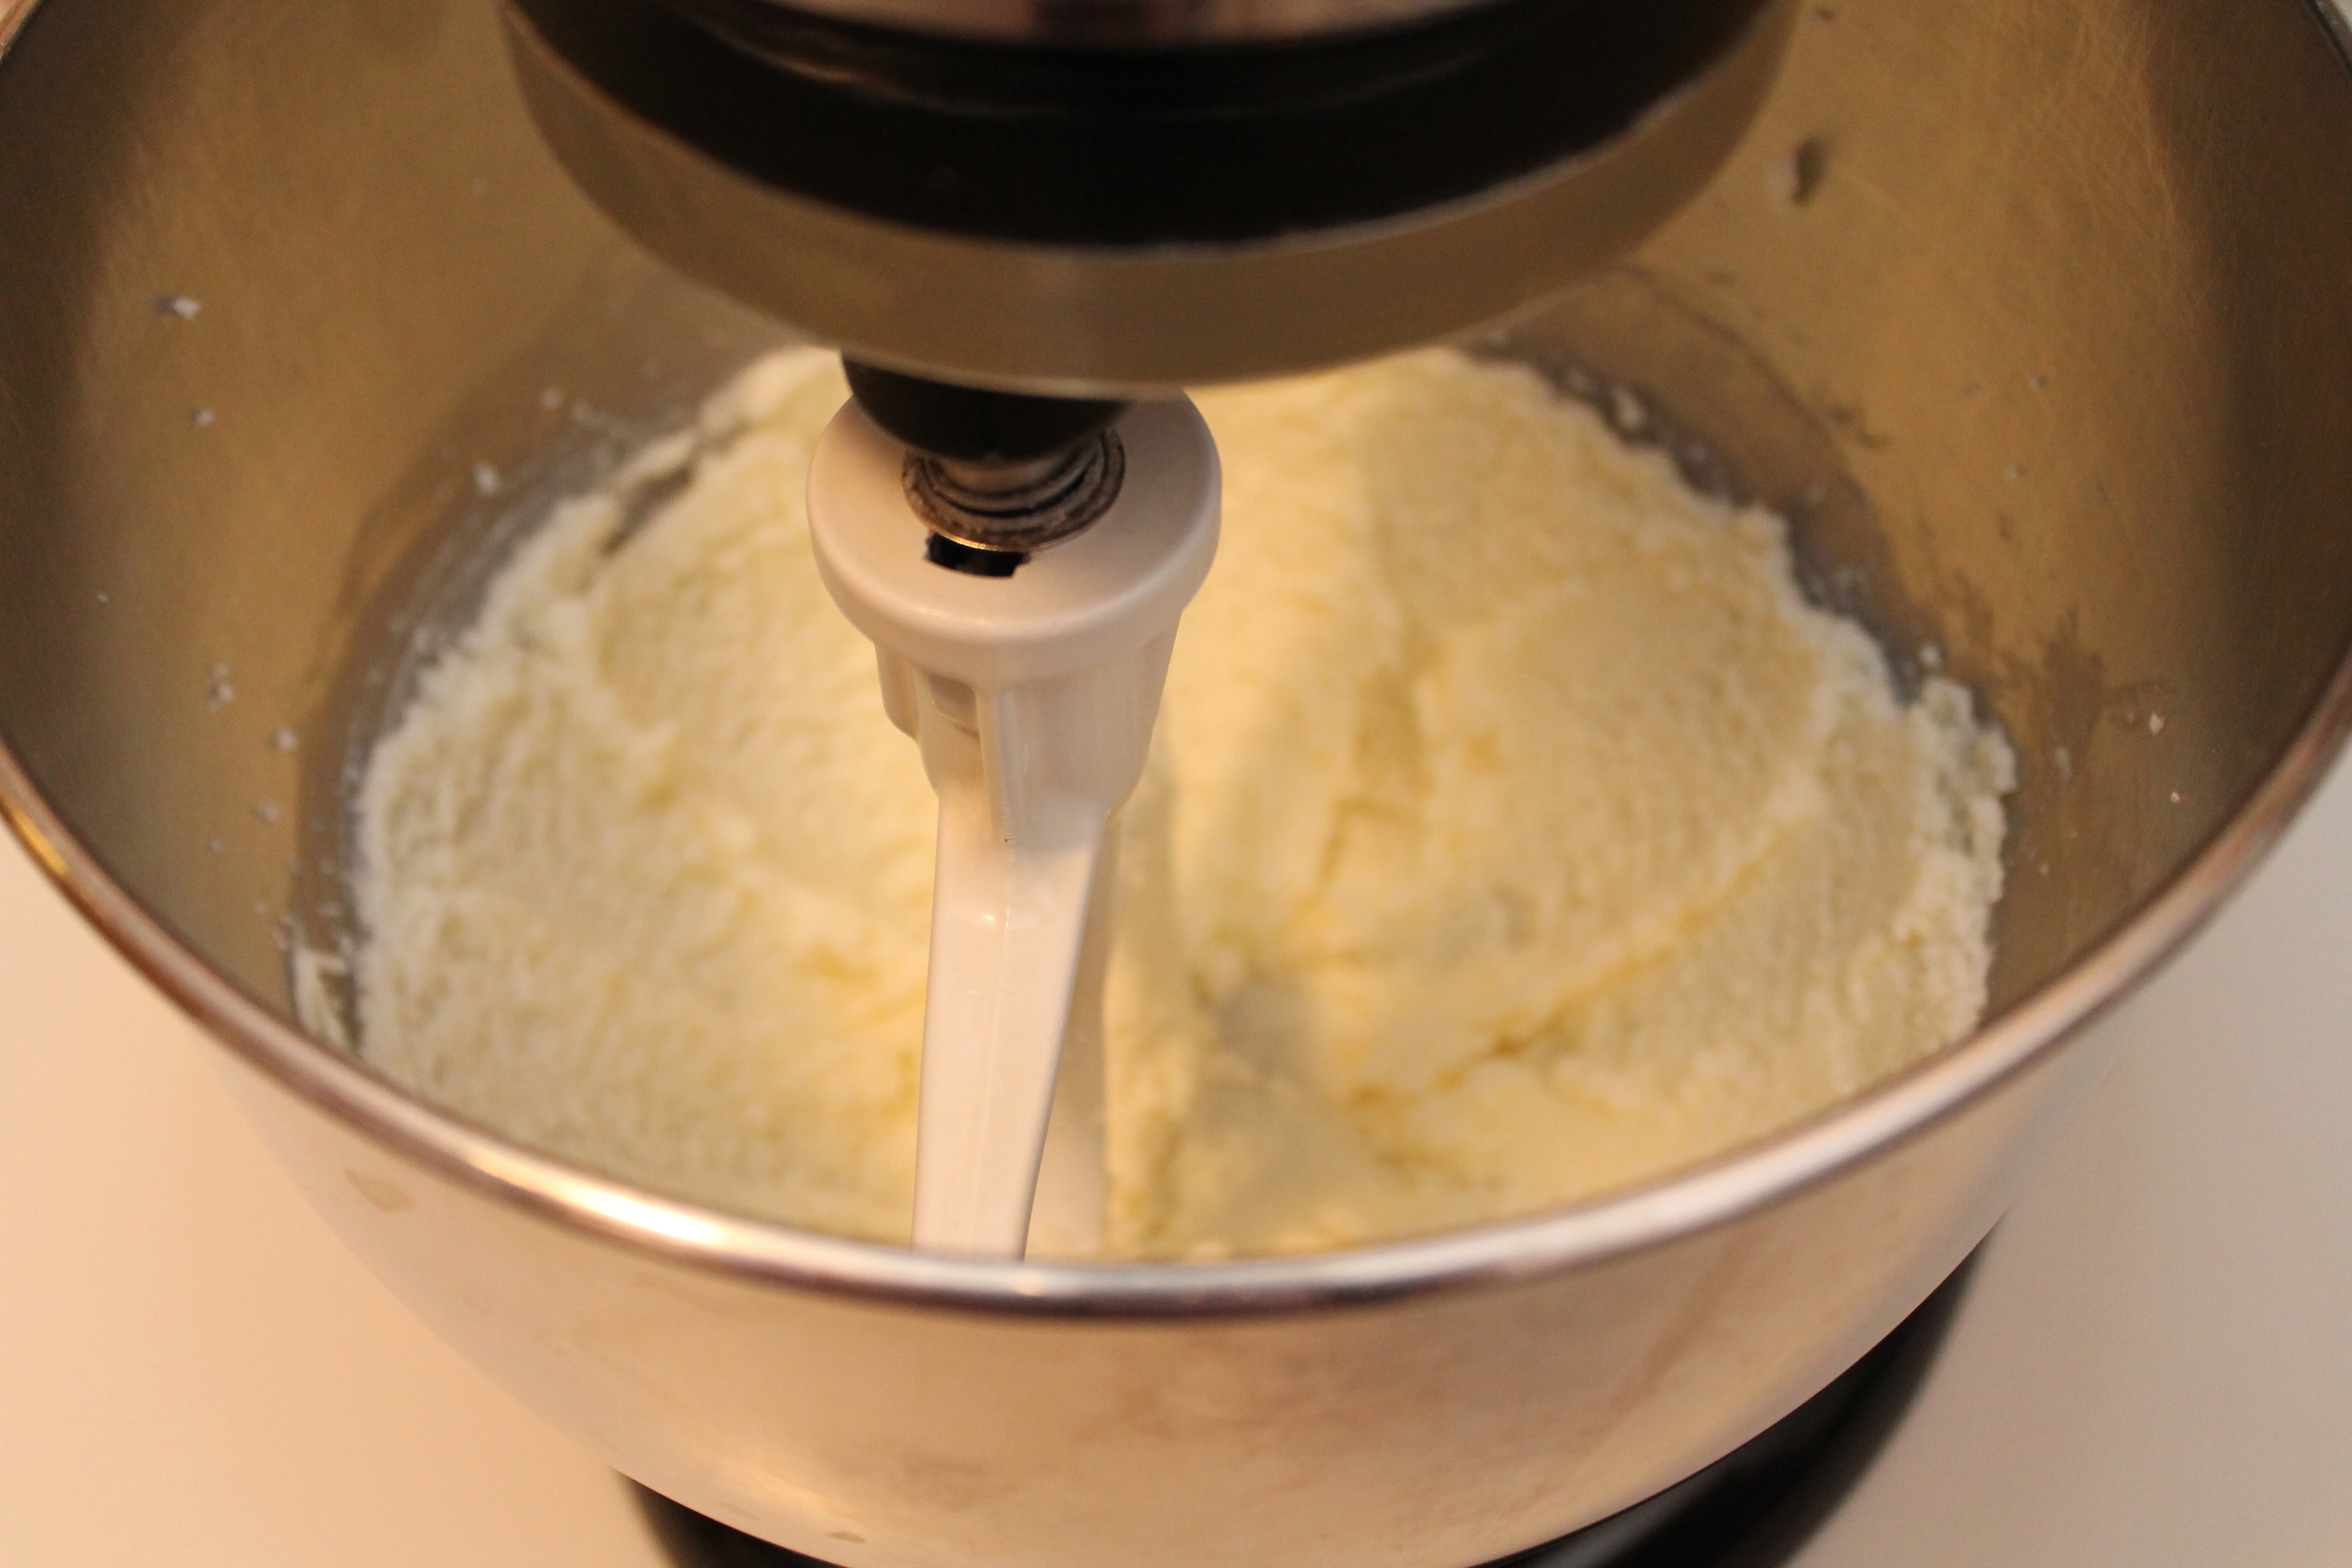 Start with the brownie base. This brownie will bake up quite dense and moist, almost fudgy. If you like a crisp or chewy brownie, this isn’t that. I would describe the end product as melt-in-your-mouth.
Cream the butter and sugar.
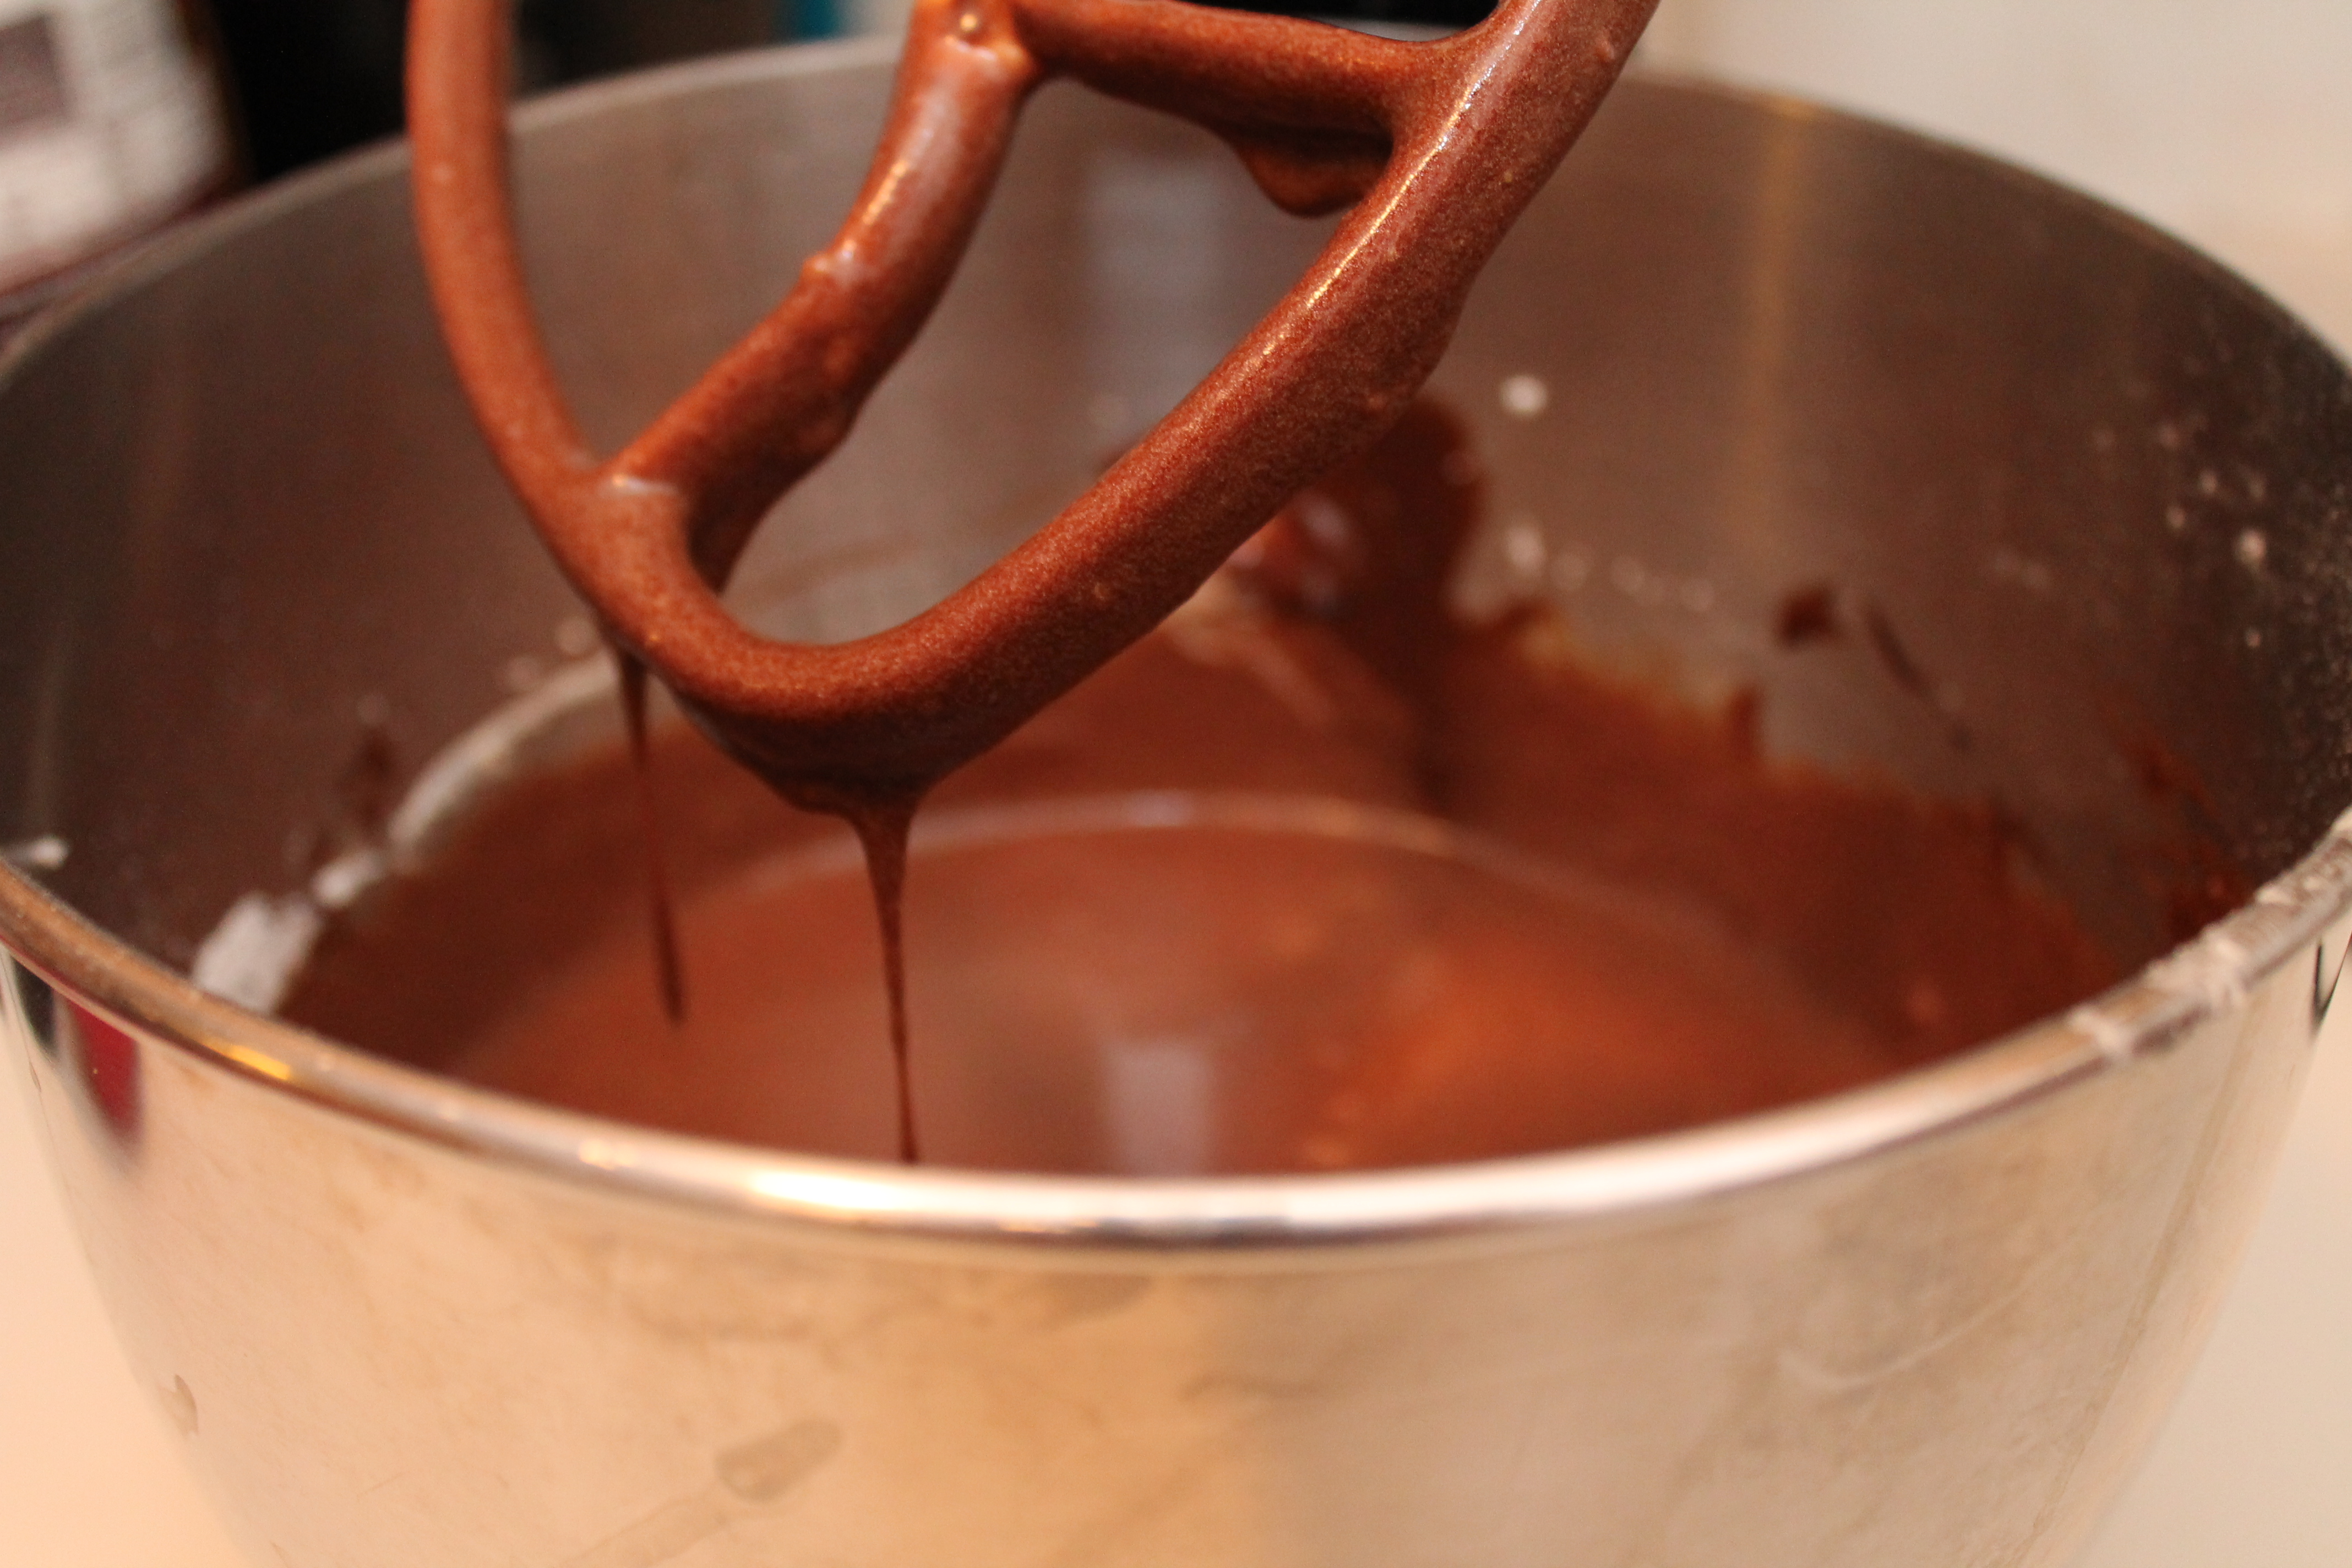 Add in the Hershey syrup, eggs, flour, salt, and vanilla. No need to get fussy and add things in any special order. By the way, if you can’t find a 16oz. can of Hershey syrup (I never can), just buy a bottle and measure out 2 cups. It’s the same! You will have a little left over syrup that you can use on ice cream or to make chocolate milk. Or, hey, more brownies!
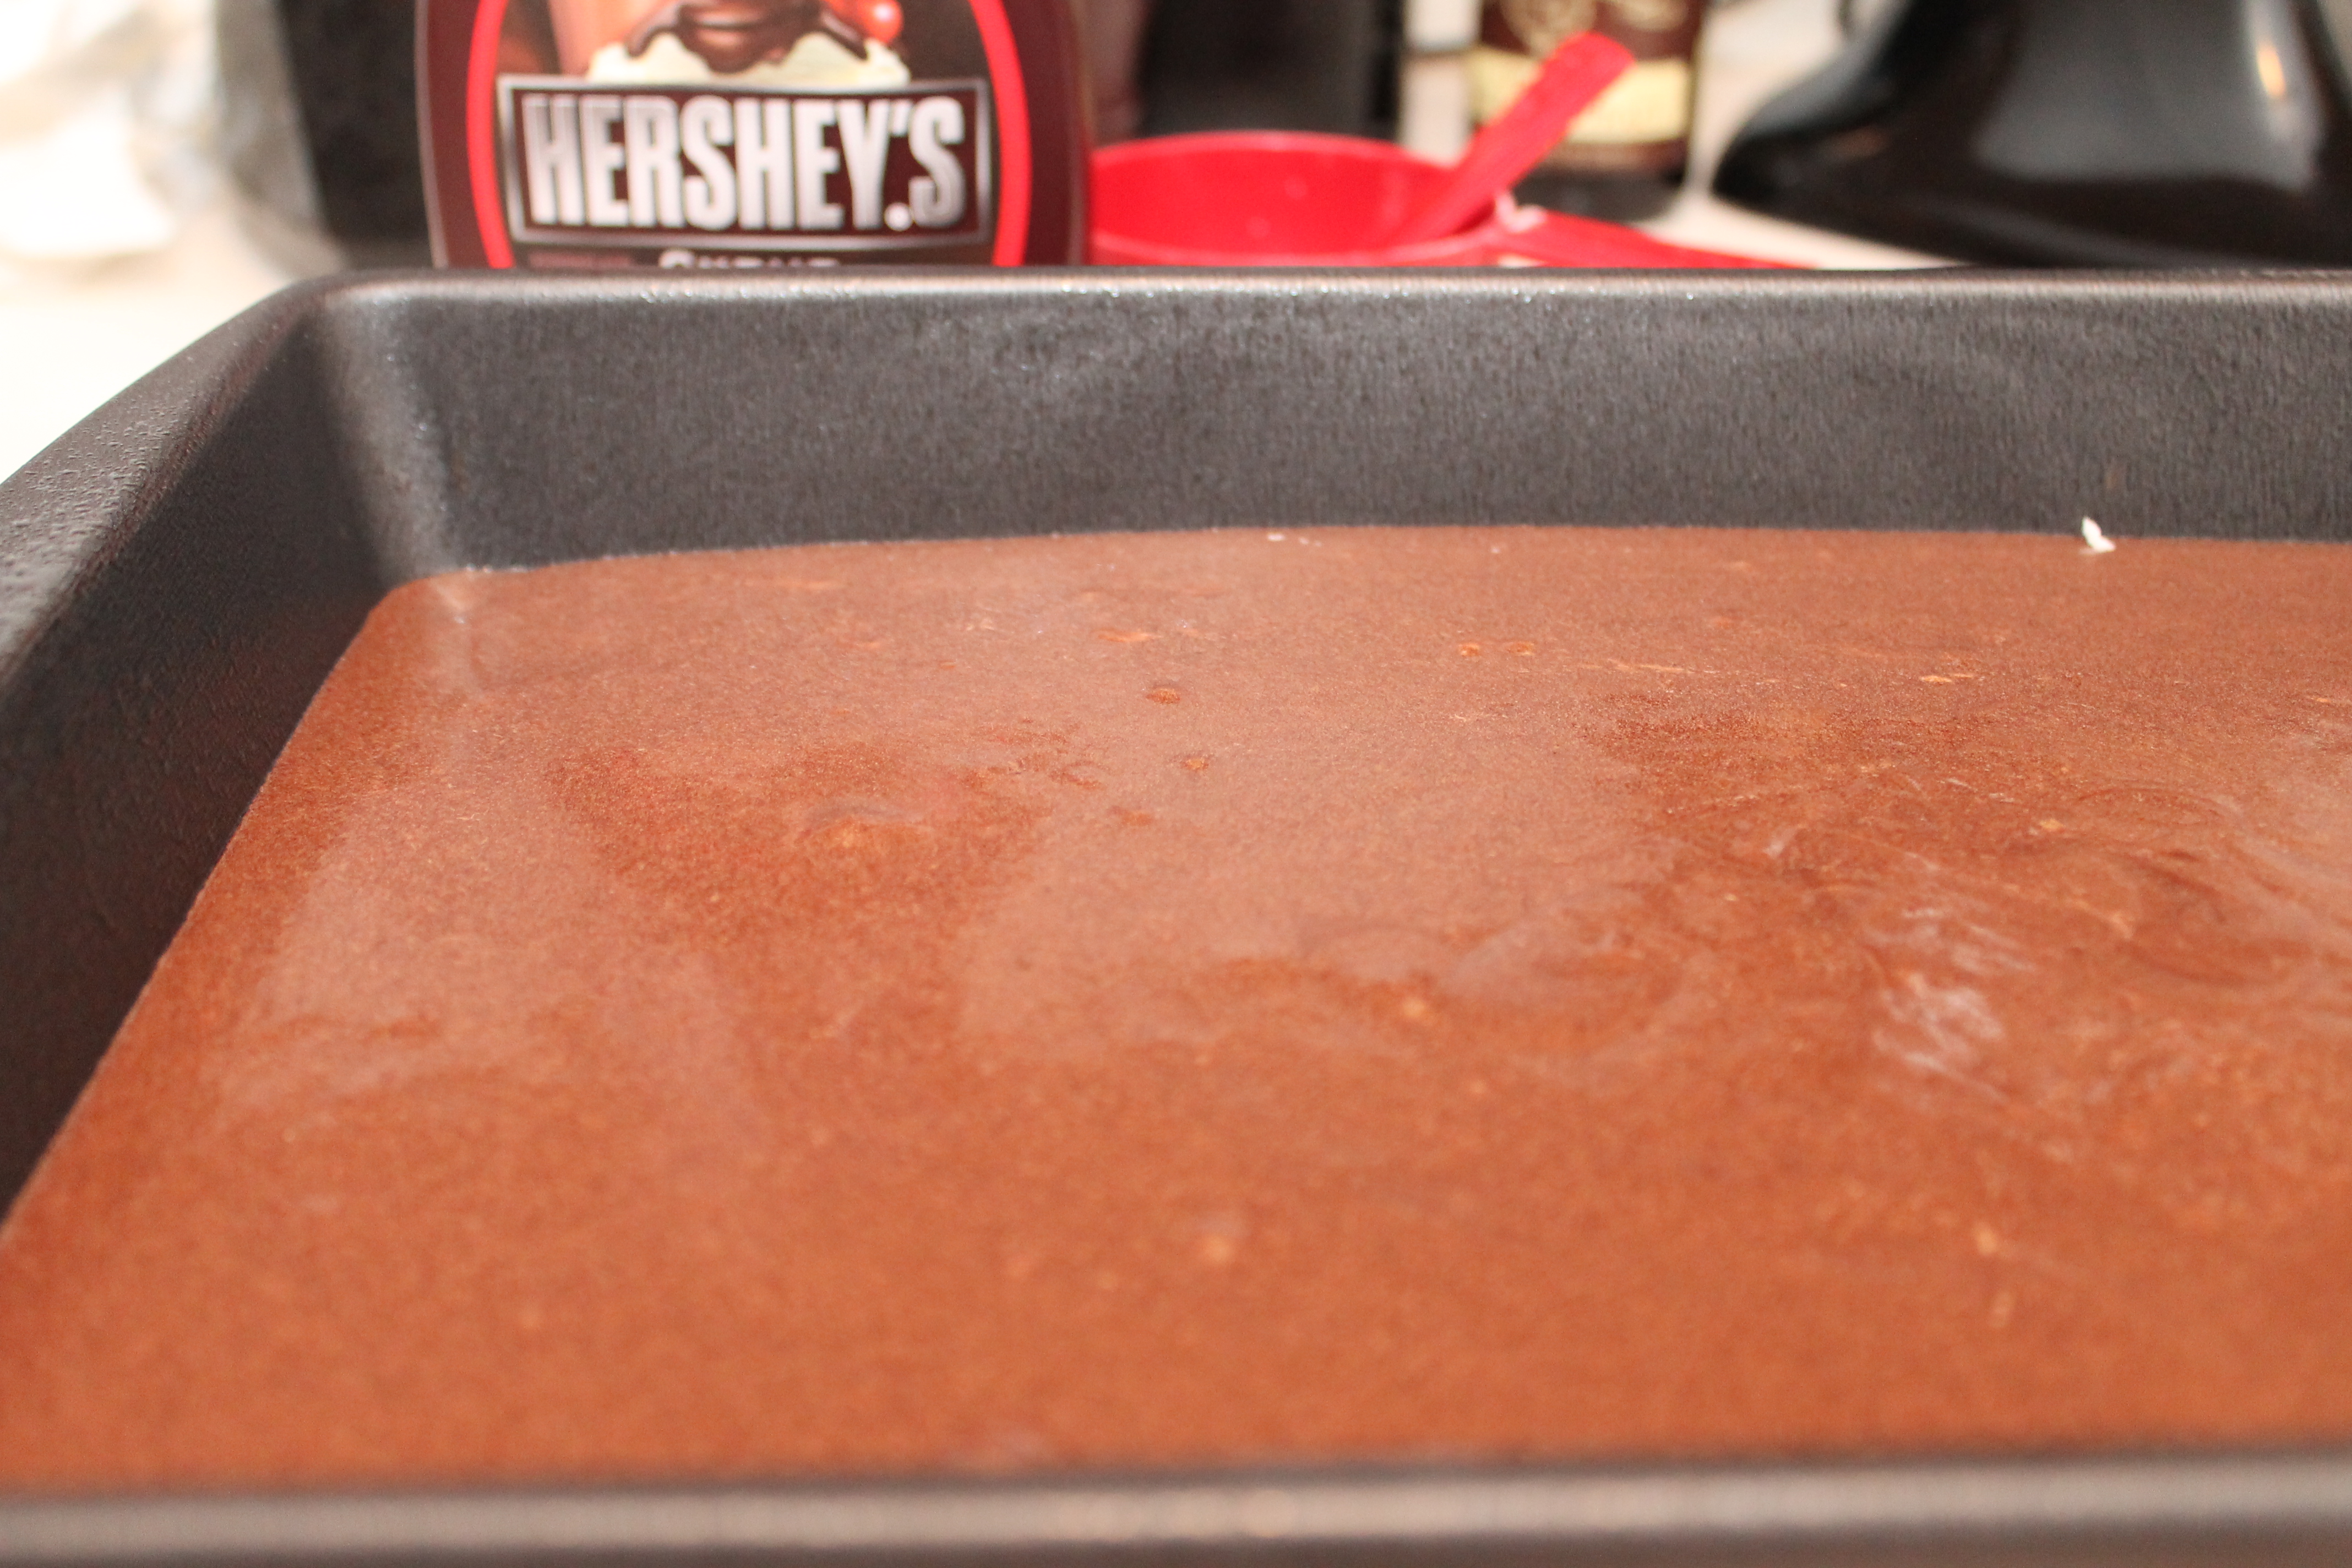 Pour the brownie batter into a greased 13″x9″ pan. Bake for 30 minutes at 350°. The brownies will still look pretty moist on top, but as long as they aren’t jiggly in the center, you are good to go!
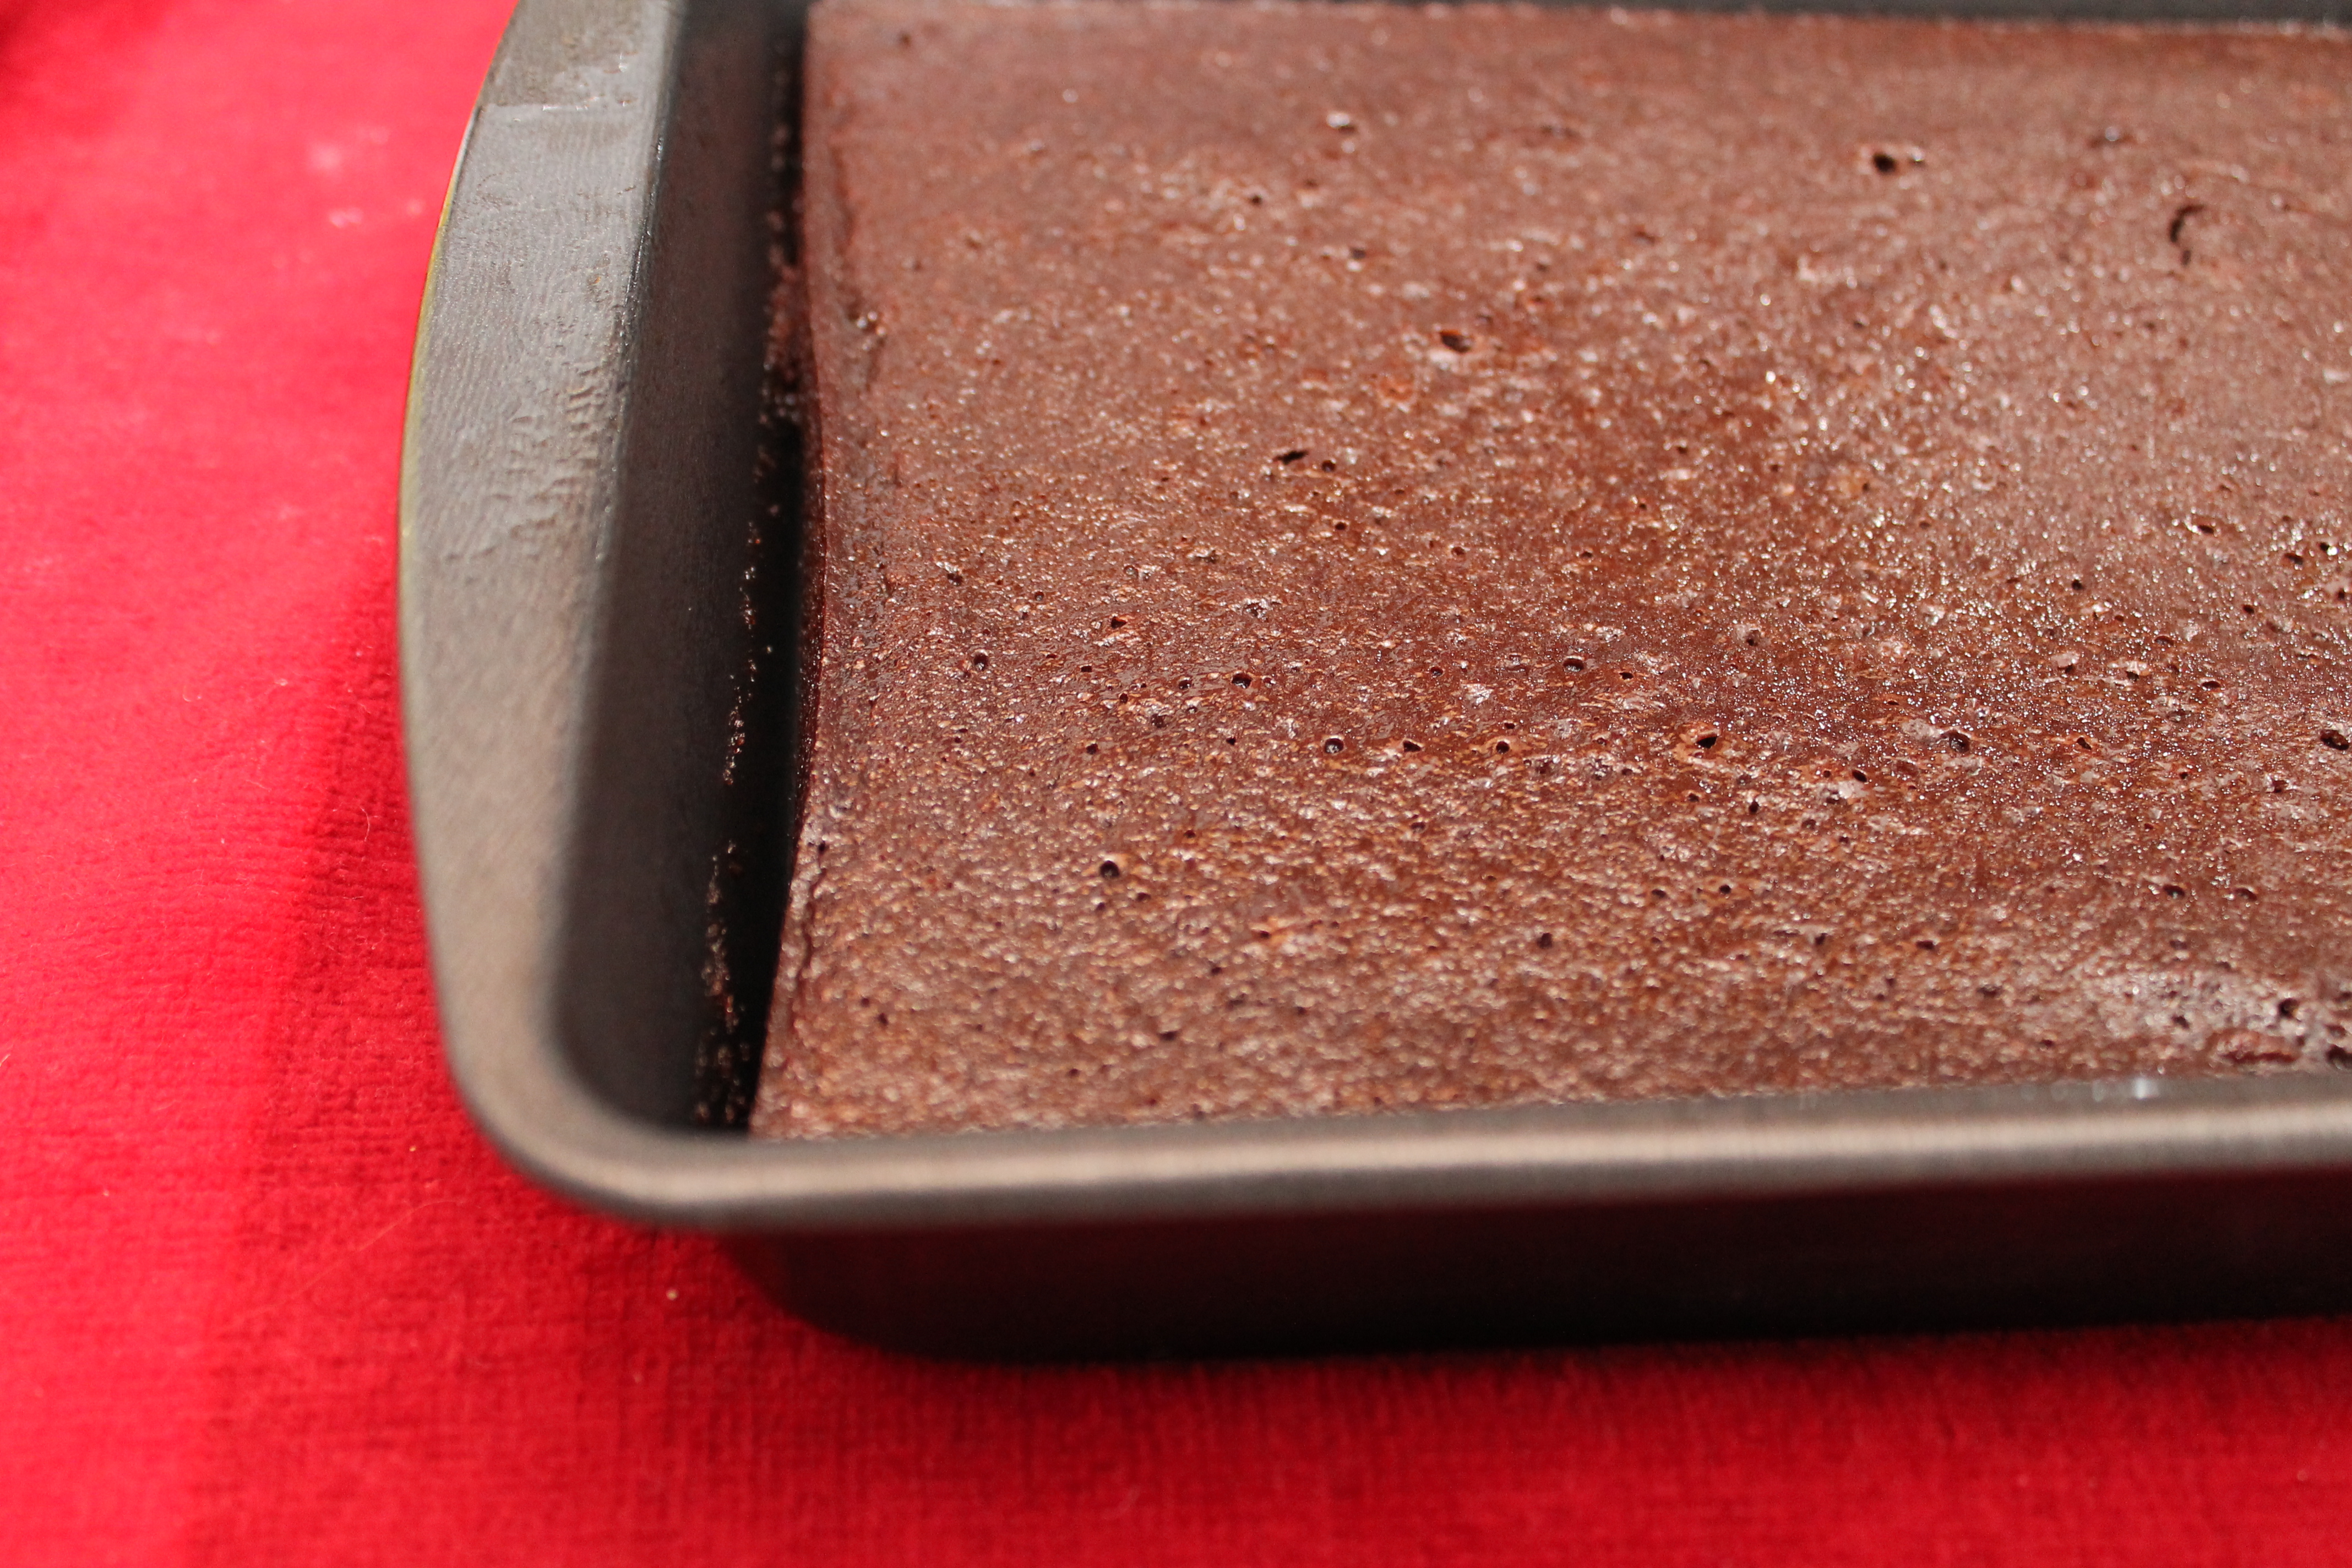 As they cool, the edges should pull away from the pan slightly, because of all the eggs. Another good clue that they are cooked through.
Let the brownies cool completely.
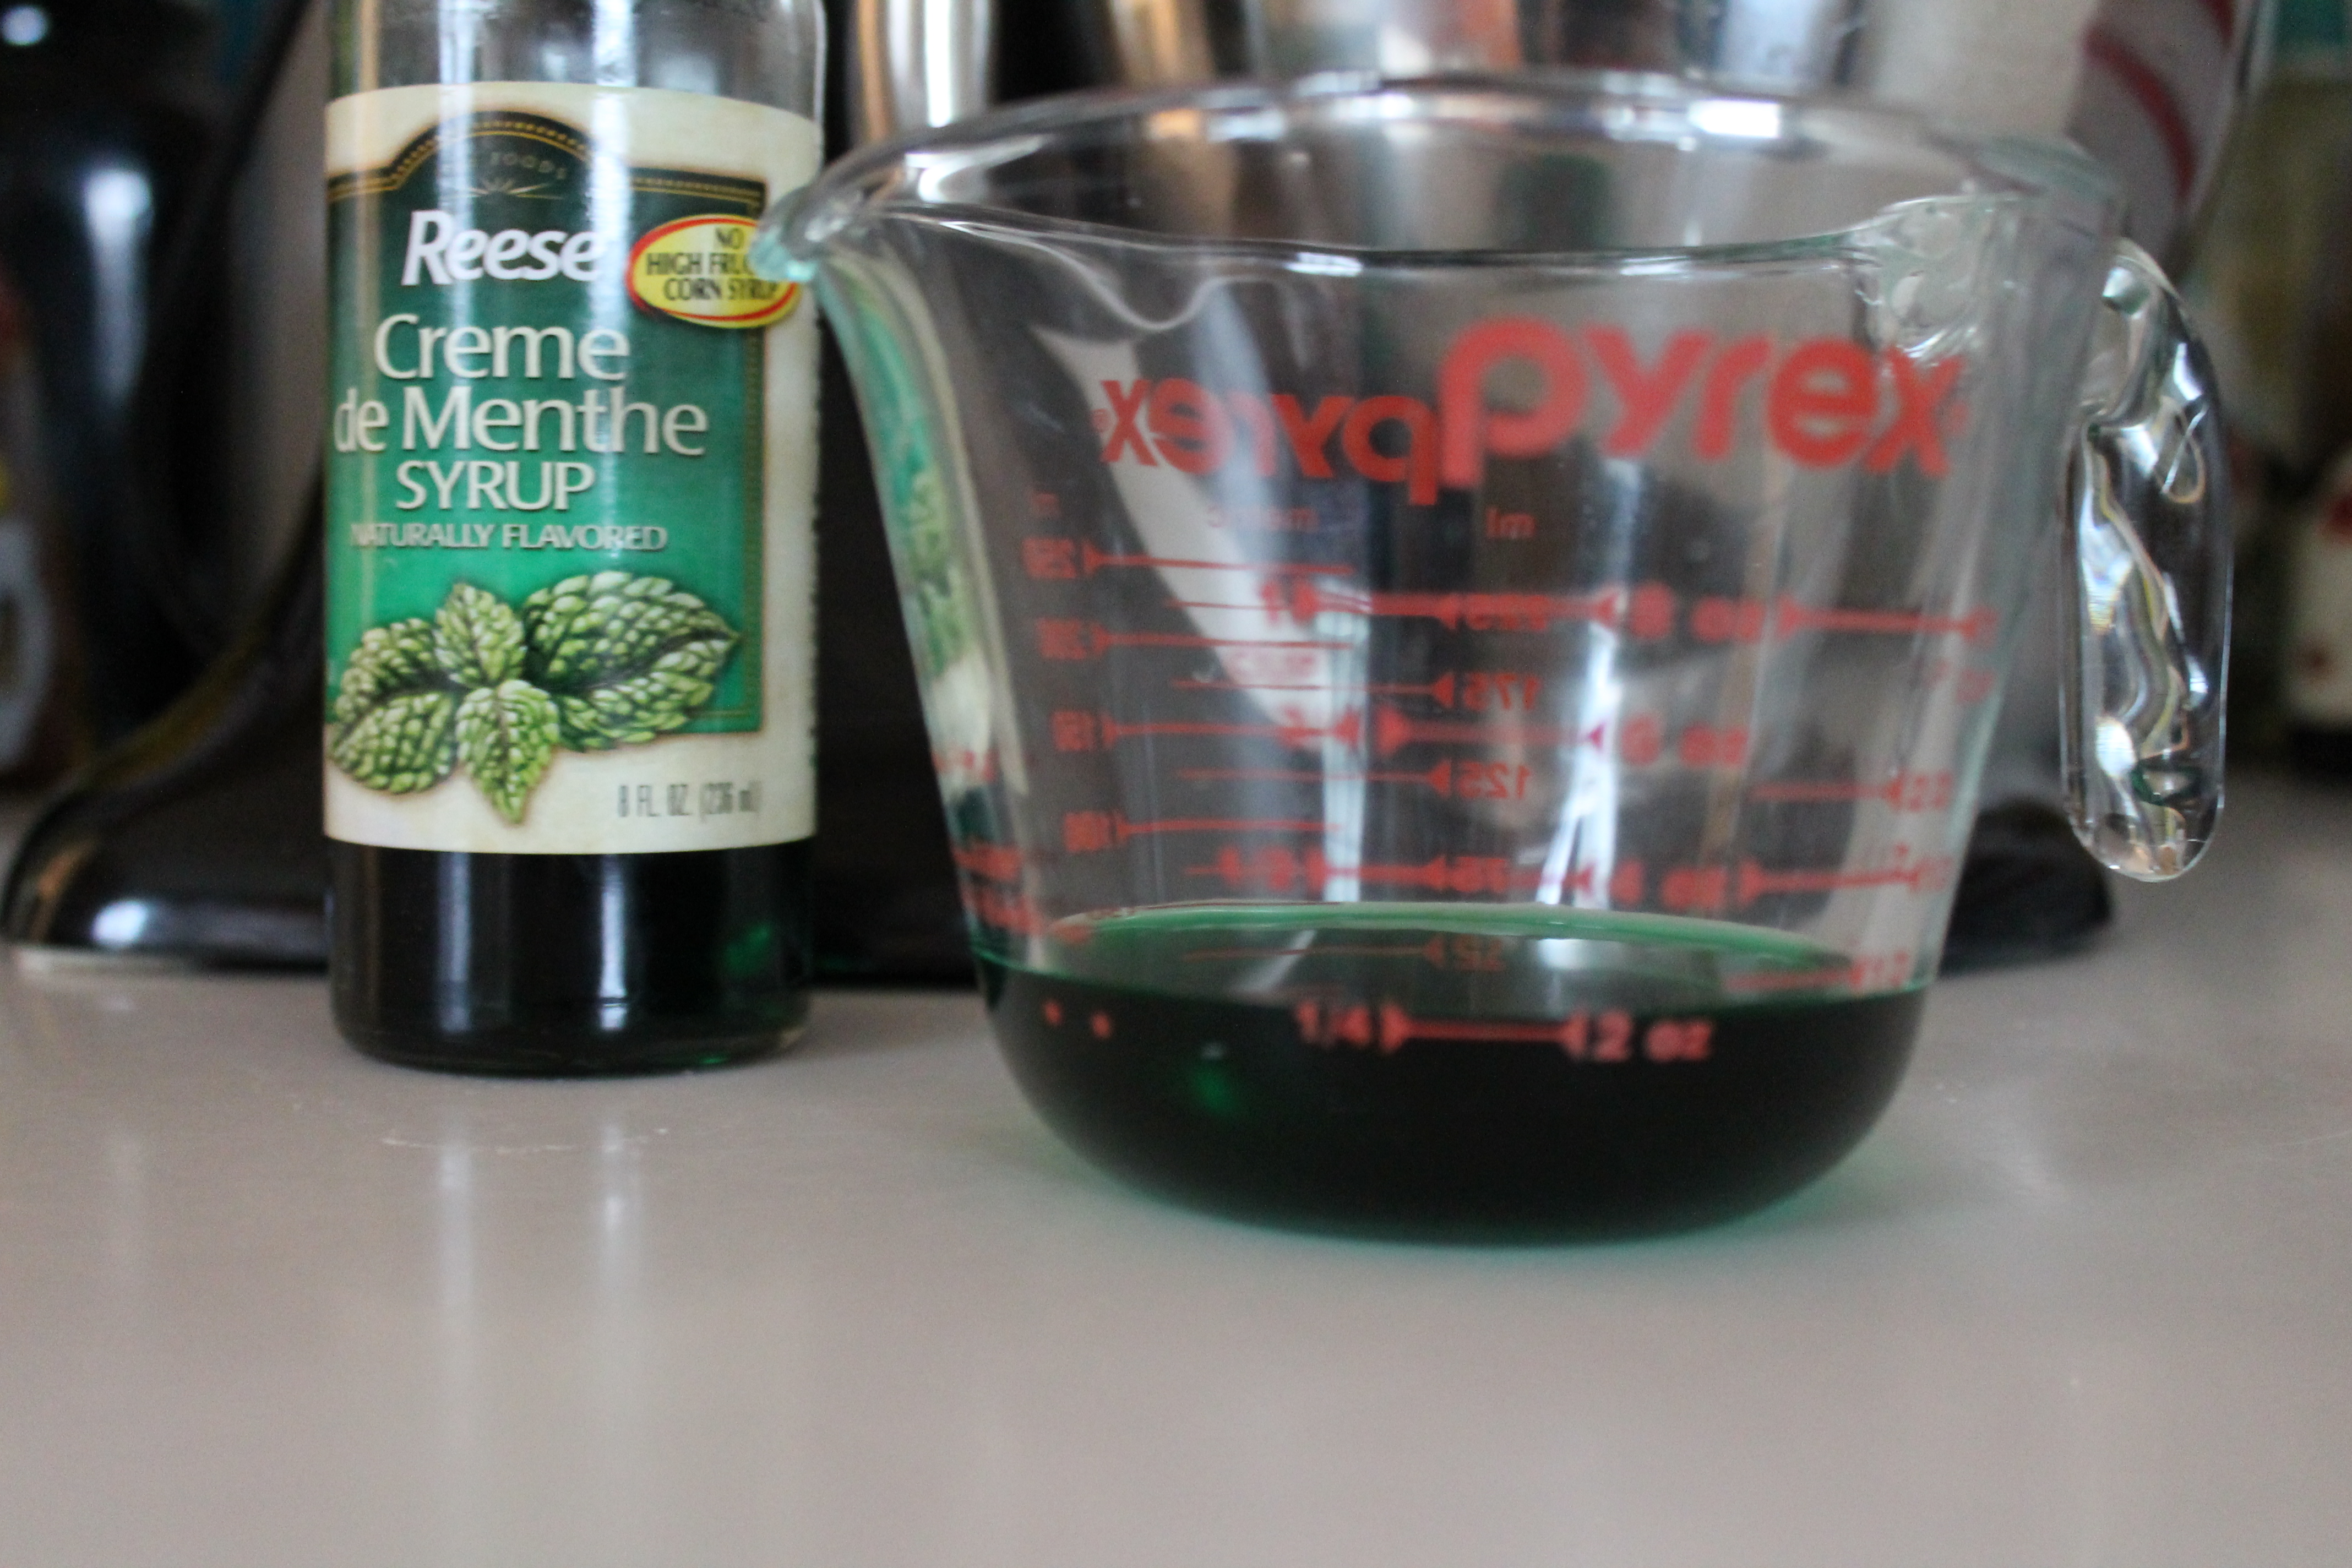 Meanwhile, whip together a very loose mint frosting. This frosting is the best kind of minty, in that the flavor doesn’t smack you in the face. It’s not sharp or stinging like peppermint, but it will definitely make your brownies delicious!
But, if you are reluctant to buy crème de menthe solely to make these brownies, you can definitely try a few alternatives! Another boozy way to go would be peppermint schnapps. But you can also substitute milk plus about ½ tsp. mint extract. In either of those cases, I highly recommend a few drops of green food coloring, because the green layer in the brownies is so pretty! I have used both of those substitutions in the past, and they work just fine.
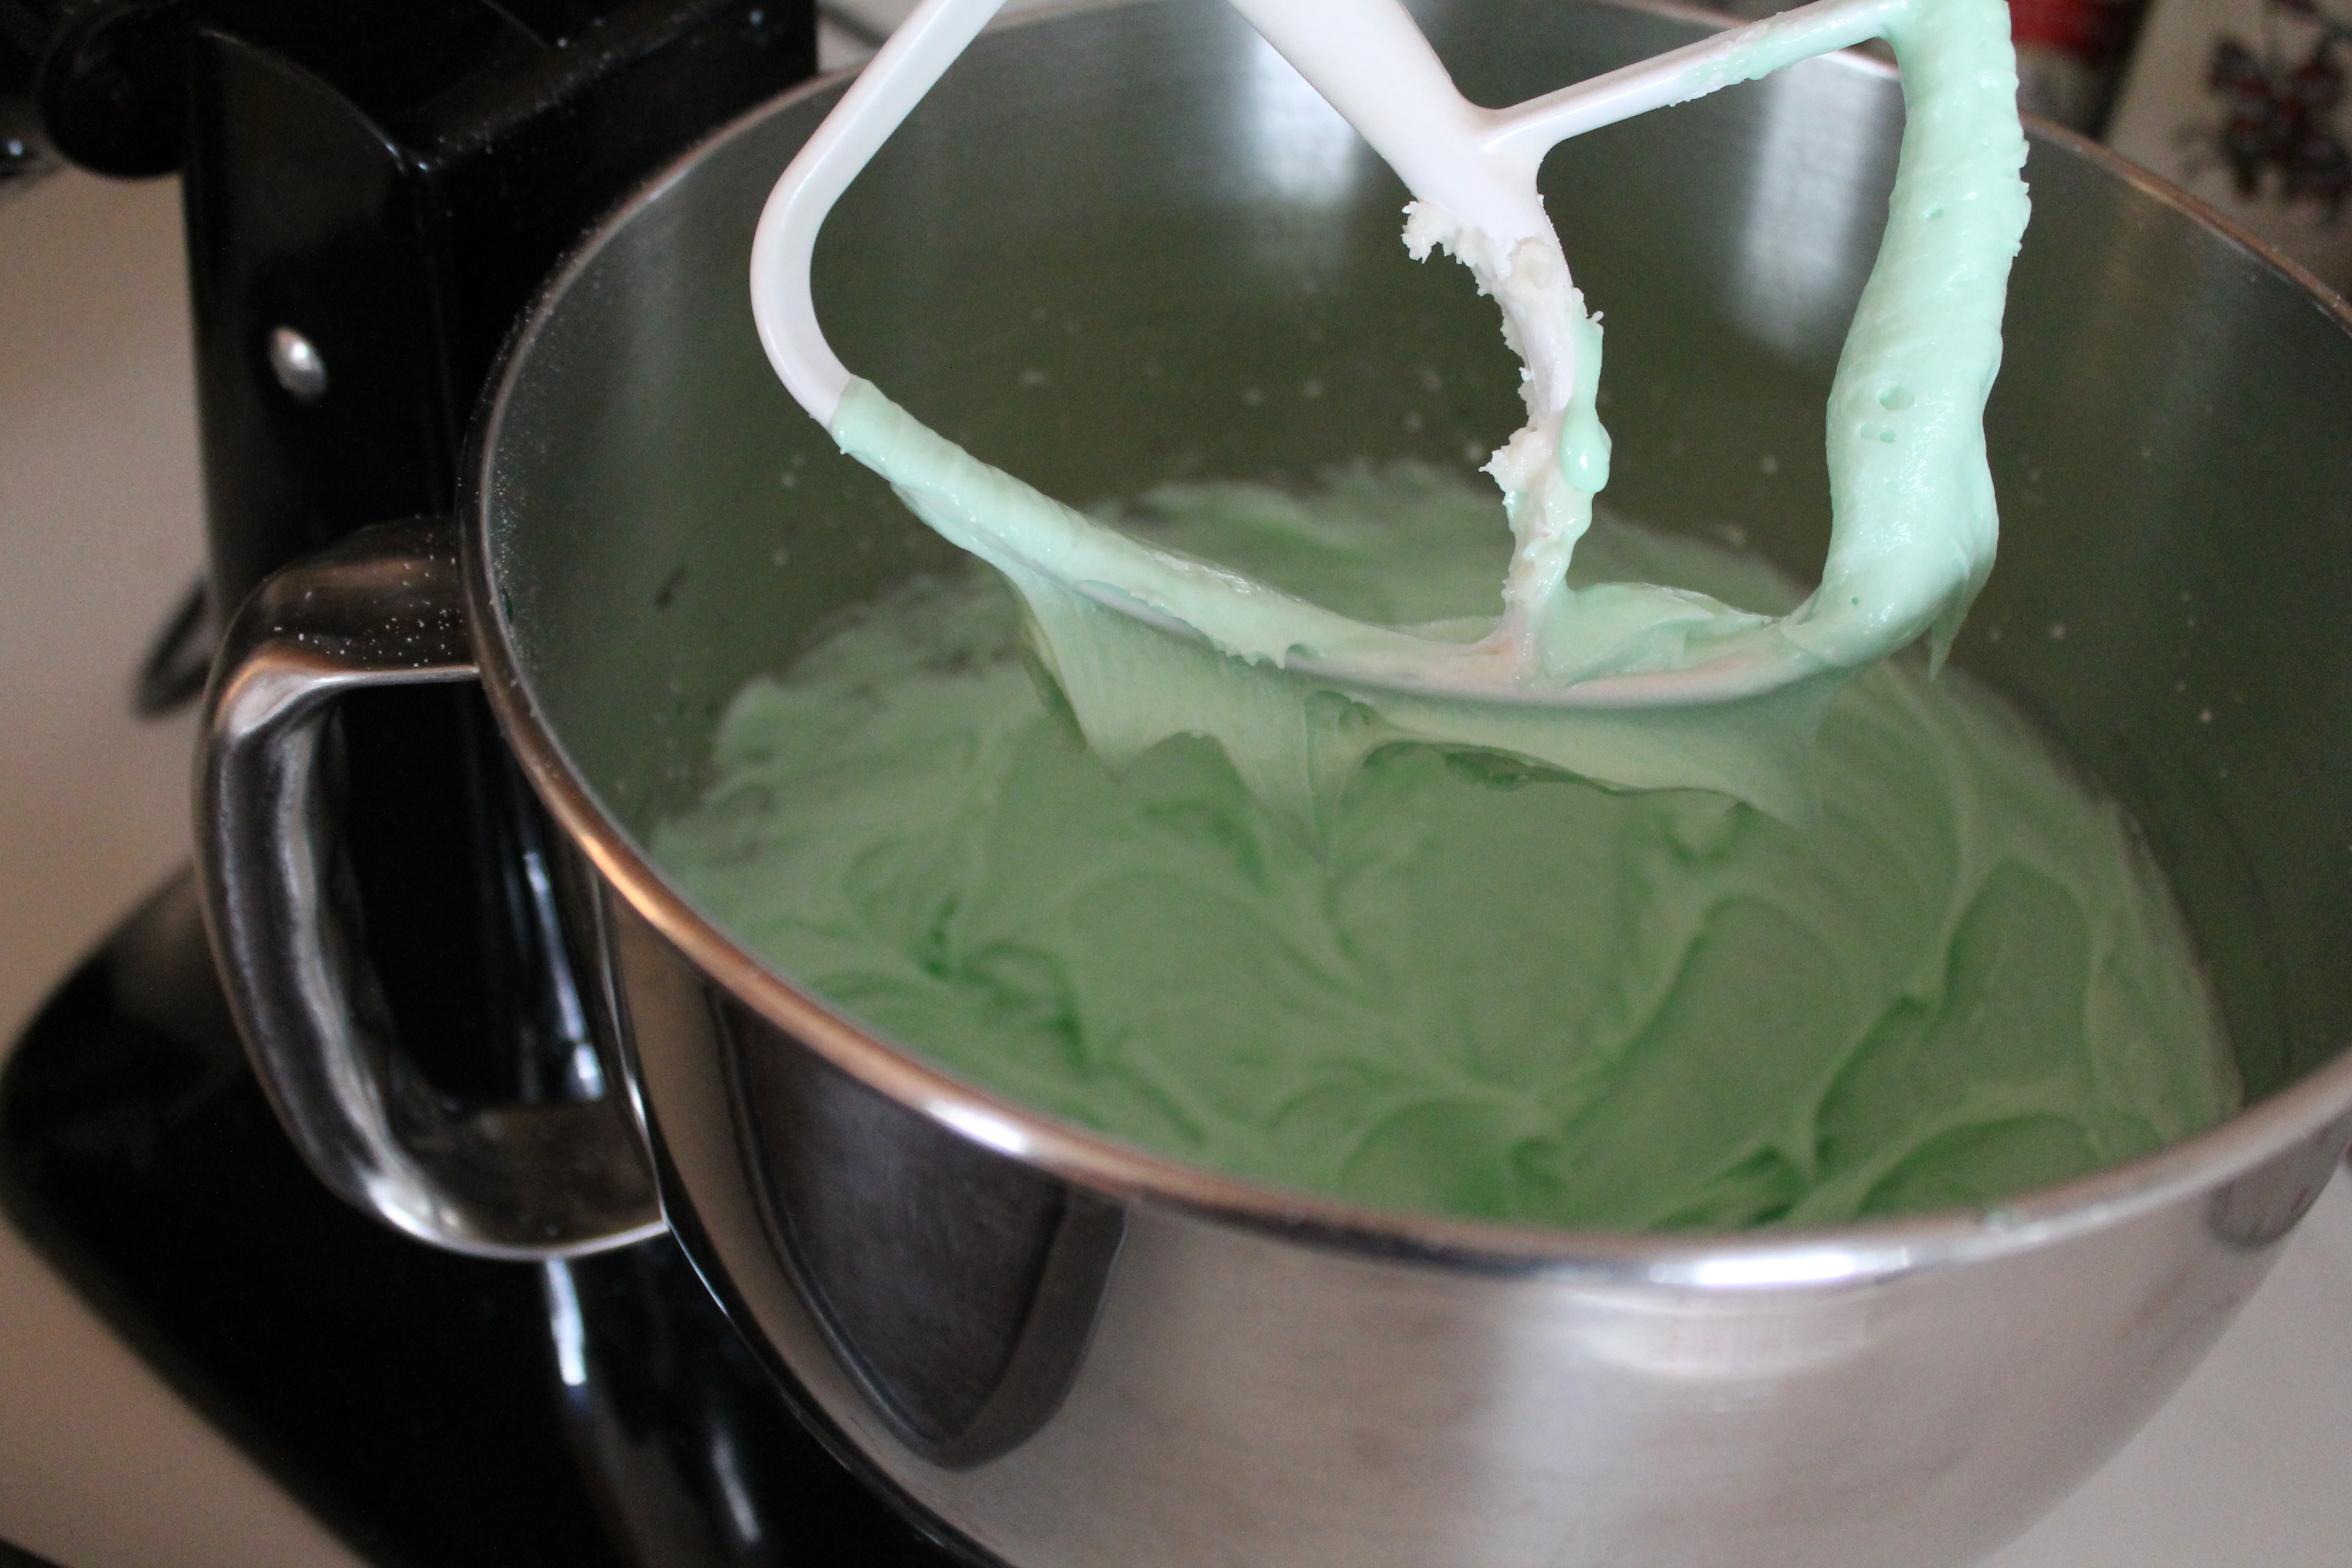 Now, if you want to make your brownies look stunning, you should scoop out a very small amount of the frosting, maybe 2 tbsp., and transfer to a piping bag (or, hey, a Ziploc sandwich bag would also work).
Spread the remaining mint frosting over the top of the cooled brownie layer. I recommend chilling this for 30 minutes or so, as the frosting is very soft.
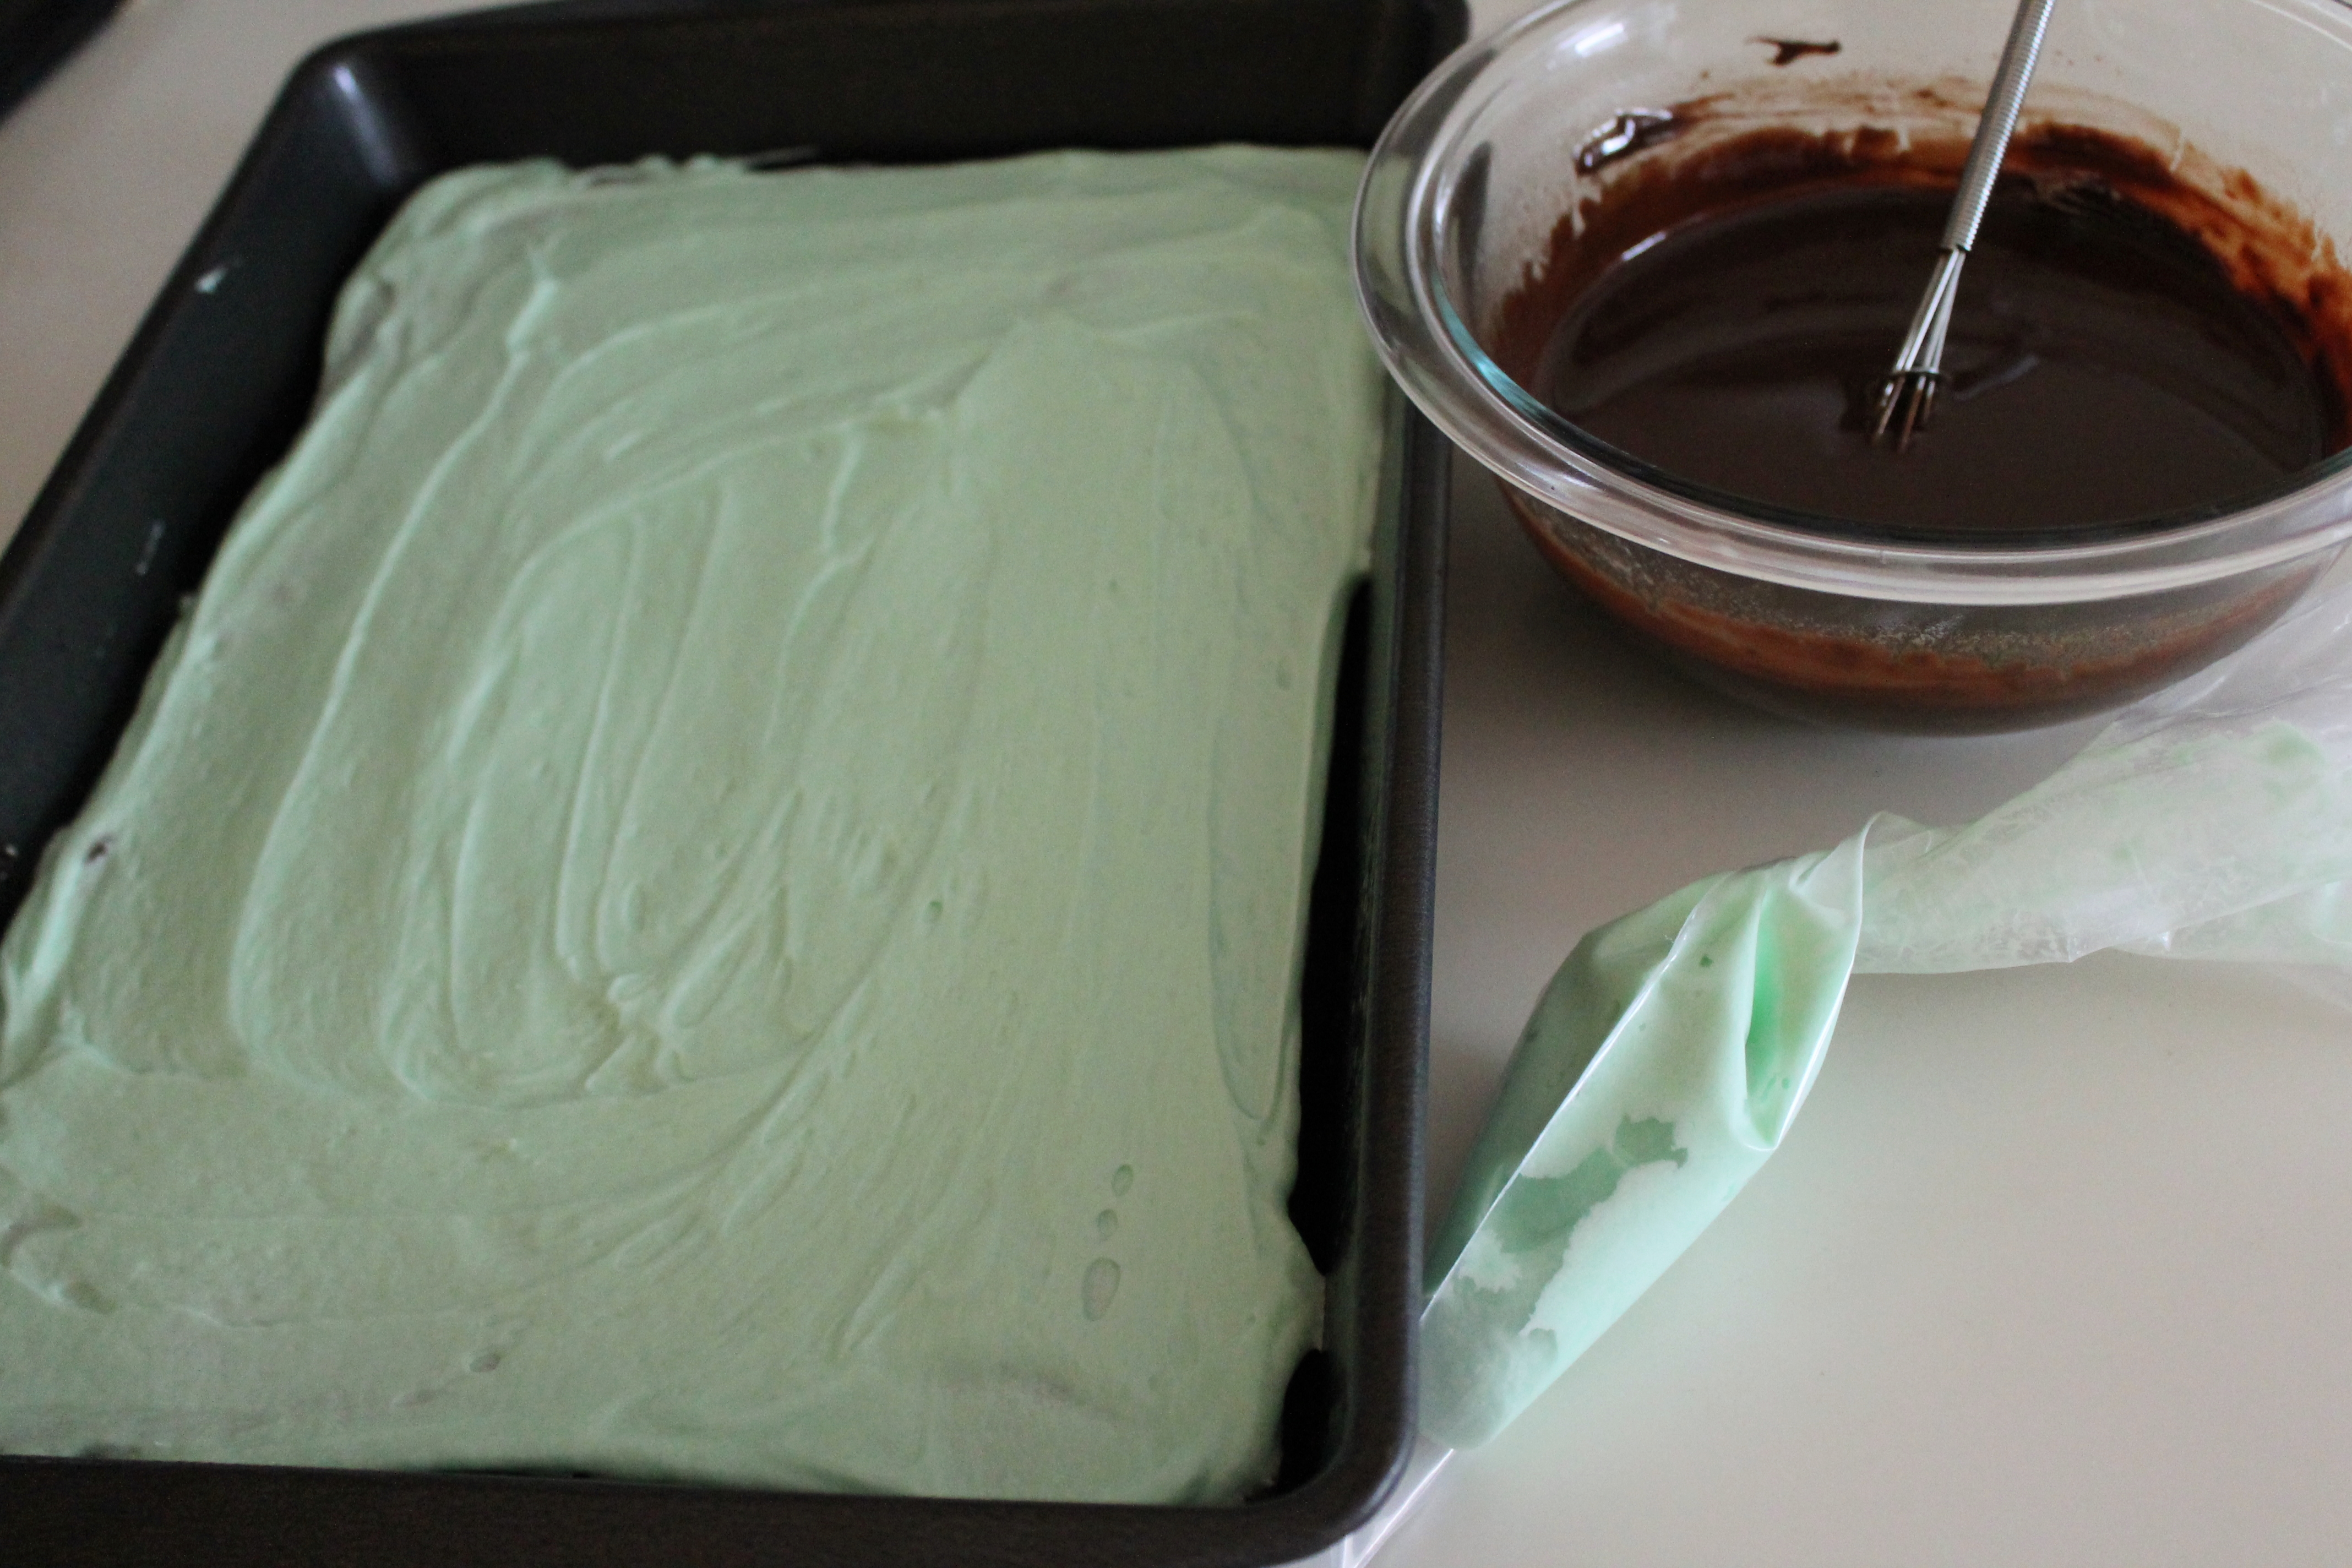 Meanwhile, make your chocolate icing. Melt butter and chocolate chips together in the microwave. (I really recommend using salted butter, or else adding ¼ tsp. salt to unsalted butter here: the salt helps balance the very sweet brownies and mint, so the sweetness won’t be overwhelming.) Use 30 second blasts, stirring with a spoon or small whisk in between. You really don’t want your chocolate to seize, or you won’t get a lovely, smooth top layer.
Stir until smooth. Remove the brownies from the oven and pour the icing over the mint layer. Use a small spoon or spatula to spread the chocolate to the edges.
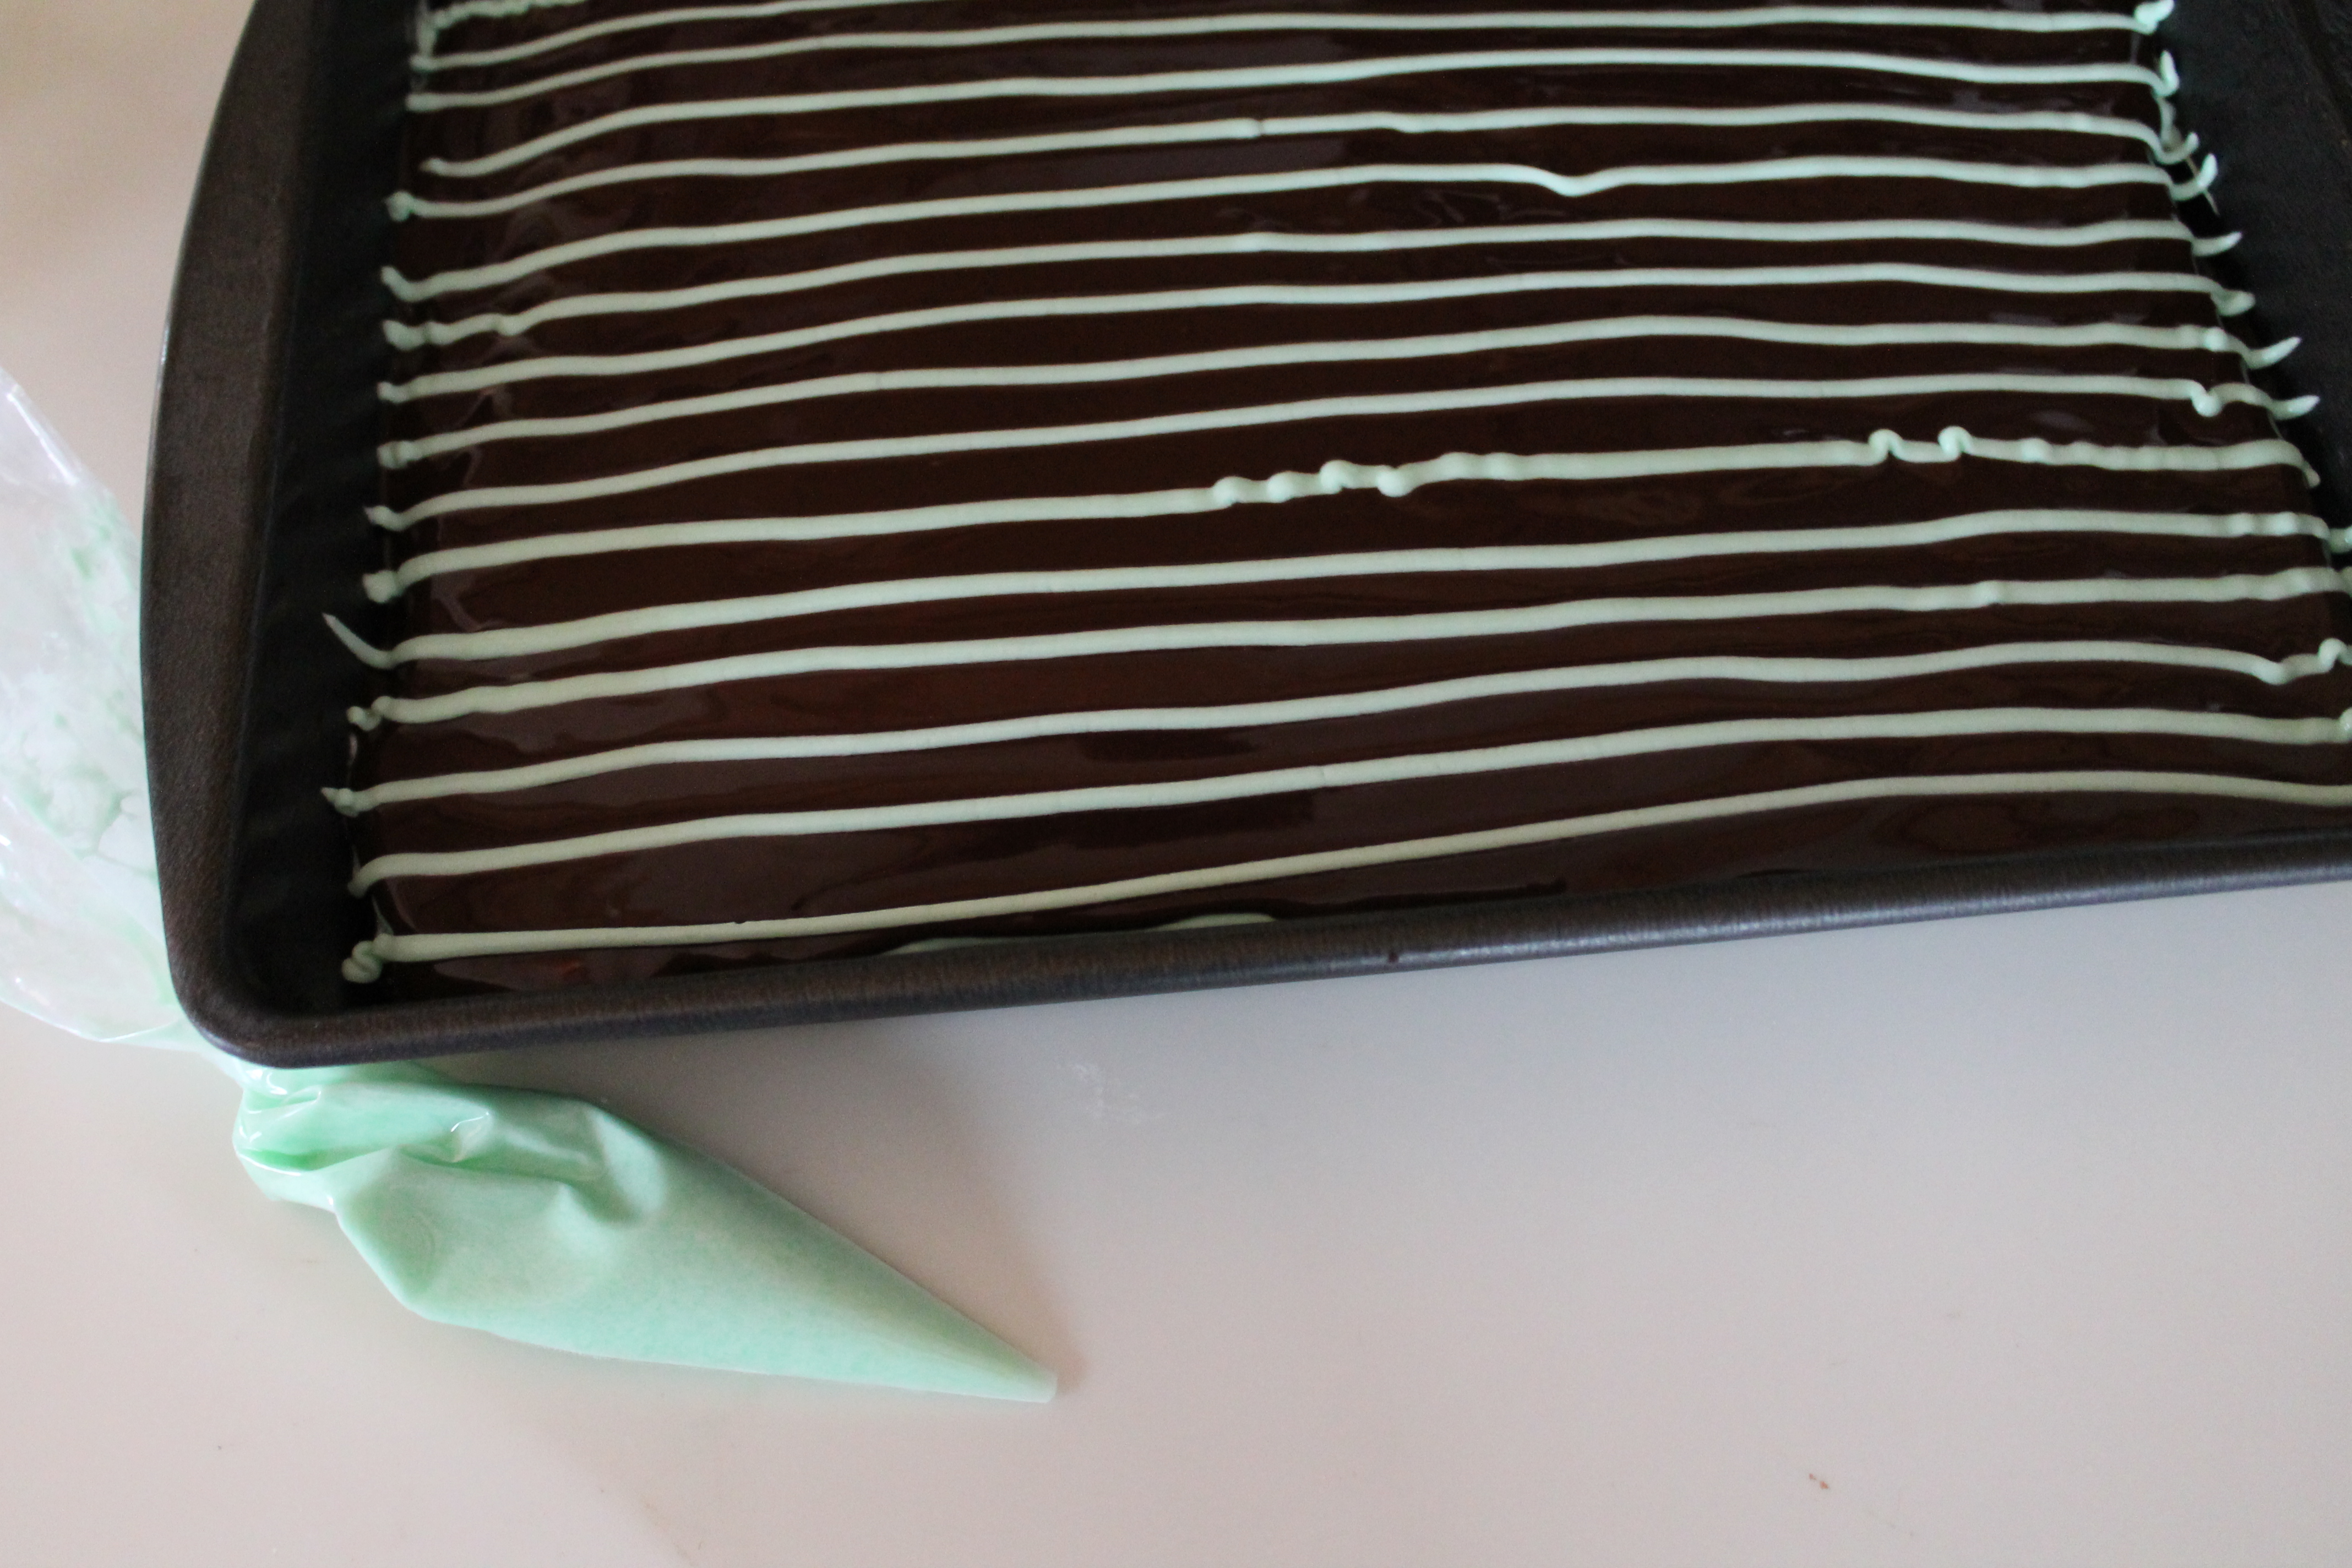 Now comes the totally optional but very easy step that will turn your brownies into beauty queens! Grab the piping bag with the dab of frosting you set aside earlier. Pipe long, skinny stripes onto the hot icing. Don’t worry if they come out a little squiggly. You may need to cut a slightly larger hole in your bag, or just work out the pressure as you pipe. Either way, it won’t be very obvious when we are done.
I recommend starting further apart and then filling in the gaps with additional stripes if you still have enough frosting.
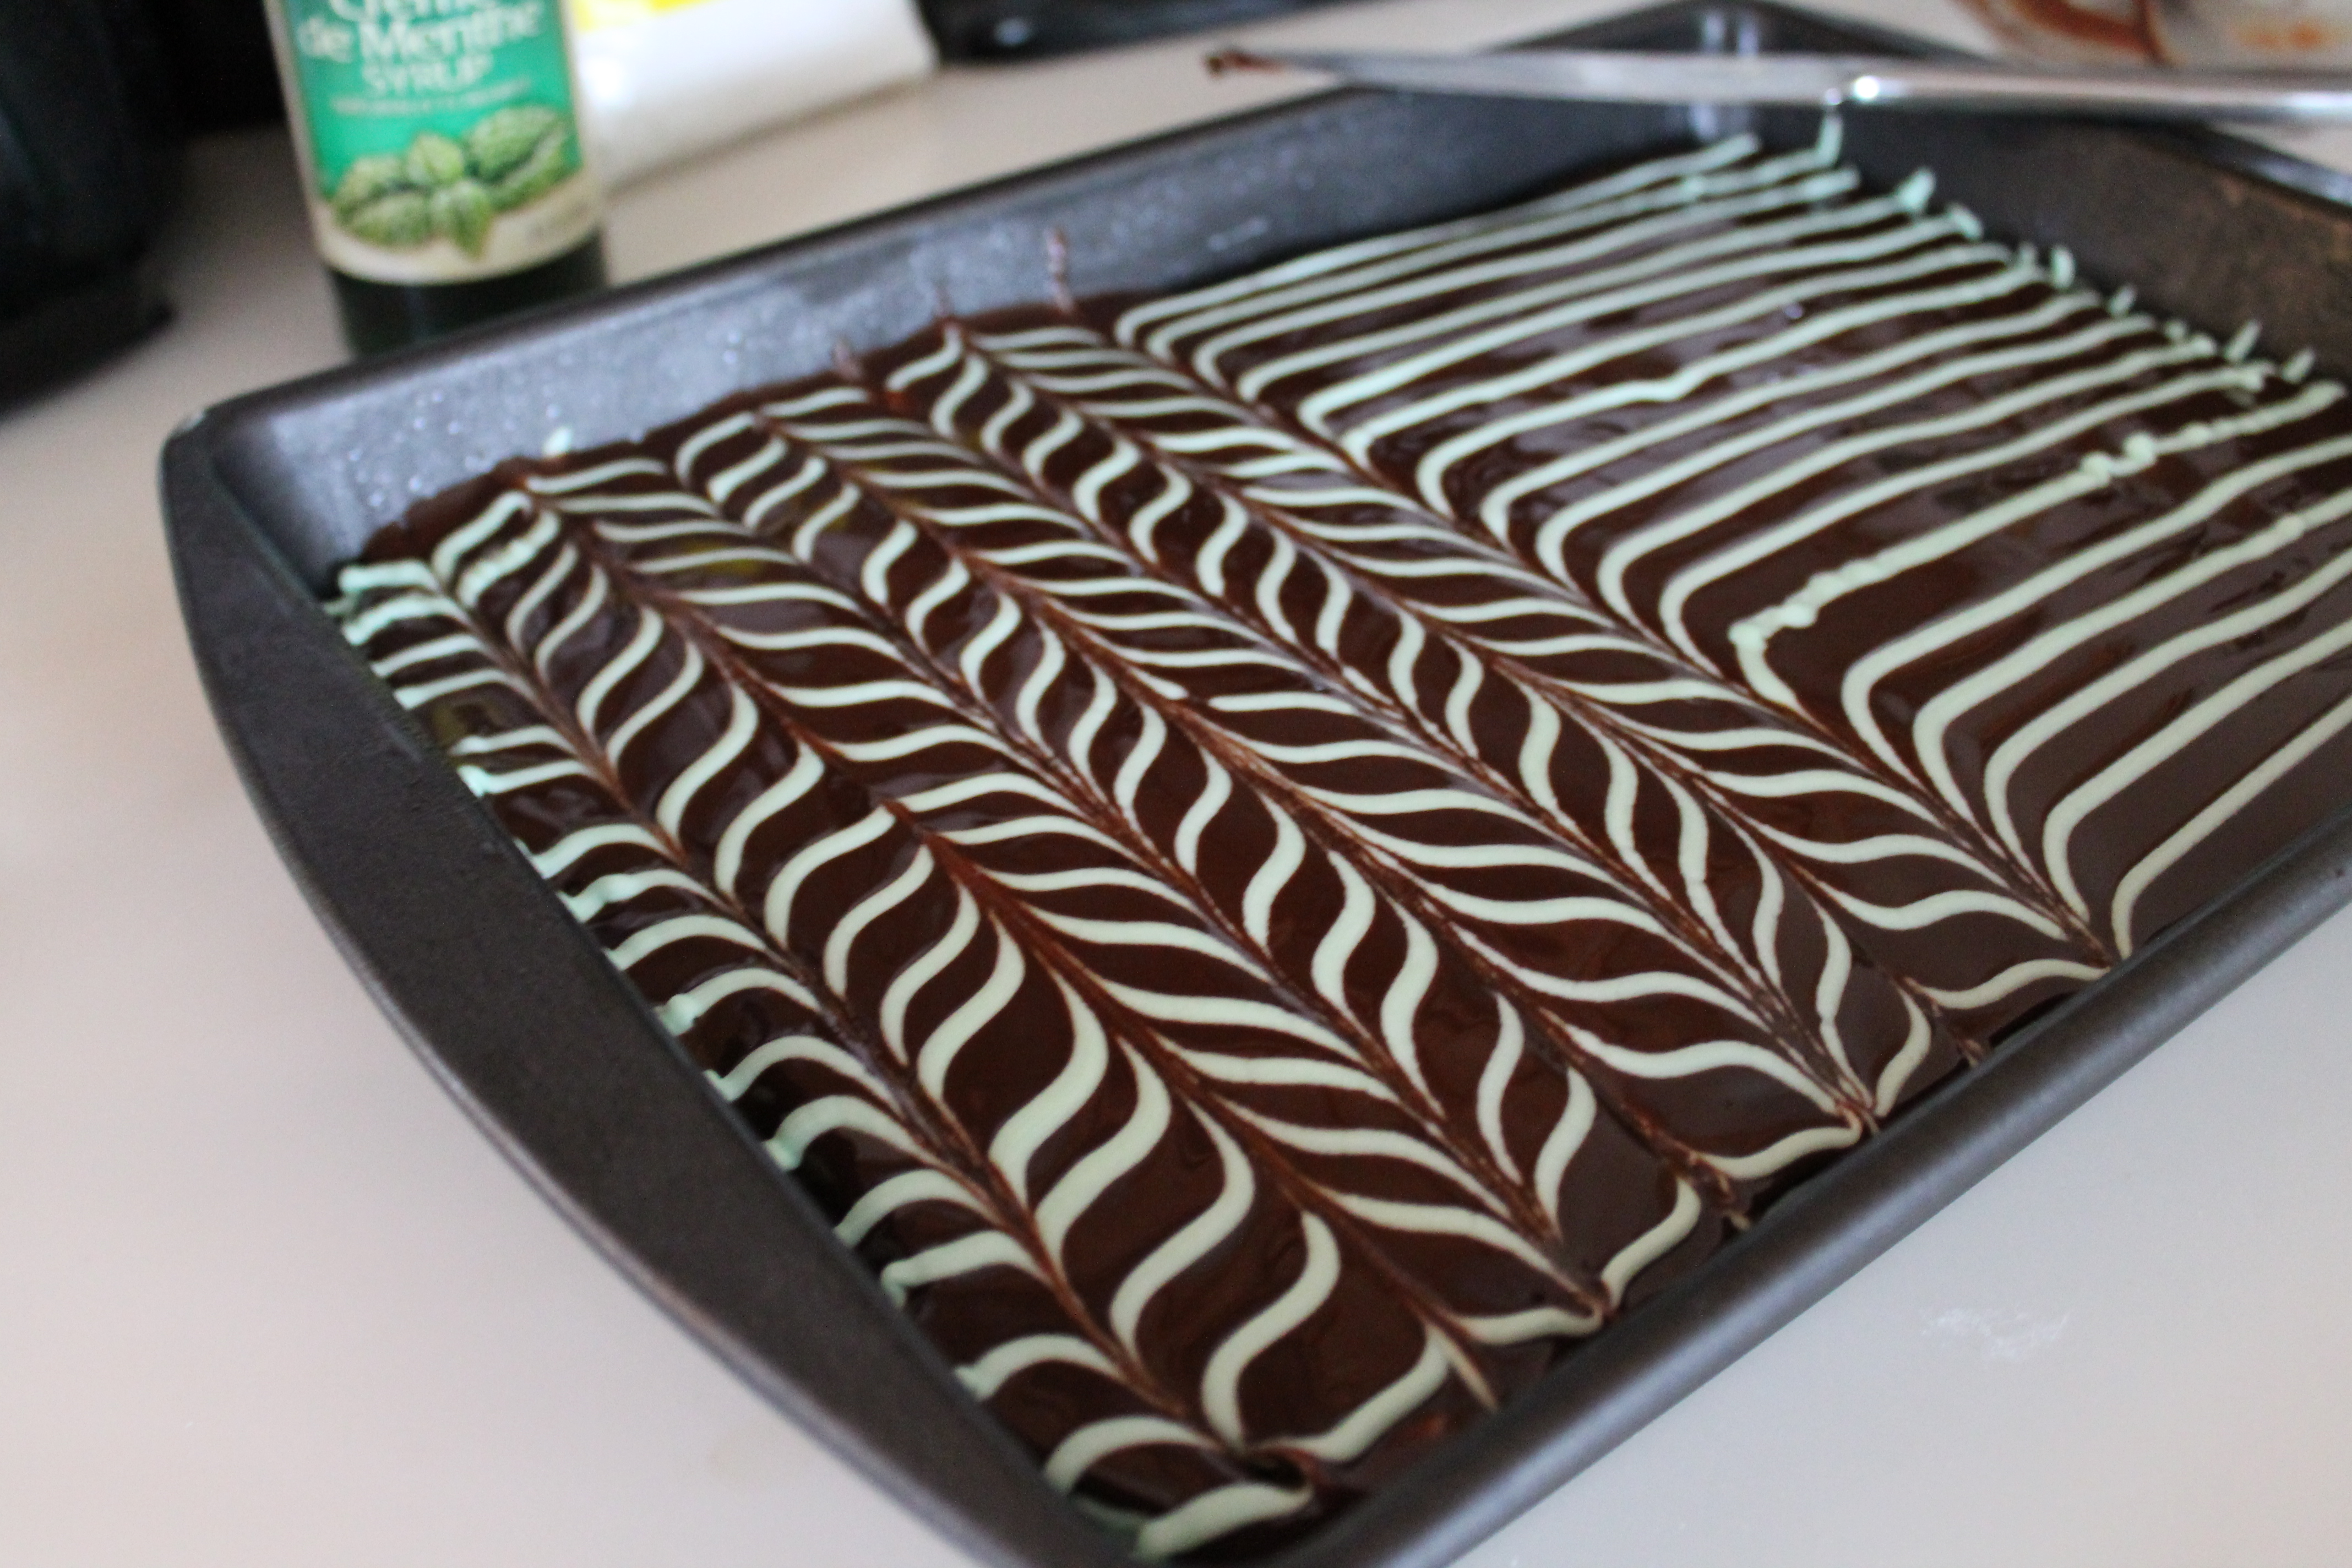 Now grab a butter knife and drag it (perpendicularly, or at a 90° angle) toward you through the stripes. Turn the knife around and drag it through the stripes away from you. This will create little zigzag points that look so fancy! Who knew it would be so easy to do?
Repeat, working your way from one side of the brownies to the other. I spaced my zigzags about 1″ apart, but they weren’t all completely even. That’s okay! You are going to cut them up later, anyway. No one will know.
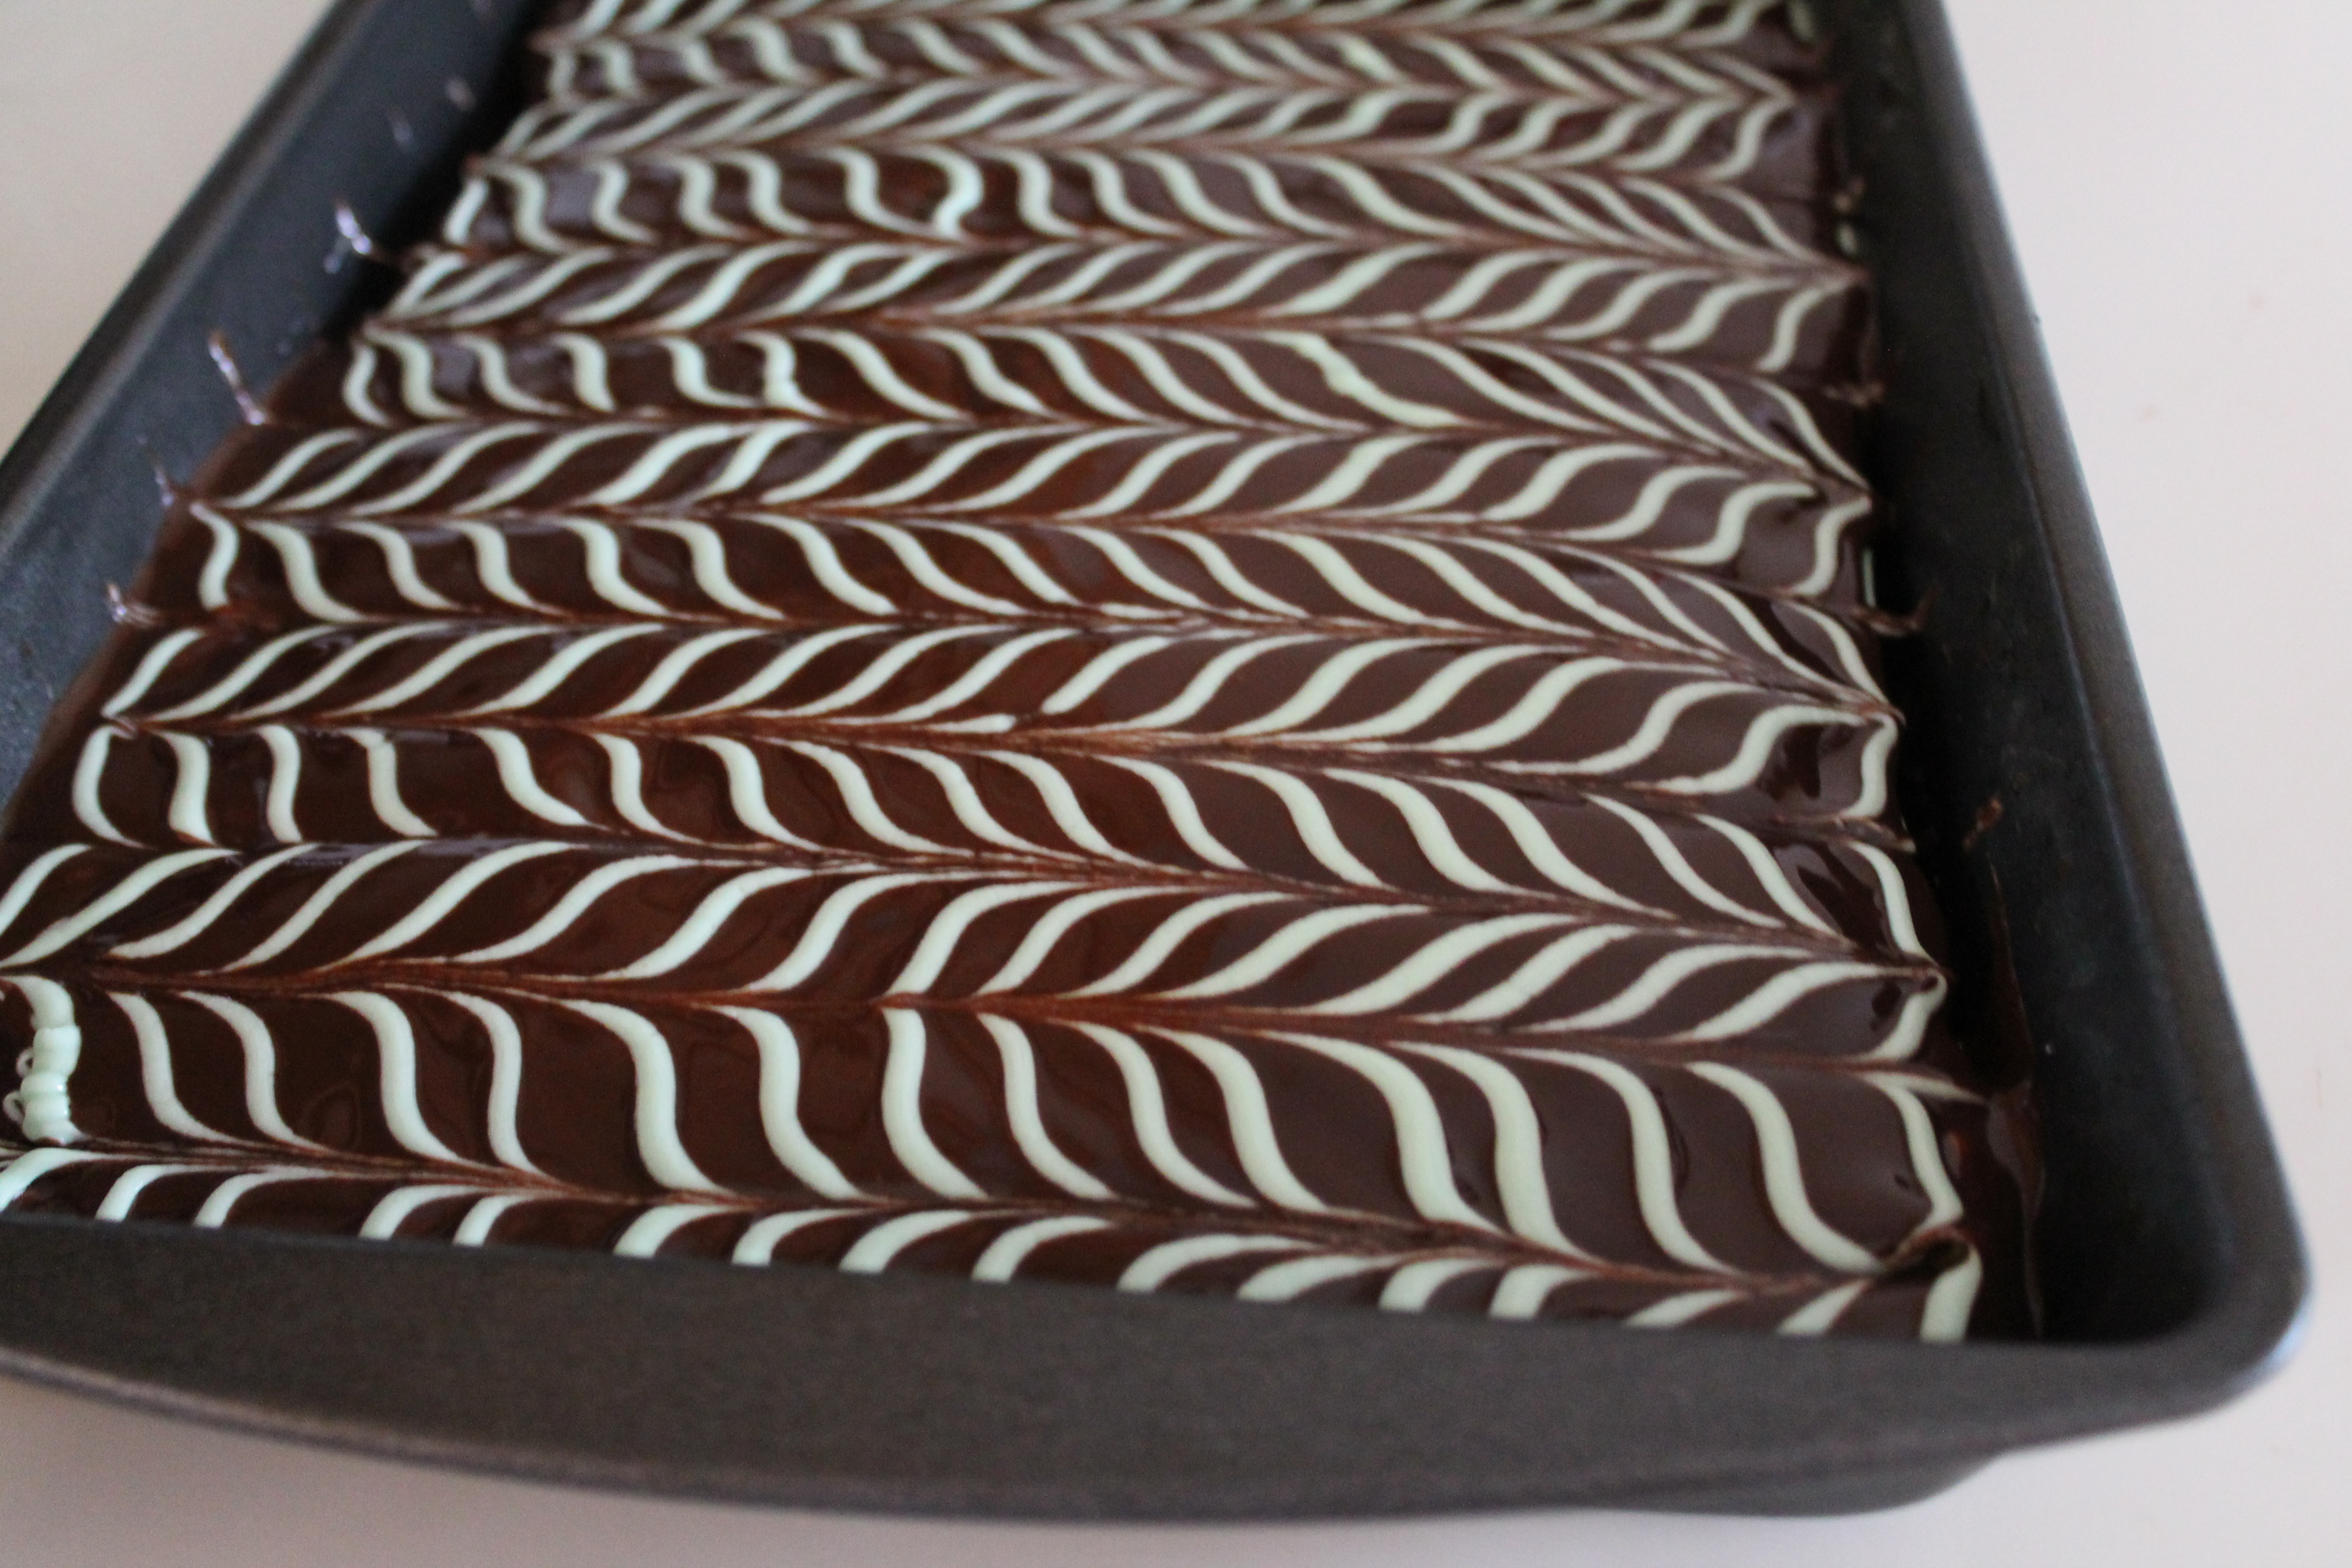 Now chill those pretty babies for at least 1 hour, or until the chocolate icing on top sets.
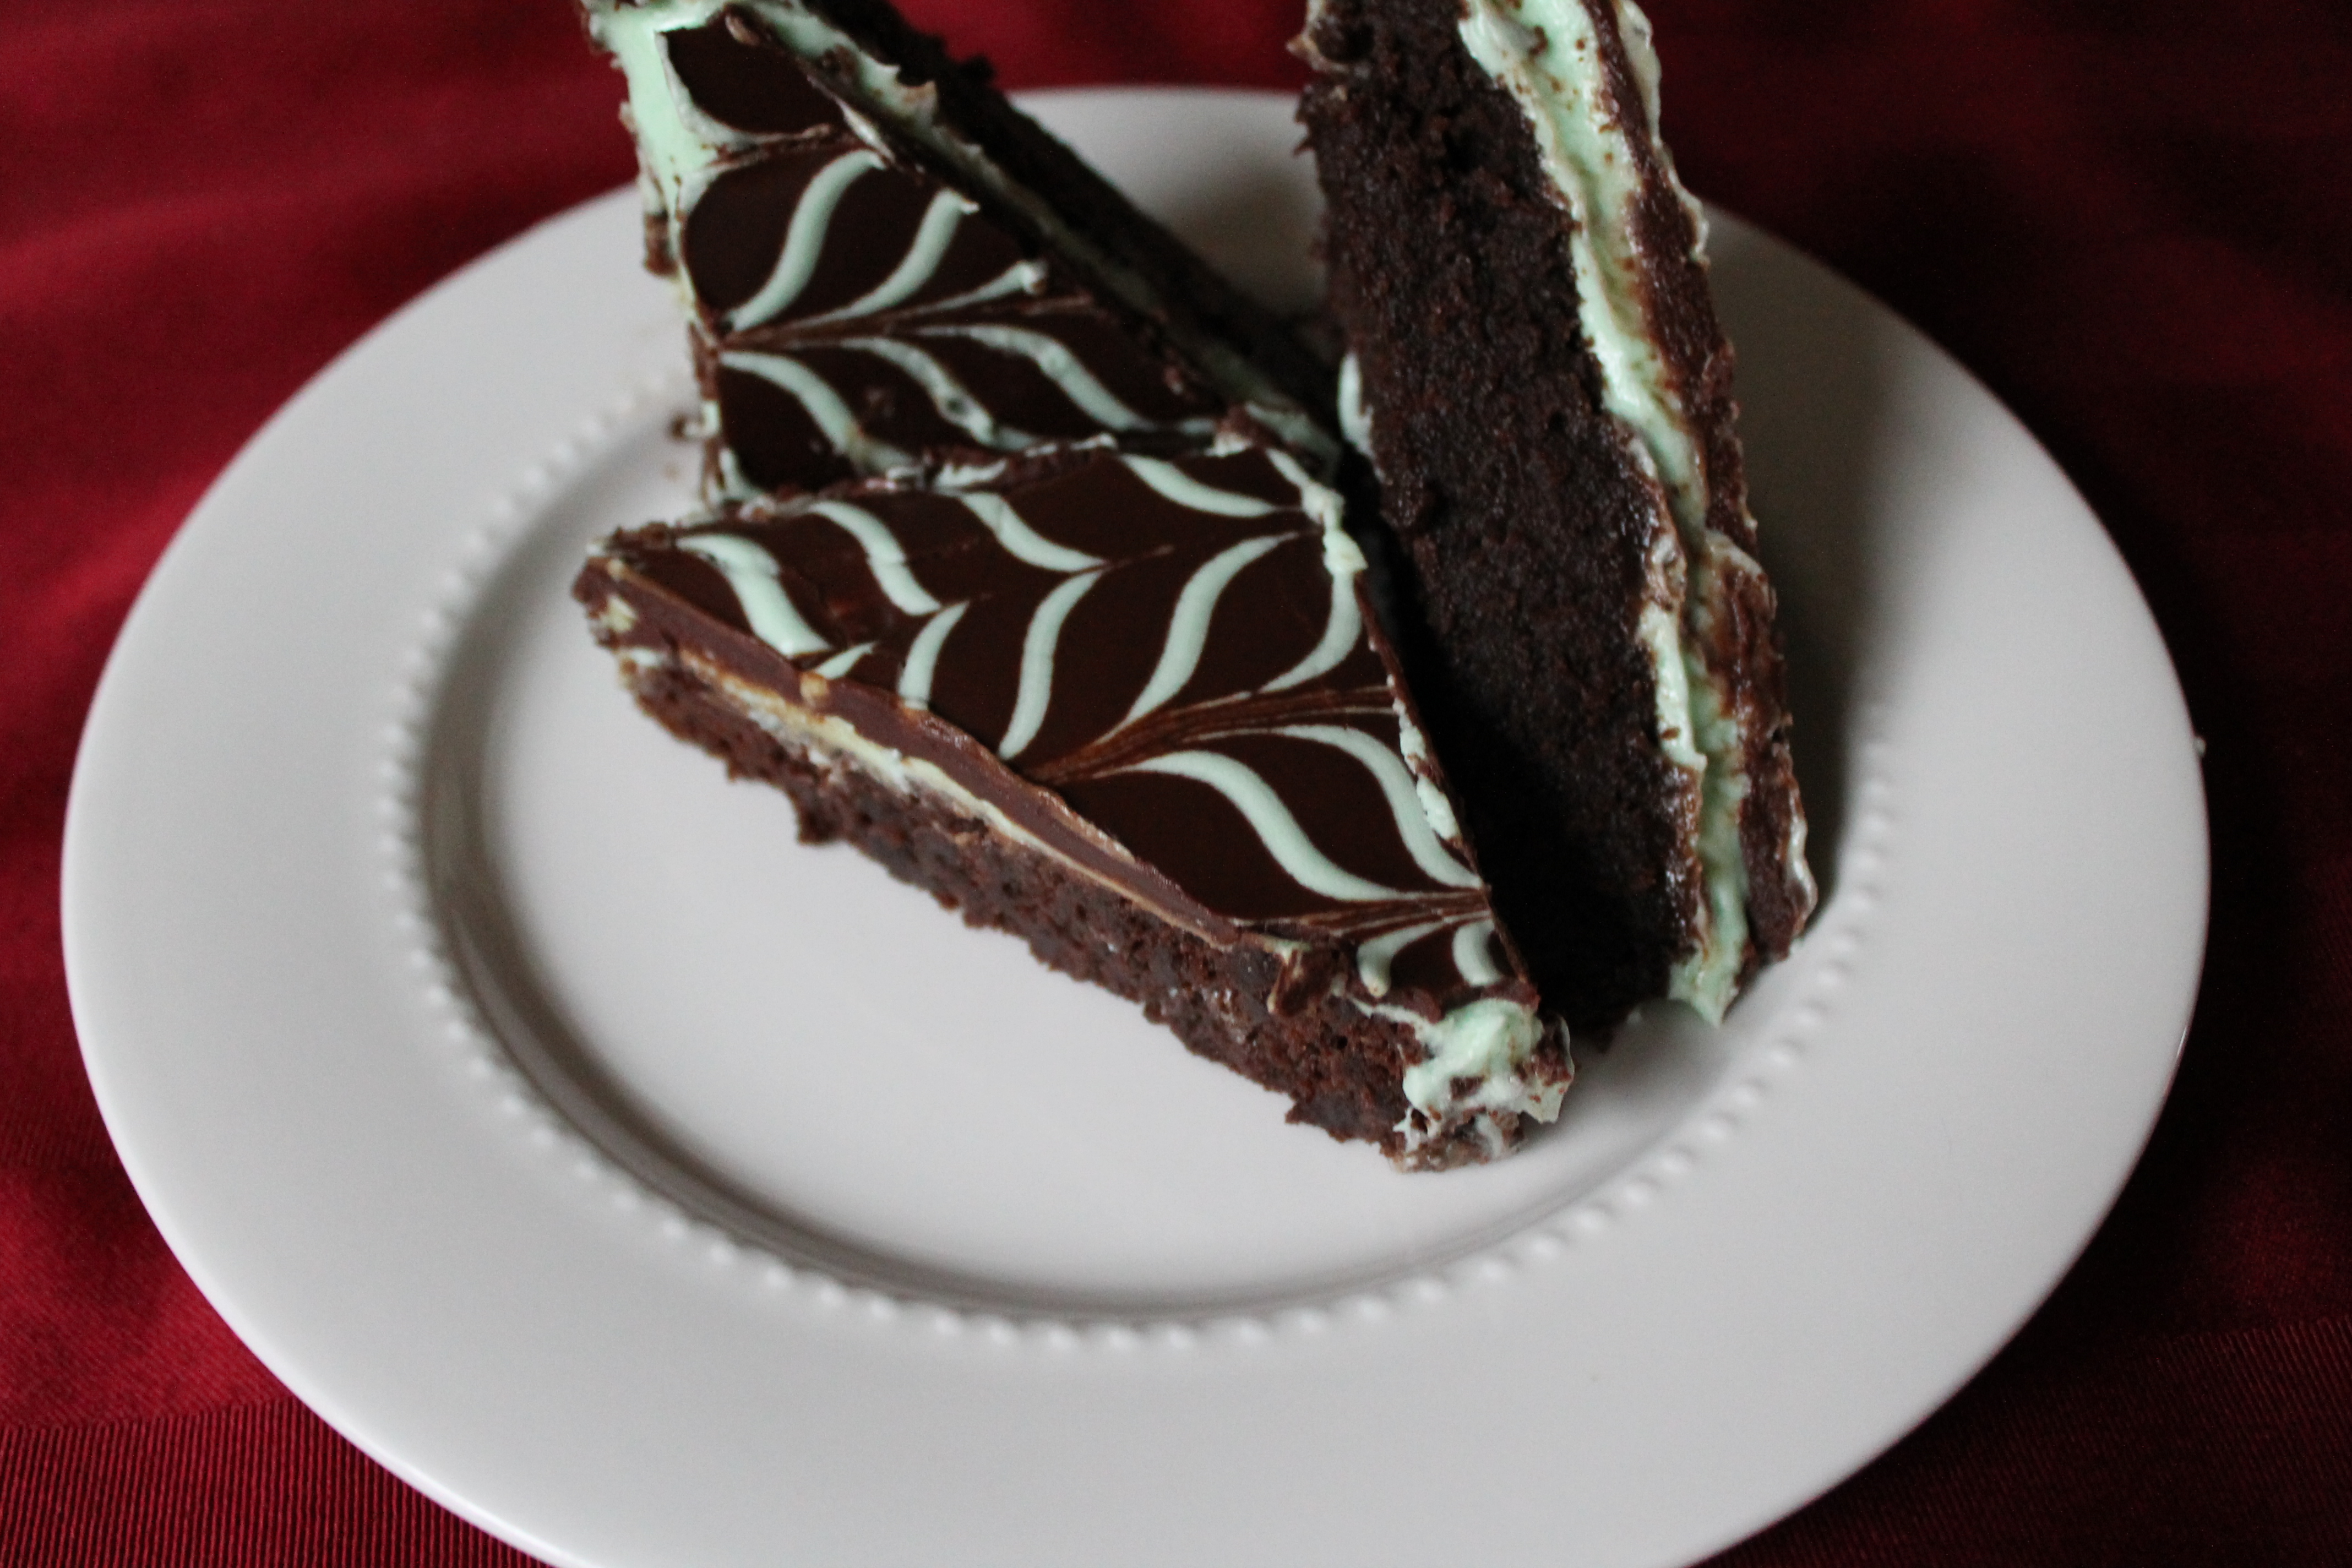 Cut with a very sharp knife into squares or triangles. Store in the fridge until ready to serve. The brownies and the frostings are very soft, so the longer they chill, the easier they will be to handle.
 If you are in the mood to share, bring them to a holiday party!
Mint Brownies
introduced to me by Debby Hoskin (no idea where the recipe originated)
makes 24
Brownie Ingredients:
½ cup butter, room temperature
1 cup sugar
½ tsp. salt
4 eggs
1 cup flour
1 tsp. vanilla extract
1 16oz. can Hershey syrup
Filling Ingredients:
2 cups confectioner’s sugar, sifted
½ cup butter, room temperature
¼ cup crème de menthe (or other mint liqueur, plus green food coloring)
Icing Ingredients:
1 cup semisweet chocolate chips
6 tbsp. butter
Directions:
Preheat oven to 350°.
Cream butter and sugar, then add other ingredients and mix well. Bake in a greased 13″x9″ baking pan for 30 minutes. Allow to cool completely.
Mix all filling ingredients together and spread over cool brownies.
Melt chocolate chips and butter together. Allow to cool, then spread over brownies. Chill the brownies until the frosting and icing are set, then cut into triangles.
Enjoy!
- One year ago: Hazelnut Kisses
- Two years ago: Chipotle Sweet Potato Chili

