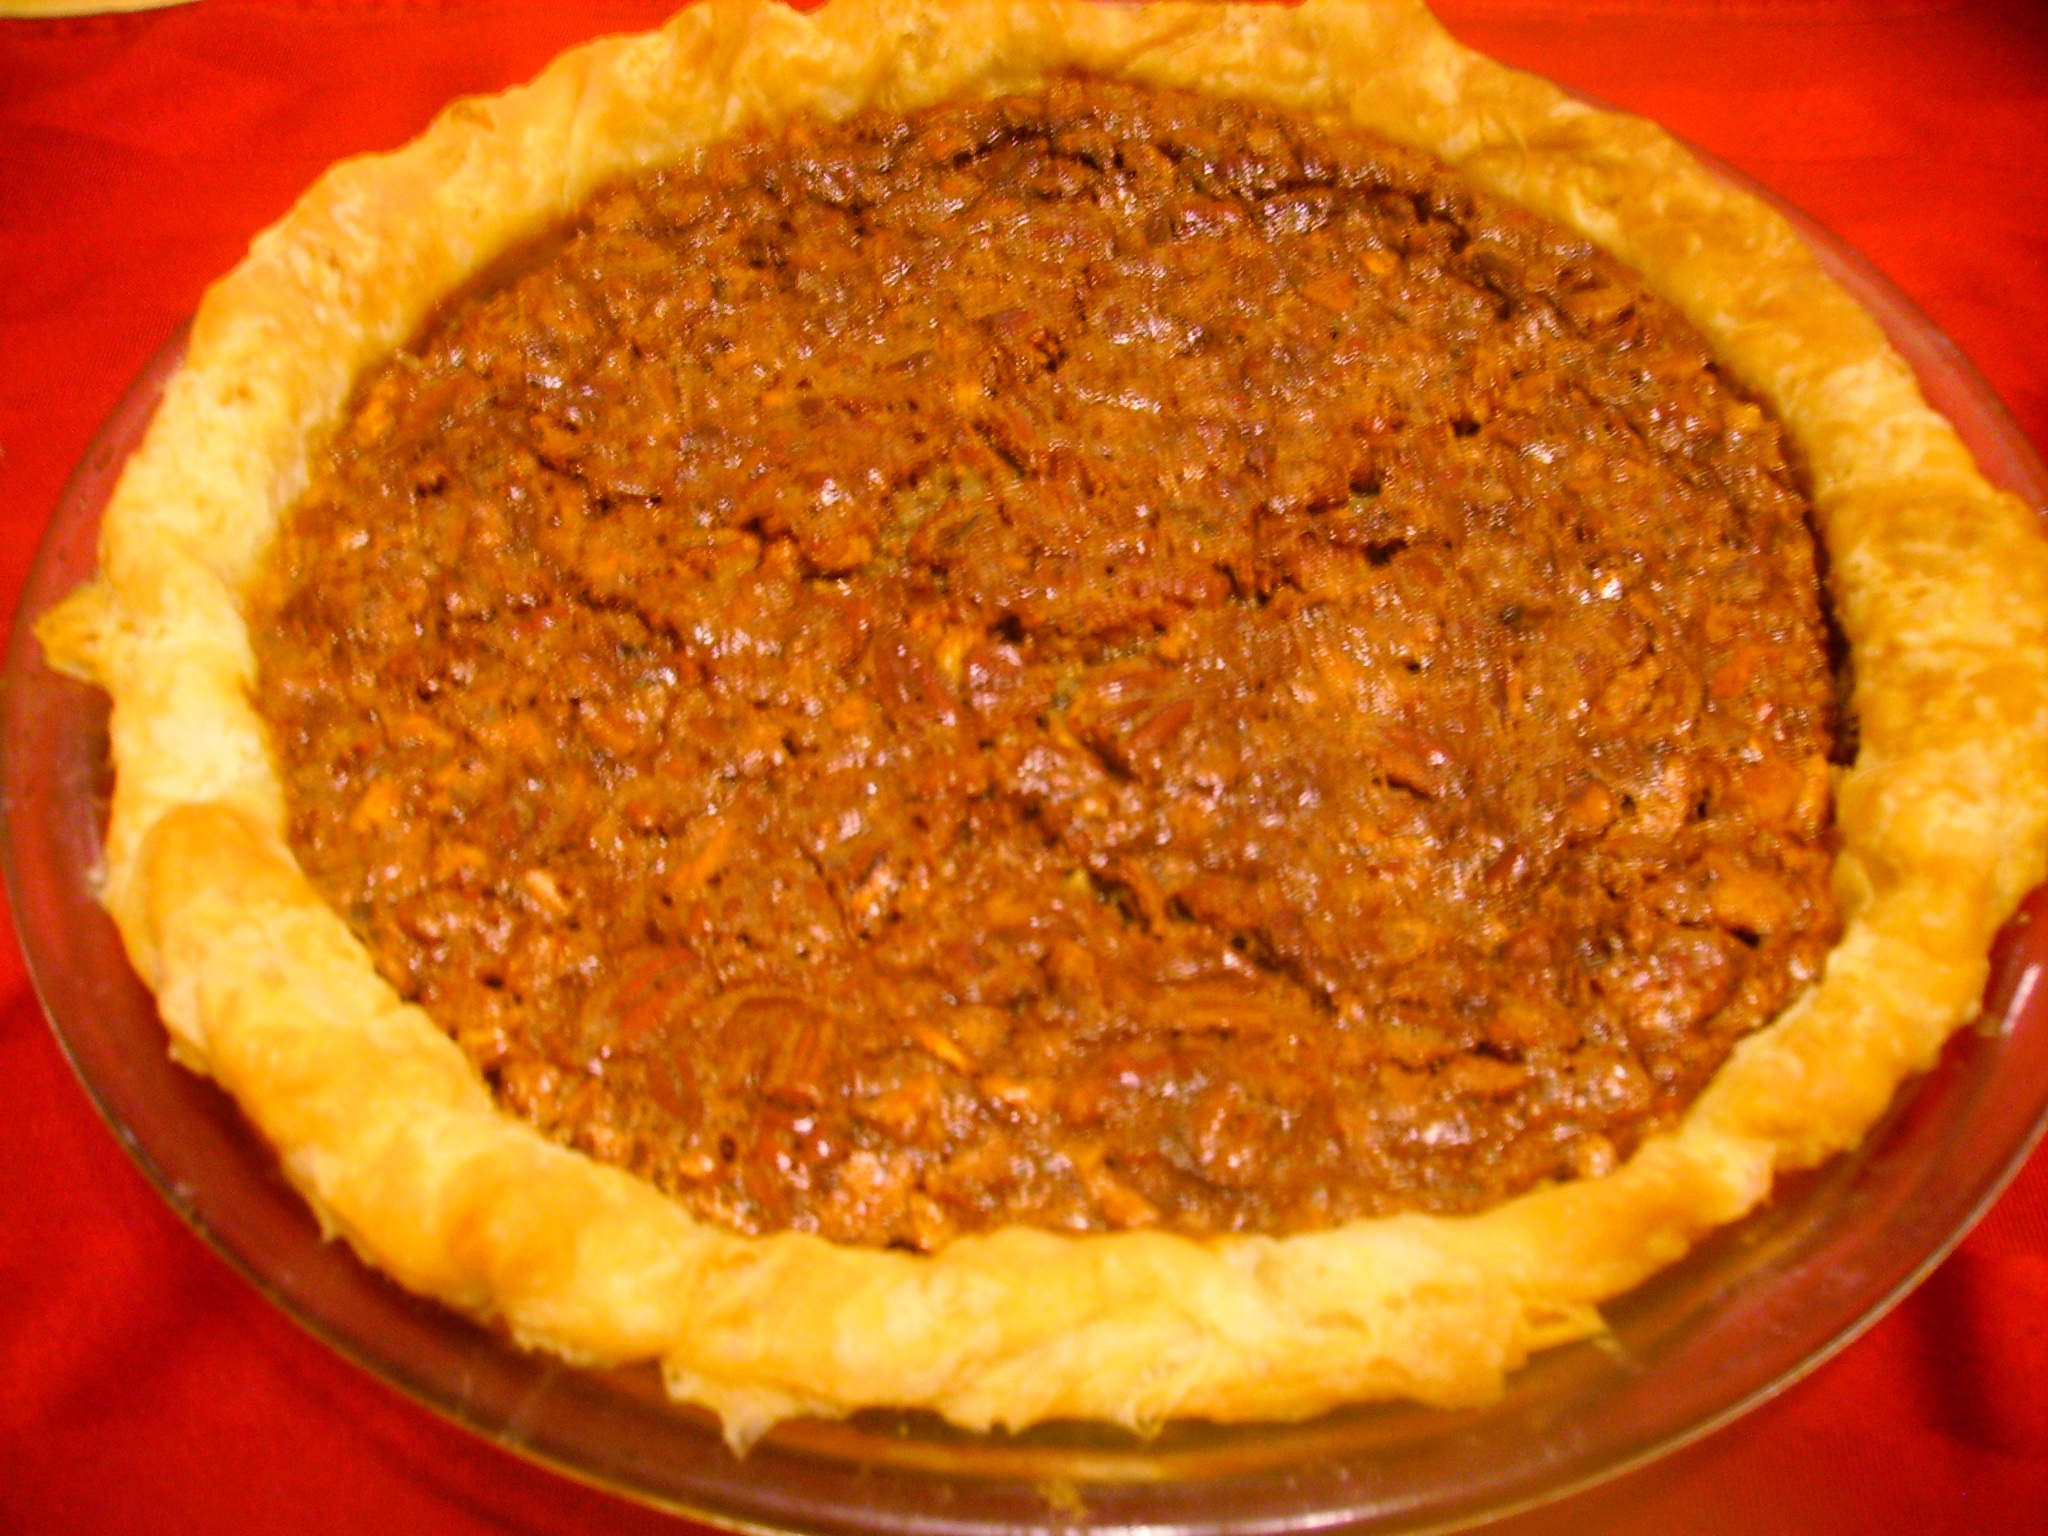
My best friend and I have an ongoing argument about which is a greater travesty: box cake mix or store-bought pie crust. Guess which camp I fell in…
Have you ever heard the phrase “as easy as pie”? Because it exists for a reason: pie is incredibly simple. It’s easier than cookies. I mean, you practically can’t go wrong. I’m serious.
The only catch is…you are absolutely not allowed to buy a pre-made crust. Don’t do it! Again, I promise it’s not as scary as you think it will be. It, too, is as easy as pie [crust].
So, I think you should jump on this pie wagon and enjoy some pie with me!
Pssst! There is now a detailed pie crust tutorial on this blog! Check it out here for MUCH improved photos and lots of tips!
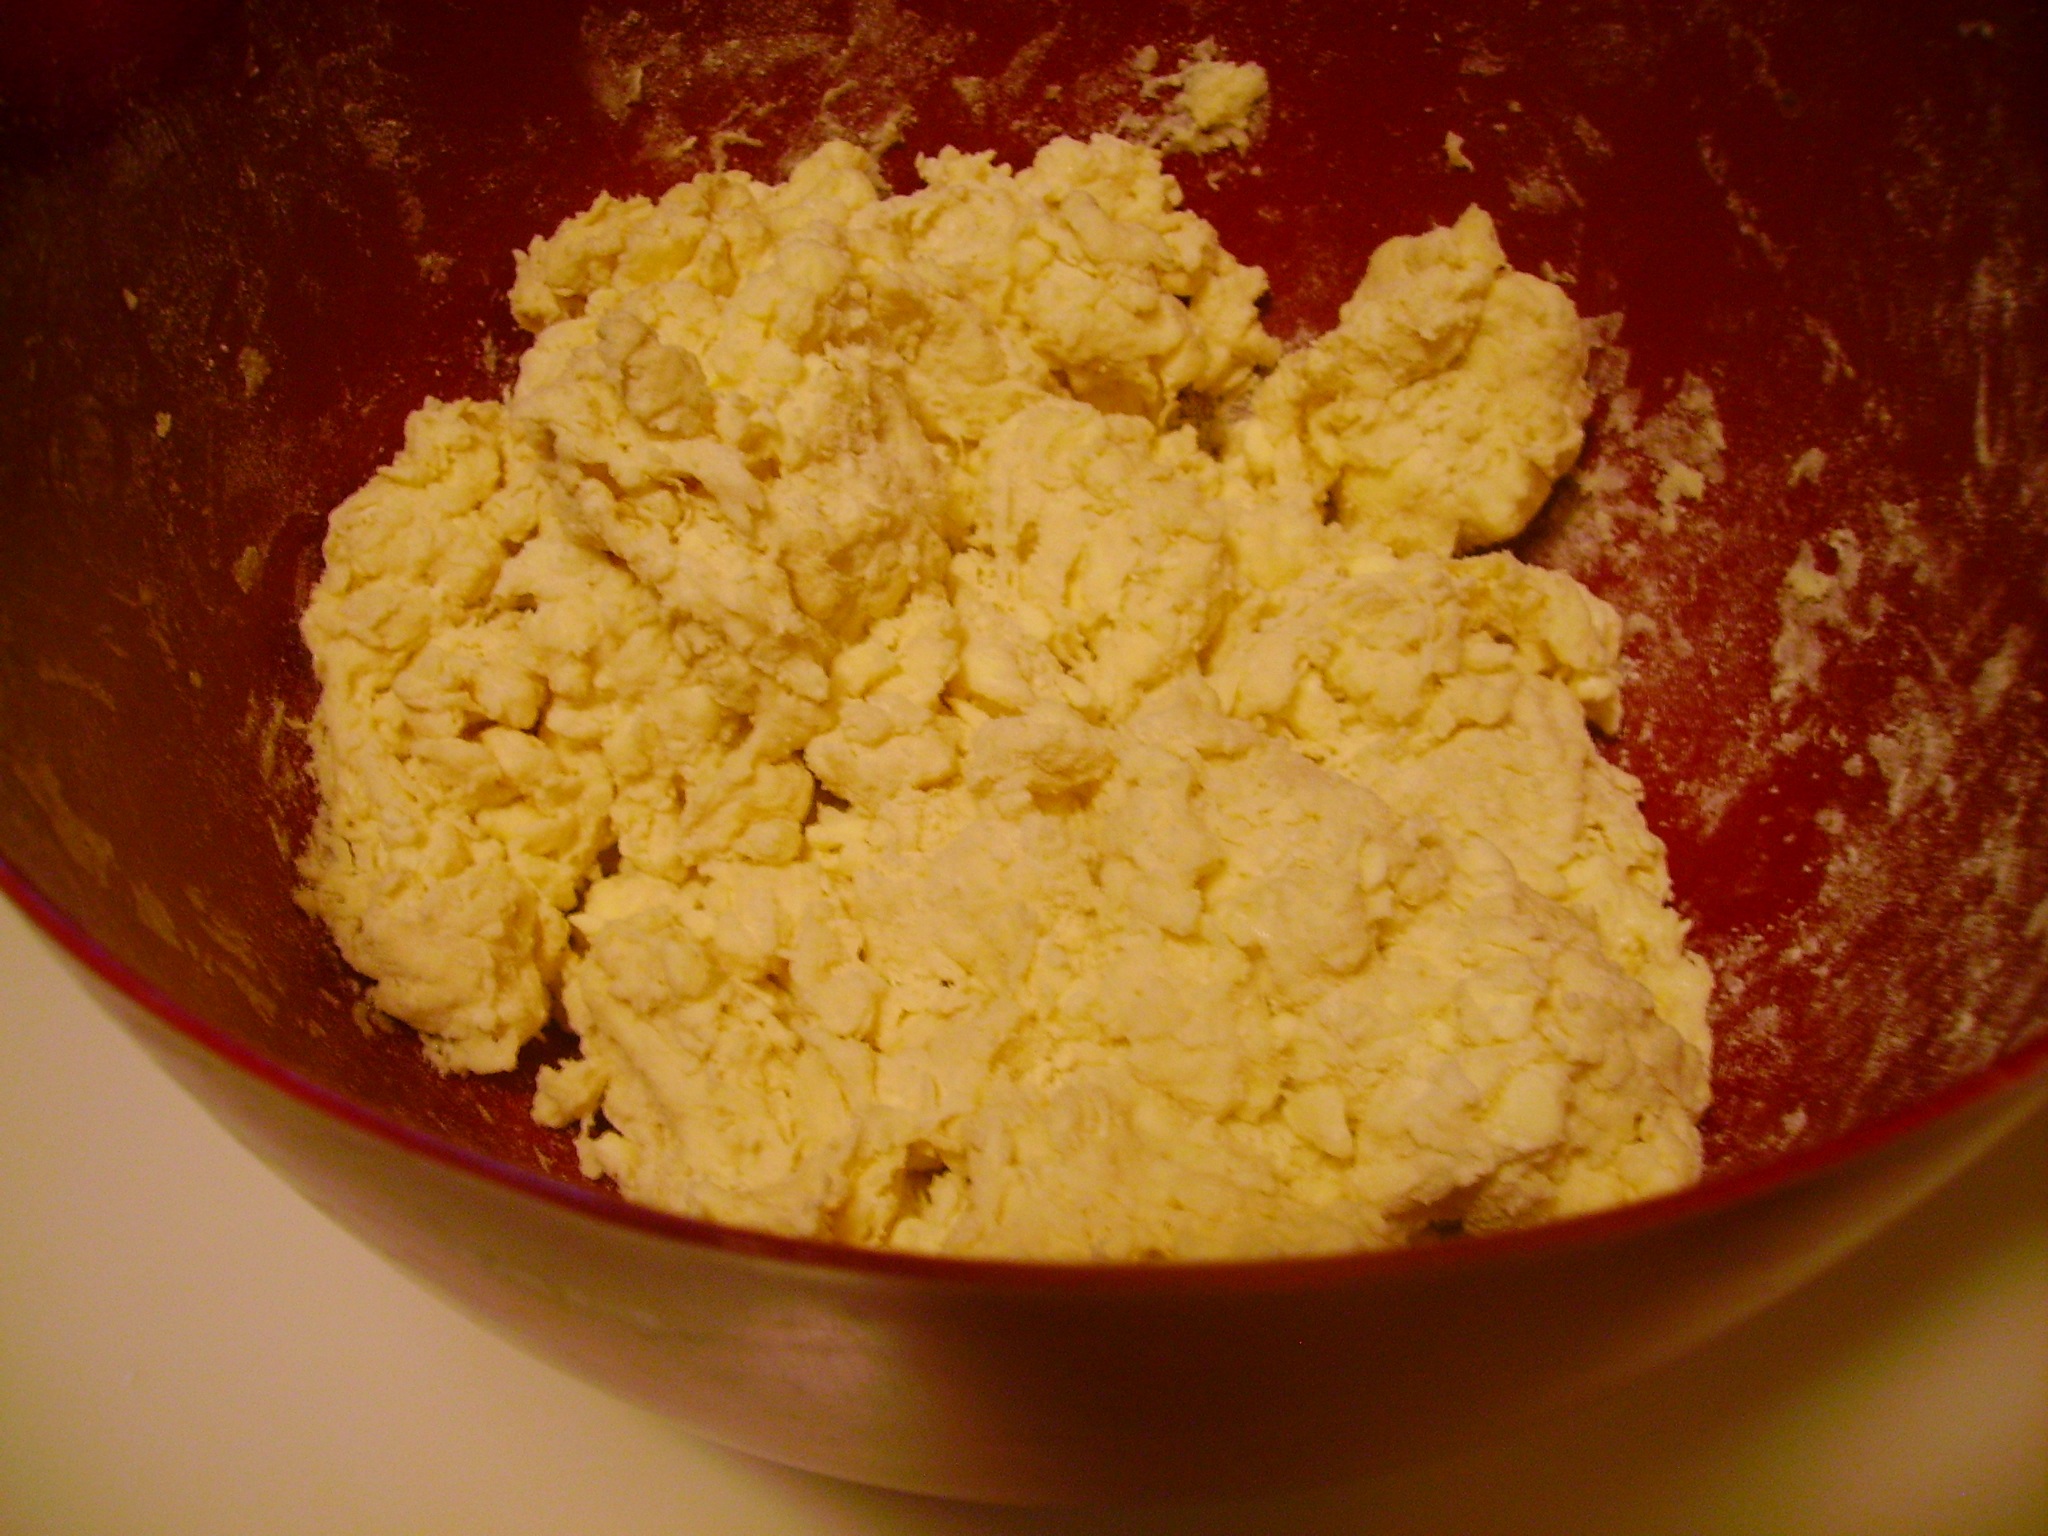
Stir together the flour and salt, then cut in the butter until the flour looks a little ragged and crumby. There shouldn’t be any big chunks of butter. Pour a little bit of ice water into the bowl and fluff the flour with a fork. This helps to form a light, tender dough, while still mixing the water in. Continue to add the water, a little at a time, fluffing with your fork. I usually use a bit over ½ cup icy water if I’m making the full, two-crust recipe.
When the whole mixture is moist and clumpy, knead the dough several times with your hands to help bring it together. I usually do this right in the bowl, but you could also use the counter if that works better for you.
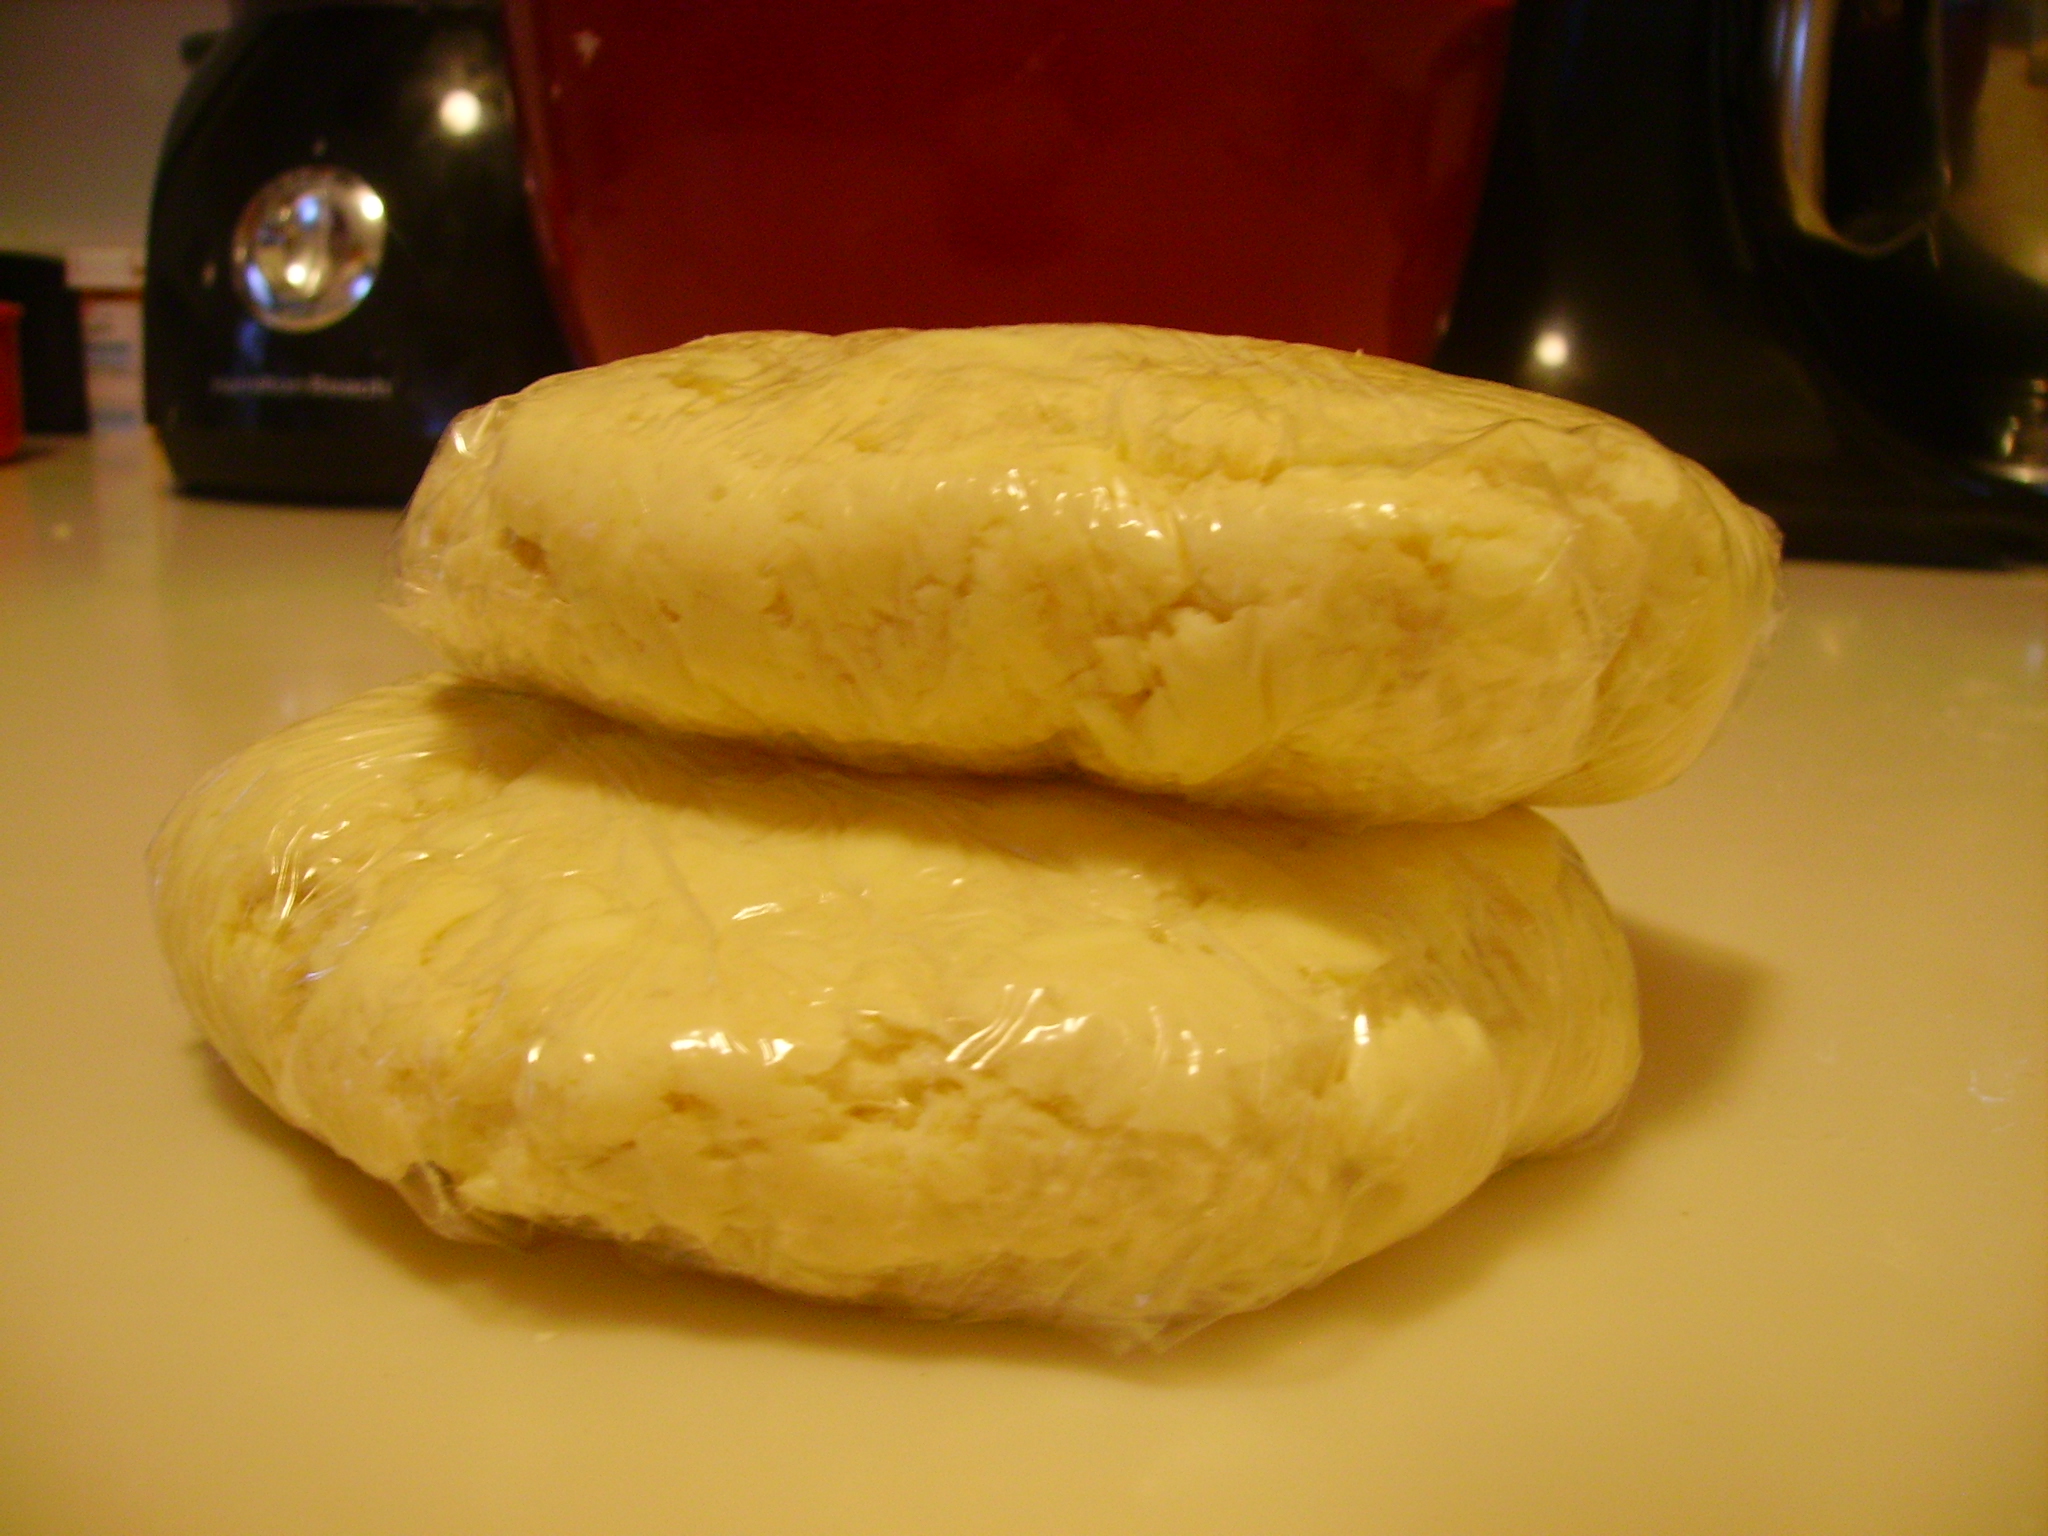 If you made the full recipe, divide the dough in half and wrap with plastic wrap or wax paper. Press into thick disks, then cool in the refrigerator for 1 hour.
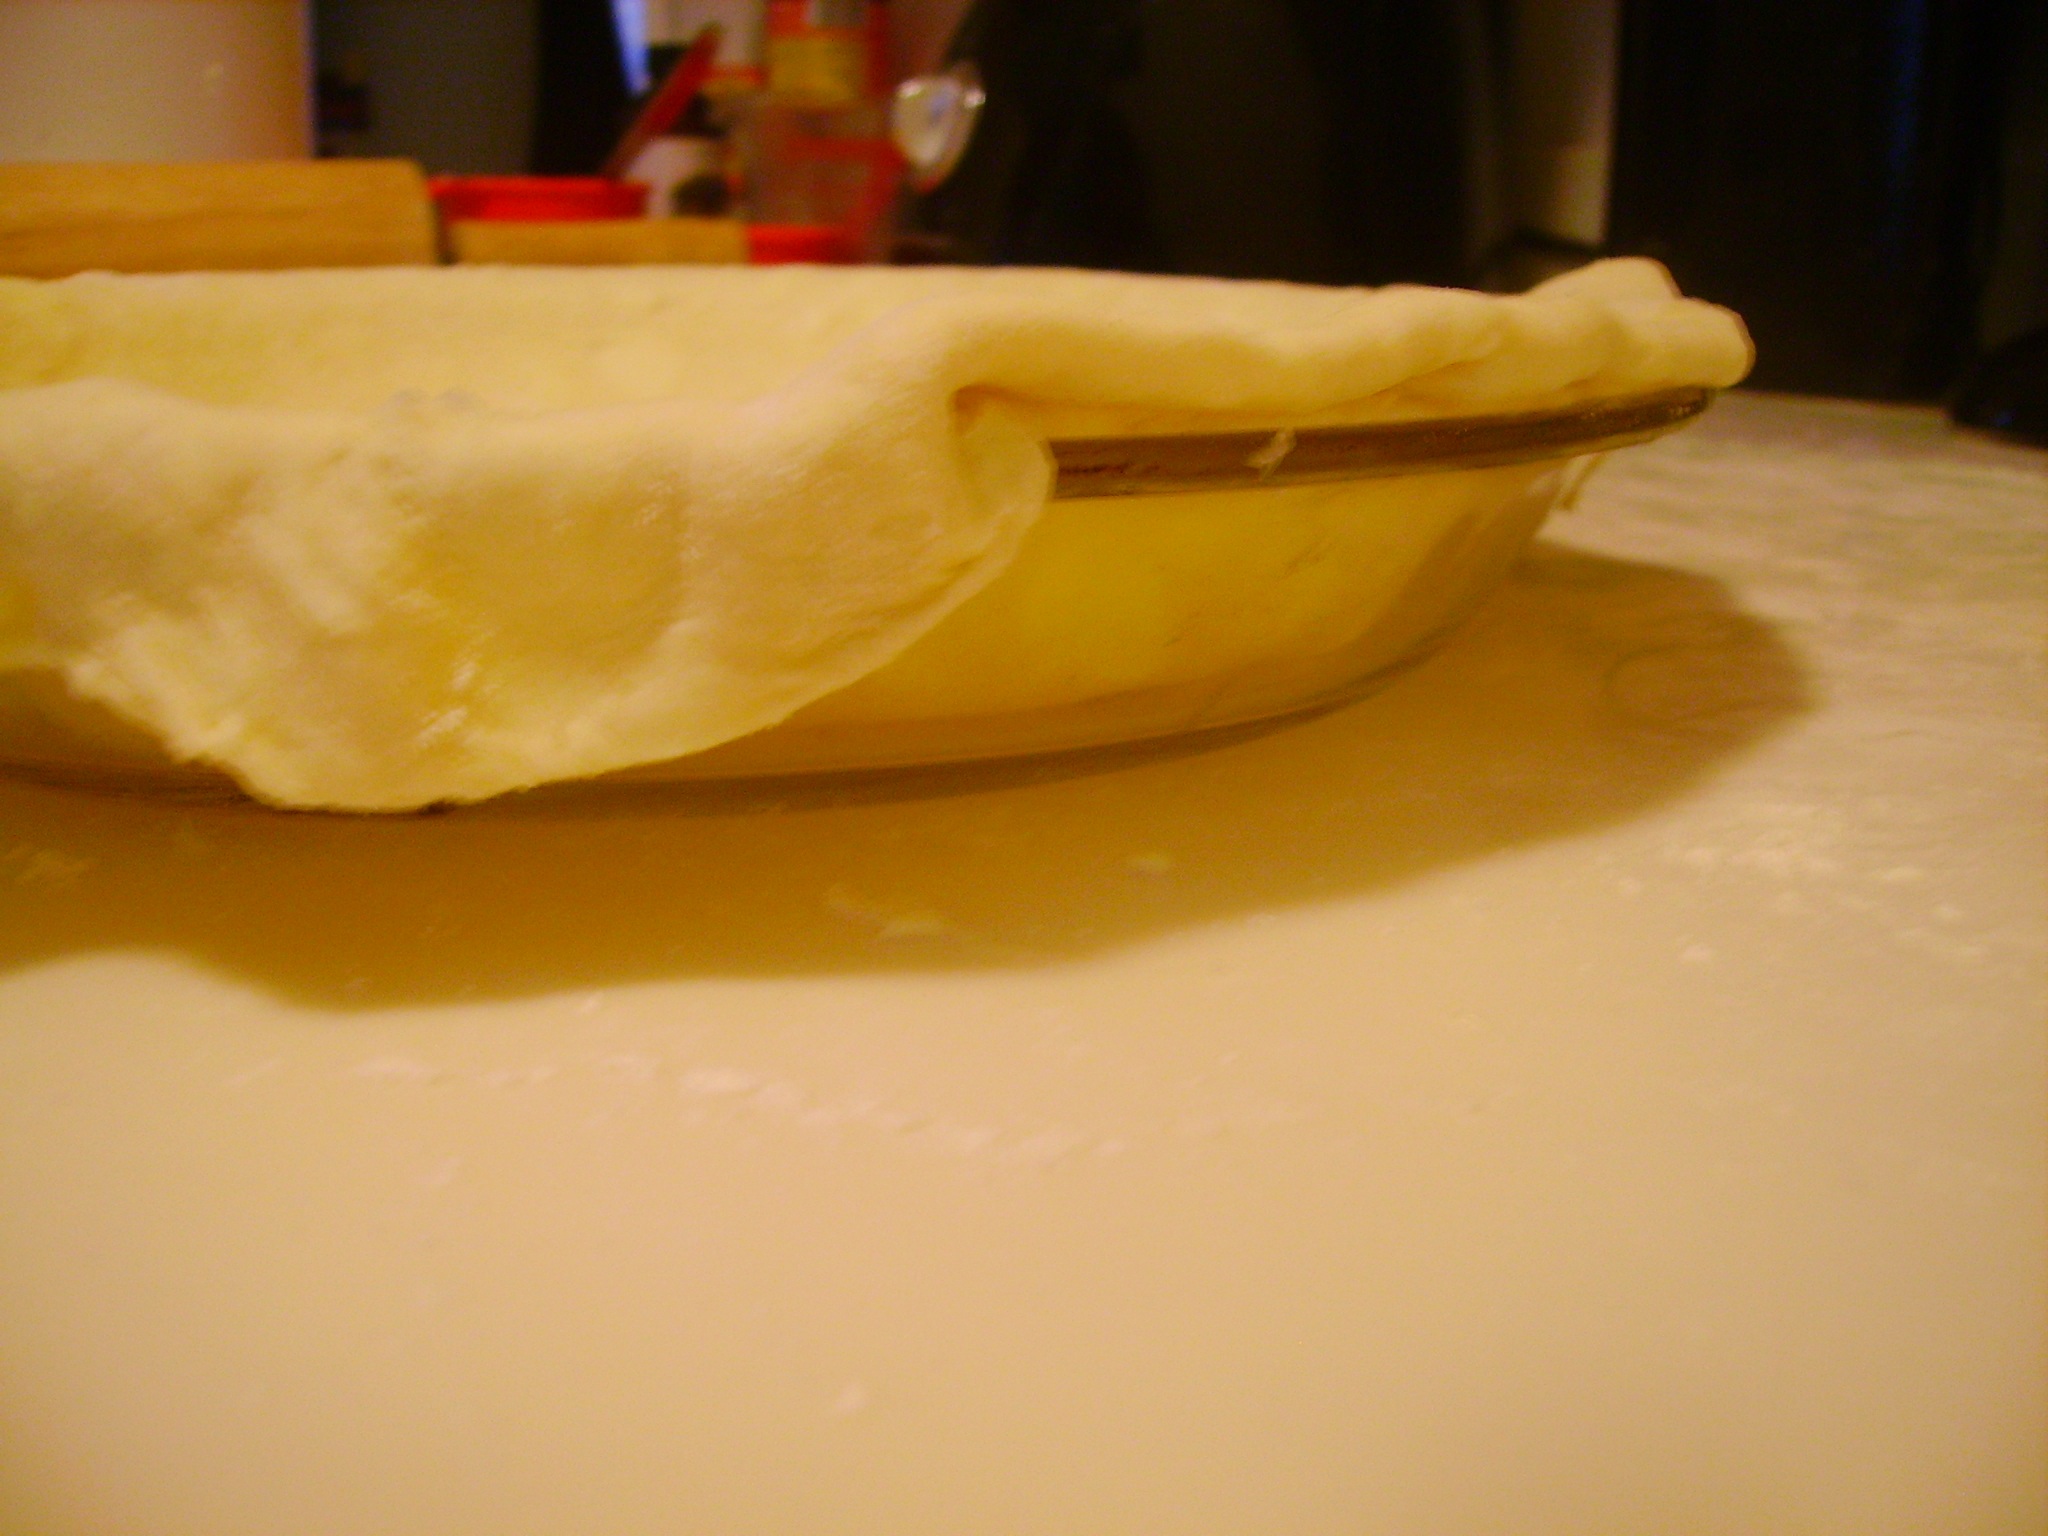 When ready, roll our the crusts, one at a time. Set your pie plate atop the rolled crust and trace a large circle around it. Transfer the circle to the pie plate, but save the scraps to make some cookies with me after Thanksgiving! Fold the edges of the circle under and carefully crimp them with your thumb and index finger. Don’t stress too much about this step…I always want my crusts to look beautifully crimped, like they belong in a magazine, but all-butter crusts usually puff up in the oven and lose their crimp, so it’s rather a wasted effort.
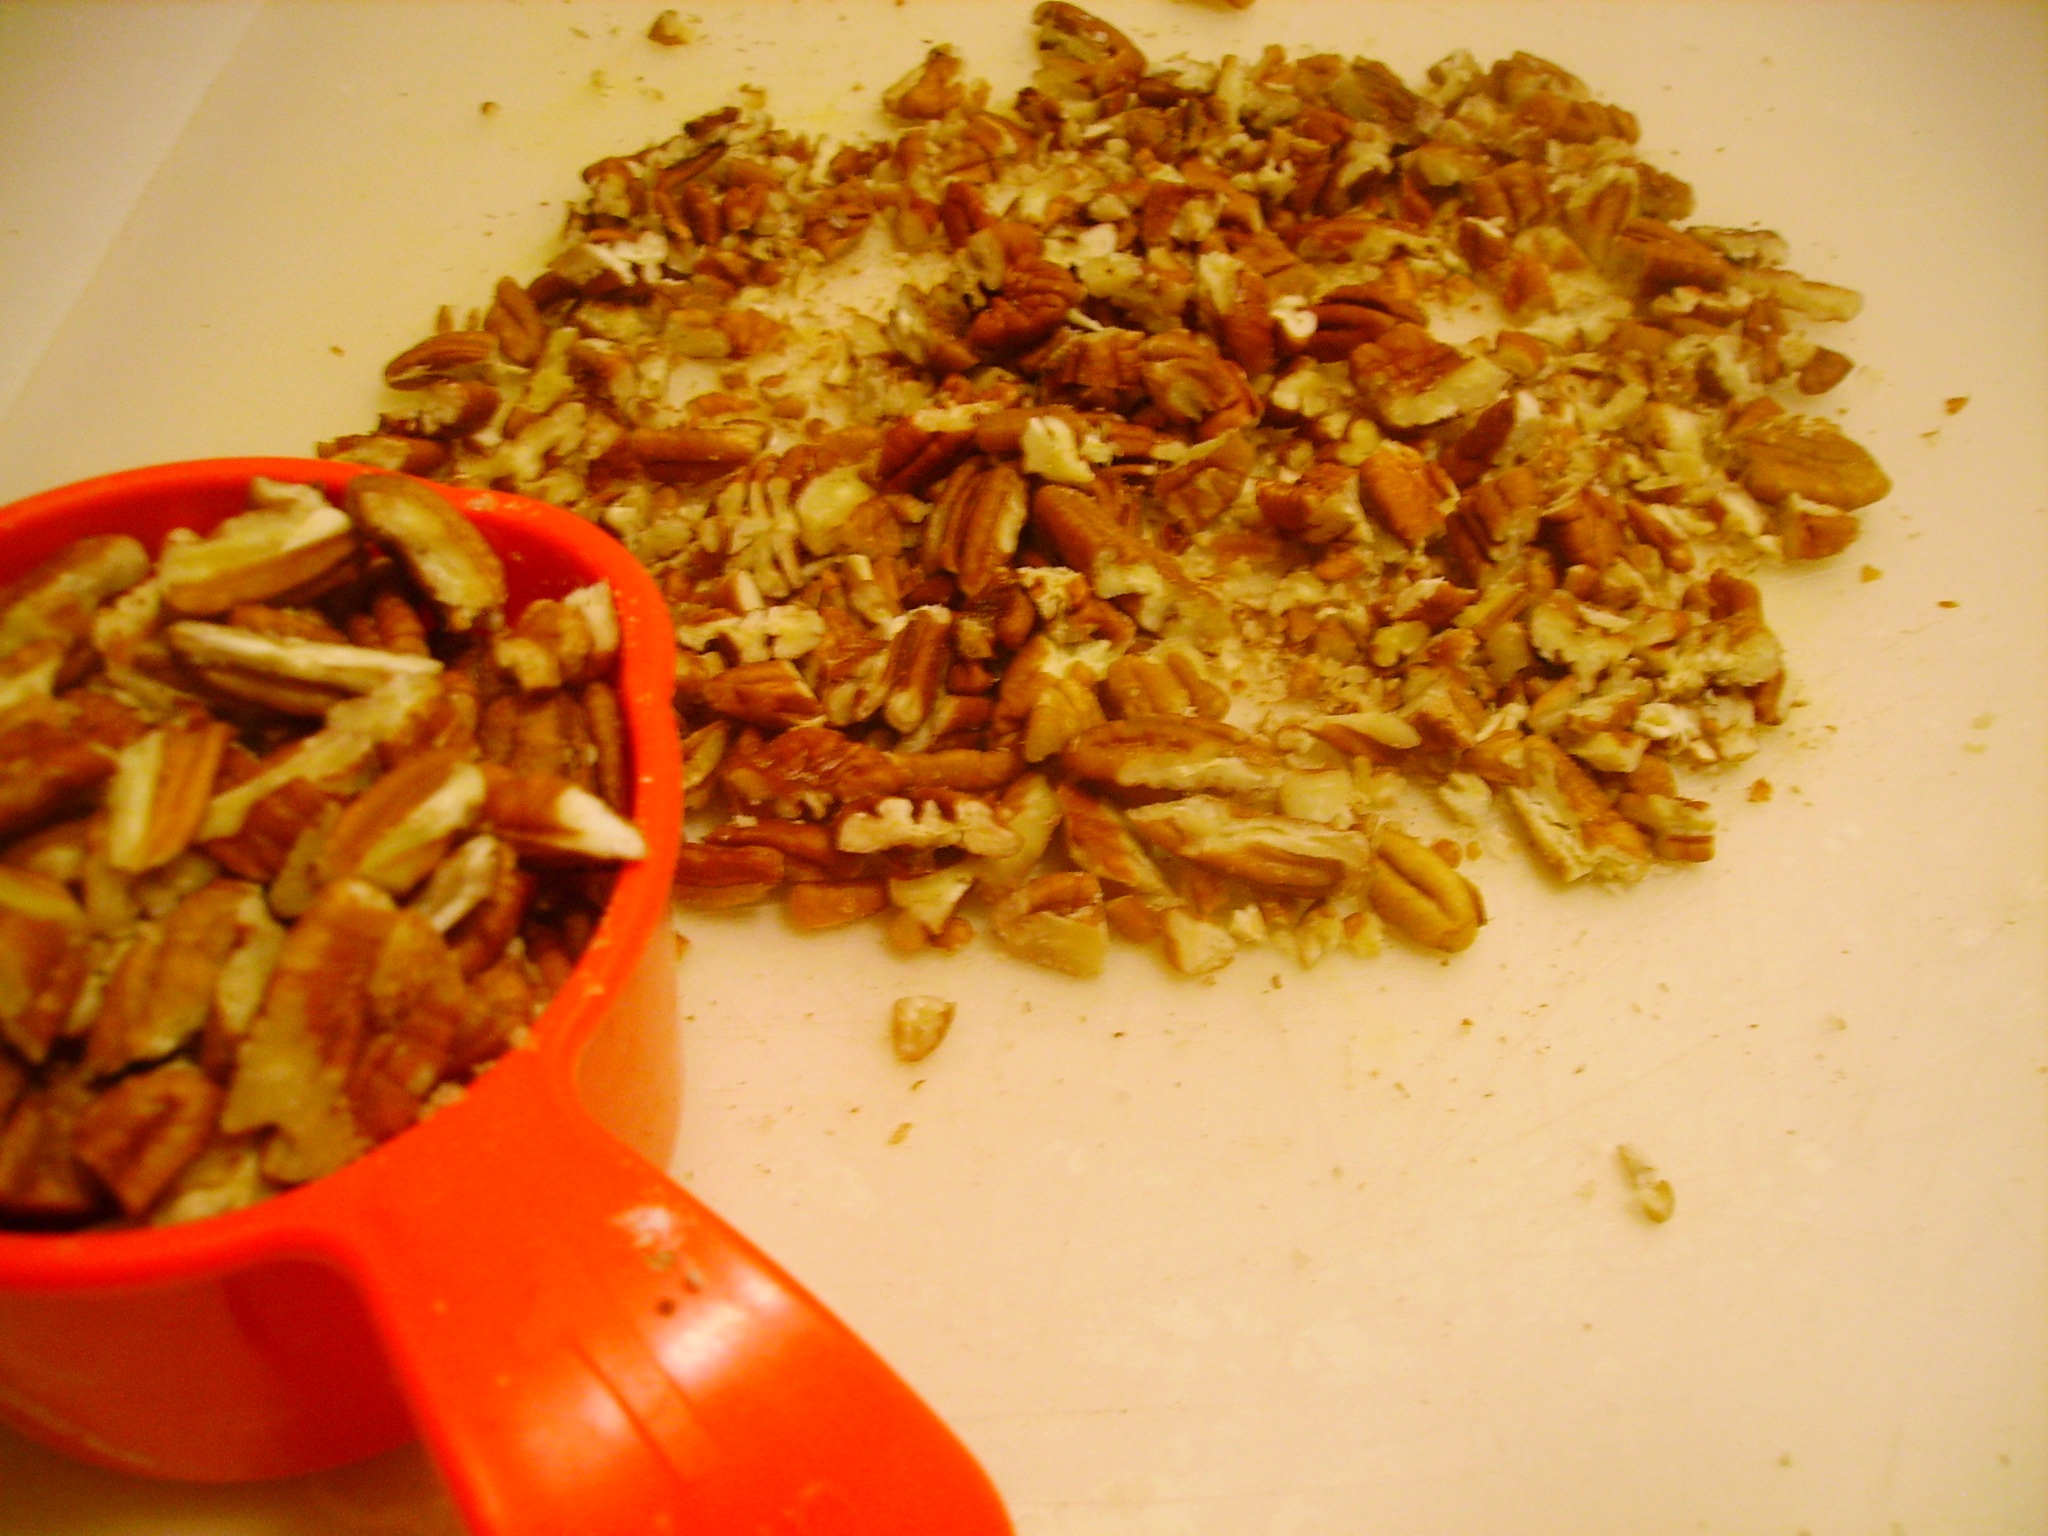 Stir together the pie filling ingredients: lightly beaten eggs, melted butter, light brown sugar, Karo light corn syrup, vanilla, and chopped pecans. I add in all the little pecan dust and crumbs that resulted from the chopping, because I want my pies to be good and pecan-y.
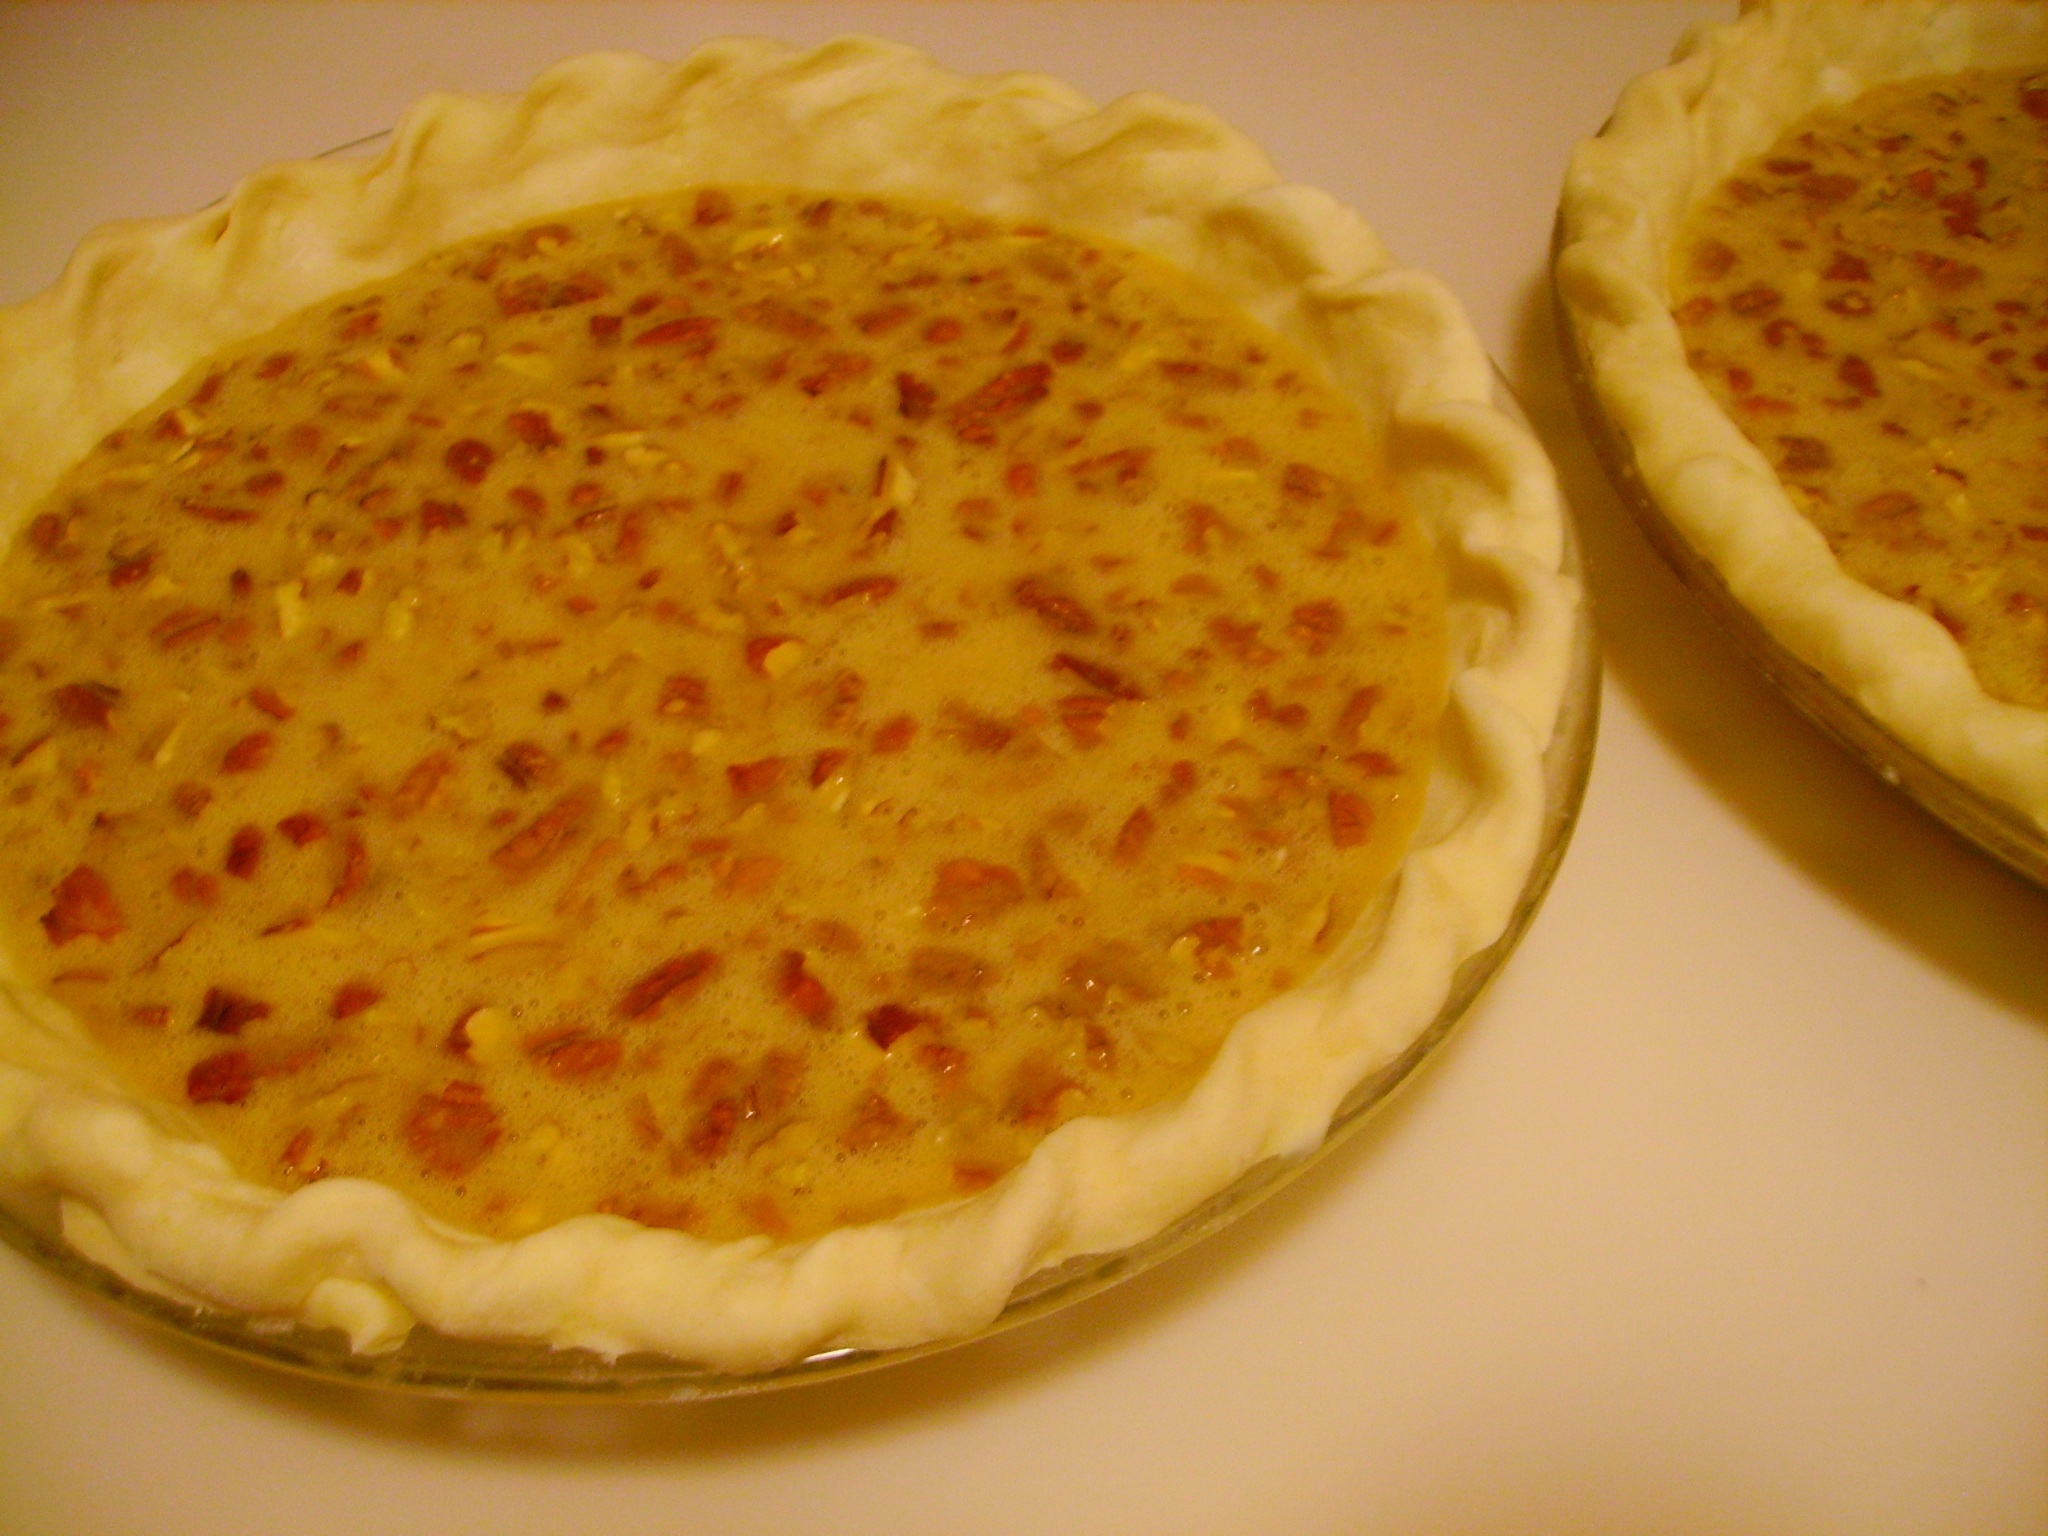 Pour the filling into the pie crust.
Bake at 375° for 35–45 minutes, or until the center of the pie is set. You may need to tent the pie crust with foil to prevent it from burning, but you really don’t want to end up with a juicy/runny pie, so it’s important not to underbake it. I think I’ve baked mine as long as 50 or 55 minutes, just to ensure they set…but do tent the crust if you’re leaving the pies in the oven that long.
Serve with a hearty dollop of whipped cream to compliment/offset the sweetness.
I made 2 pies so I could bring them to a potluck (and so I could blog about the pie before Thanksgiving!). Unfortunately I didn’t manage to take pictures of the pie once it was sliced, but I’m making another one for Thursday, so maybe I will be able to add a better shot after Thanksgiving.
Pecan Pie
from my mom
serves 12
Ingredients:
3 eggs
1 cup light brown sugar
½ cup light Karo corn syrup
¼ cup melted salted butter
1 tsp. vanilla extract
1 cup chopped pecans
9″ unbaked pie shell
Directions:
Preheat oven to 375°.
Beat eggs slightly in a 2 quart bowl. Stir in sugar, Karo syrup, melted butter, and vanilla. Stir in pecans.
Pour into the pie shell. Bake for 35–45 minutes, or until the center is set.
Cool completely before serving.
Enjoy!

