These cinnamon buns represent one of the worst kitchen meltdowns I have ever had.
Let me be clear…the cinnamon buns were amazing. Which makes me think they are idiot-proof (yay!).
But me in the kitchen at 2:00 in the morning with melted butter oozing all over my counters? Not so amazing. I huffed and puffed about how horrible the buns were going to be and what a failure I was, and my poor husband just kept sprinkling sugar and trying to keep me from going off the deep end and using my giant knife for something more sinister than slicing the buns.
Note to self: If you are making something you’ve never made before, and you intend to share it with a large room full of hungry moms the next day, don’t wait until 10:00 pm to get started.
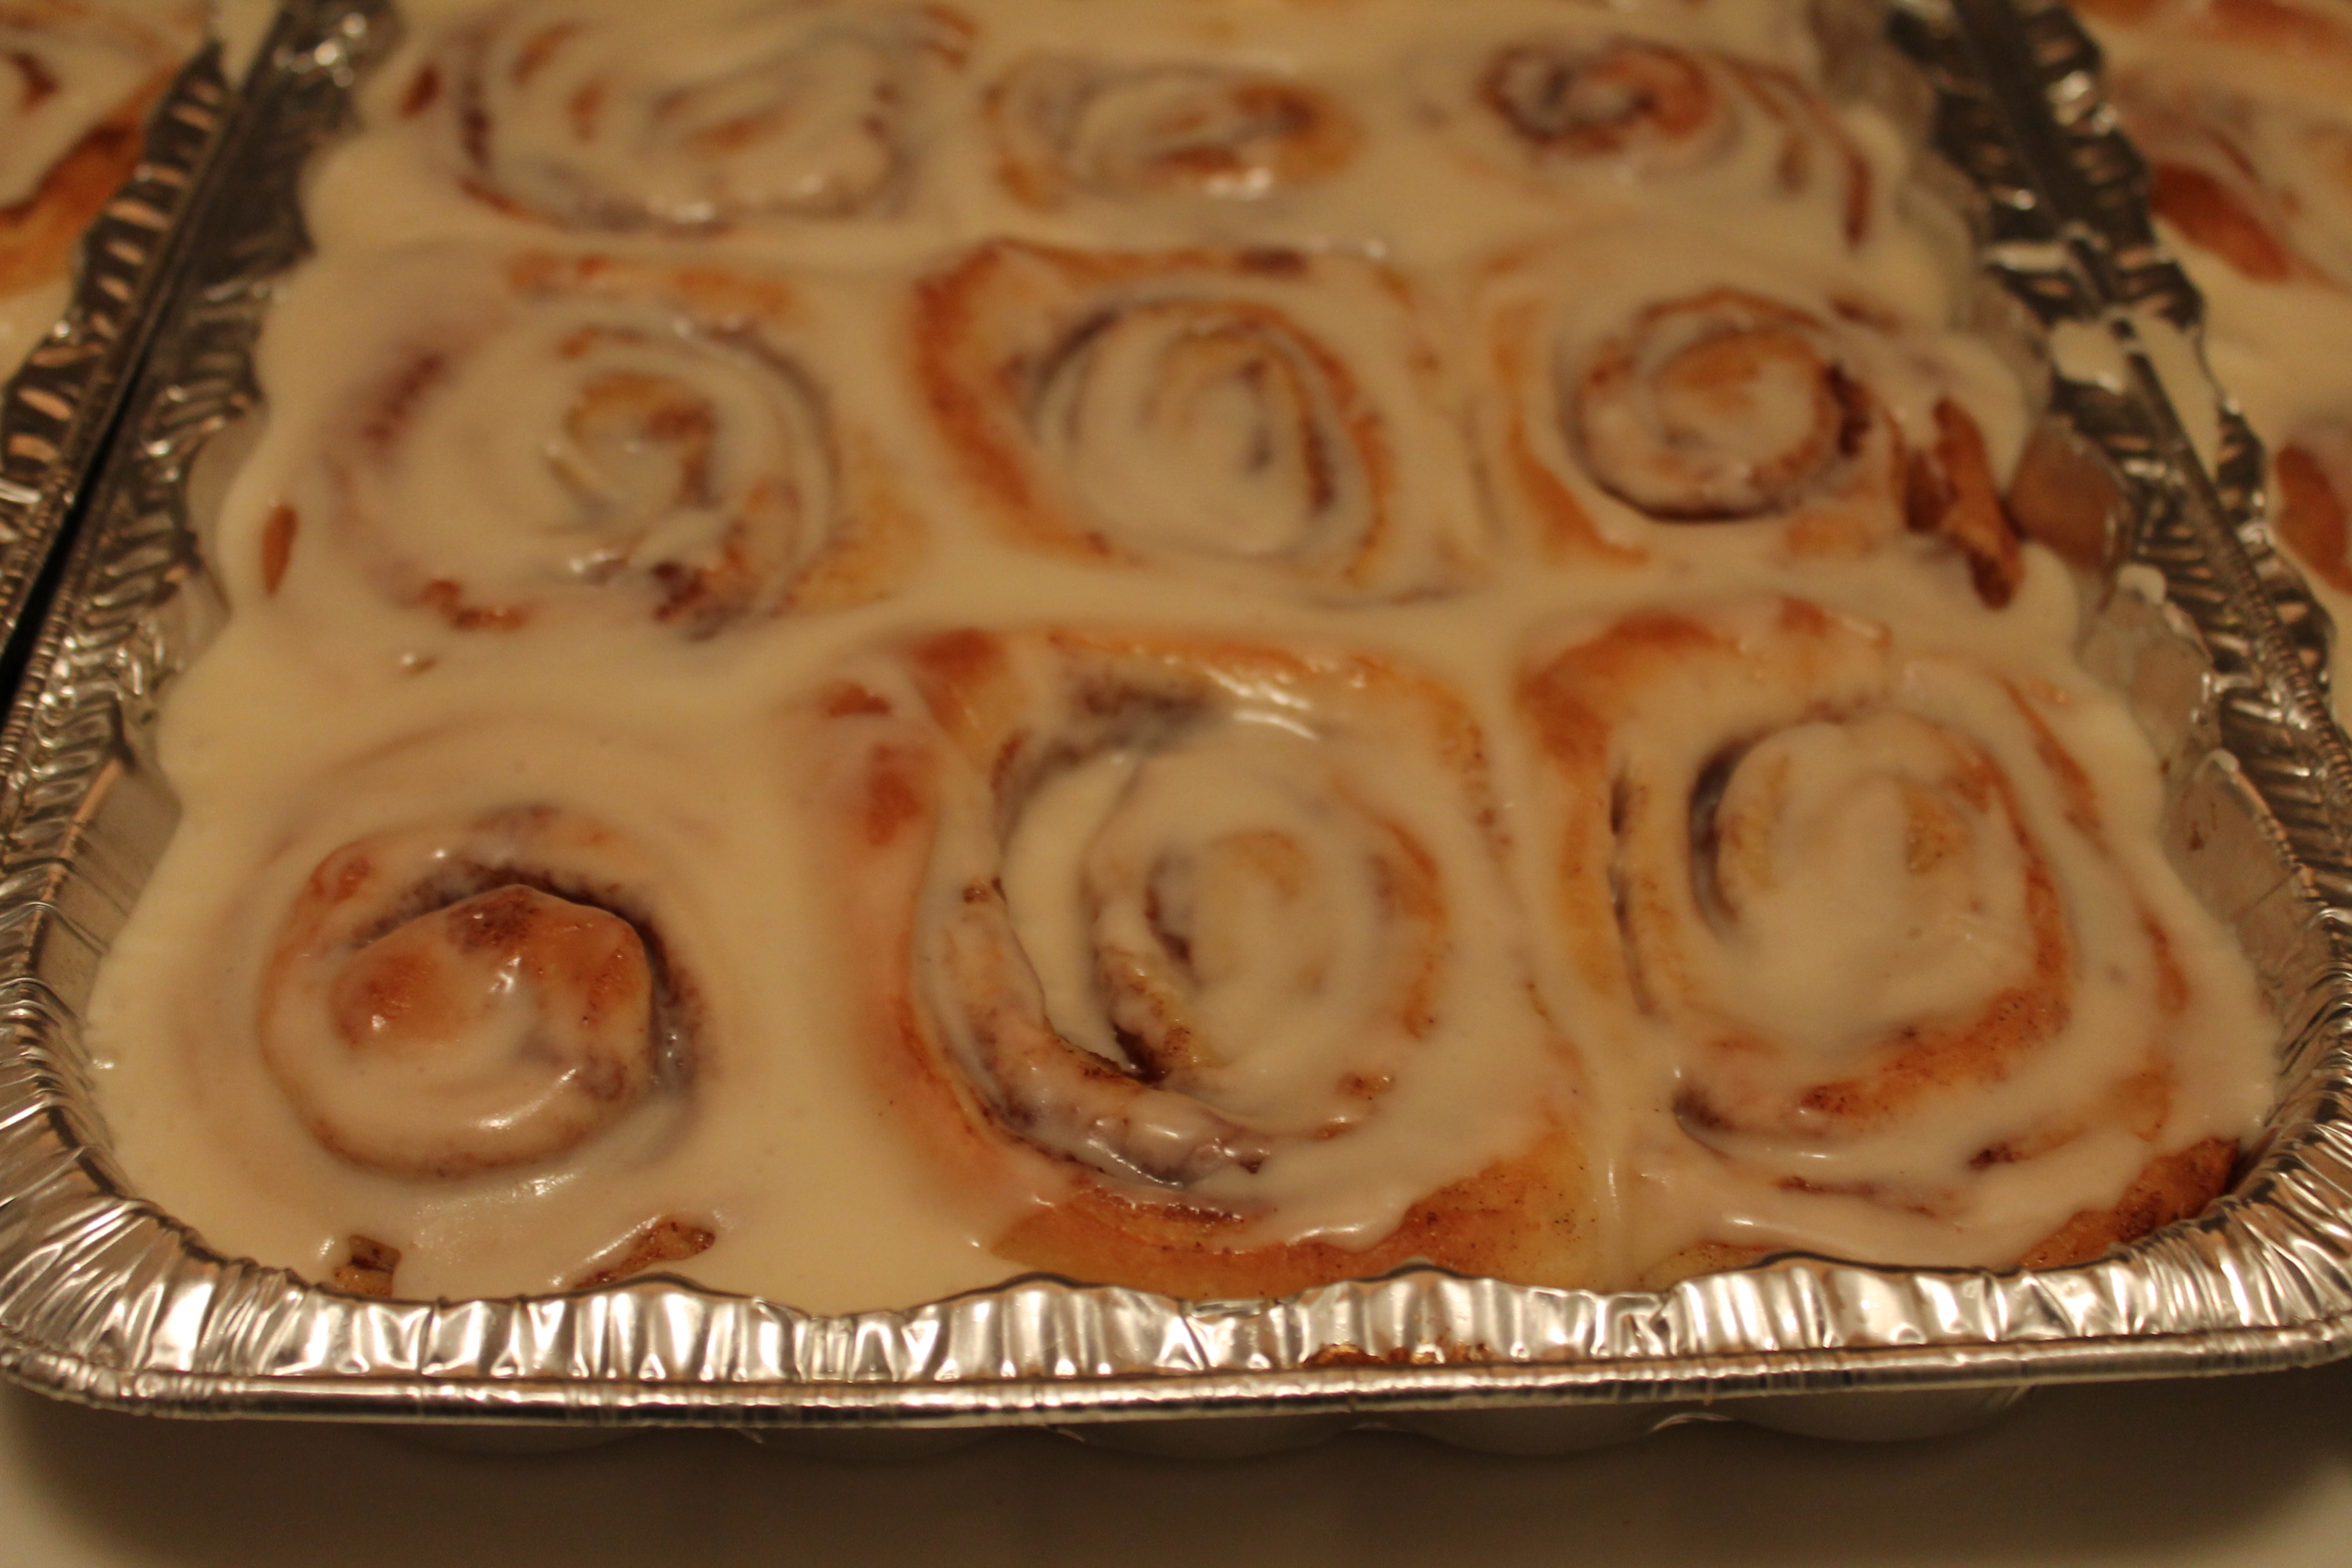
Despite the fact that my cinnamon buns leaked their filling all over the counter, that they flattened completely when I was cutting them apart, that I only ended up with 36 unevenly sized buns when I was hoping for 50, and that I forgot I needed to make the glaze while the buns were in the oven…they honestly turned out perfectly! I scooped the cinnamon sugar over top of the buns, which rose and filled out until you couldn’t even tell they were once oblong and somewhat different sizes. And the slight delay in glazing the buns didn’t seem to make a bit of difference—they were still moist and sweet and pretty much the best things I have ever put into my mouth.
You should make them for yourself. And all of your friends (because who needs 3 dozen cinnamon buns in their fridge, just waiting to be eaten?). Seriously. These babies are delicious!
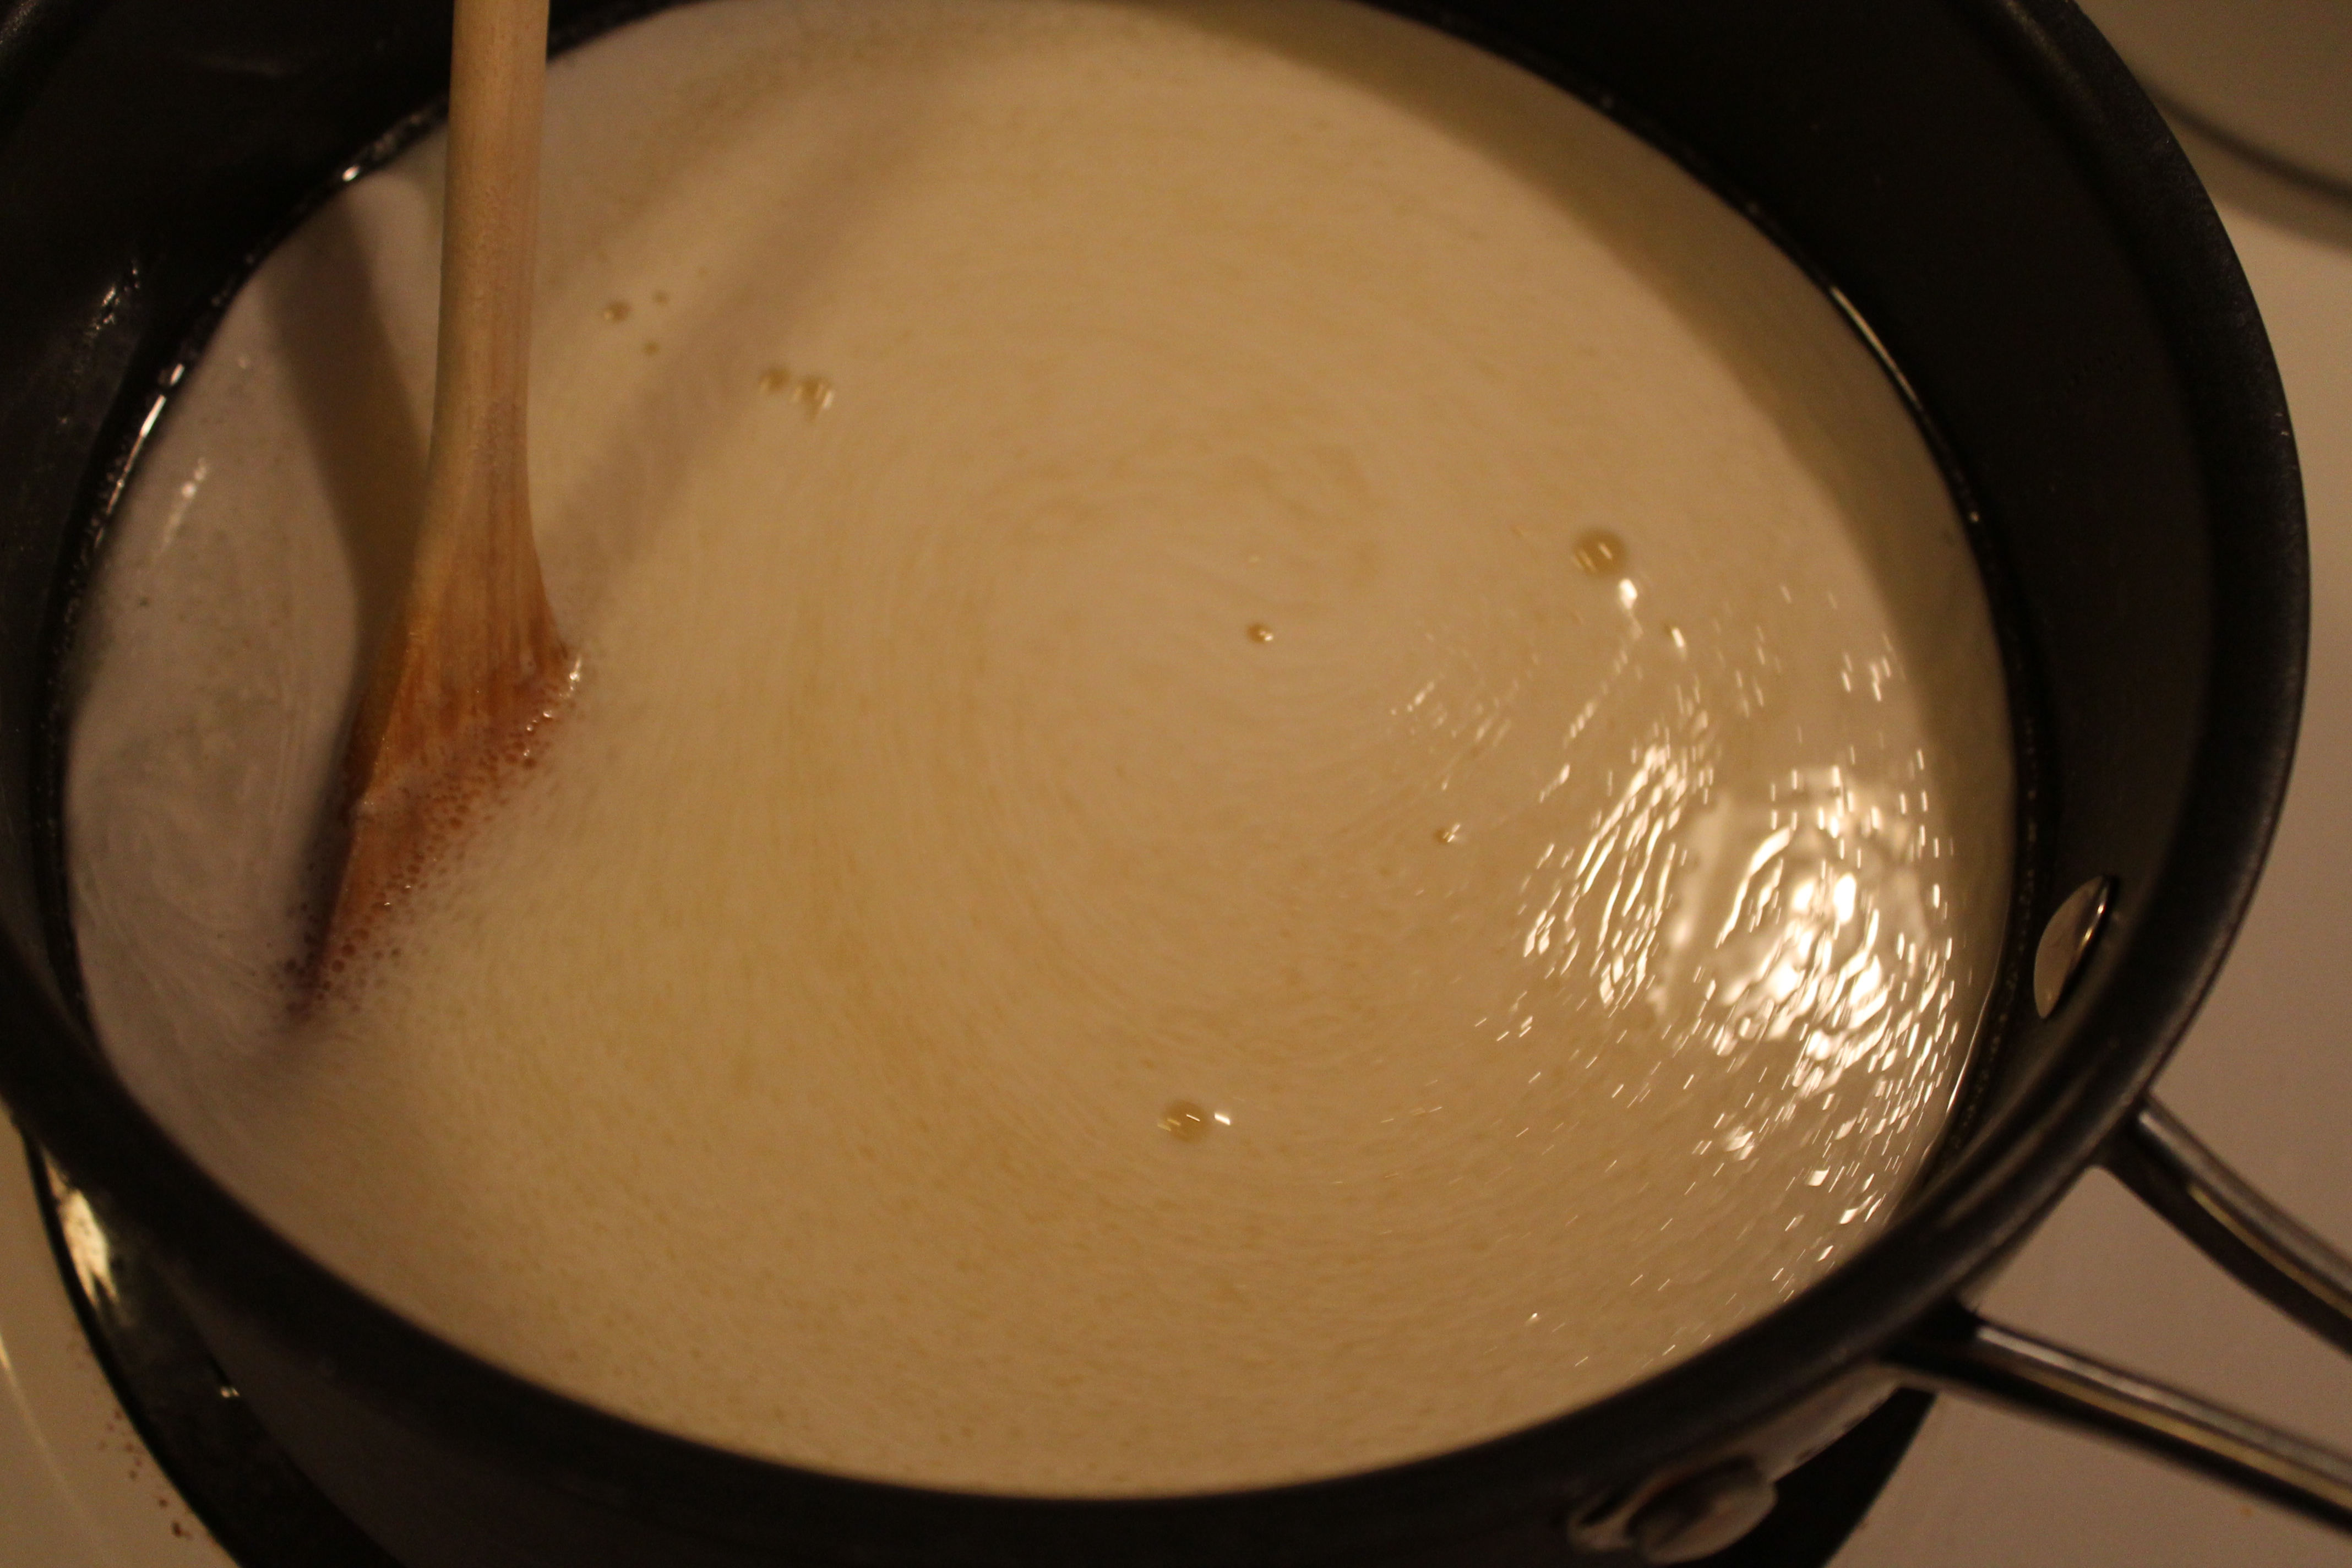 Start by heating the milk, sugar, and oil in a large saucepan. Bring to a low simmer (don’t let them boil!) and then remove from the heat and pour into a mixer bowl. I would recommend heating these just barely enough to call it a simmer, because the hotter the milk, the longer you have to wait to proceed. With this volume of milk, it can take a looooooong time to cool enough to not kill the yeast.
 When the milk is lukewarm, add the yeast and let it sit for 1 minute. I waited over an hour before adding my yeast…but I also forgot to let it sit for a minute to activate and began adding my flour right away. It didn’t seem to matter. The main key is just not to get too eager and add the yeast before the milk has cooled sufficiently.
Add in 8 cups of flour and stir until just combined. It will still look pretty chunky, but that’s okay!
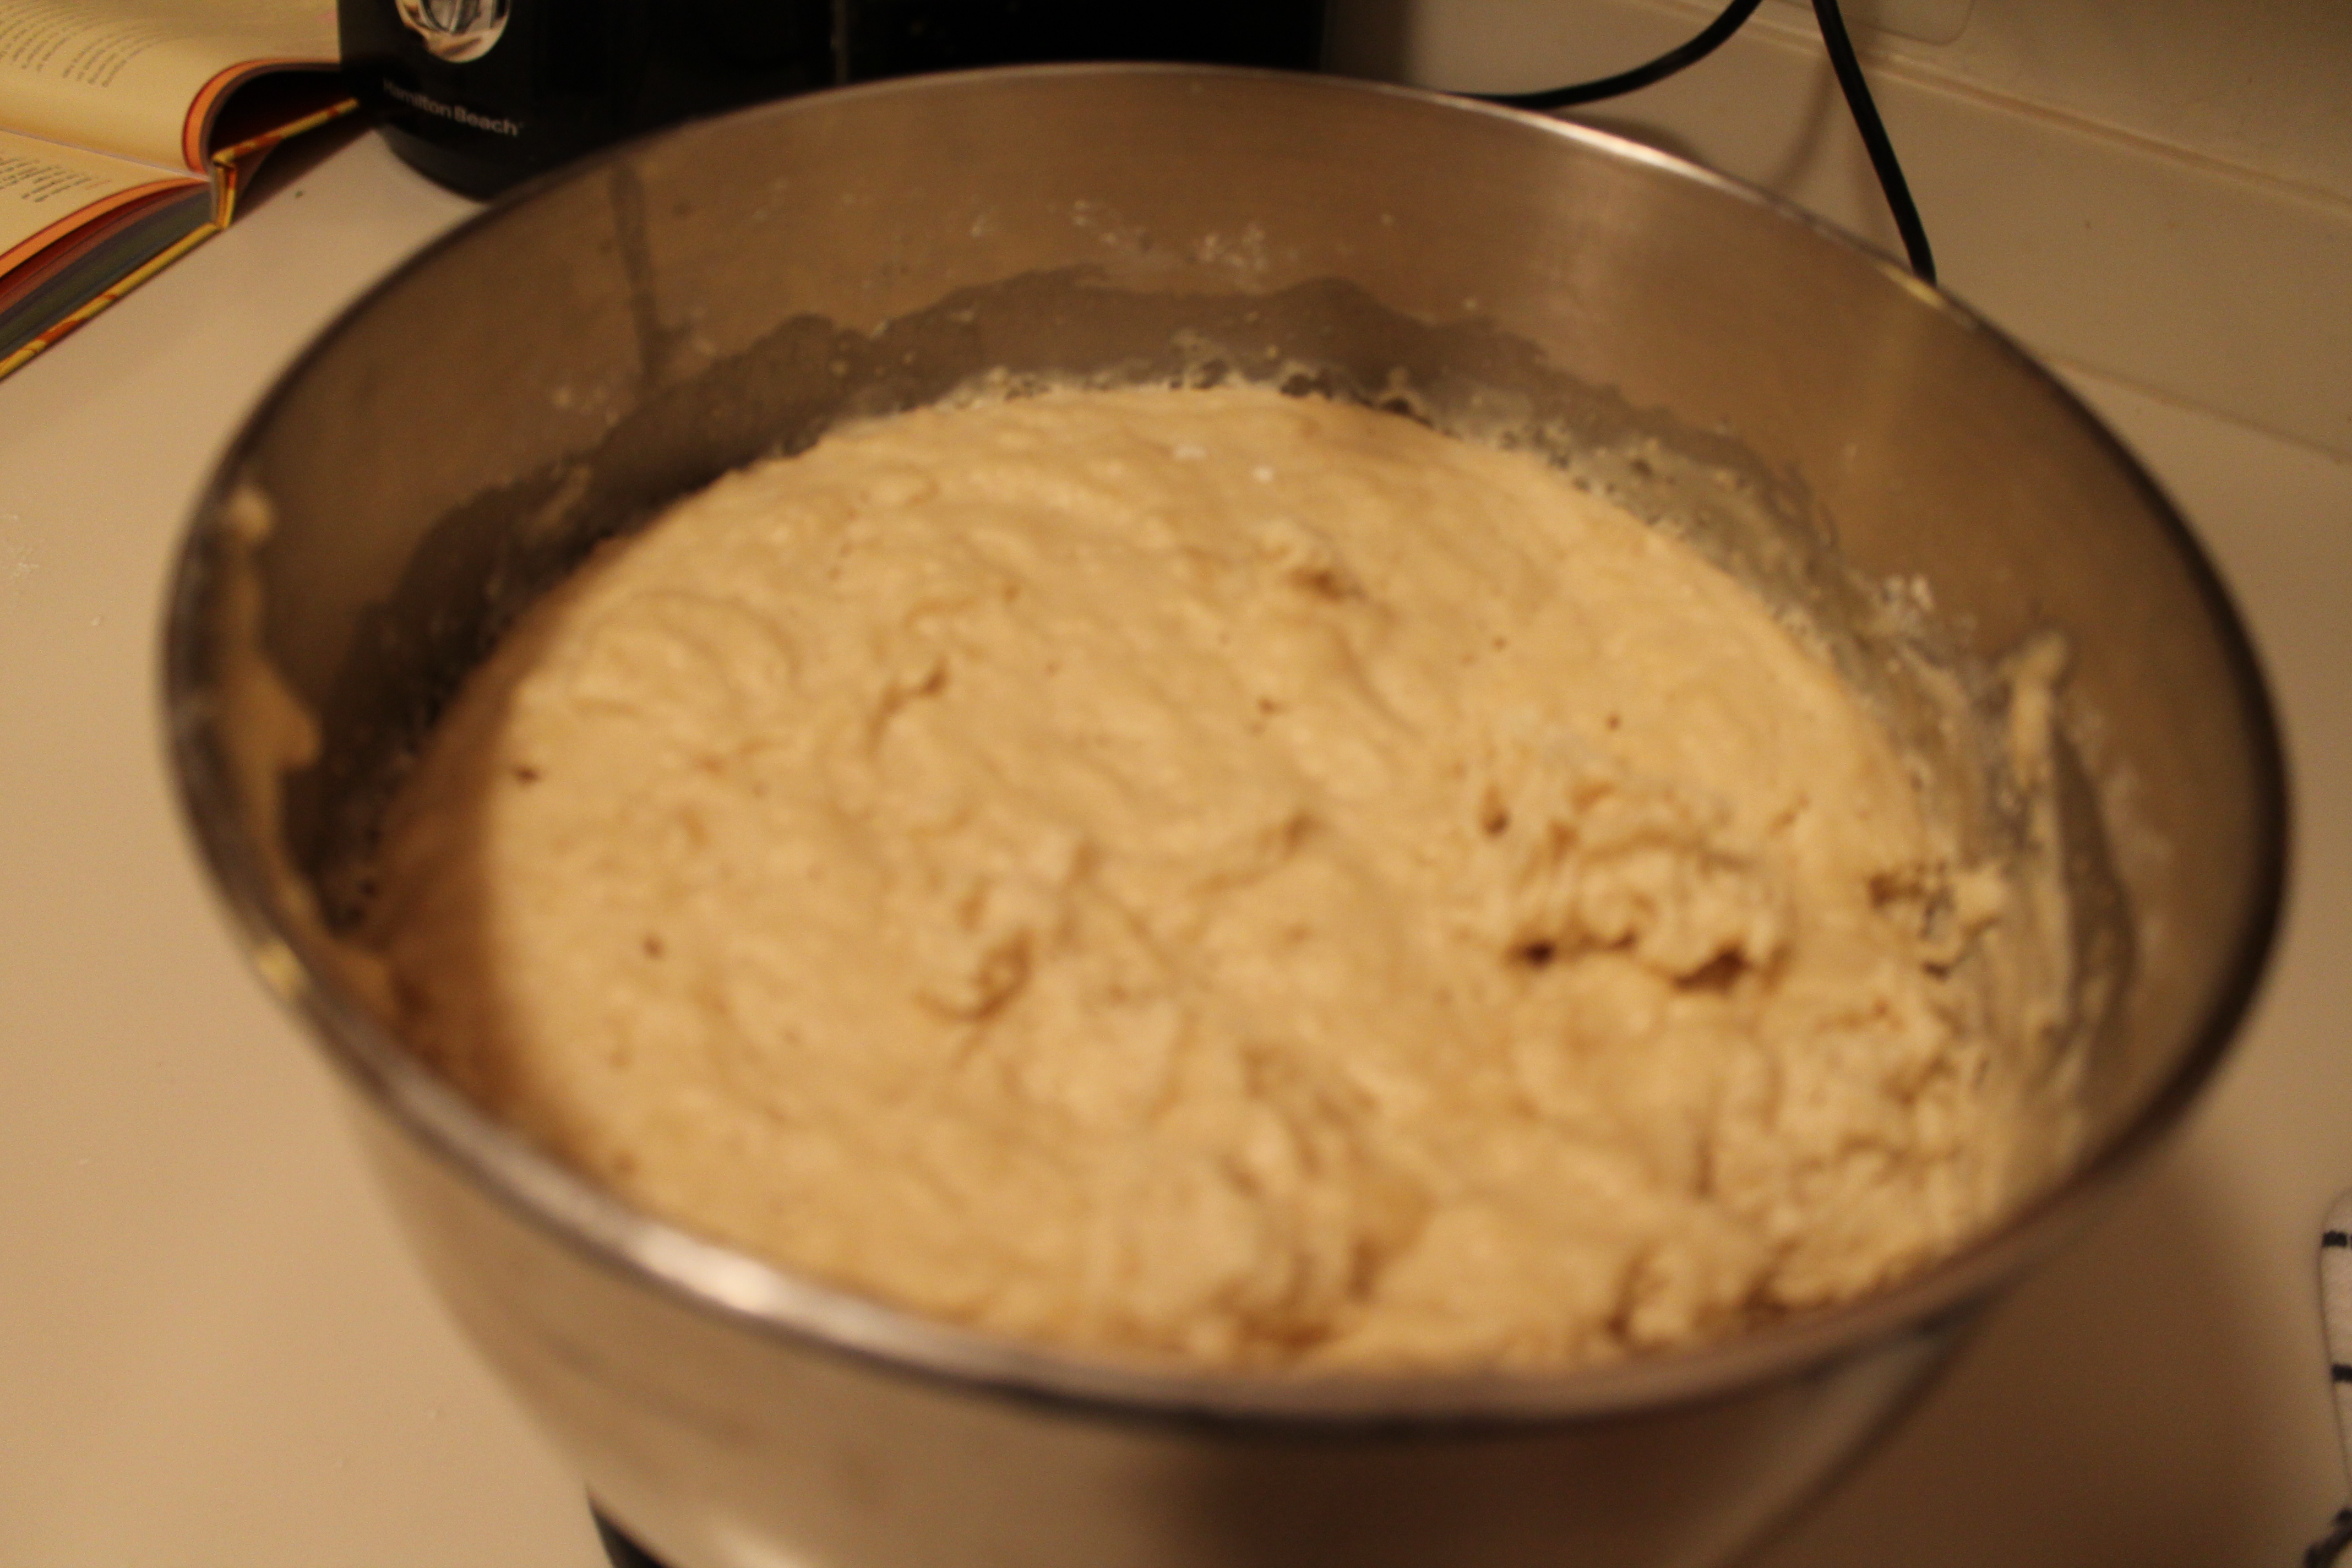 Cover with a kitchen towel and let the dough rise for 1 hour.
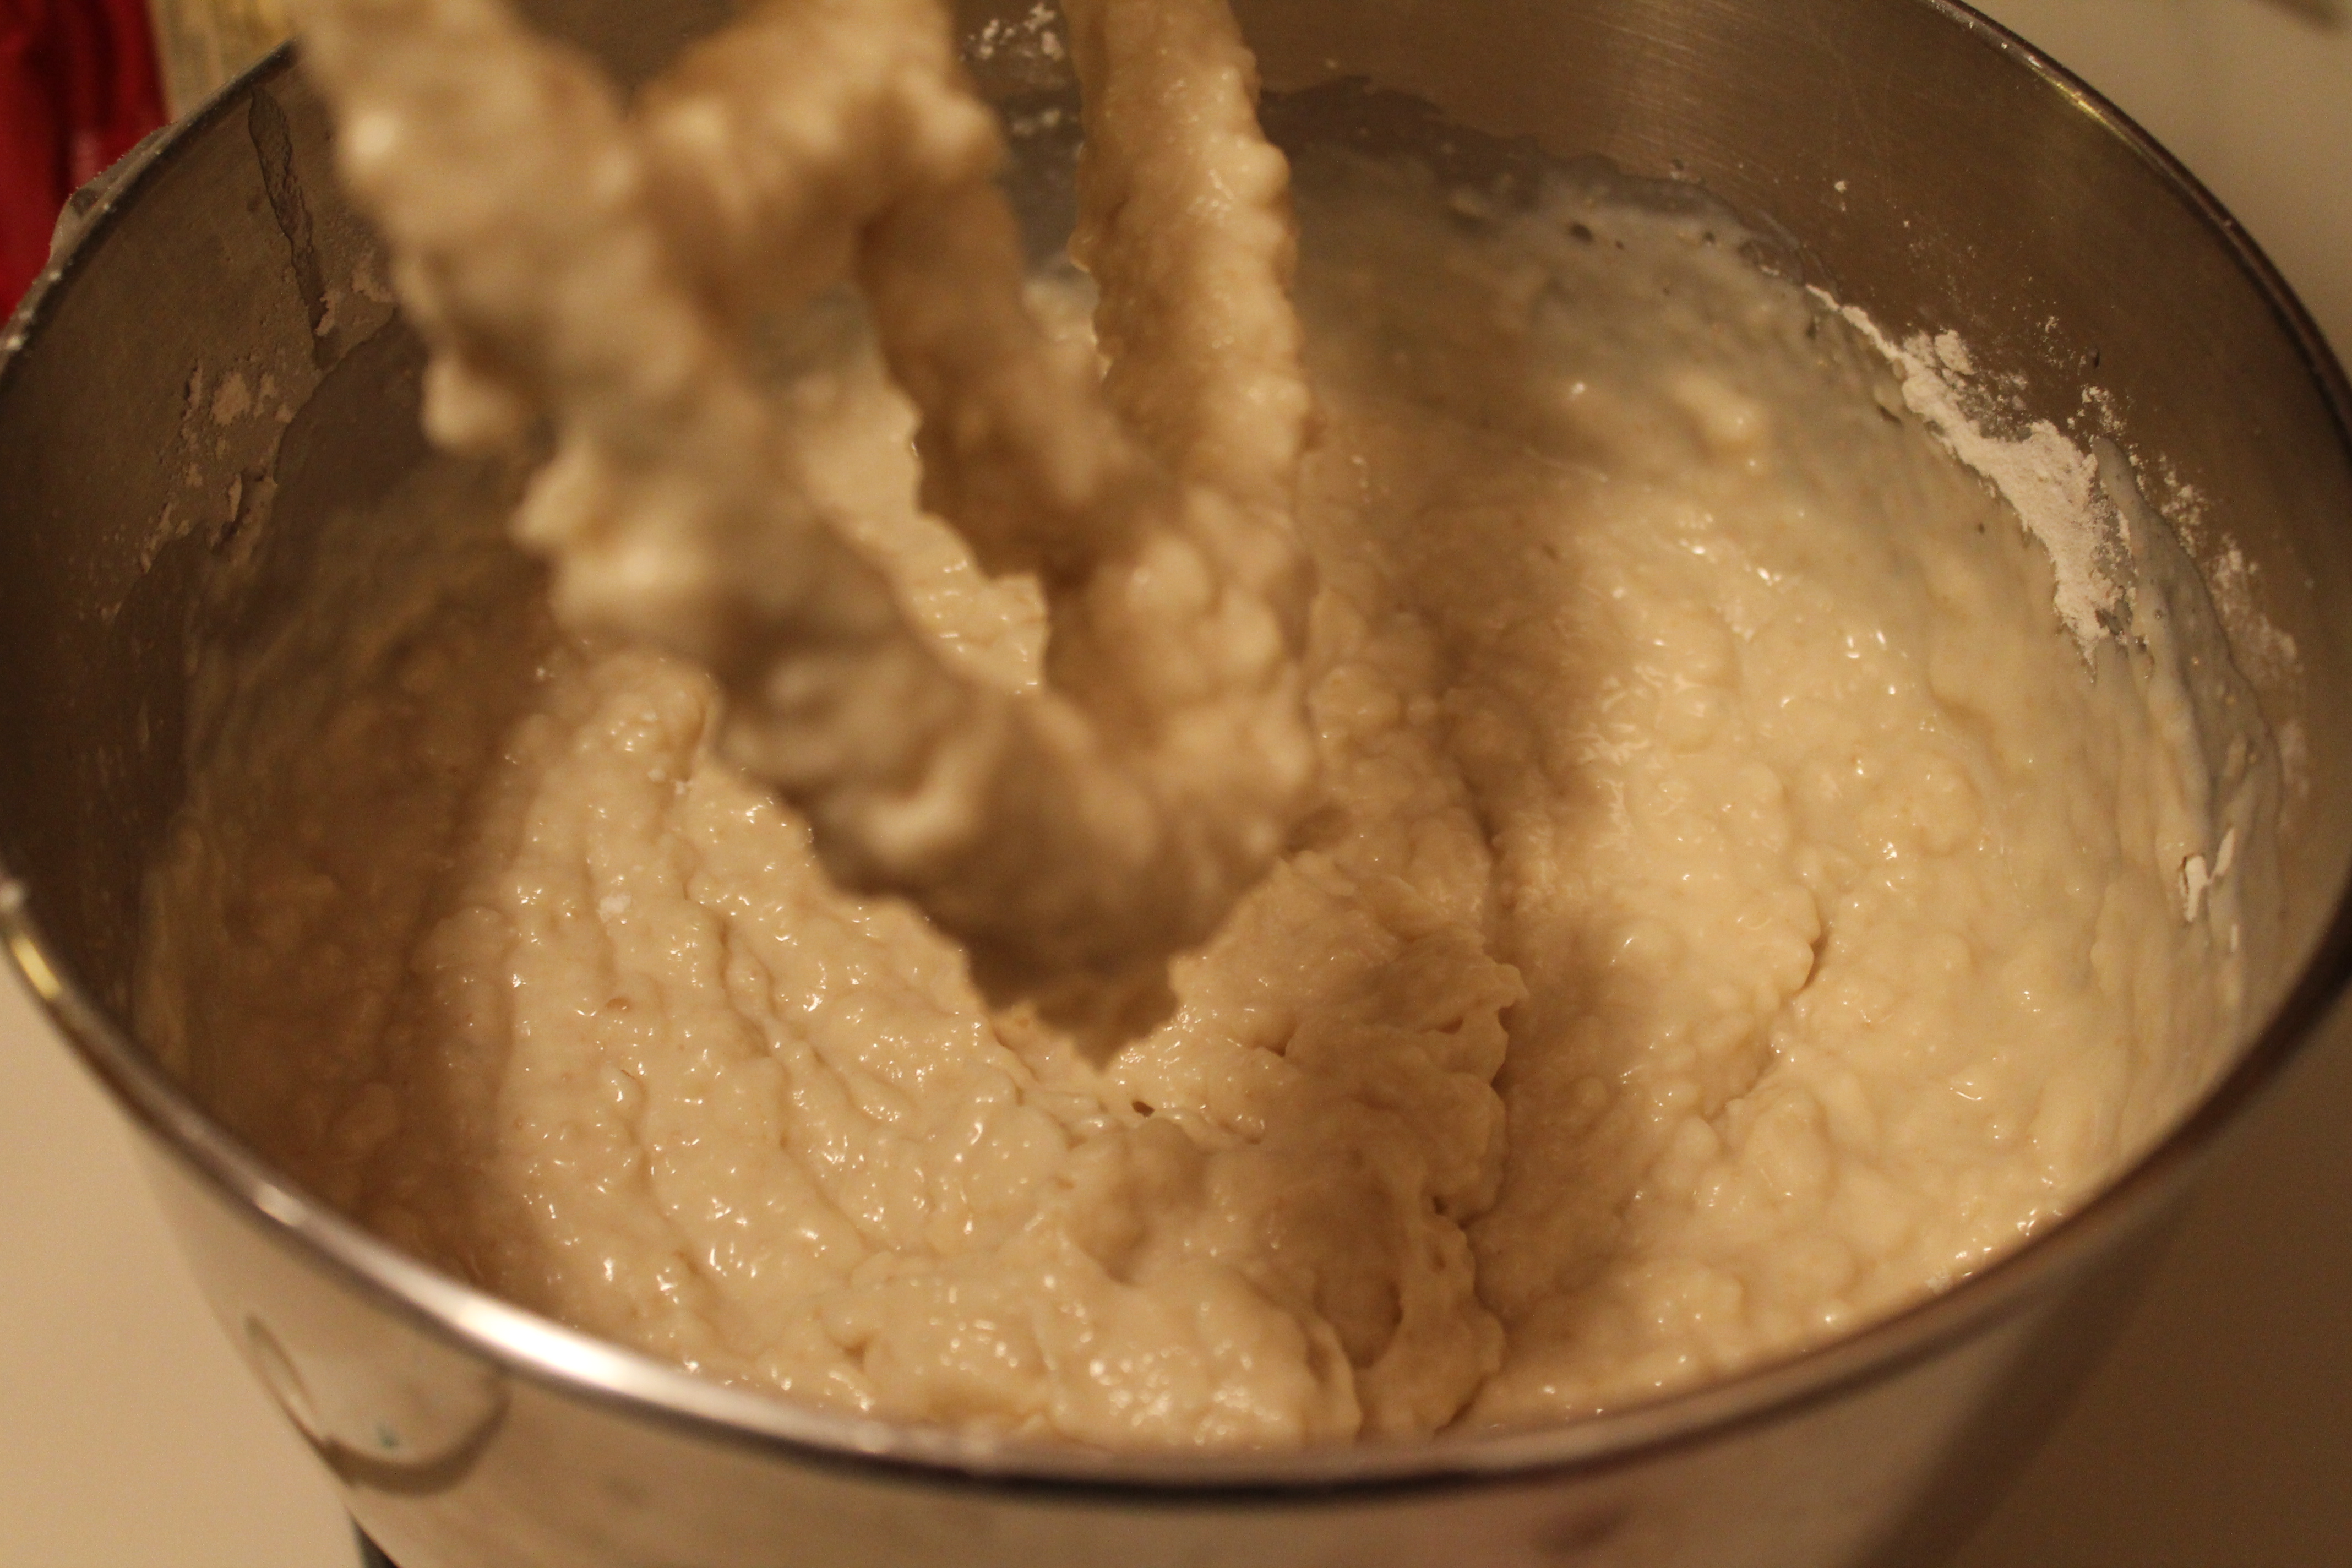
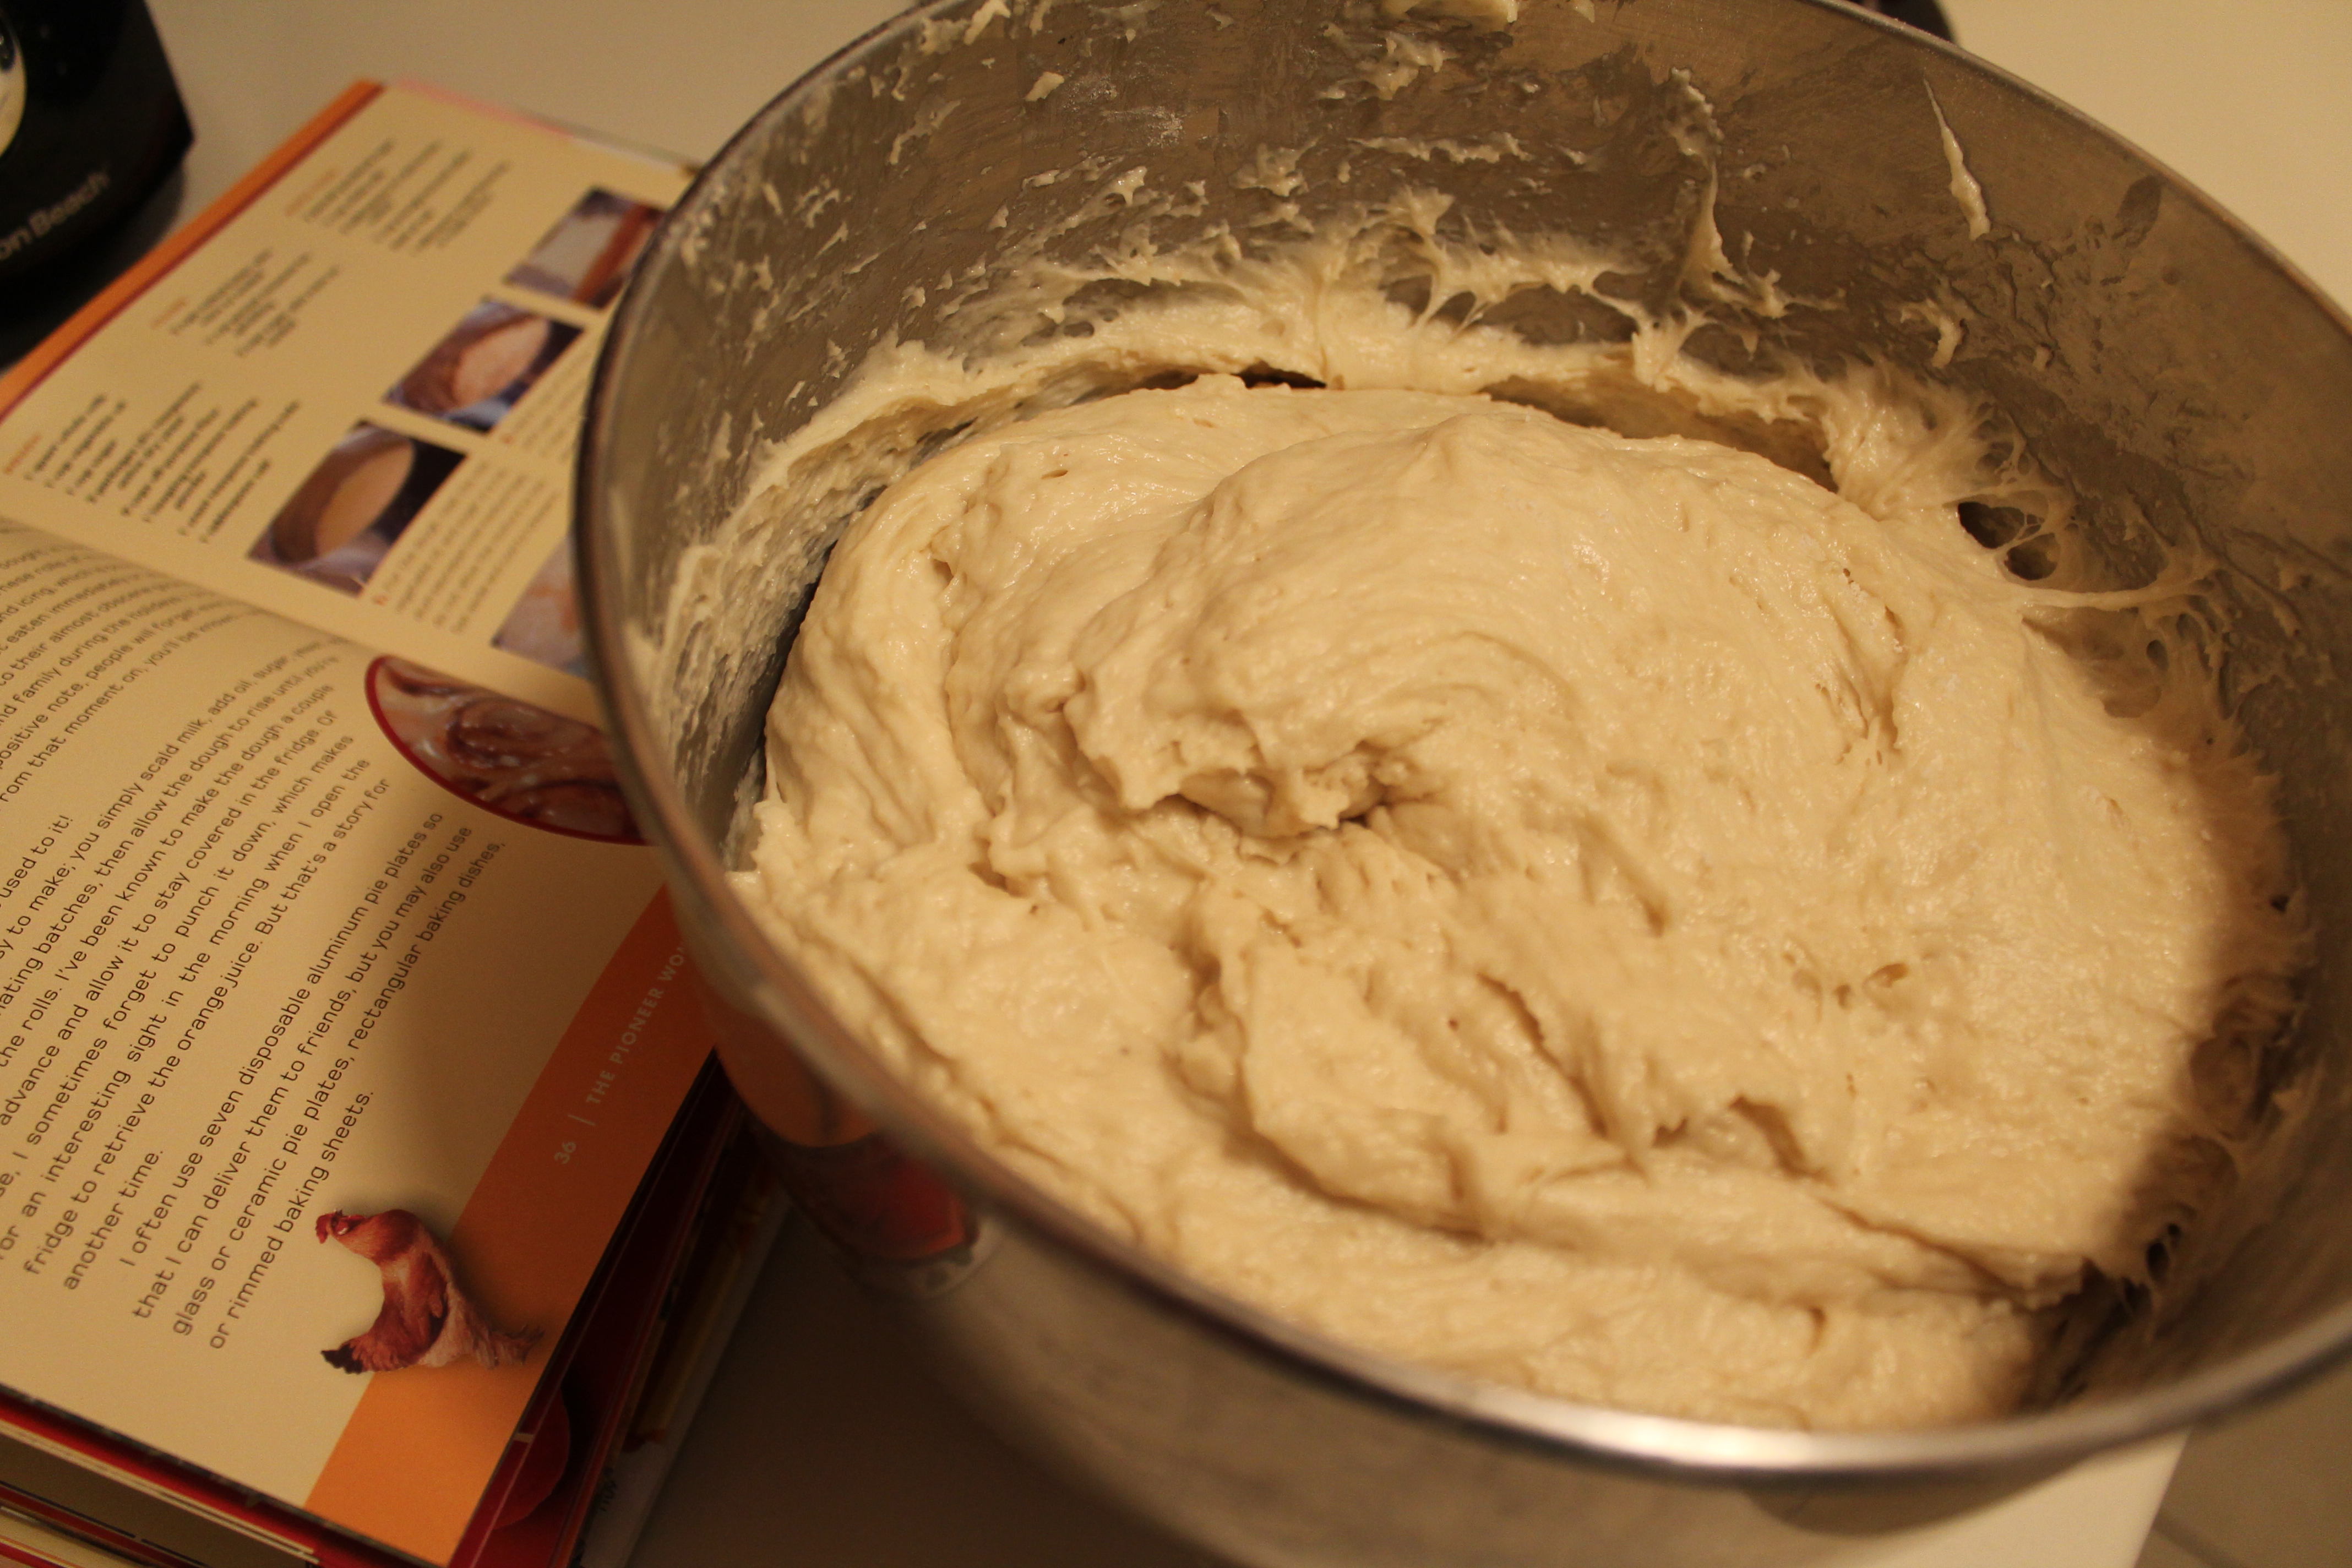 When the dough has risen (it won’t be doubled, but it will be puffed), add in the last cup of flour along with the baking soda, baking powder, and salt. Mix well. You may prefer a dough hook for this part; I went ahead and used my paddle attachment, because it was already doughy, and the dough was quite soft anyway. But it did make a jolly mess while I was mixing!
I recommend chilling the dough for at least 30 minutes to make it slightly easier to roll.
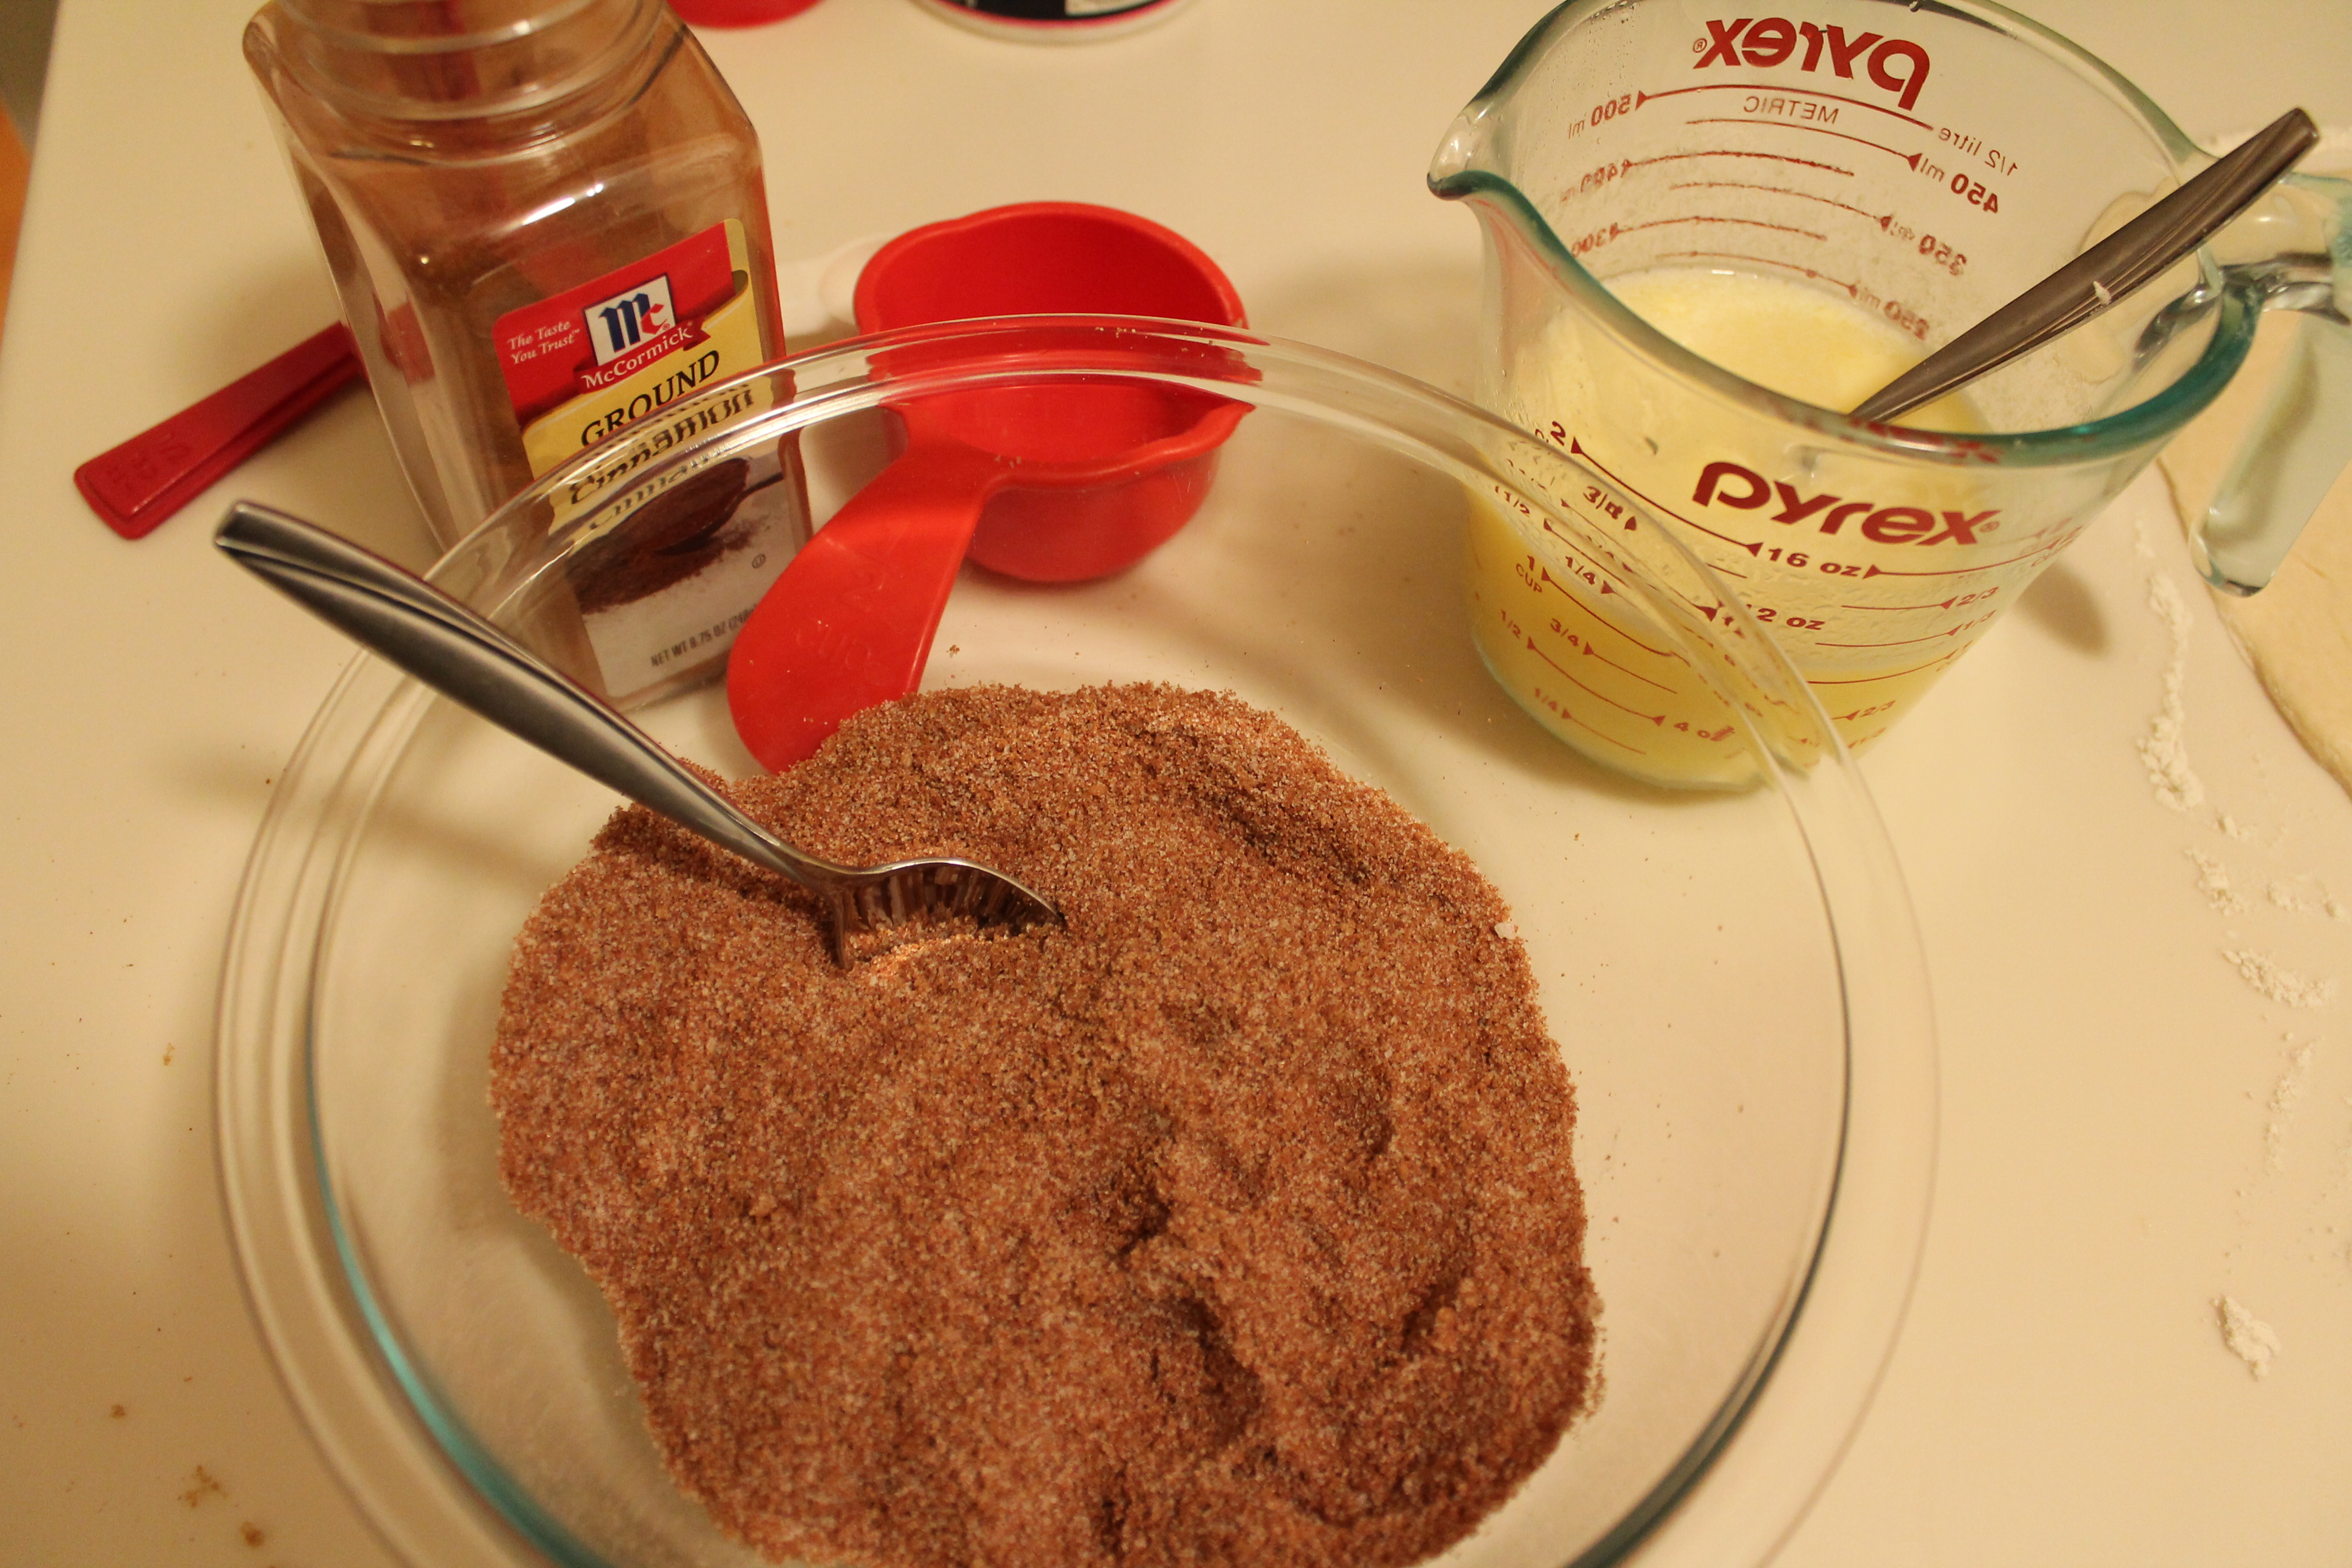 When you are ready to make the buns, go ahead and prepare the fillings first. I did mine in two batches. First, melt the butter, then in a separate bowl, combine the cinnamon and sugars.
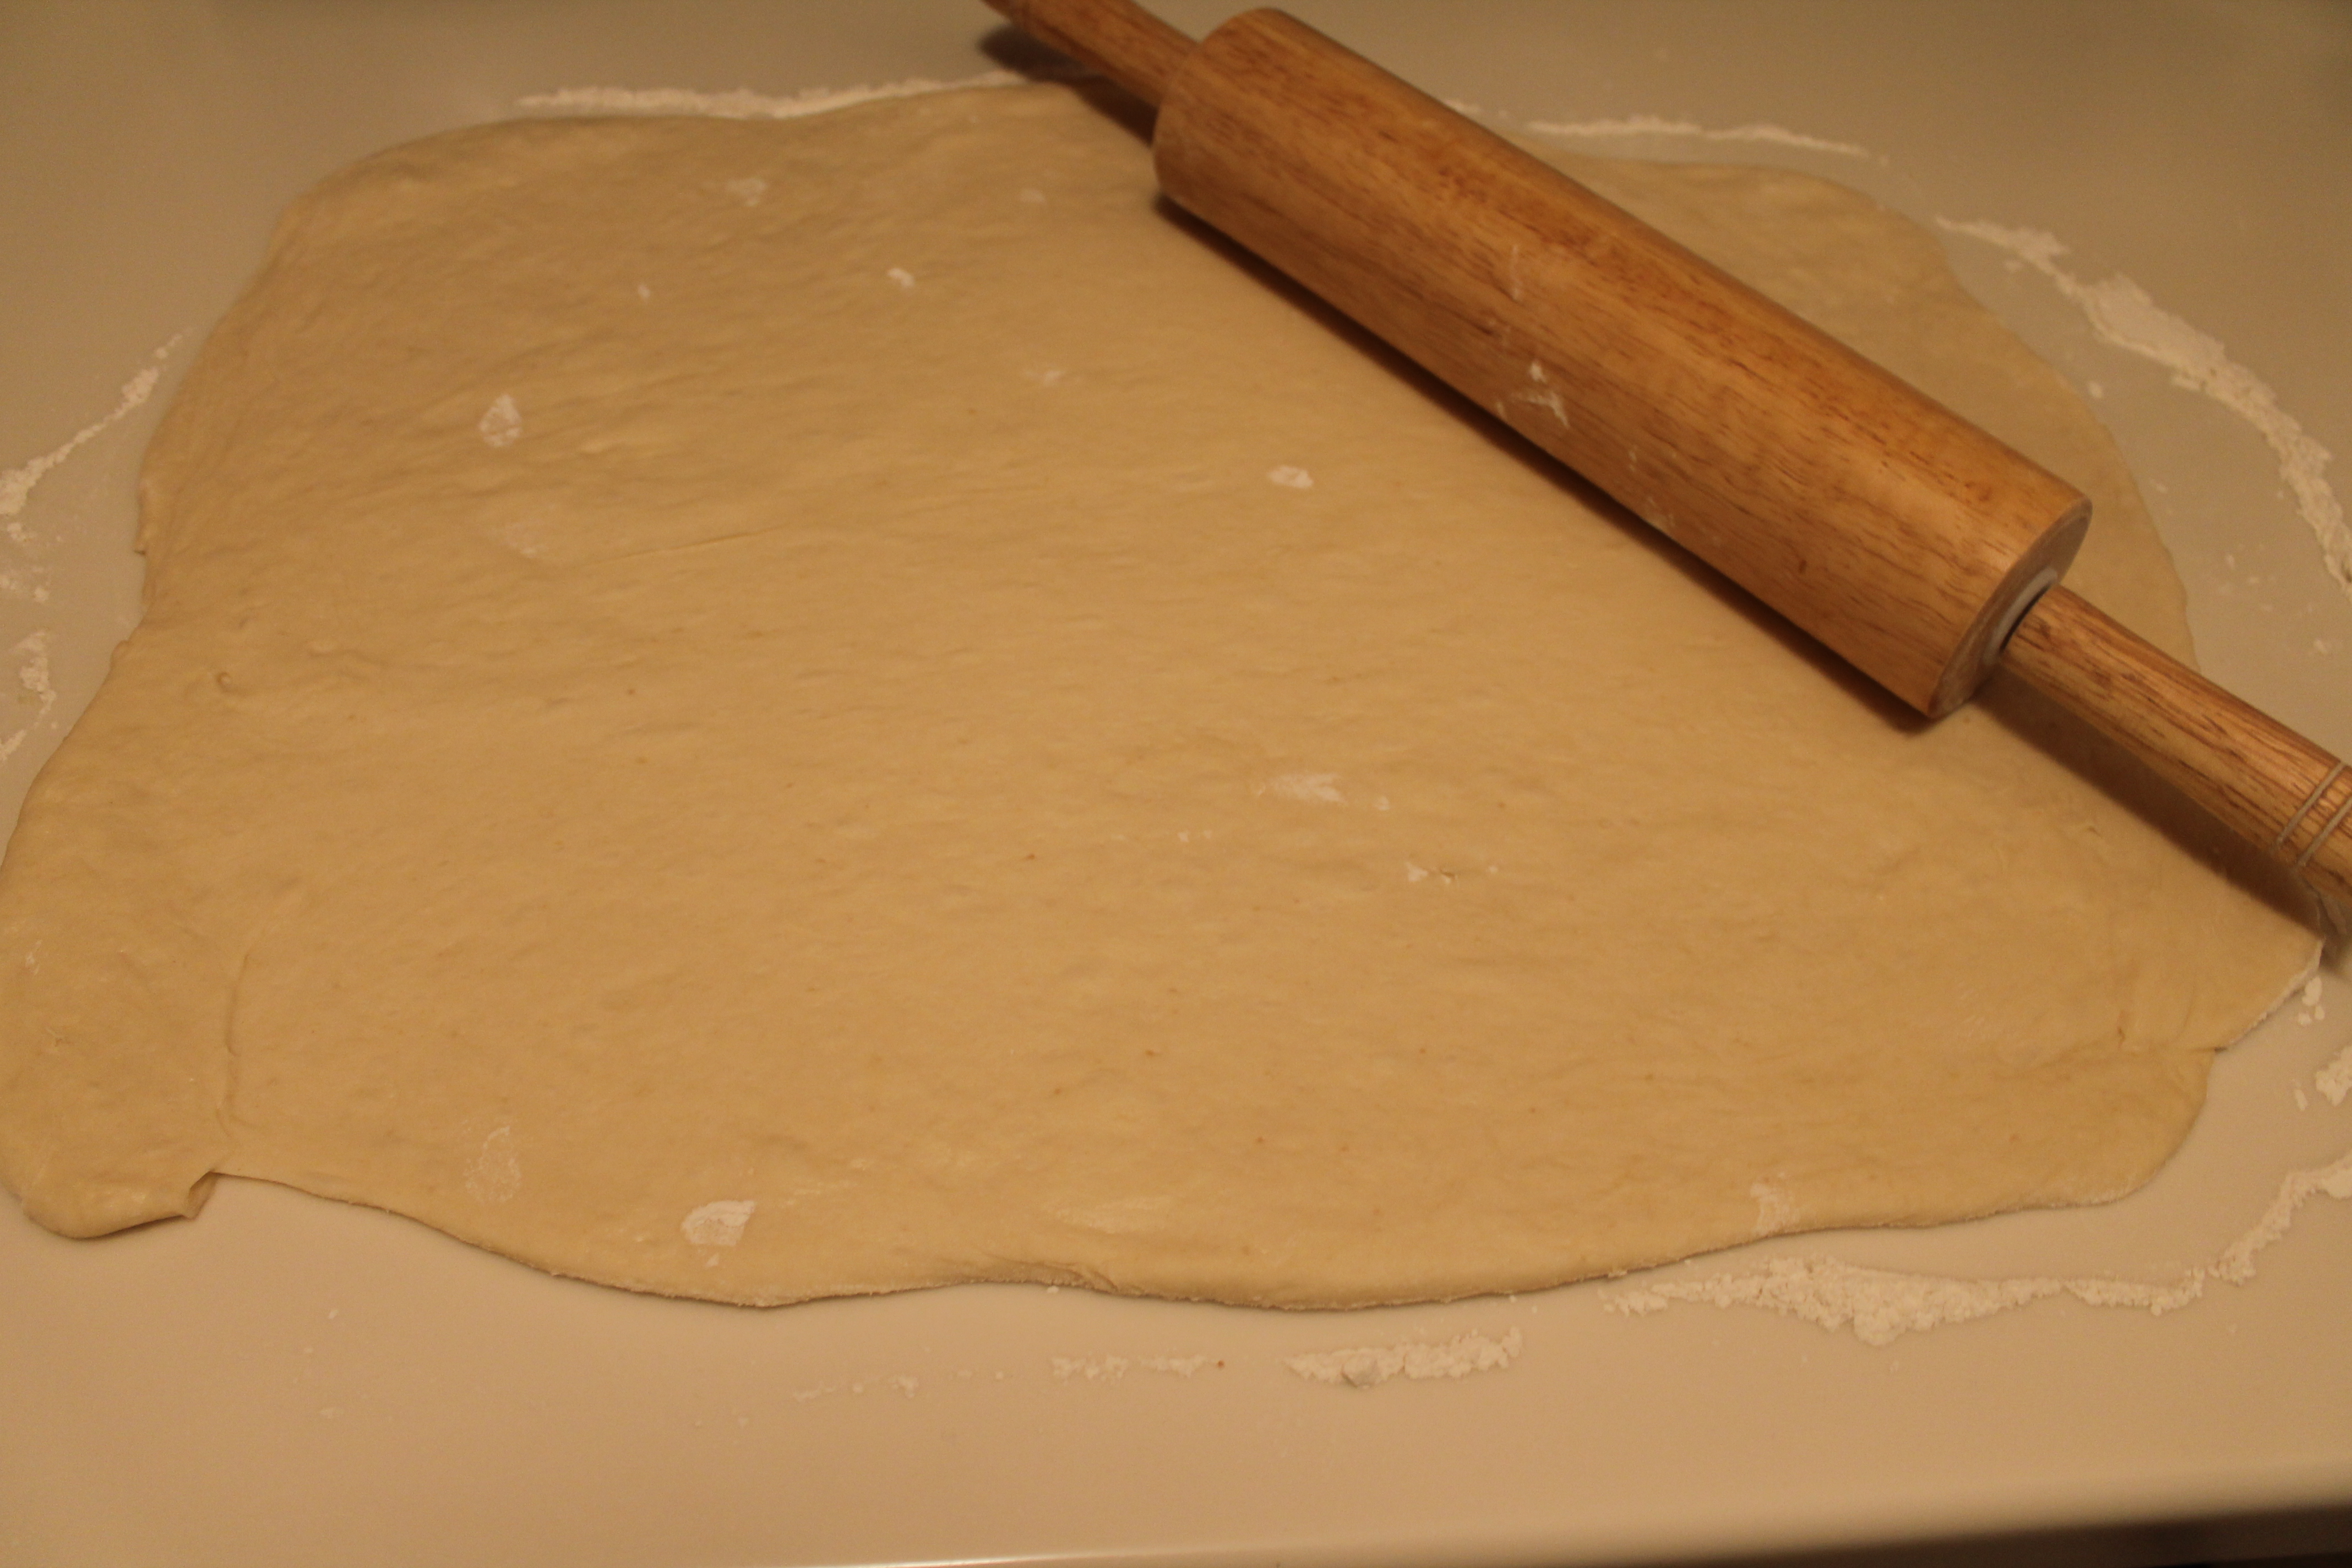 Divide the dough roughly in half. Roll out one half on a floured surface. Get as close to an even rectangle as possible. The recipe recommends rolling out to 10″ x 30″, but if you want to make more rolls, then you could favor a longer, shallower rectangle.
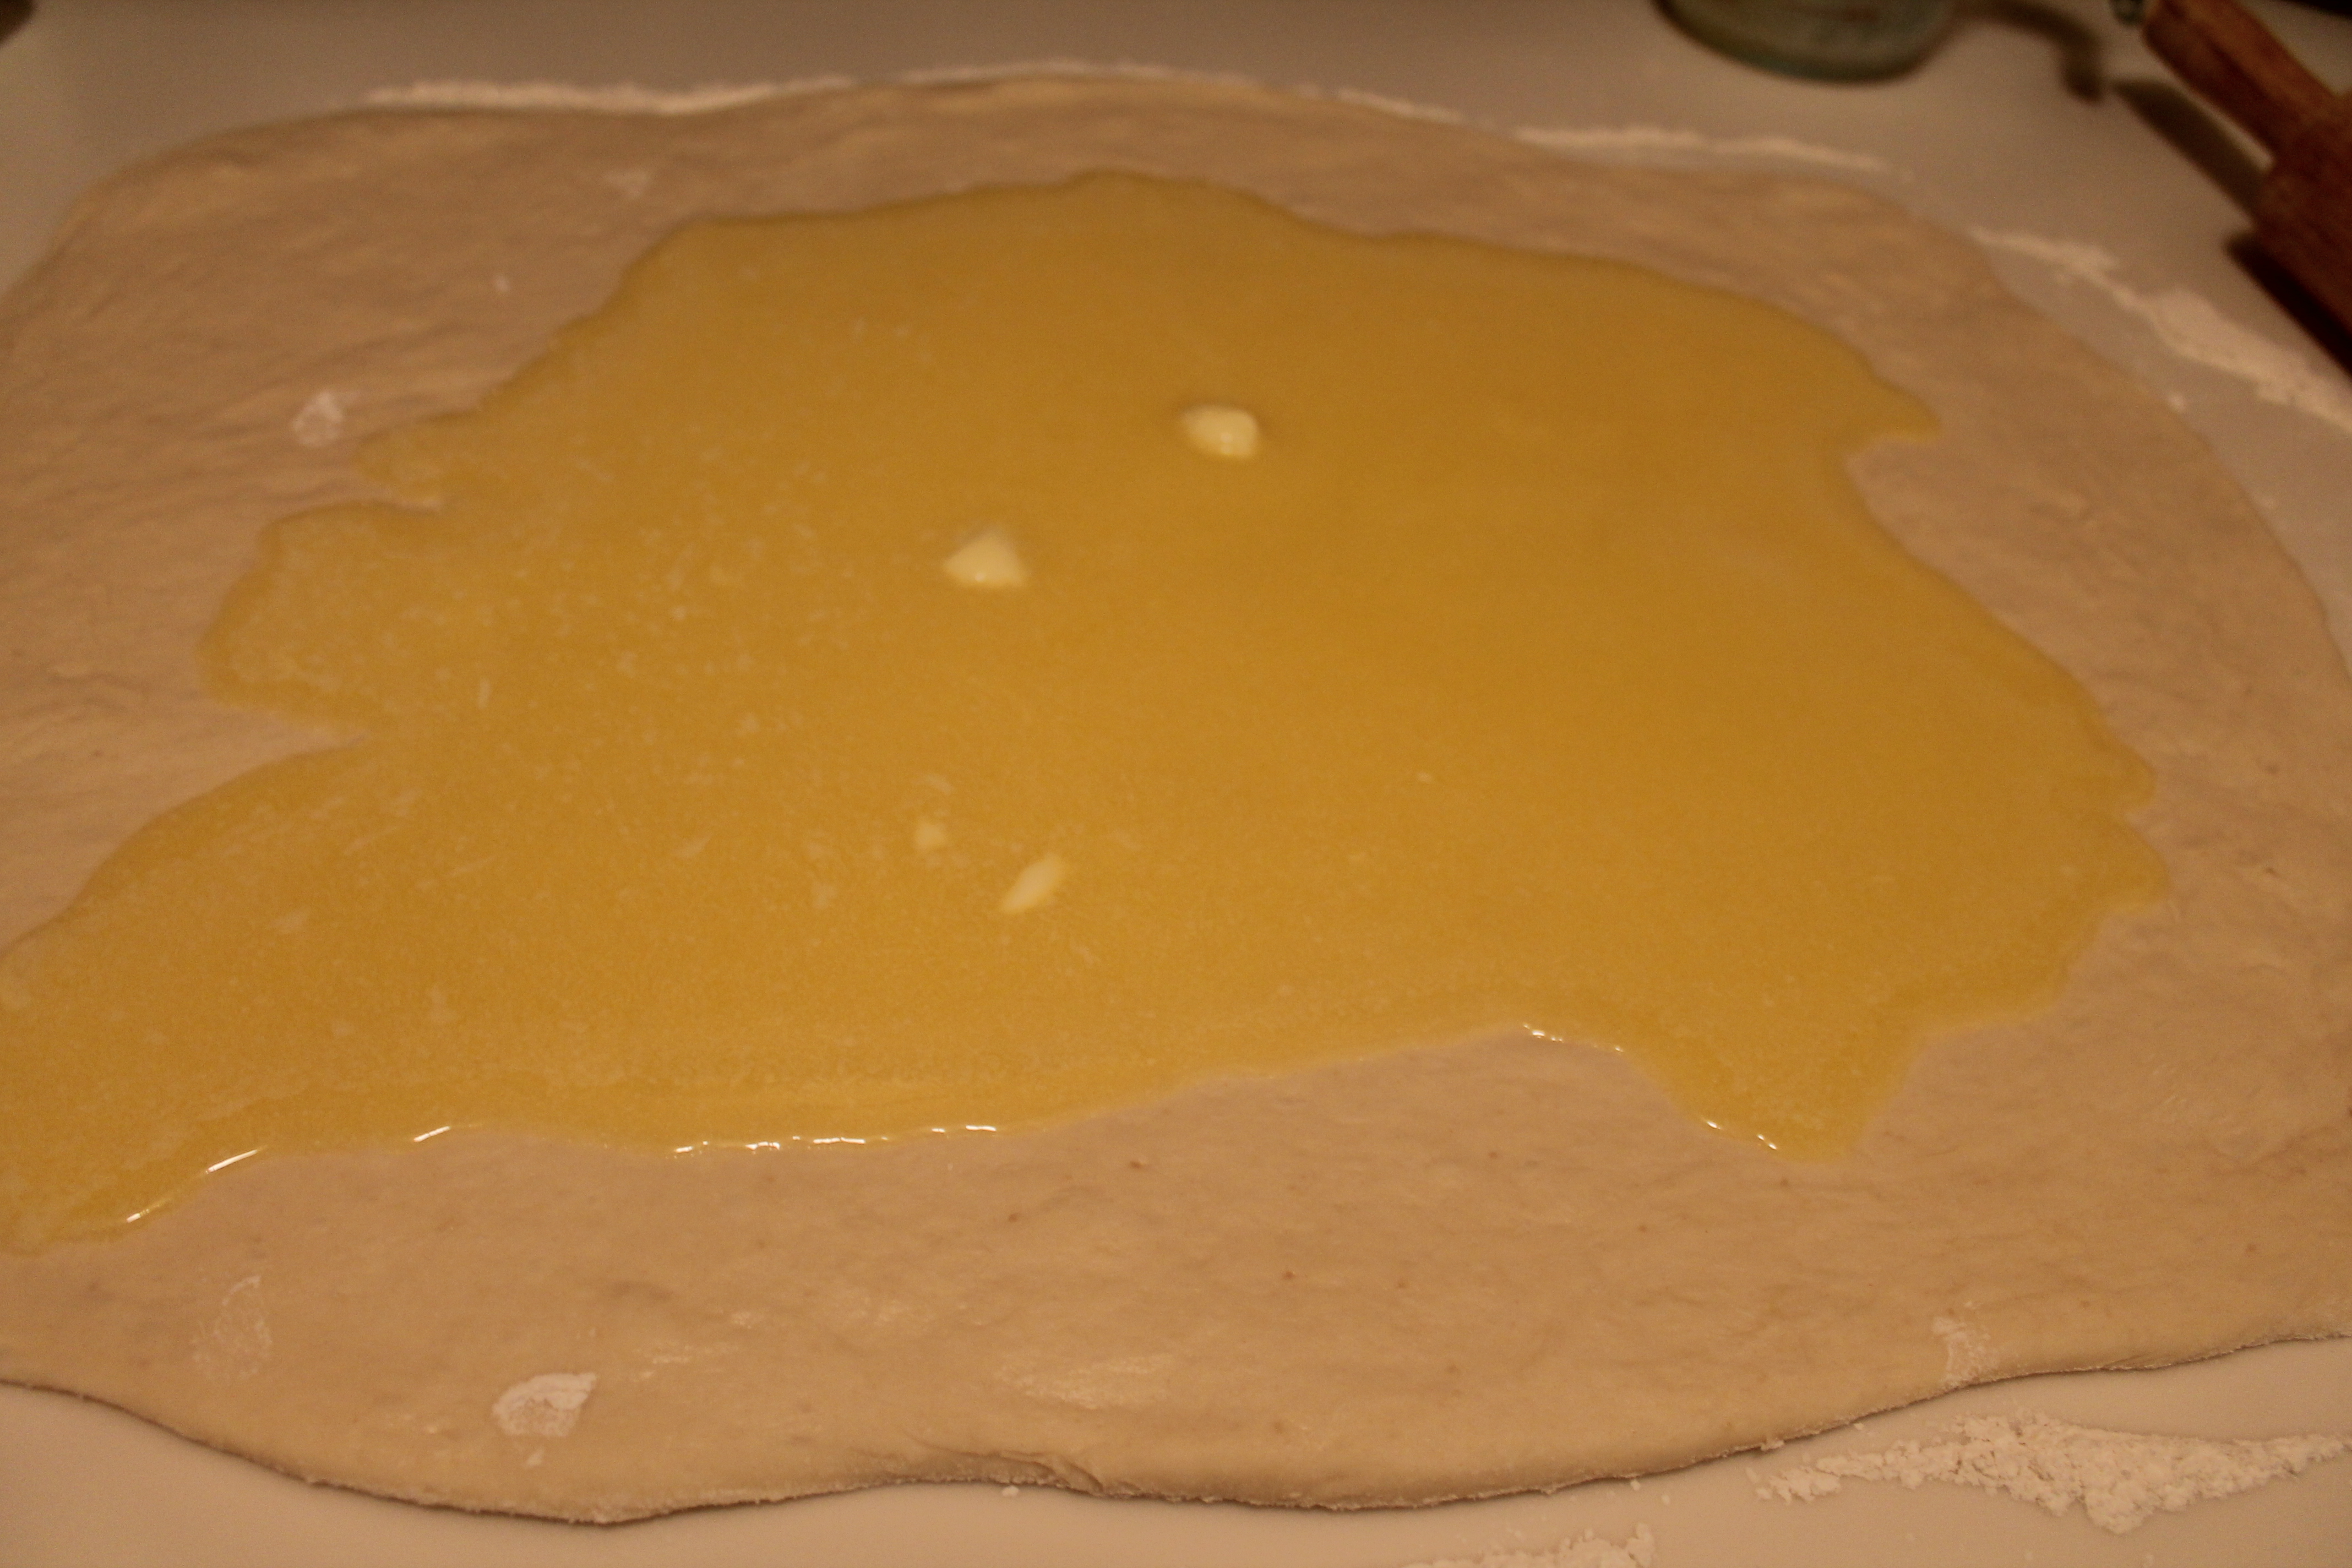 Spread 1 cup of the melted butter over the rolled out dough with your fingers. Yes, this is messy. Yes, 1 cup of butter seems like way too much. But you want gooey cinnamon rolls, don’t you? So don’t chicken out!
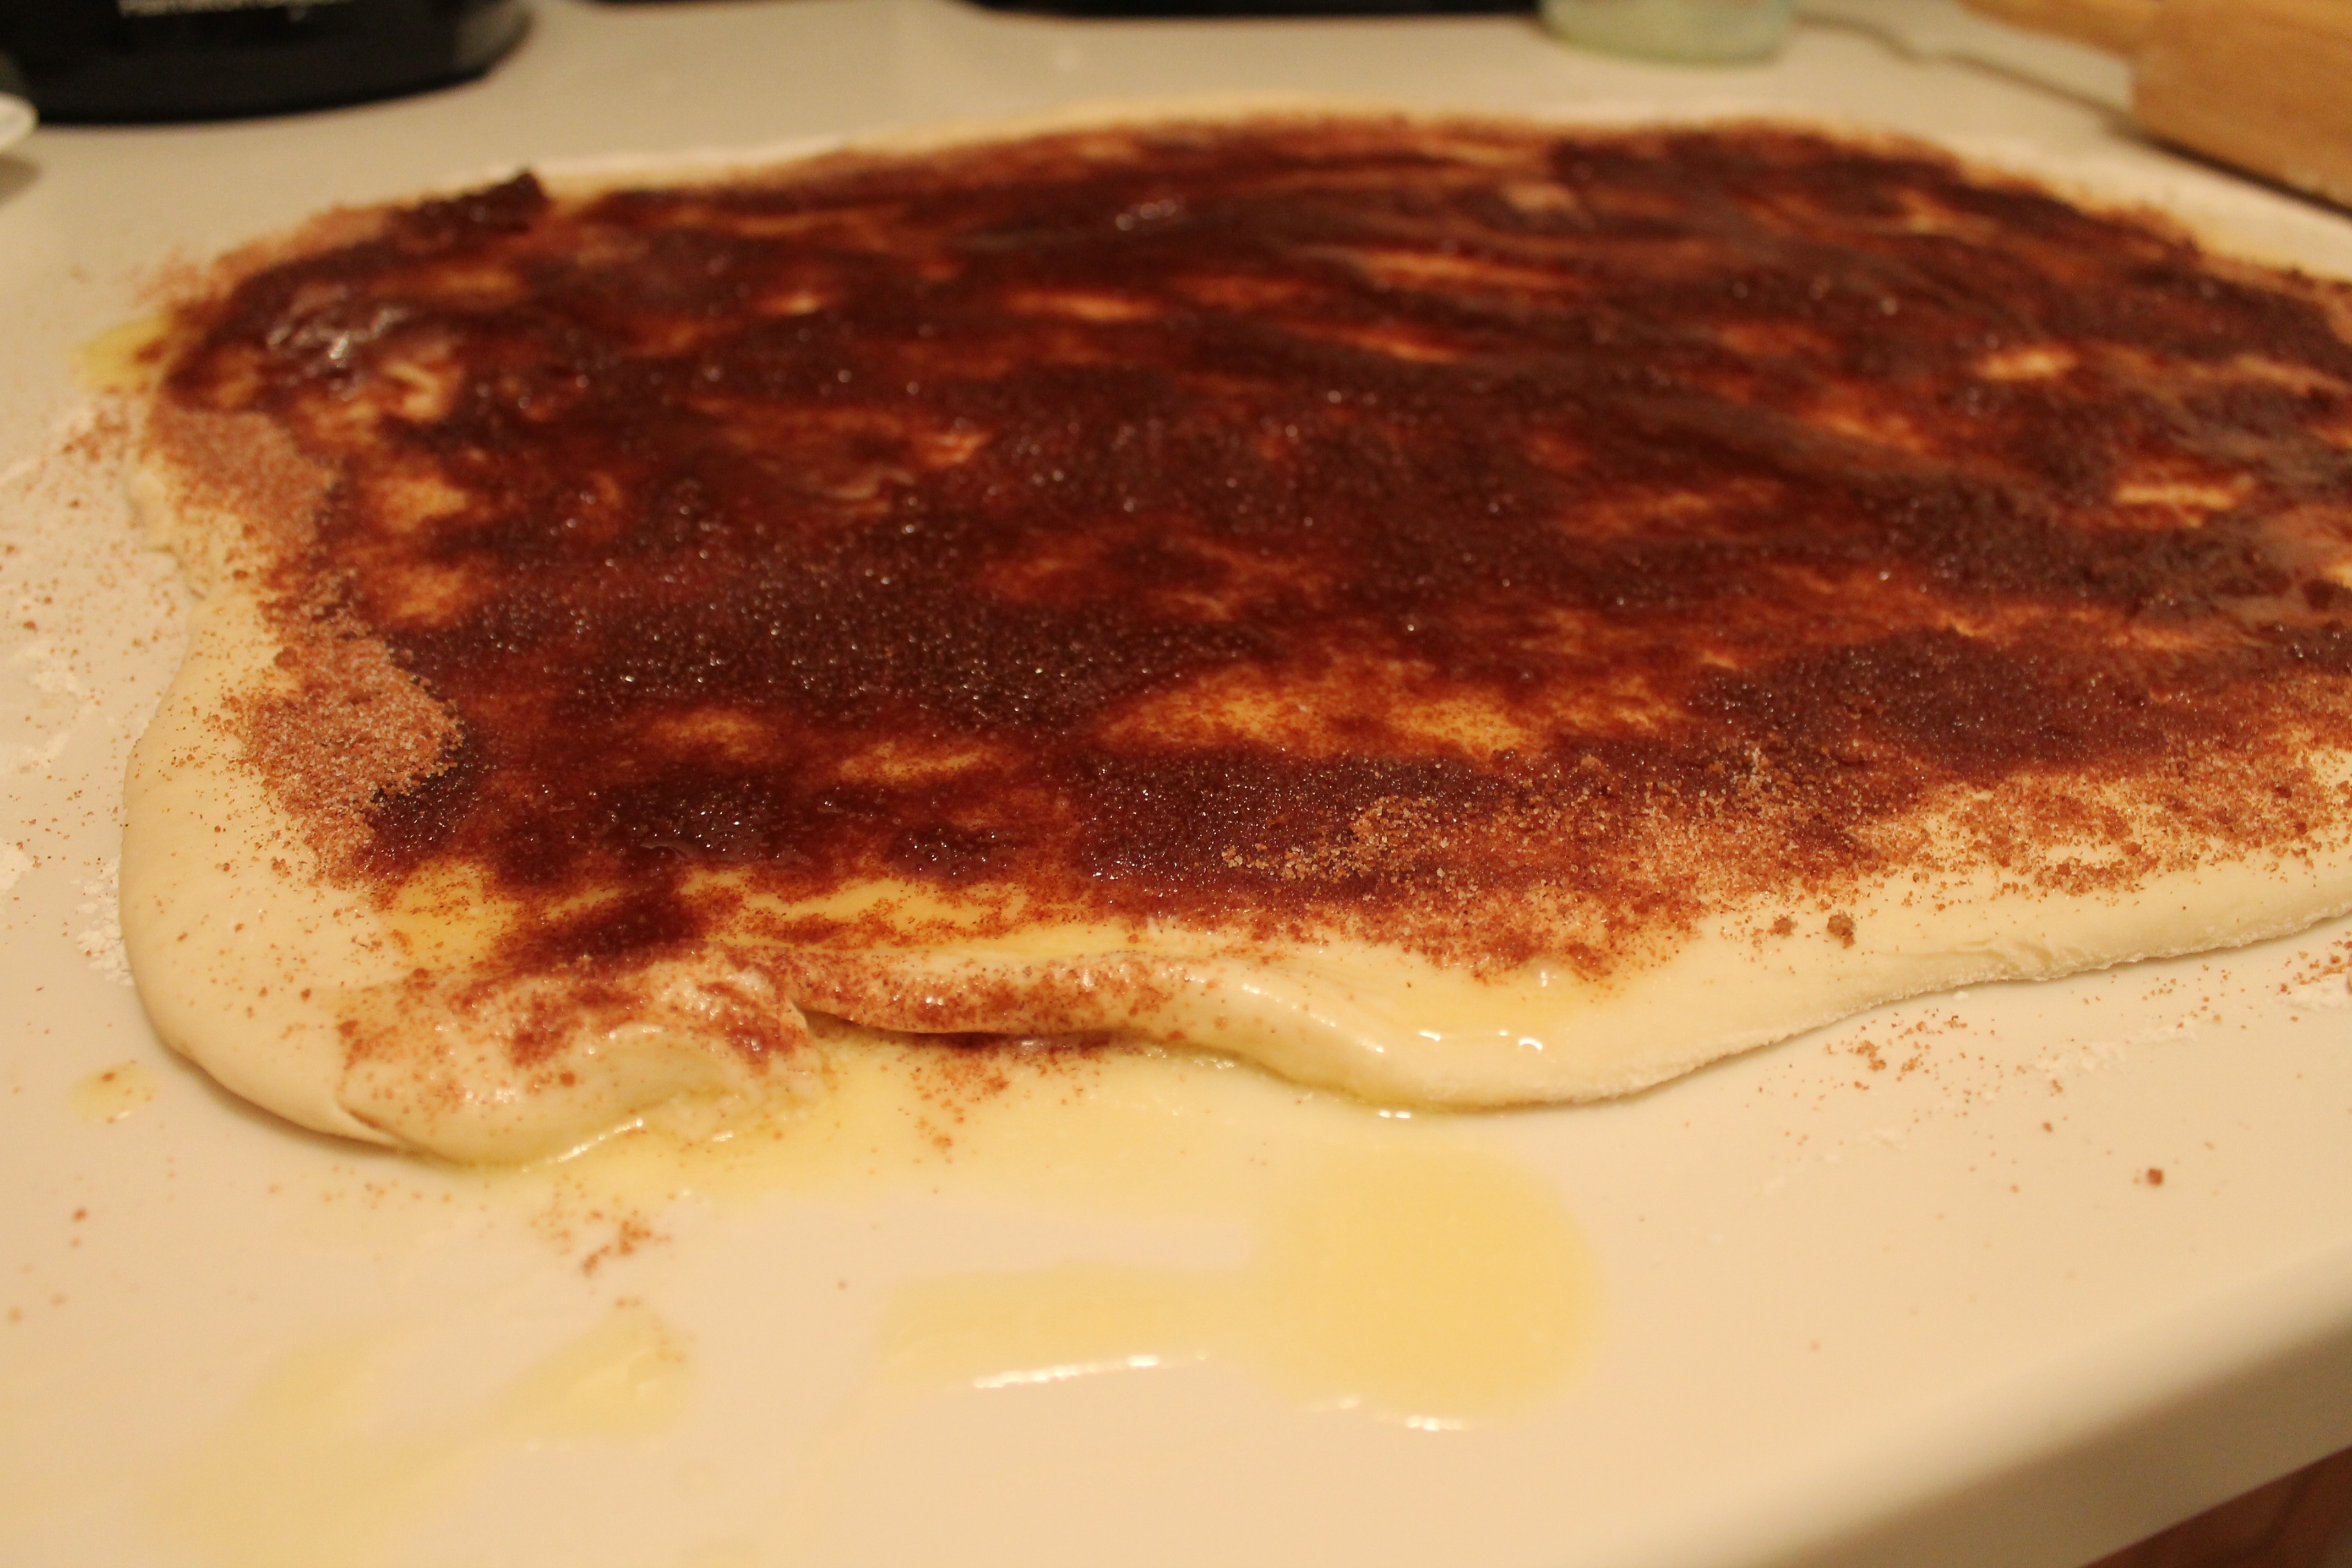 Quickly sprinkle 1 cup of the cinnamon sugar all over the dough, getting right up to the edges.
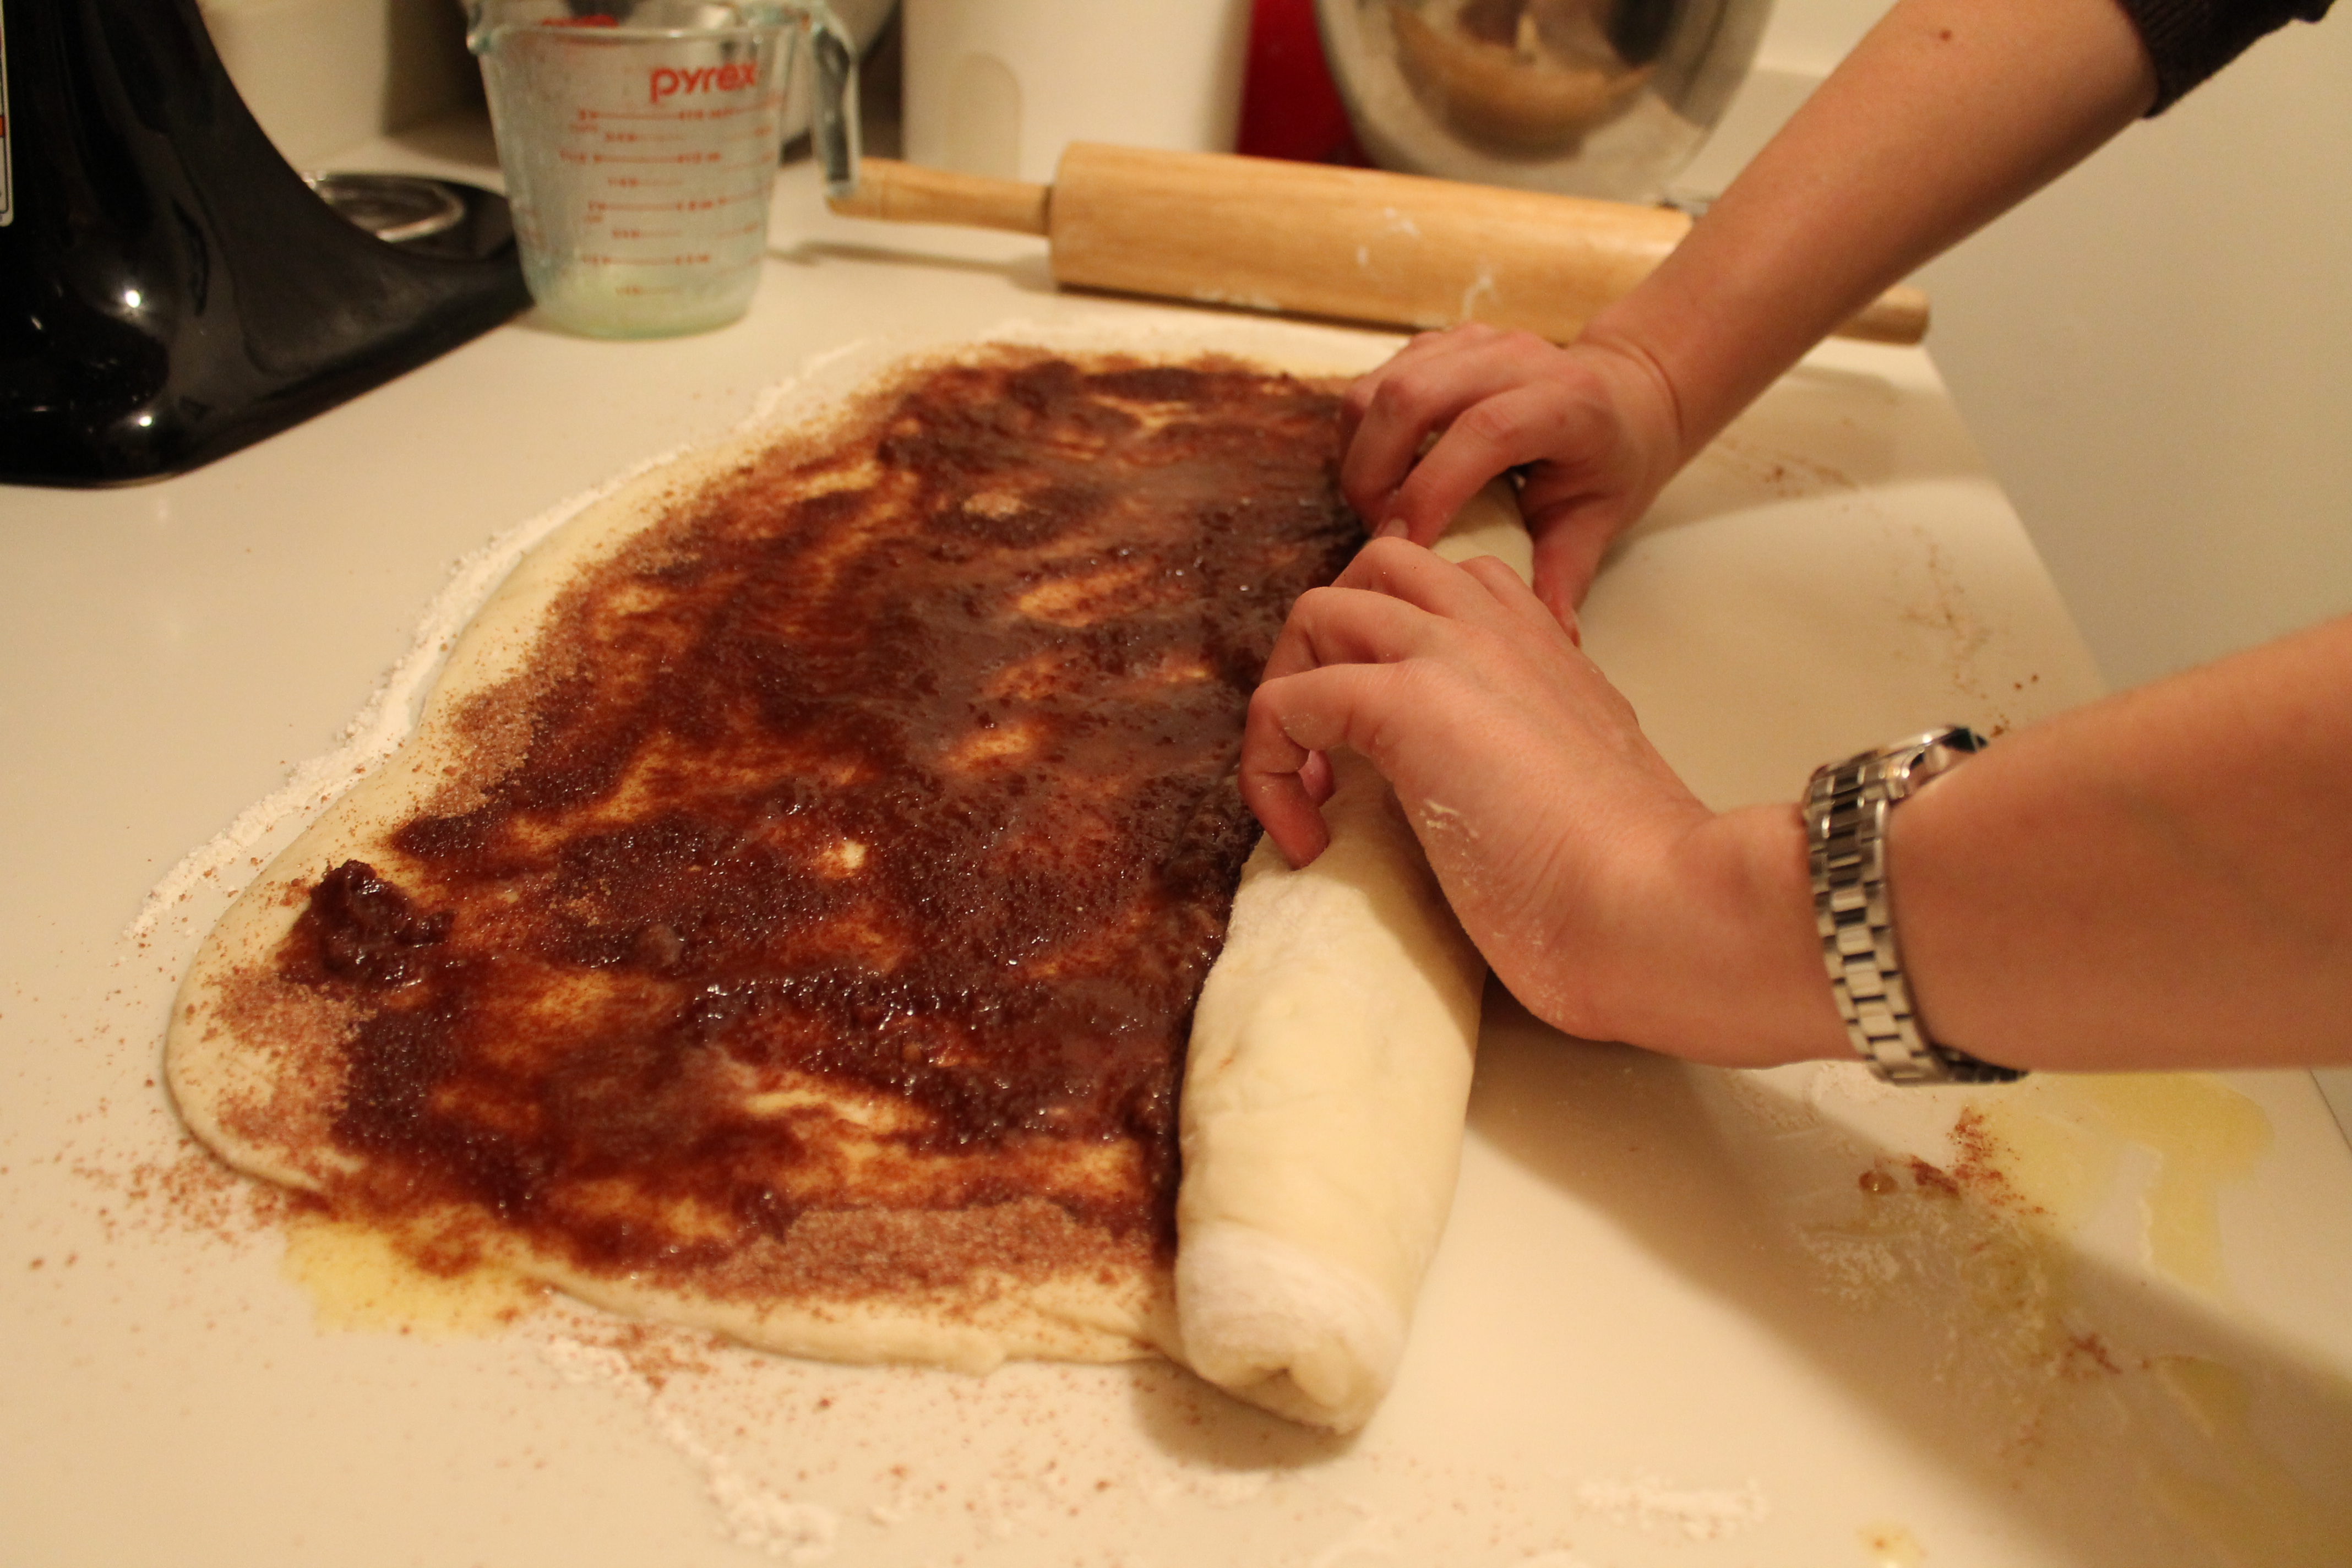 Carefully roll the dough up, jelly-roll style. It doesn’t matter whether you roll toward you or away from you (I find away easier, but I am probably in the minority there), but you should end up with a 30″ log when you are done. And try not to have a total nervous breakdown if some of the cinnamon sugar mixture oozes out. Just calmly pinch the seam to seal it, and realize that you can use a spatula to rescue the sugary goodness and deposit it onto the shaped buns as they are rising.
Cut the cinnamon log into buns about 1¼″ thick. This might seem too skinny, but they will rise! Or, if you aren’t trying to serve 50 hungry moms the next day, you could cut yours slightly thicker, but don’t get too crazy or they won’t bake well.
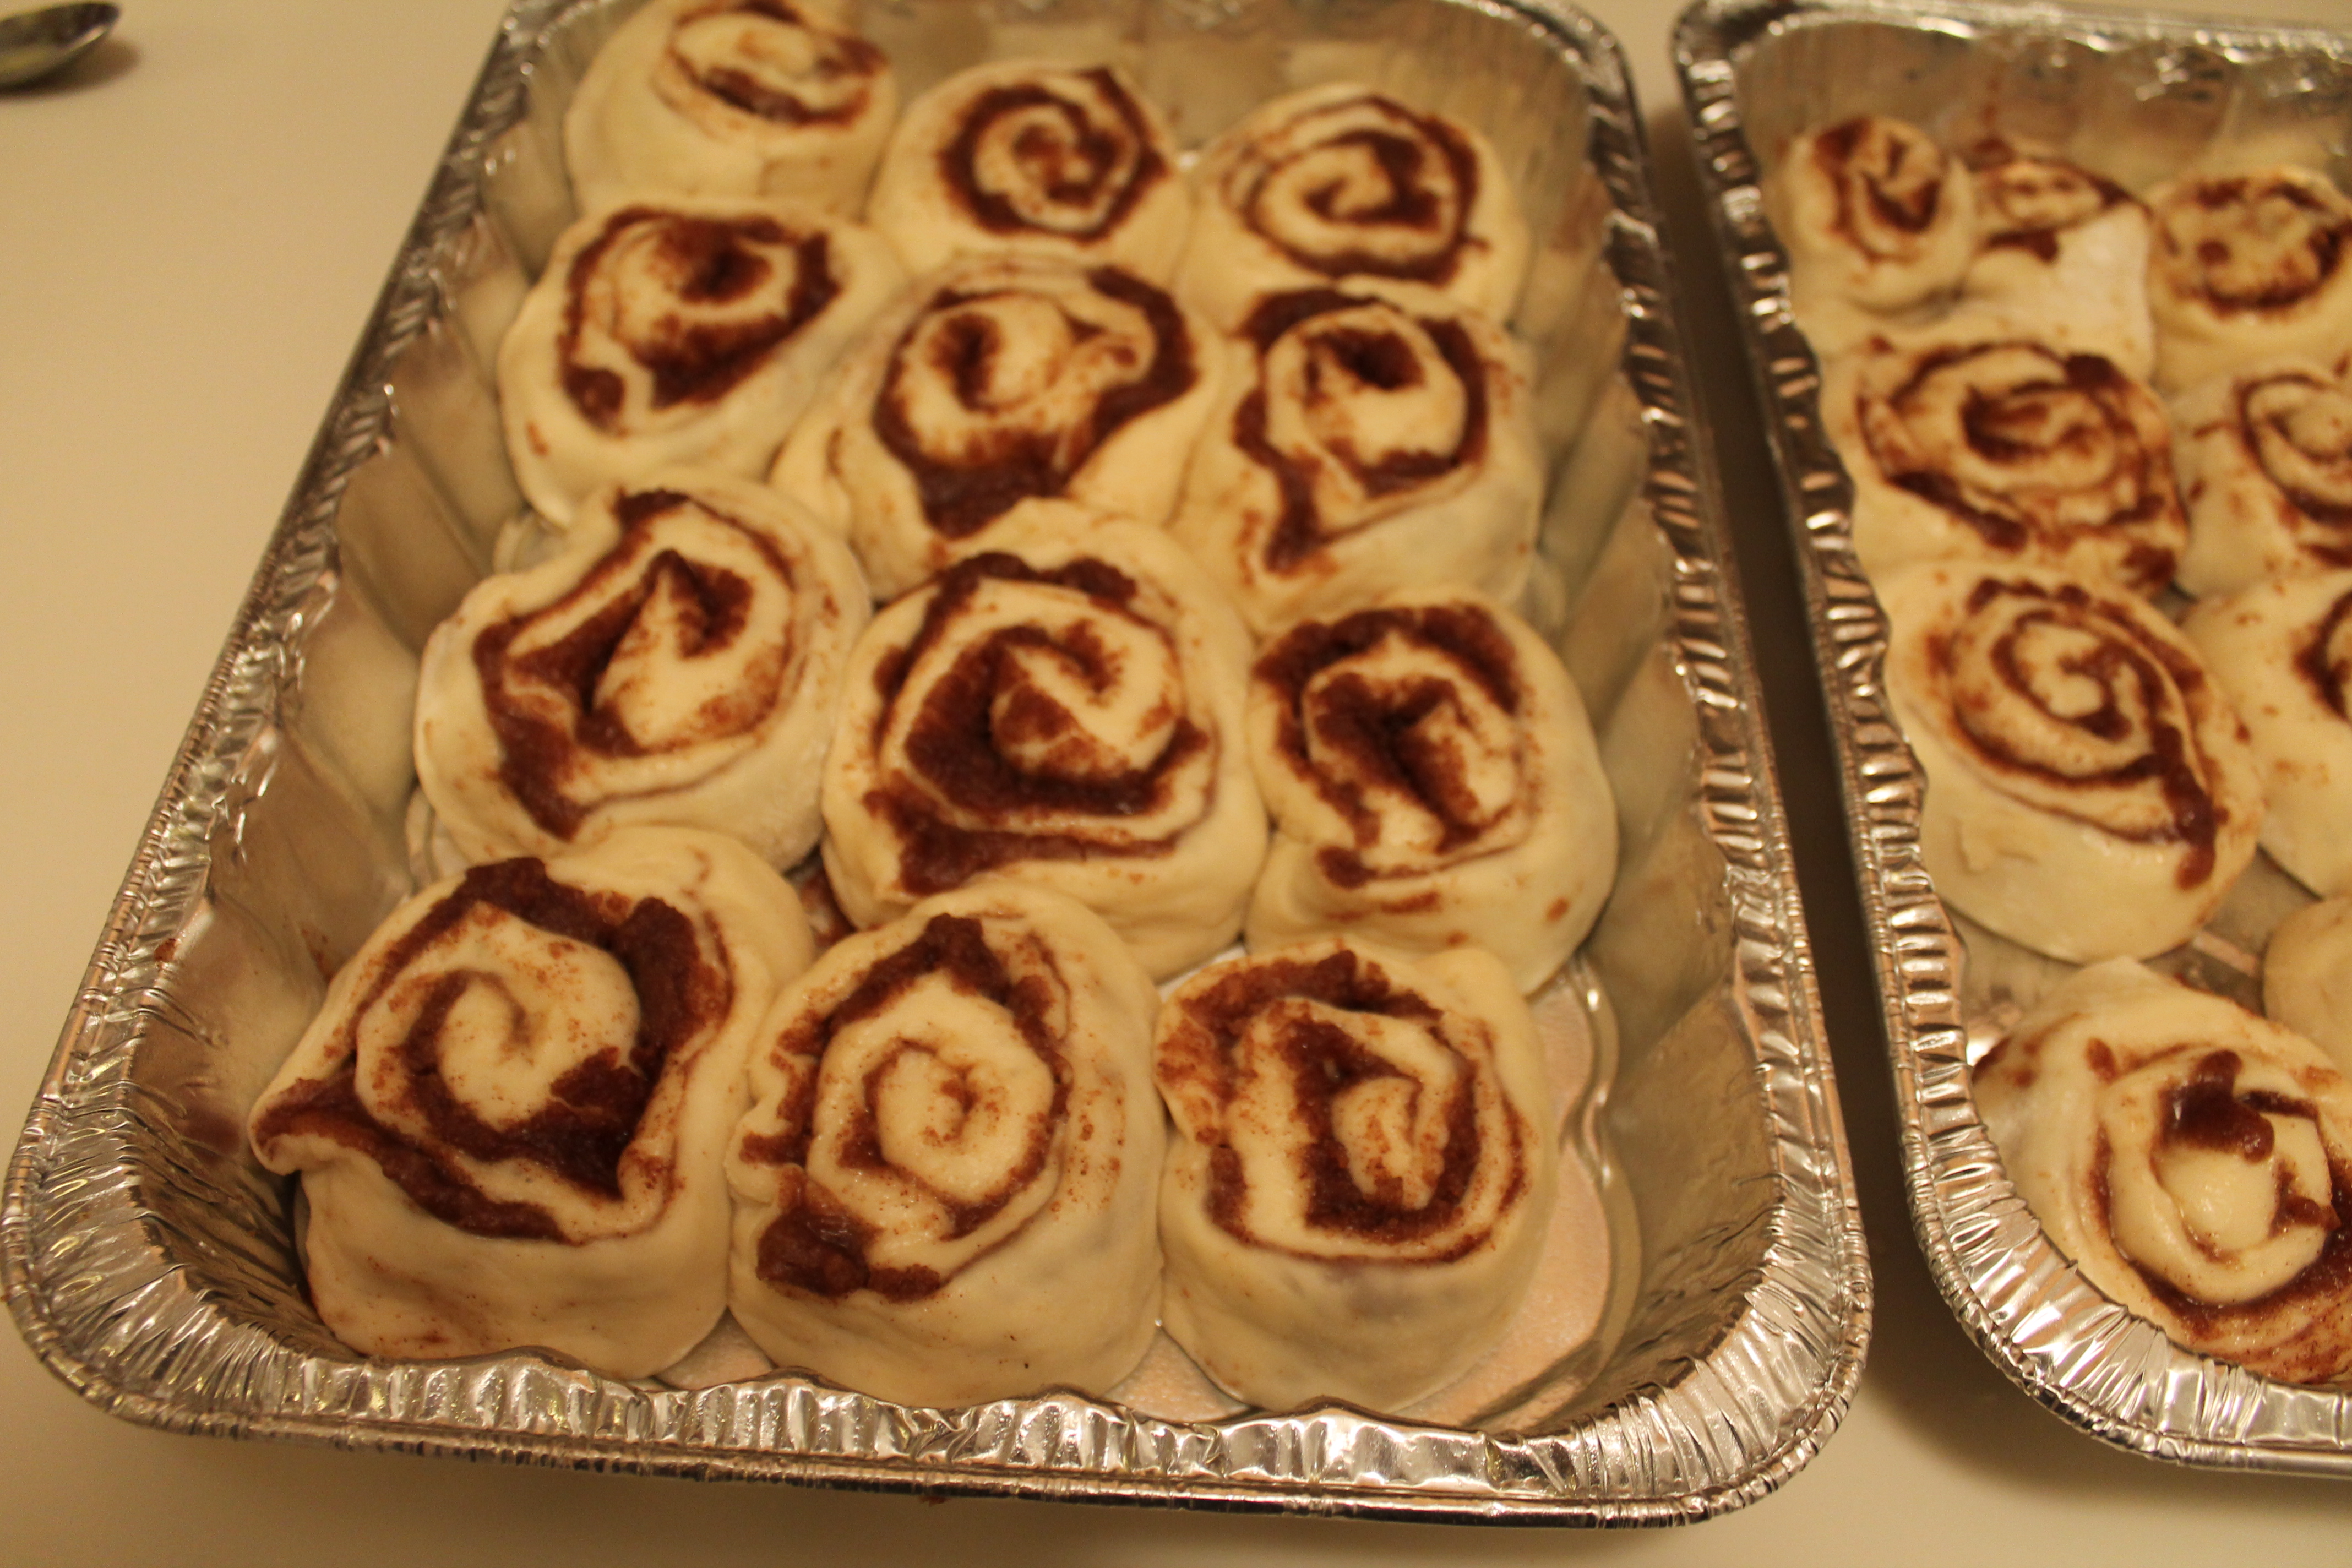 Set the sliced buns into a lightly oiled or buttered baking dish. I used 8″ x 12″ x 2″ disposable foil pans, which I sprayed with cooking spray. Arrange the buns so that they are not touching (I could only get 12 into each pan), so that they will have a little room to rise.
Let the buns rise on the counter for 30 minutes.
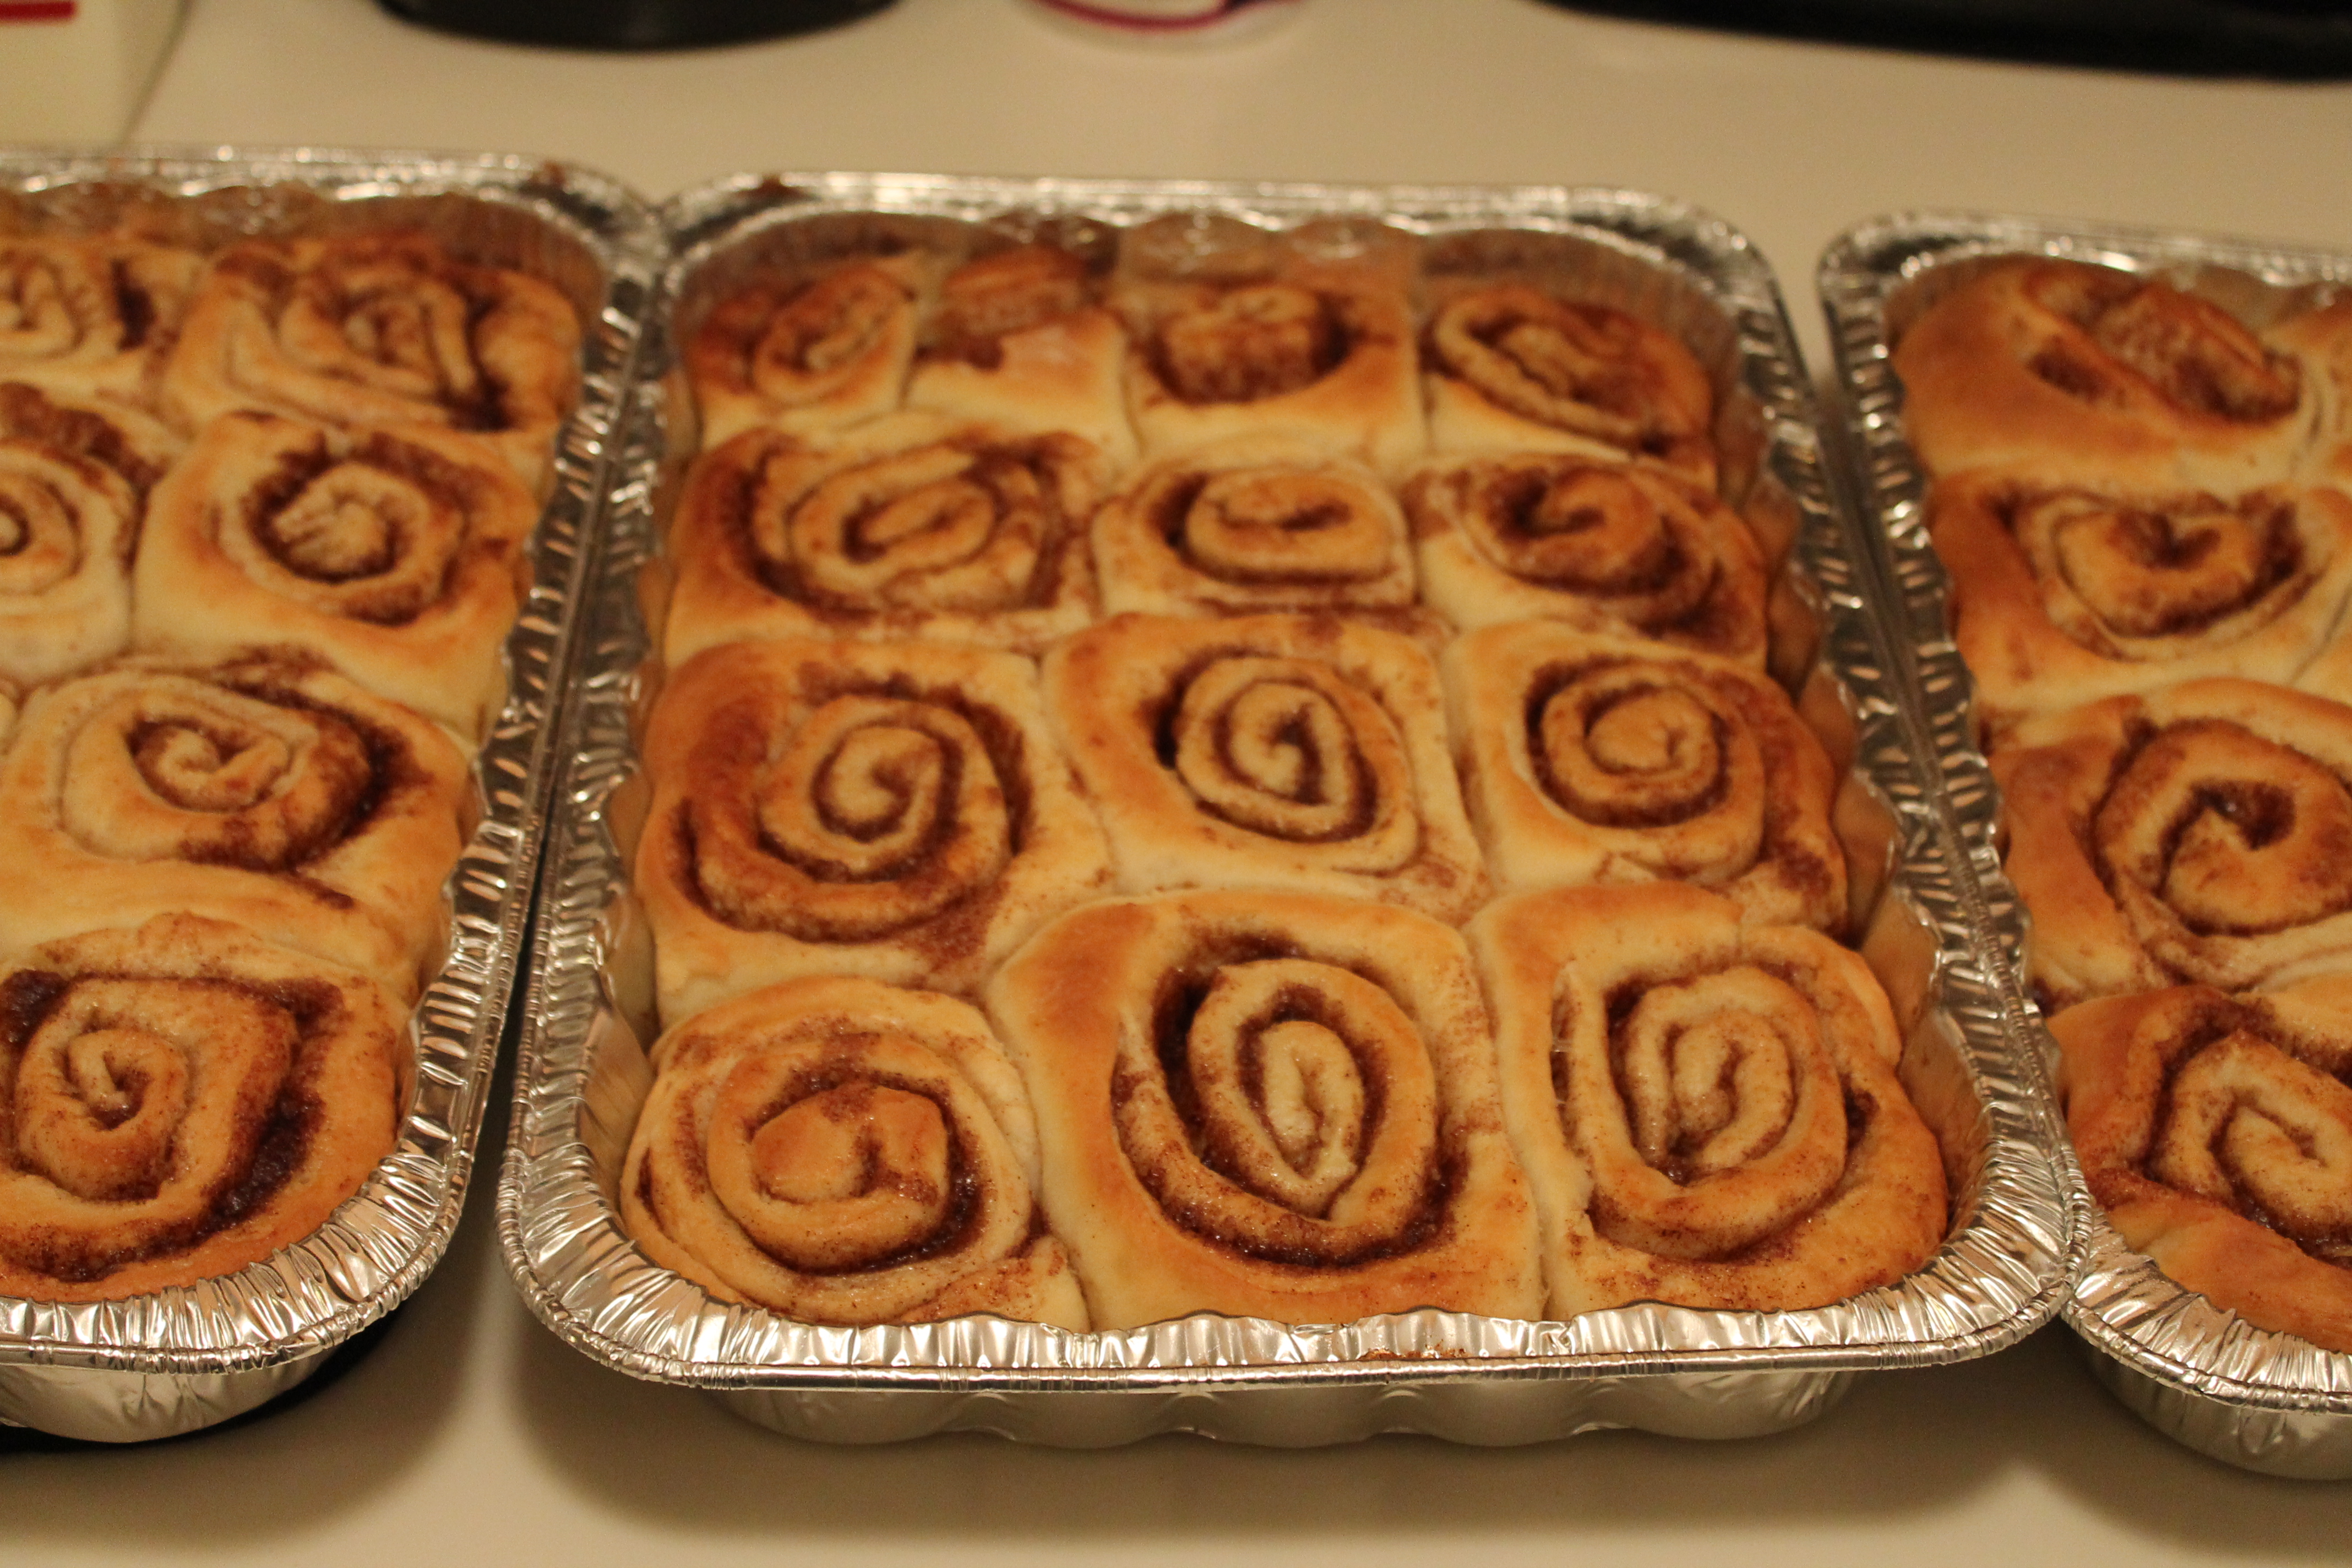 Bake for 15–17 minutes, until puffed and lightly browned.
While the buns are baking, make the coffee glaze. You will definitely want to use an electric mixer for this, otherwise your whisking arm will want to fall off before you manage to work in two pounds (two whole pounds!!) of confectioner’s sugar.
This is very easy: basically melt the butter in a large bowl, then add milk, coffee, and vanilla. Start mixing in the confectioner’s sugar, a little at a time at first, then in larger and larger batches. I didn’t sift my confectioner’s sugar (only because my sifter was very, very dirty), and it turned out fine, but if you are whisking by hand then I definitely recommend you sift the sugar first, as you might not have enough elbow grease to work out all of the clumps.
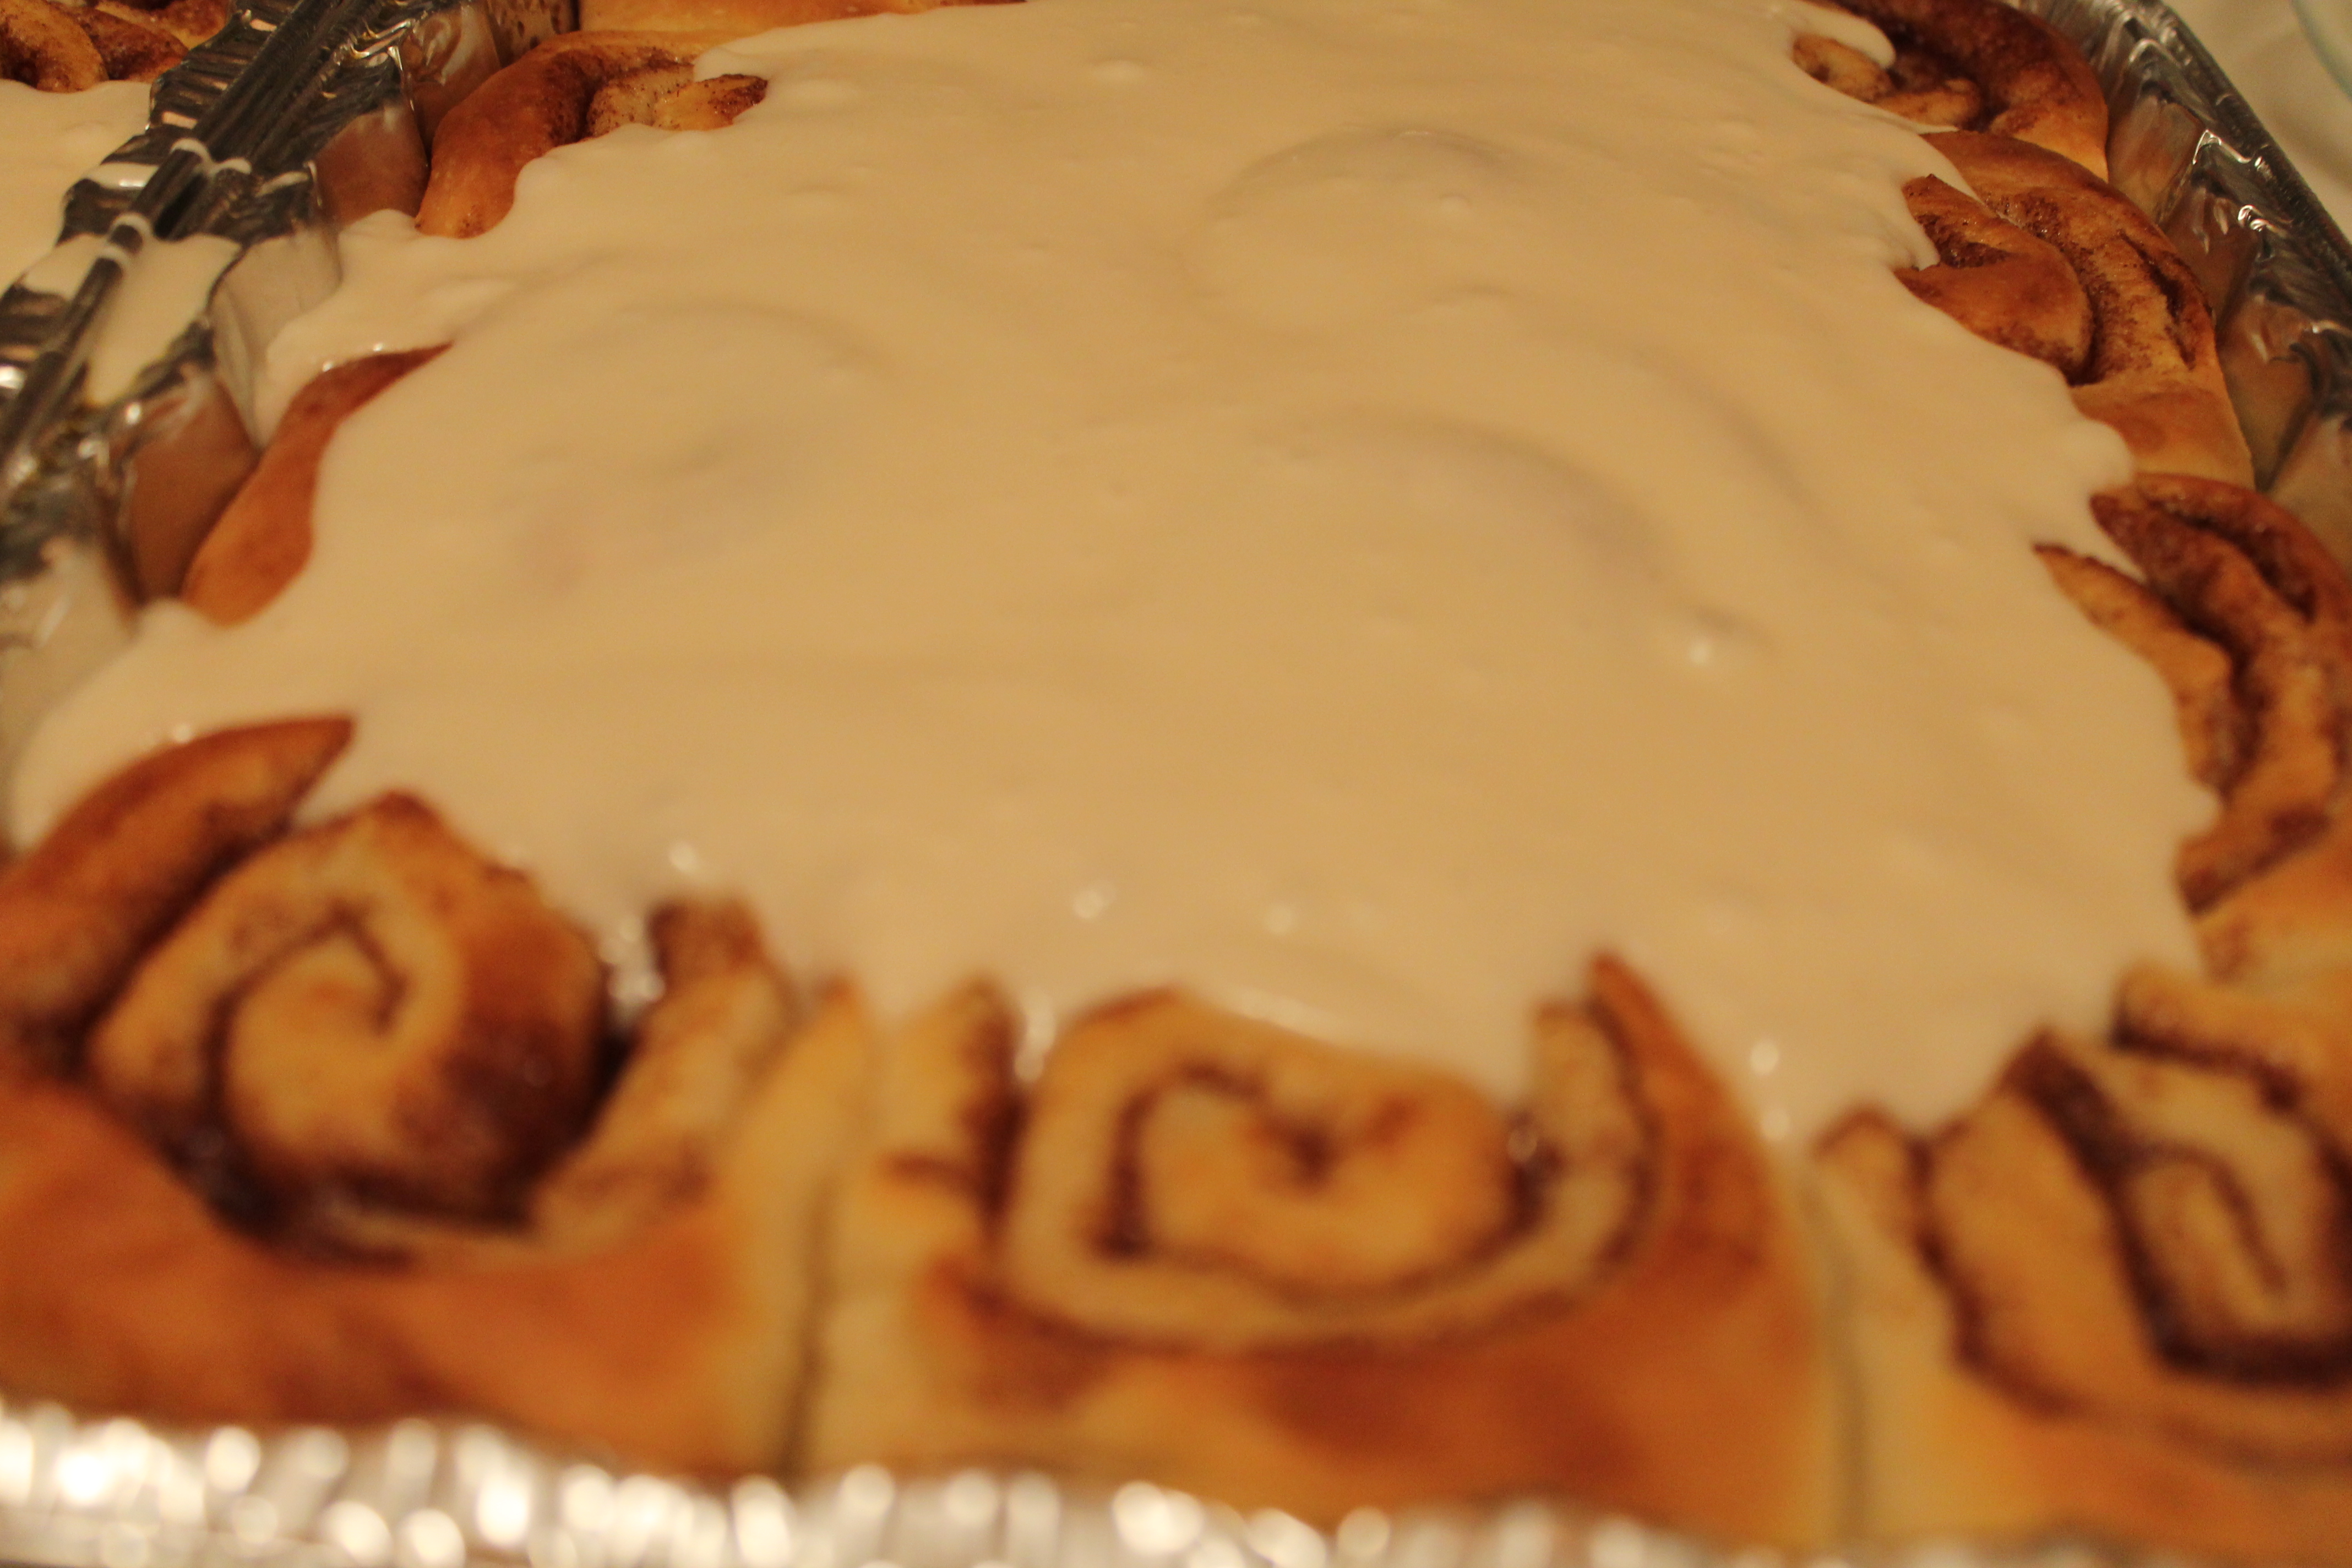 As soon as the buns come out of the oven (or, in my case, 10 minutes after the buns come out of the oven…oops…), pour the glaze all over them. Spread it to the edges of the pan with a spatula.
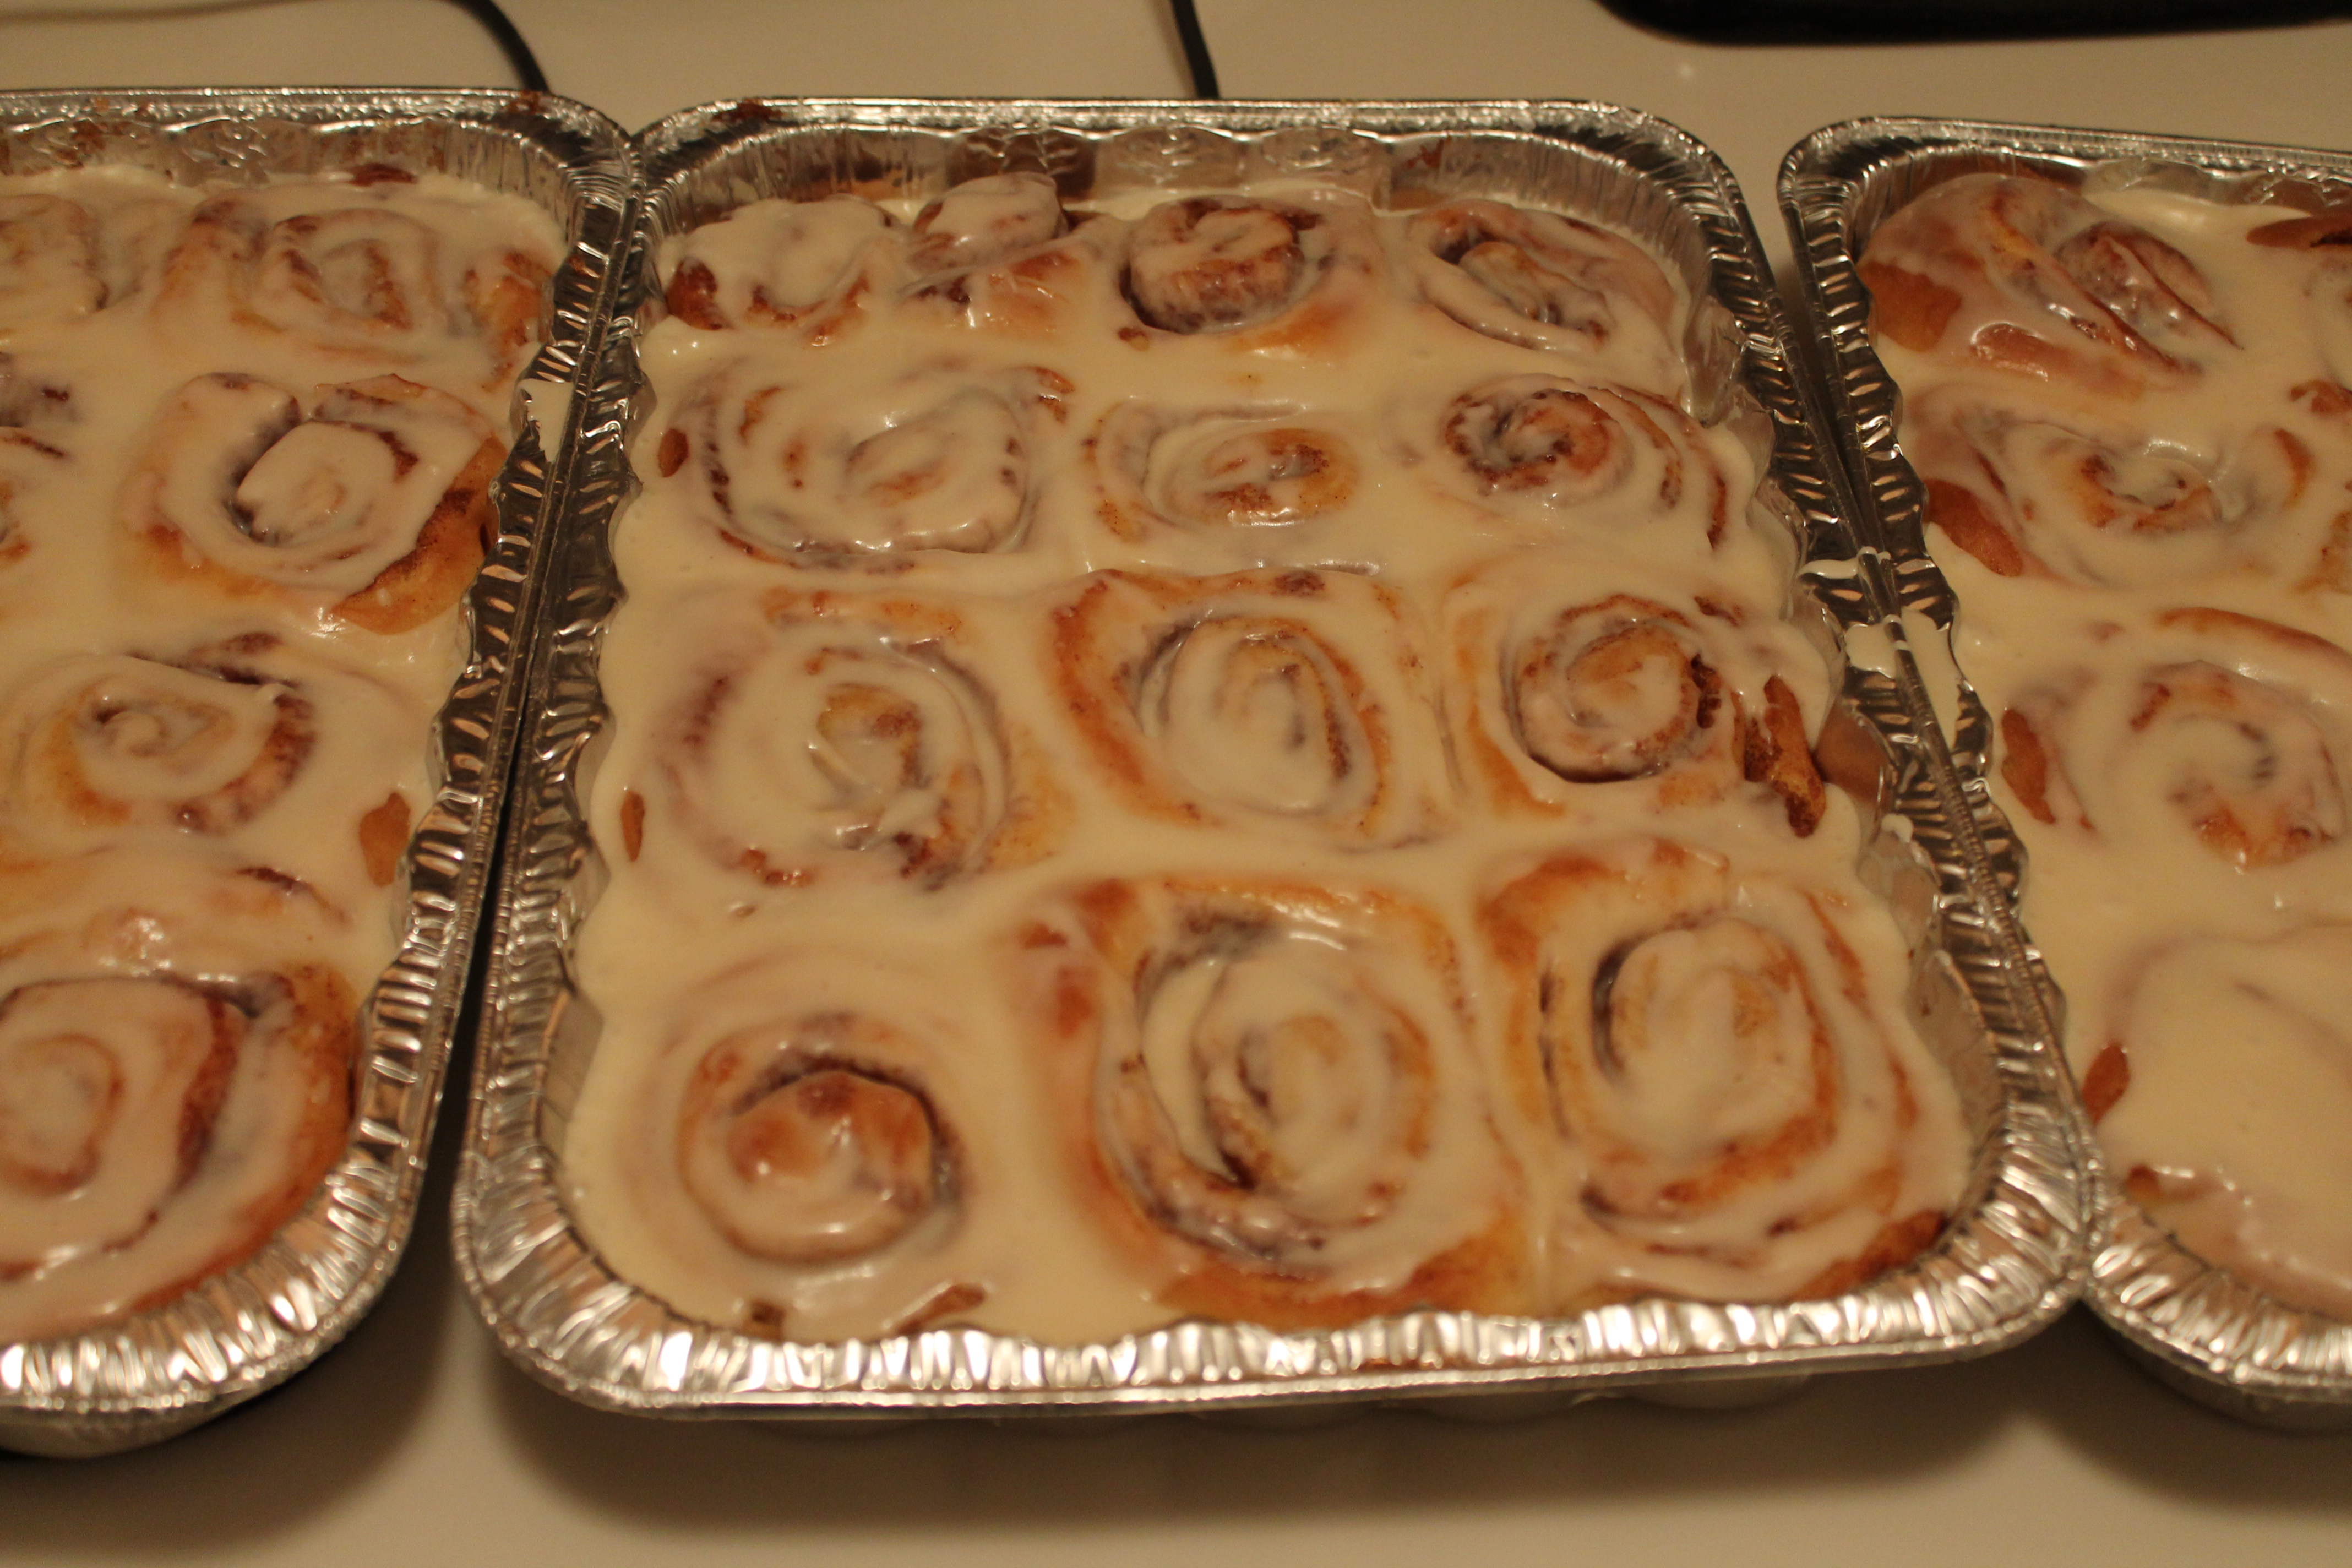 Let the buns cool slightly on the counter before serving. If you want to store these for later, wrap them tightly with Press-N-Seal or foil and store in the fridge for 1 day or the freezer indefinitely. Warm them in the oven for 15–20 minutes at 250° when you are ready to dish them out!
Glazed Cinnamon Buns
lightly adapted from The Pioneer Woman Cooks: Recipes from an Accidental Country Girl
makes 36–40
Dough Ingredients:
4 cups whole milk
1 cup vegetable oil
1 cup sugar
4½ tsp. (2 packages) active dry yeast
9 cups flour, divided
1 heaping tsp. baking powder
1 scant tsp. baking soda
1 tbsp. salt
Filling Ingredients:
2 cups melted butter
¼ cup cinnamon
1 cup sugar
1 cup light brown sugar
Glaze Ingredients:
6 tbsp. butter, melted
½ cup whole milk
¼ cup brewed coffee
2 tsp. vanilla extract
2 lbs. confectioner’s sugar
Directions:
For the dough, heat the milk, vegetable oil, and sugar in a medium saucepan over medium heat; do not allow the mixture to boil. Set aside and allow to cool to lukewarm.
Sprinkle yeast on top and let it sit for 1 minute. Add 8 cups of the flour. Stir until just combined, then cover with a clean towel and set aside in a relatively warm place for 1 hour.
When the dough has puffed, remove the towel from the bowl and add baking powder, baking soda, salt, and the remaining 1 cup flour. Stir thoroughly to combine.
Chill the dough for 30 minutes, or up to 3 days, punching down the dough if it rises to the top of the bowl.
To assemble the rolls, remove half the dough from the bowl. On a clean, floured surface, roll the dough into a large rectangle, about 30″ x 10″.
Pour 1 cup of the melted butter over the surface of the dough and spread it evenly with your fingers. Mix the cinnamon and sugars together in a bowl, then sprinkle 1 cup of the mixture over the melted butter.
Beginning at the end farthest from you, roll the rectangle tightly toward you. Use both hands and work slowly, being careful to keep the roll tight. Don’t worry if the filling oozes as you work; you can always scrape it off the counter and drizzle it over the rolls after you cut them. When you reach the end, pinch the seam together. You should have a long, buttery, gooey log.
Transfer to a cutting board and make 1¼″–1½″ slices (depending on how many you want to end up with) with a very sharp knife. One log should produce about 20 rolls.
Spray the desired baking dishes with cooking spray. Place the sliced rolls in the dishes, being careful not to over-crowd.
Repeat the rolling-butter-sugar process with the other half of the dough.
Preheat the oven to 375°. Let the rolls rise on the counter for 30 minutes.
Bake the rolls for 15 minutes, or until golden brown. Don’t allow the rolls to become overly brown.
While the rolls are baking, make the coffee glaze! In a large bowl, whisk together melted butter, milk, coffee, and vanilla extract. Using a hand mixer or a whisk, blend in the sugar, a little at a time. Continue mixing until very smooth. The glaze should be thick but pourable.
When the rolls come out of the oven, generously drizzle the glaze all over the tops. Spread with a spatula as needed to ice the edges and corners of the pan. As the rolls sit, they will absorb some of the glaze’s moisture and flavor.
Enjoy!
2 comments to “Glazed Cinnamon Buns”
Sarah - February 21, 2013
I’m so sorry you had such a hard time! But boy do those look amazing!
laura - March 12, 2014
As one of the said hungry Momma’s that got to eat these… they were INCREDIBLE!!!!!!!! Seriously, best cinnamon buns I’ve ever had in my life!!!