When I was a kid, the local grocery store was famous for their rainbow sugar cookies. Everyone I knew loved them.
Everyone except me. I thought they tasted funny. These cookies were probably the only dessert I would actually decline as a kid. They just didn’t wow me. The bright colors didn’t fool me (I had also figured out that sprinkles didn’t actually make ice cream taste more delicious…go figure), and I just wasn’t going for them.
For years, I eschewed food coloring. (This may also have had something to do with the fact that I was afraid of pink foods actually tasting like strawberries…either way, no good.)
But now my oldest is nearly 3 (!!), and I have realized that for him, color does make something more awesome. He literally likes to go around naming all his favorite colors of Legos, crayons, Play-Doh (news flash, it’s every color in the rainbow), sometimes spending more time talking about the colors than actually playing with his toys. Sprinkles are beautiful and food coloring is delicious.
Of course, I still have a rule that food should be primarily yummy and secondarily pretty, but when I spotted a recipe for rainbow swirled cookies on The PinterTest Kitchen, my Secret Recipe Club blog for August, I knew immediately that Jake would love them! Food crafts for kids!
I love Pinterest. I spend hours on Pinterest each week perusing recipes and wishing my house looked that beautiful or I had more time to do cool crafts, get in shape, teach my kids something unforgettable. So I can really get behind the ladies of the PinterTest Kitchen, sisters Allison and Jessica together with their mother Sharon. Pinterest always makes everything look fantastic and simple, and it is all too easy to get stuck in feeling inadequate instead of inspired. I love that these ladies find ideas on Pinterest and then go try them!
 We start with basic sugar cookies. You could use your own recipe (or you could use pre-made dough, if you are really anti-baking but want to do something colorful with your kiddos). The recipe I am sharing here is soft and sticky and flavored with almond extract.
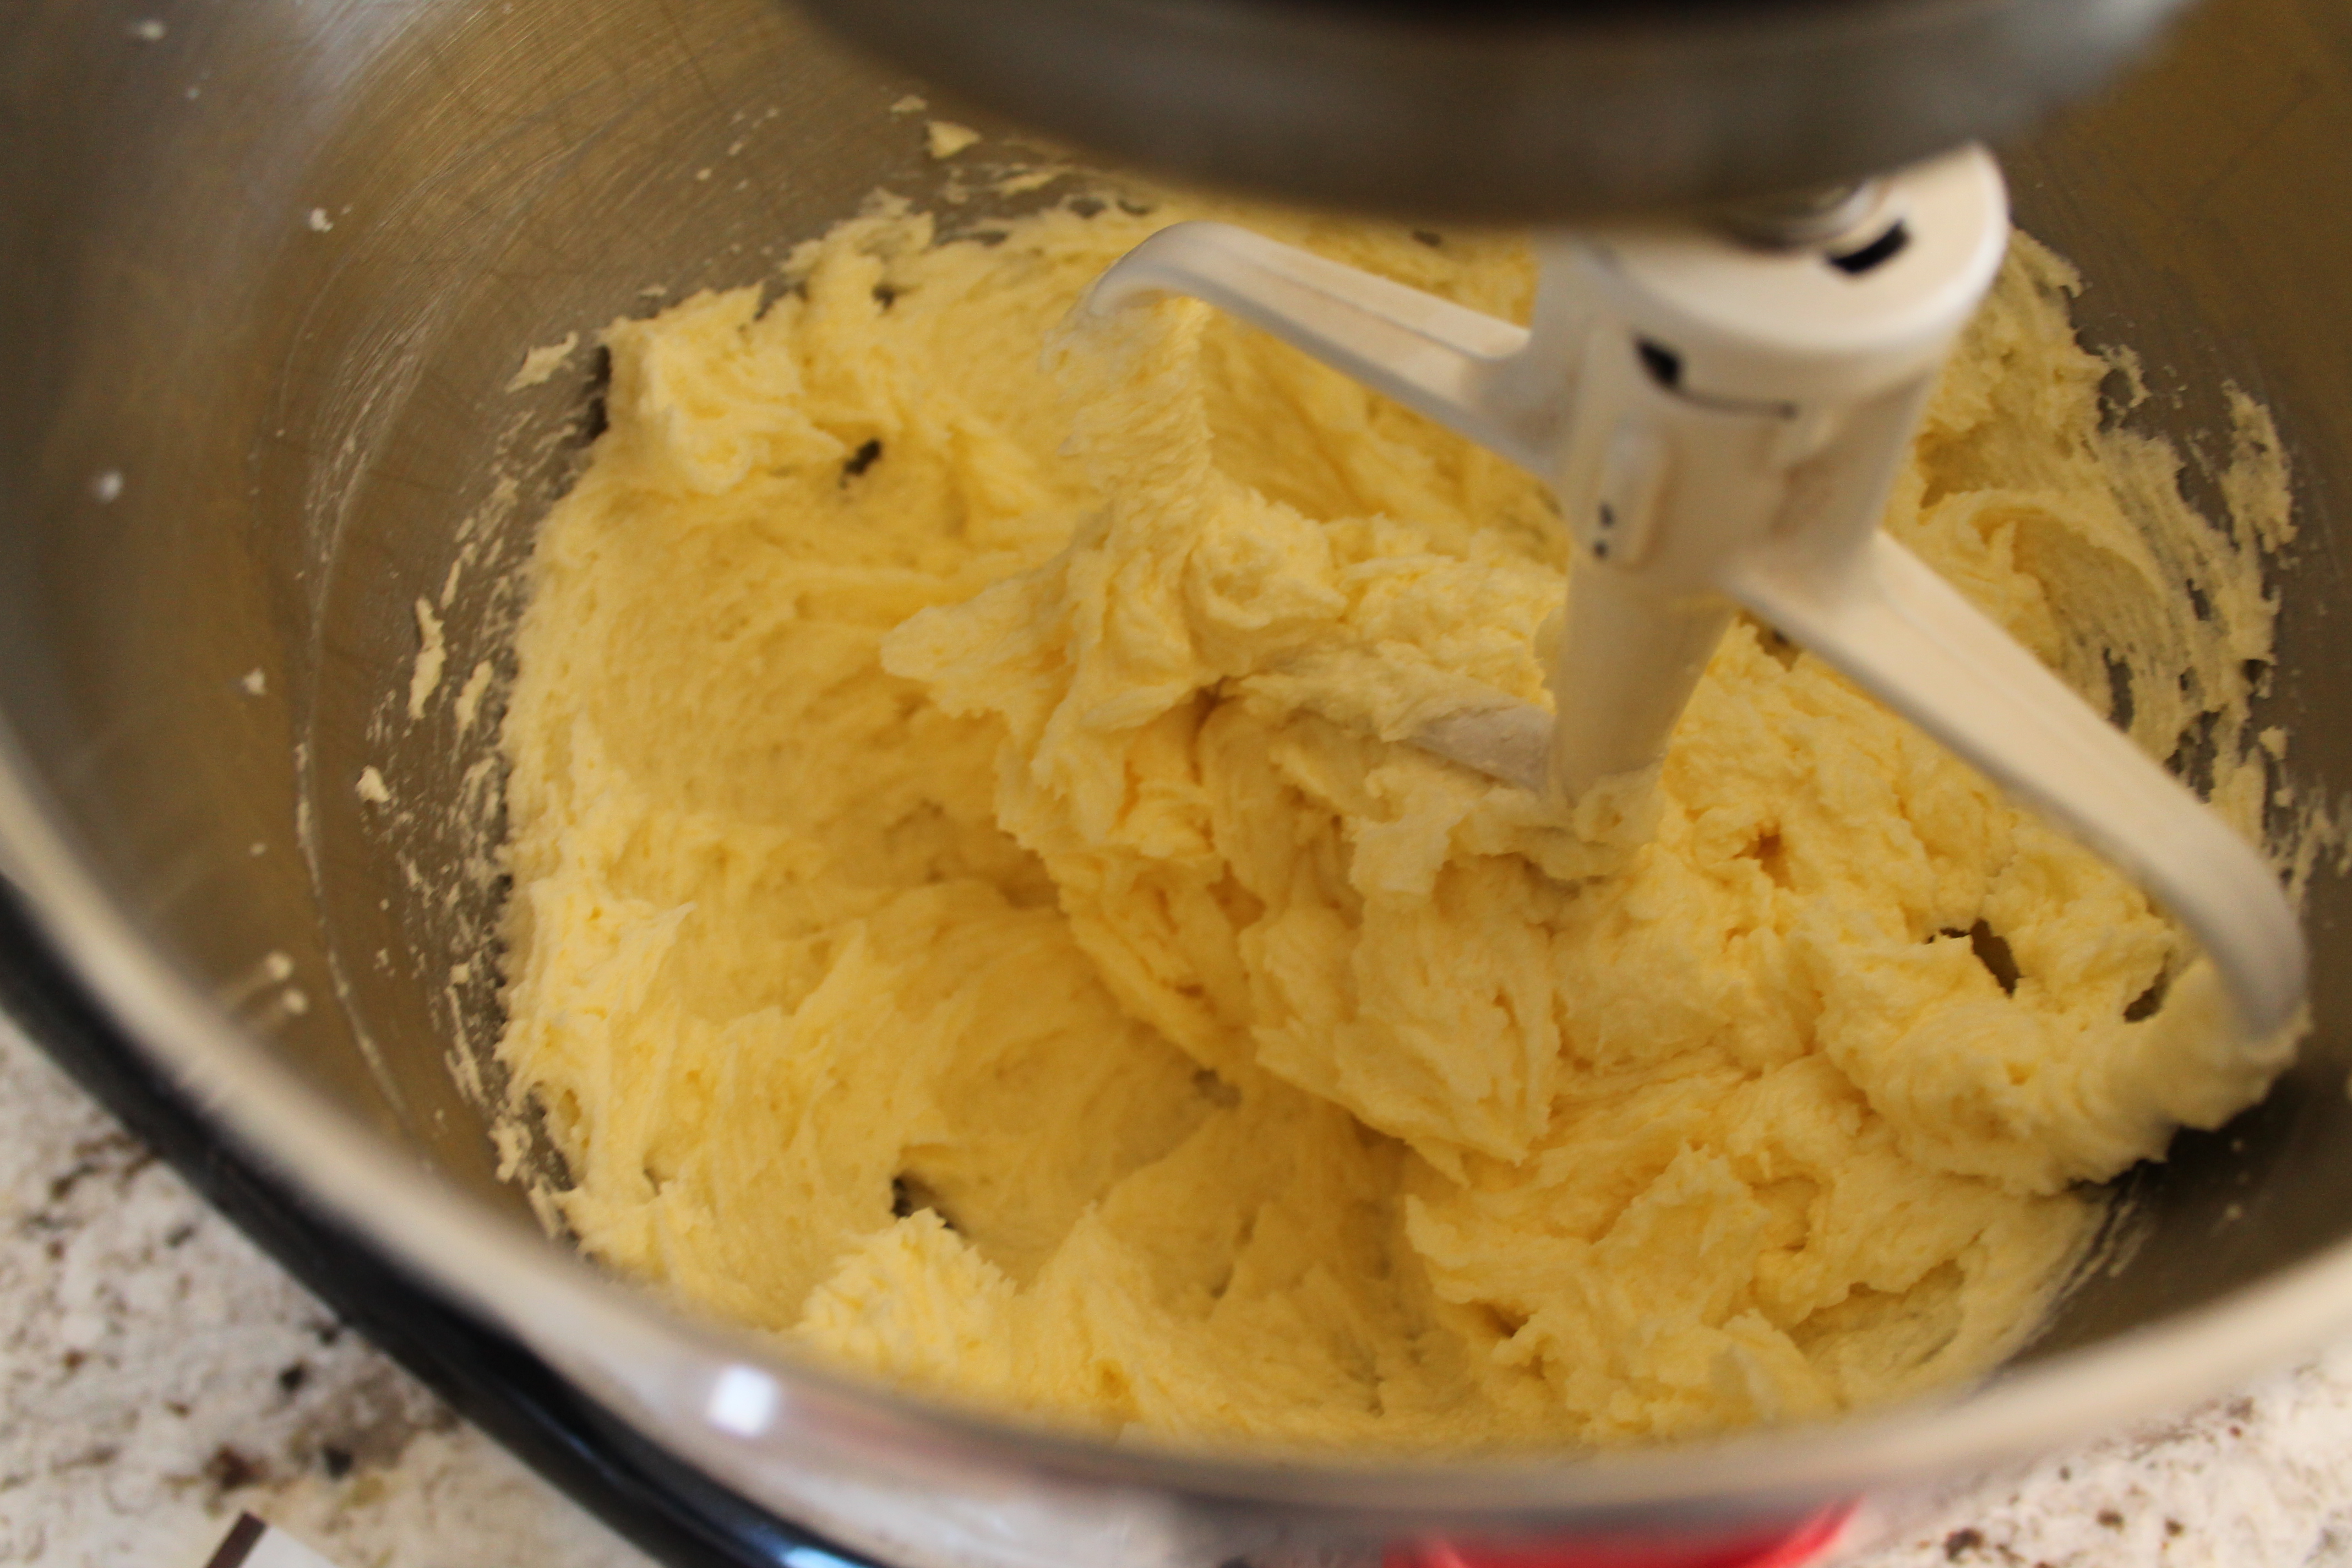 Beat the butter and sugar together.
Beat in the eggs and almond extract (I love the flavor of almond in sugar cookies! It totally reminds me of my childhood. But if you hate almond, you can substitute vanilla here, ideally a clear vanilla so that the rainbow will shine through brighter).
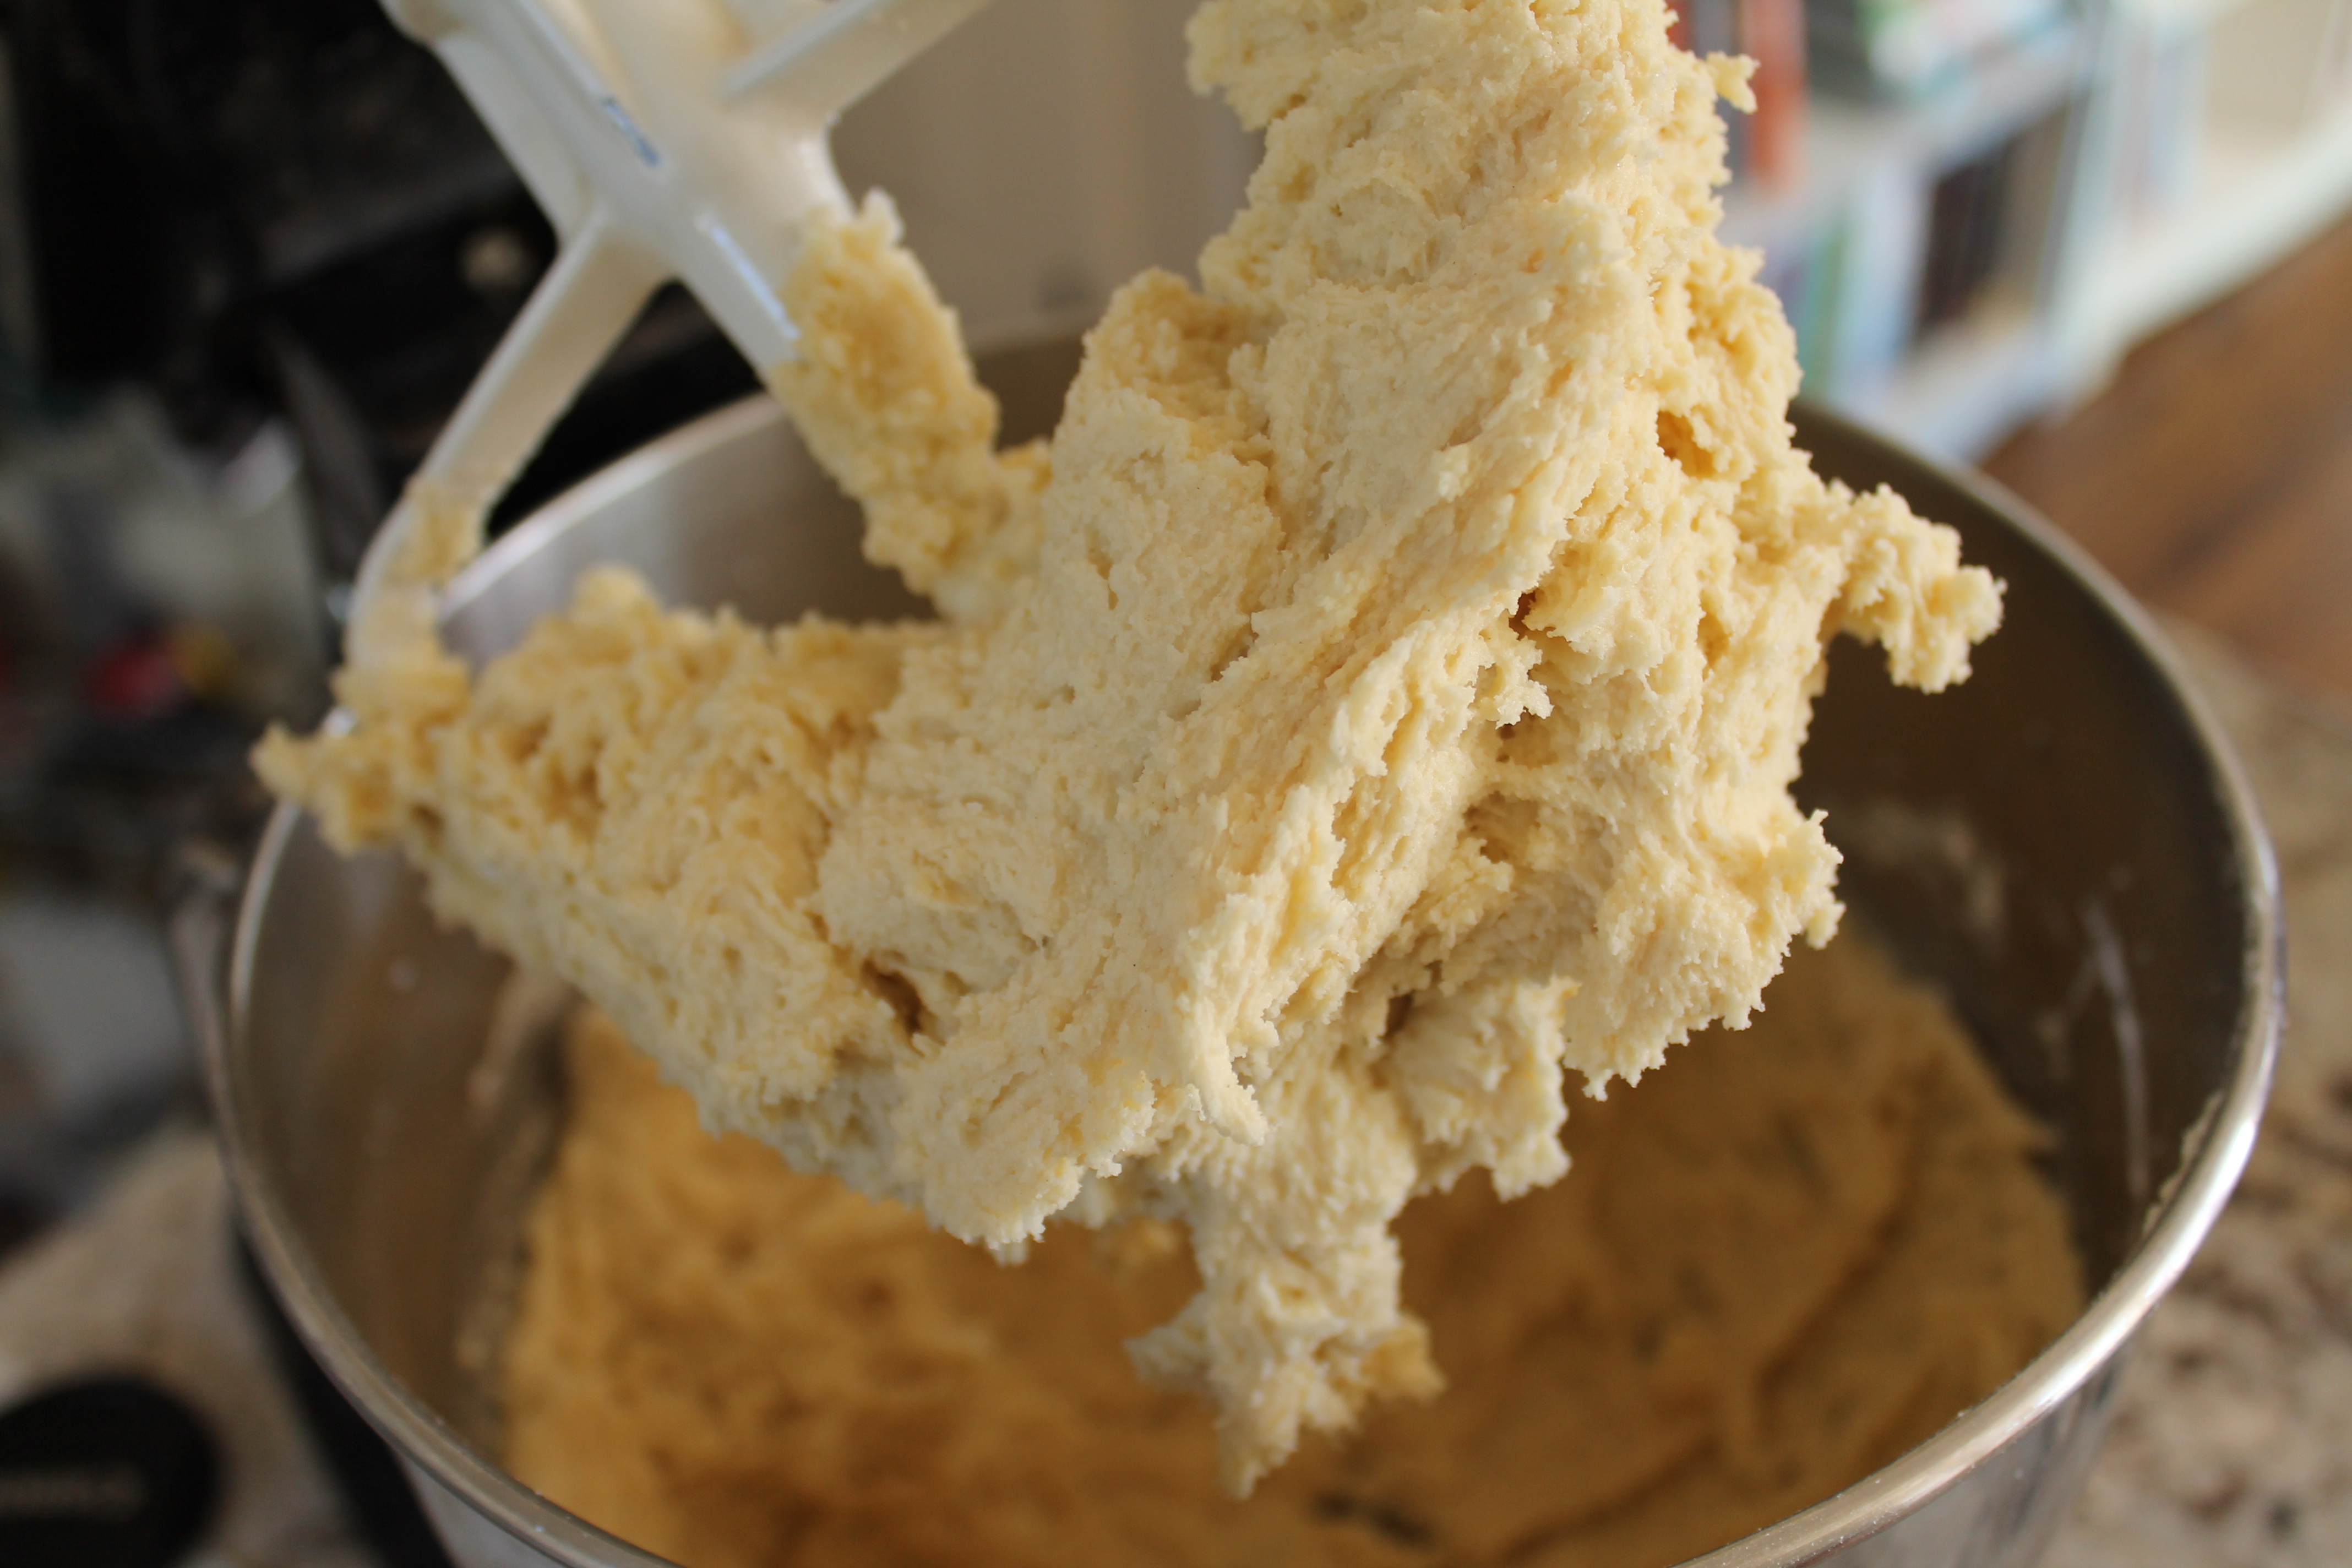 Stir in the flour, salt, baking powder, and baking soda. Scrape the sides of the bowl well to make sure everything gets mixed in evenly.
Now comes the super fun part! Food coloring!
 Grab the nearest toddler.
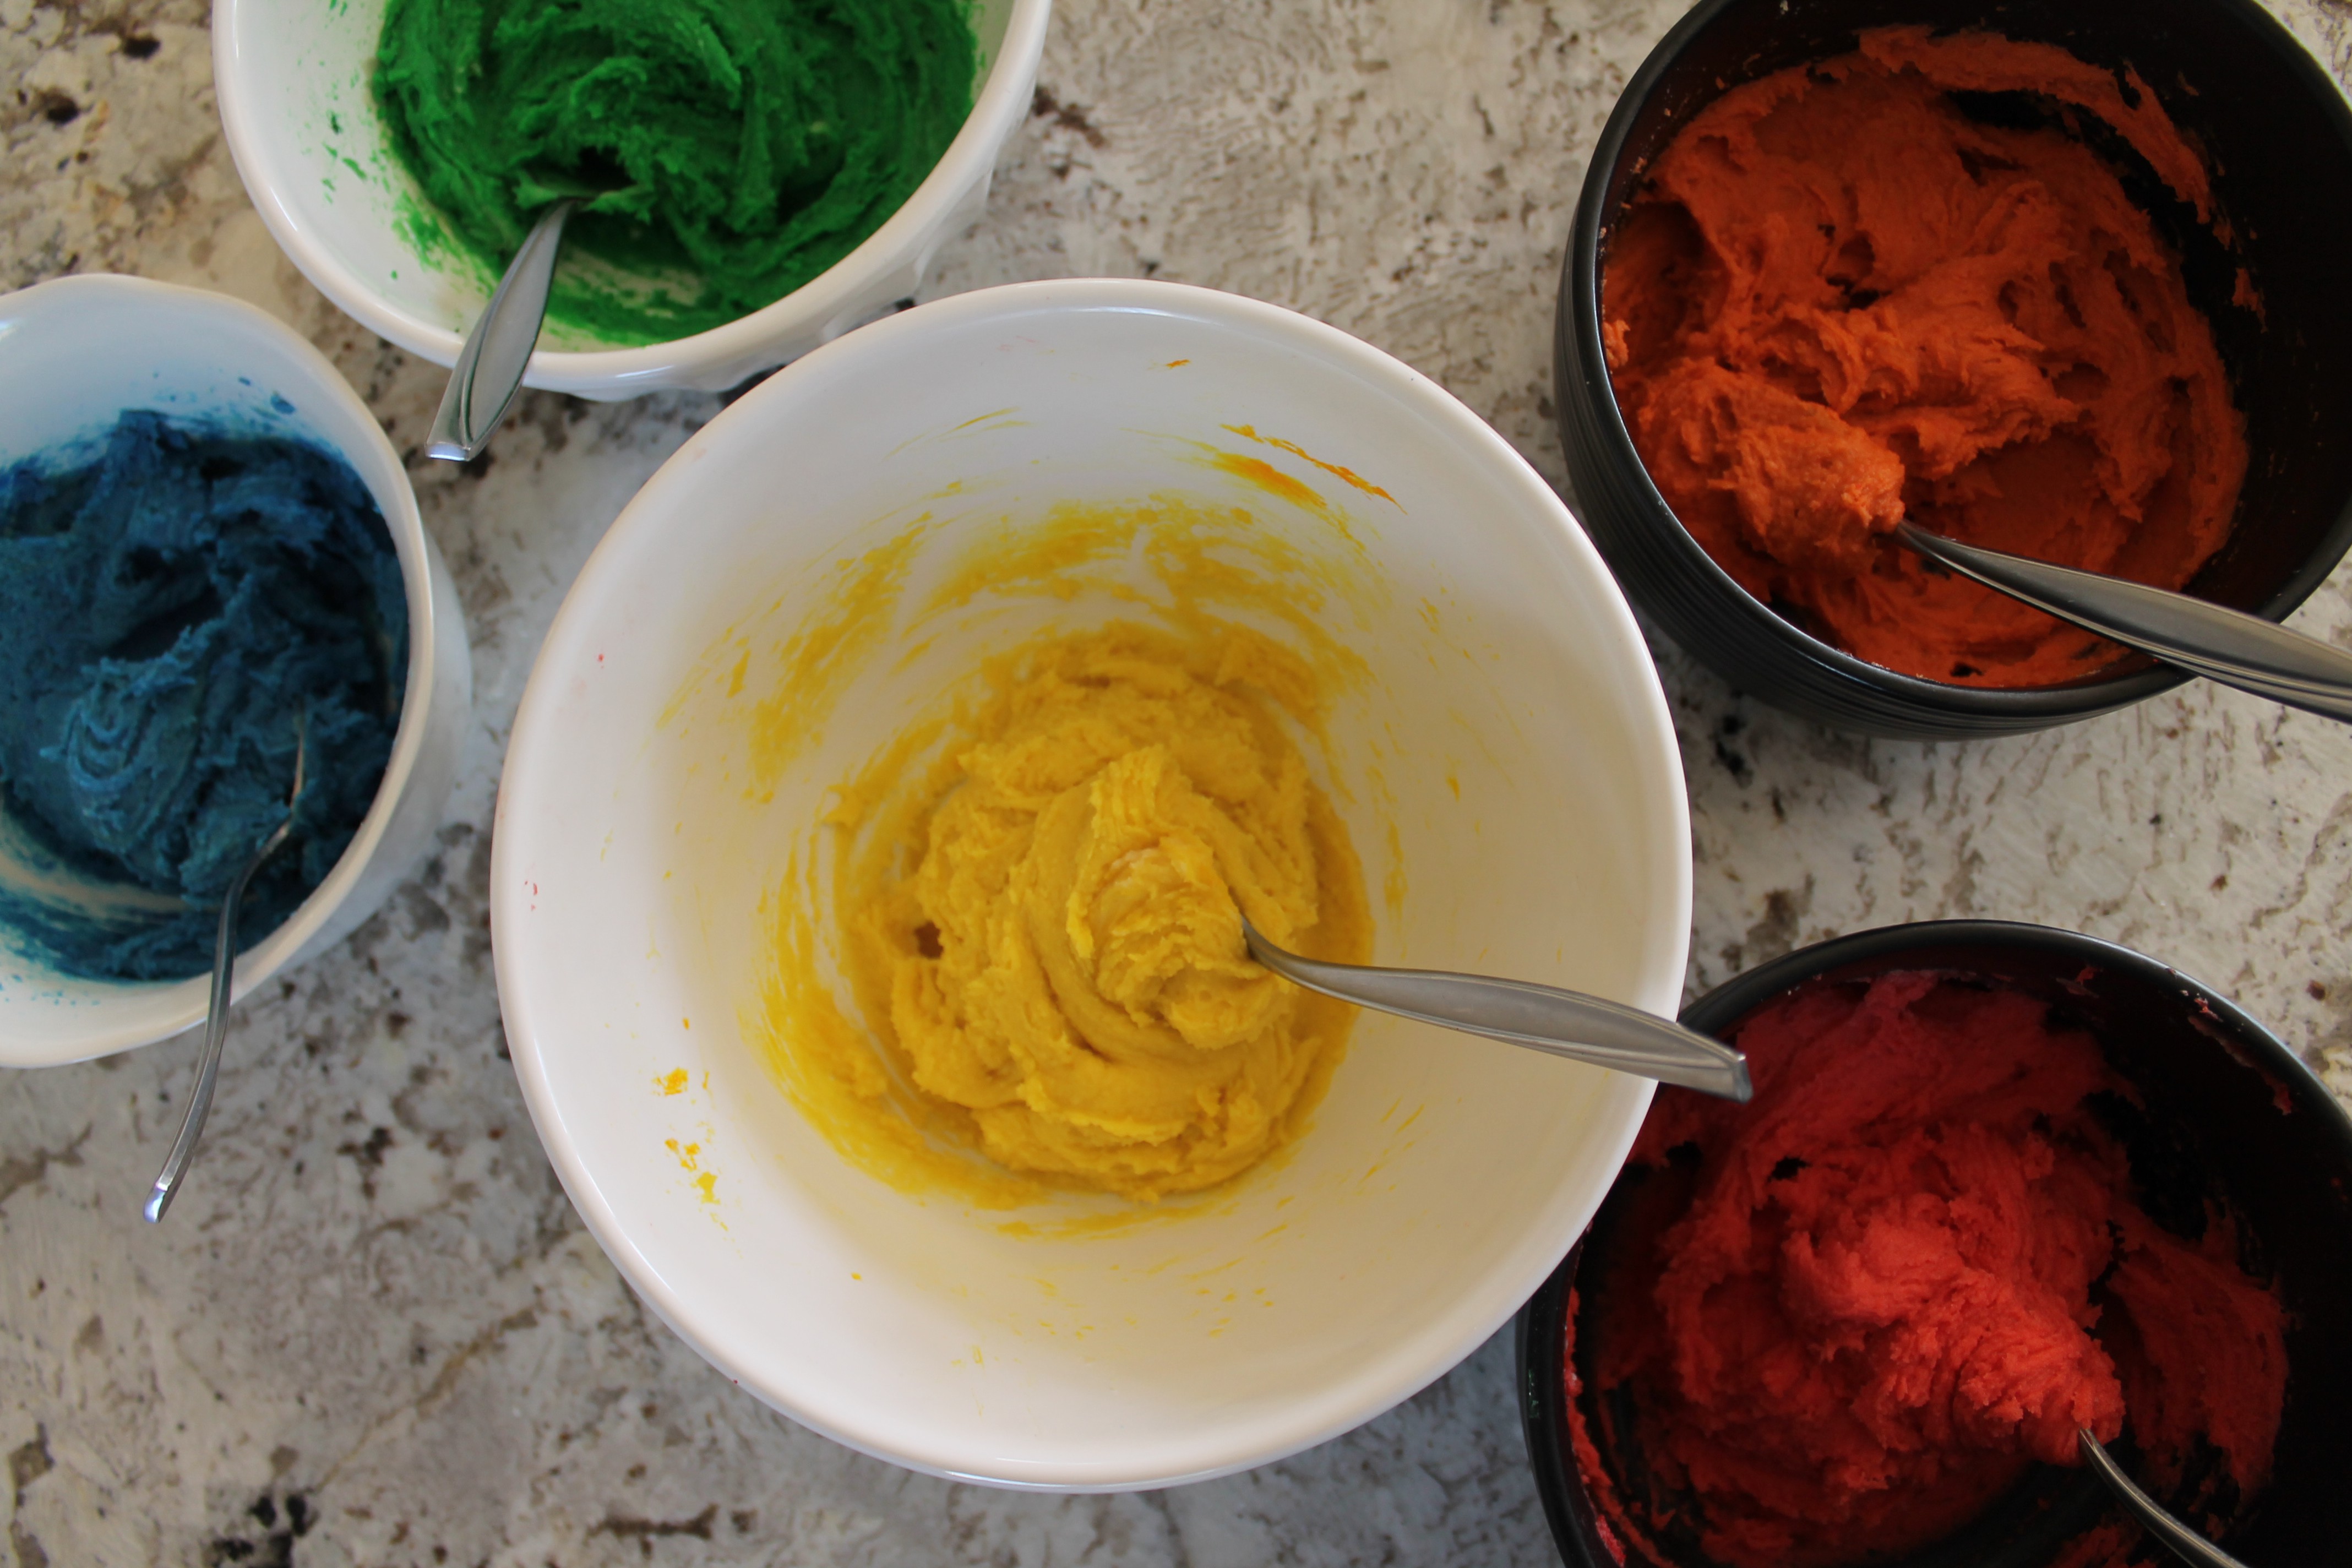
Also grab your favorite colors. I went pretty standard with blue, green, yellow, orange, and red. Back in the day, those rainbow sugar cookies I didn’t like so well spanned all the colors of the rainbow (at least, in my memory they did…my mother doesn’t think they’ve changed), but these days the rainbow sugar cookies at Ukrop’s Bakery look more like an Italian flag. The moral of this story is that you can use as many or as few colors as you like, and you can pick your own colors! Feeling partial to pink? Go for it.
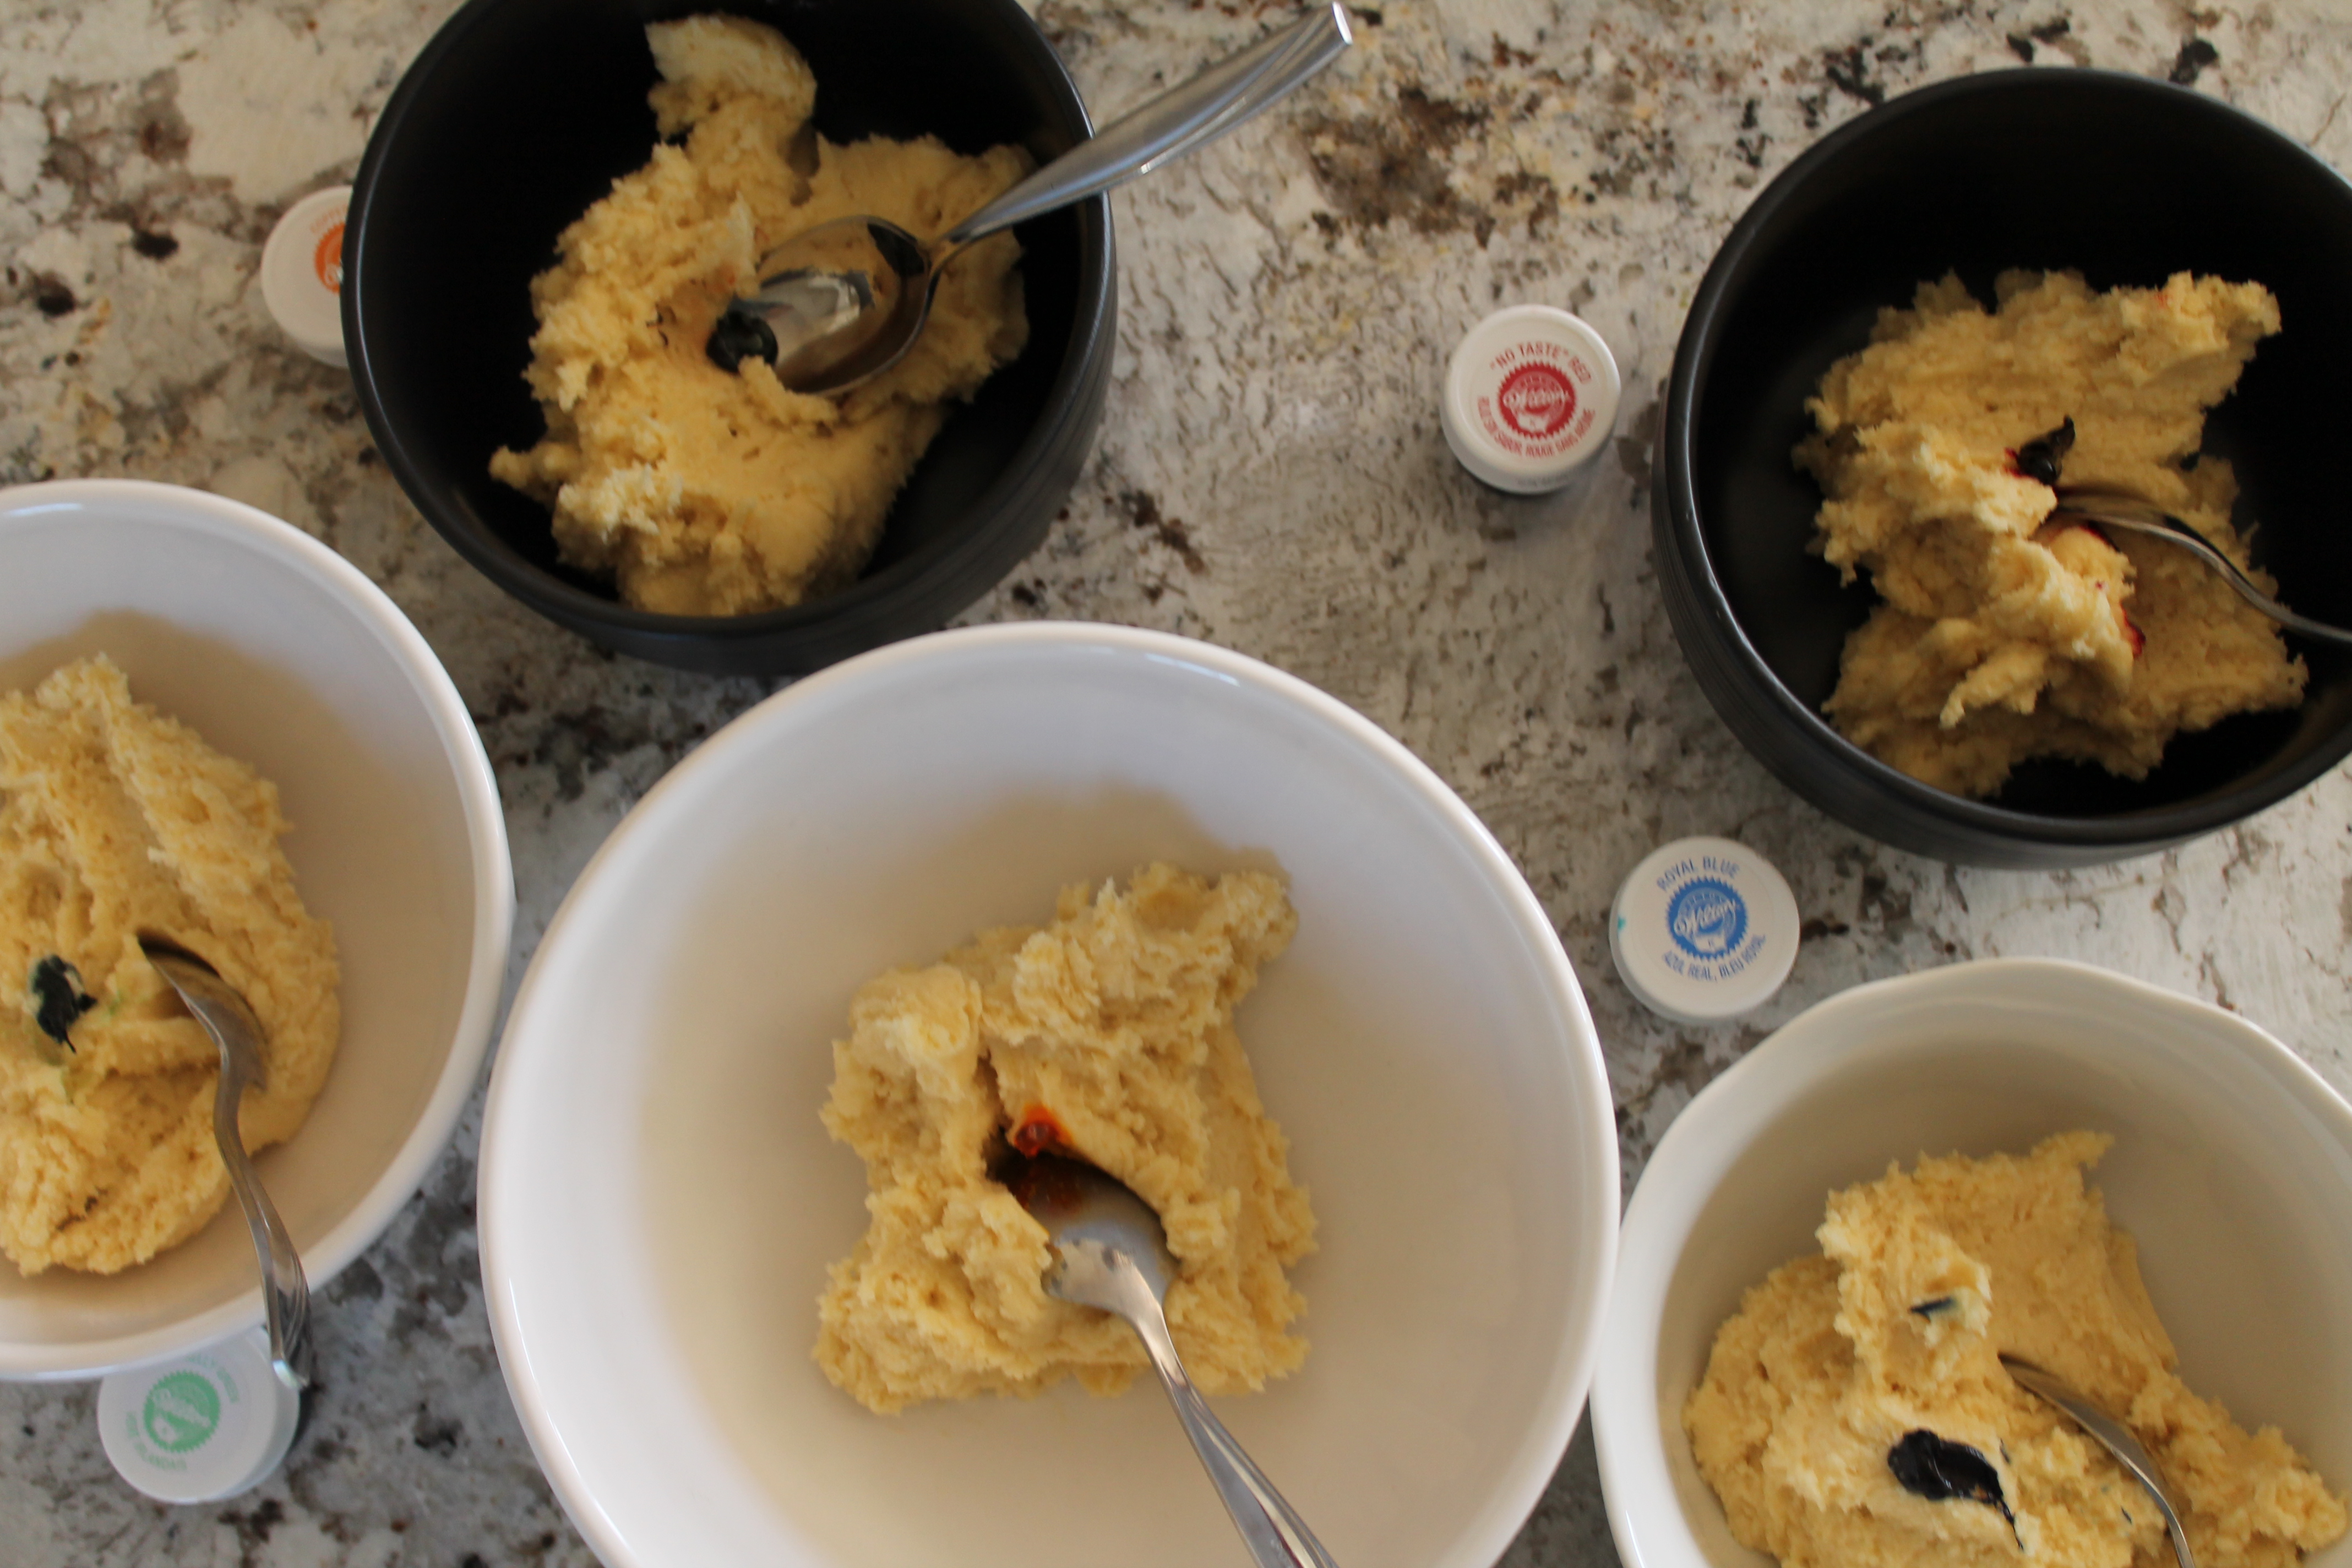
Separate the dough as equally as possible into five bowls and add the food colorings. I used gel food coloring, which only requires a tiny smidge to turn each part of the batter a nice, bright color.
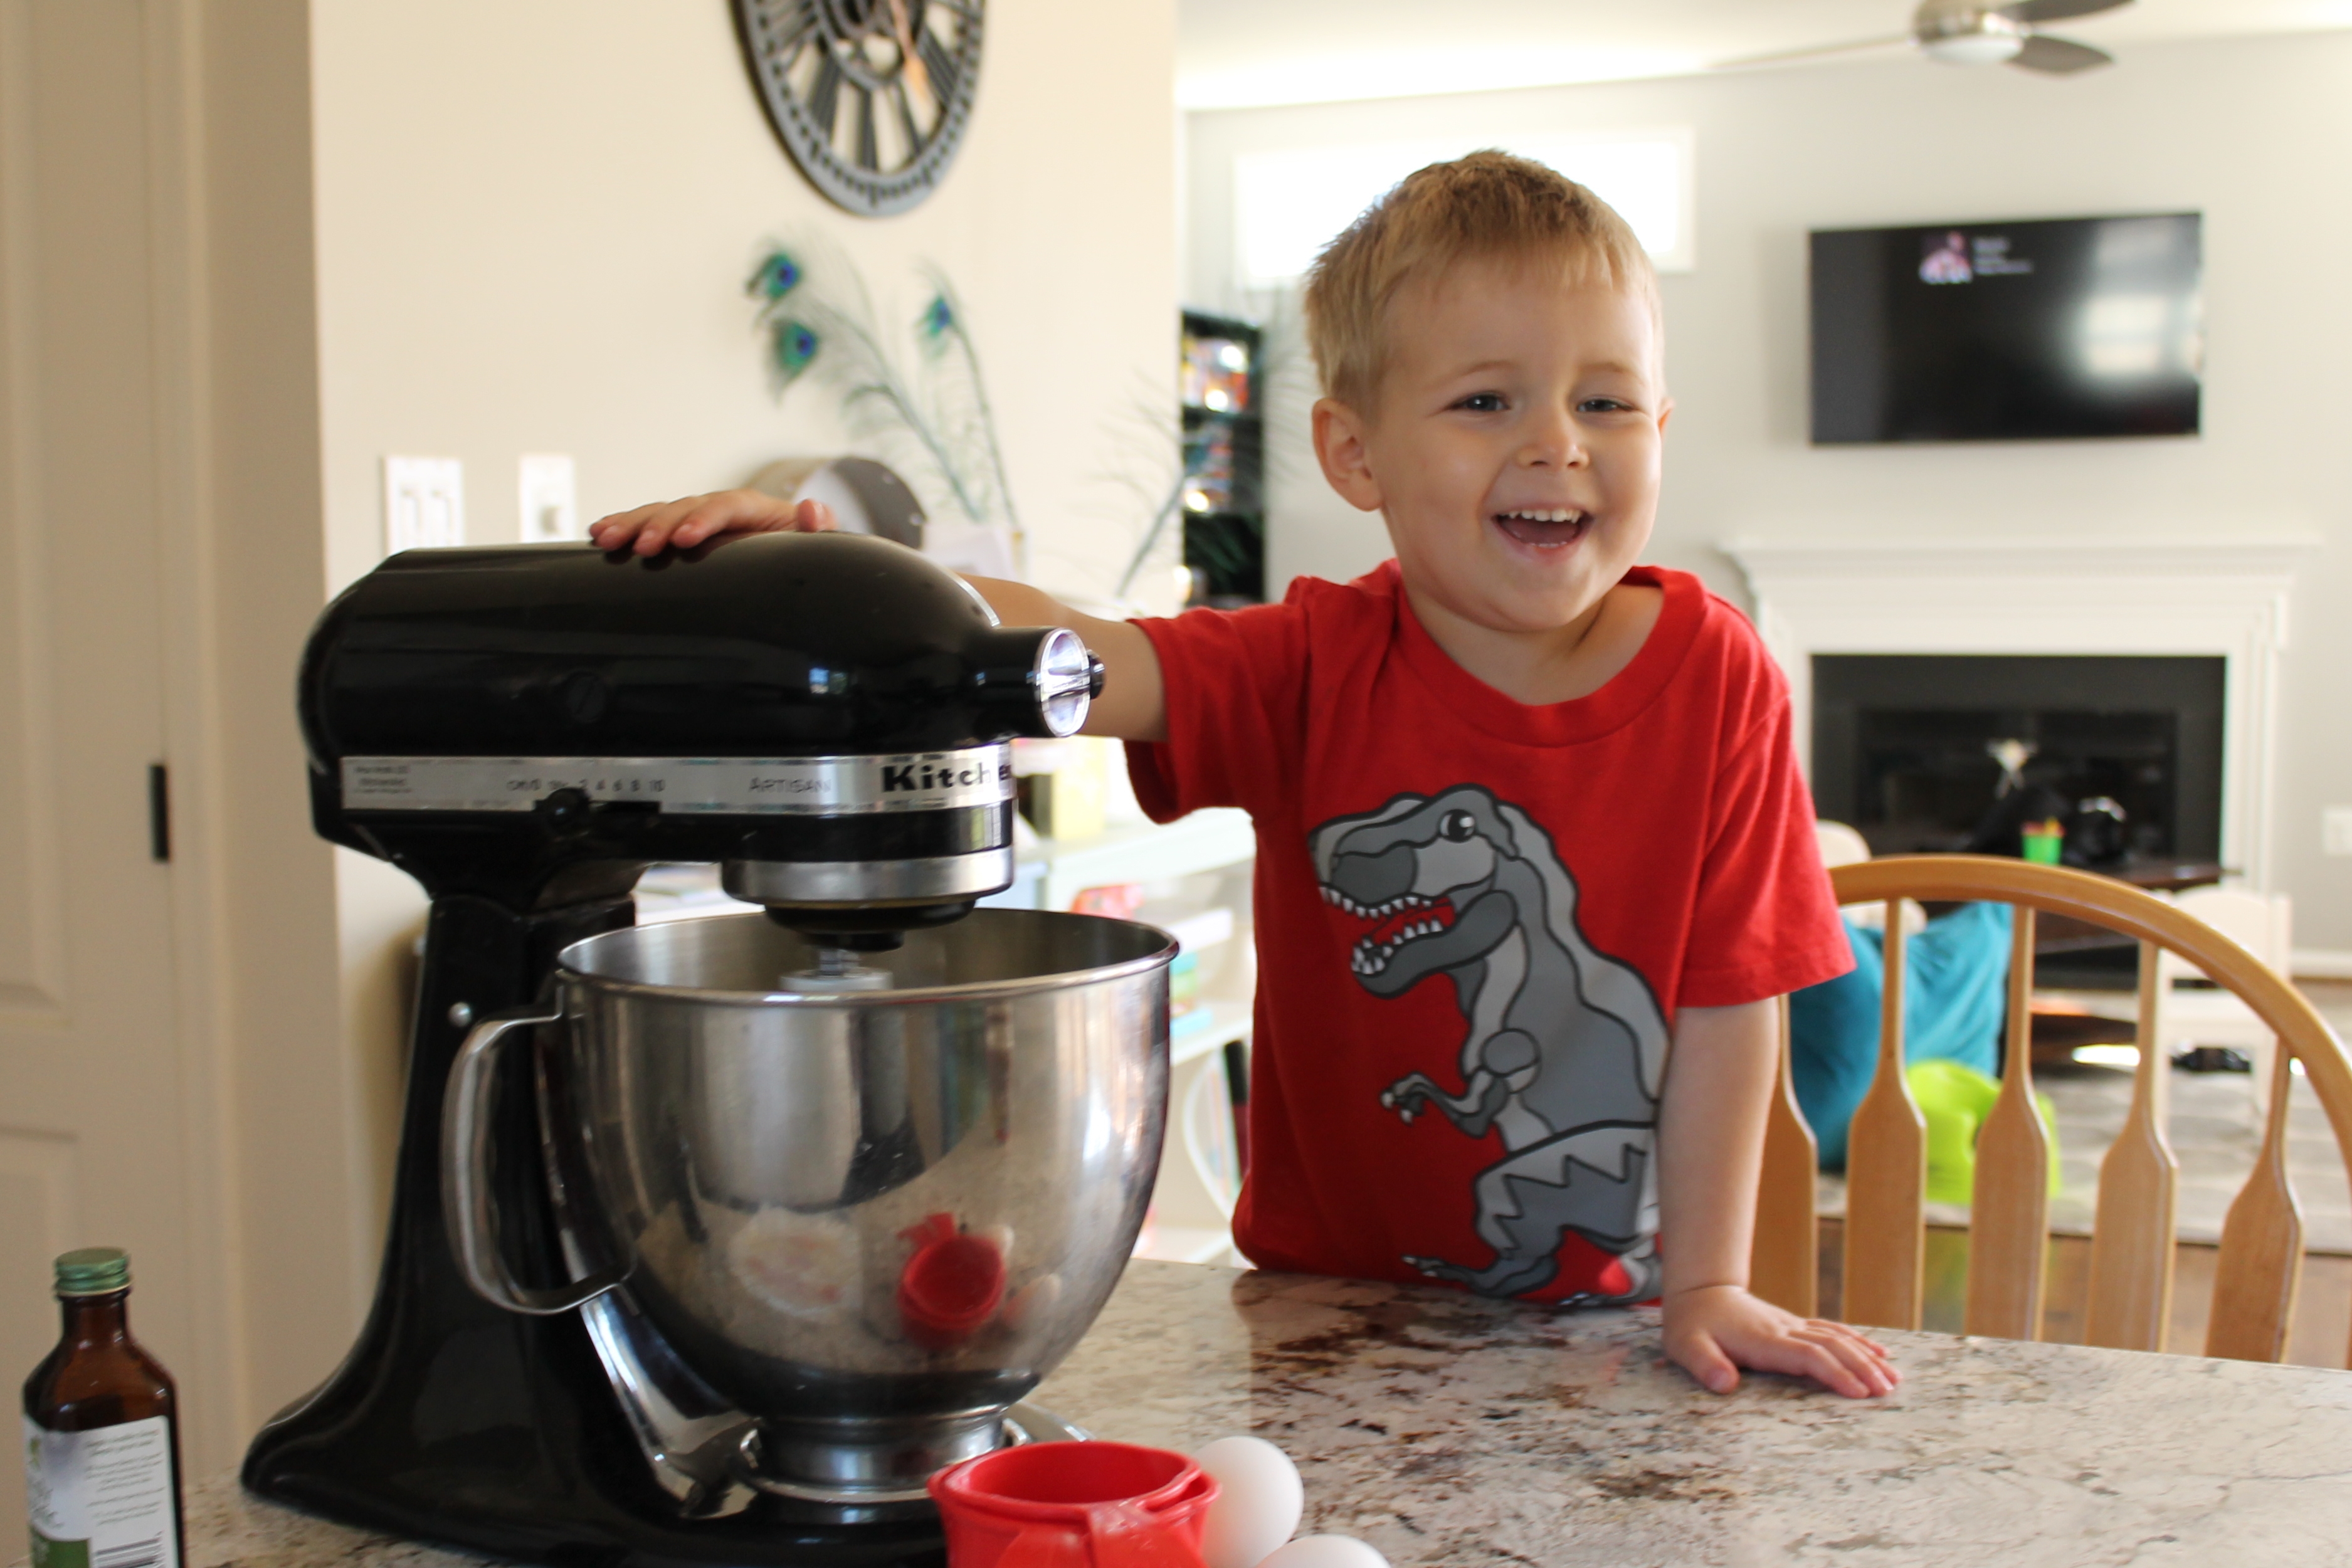
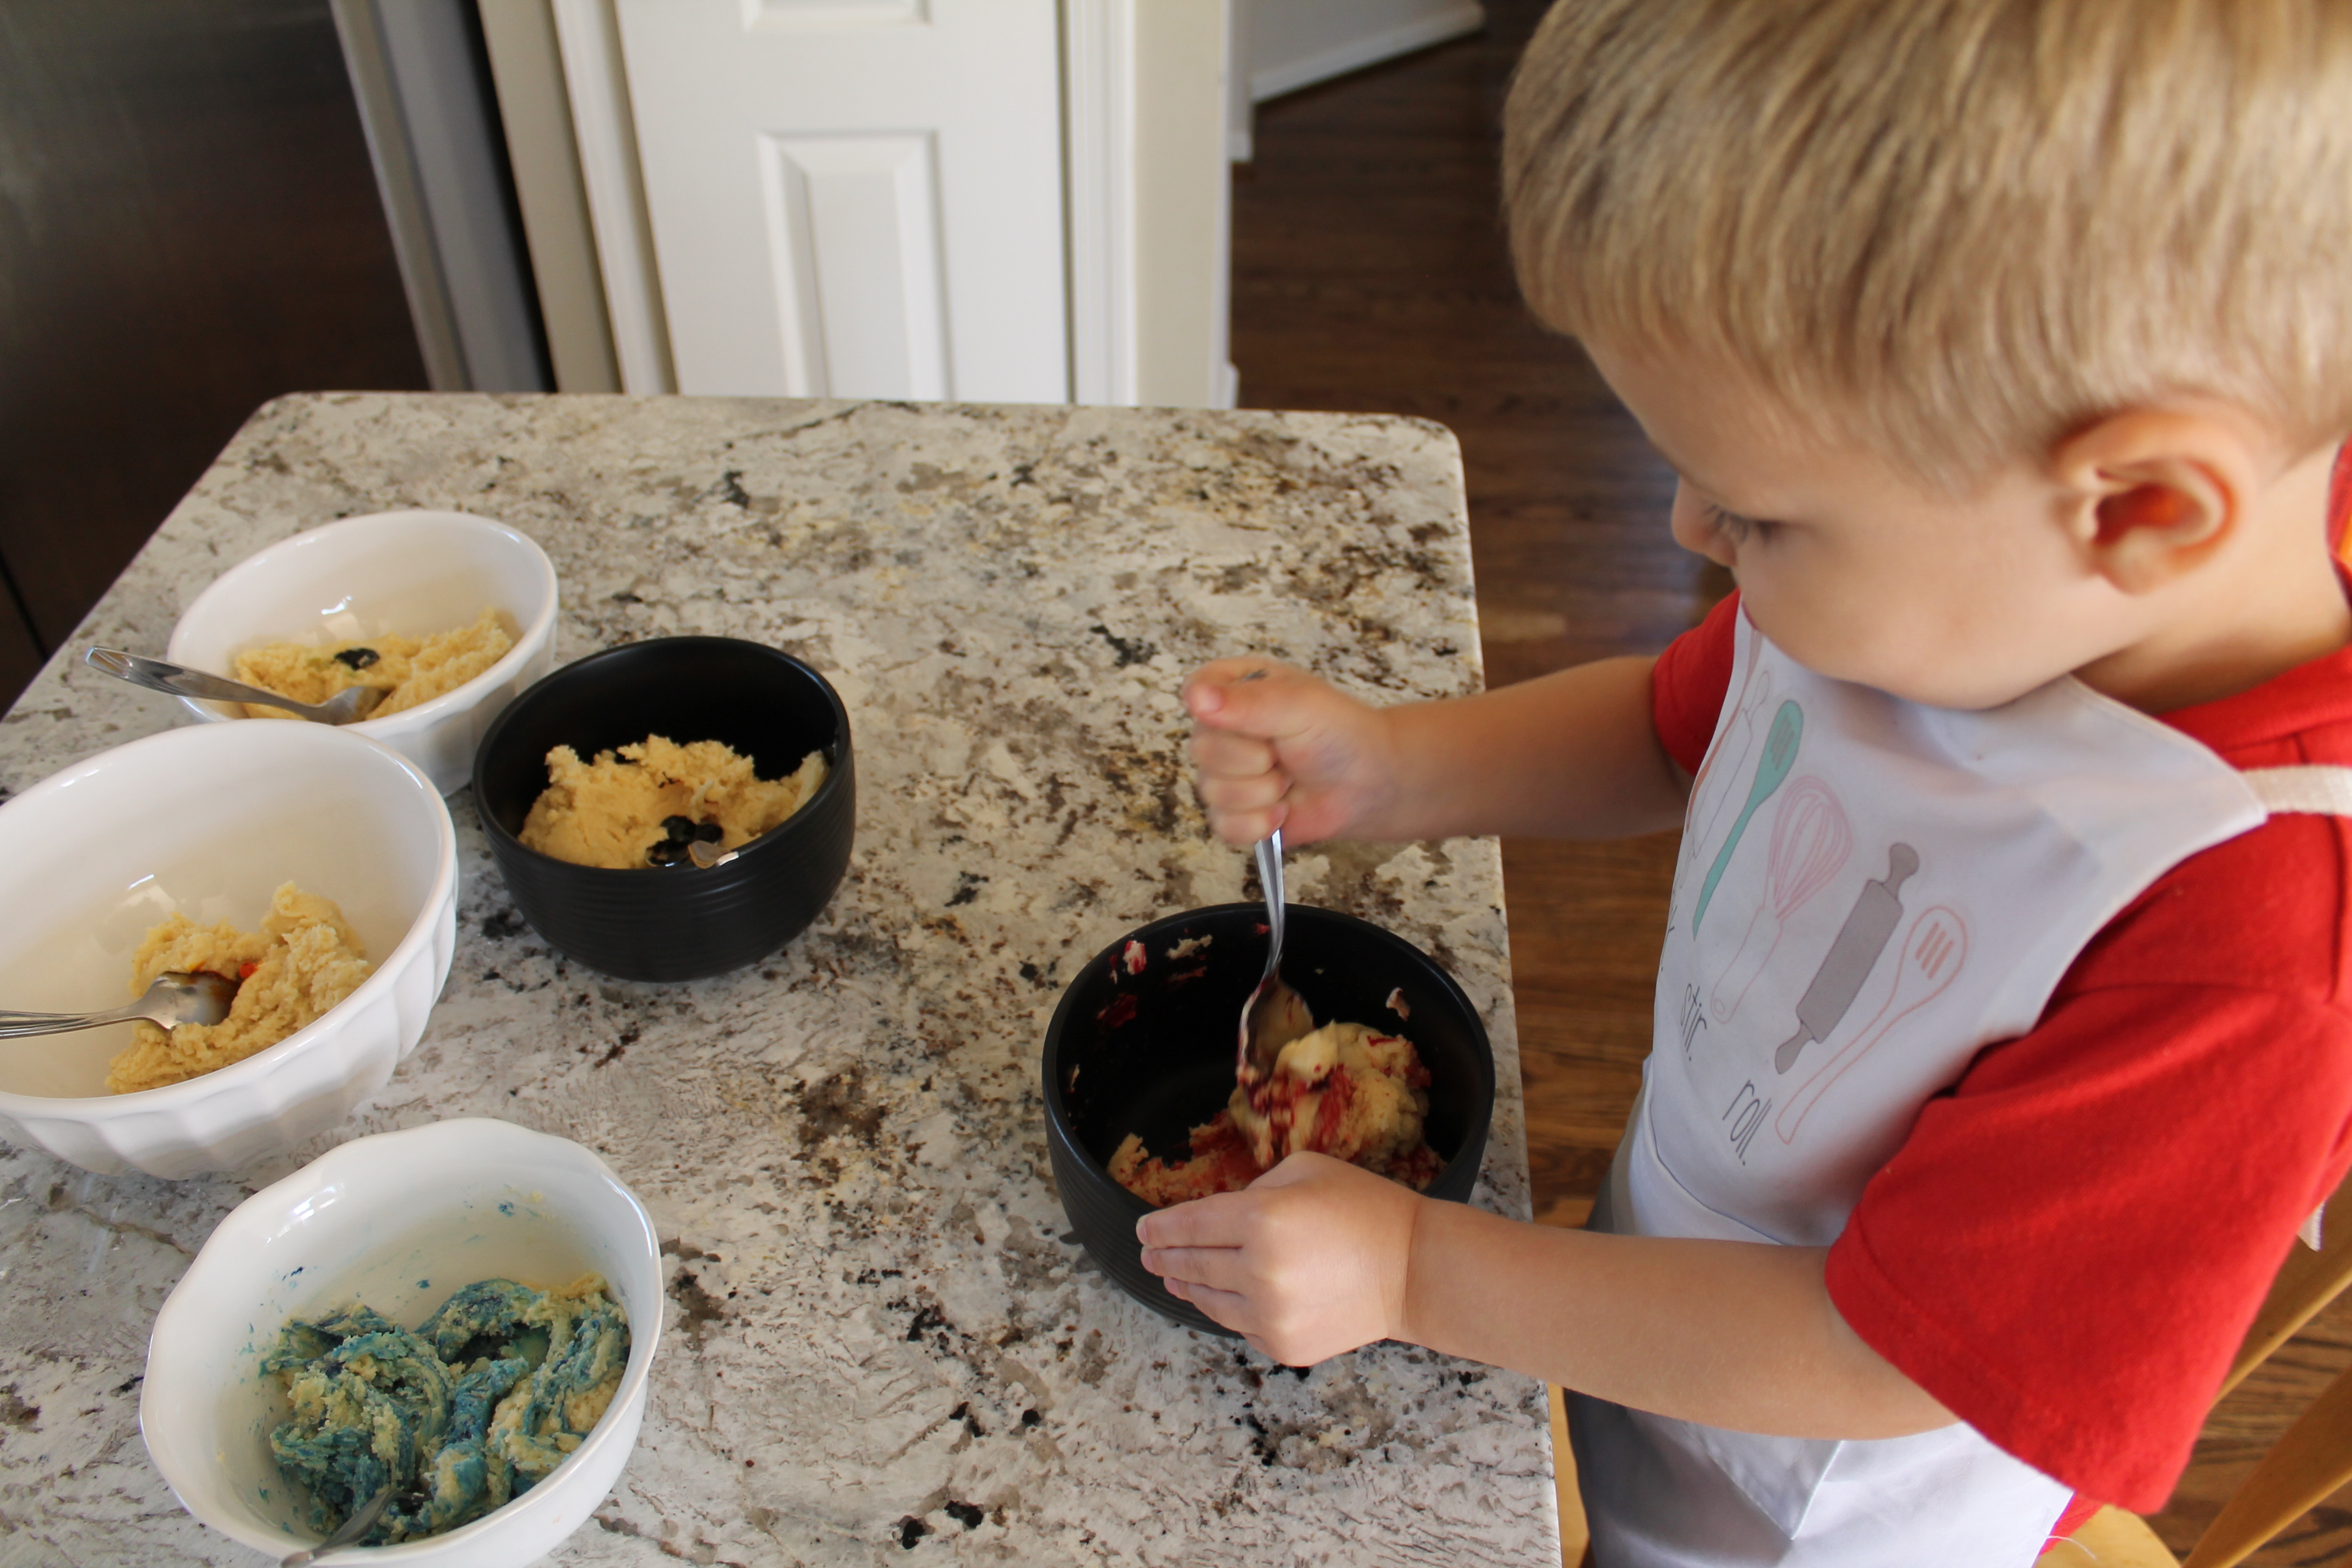 If you are super brave, your toddler can totally help you mix the colors! I let Jake tackle red (he was wearing a red shirt…and an apron) and he did a pretty good job! While we mixed the doughs into rainbow colors, Jake and I talked about the story of Noah and the Ark, and how God made the first rainbow as a sign of love and mercy for his people. We sang songs. We did stirring dances.
 After you have colored all your cookie dough, it’s time to make the rainbow.
Jessica of PinterTest Kitchen mentioned that she felt this was a very odious task (and I am not really a fan of hand-shaping cookies, either), so I decided to try something different.
But let’s be real: making cookie rainbows is tedious. You have five different colors of dough, for crying out loud! Don’t even pretend like you thought it would be a breeze to turn regular sugar cookies into rainbow swirlies. Simplicity and speed is not why we broke out the food coloring, right?
But lest you think this isn’t going to be worth it, let me just tell you that if you bring rainbow-swirled cookies to any gathering where there are children, you will be the life of the party. Children will flock to you and leave with a small sugar high. They will get giddy and their voices will become incredibly squealy as they discuss how wonderful these cookies are and how did you do that and will you make some more and which color tastes best.
Heck, you could bring them to a party where there are no children with almost the same effect.
So. Gather your wits. Gather some foil and a 9″x13″ pan. Let’s do this.
 The basic gist is: we are going to spread each colored dough thinly on its own piece of foil, then stack the layers together and roll them up into a fat log. Then we slice and bake. Easy peasy lemon squeezy.
Press a large sheet of foil into the bottom of a 9″x13″ pan. Run your finger around the bottom edges of the pan, creasing the foil. (This isn’t a super precise step, but it will help you establish an approximate size for the dough layers.)
Grab your first color of dough. You could start with any color you please, but I generally recommend working with the doughs in rainbow order and starting with the color you want to be on the inside of the cookies. The first time I made these cookies, I started with blue, and the second time, red. I admit that I liked the look of blue on the outside better than red, but feel free to do what you like! In fact, you aren’t even obliged to stick with rainbow order. You could go red-blue-green-orange-yellow, or green-orange-blue-yellow-red. You do you.
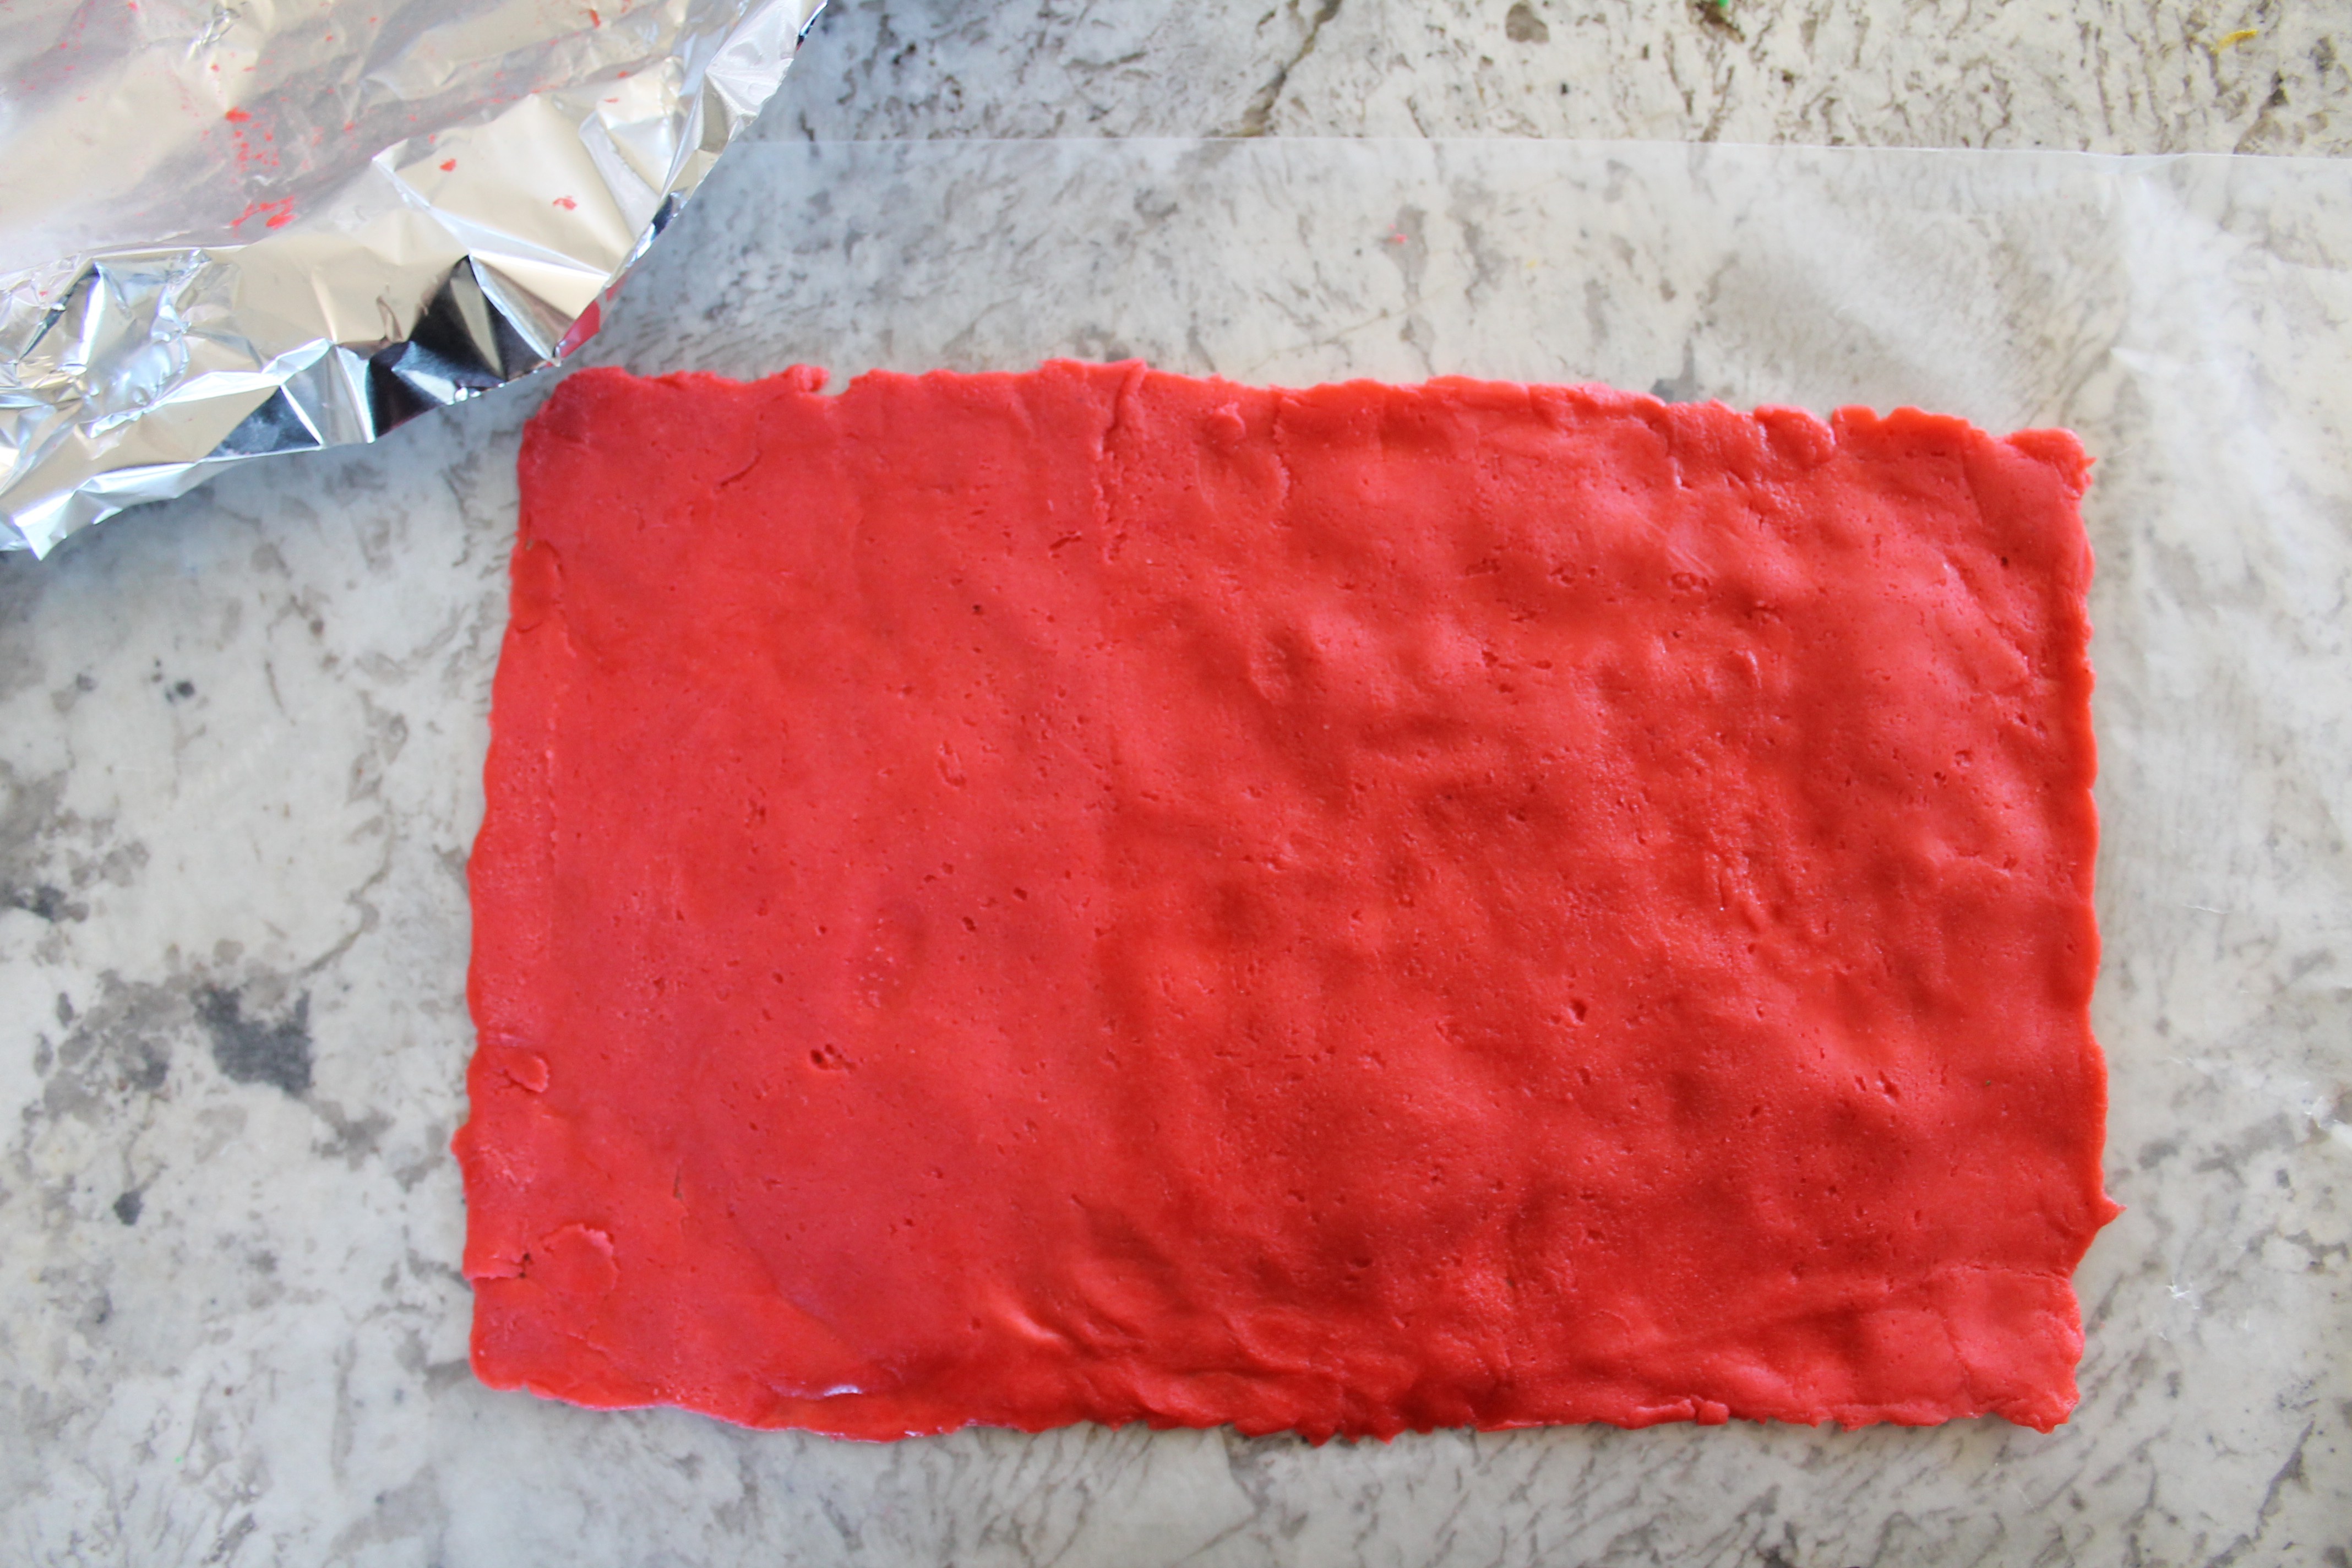
Pull the foil out of the pan and lay it on the counter. Spread the first color of dough out into a wide, flat layer on the foil. Try to spread it right up to the border you creased onto the foil.
The first time I did this, I dropped the dough in little lumps all over the dough and tried to press them together. As I worked through the rainbow of cookie dough, I decided it was actually easier just to drop the whole lump of dough on the foil and spread it outward.
I timed myself, because I am weird, and it actually only took me 3–4 minutes to spread each layer out into a large rectangle. (This includes all the extra little fussing I did over thin spots and straight edges. You can omit that part, if you like.) Once I found my rhythm, it wasn’t even that irritating to be spreading the dough into a very thin layer.
I let Jake poke around with the first color and try to spread it into a flat layer, but this is really an adult task. Just do it.
Freeze each layer as you go. You can stack them right on top of each other in the freezer (on their foil, of course), but I do recommend sticking a baking sheet or a cutting board underneath the bottom layer, so that everything freezes in a flat sheet.
These cookie layers are thin, so they only need to freeze about 10 minutes or so, just to firm up enough that you can peel off the foil without ripping the dough.
 Grab your first layer of dough from the freezer. Whichever color you choose here will be the color on the outside of the cookies.
Lay the cookie dough on a large sheet of wax paper, foil side up. Carefully peel the foil off the dough. If the foil rips, no big deal; just keep peeling. If the dough rips, do try to pat it back into place. This first layer is going to be the hardest, because it was in the freezer for the shortest time (theoretically), and because it has nothing beneath it to stick to!
 Lay the next color of cookie dough as squarely as possible on top of the first layer. Press down lightly, then peel the foil off. The quicker you work, the easier the foil peeling will be.
Repeat with all the colors. Now you should have a large rainbow-stacked rectangle about 1″ thick. Press it gently all over to help the layers adhere to each other.
Let the rectangle sit on the counter for 5–10 minutes, so the dough will thaw a little and become more pliable.
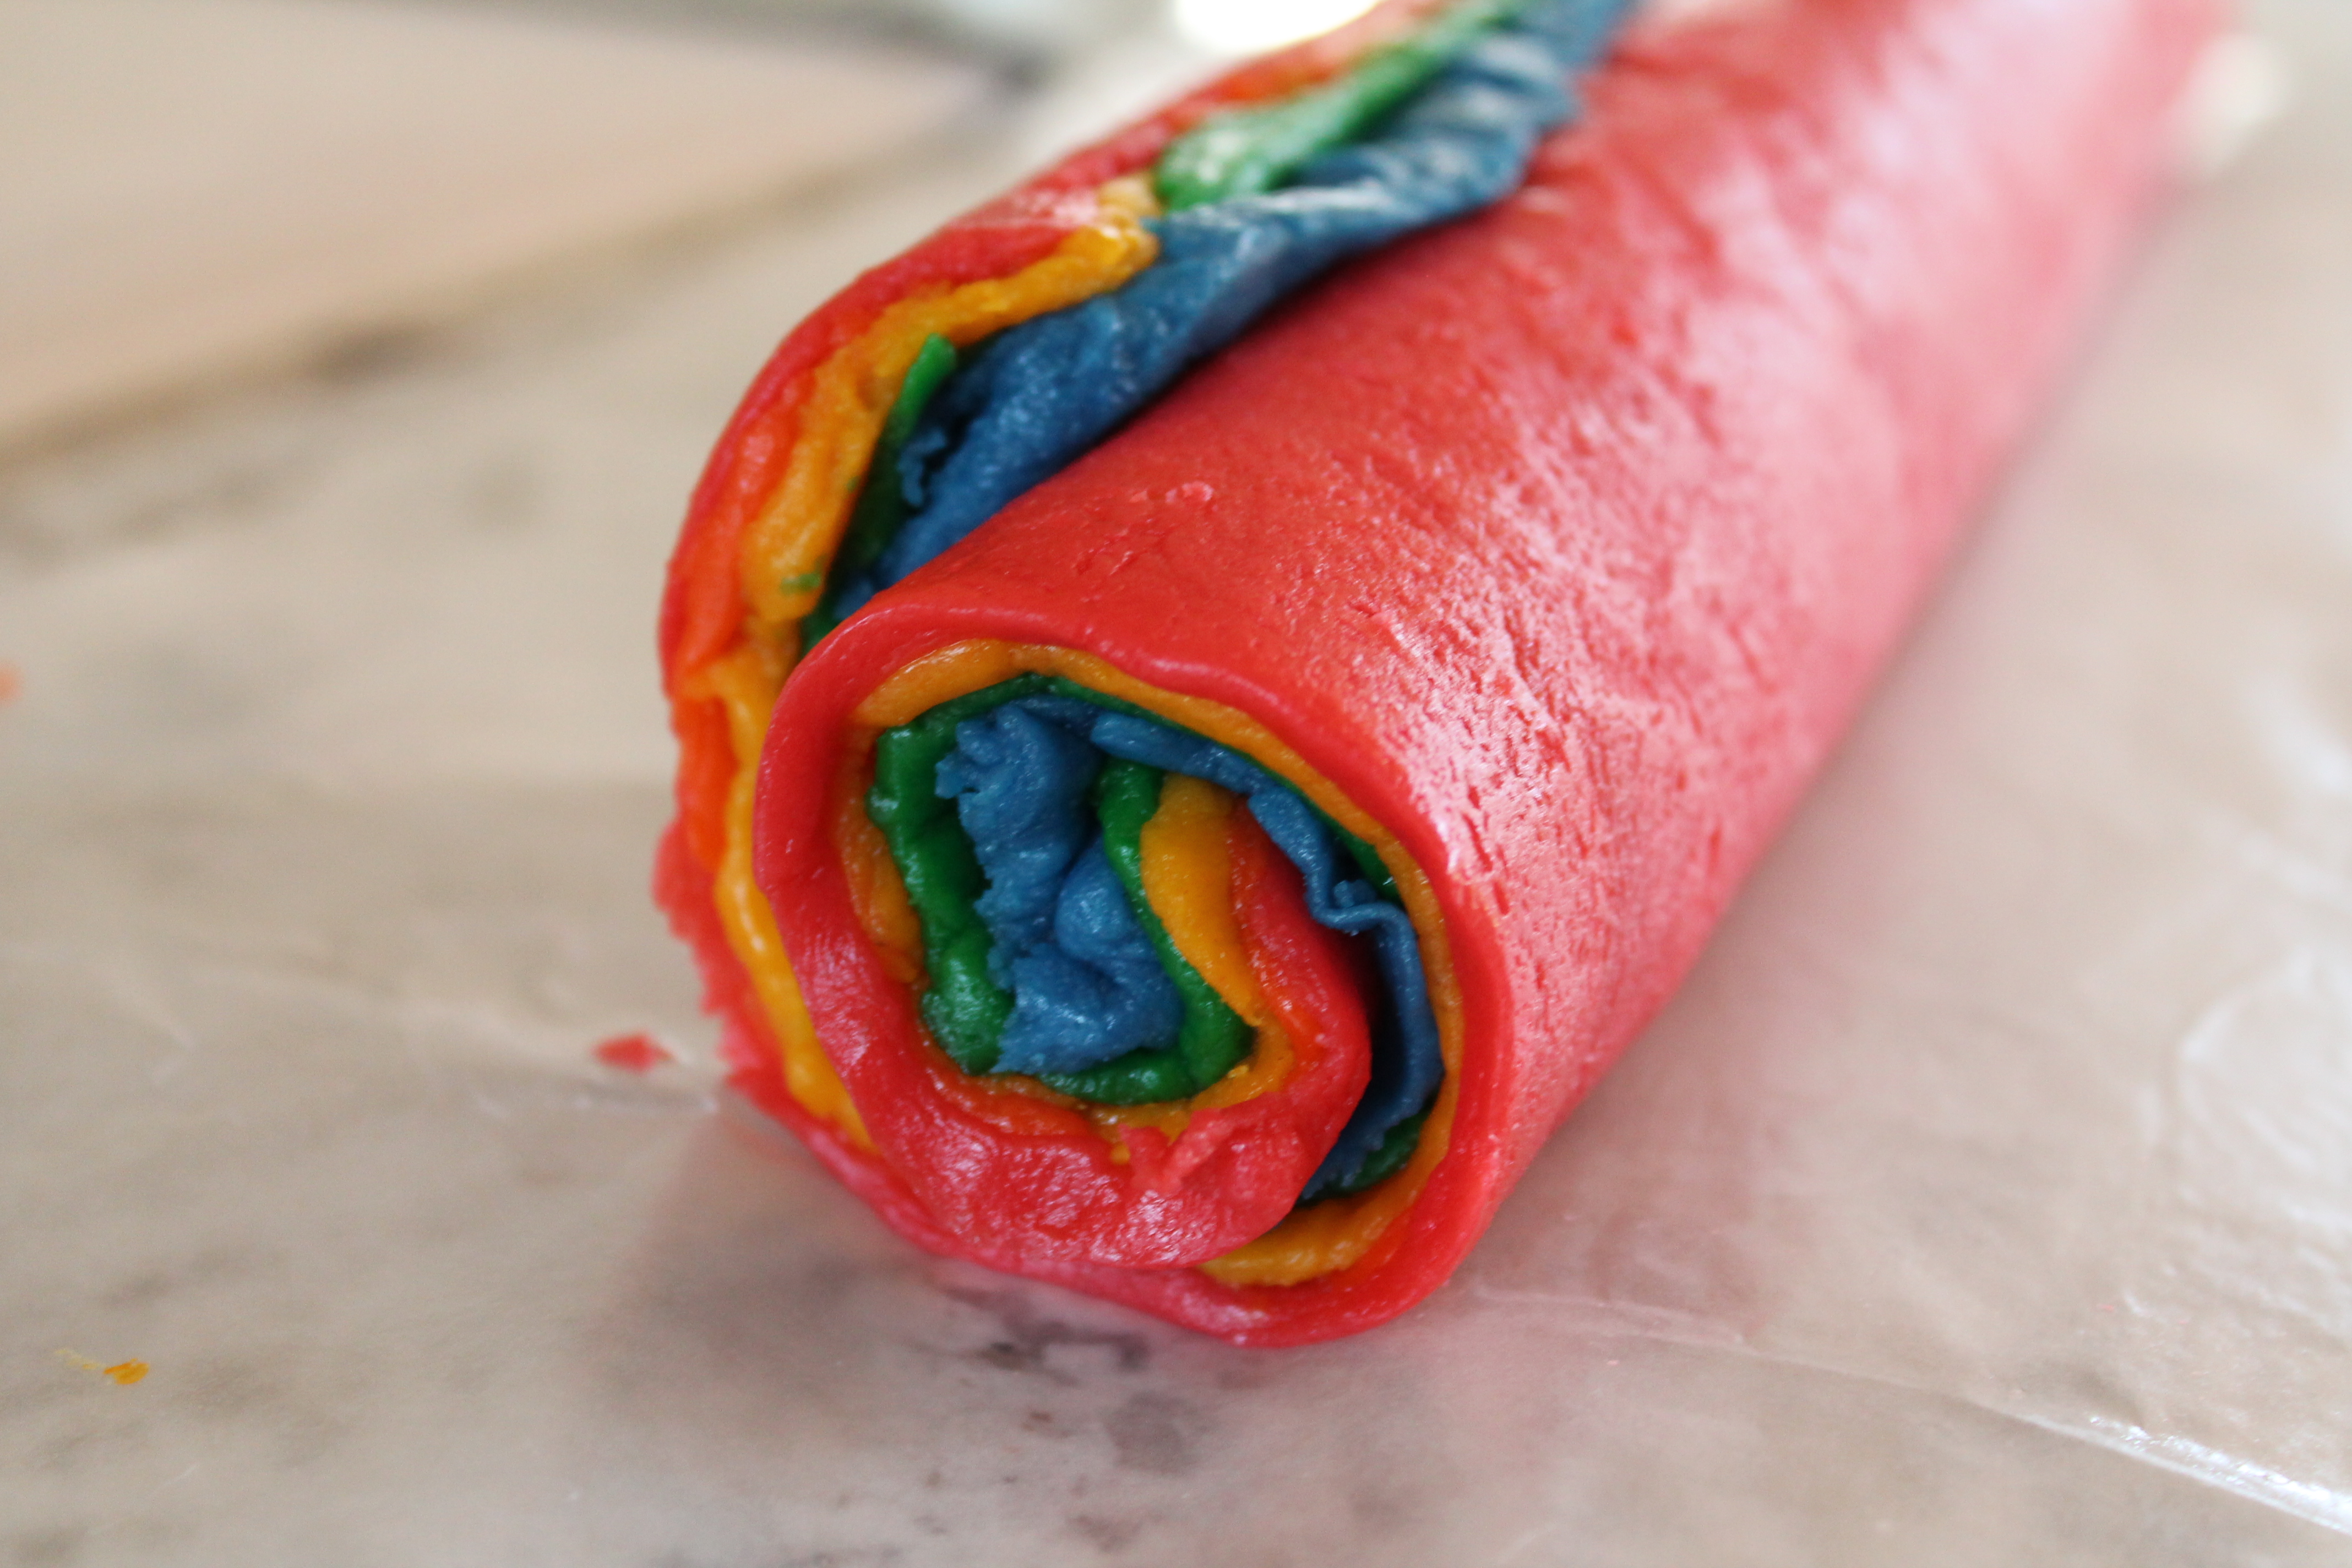 When you are feeling brave, carefully roll the dough up jelly-roll style, using the wax paper to help roll evenly and prevent you from gouging the dough. You will end up with a big, fat 13″-long log.
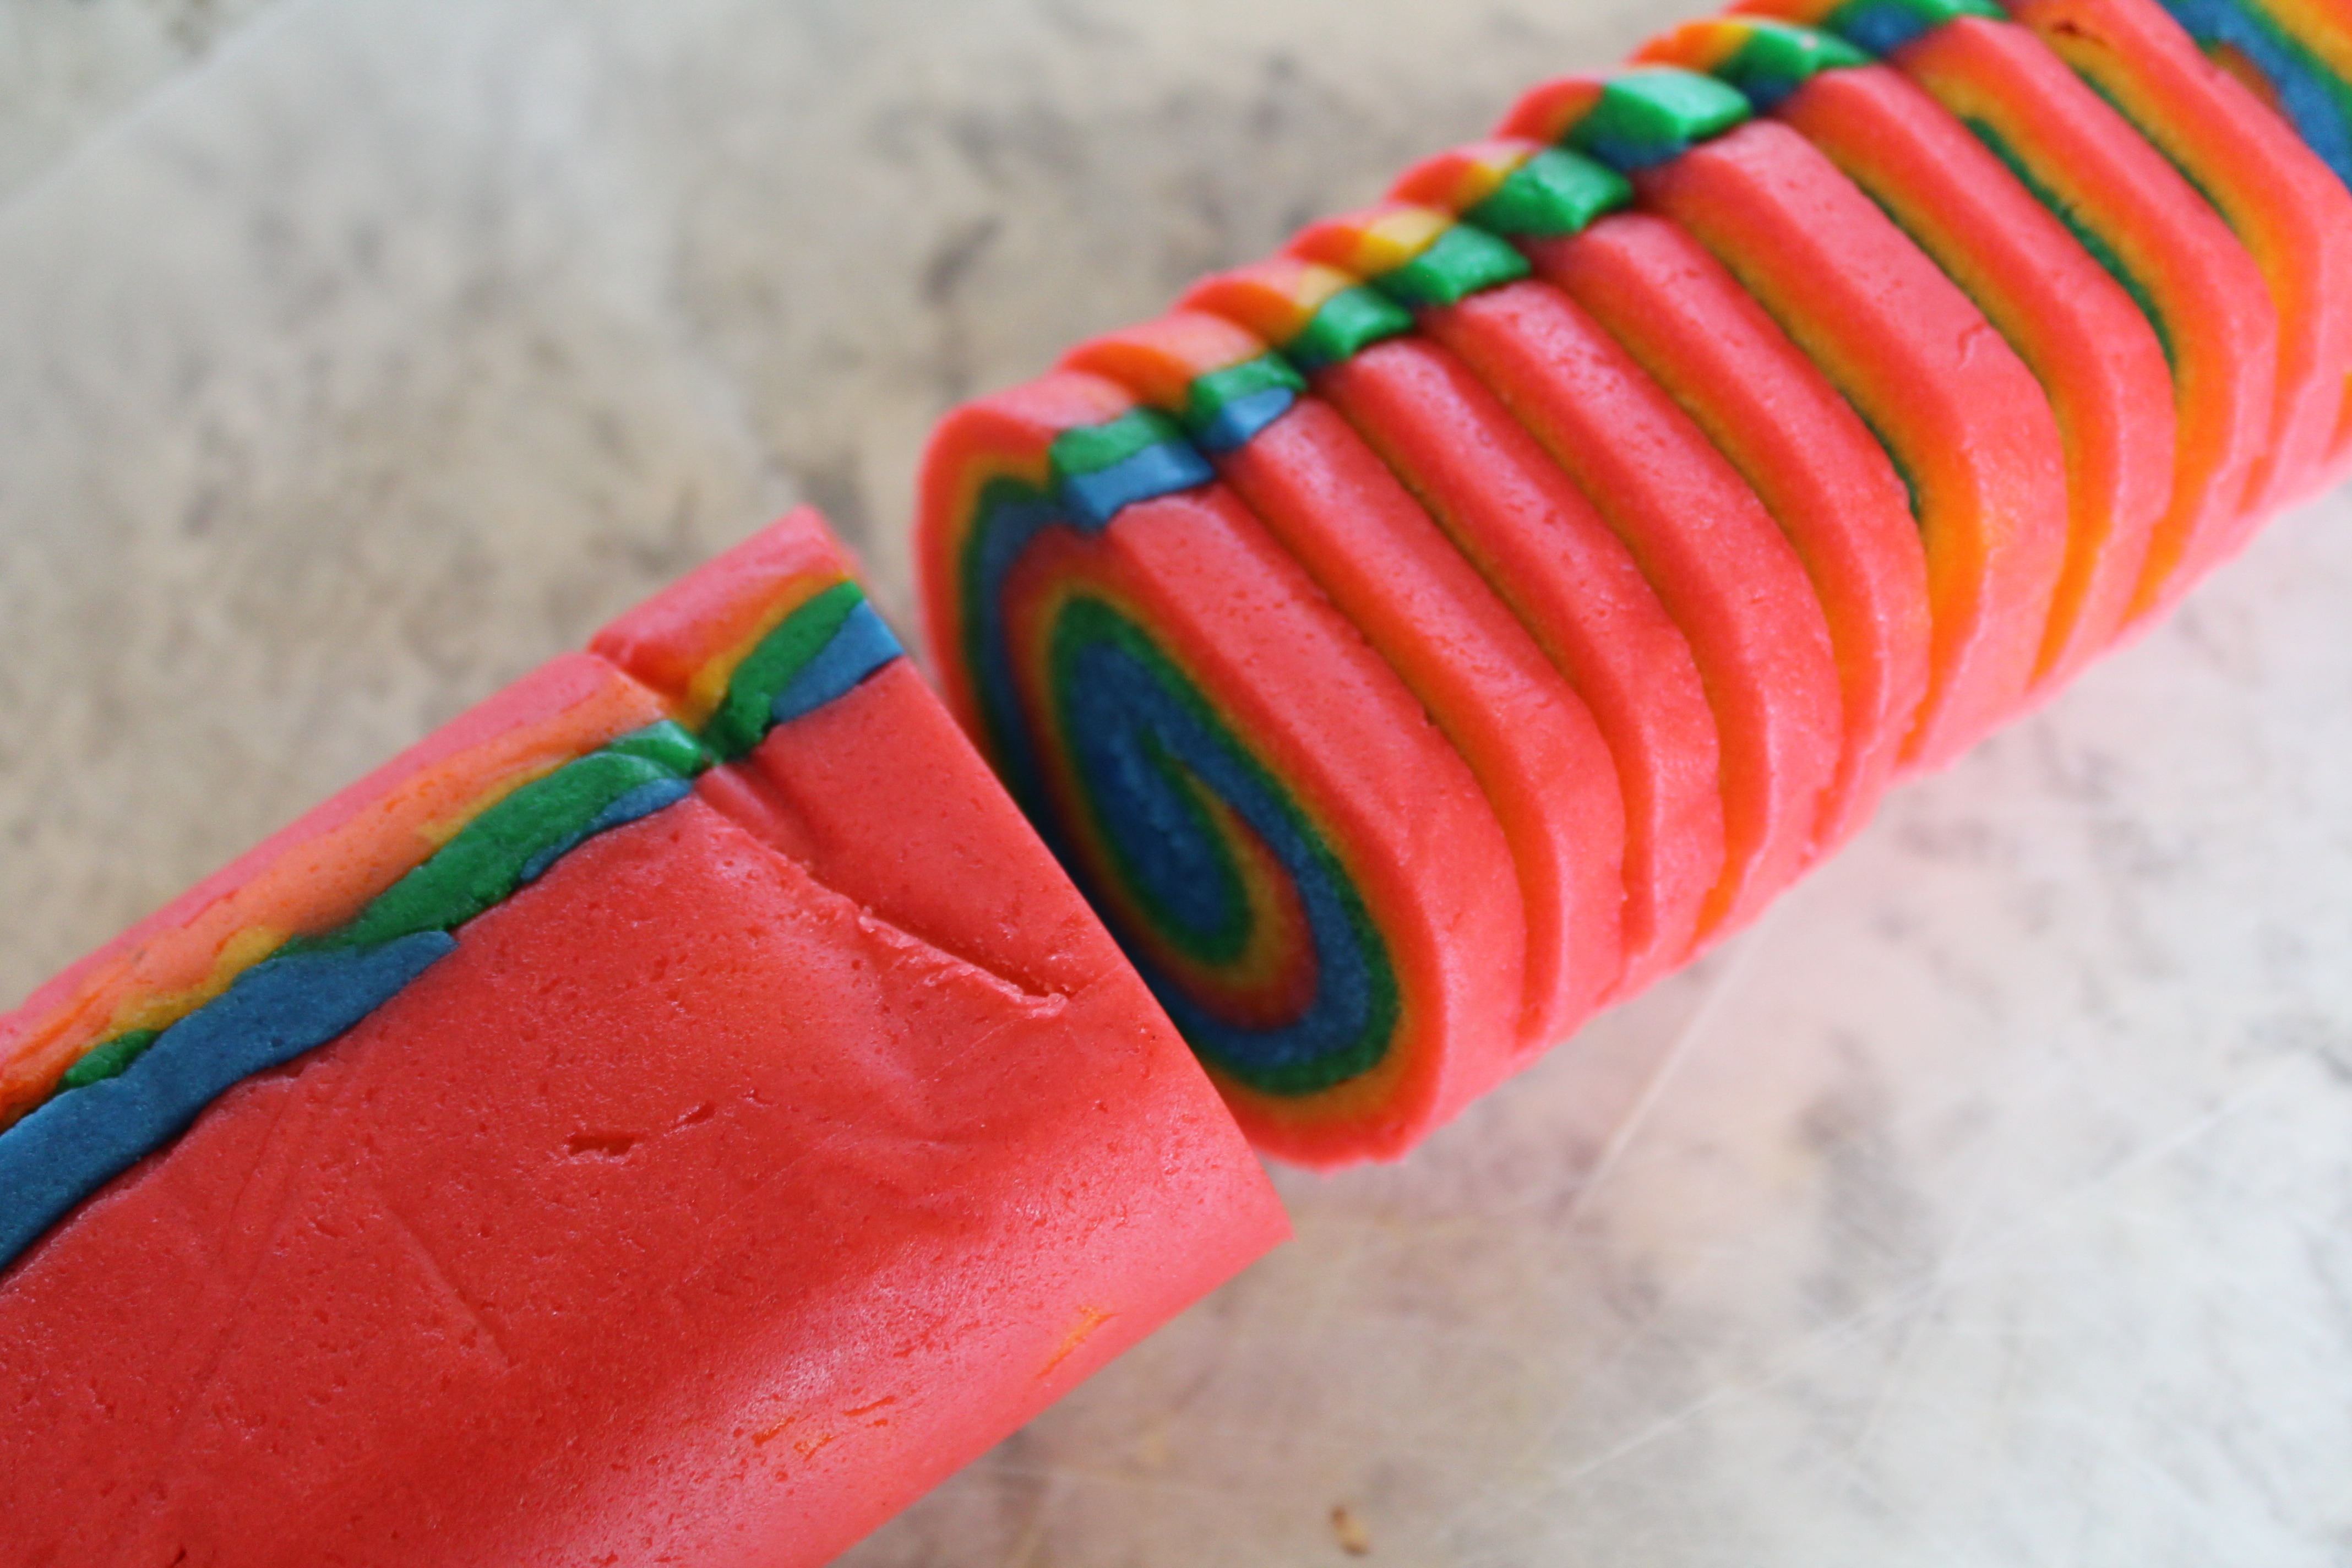
Wrap this log in the wax paper like a great big piece of candy and stick it in the fridge. It will be easier to slice these cookies up if the dough is firm! Hence, icebox cookies.
The dough can hang out in the fridge as long as you like. But you have done the hard part! All that’s left is to slice and bake.
 Now I believe that sugar cookies should be crisp rather than soft, lightly brown around the edges and airy in the centers. (These cookies will end up a bit sticky if you soft-bake them, so these really are prime for a little extra time in the oven.)
Slice the rainbow log into ¼″-thick pieces. Lay the cookies at least 2″ apart on a lined cookie sheet. They will spread quite a bit, so don’t place them too close if you want them to be circular in the end!
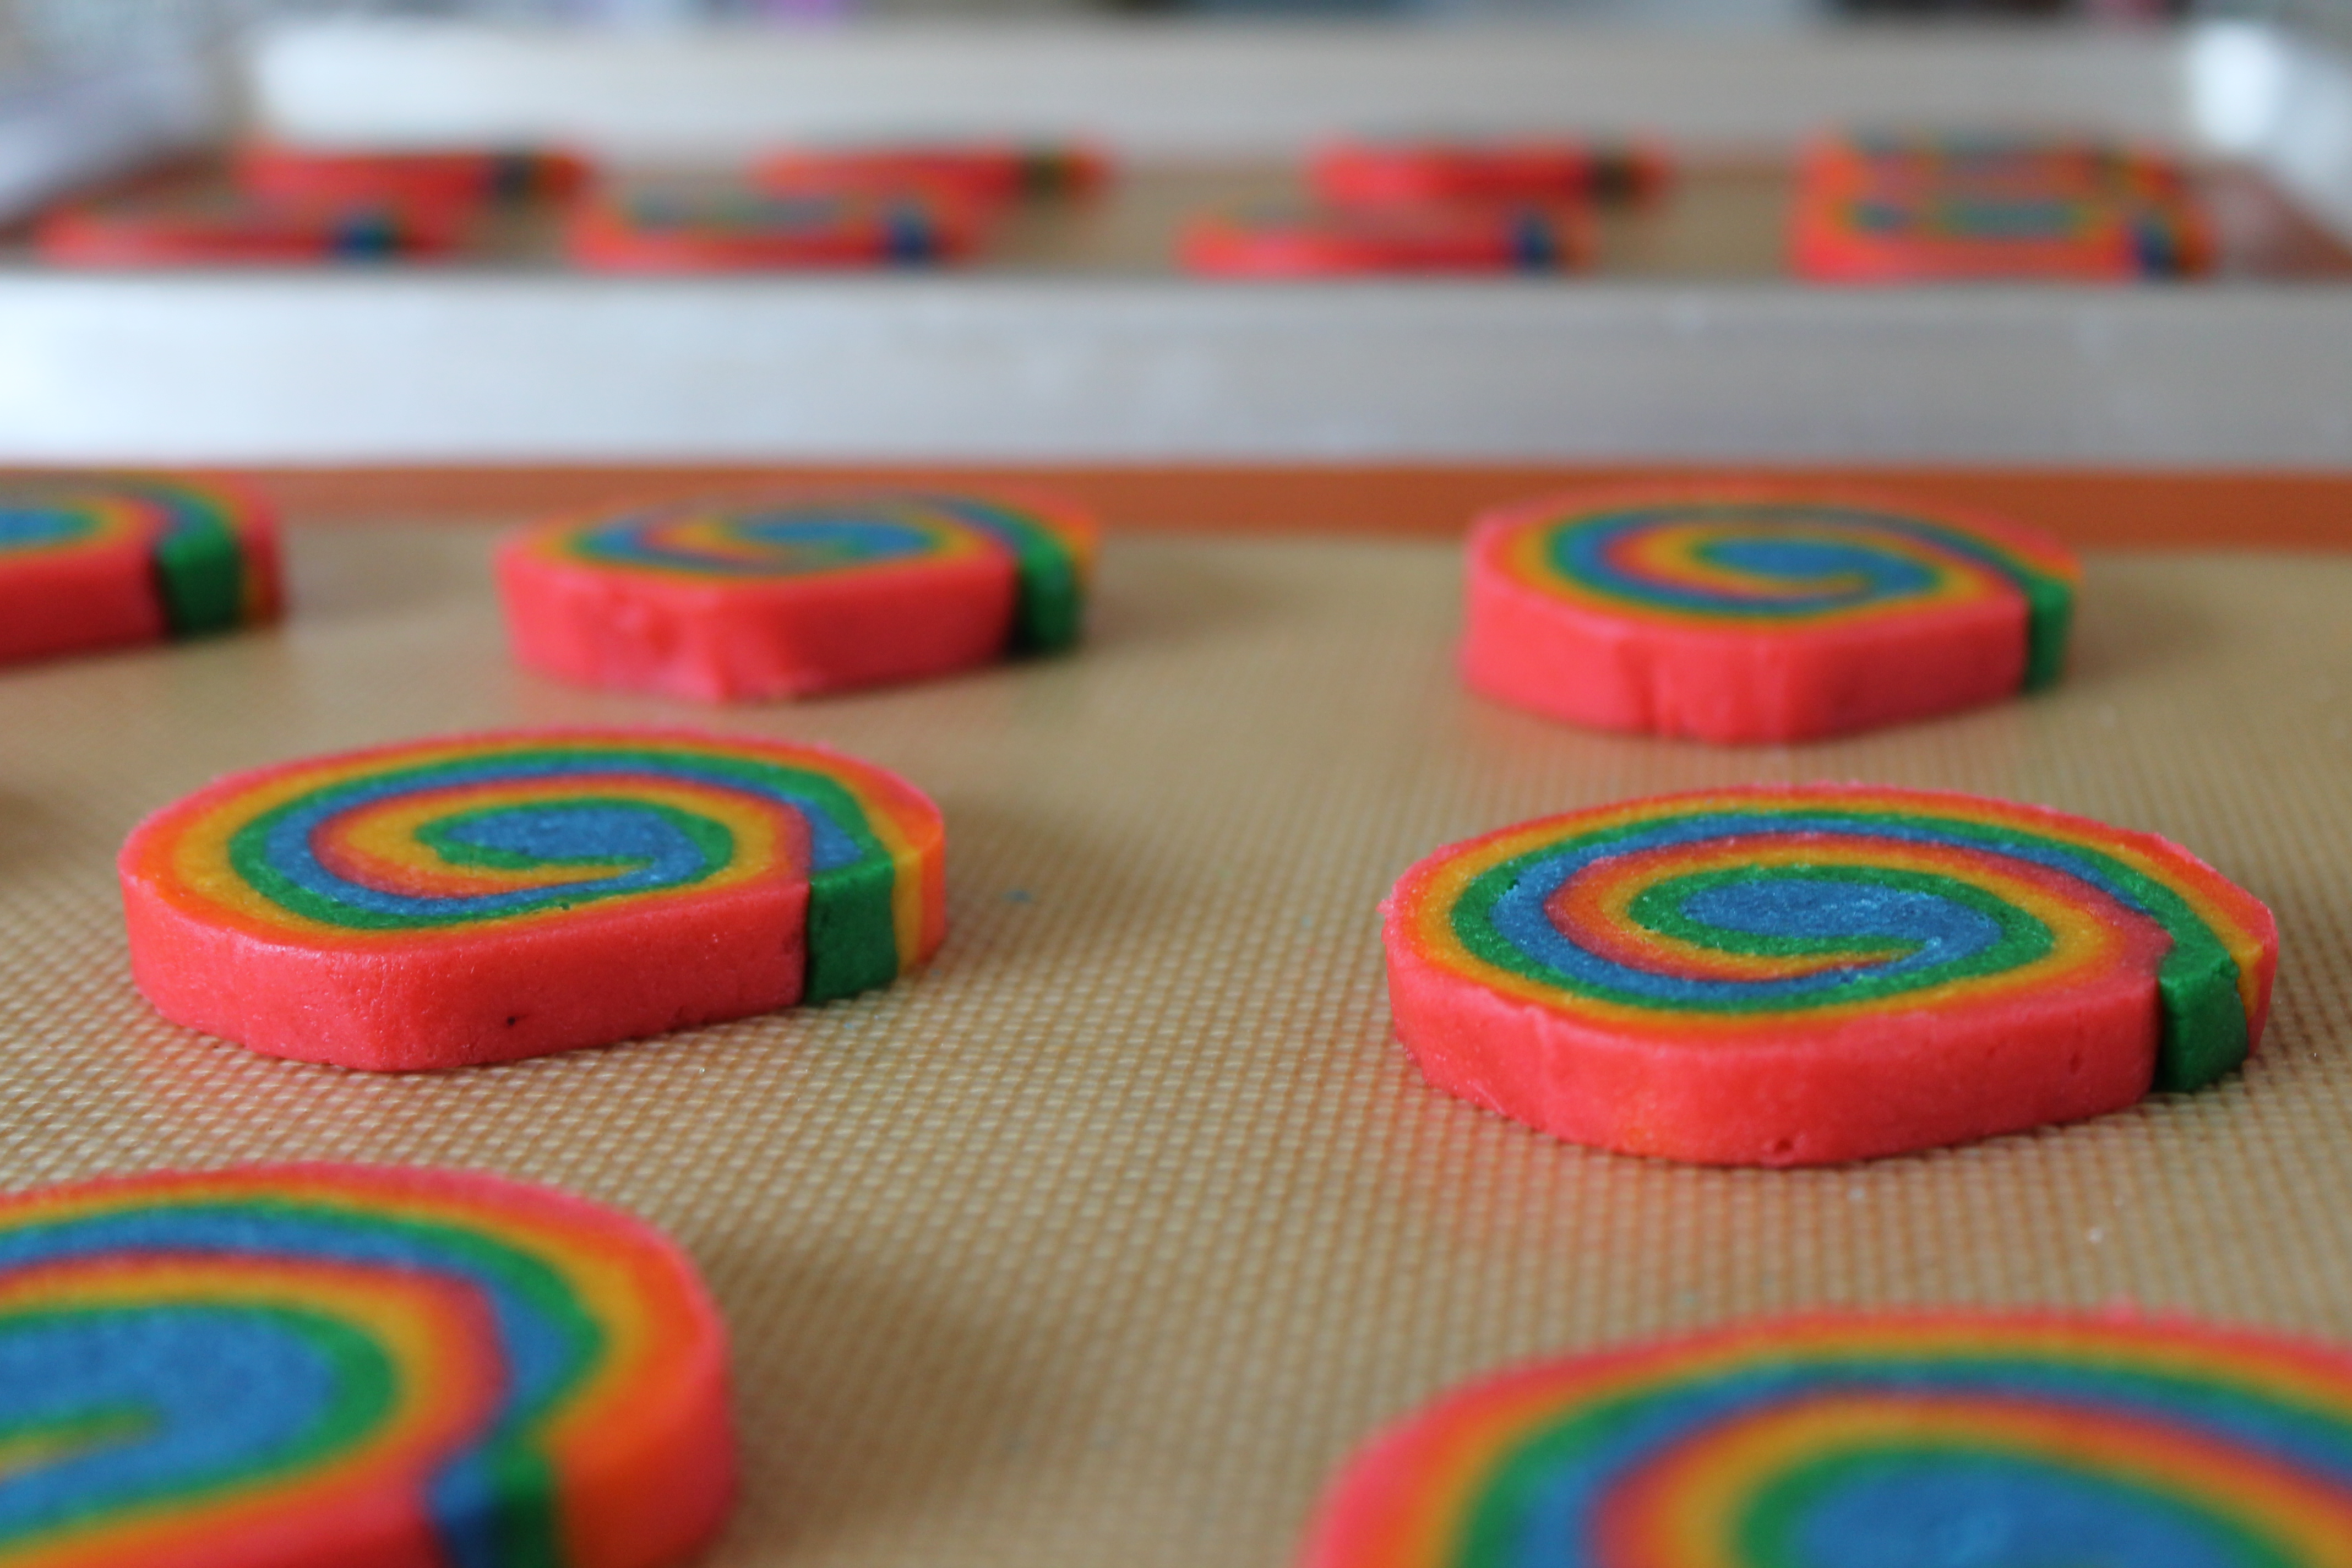 Bake for 11 minutes at 350°. The edges will be slightly browned (although this will probably be hard to see through the bright colors). Let them cool on the sheet about 10 minutes.
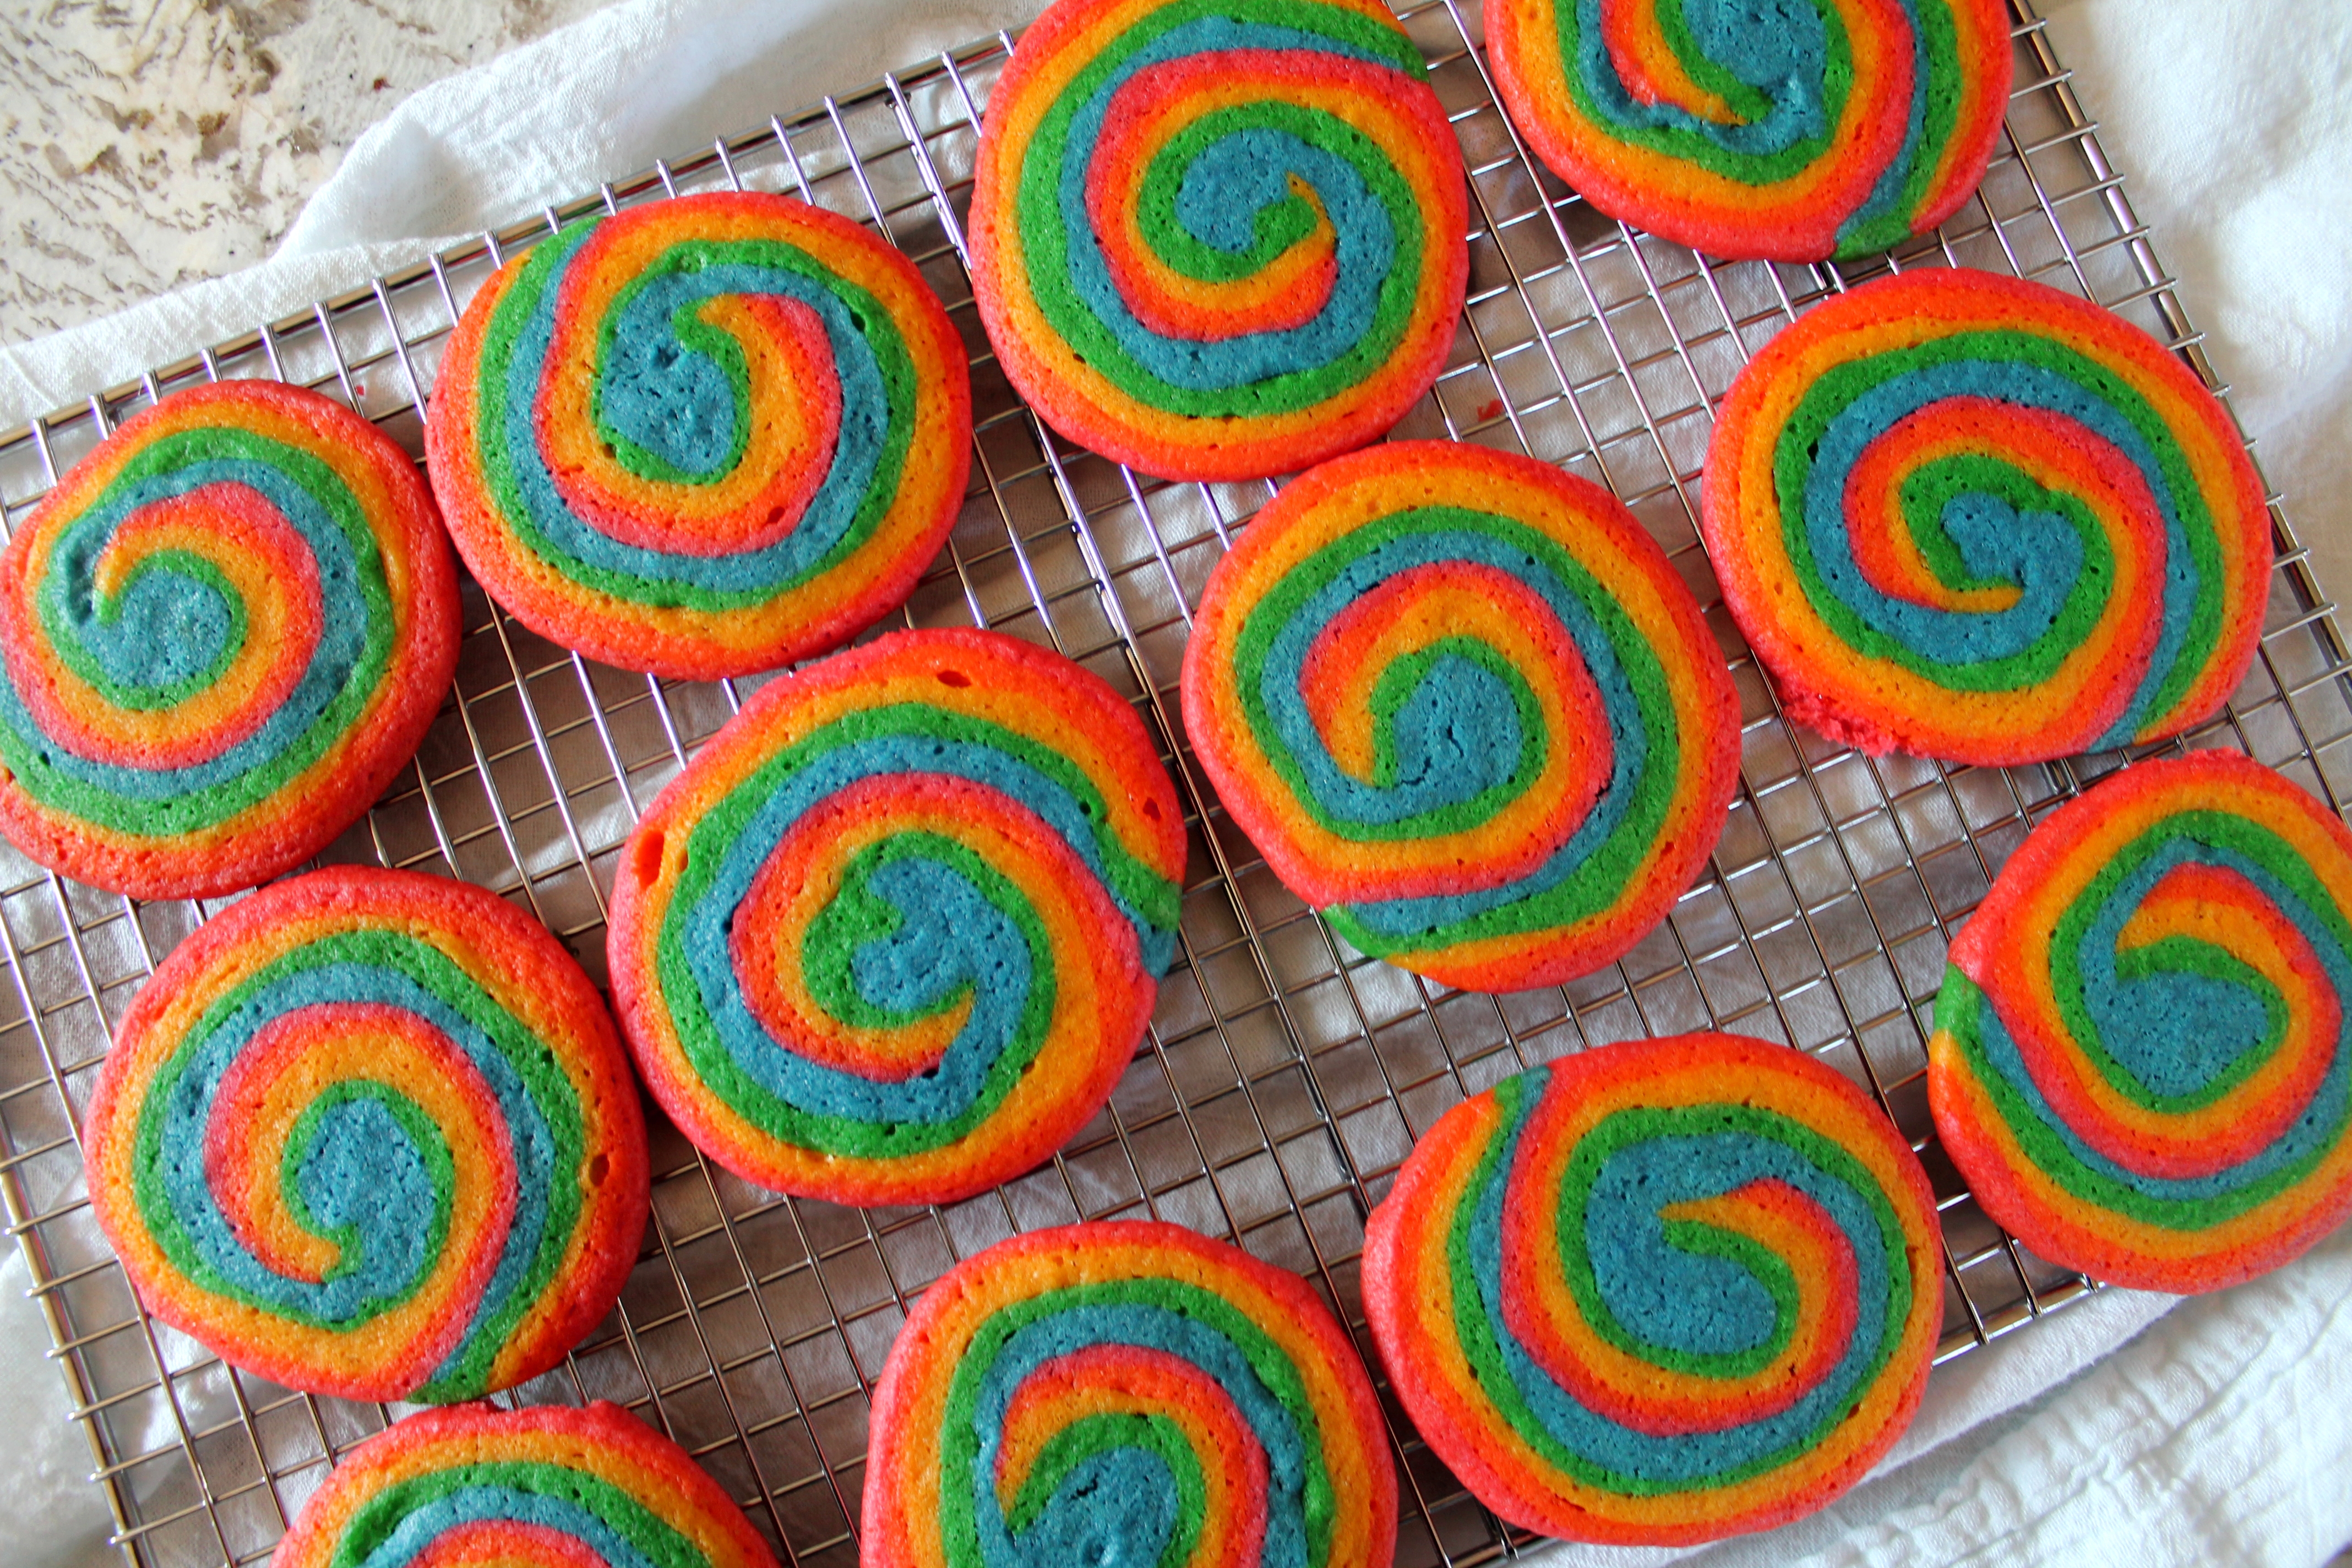
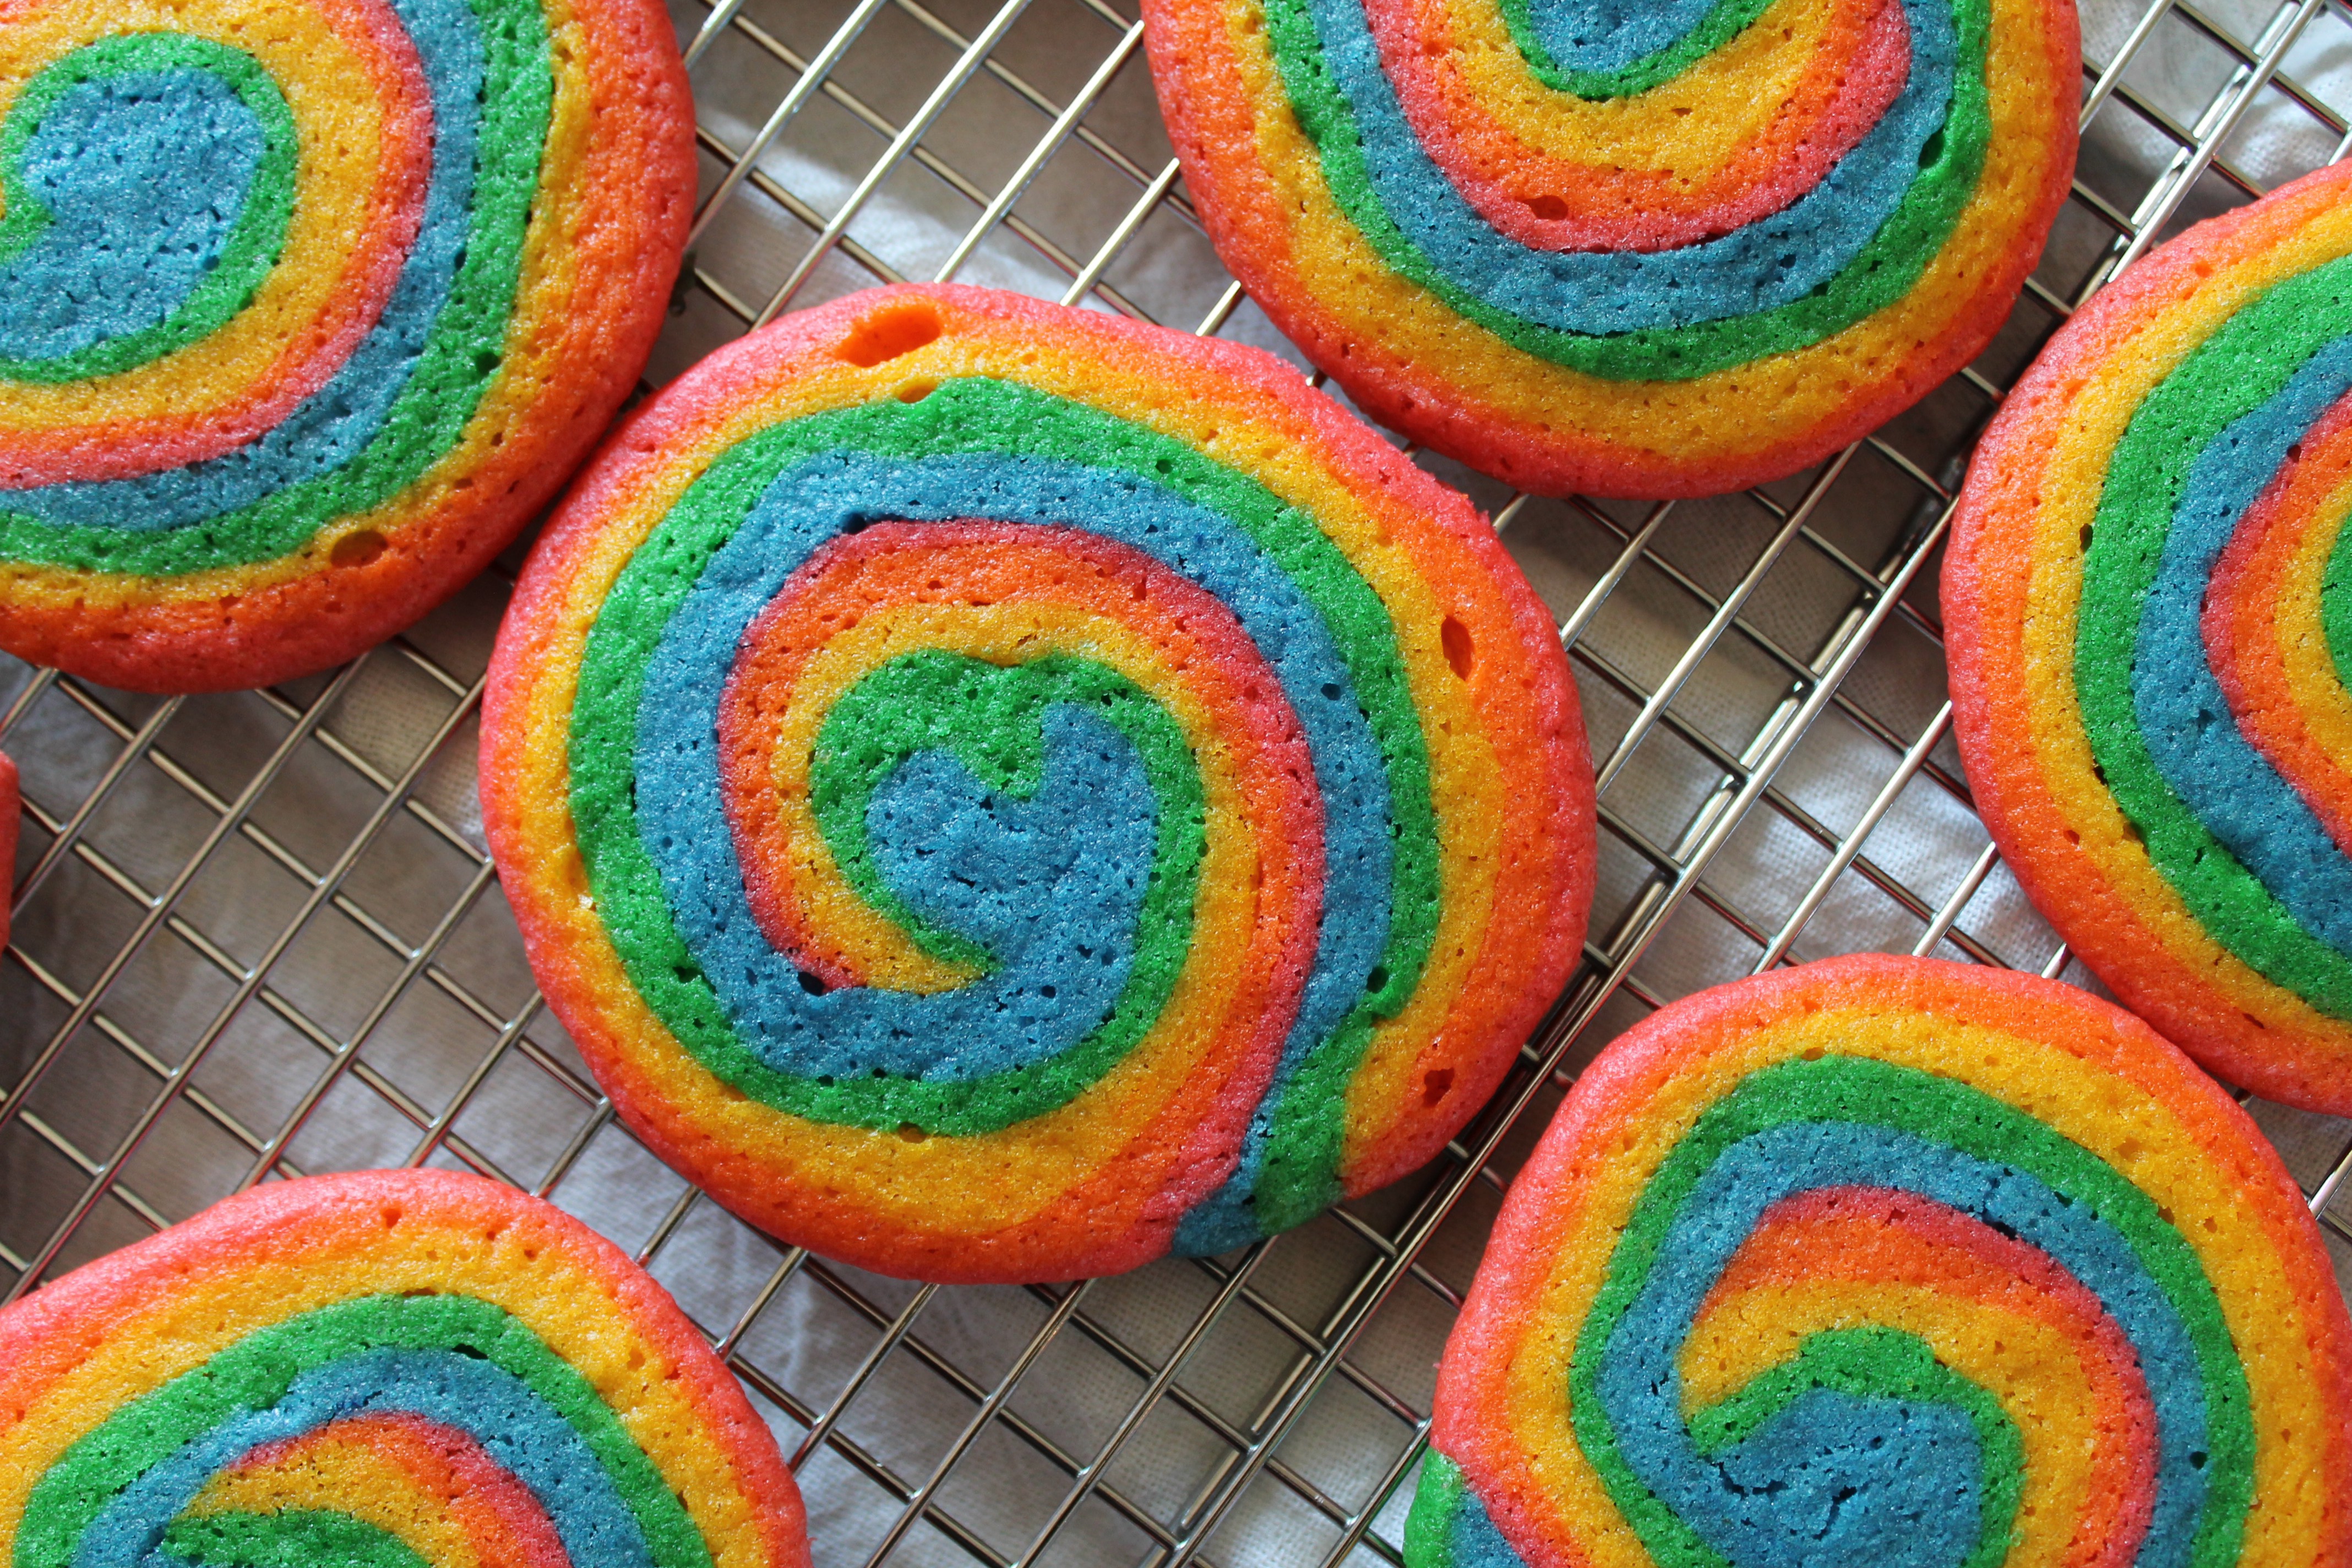
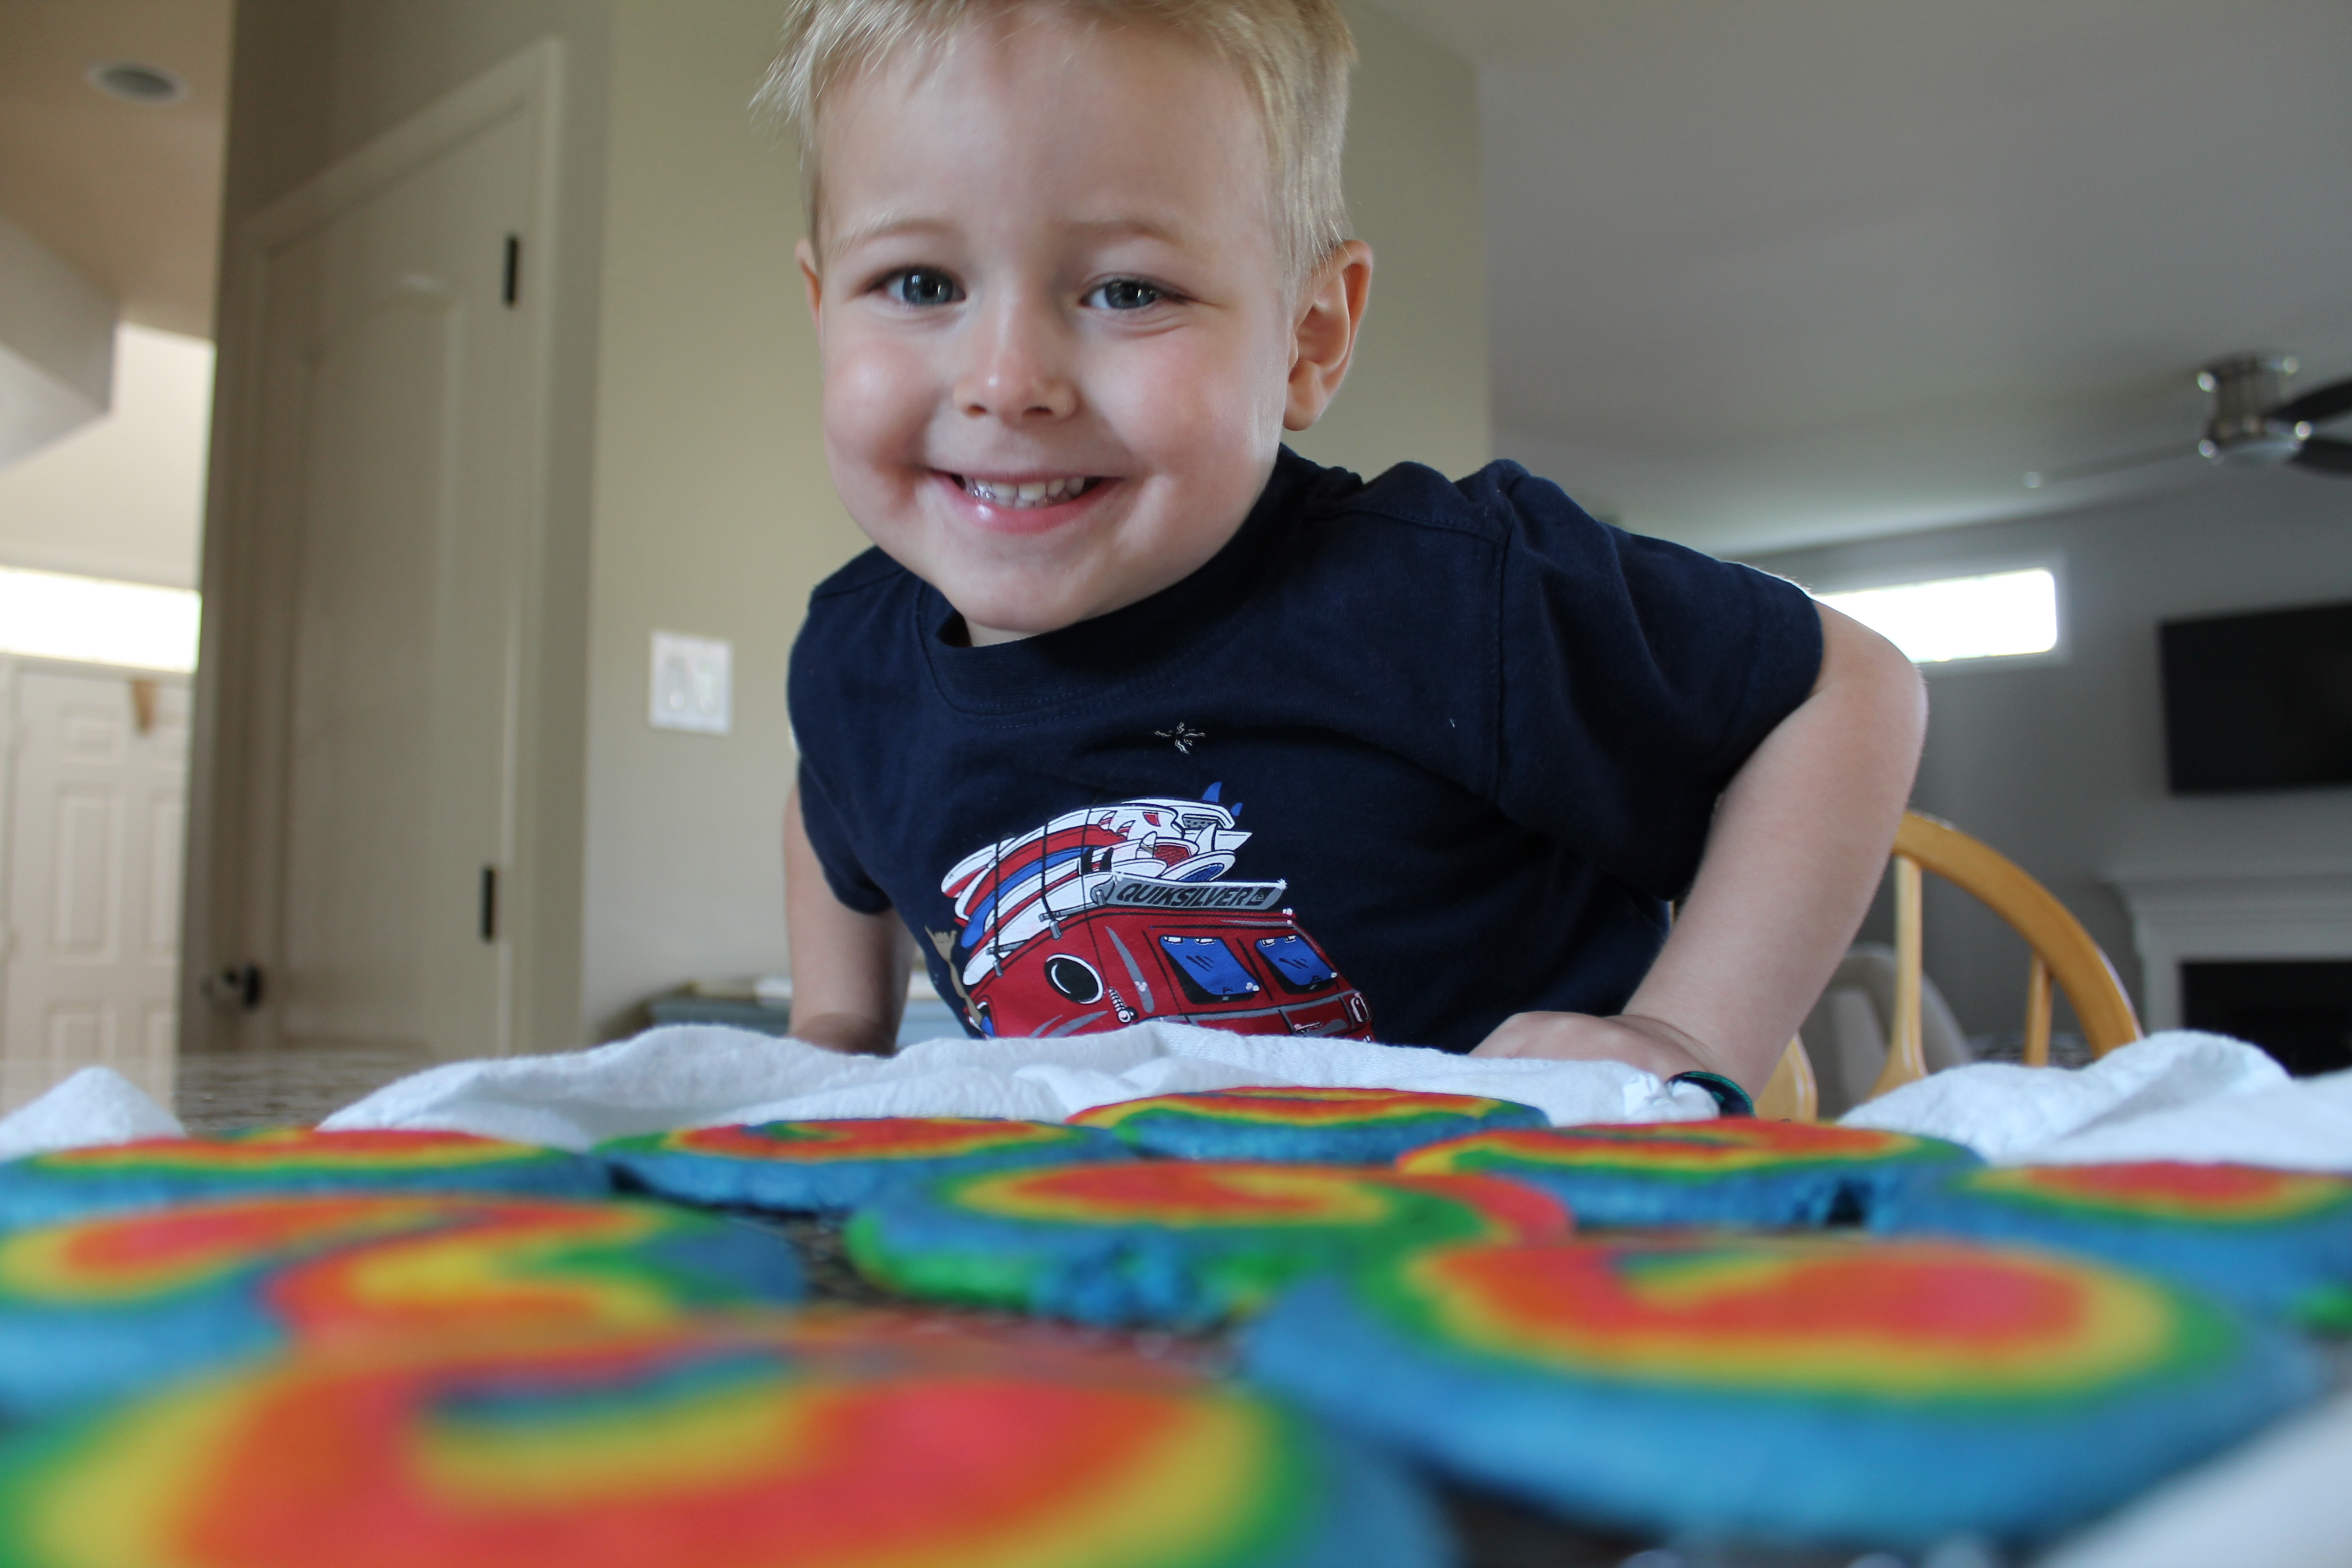 Whew. Finally. The cookie delight of children everywhere is done!
Rainbow Swirl Sugar Cookies
adapted from The PinterTest Kitchen
makes about 3 dozen
Ingredients:
1 cup butter, room temperature
1½ cups sugar
2 eggs
1 tsp. almond extract
3 cups flour
1 tsp. baking powder
1 tsp. baking soda
1 tsp. salt
food coloring (red, orange, yellow, green, blue)
Directions:
Cream the butter and sugar until light and fluffy. Add the eggs and almond extract, beating until well combined, scraping the sides of the bowl as needed.
Stir in the dry ingredients.
Divide the dough evenly into 5 small bowls. Dye each portion of dough a different color.
Draw a 9″x13″ rectangle on 5 large sheets of foil. Spread each color of dough in a single, thin layer on its own sheet of foil, working it into a 9″x13″ rectangle. After creating each colored layer, place the dough in the freezer on the foil. Freeze the layers on the foil sheets at least 10 minutes, so they will stiffen and be easier to work with.
When the dough rectangles are firm and cold, remove the first one from the freezer and place dough-side-down on a large sheet of wax paper. Peel the foil off the dough and discard.
Repeat with the remaining colors, working in rainbow order, and lining them up as close to square as possible. When all the layers are stacked together, the rainbow-stacked sheet of dough should be about 1″ thick.
Let the layers come to room temperature on the counter, then carefully roll them up, jelly-roll style, into a long, fat log. Wrap the log in wax paper and chill in the fridge at least 1 hour, and up to several days.
When ready to bake, heat the oven to 350°. Line two cookie sheets with Silpats or parchment paper.
Slice the rainbow log into ¼″ pieces and lay them on the lined cookie sheets at least 2″ apart.
Bake for 10–12 minutes, until the edges are beginning to brown.
Let cool 10 minutes on the cookie sheets, then remove to a wire rack to finish cooling.
Enjoy!
- One year ago: Chocolate Beet Cake
- Two years ago: Gazpacho
- Three years ago: Marbled Mocha Coffee Cake
- Four years ago: Feta Alfredo

12 comments to “Rainbow Swirl Sugar Cookies”
Sarah@WellDined - August 10, 2015
Wow – those came out so beautifully!
Melissa - August 10, 2015
Thanks, friend!
Cookaholic Wife (@cookaholicwife) - August 10, 2015
These are gorgeous! My swirls never come out evenly.
Melissa - August 10, 2015
Thanks! I think forming the layer separately helped with the layers. Hope you can give these a try!
Jean - August 10, 2015
Wow. Those are gorgeous. And I liked your method for creating them.
Melissa - August 10, 2015
Thanks!
reneeskitchenadventures - August 10, 2015
Wow! You make it look so easy!! And they came out beautiful!
Kelly@WildfloursKitchen.com - August 11, 2015
These are absolutely BEAUTIFUL!! 😀 And your son is just a doll!!! 😀 What a fun chic for the SRC! 😀
Jessie Weaver - August 11, 2015
I am trying to remember exactly what the Ukrop’s cookies looked like. I think I preferred the redskin potato salad to any sweets there. 😉 These are beautiful!
Melissa - August 11, 2015
I really feel like they had blue! But maybe not. I was never a grocery store bakery fan…too sweet most of the time. We were much more of a potato wedges family!
Patricia @ ButterYum - August 11, 2015
I love the vibrant colors of these cookies. Looks like your little one enjoyed helping. Great photos. I’m happy to be new the SRC this month – I’d love it if you’d stop by and check out my post.
http://www.butteryum.org/blog/2015/8/9/coconut-bread-secret-recipe-club
Jessica Boyer (@Jess_Boyer) - August 12, 2015
Wow, you’re cookies turned out great. Layering and freezing the dough was a genius idea.. I wish I’d have thought of it at the time!