I have noticed a change in myself recently.
The longer I do this blogging thing, the more I bake and cook and try new things, the less I am daunted by recipes that have many steps or seem like they may take a while. I am no longer irritated by sifting. I expect to leave a mountain of dirty dishes in my wake…it doesn’t even seem like a deterrent anymore.
Surprisingly, recipes that I once thought of as time-consuming actually go faster! (I think I finally gained some knife skills, y’all.)
I have become more of a perfectionist, more critical of the foods I produce…because I can actually think of a dozen ways to balance the flavors or improve the texture! (Consequently, I no longer even bother to photograph every new dish I make, because I know I will want to tweak it before I share it.)
Last week, someone sent me a recipe that was literally just a list of ingredients. And I made a pretty amazing cake out of it without batting an eye or consulting any cookbooks.
I feel almost like a different person…I have started to trust myself in the kitchen. I have started to listen to my instincts more and have fewer facepalm moments.
I realized all of this due in large part to this cake. (Thank you, cake, and thank you, mom’s birthday!)
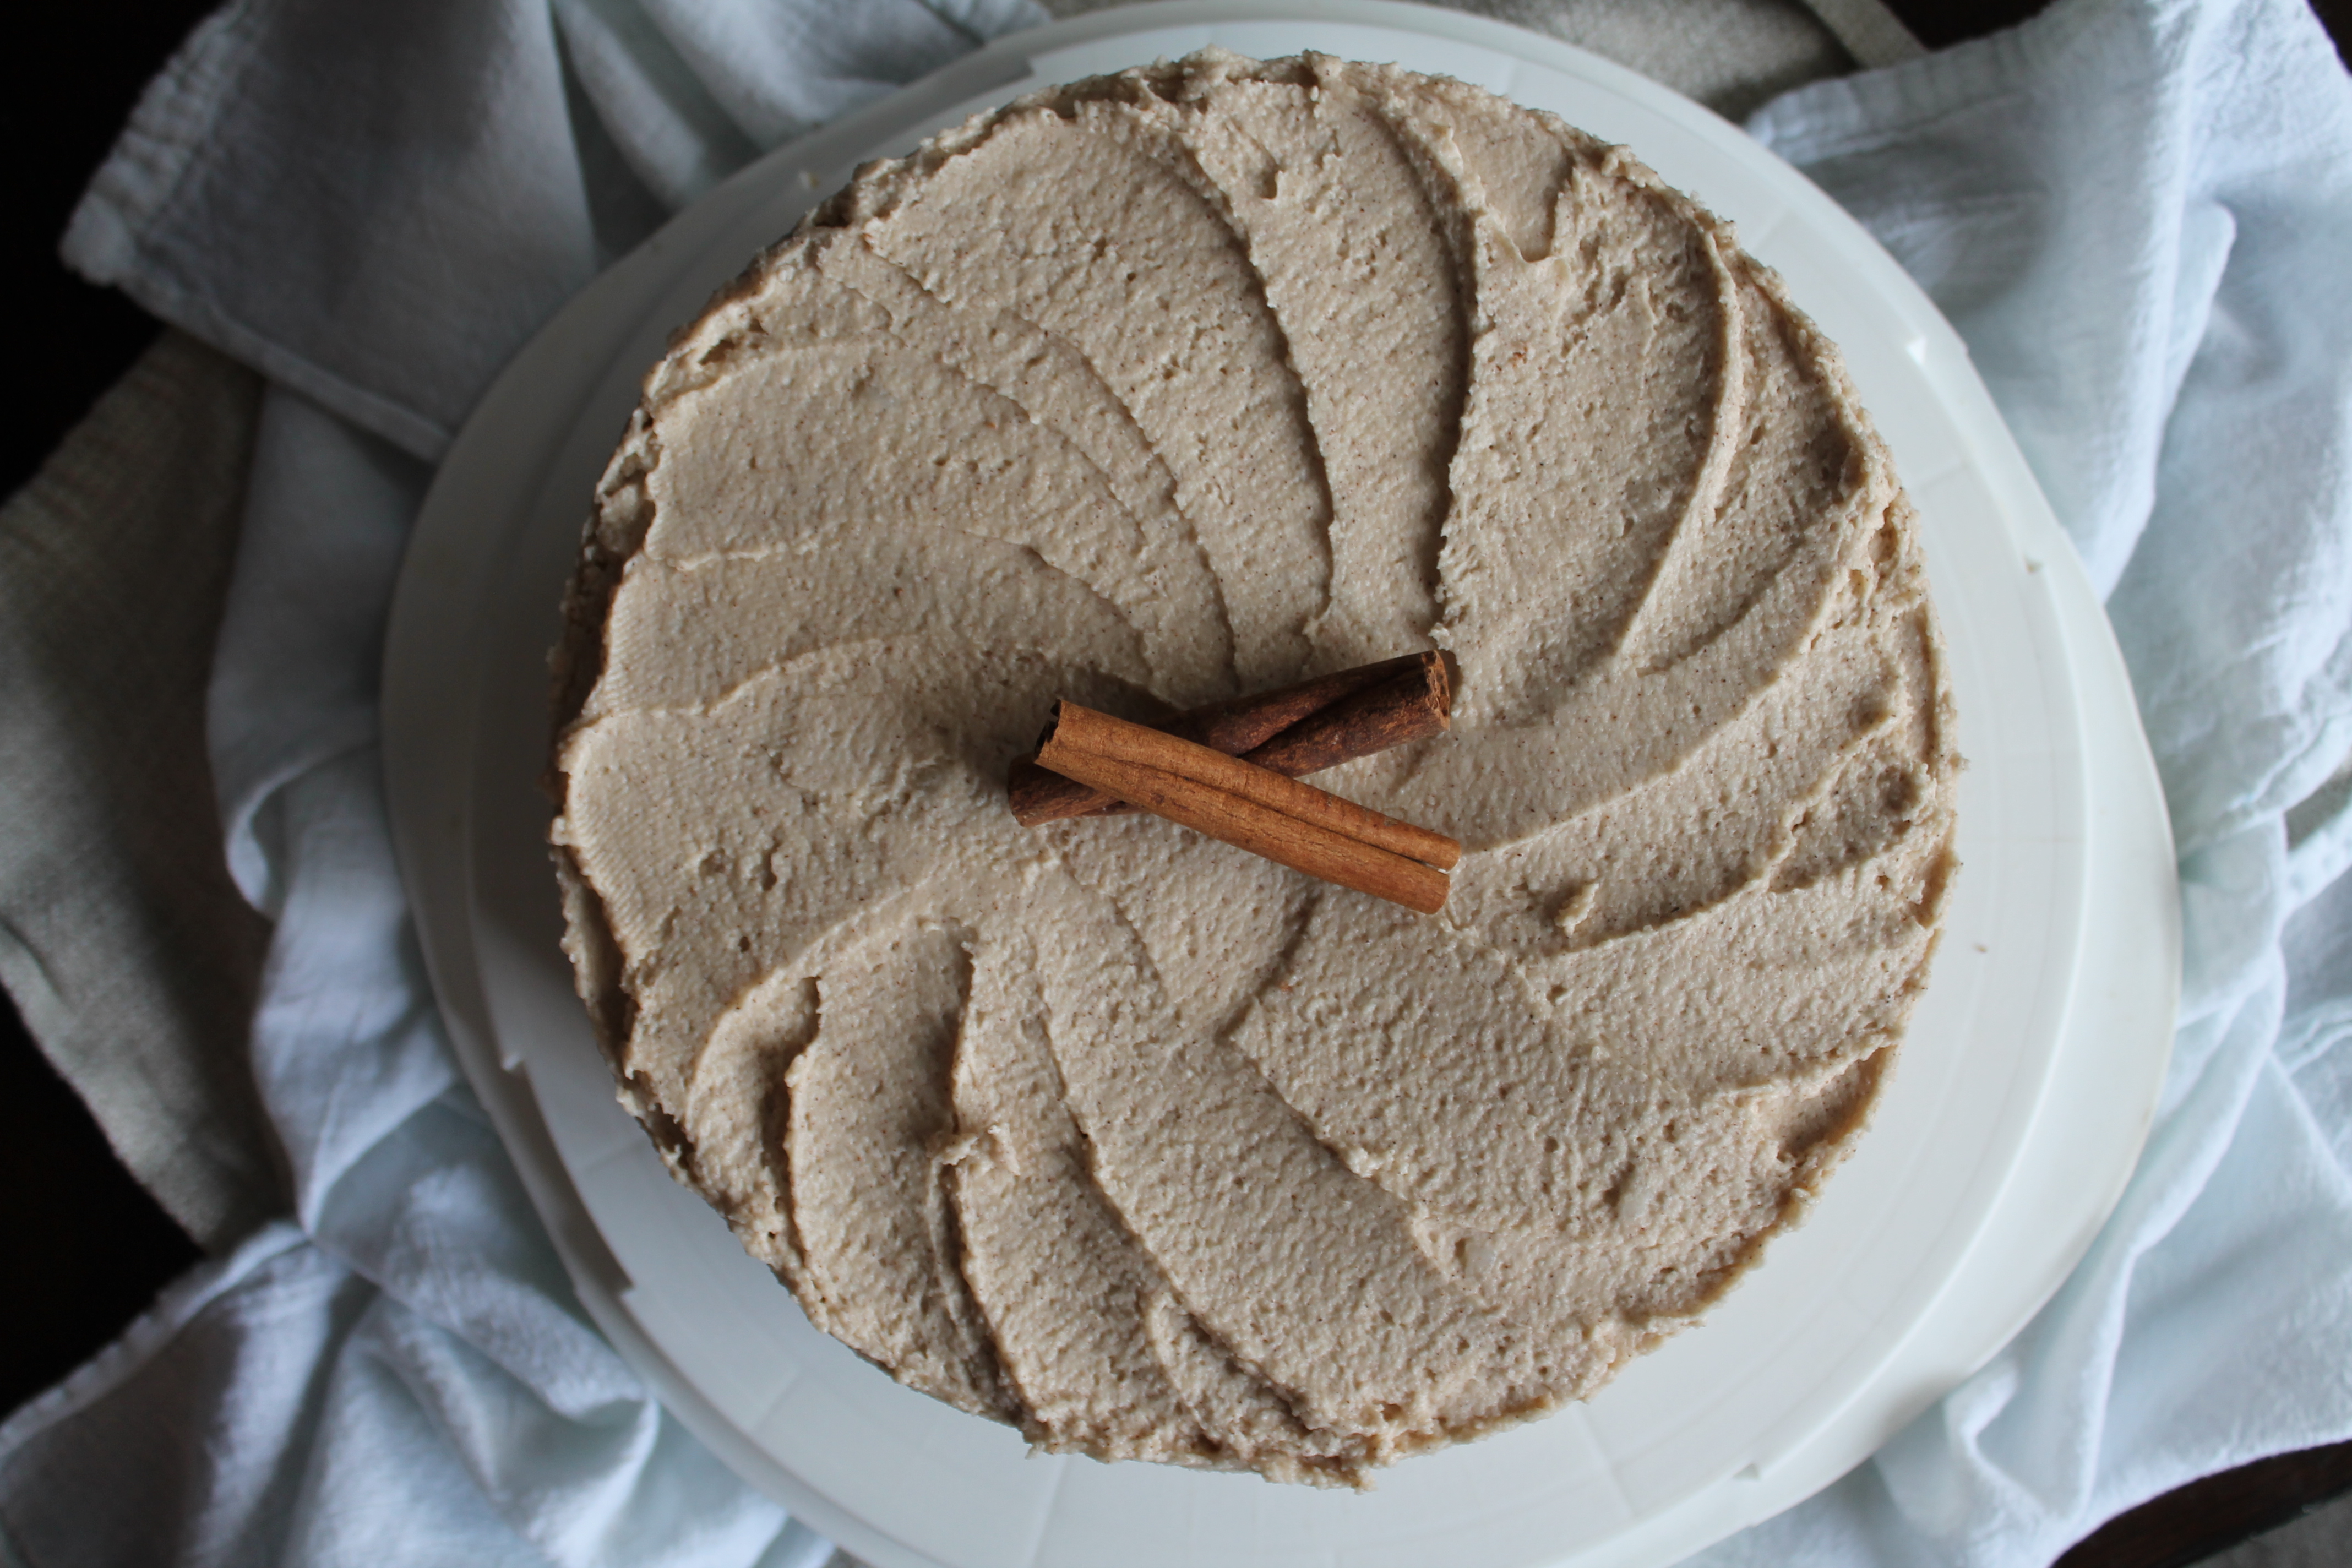
This cake is nothing short of delicious. It’s tender and airy, richly cinnamon and sweet. It tastes like a crisp snickerdoodle cookie. Oh, and it’s made entirely without wheat or dairy. Woot!
A sponge cake is so perfect for a gluten-free adaptation! Sponges are leavened entirely with eggs, which makes them airy and also less fragile. Eggs are also a great binding agent, which is a huge challenge in gluten-free baking. I also love that this cake is made with almond meal and coconut flour rather than a bunch of funky grains and starches. Real ingredients. Real delicious.
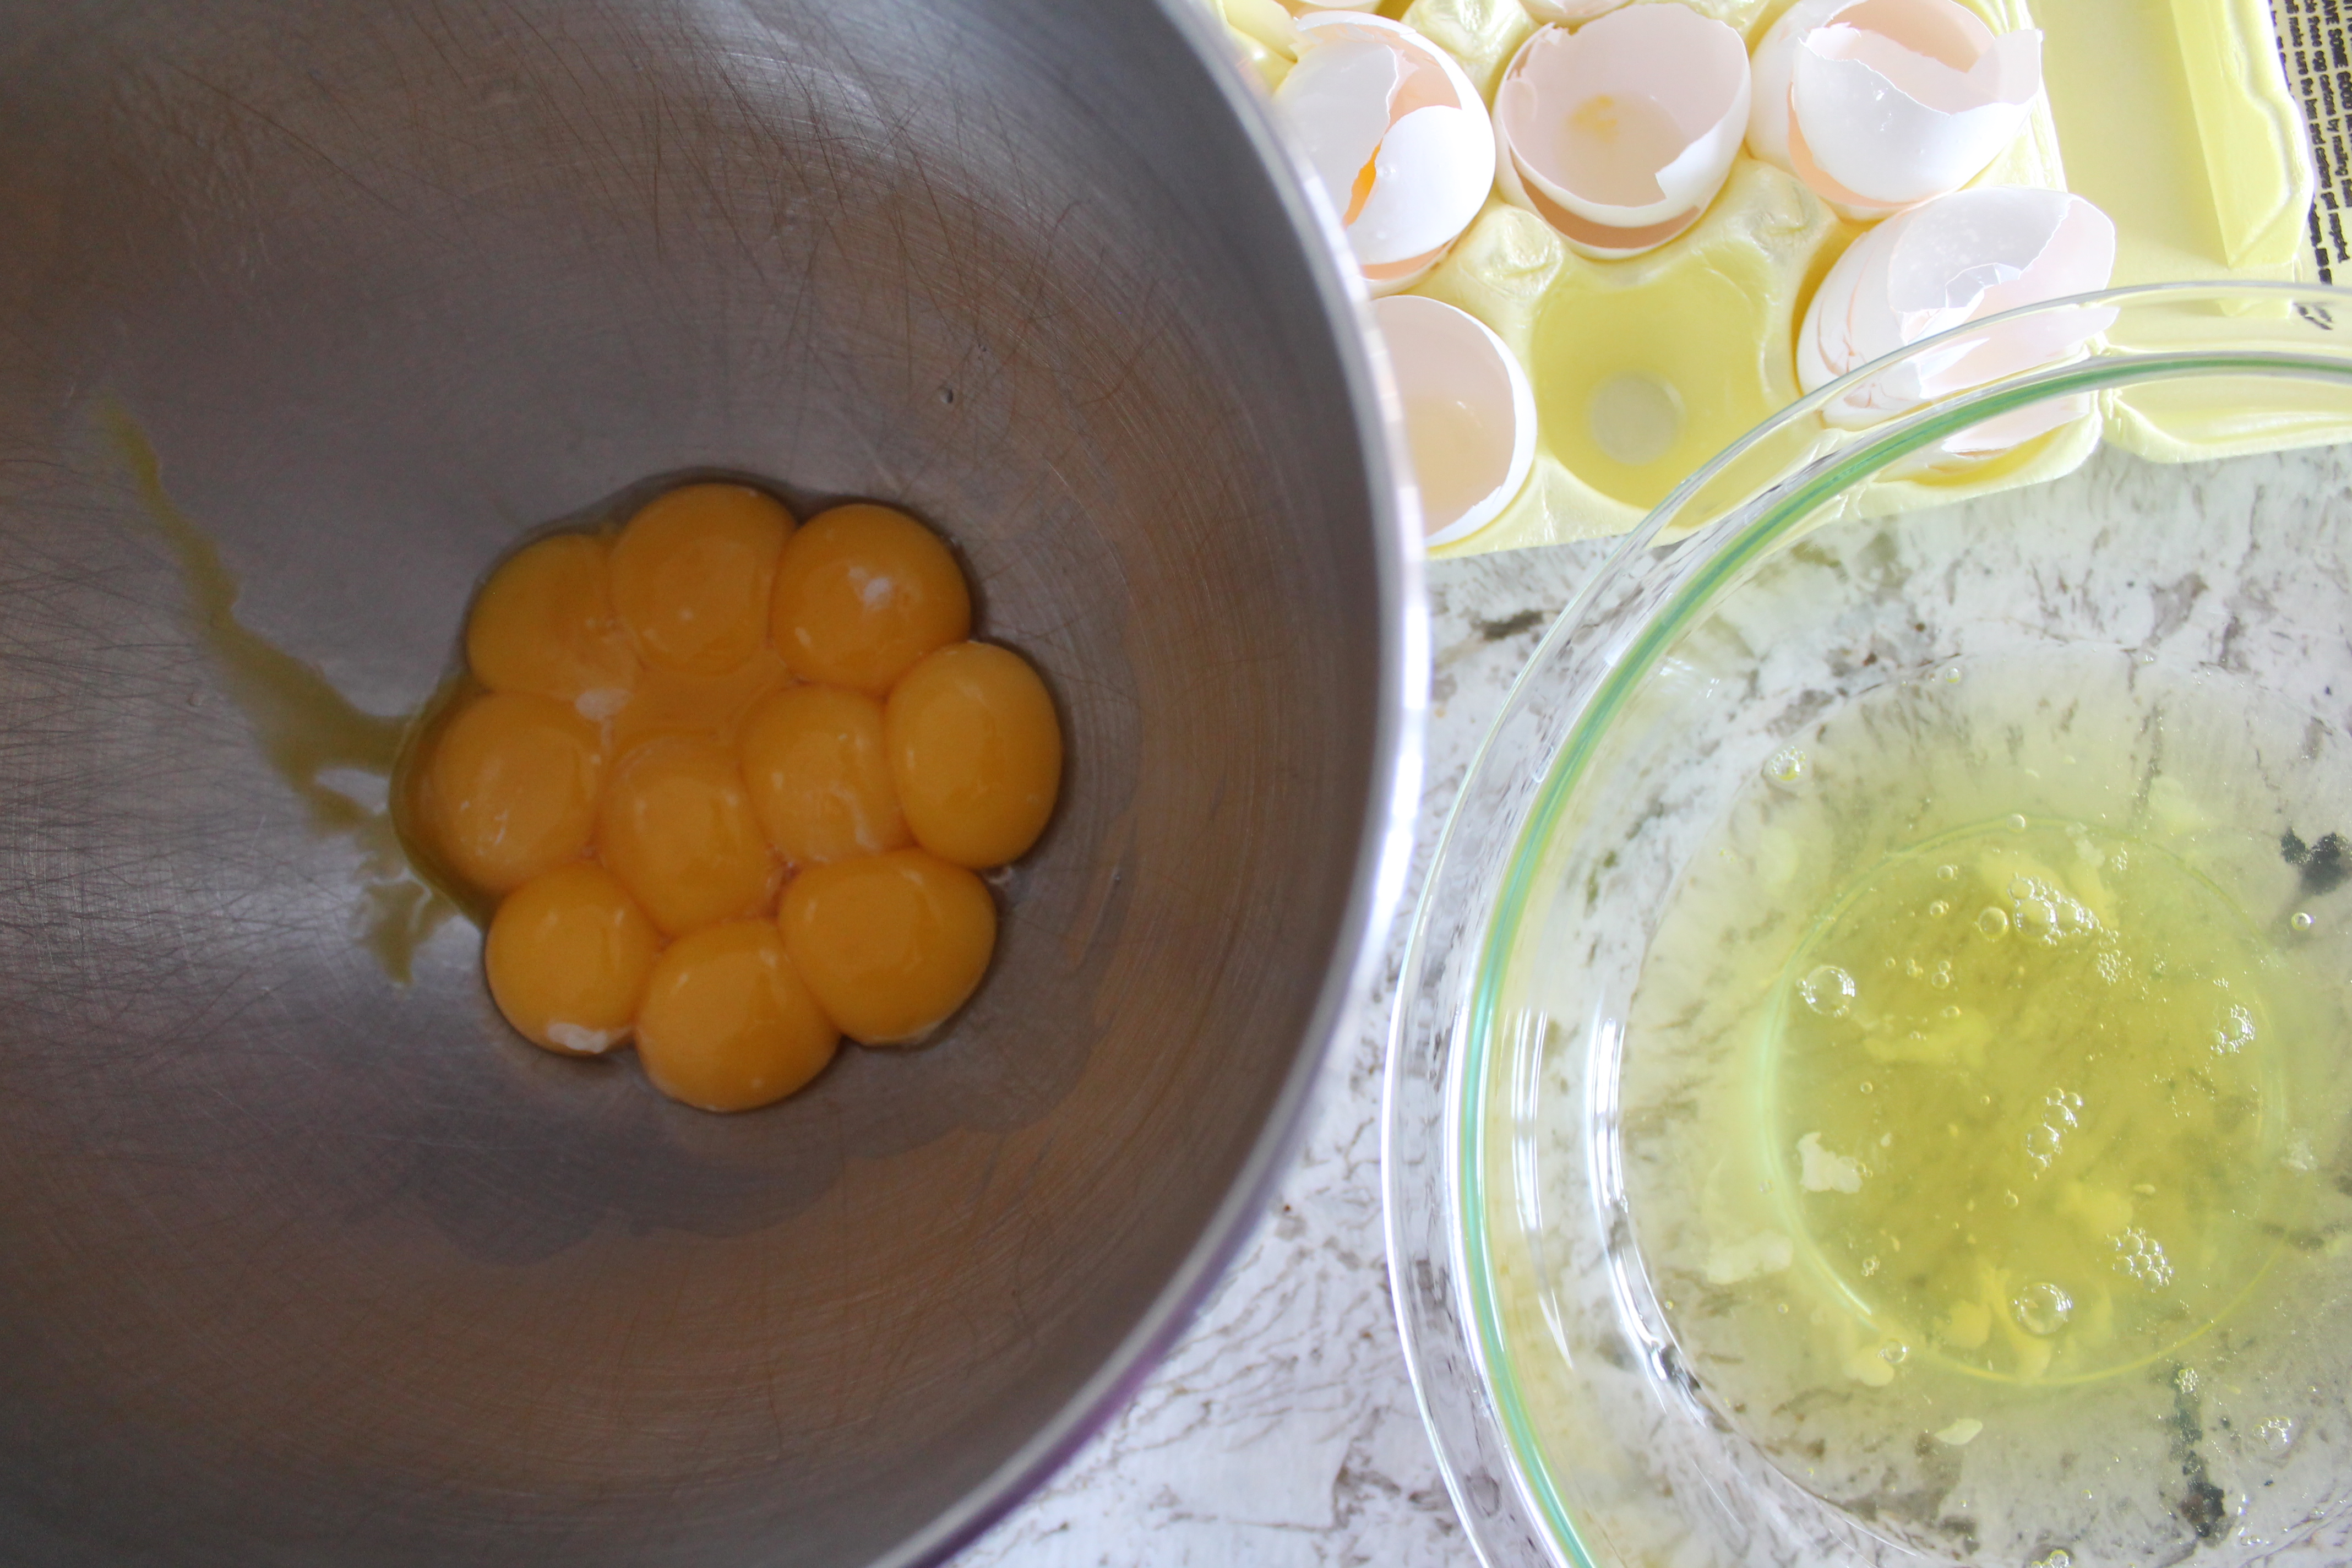 This recipe has a ton of eggs in it. Ten eggs. Whoah. And you have to separate all of them.
Let me just save you a lot of heartache here. I command you to separate your eggs into a separate bowl and transfer each white to the big bowl before cracking a new egg. Just trust me. You would totally be kicking yourself if you accidentally broke the eighth yolk and it dripped into the big bowl of whites and then you had to start over. Don’t waste eggs or time. Just use an extra bowl.
I put my yolks into the stand mixer bowl and the whites into a 4qt. Pyrex. (Don’t use a smaller bowl than that for the whites! The whites will take up every milliliter of that 4qt. bowl.)
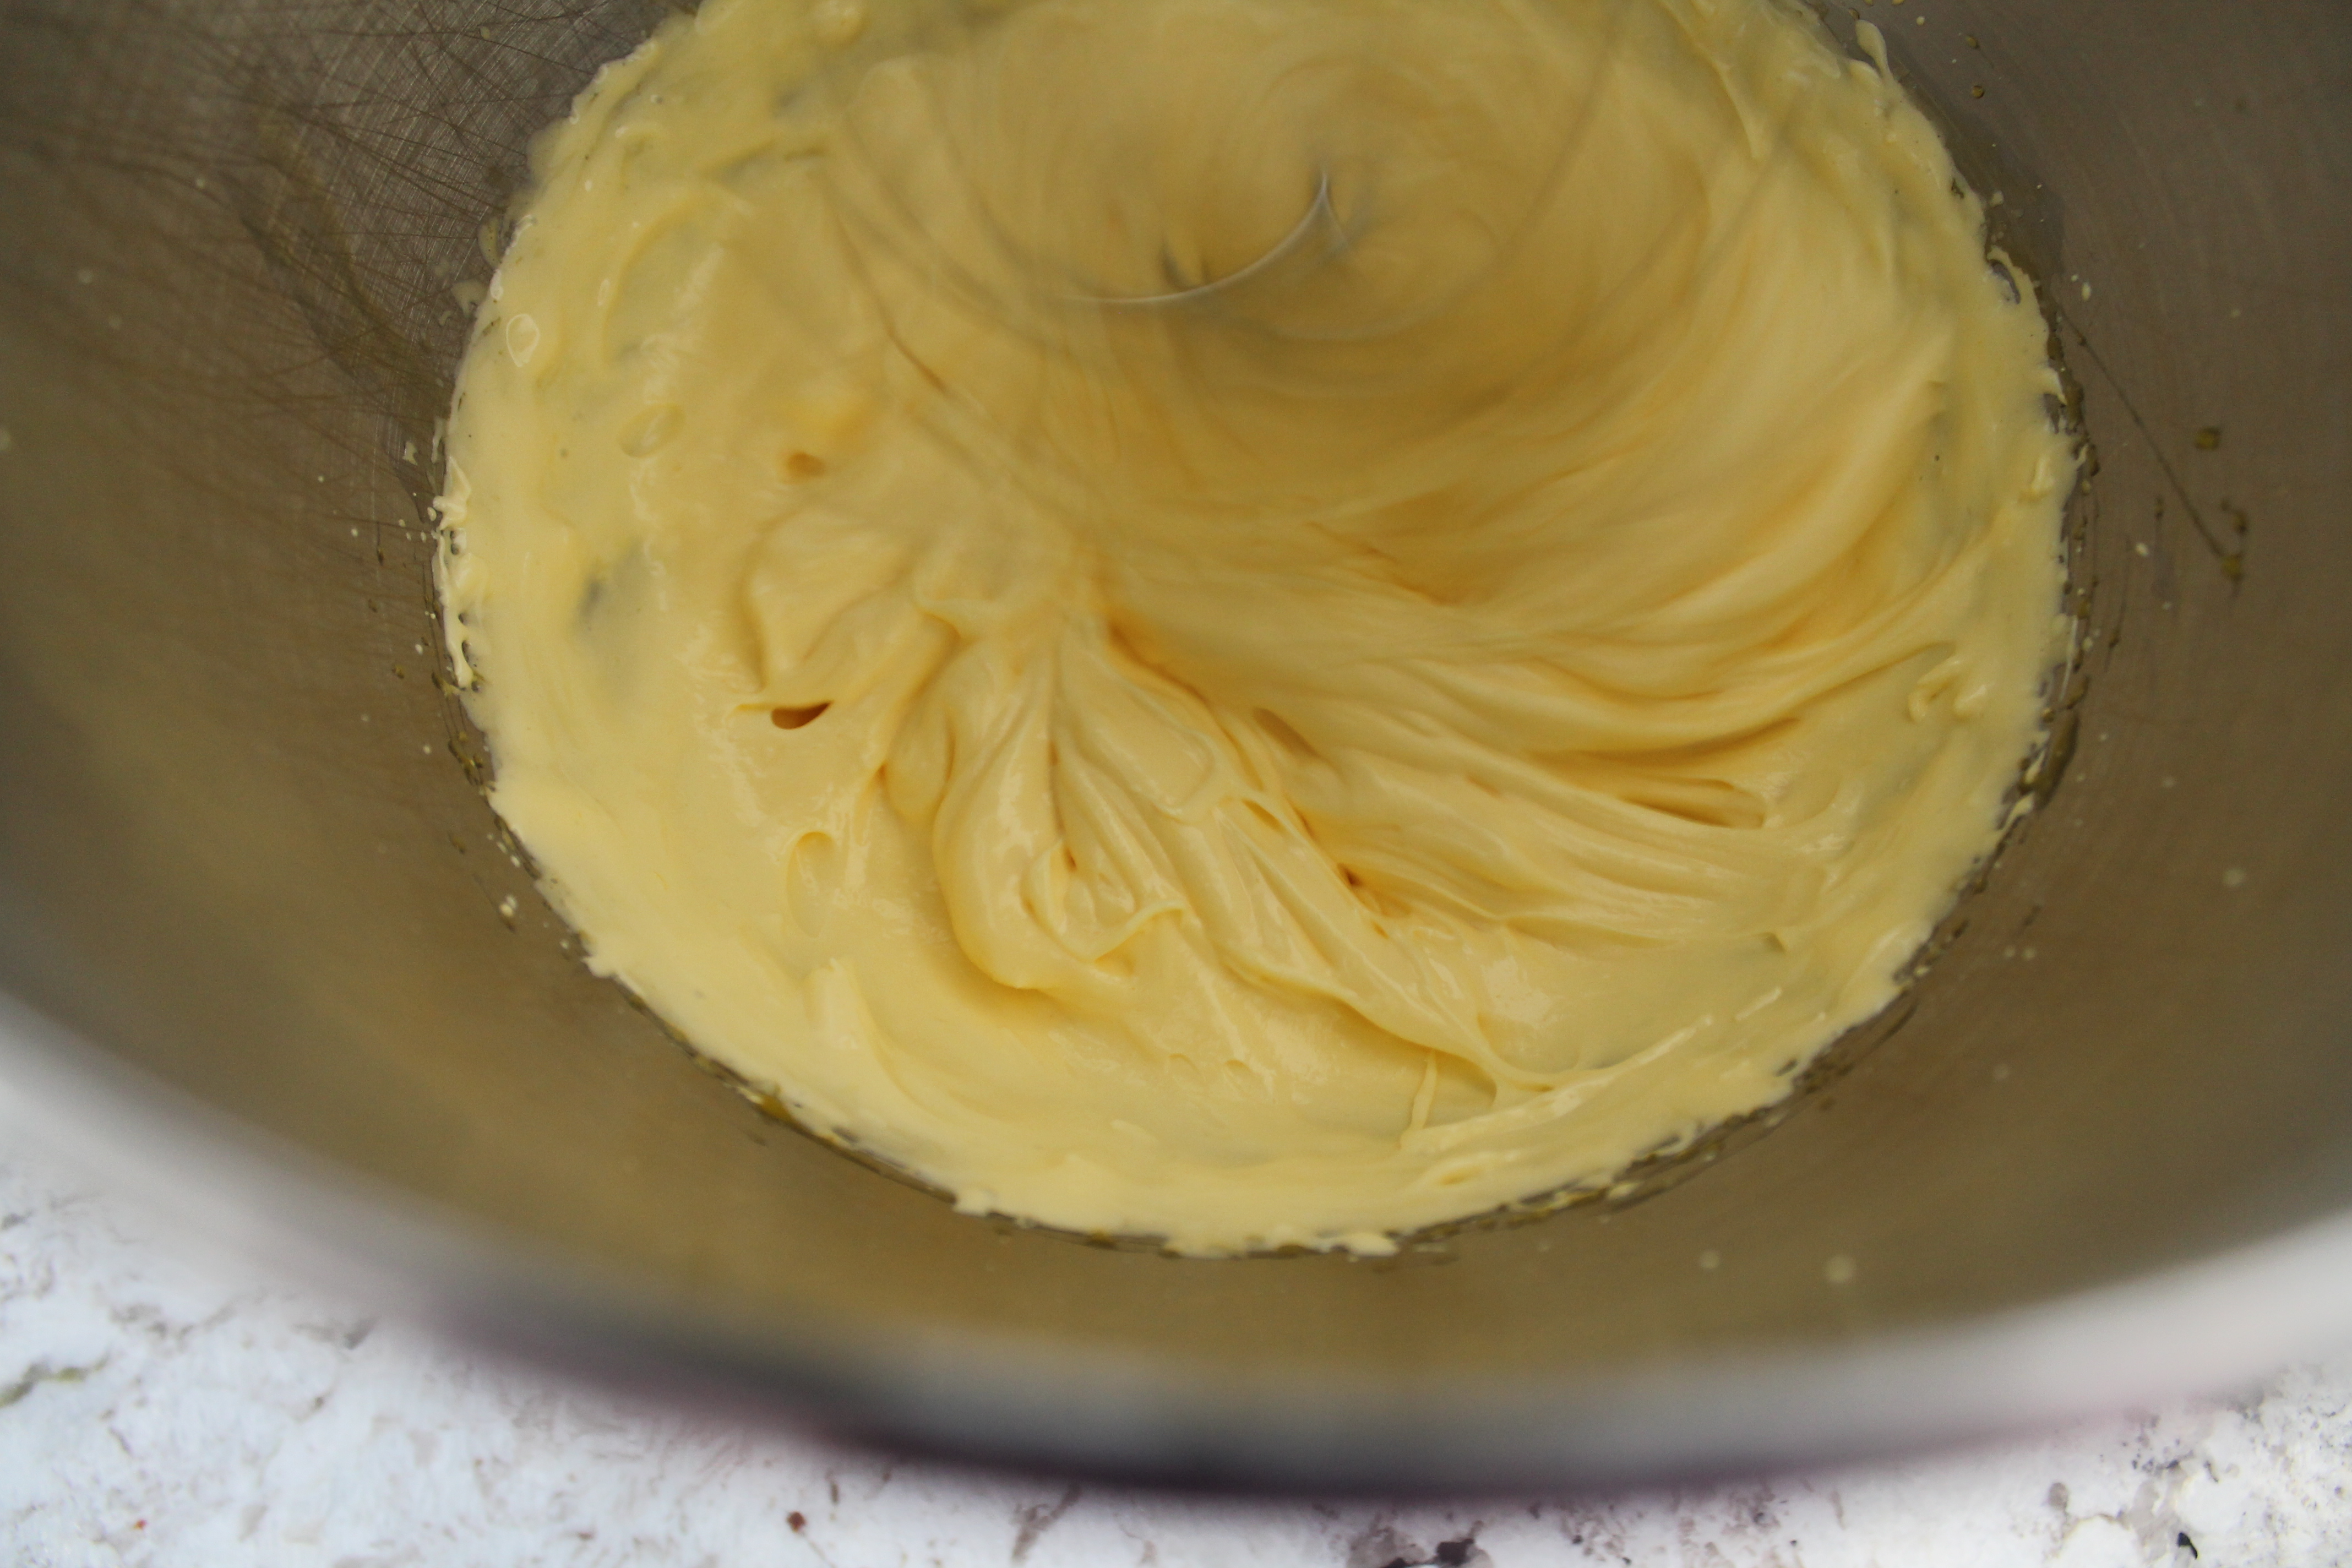 First, beat the yolks until they are pale and fluffy. They should be able to hold their shape for a few seconds when you stop the mixer.
While the yolks are whipping away, go ahead and sift the confectioner’s sugar. Scoop 1 tbsp. of the sugar out and set it aside for the white.
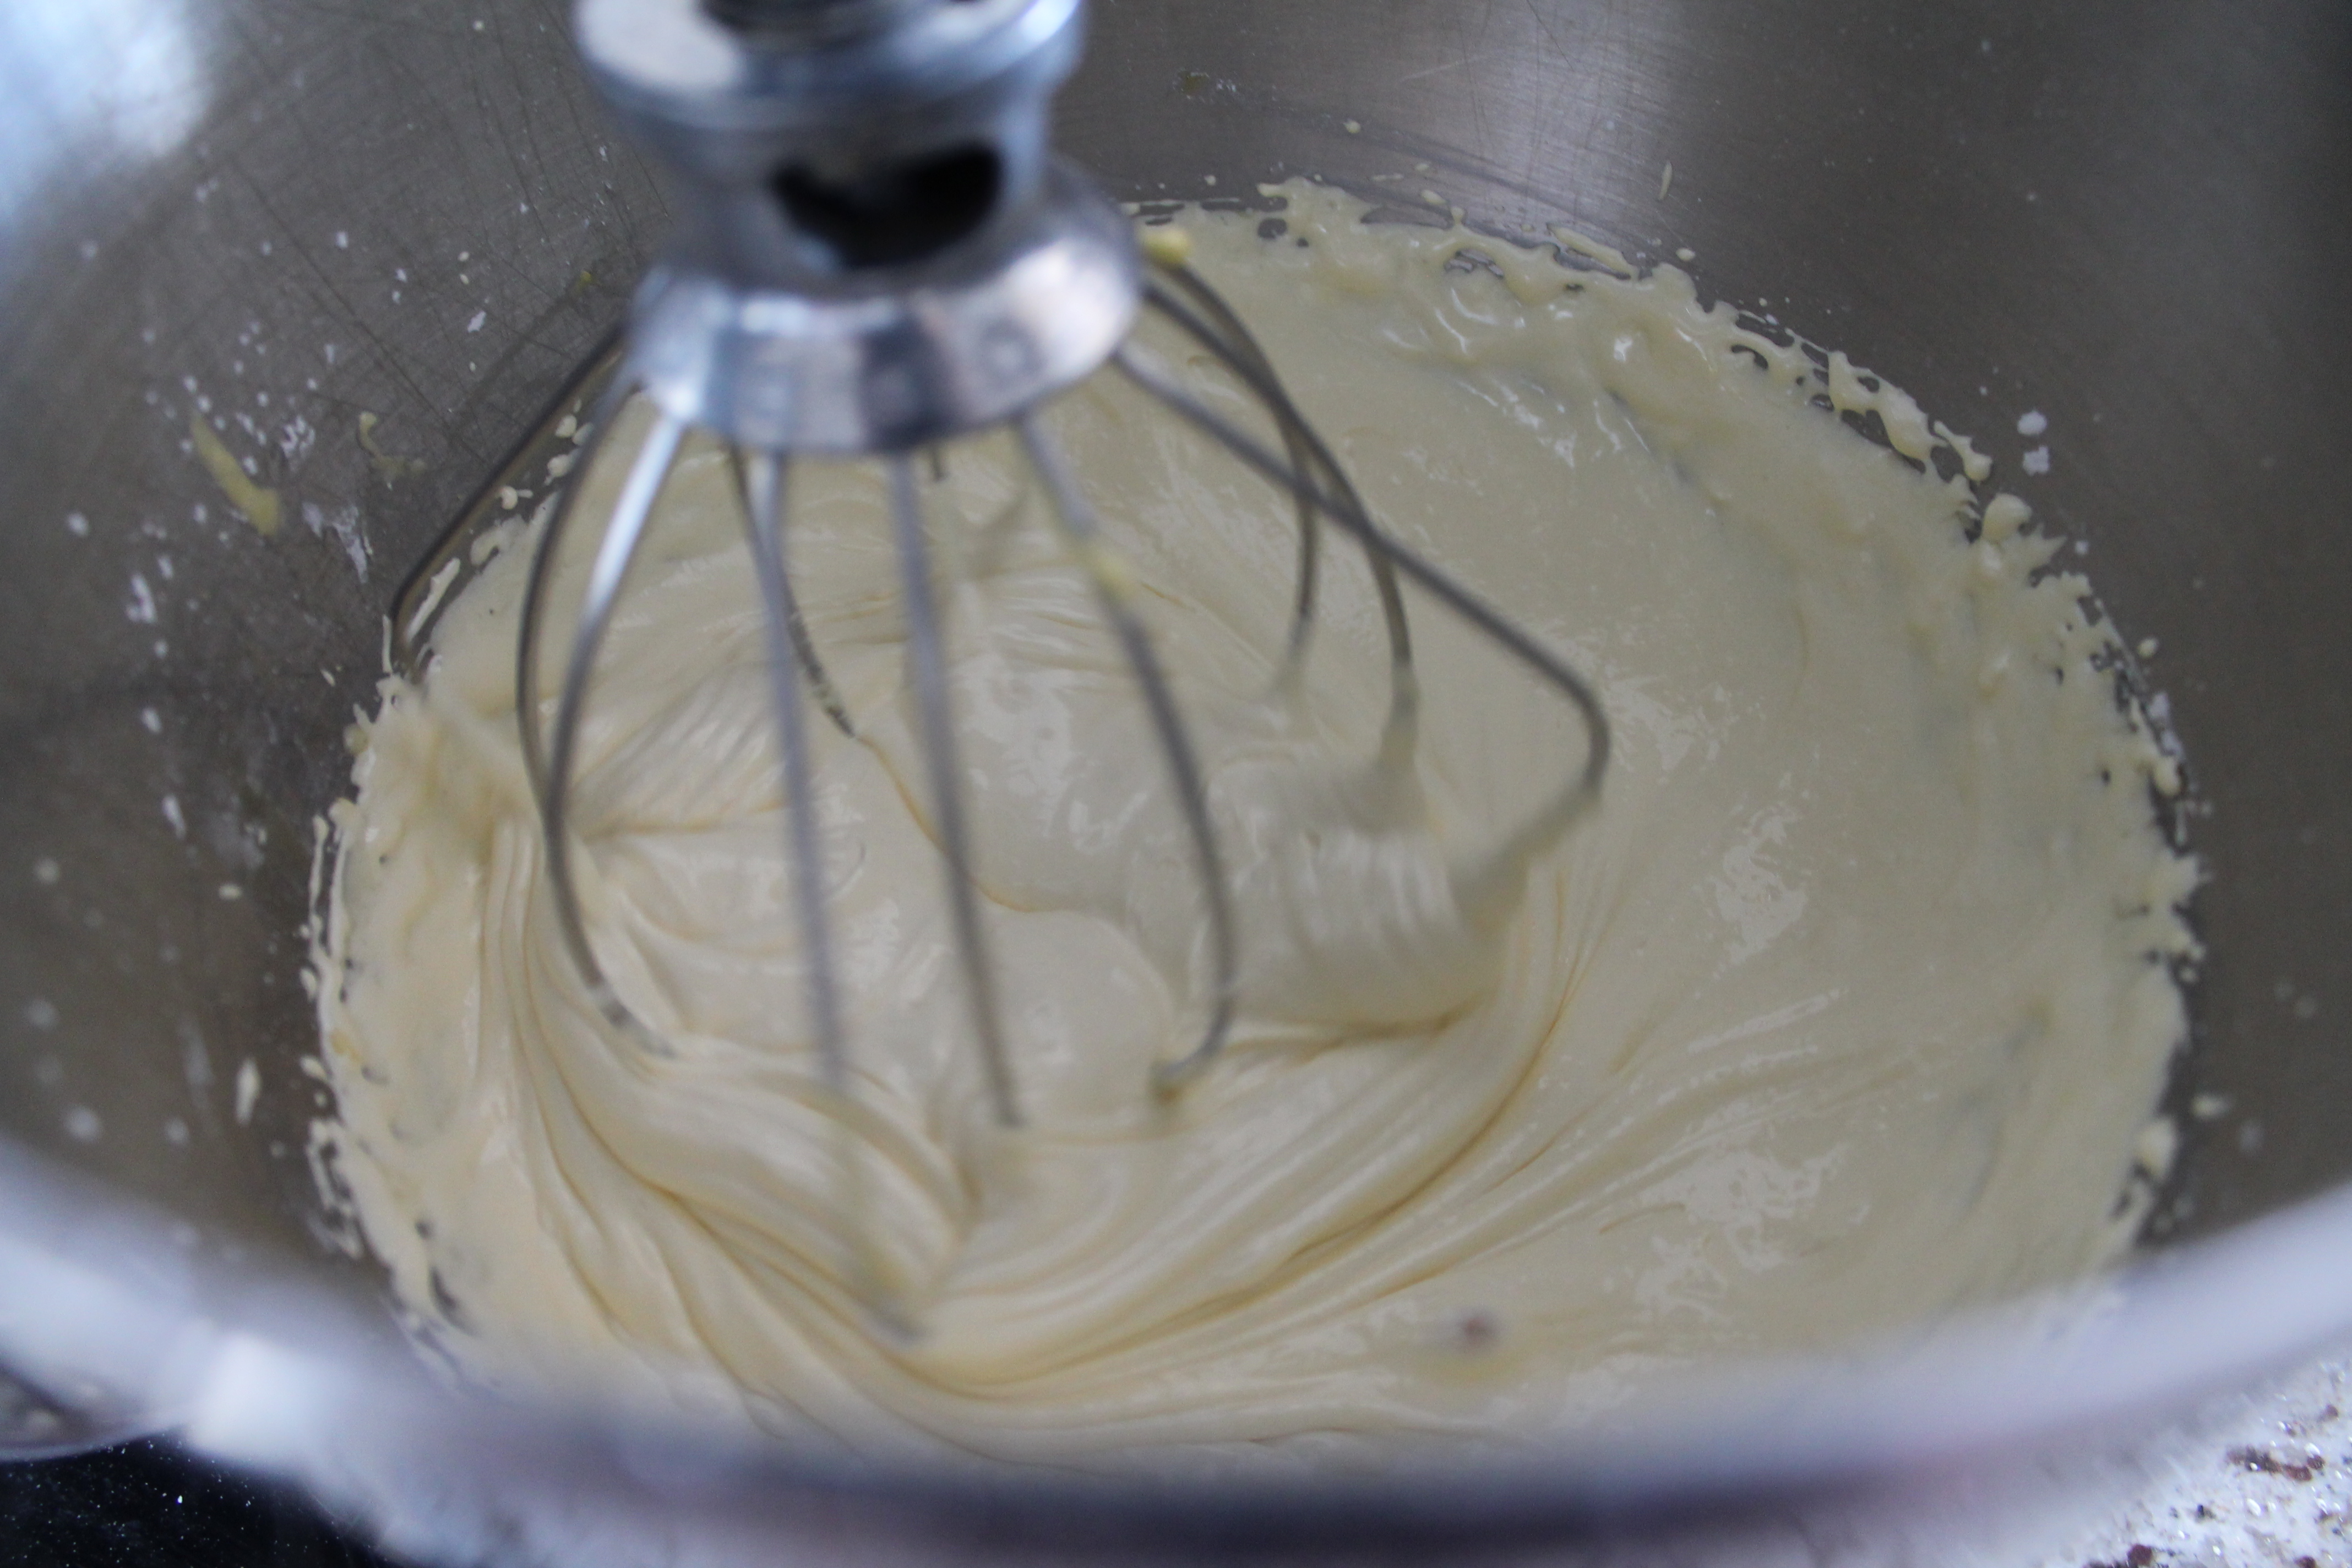 With the mixer running on medium speed (so the sugar doesn’t all fly away), beat in the confectioner’s sugar, minus that tablespoon you already removed. Add your vanilla extract. Continue beating this until it is very thick, about 1 minute. Scrape the sides of the bowl well.
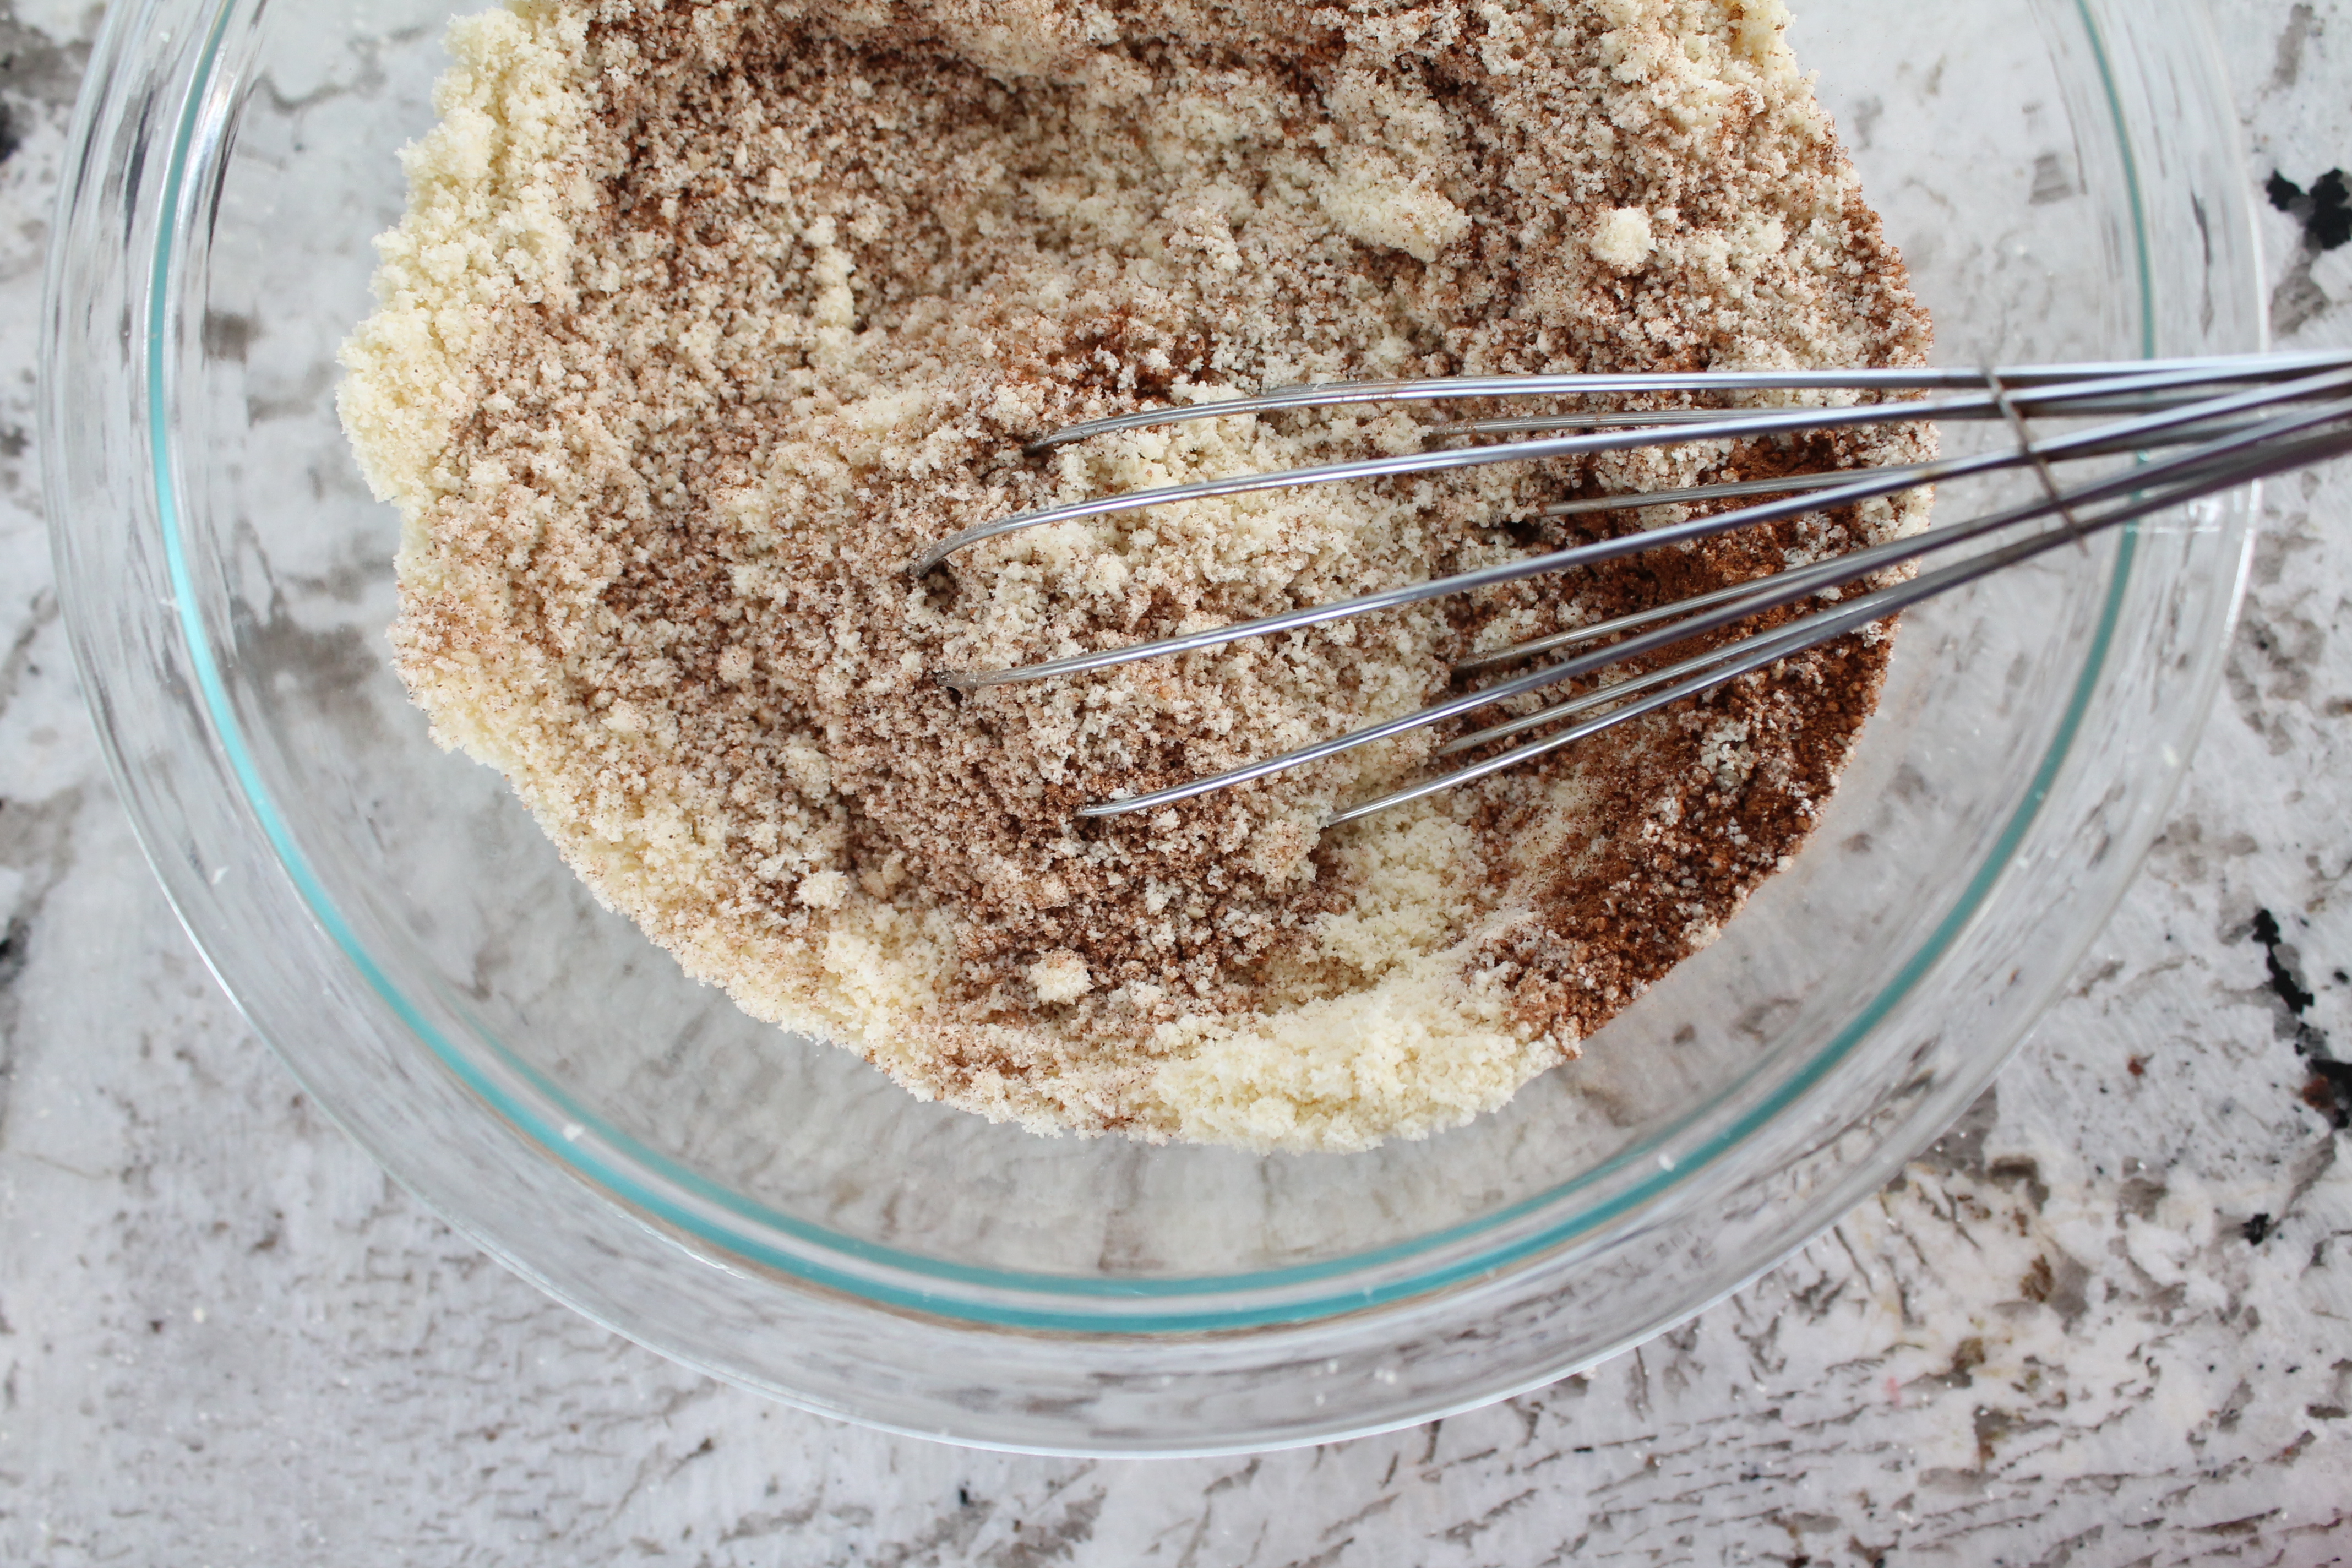 In a separate bowl, whisk together almond meal and coconut flour. I believe that the key to making a neutral flavor out of non-wheat and non-dairy products such as coconut and almond is using them together! Whisk in the cinnamon.
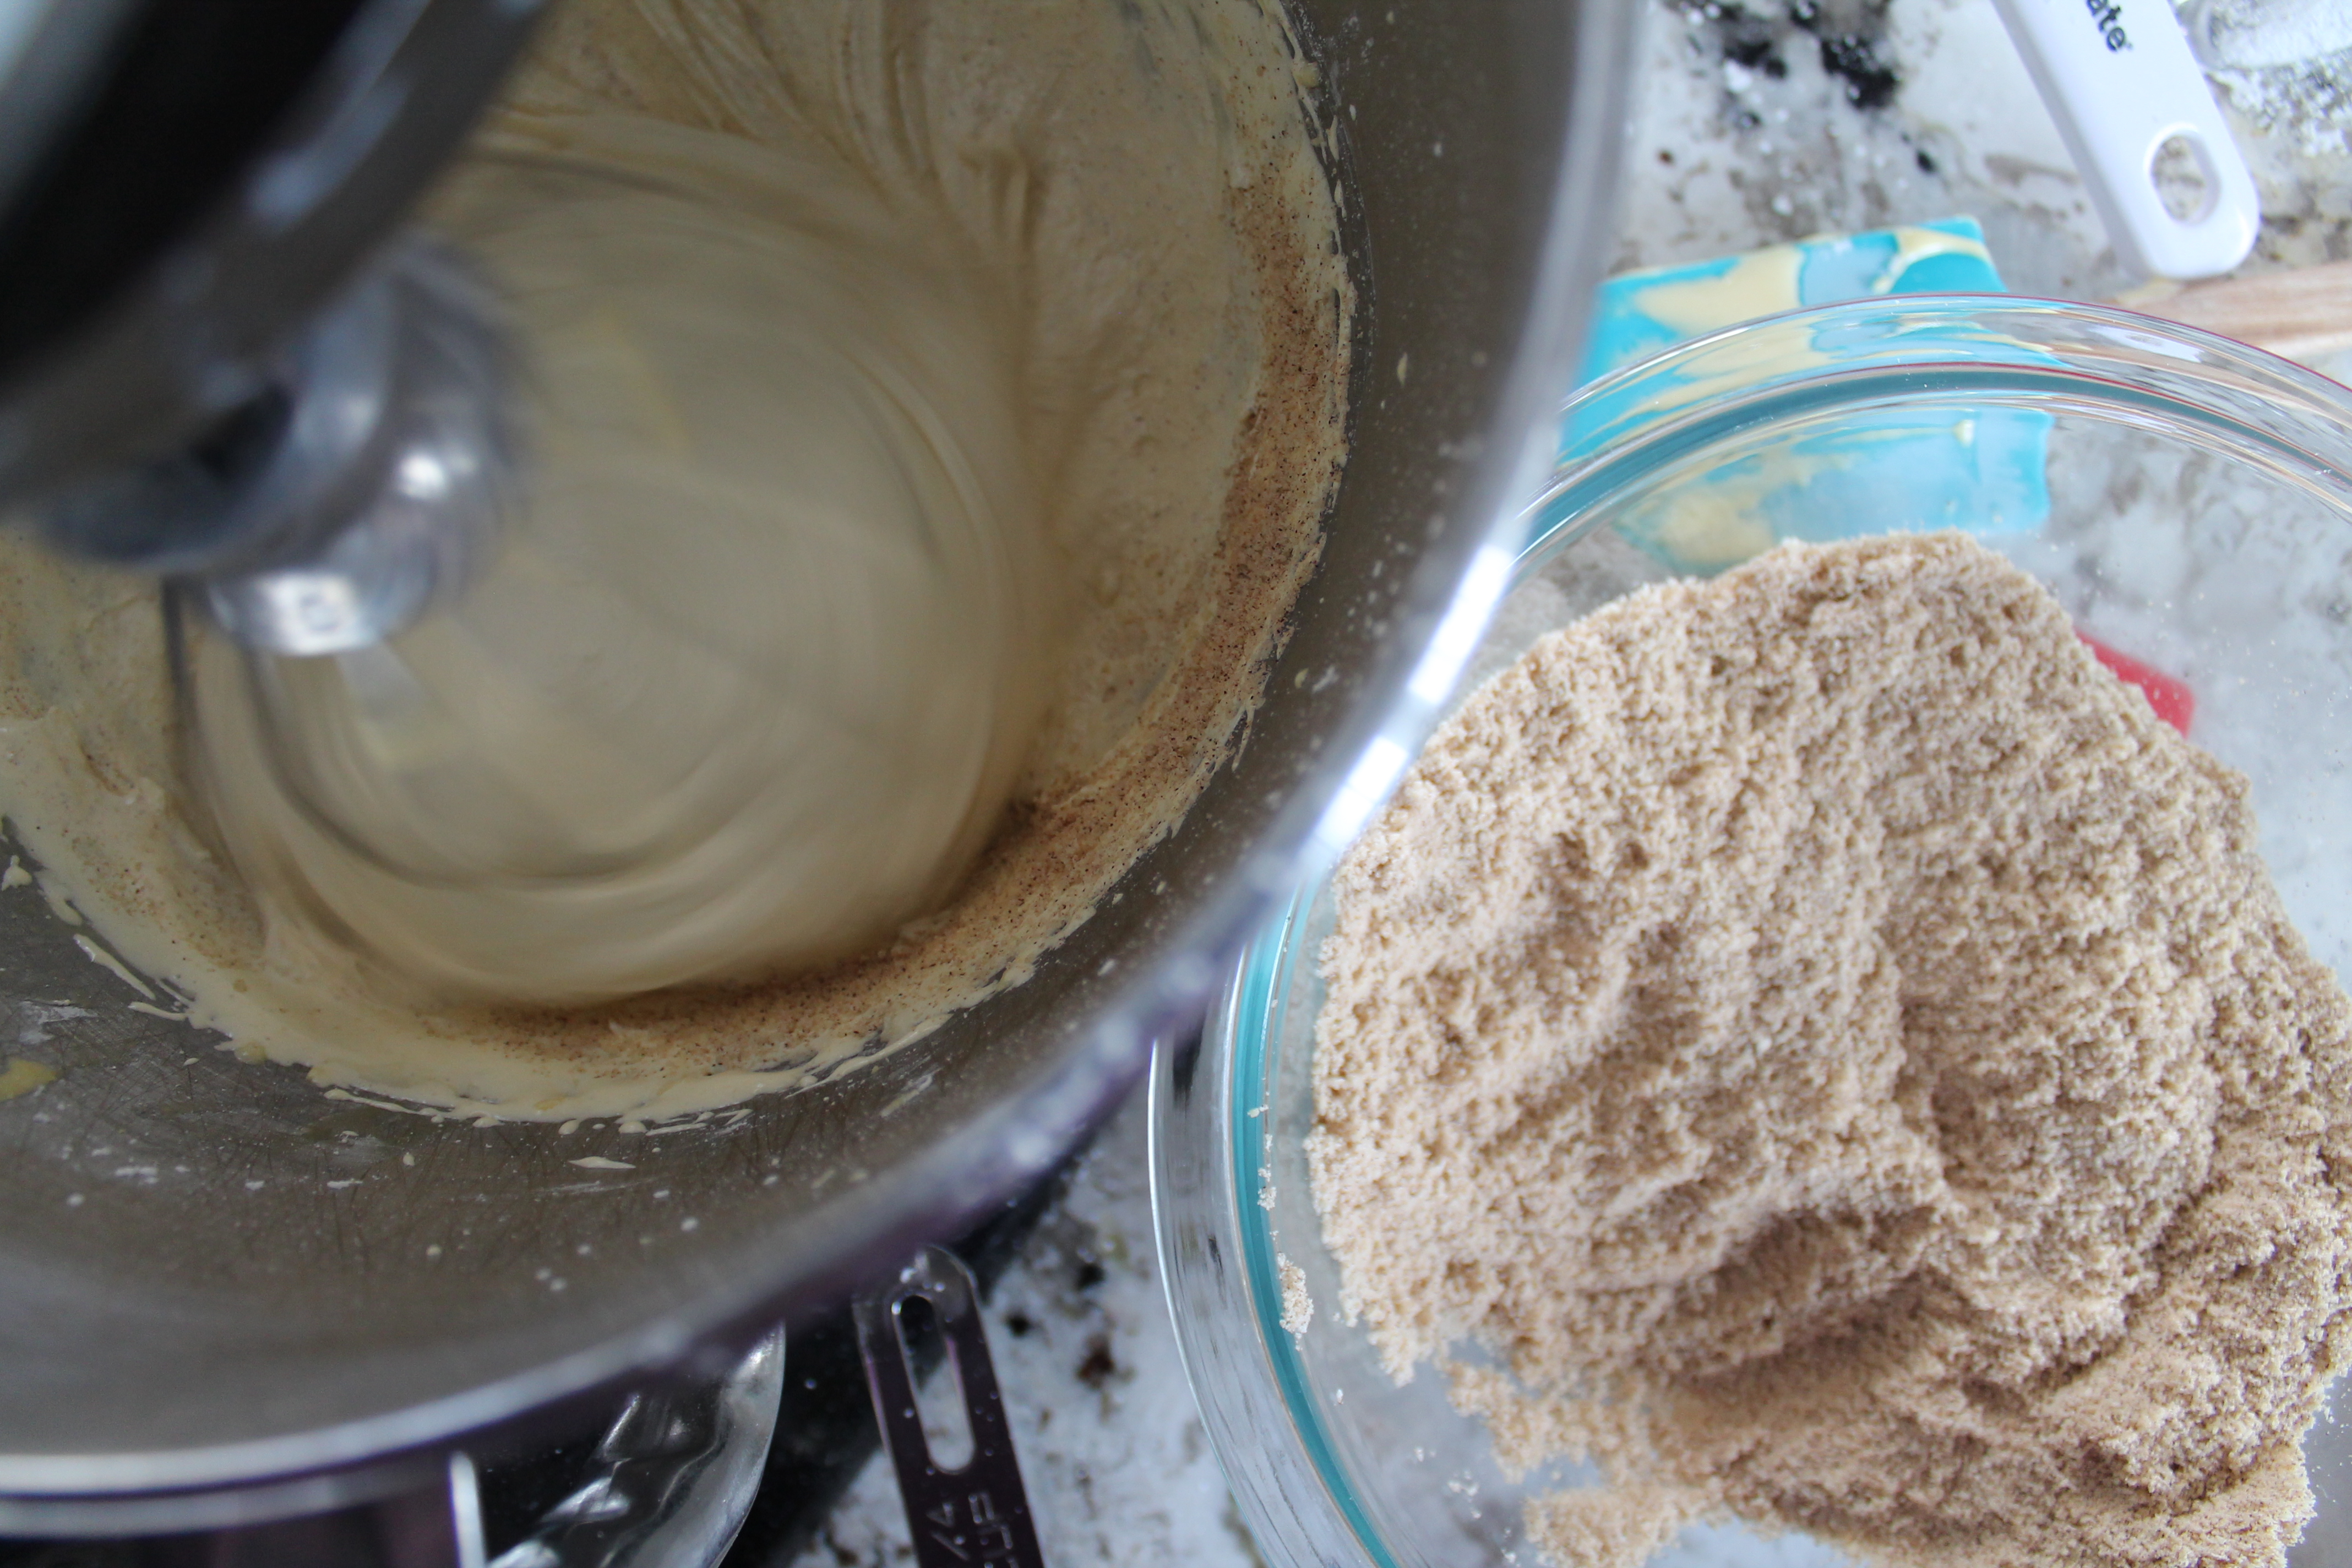 In two batches, stir the almond meal mixture into the yolks. The result will be quite thick but smoth.
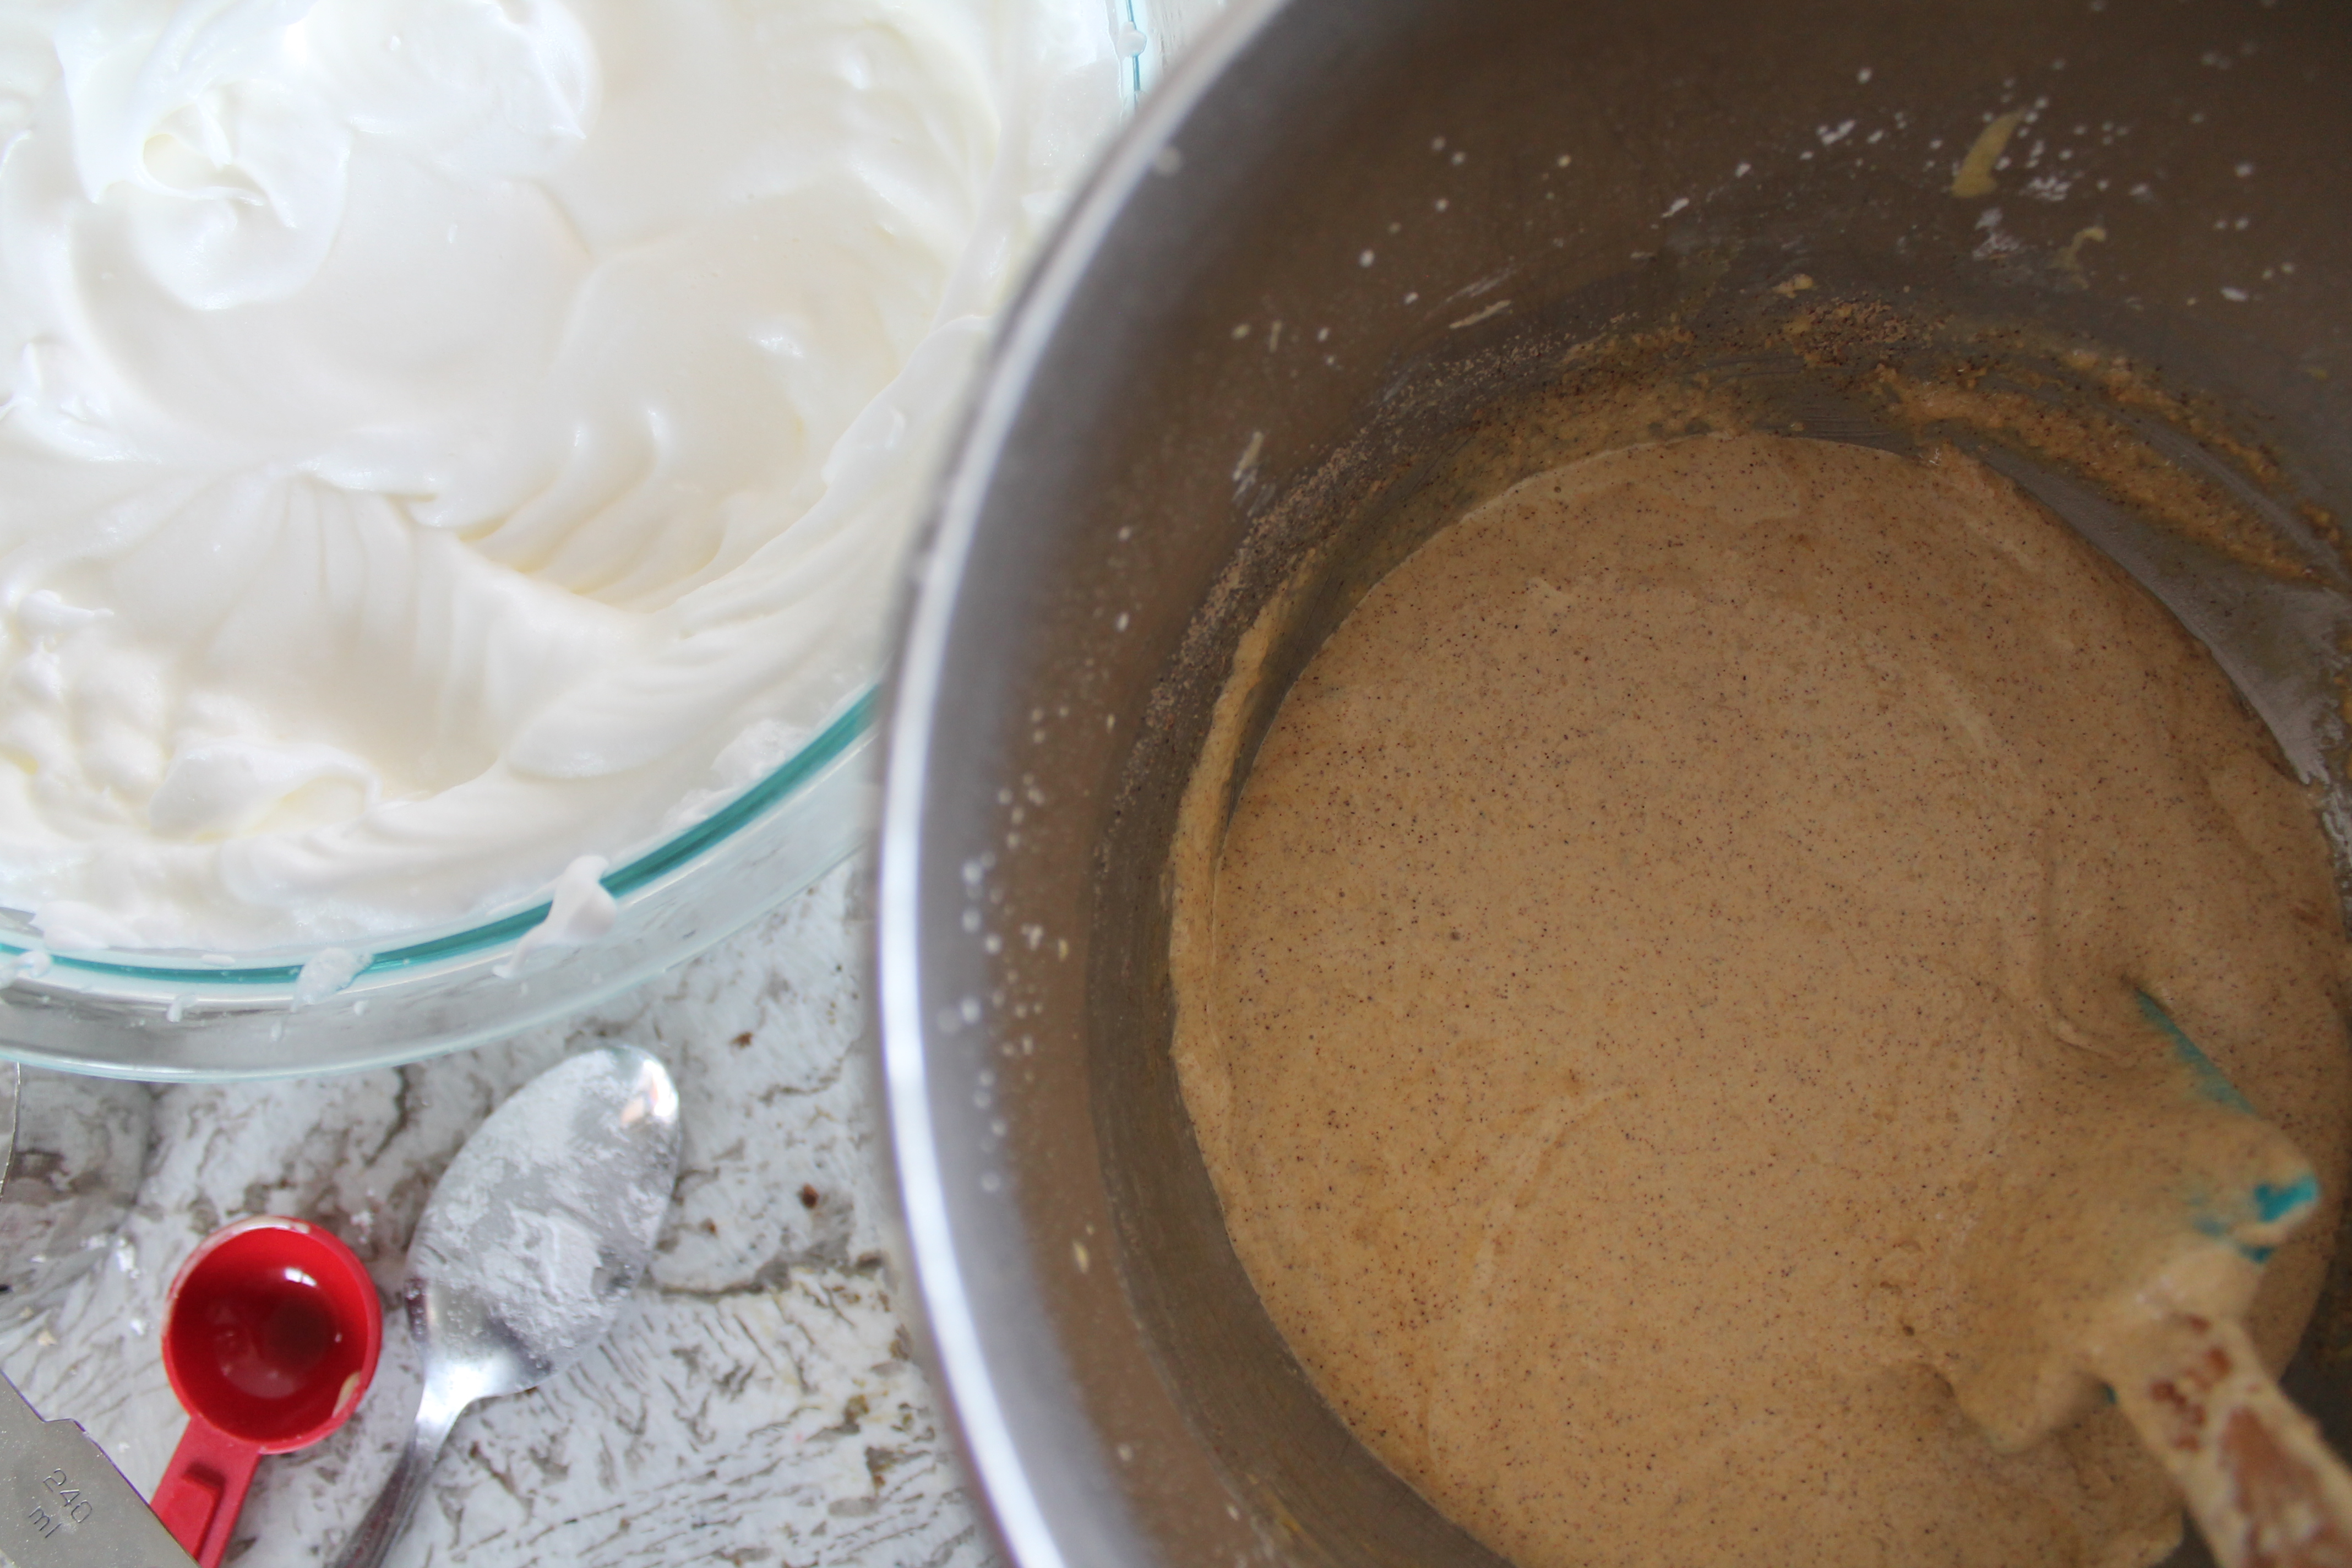 Now it’s time to beat the whites into a meringue! Seriously, I hope you are using a large bowl. Next time I will use my 6qt. bowl. Even though the 4qt. bowl did hold all the meringue, by the end of aerating them, I was just praying that it wouldn’t fluff up anymore or it would start flying out of the bowl.
Beat the whites until they are fluffy and slightly foamy. Add that reserved tablespoon of confectioner’s sugar and beat again. The meringue should be slightly glossy and thick enough to stay in the bowl if you turn it upside down. (P.S., test this slowly if you aren’t sure! If it moves at all as you start to tilt the bowl, set it down and beat it again.)
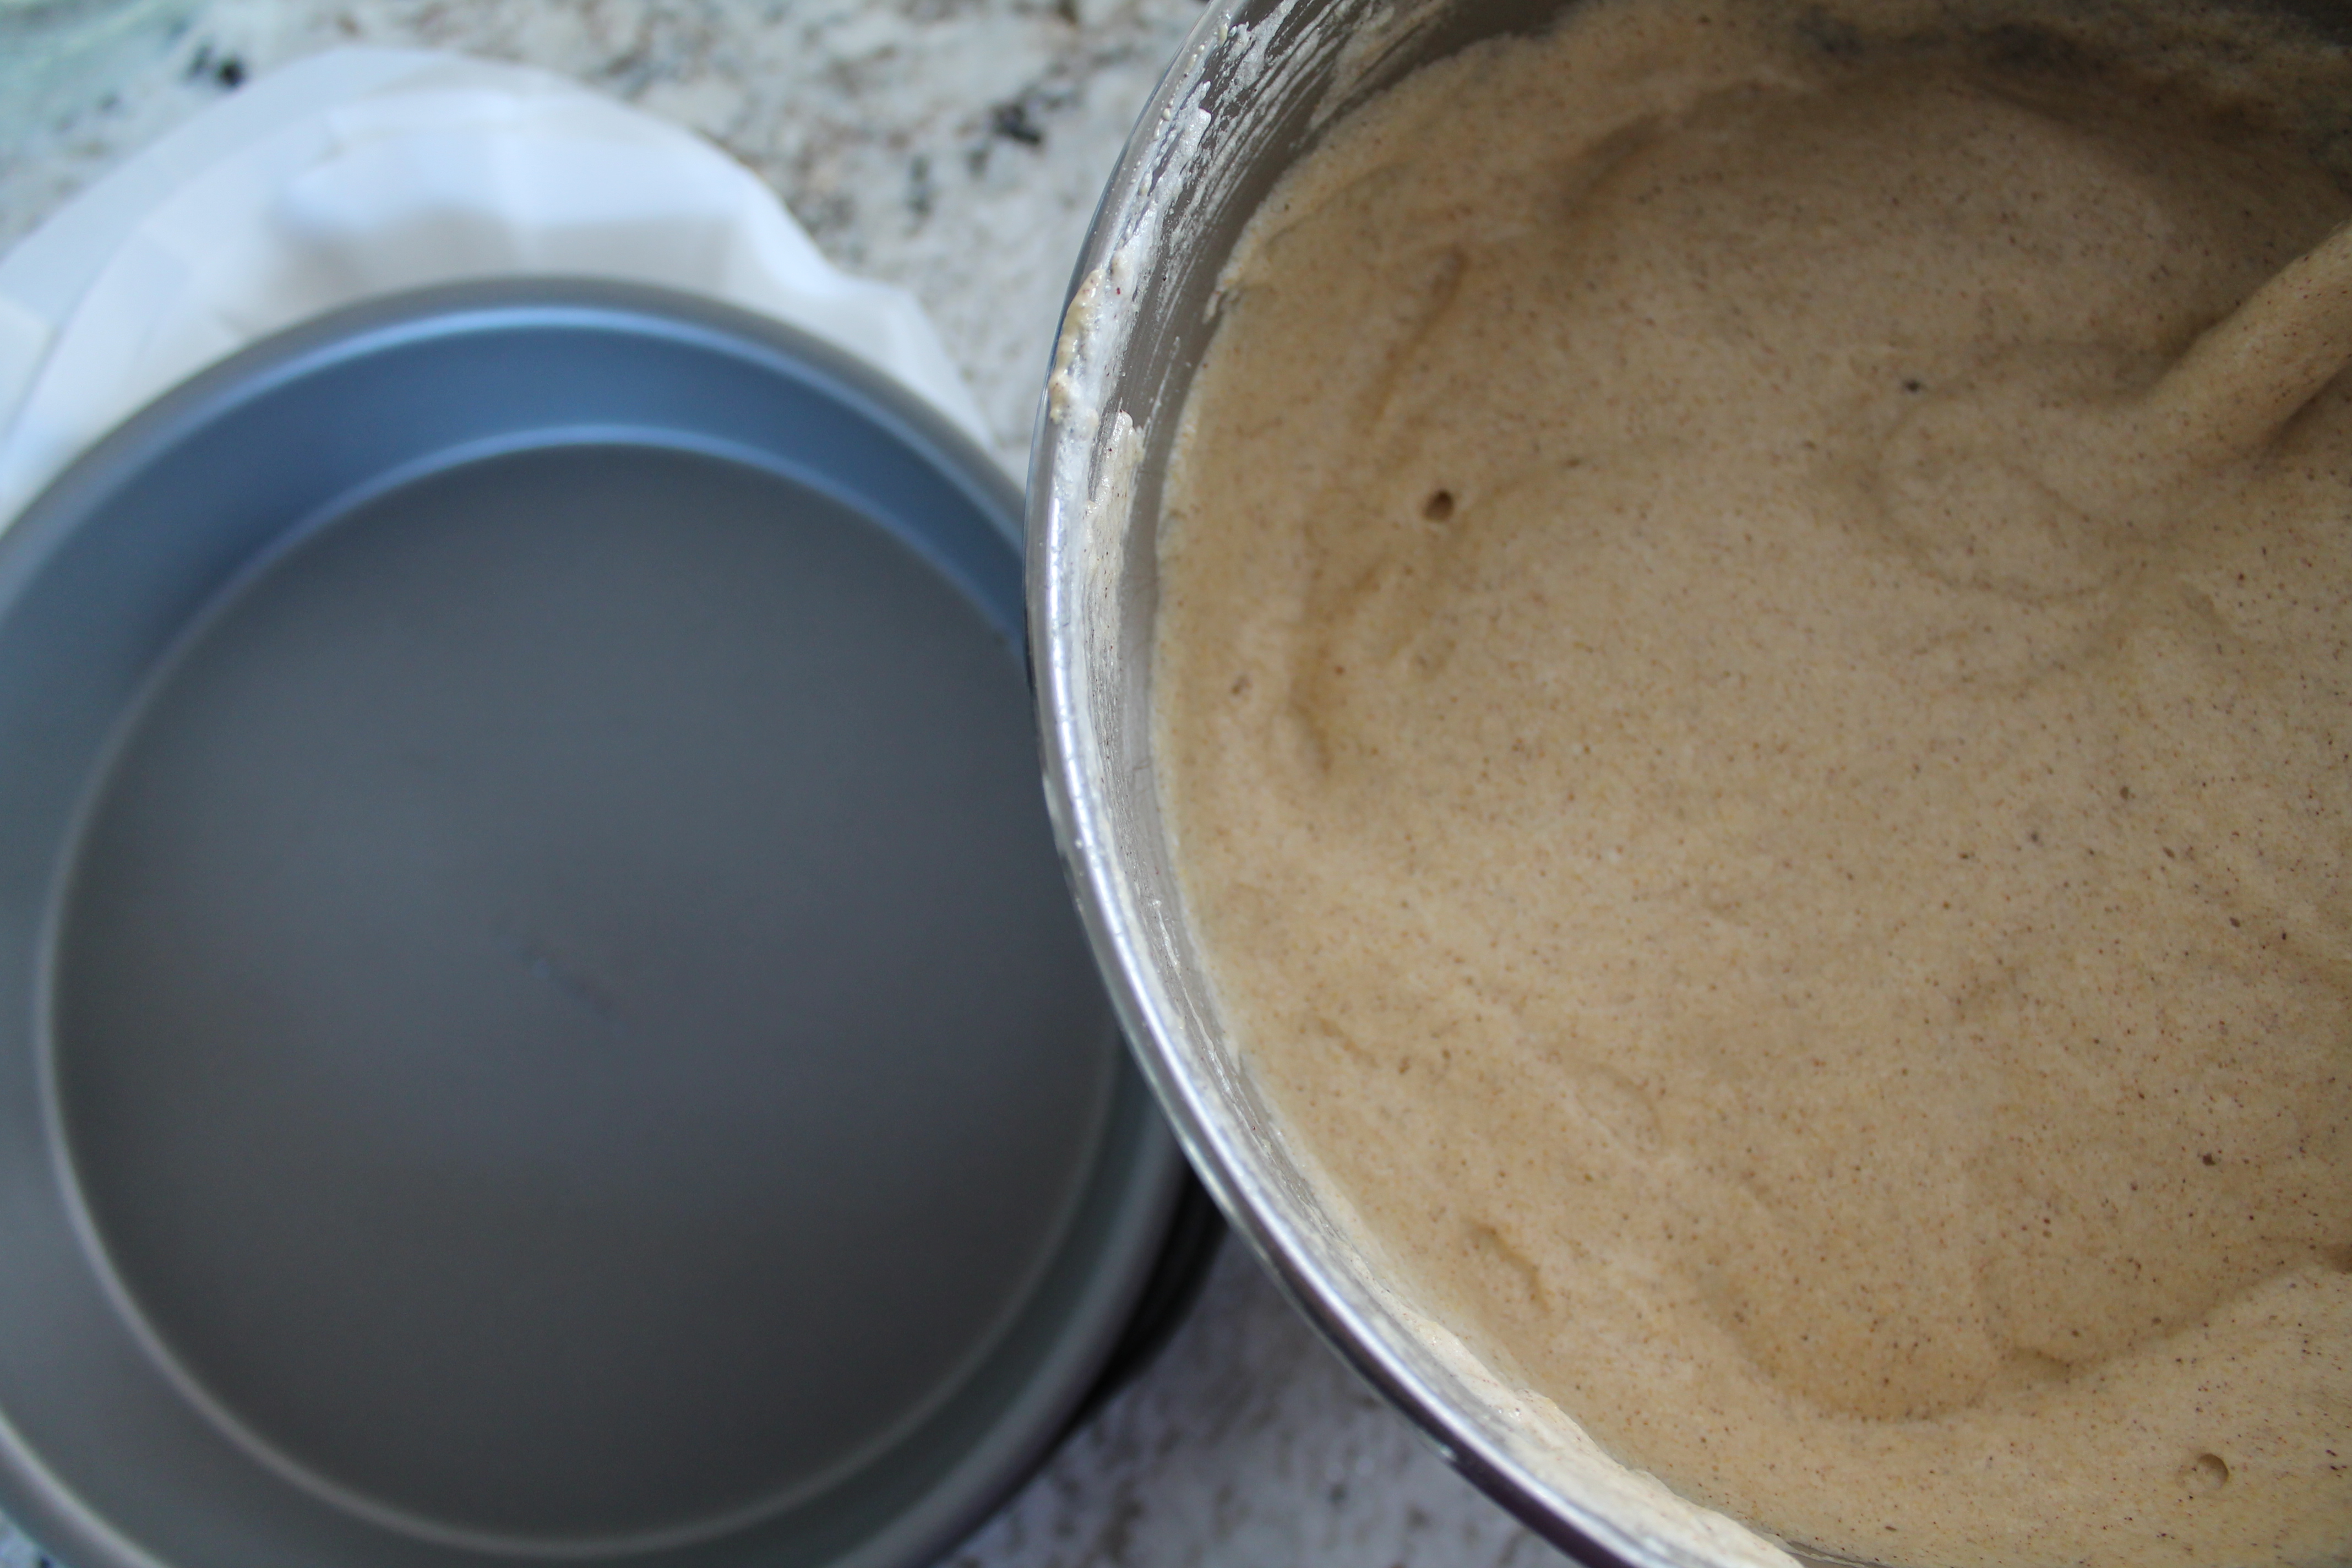 Spoon about a quarter of the meringue into the almond meal-yolk mixture. Stir the meringue in slowly, to lighten up the batter.
Add the rest of the meringue and fold it in with a spatula. Your cake batter should be soft and thick and, um, delicious. Not that I licked that spatula or anything.
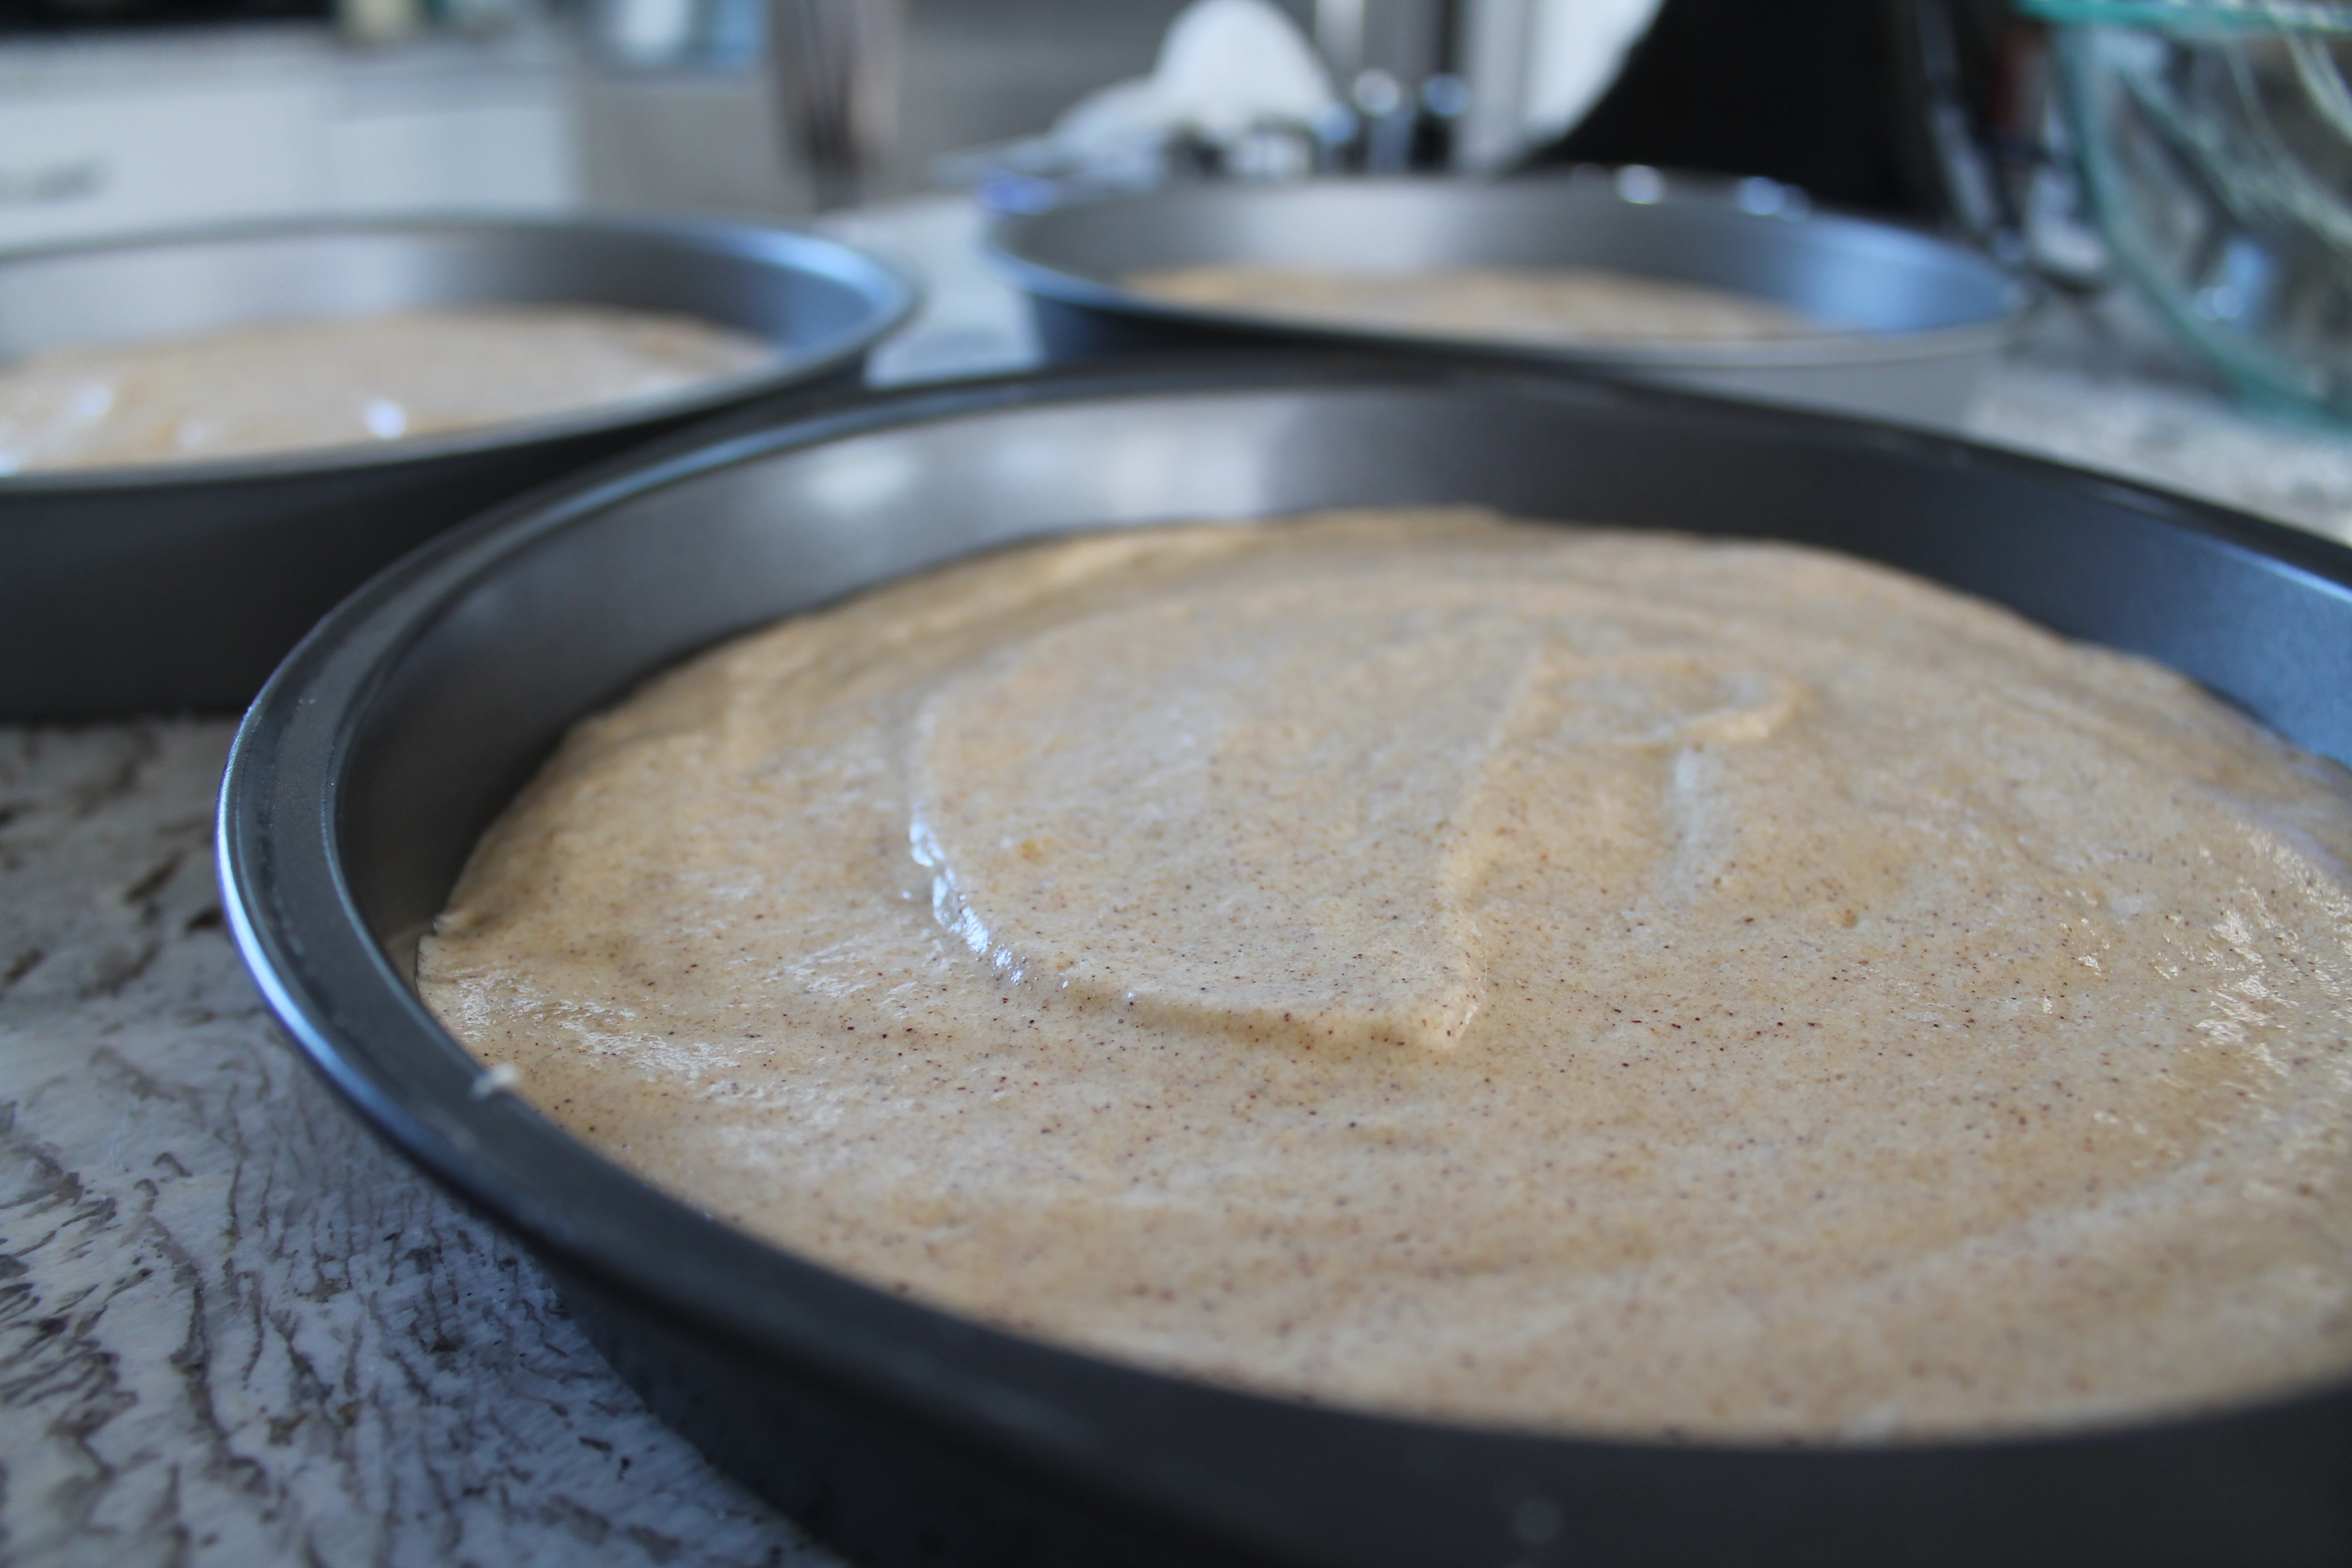 Line three cake pans with parchment circles to prevent the baked cake from getting stuck. Distribute the cake batter among the three pans, smoothing the tops as you go. Remember: gluten-free cakes will bake up with more or less the shape they started with, unlike wheat cakes which will settle and spread as they heat up. If you want a smooth top, it must start out that way!
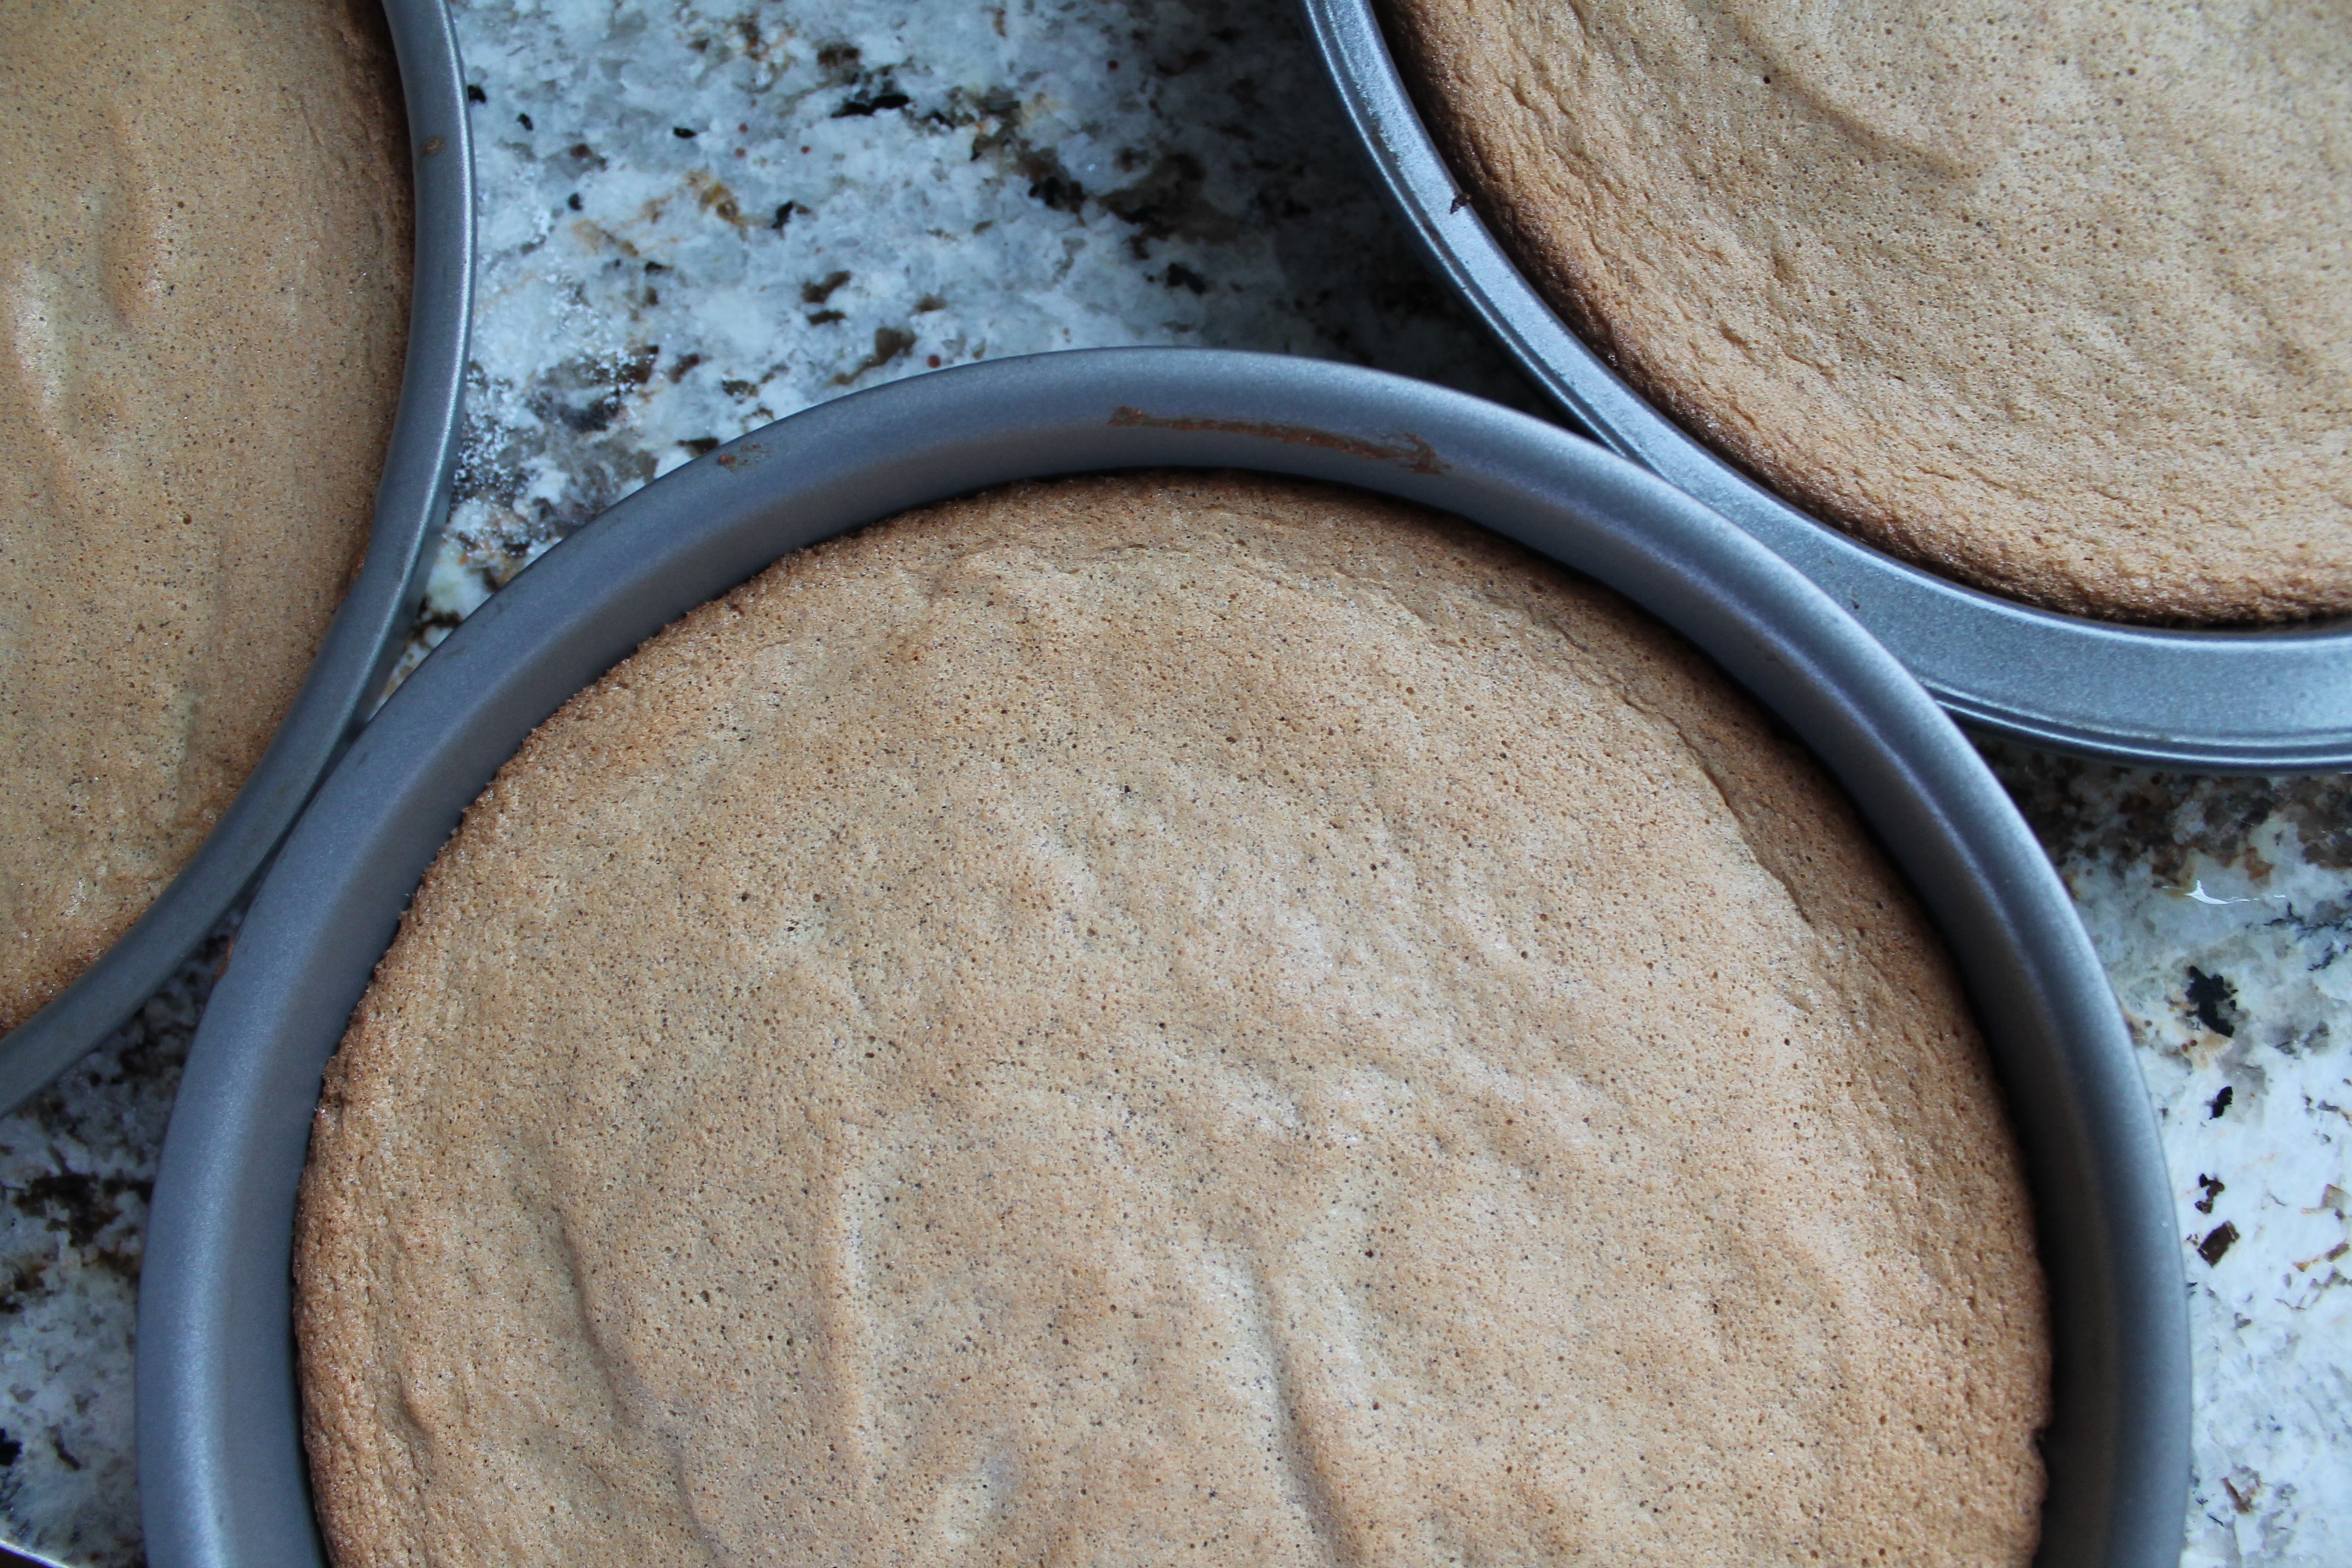 Bake the cakes for 20–25 minutes at 350°. The tops will be deeply golden and puffed, but they will likely deflate slightly as they cool. For gluten-free cakes, I like to test doneness by pressing my thumb very gently in the center of the cake. If it springs back, the cake is done; if it doesn’t, it needs another 2 minutes or so. Mine were done at 22 minutes!
Let the cakes cool completely. They will shrink slightly in the pans as they cool, which is typical of sponge cake.
Once the cakes have cooled, it’s time to make the frosting. I am not kidding when I say this frosting tastes exactly like a snickerdoodle cookie! It’s rich and amazing and full of brown sugar, which gives it a bit of a cookie dough texture. It’s also quite sweet, so beware if you prefer less sweet desserts, and spread your frosting thinly!
(Of course, I made this cake to celebrate my mom’s birthday, so I used literally the whole batch. Because if you can’t eat a forkful of frosting when it’s your birthday, when can you?)
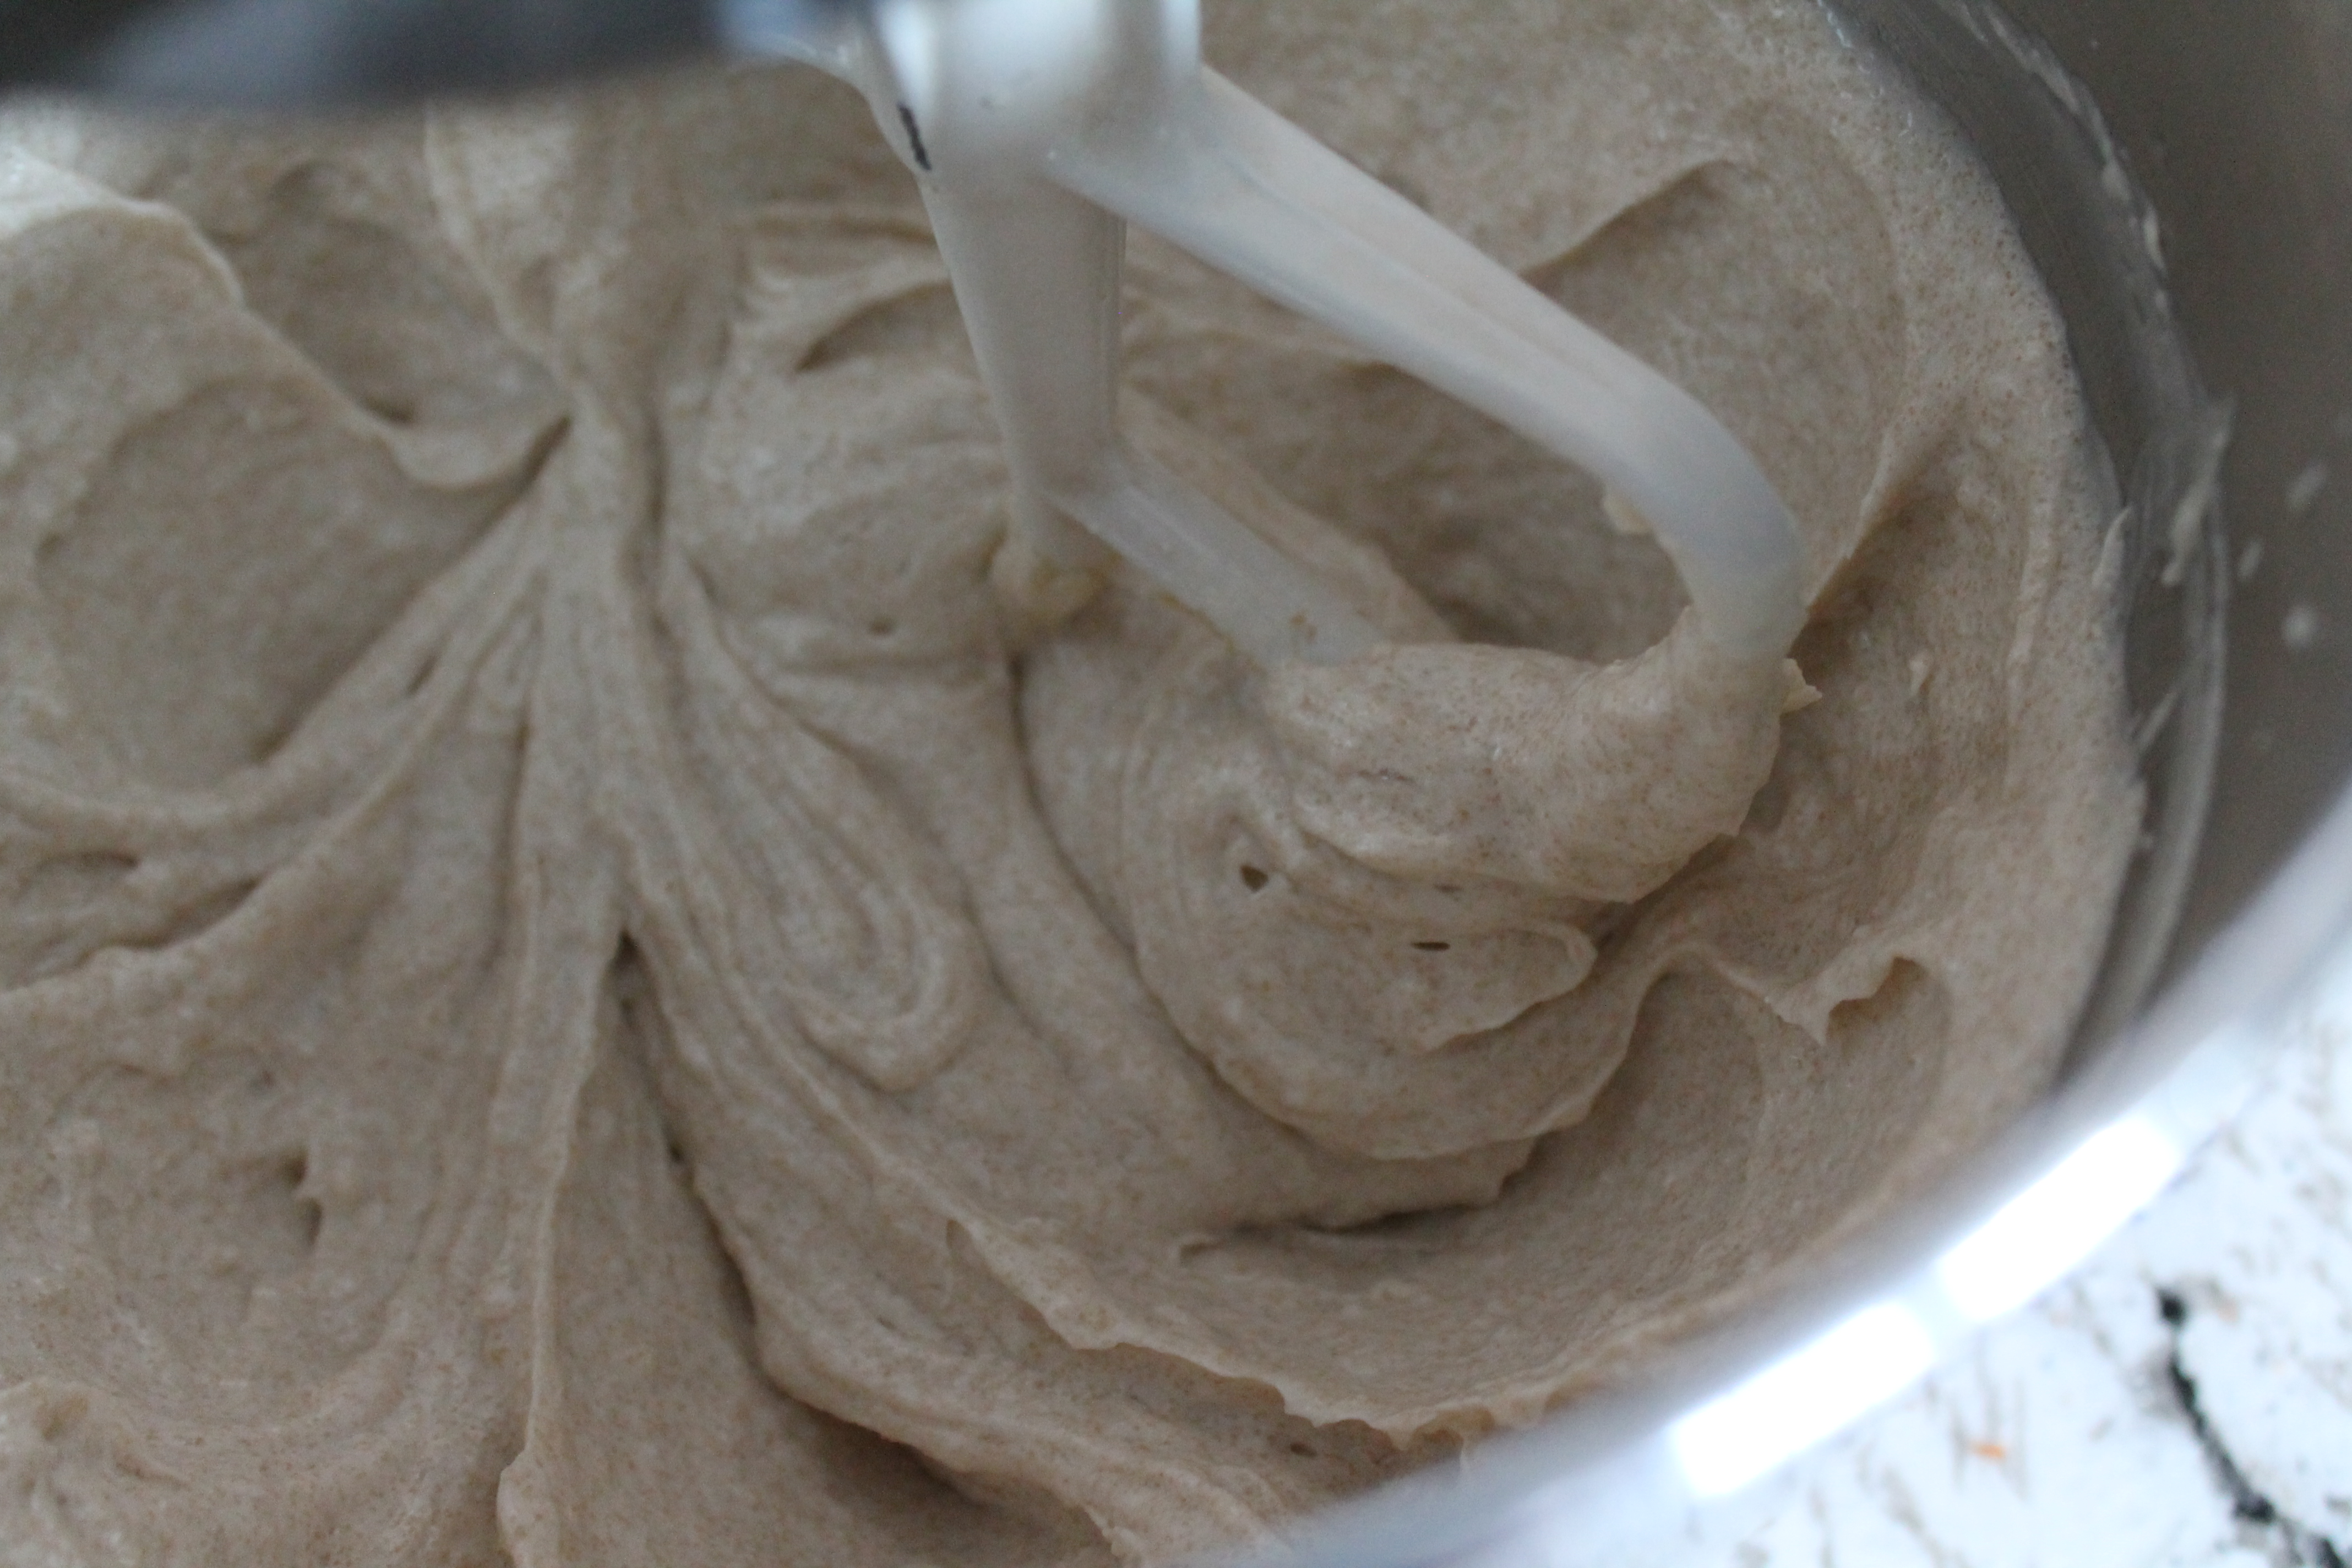 The base for this frosting is coconut oil and Earth Balance. This combination produces a quite soft frosting, so I recomend keeping the cake in the fridge until you are ready to serve it, and storing leftover in the fridge, just to prevent the cake from slipping and sliding.
Beat the coconut oil and room temperature Earth Balance together until they are even the creamy.
Beat in the brown sugar. Now, the brown sugar is what gives this frosting its cookie deliciousness. Brown sugar embodies the flavor and the texture of great cookies, amiright? But it does mean that the frosting isn’t just purely smooth and creamy: there is brown sugar in it. I happen to enjoy this, but if you think you won’t you can try adding the extra step of melting the brown sugar into the coconut oil, then chilling the oil until it is solid again. I’m not positive whether this will completely eliminate the texture of the brown sugar, but you can try it and let me know.
Or you can enjoy your cookie-dough frosting. Yum!
Now we sift in a heck of a lot of confectioner’s sugar. To the tune of nearly two pounds! Whoah. Sift in one cup at a time and beat it well. I always add my cinnamon (snickerdoodles!) about halfway through, and sift it in along with the sugar.
Let’s not forget a few splashes of almond milk. (Because coconut oil + almond milk makes a more neutral flavor!) I prefer unflavored and unsweetened almond milk. It’s a good idea to mix these intermittently with the sugar.
 The end frosting will be fairly soft, but stiff enough to hold its shape. I actually like to chill it for an hour or so before frosting the cake, because then it holds the cake layers together a little better while I am working on them.
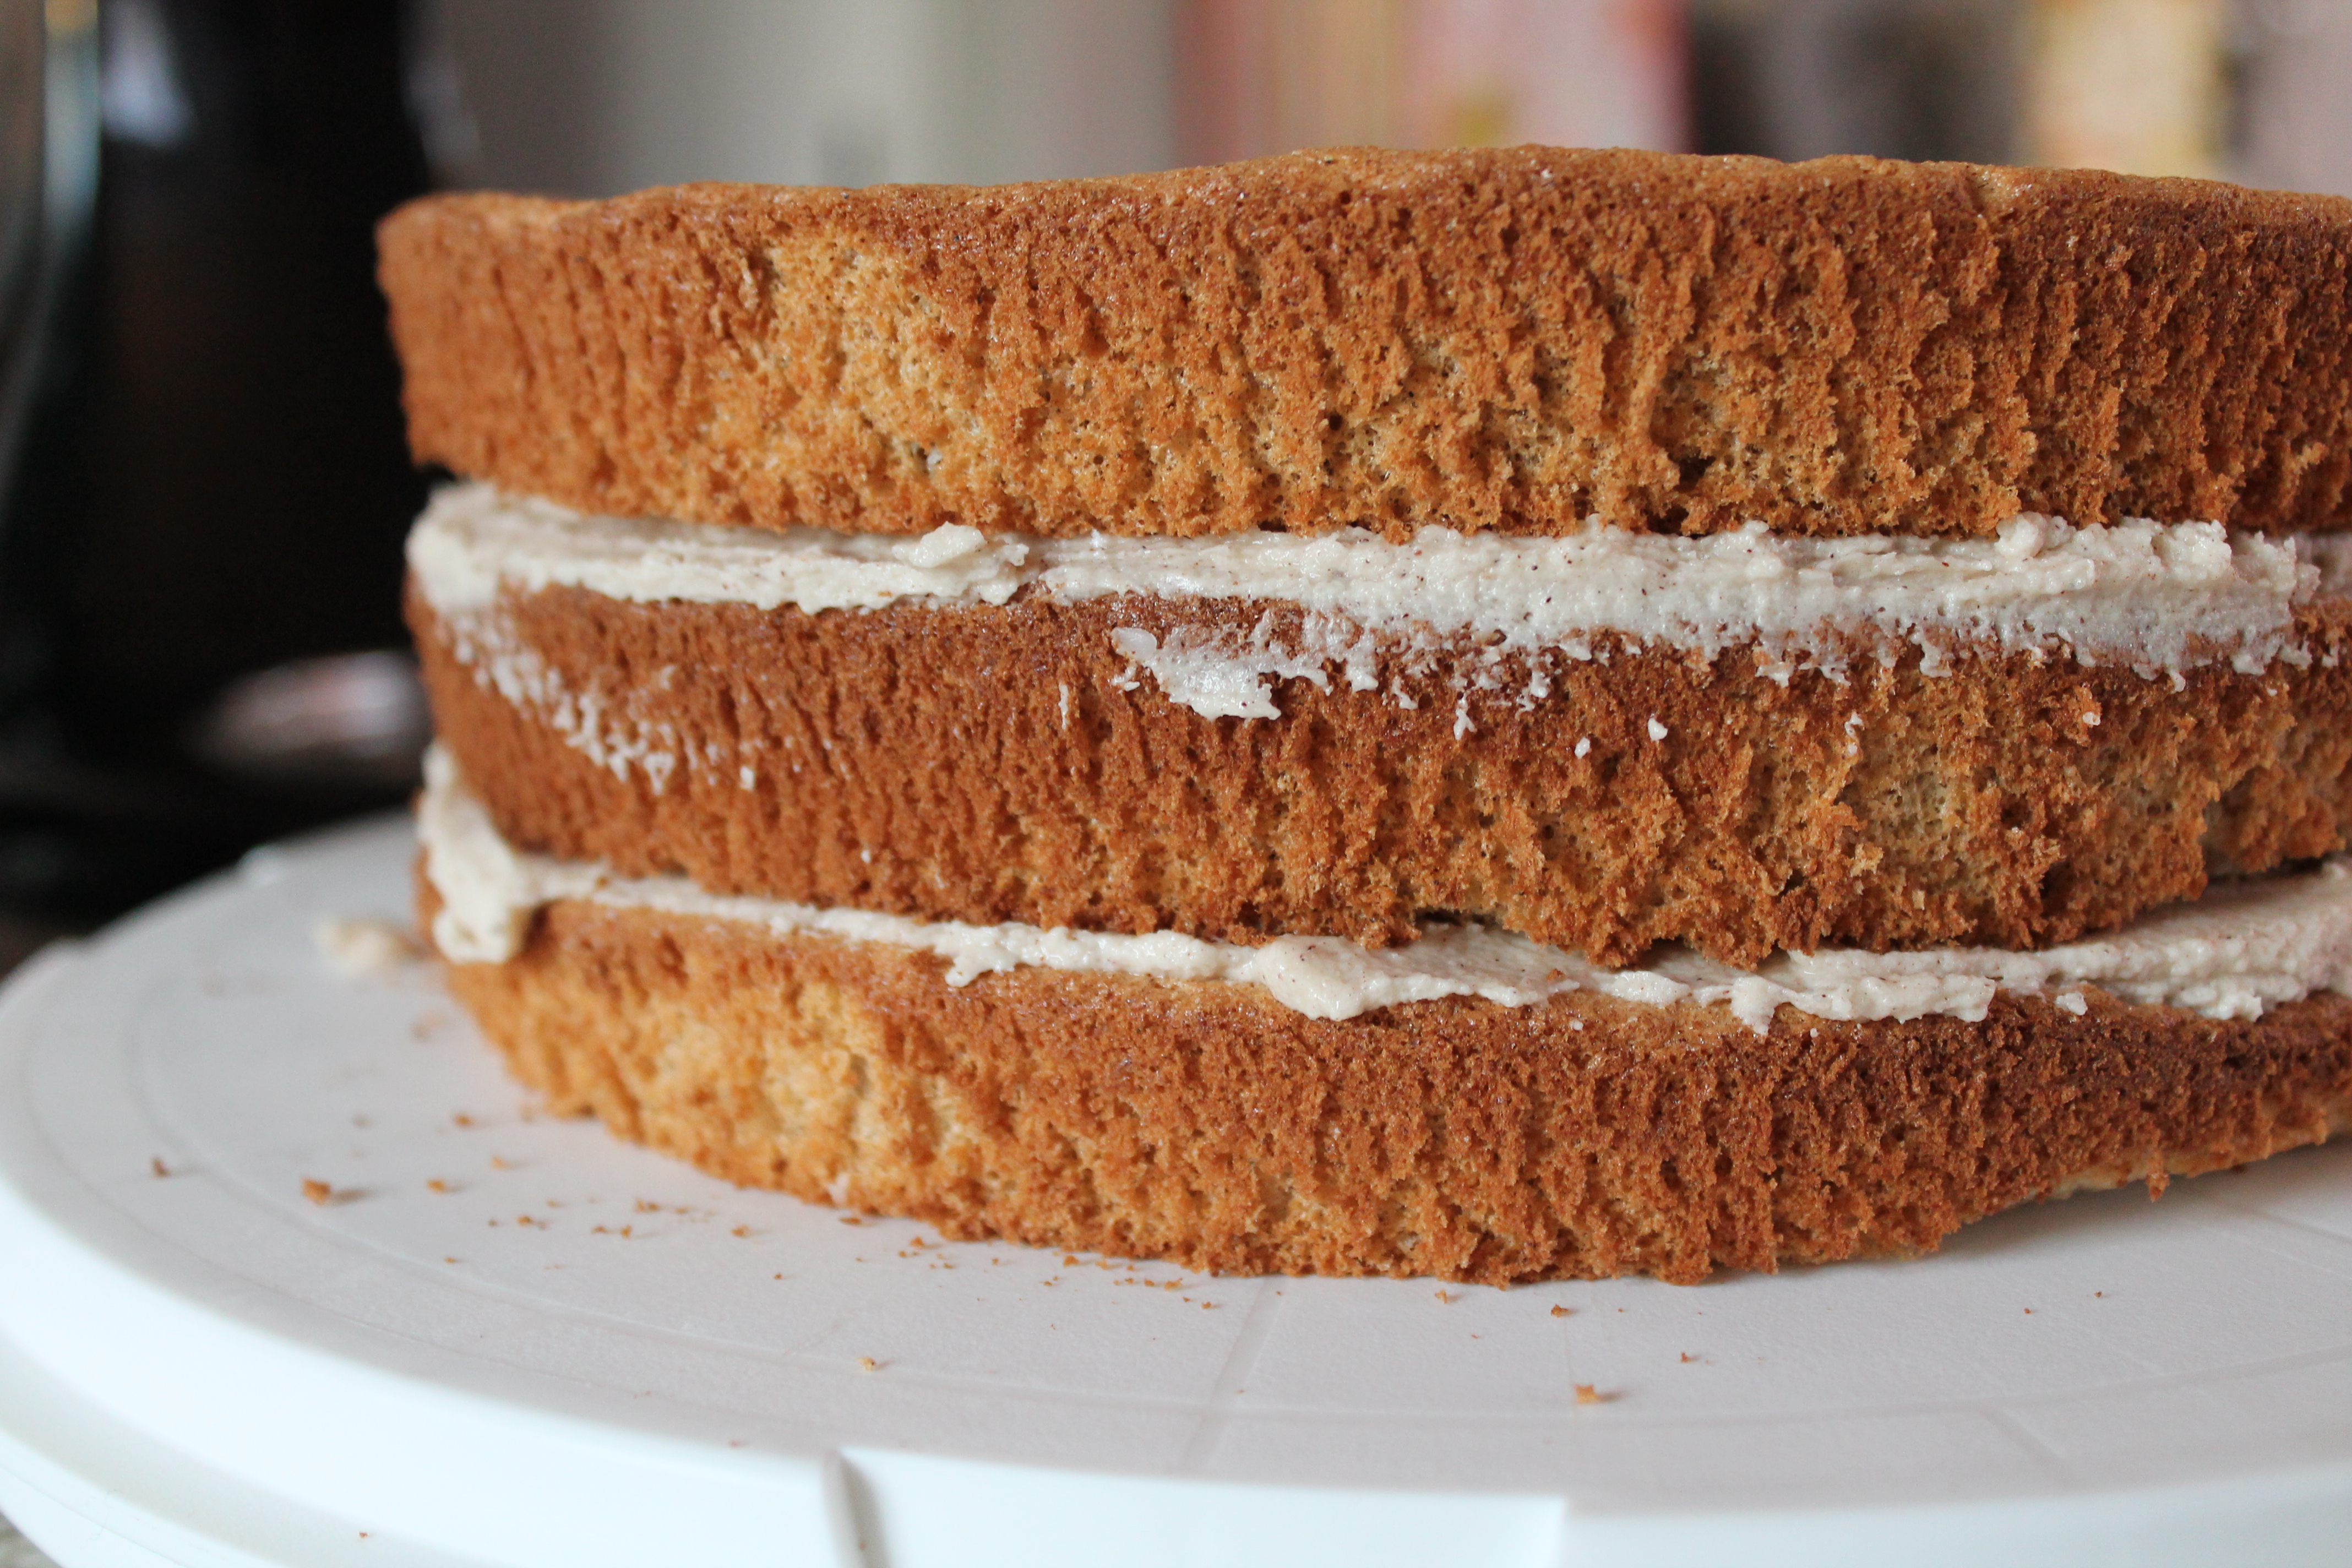
So chill the frosting. When you are ready to frost the cake, beat it until it is spreadable, about 30 seconds. Then go to town! Frost in between each layer, spreading the frosting all the way to the edges. I made fairly thick layers of filling here, because we like frosting around these parts.
Frost the top and outer edges of the cake, as decoratively or as smoothly as you prefer.
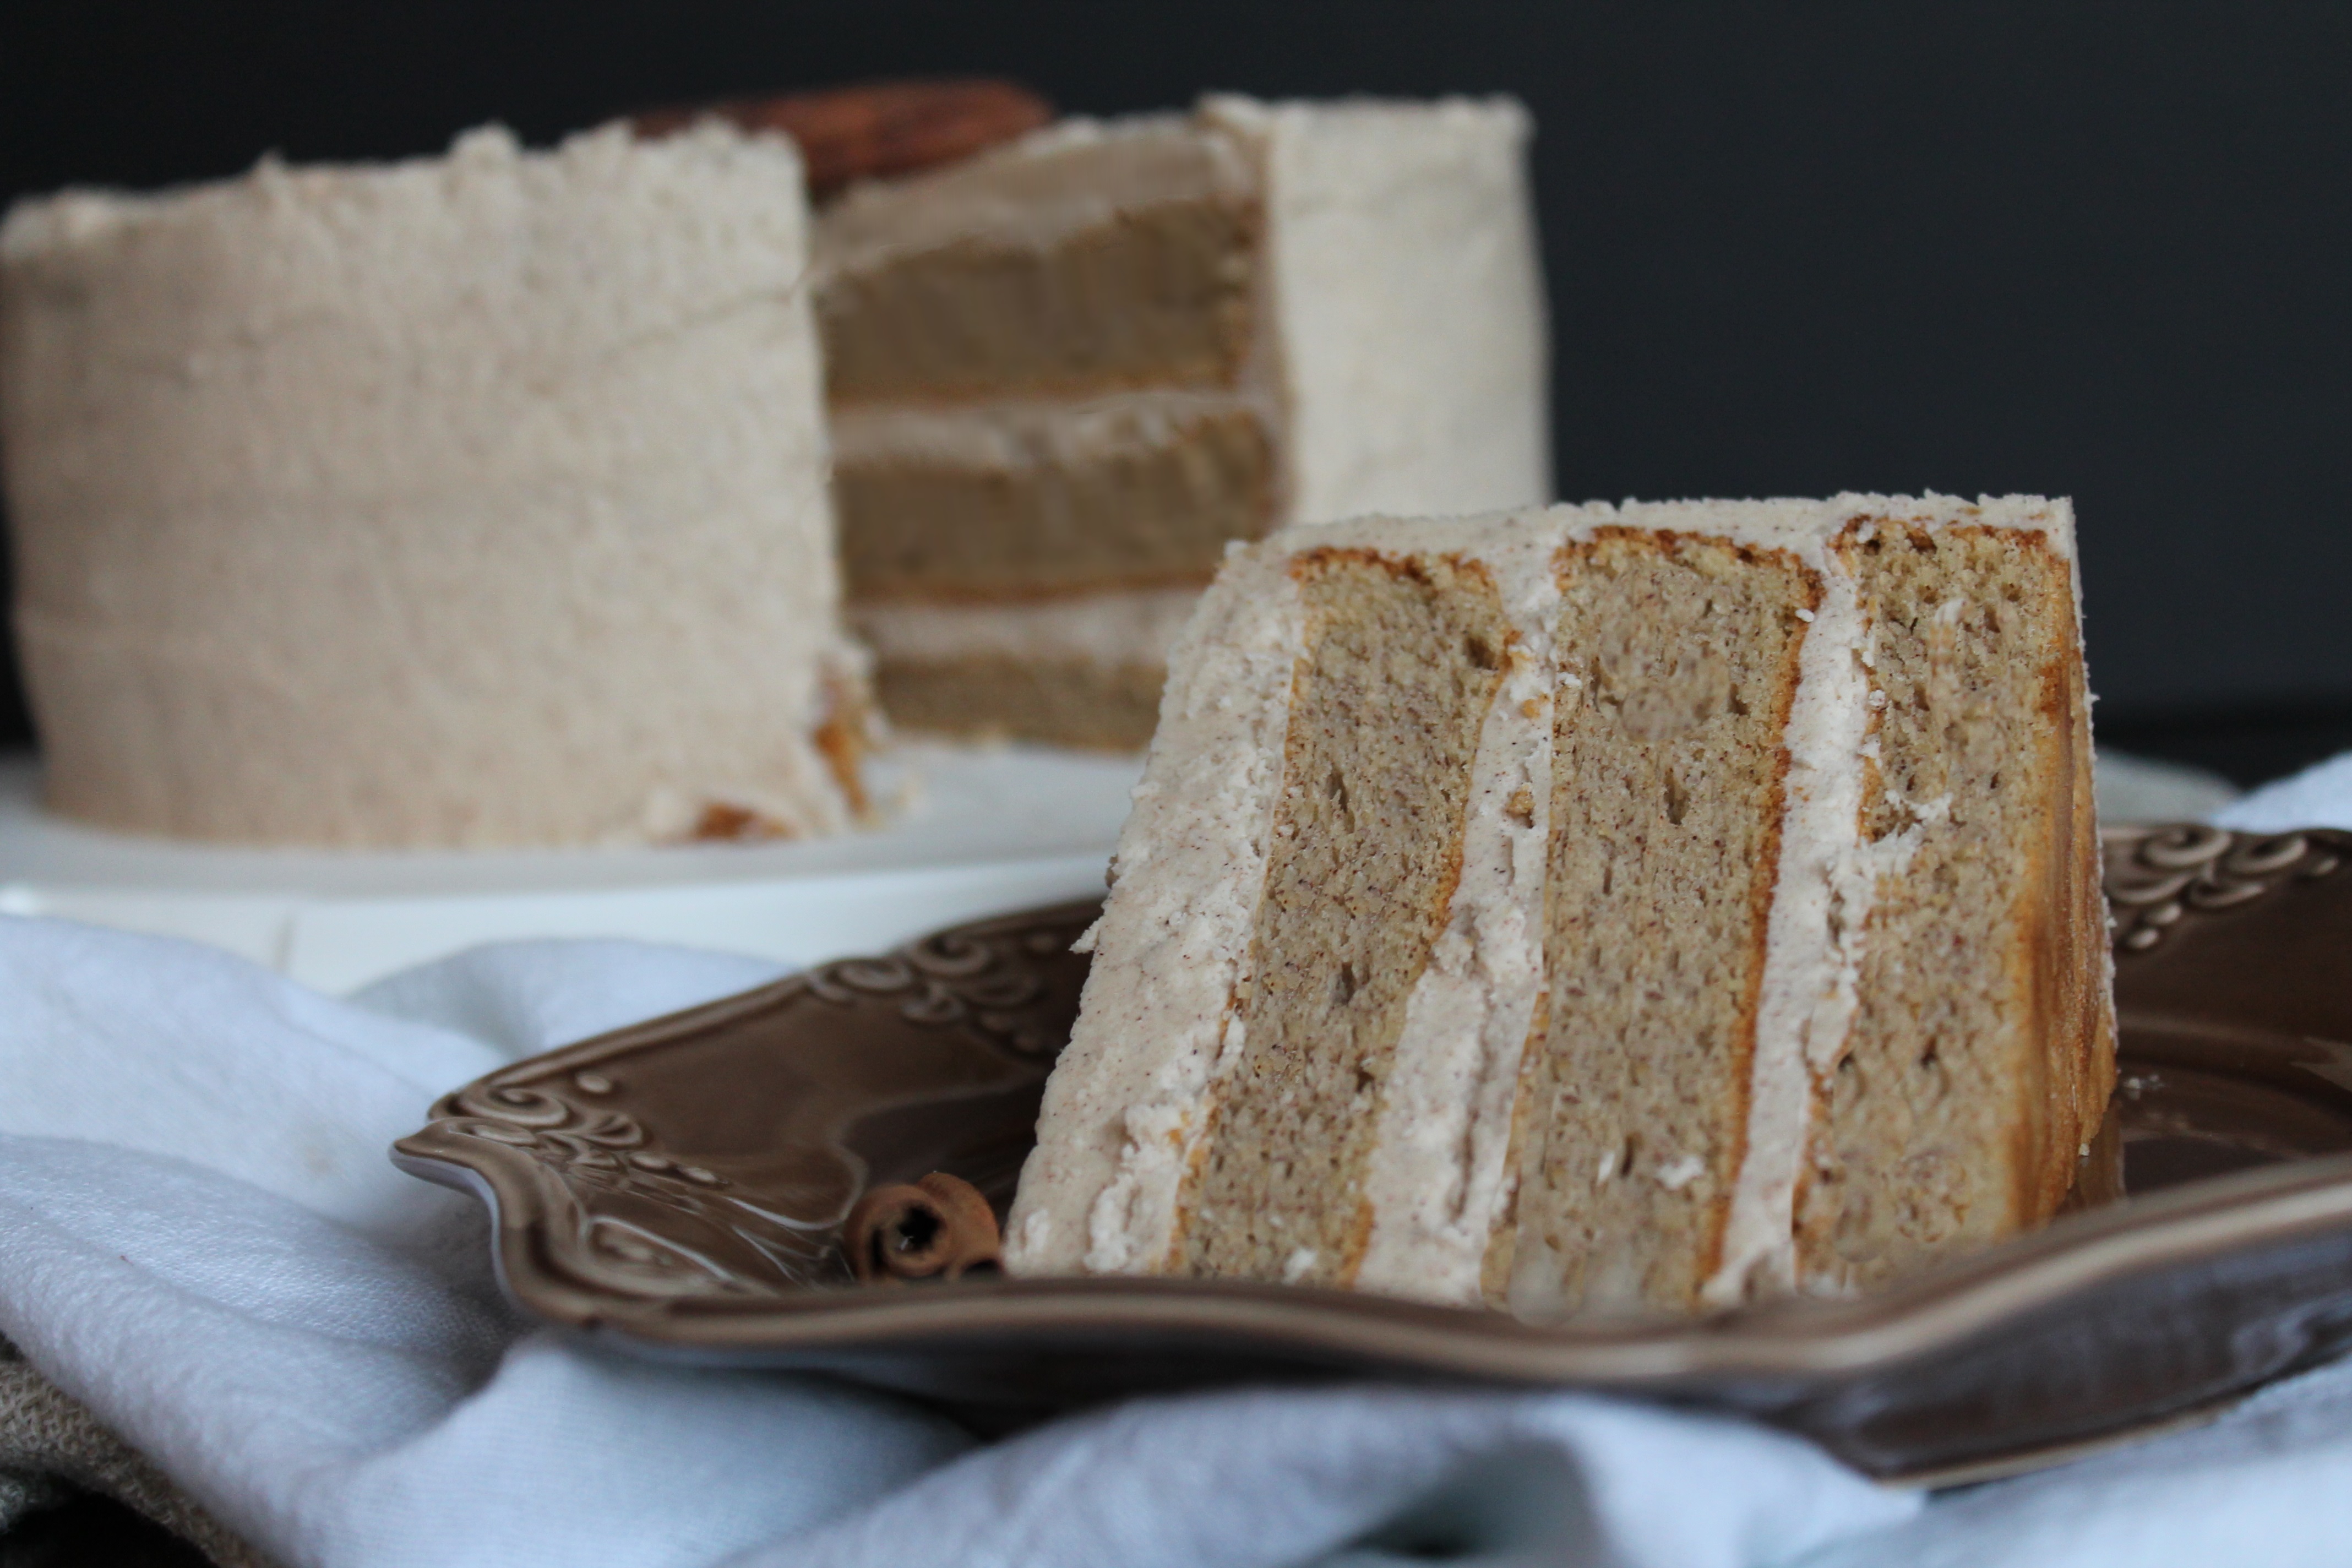 Chill the cake until you are ready to serve it! I do recommend letting it sit on the counter for 10 minutes before slicing. And of course…it’s polite to slice geometrically!
(This is a thing in my family. One of the many neuroses. But it’s indisputable that slicing geometrically results in more fair, even cake distribution. None of this first-person-gets-a-huge-chunk, last-person-gets-a-short-tiny-sliver. Slice the cake in quarters through the center, and then everyone can choose how thick or thin a slice they want after that!)
Happy birthday, Mom!
Snickerdoodle Cookie Layer Cake
sponge adapted from Epicurious
frosting heavily adapted from Foodie with Family
makes one 3-layer 9″ round cake
Cake Ingredients:
1¾ cup almond meal
2 tbsp. coconut flour
1 tbsp. cinnamon
10 large eggs, separated
2 tsp. vanilla extract
2 cups confectioner’s sugar, sifted, divided
¼ tsp. cream of tartar
¼ tsp. salt
Frosting Ingredients:
1 cup Earth Balance vegan butter, slightly softened
1 cup coconut oil, solid state
¾ cup light brown sugar
8 cups confectioner’s sugar
1 tbsp. cinnamon
3 tbsp. unsweetened plain almond milk
Directions:
Preheat oven to 350°. Line the bottoms of three 9″ round cake pans with parchment circles.
Whisk together the almond meal, coconut flour, and cinnamon. Set aside.
Separate the eggs, placing the yolks in a large mixer bowl and the whites in a separate, 4–6qt. bowl.
Beat the egg yolks on high speed for 3 minutes, until pale and thick enough to hold their shape for 2 seconds.
Reduce the mixer speed and add all but 1 tbsp. of the confectioner’s sugar. (Reserve the 1 tbsp. for the egg whites.) Scrape the bowl and mix until all the sugar has been incorporated. Stir in vanilla extract. With the mixer still on low, add the almond meal mixture in small batches, scraping the sides of the bowl as needed, until thick and even.
Beat the egg whites on high speed with a hand mixer until fluffy and slightly foamy, 1–2 minutes. Add the remaining 1 tbsp. confectioner’s sugar, along with the cream of tartar and salt. Beat on high speed until the meringue is slightly glossy and stiff enough to cling to the bowl when the bowl is turned upside-down.
Stir about a quarter of the meringue into the almond meal mixture to lighten it. Gently fold the remaining meringue into the batter using a large spatula. Keep folding until all of the meringue lumps have been worked into the batter, and the batter is light and uniform.
Divide the batter among the prepared cake pans, smoothing the tops well.
Bake for 20–25 minutes, until the tops are puffed and deeply golden, and spring back quickly when touched in the center.
Let the cake rounds cool completely in their pans. They will shrink as they cool.
Meanwhile, make the frosting. Beat the Earth Balance and coconut oil in a mixer bowl until soft and smooth. Add the brown sugar and beat to combine.
Sift the confectioner’s sugar, 1 cup at a time, into the mixer bowl, beating well between each addition and scraping the sides of the bowl. After 4 cups of sugar have been added, alternate sugar with 1 tbsp. almond milk, beating well and scraping the sides of the bowl.
Mix in the cinnamon. Beat the frosting until it is light and creamy, another 2–3 minutes. It will still be soft, but stiff enough to hold its shape.
Chill the frosting for 1 hour before assembling the cake. This will help prevent the cake layers from sliding around during assembly.
When ready to assemble, run a knife around the outer edge of each cake pan to release the cakes. Turn them out carefully onto a cooling rack and remove the parchment paper. Beat the frosting for 30 seconds or so, to soften.
Place the first cake round onto a serving dish and generously layer it with frosting. Add the next cake round, making sure to stack it on center with the first, and repeat the frosting. Top with the final layer of cake, and generously frost the top and sides of the cake with the remaining frosting.
Chill the cake in the refrigerator until ready to serve. Let sit on the counter for 10 minutes before slicing.
Enjoy!
- One year ago: Baked Brie with Pumpkin Butter
- Two years ago: Winter Squash Chili
- Three years ago: Spinach Dip
- Four years ago: Moroccan-Spiced Spaghetti Squash

6 comments to “Snickerdoodle Layer Cake”
kathybruton2 - January 29, 2016
Wow, this is simply beautiful. I can’t wait to try it! And yes, I too find myself in my kitchen more and willing to experiment. 🙂
Melissa - January 29, 2016
Thank you! I hope you enjoy it!
Nicola - January 29, 2016
Confidence in the kitchen is a wonderful feeling!
Deb - July 3, 2016
Look amazing! I can’t wait to make this.
Wedding Gifts - August 10, 2016
Your photography is gorgeous! Cake really looks delicious! Love your blog!
Melissa - August 11, 2016
Thanks!