I try not to eat too much ice cream anymore (although it is one of the hardest things to turn down—which is how I sometimes end up with four scoops instead of one, which is why I must circle back to the try-not-to-indulge plan).
But. July is National Ice Cream Month.
And as I was pondering desserts…like I sometimes do…and it suddenly struck me that I haven’t shared an ice cream recipe with you for years. Literal years. Since before we even went to Ireland.
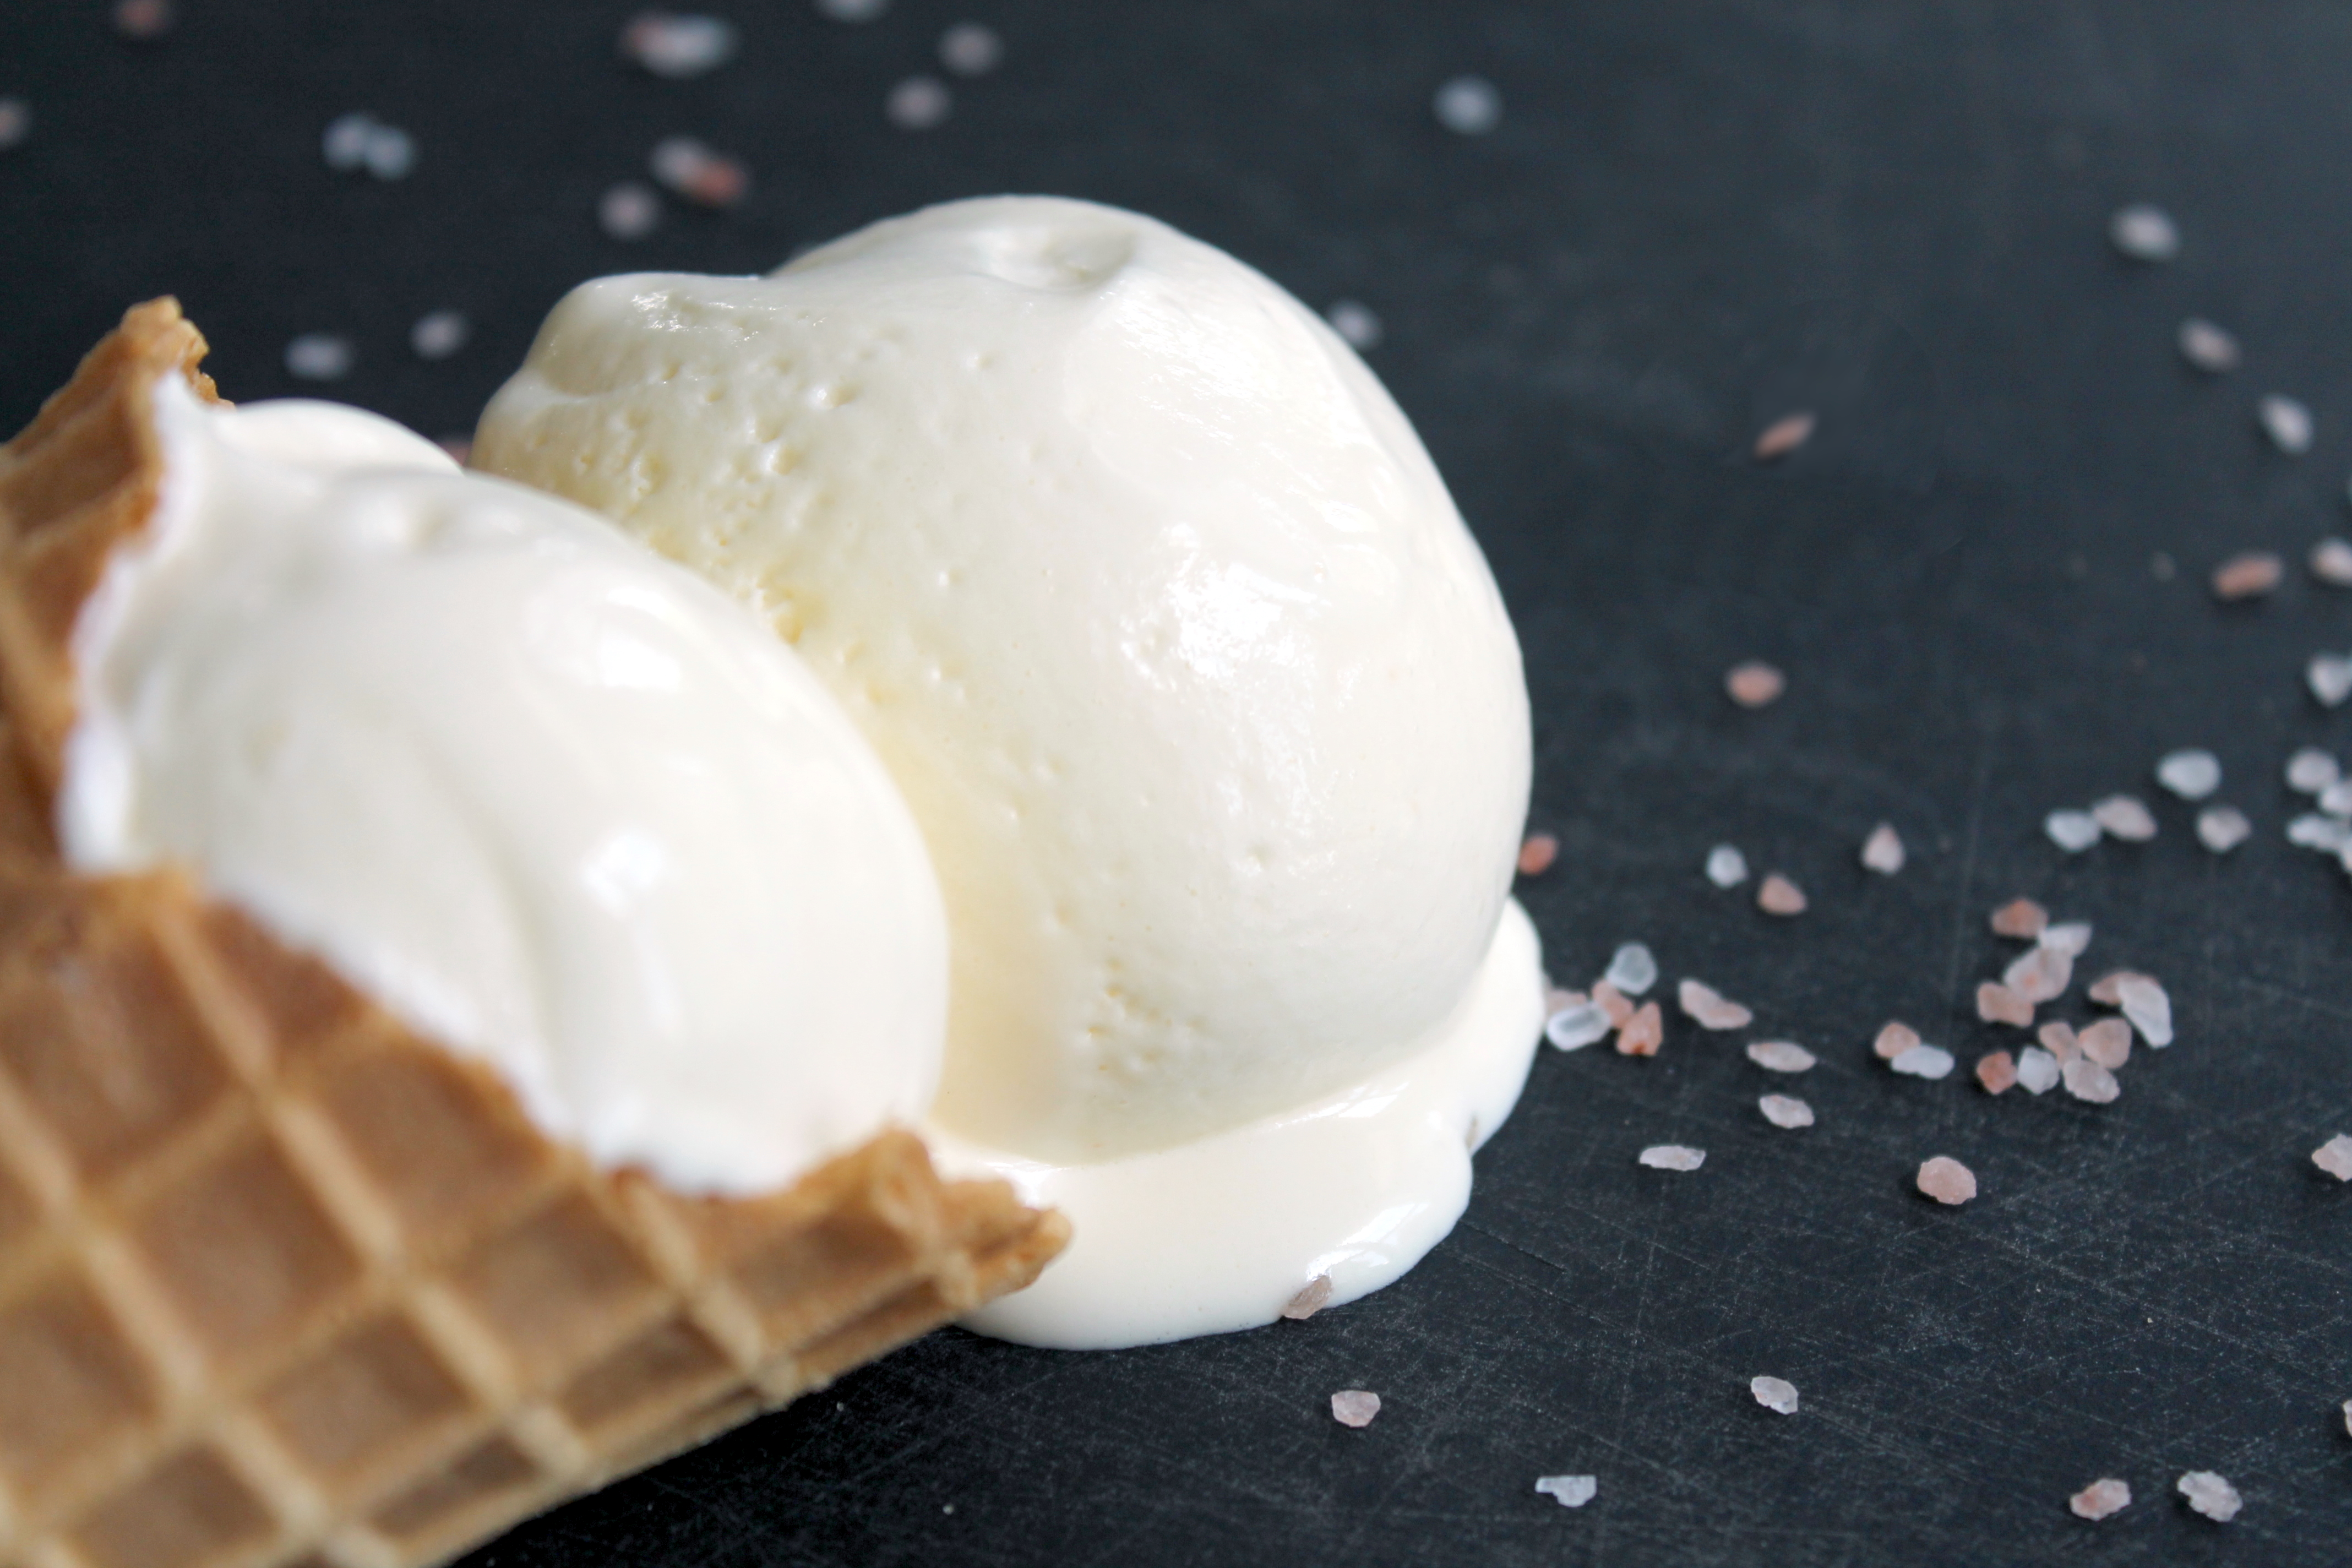
Which reminds me: you MUST try sea salt ice cream. Because it’s absolutely the best.
I first experienced the glorious taste of sea salt ice cream when we stopped in Murphy’s of Dingle. They had so many unique flavors, like brown bread and gin and honeycomb and, yes, sea salt.
At the first taste of sea salt ice cream, which tastes something like a fantastic salted caramel even though it isn’t, I was hooked. We returned to Murphy’s wherever we could find them across Ireland, and licked our bowls clean.
I can never hope to compete with how amazing Murphy’s ice cream is—they make their own sea salt, can you get any fancier!? (p.s., don’t you love how they proclaim that salt is the essential flavor of summer?)—but, since I cannot walk into a Murphy’s without first crossing an ocean, I have started making sea salt ice cream occasionally at home.
And imagine my delight to discover that Kieran Murphy, yes of Murphy’s fame, posted the recipe to his own blog!
 I don’t make my own sea salt, but I can make my own ice cream, and so should you!
(P.S., this is blasphemy, but did you know you could also make something similar without an ice cream machine? Instead of making custard, grab a can of sweetened condensed milk! Fold this into whipped cream with 2 tsp. salt and then freeze. The extra whipped cream will be aerated enough to create a smooth, scoopable texture once the mixture is frozen.)
This recipe also uses whipped cream, but it starts with custard and ends in an ice cream machine.
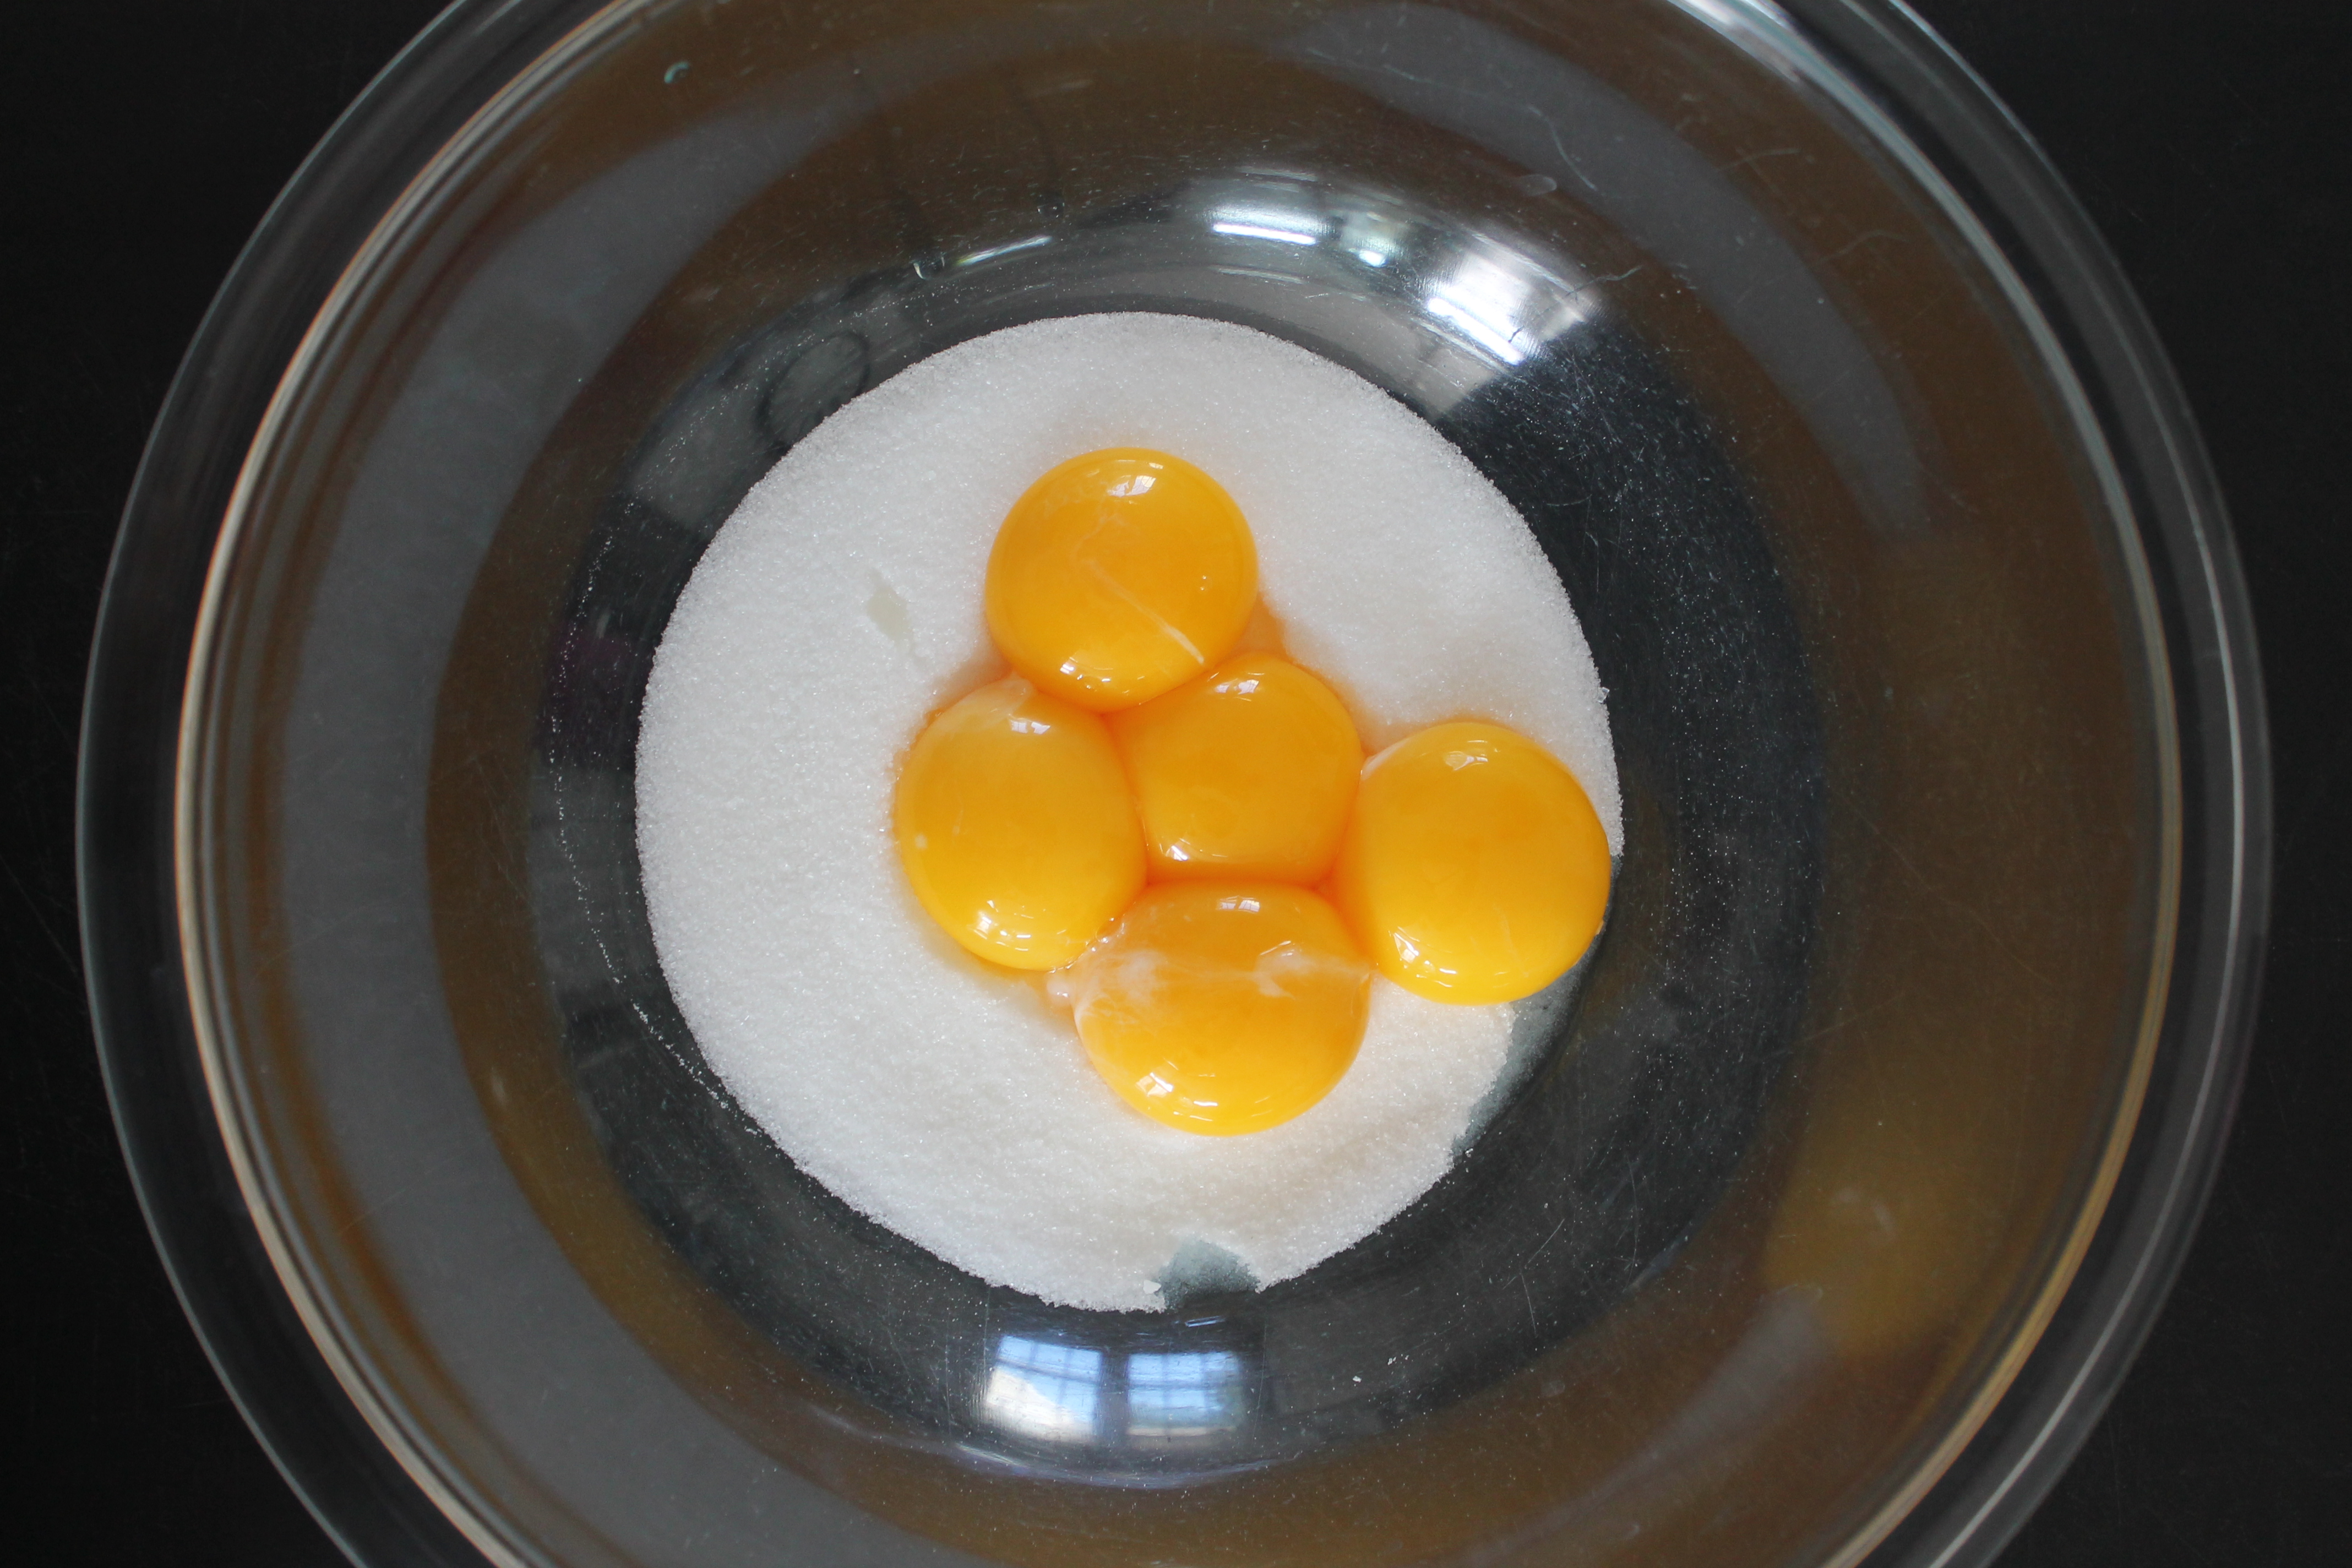
Making custard sounds scary, but it isn’t. First, grab a hand mixer and whip egg yolks with sugar. This recipe has surprisingly less sugar than I would have expected, only 10 tbsp. for the whole batch!
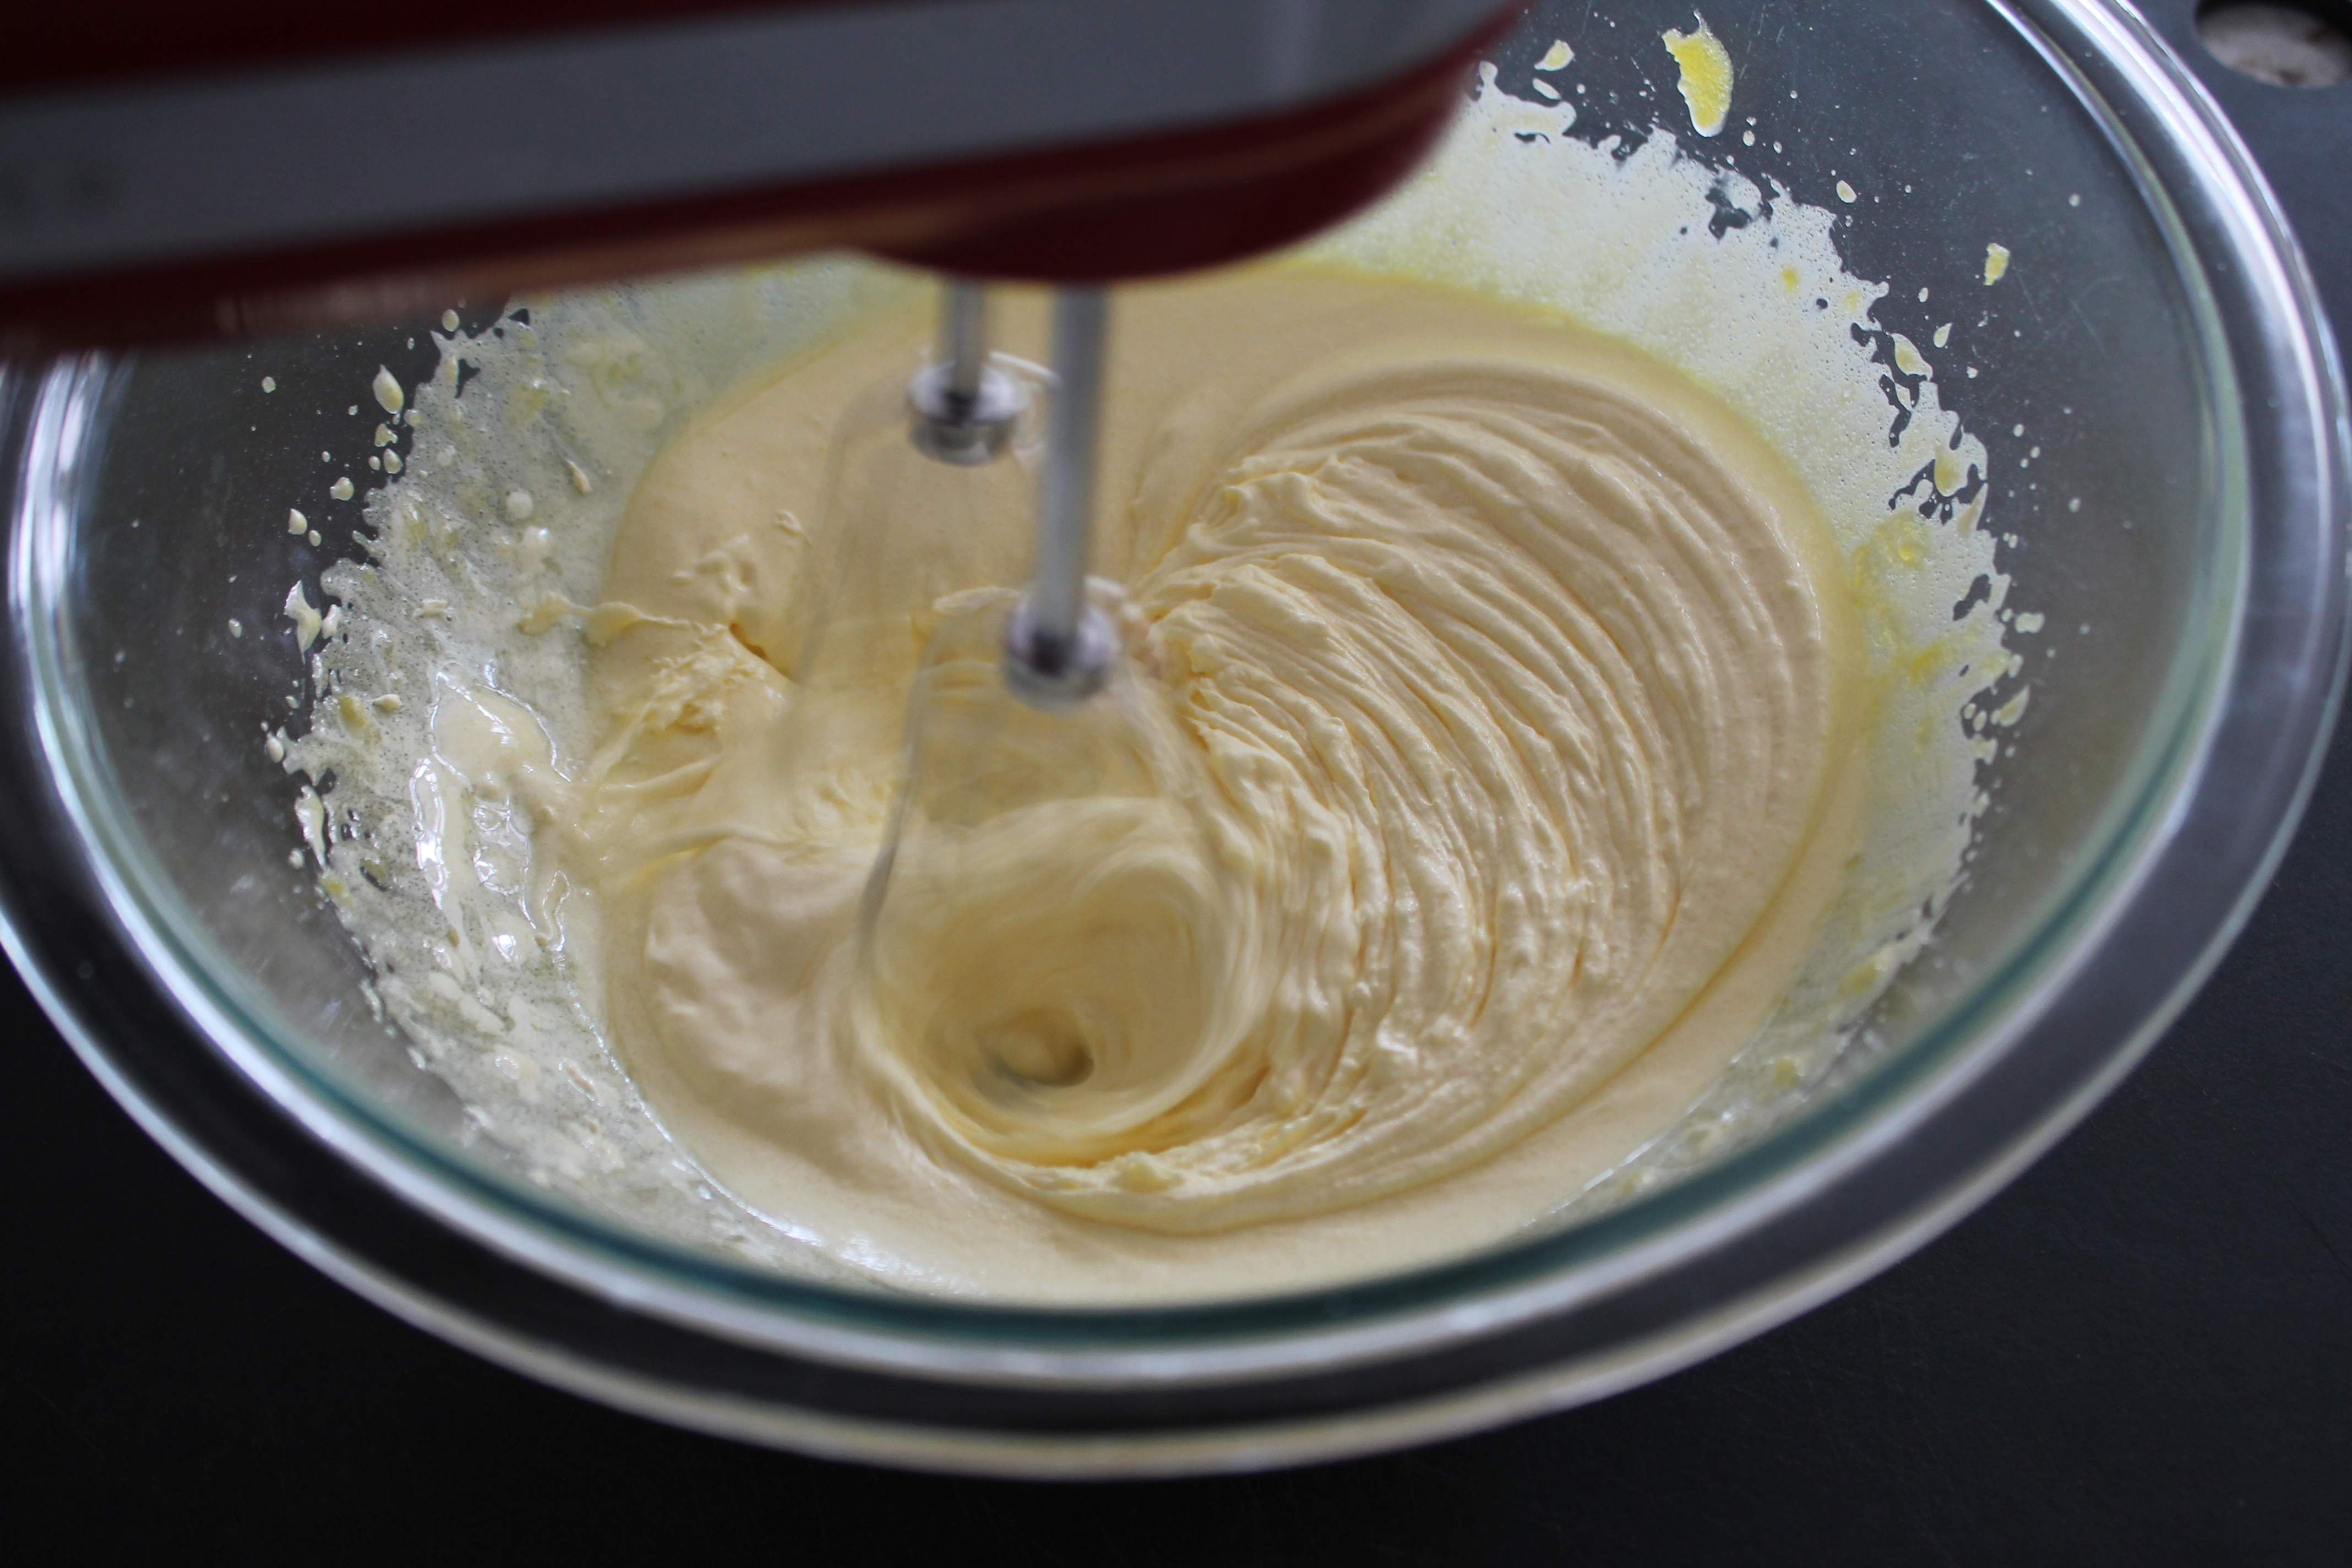
The goal of whipping the yolks and sugar is to create a thick, pale yellow mixture. When the mixture is creamy and stiff enough to hold its shape for 2 seconds (also known as the ribbon test, when you pull the beaters out of the bowl and see if a thin stripe of the yolk mixture can sit on top of the rest of the mixture for 2 seconds before dissolving back in), it is done.
→If you are looking for ideas of things to do with your left over egg whites, I found a great post by NeighborFood that is full of ideas both savory and sweet. I am always partial to decorating cookies with my kids using royal icing or perhaps making macaroons or pavlova…but honestly, there are only so many desserts my house can hold when I am not the one eating them. I think these egg whites are going to become quiche.
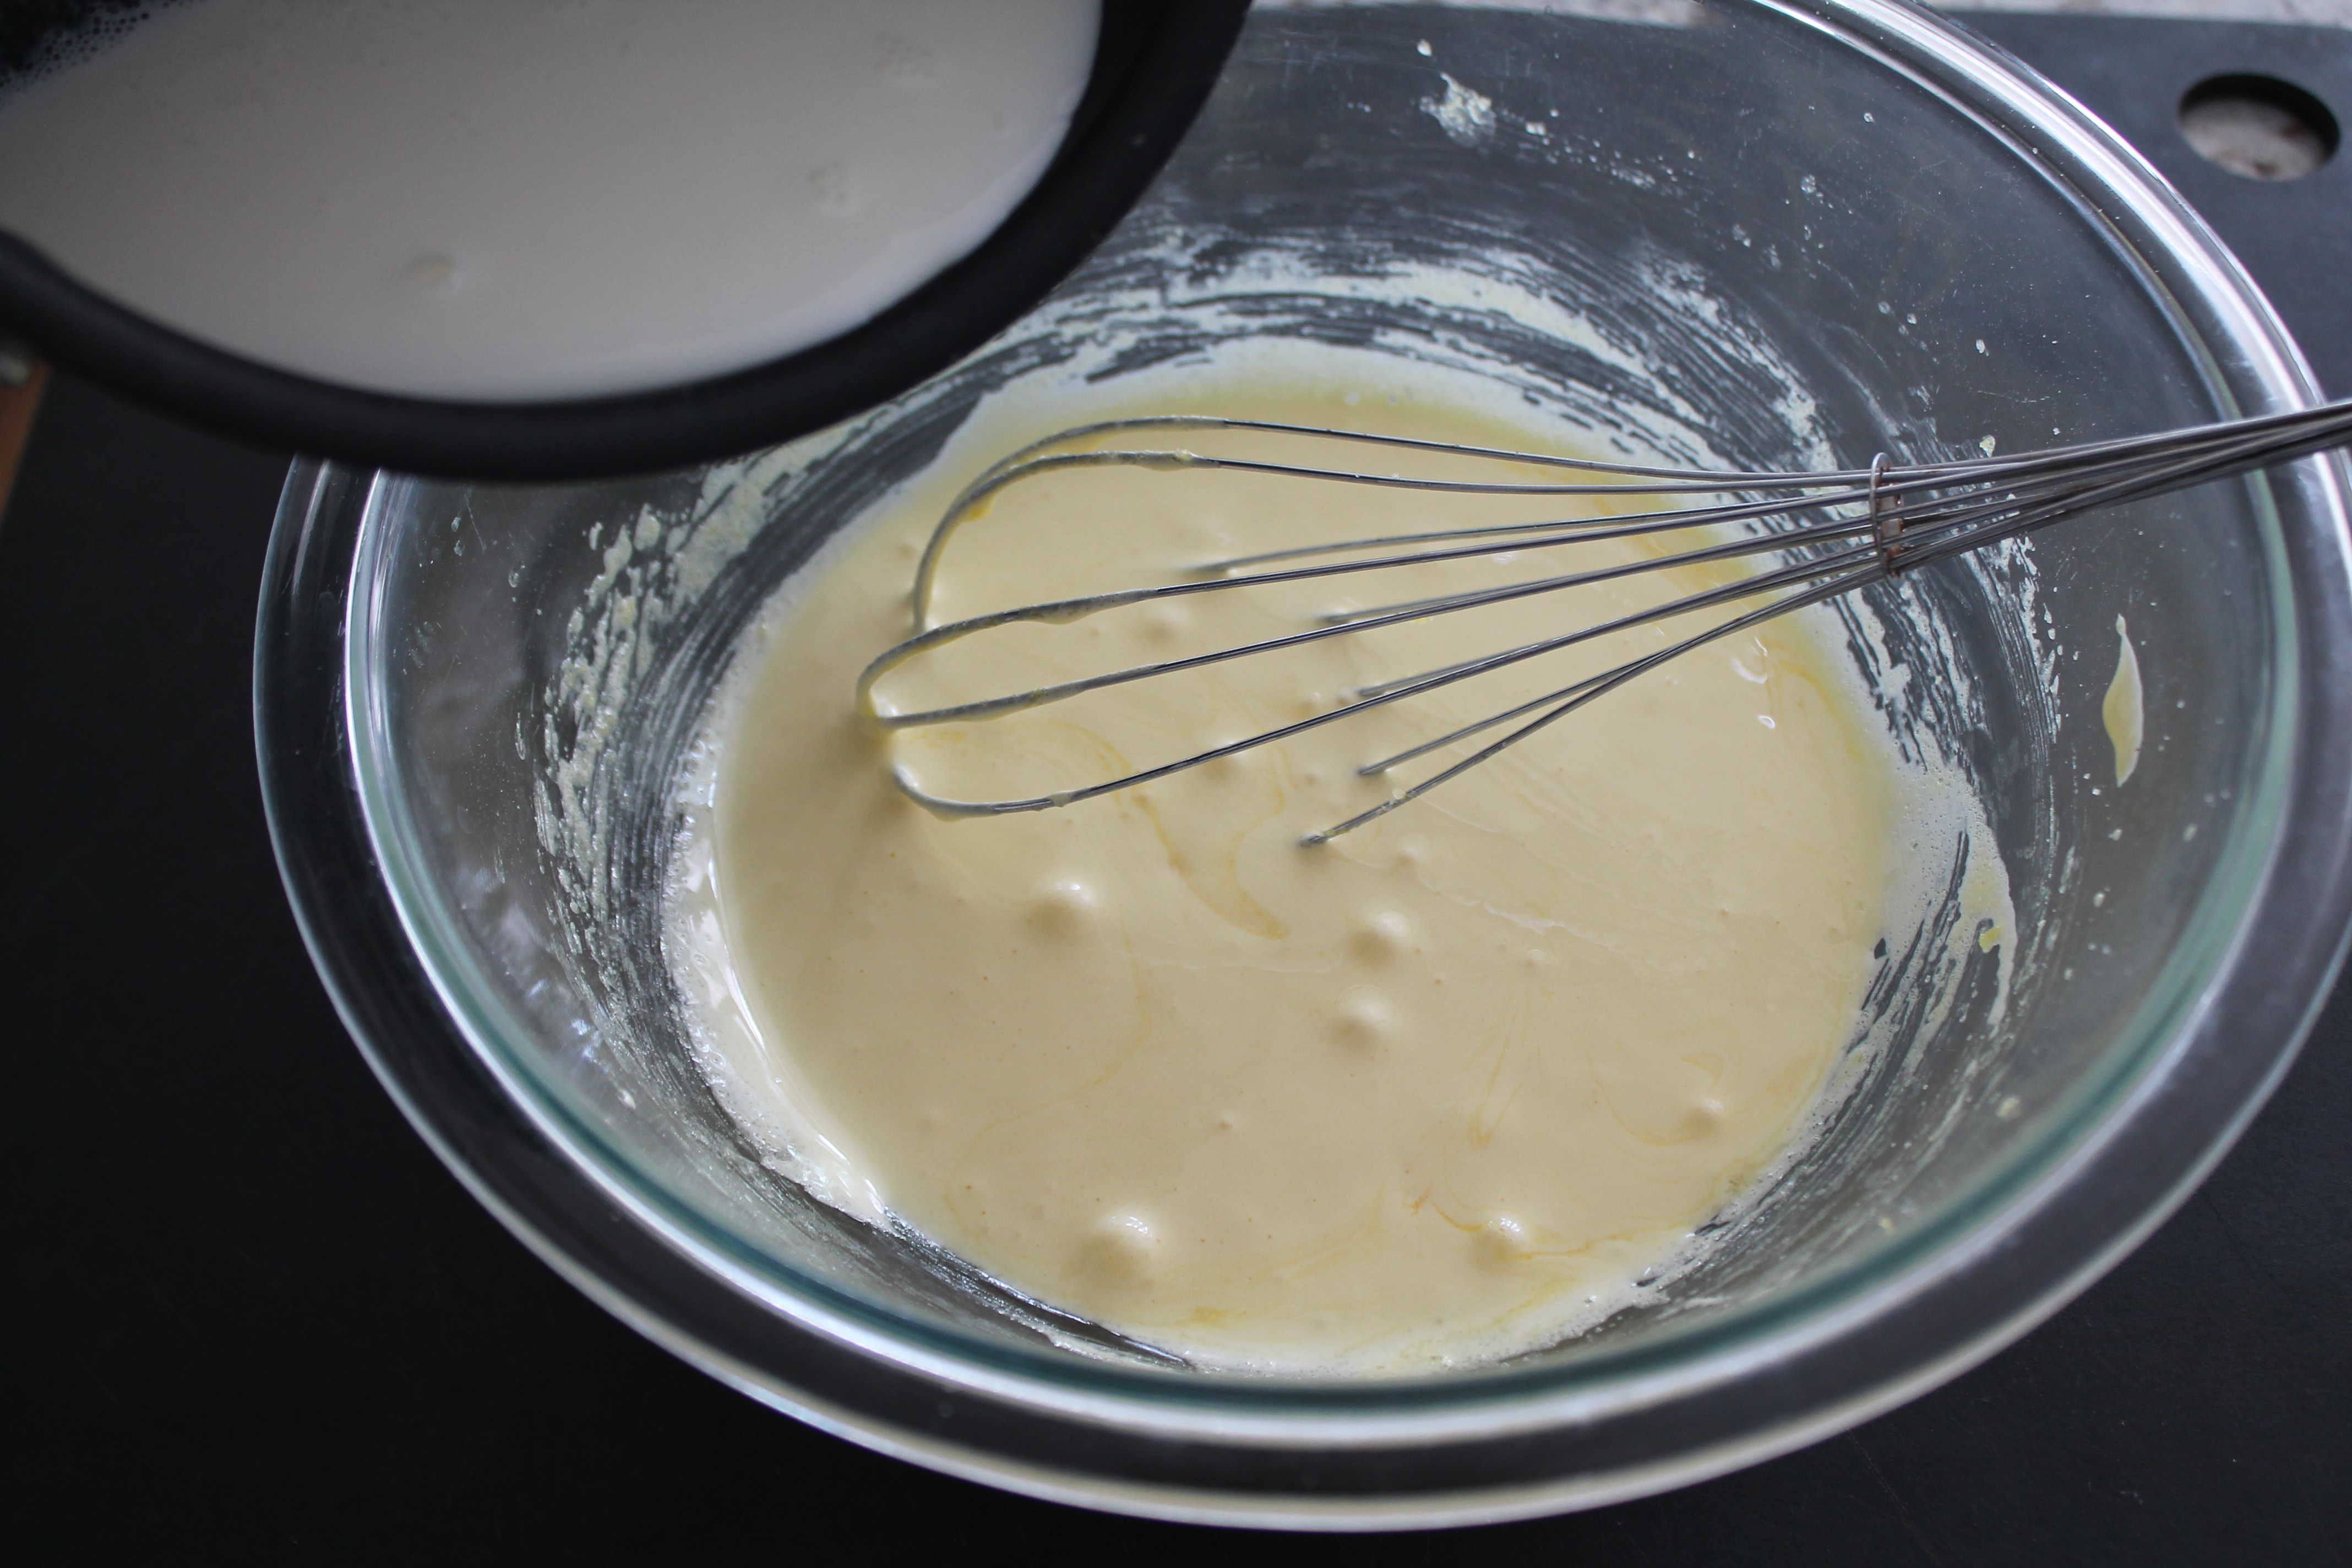
Once the yolk-sugar mixture is ready, bring a cup of milk to a low simmer. It should be barely steaming, barely bubbling around the edges of the pan.
Using a whisk (not an electric mixer), stir the yolks while carefully streaming the warm milk into the bowl. You are slowly warming (tempering) the yolks by adding the warm milk just a bit at a time. But if you stir too vigorously (or use the electric mixer), you are likely to get a thick layer of milk foam, which you don’t want. As you can see below, mine did get a little foamy, but it’s not a huge, thick layer.
Don’t worry: the foam issue is not insurmountable, but it’s not ideal.
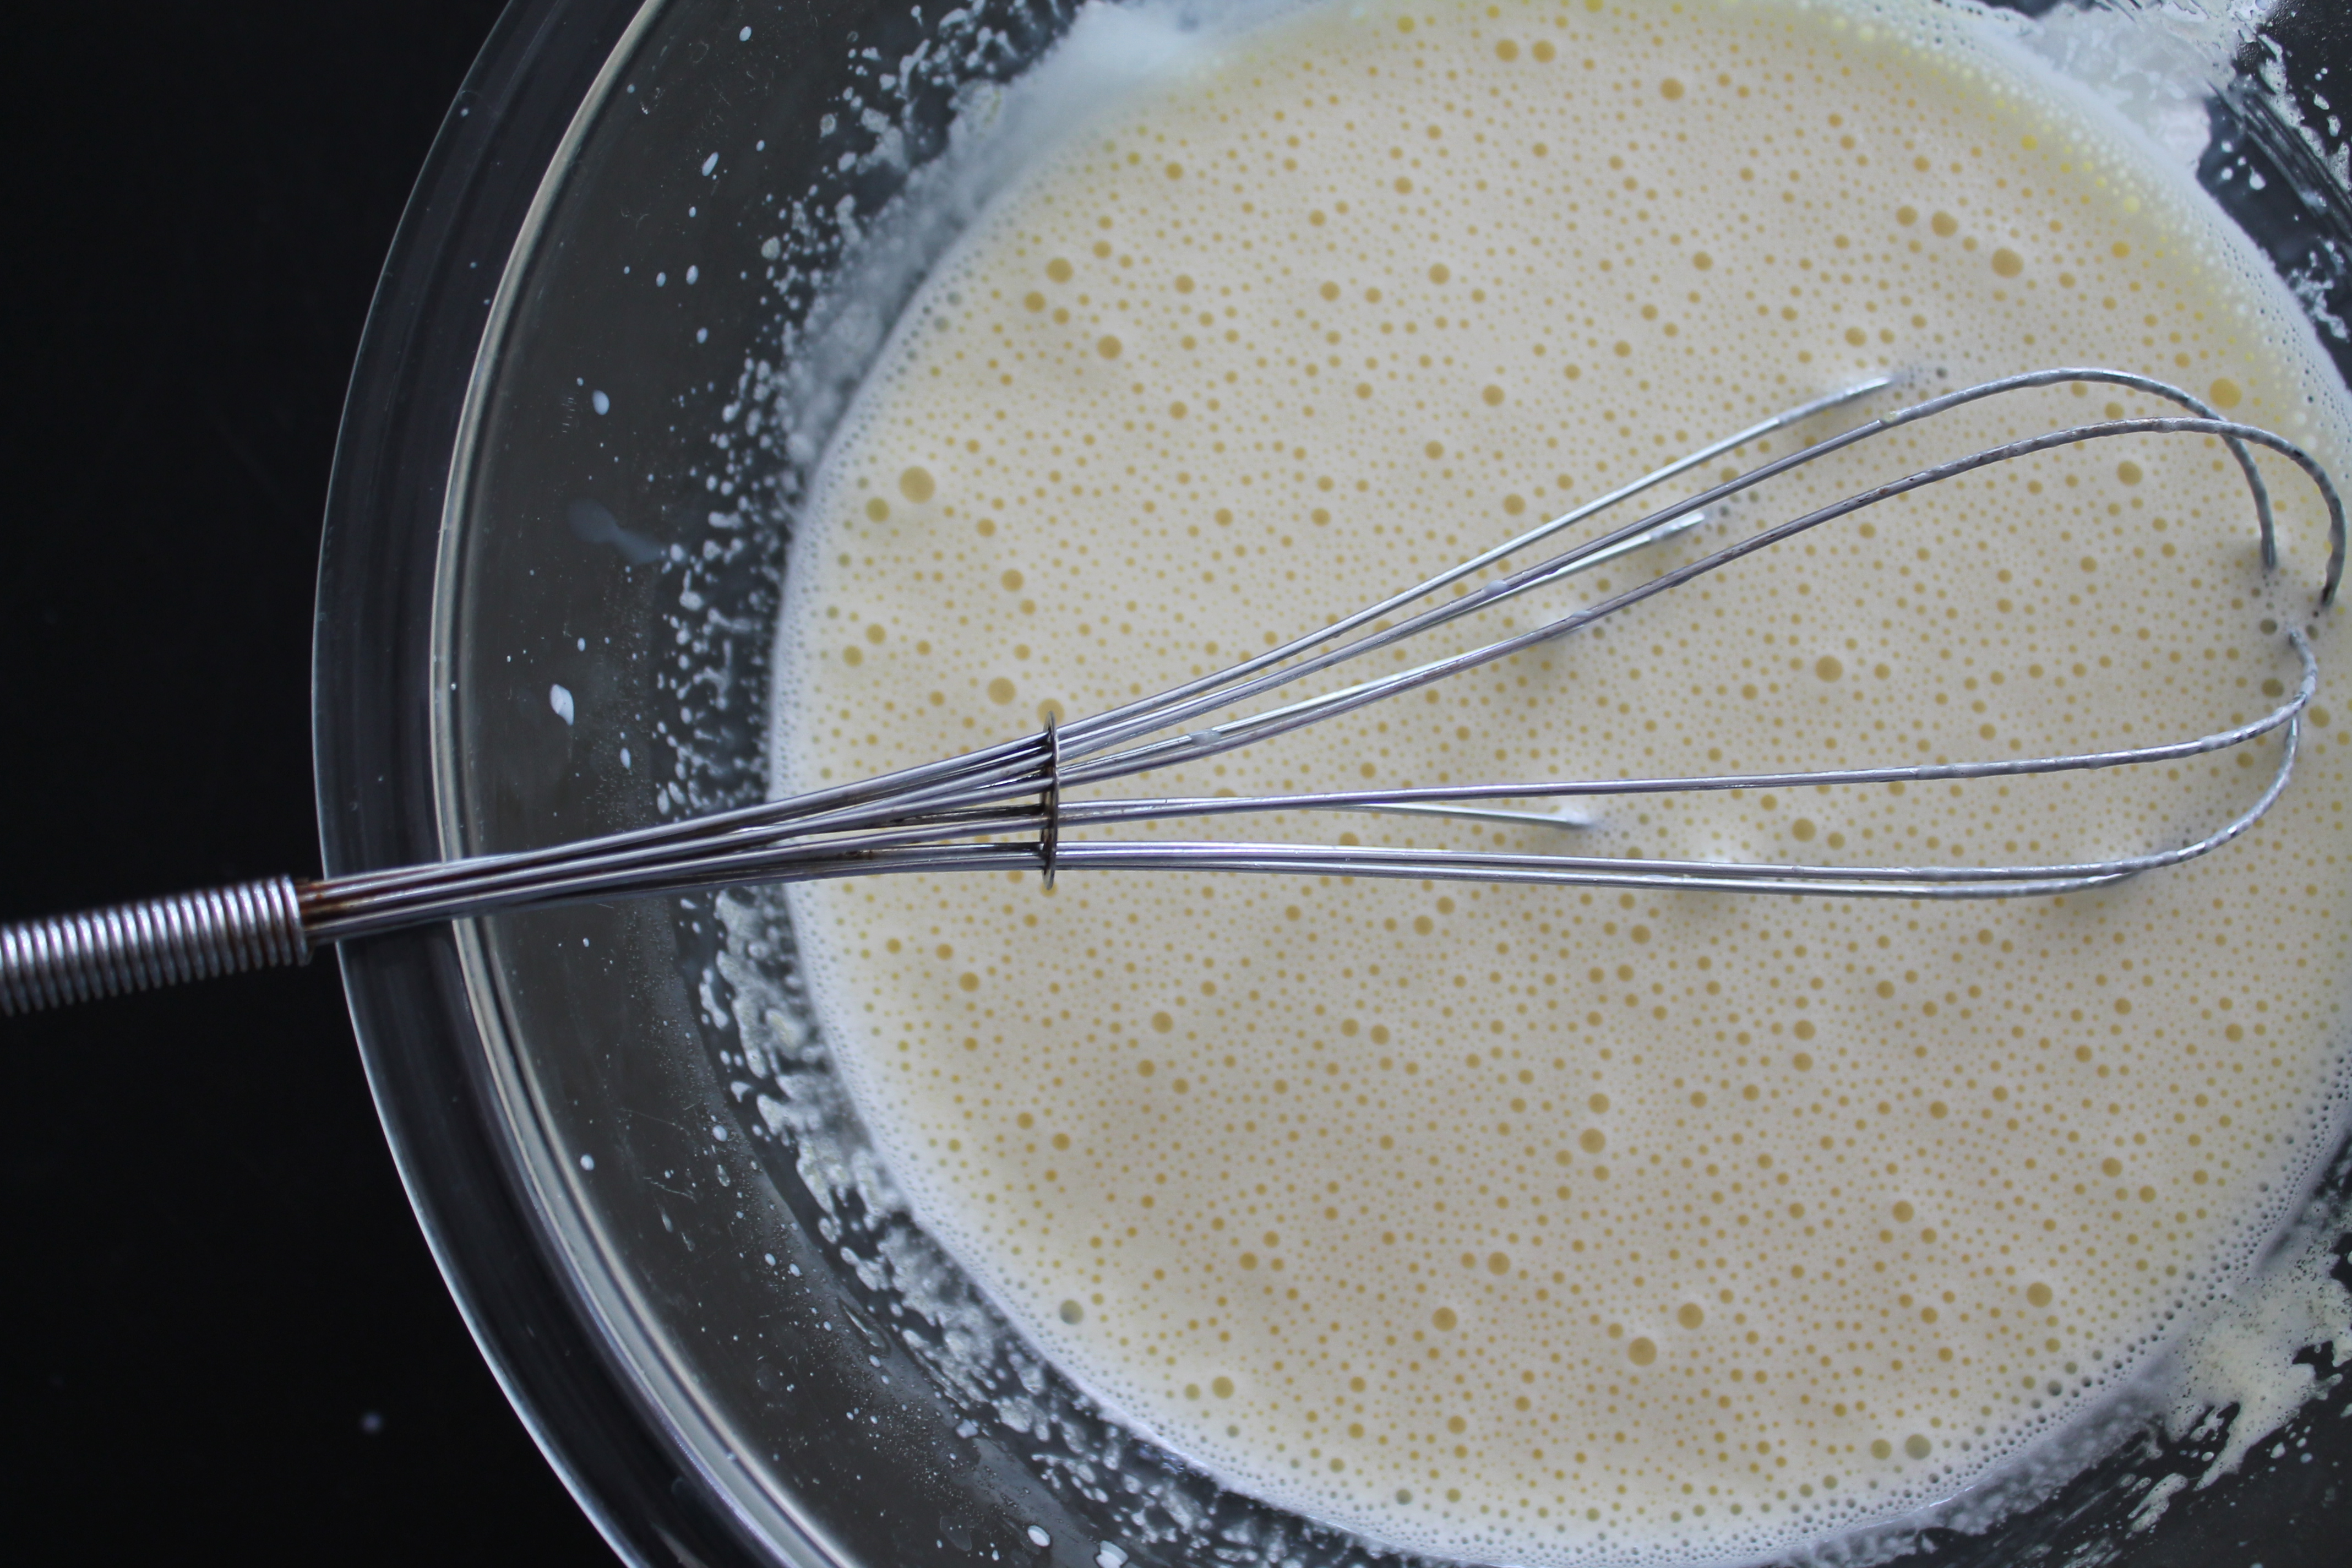
When all of the milk has been added into the yolks, pour the custard base back into the saucepan and return it to low heat.
Stirring constantly with a spatula or wooden spoon, heat the custard through until it barely thickens enough to coat the spoon. (This is why you don’t want foam: foam can coat the spoon from the beginning, making it much harder to visually gauge whether the custard is thick enough.)
Kieran Murphy says you want the custard to come to about 70°C, which is about 160°F for Americans. If you are so inclined, you can grab a candy thermometer and get precise…but I skipped that step so I would have one less dish to wash. #reallife
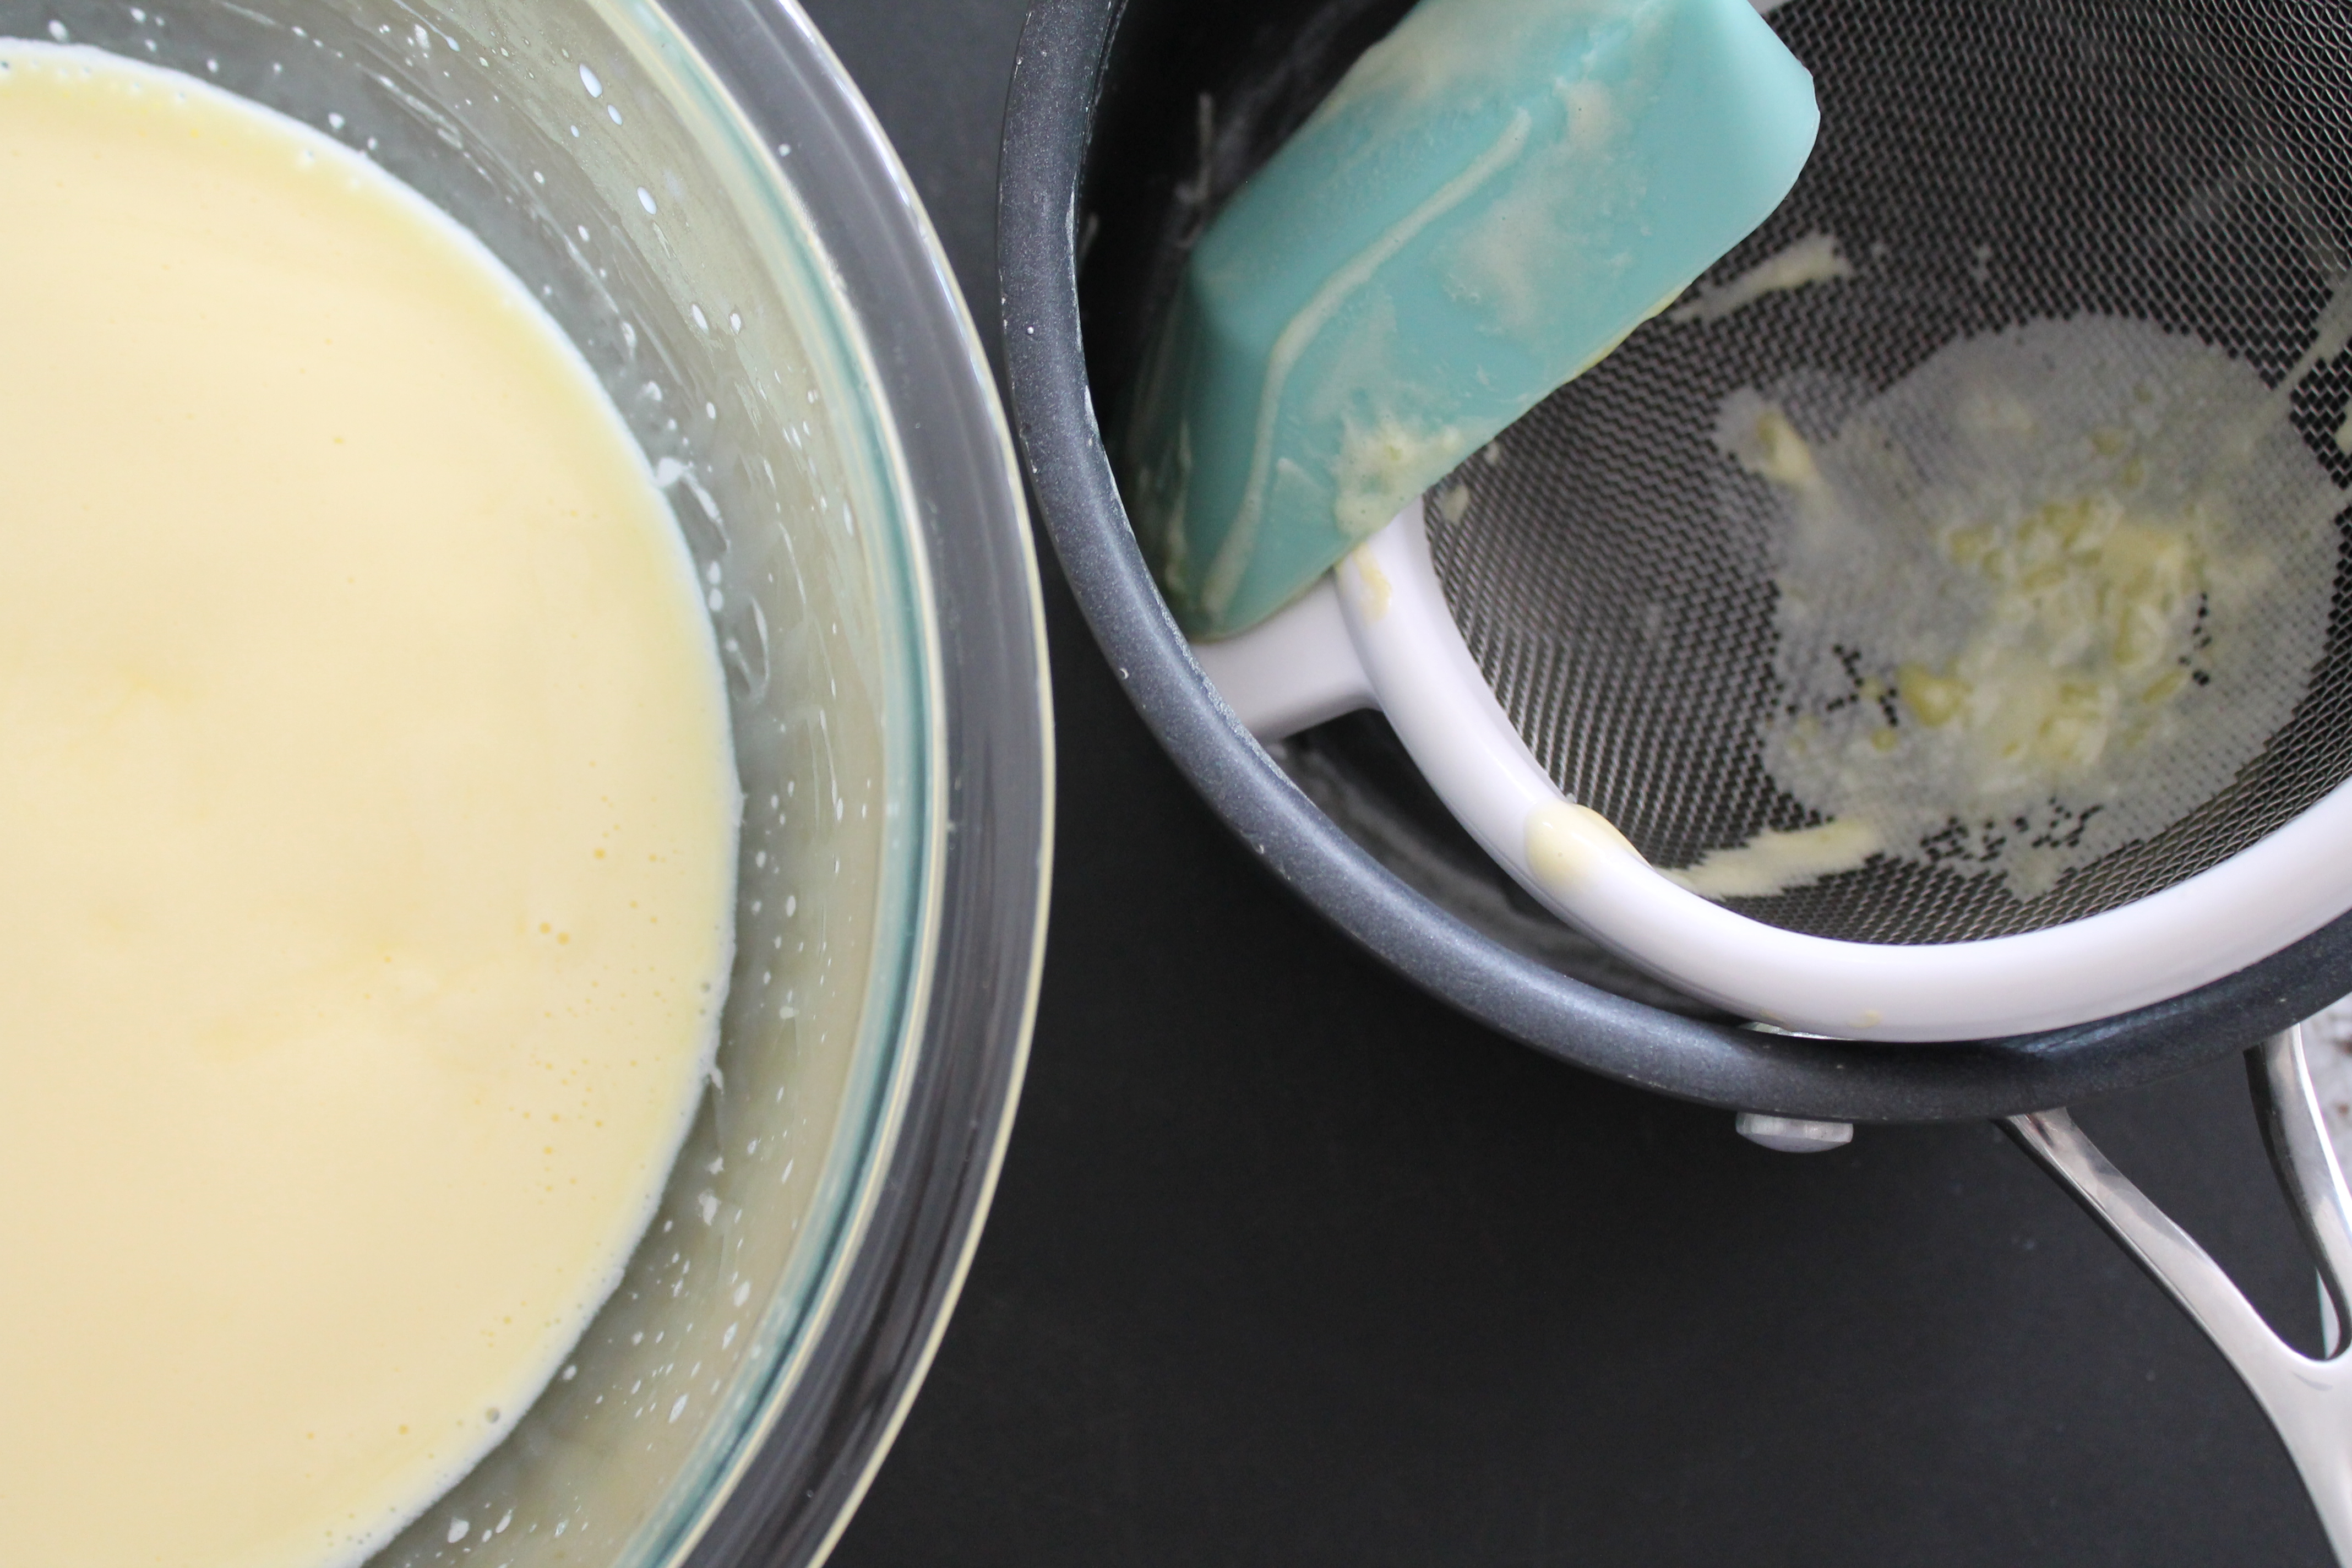
Pour the custard through a fine mesh strainer back into the bowl you whipped the yolks in. The strainer will catch any little bits of egg that cooked through. Place a sheet of plastic wrap against the surface of the hot custard and chill in the fridge for 1 hour. (If your mixture did get foamy, don’t worry! The foam will dissolve back into the custard while it chills.)
Pull the custard out of the fridge and peel off the plastic wrap. Ta-da! No skin on the surface, and no more foam.
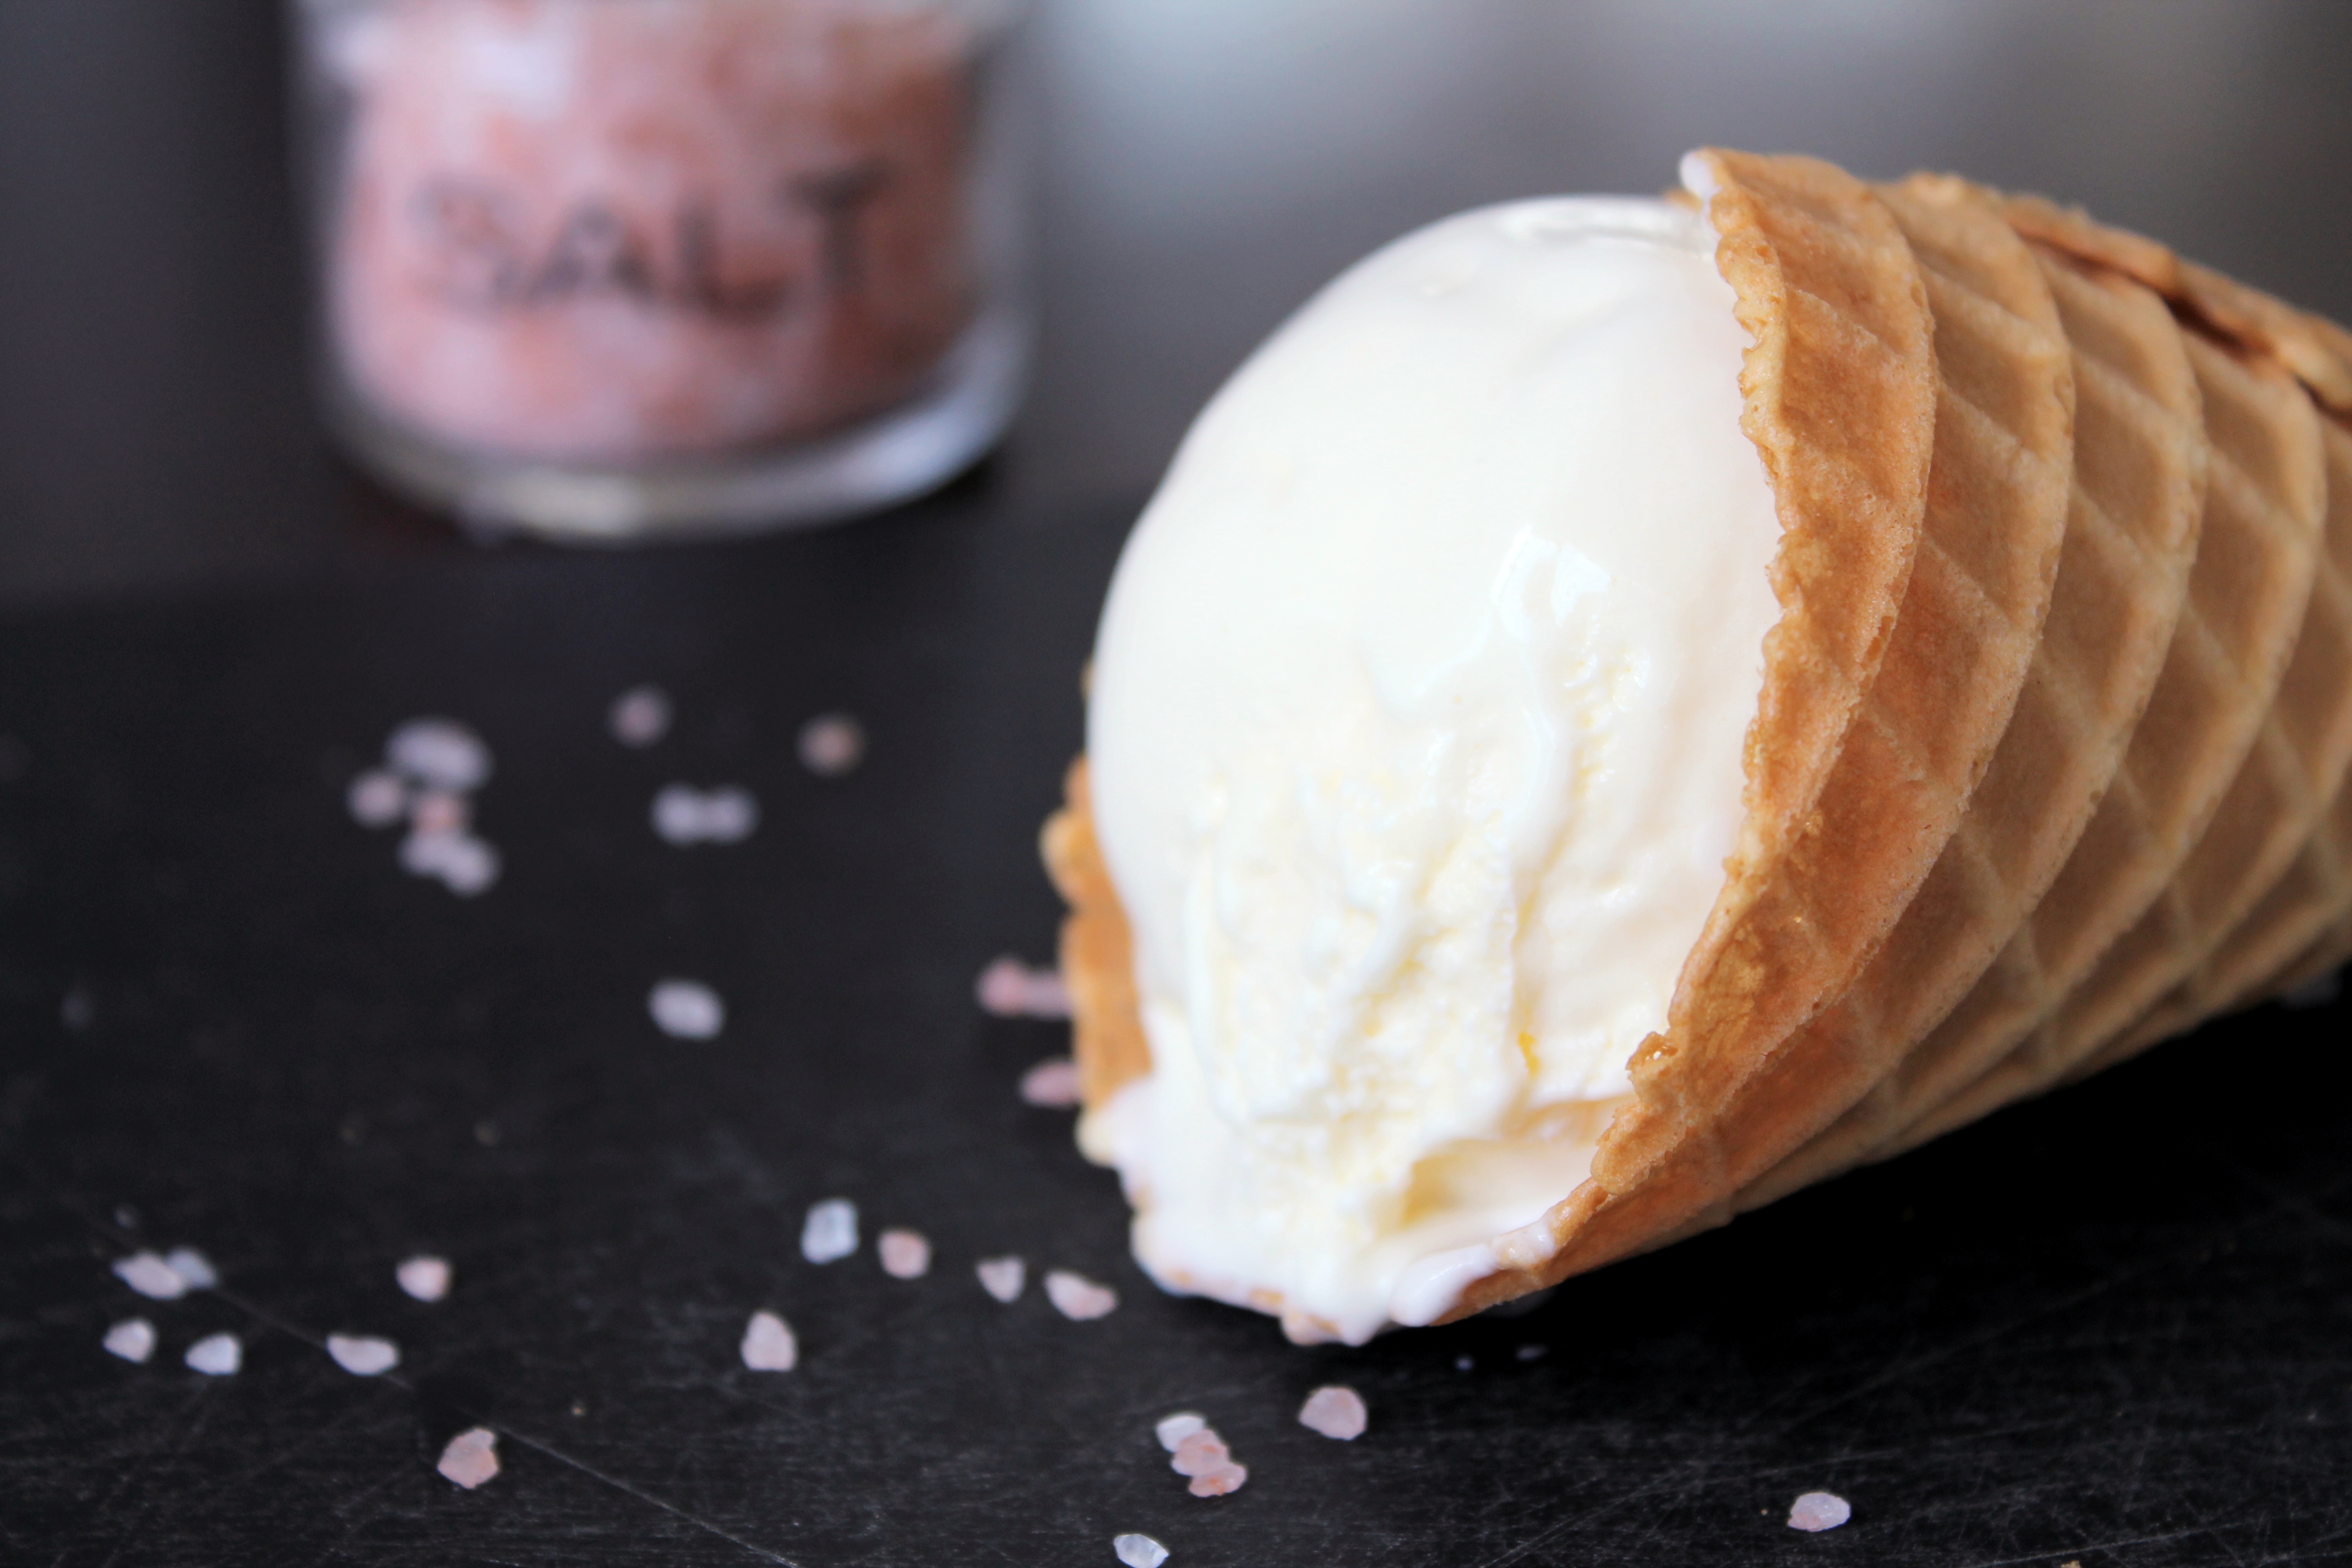
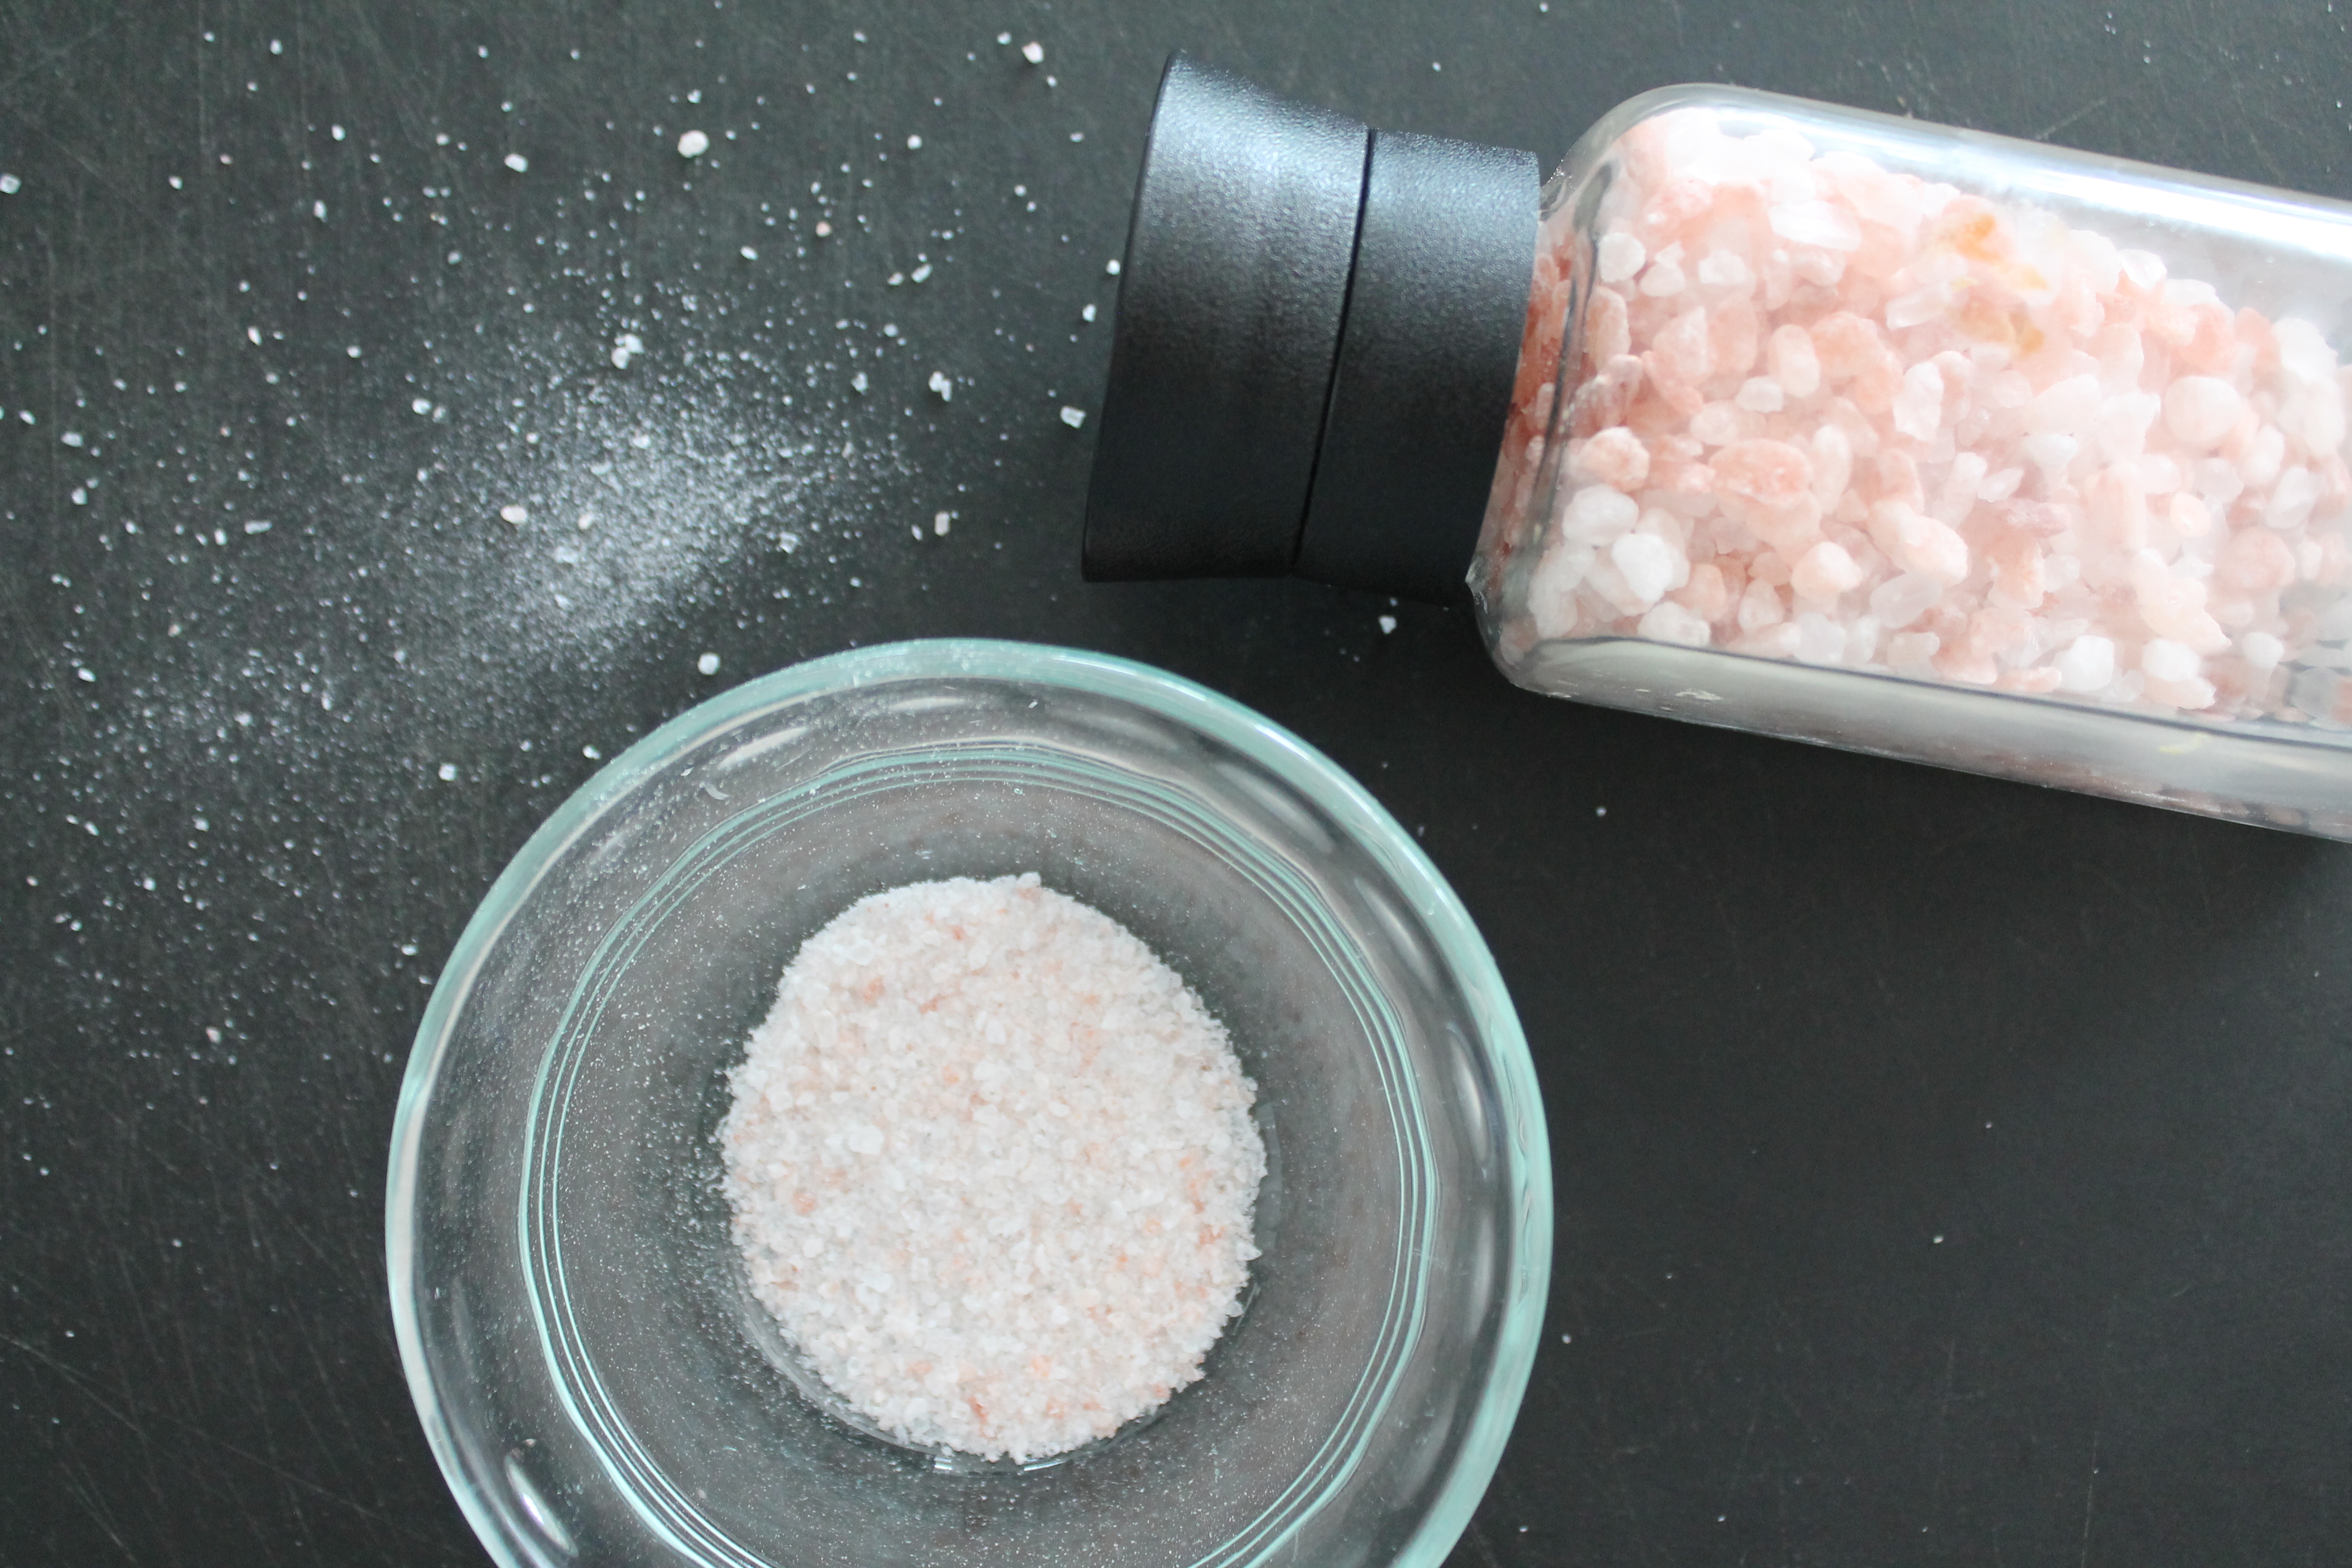
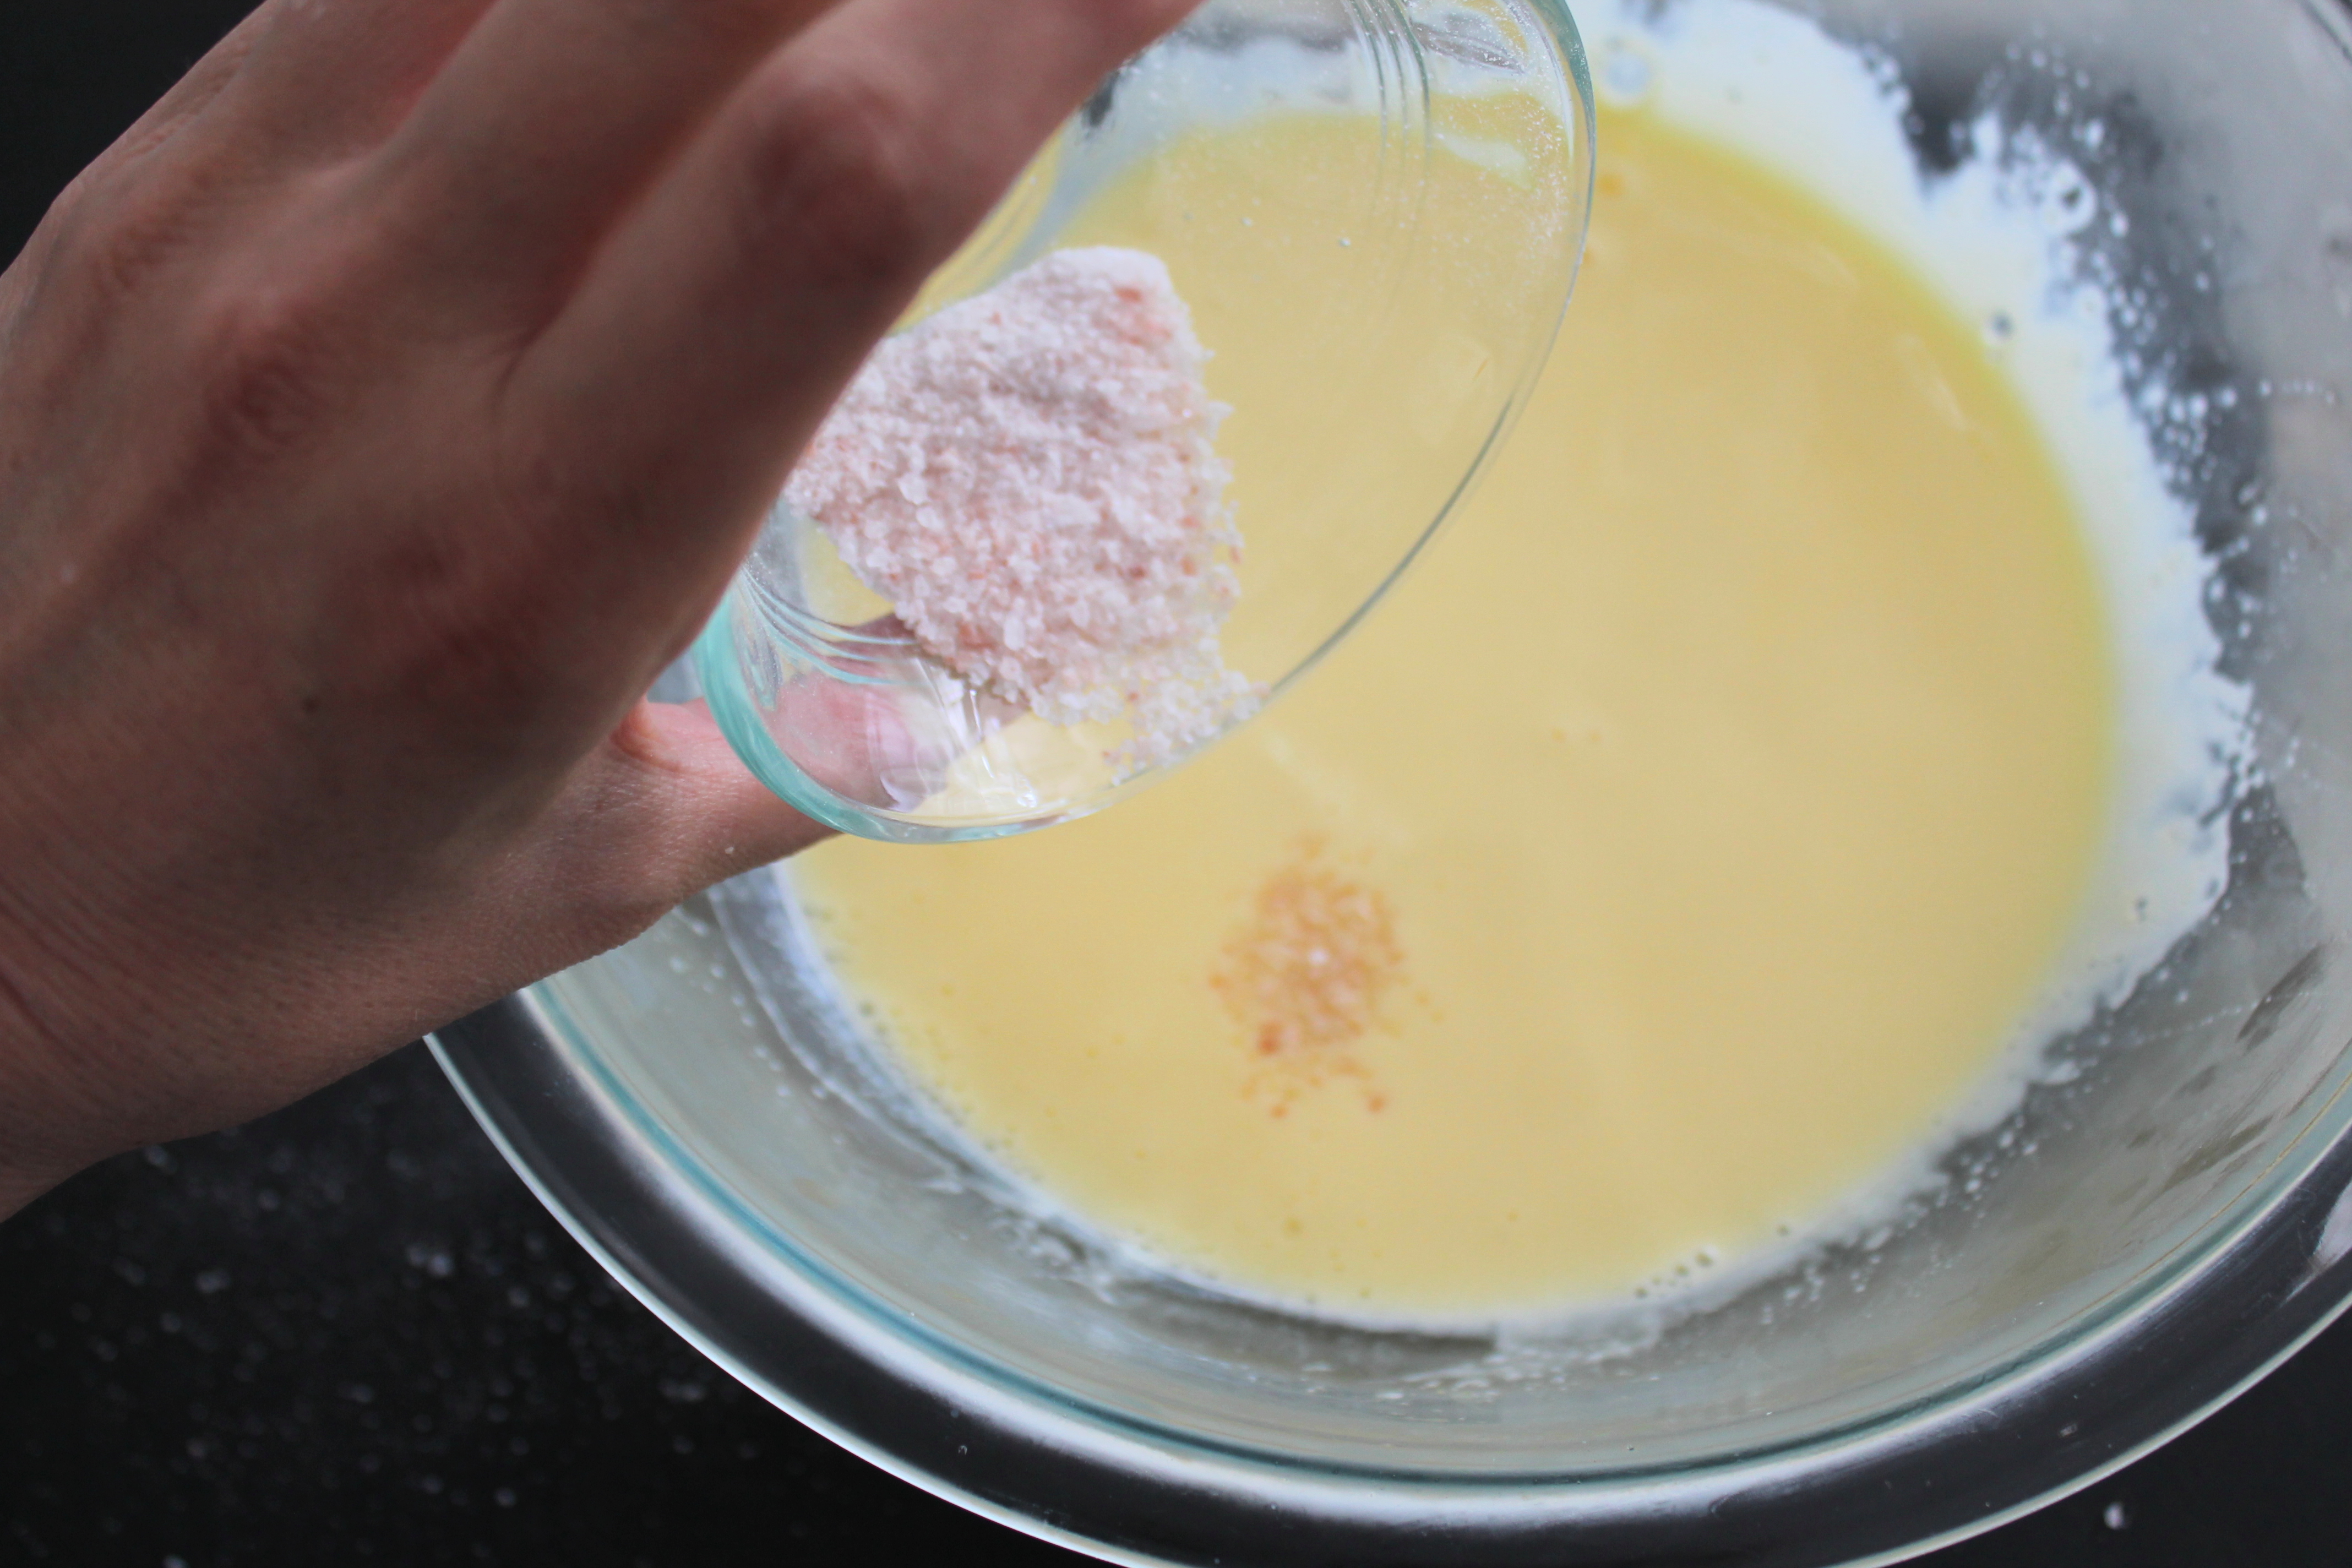
Stir in the sea salt. I used my salt grinder, which is filled with pink Himalayan sea salt. This allowed me to get some finely ground and some more coarsely ground salt crystals…plus, pink is fun.
You can use any sea salt you like (and pink won’t be visible after you stir it in, so it is not at all necessary to spring for fancy salt). If you use coarse sea salt, start with 1½ tsp. and then taste to see if you like how salty it is. If you use finely ground sea salt, start with 1 tsp. and taste. The finer the salt, the saltier the flavor it imparts, so go cautiously. I found 1½ tsp. of my freshly ground salt to be perfection!
FYI: The original recipe used 2 tsp. homemade sea salt, which I’m guessing was in larger crystals…or else wasn’t quite as salty-tasting as the salt I have on hand, otherwise the flavor would have been overpowering.
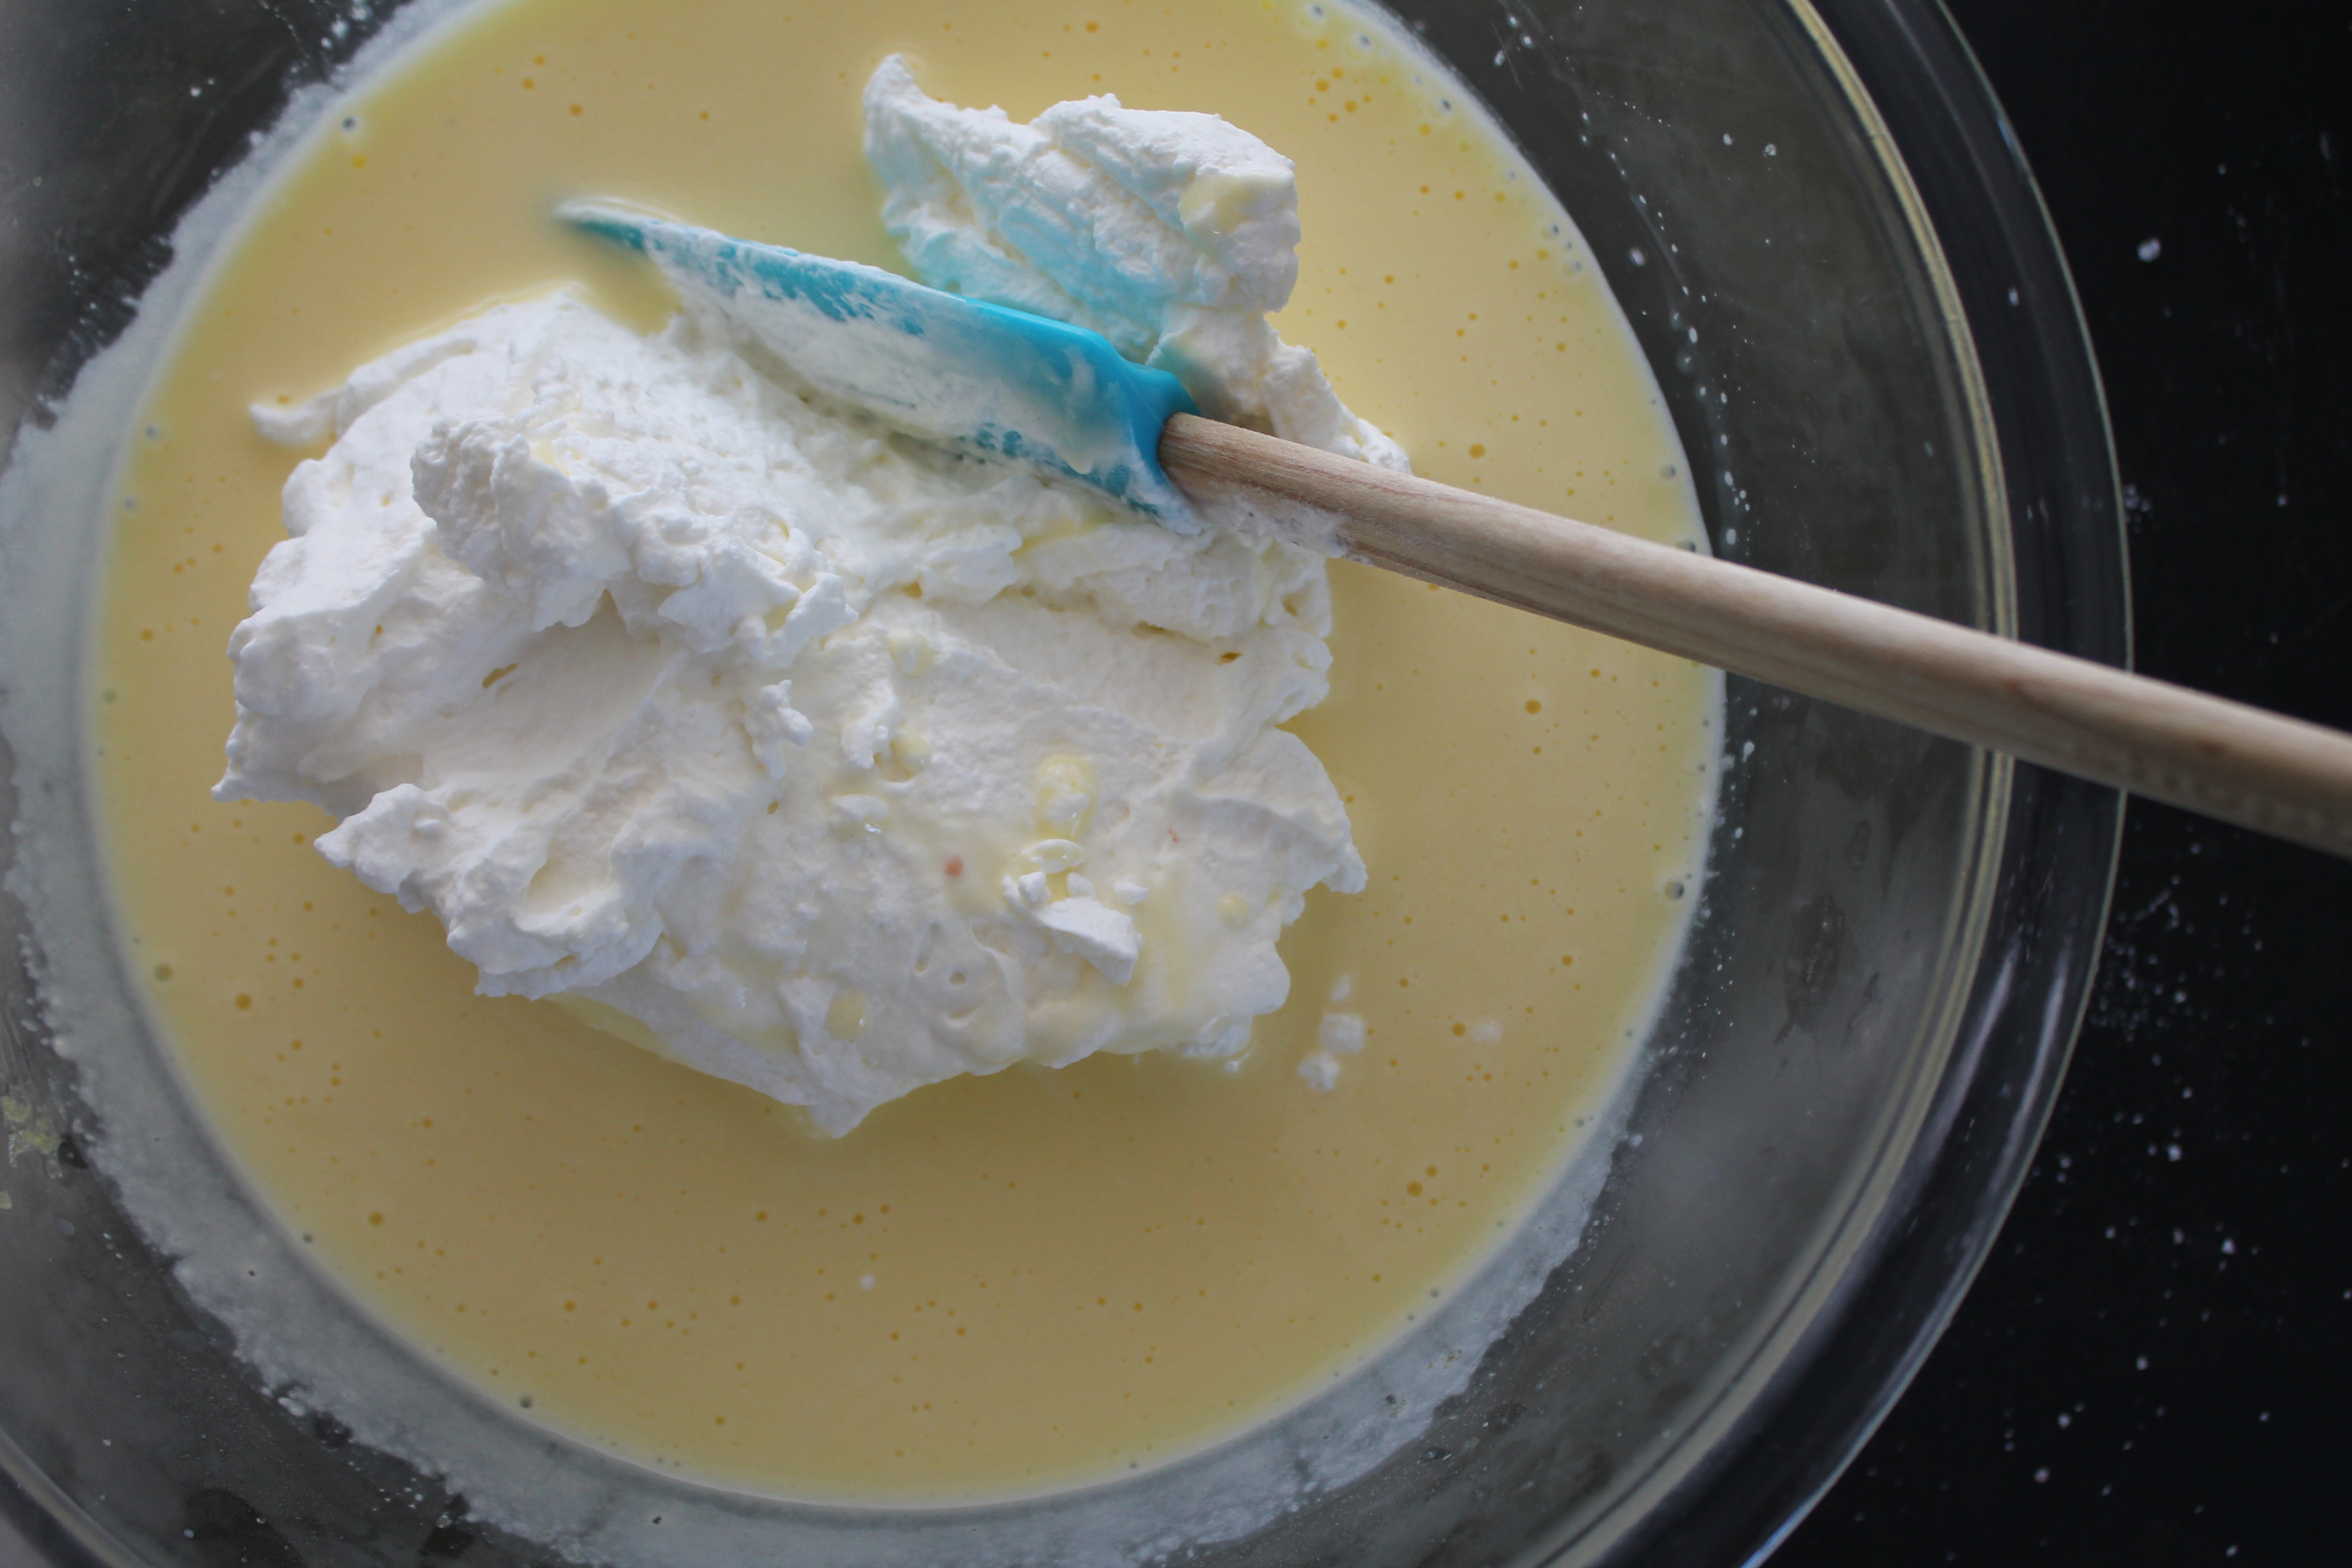
Time to whip the cream. Aim for soft peaks. Don’t overwhip, or it will be very difficult to fold the whipped cream into the foam.
Gently fold the soft whipped cream into the salted custard.
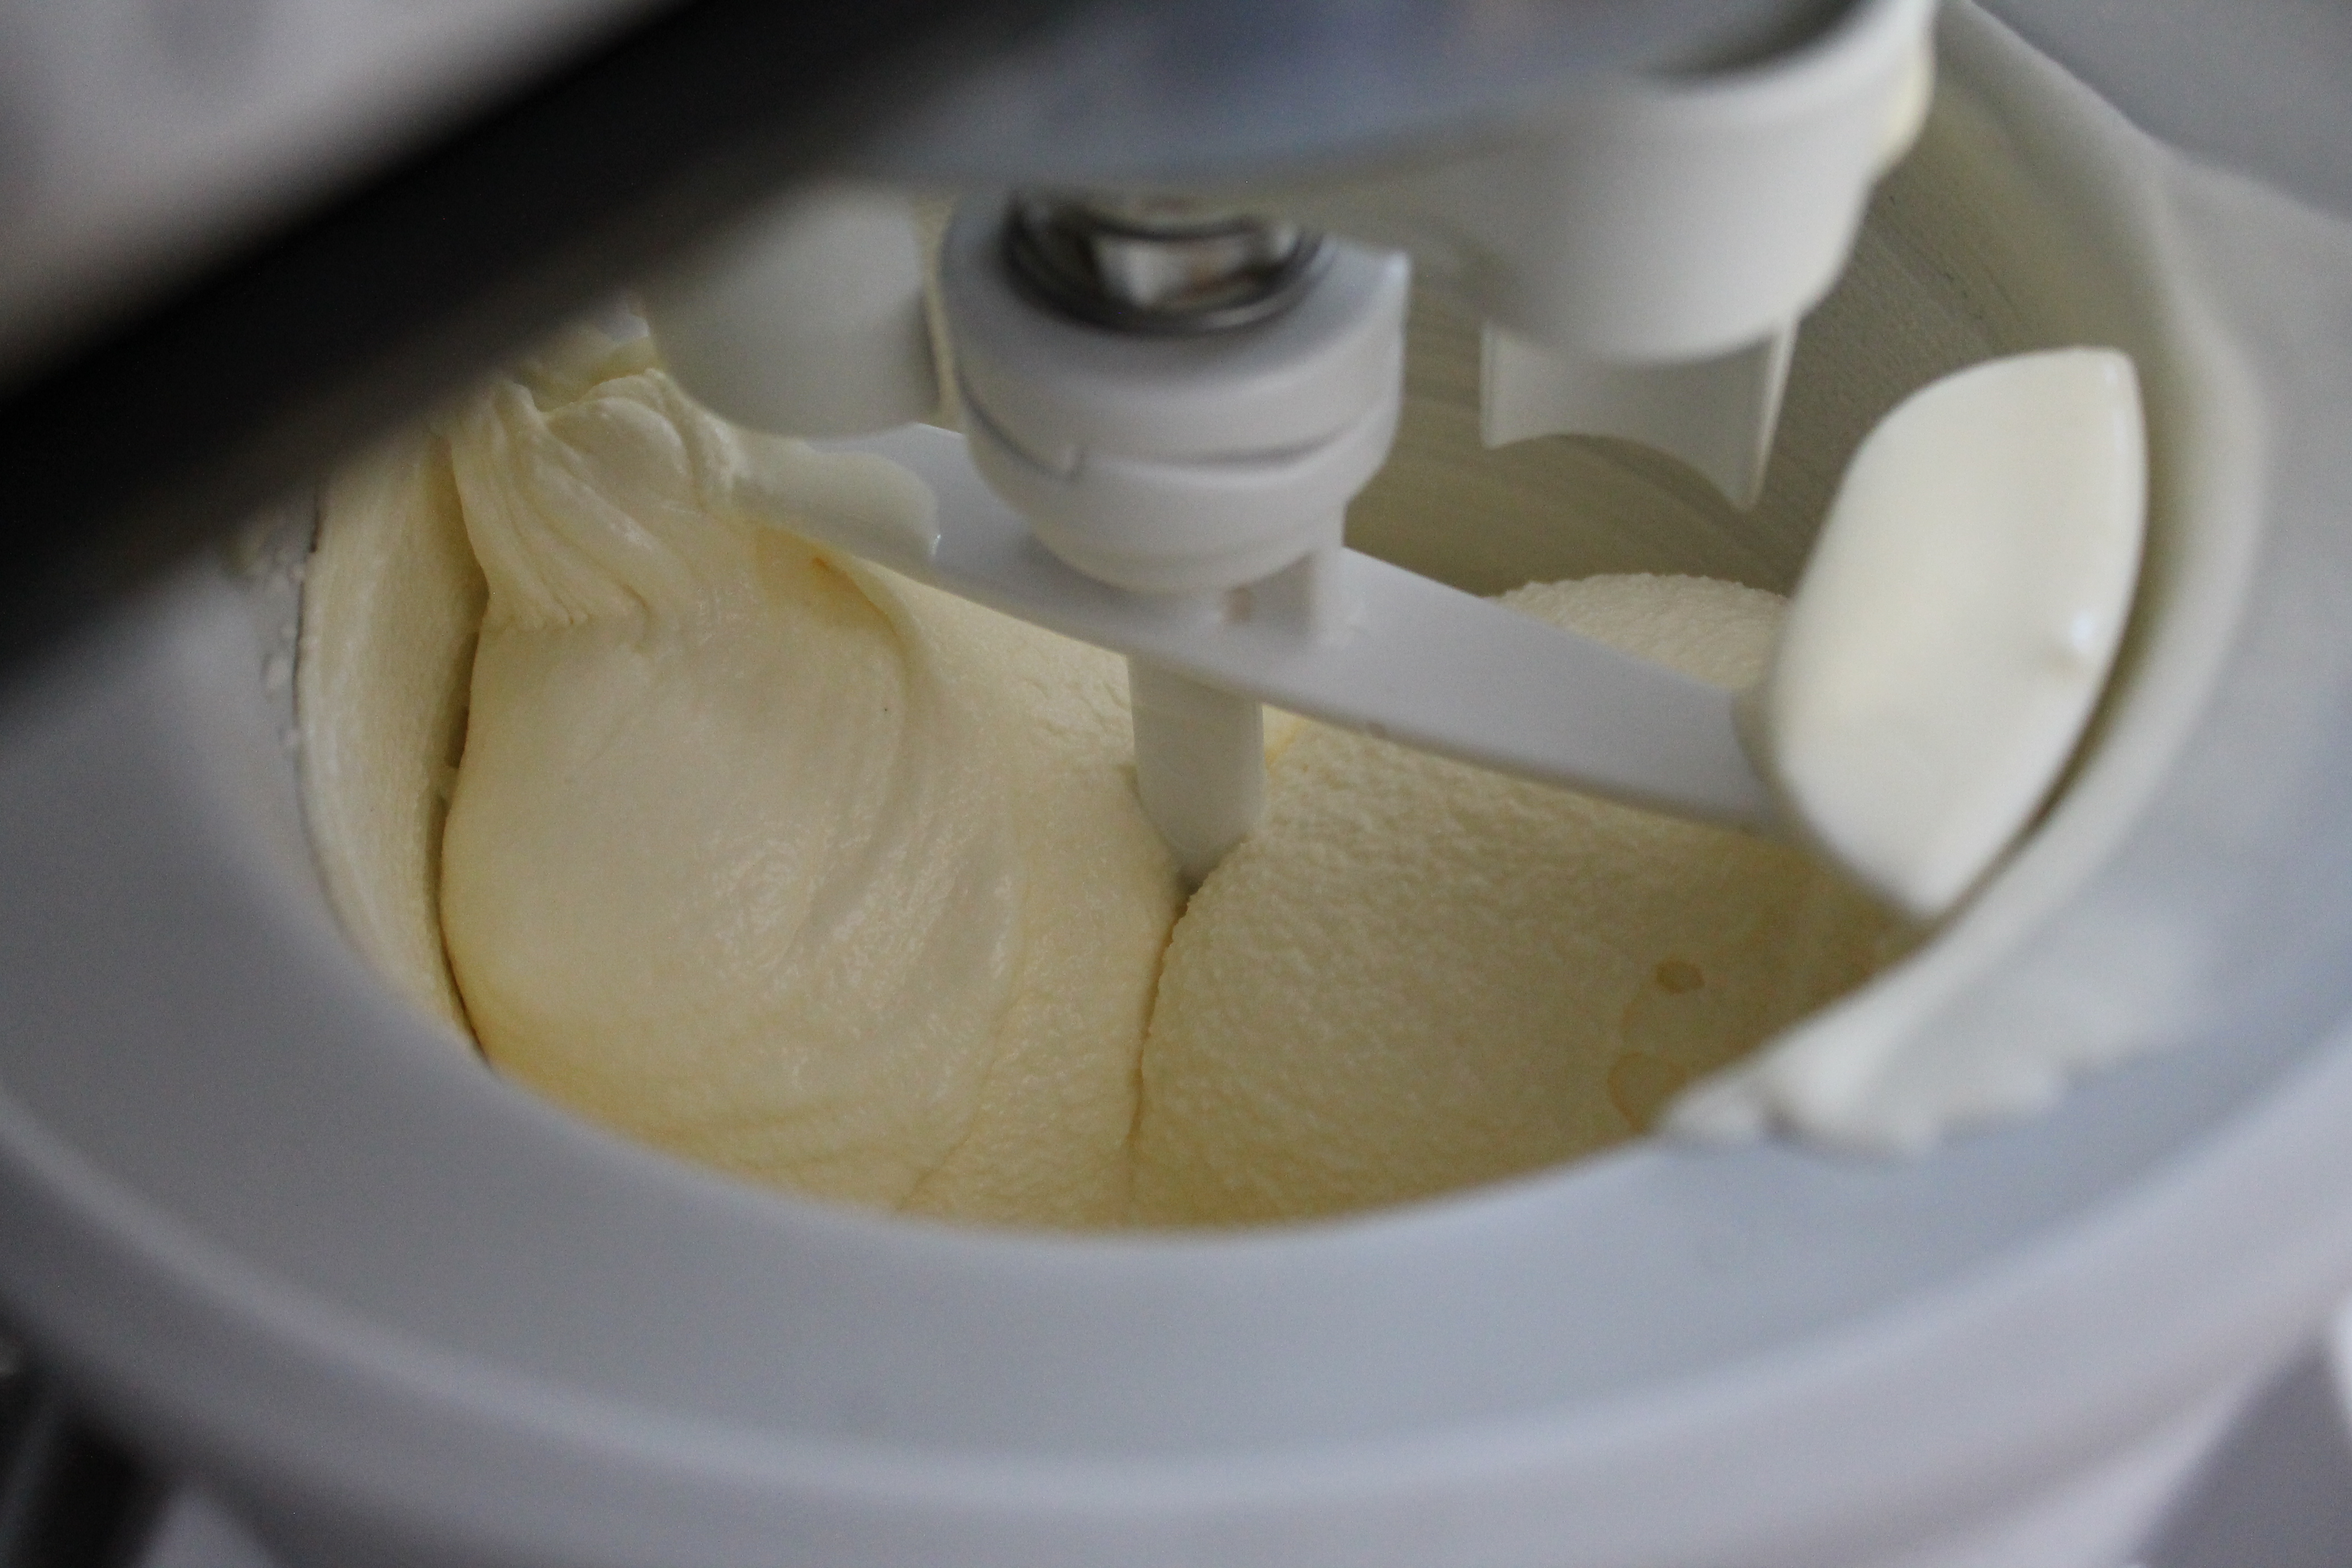
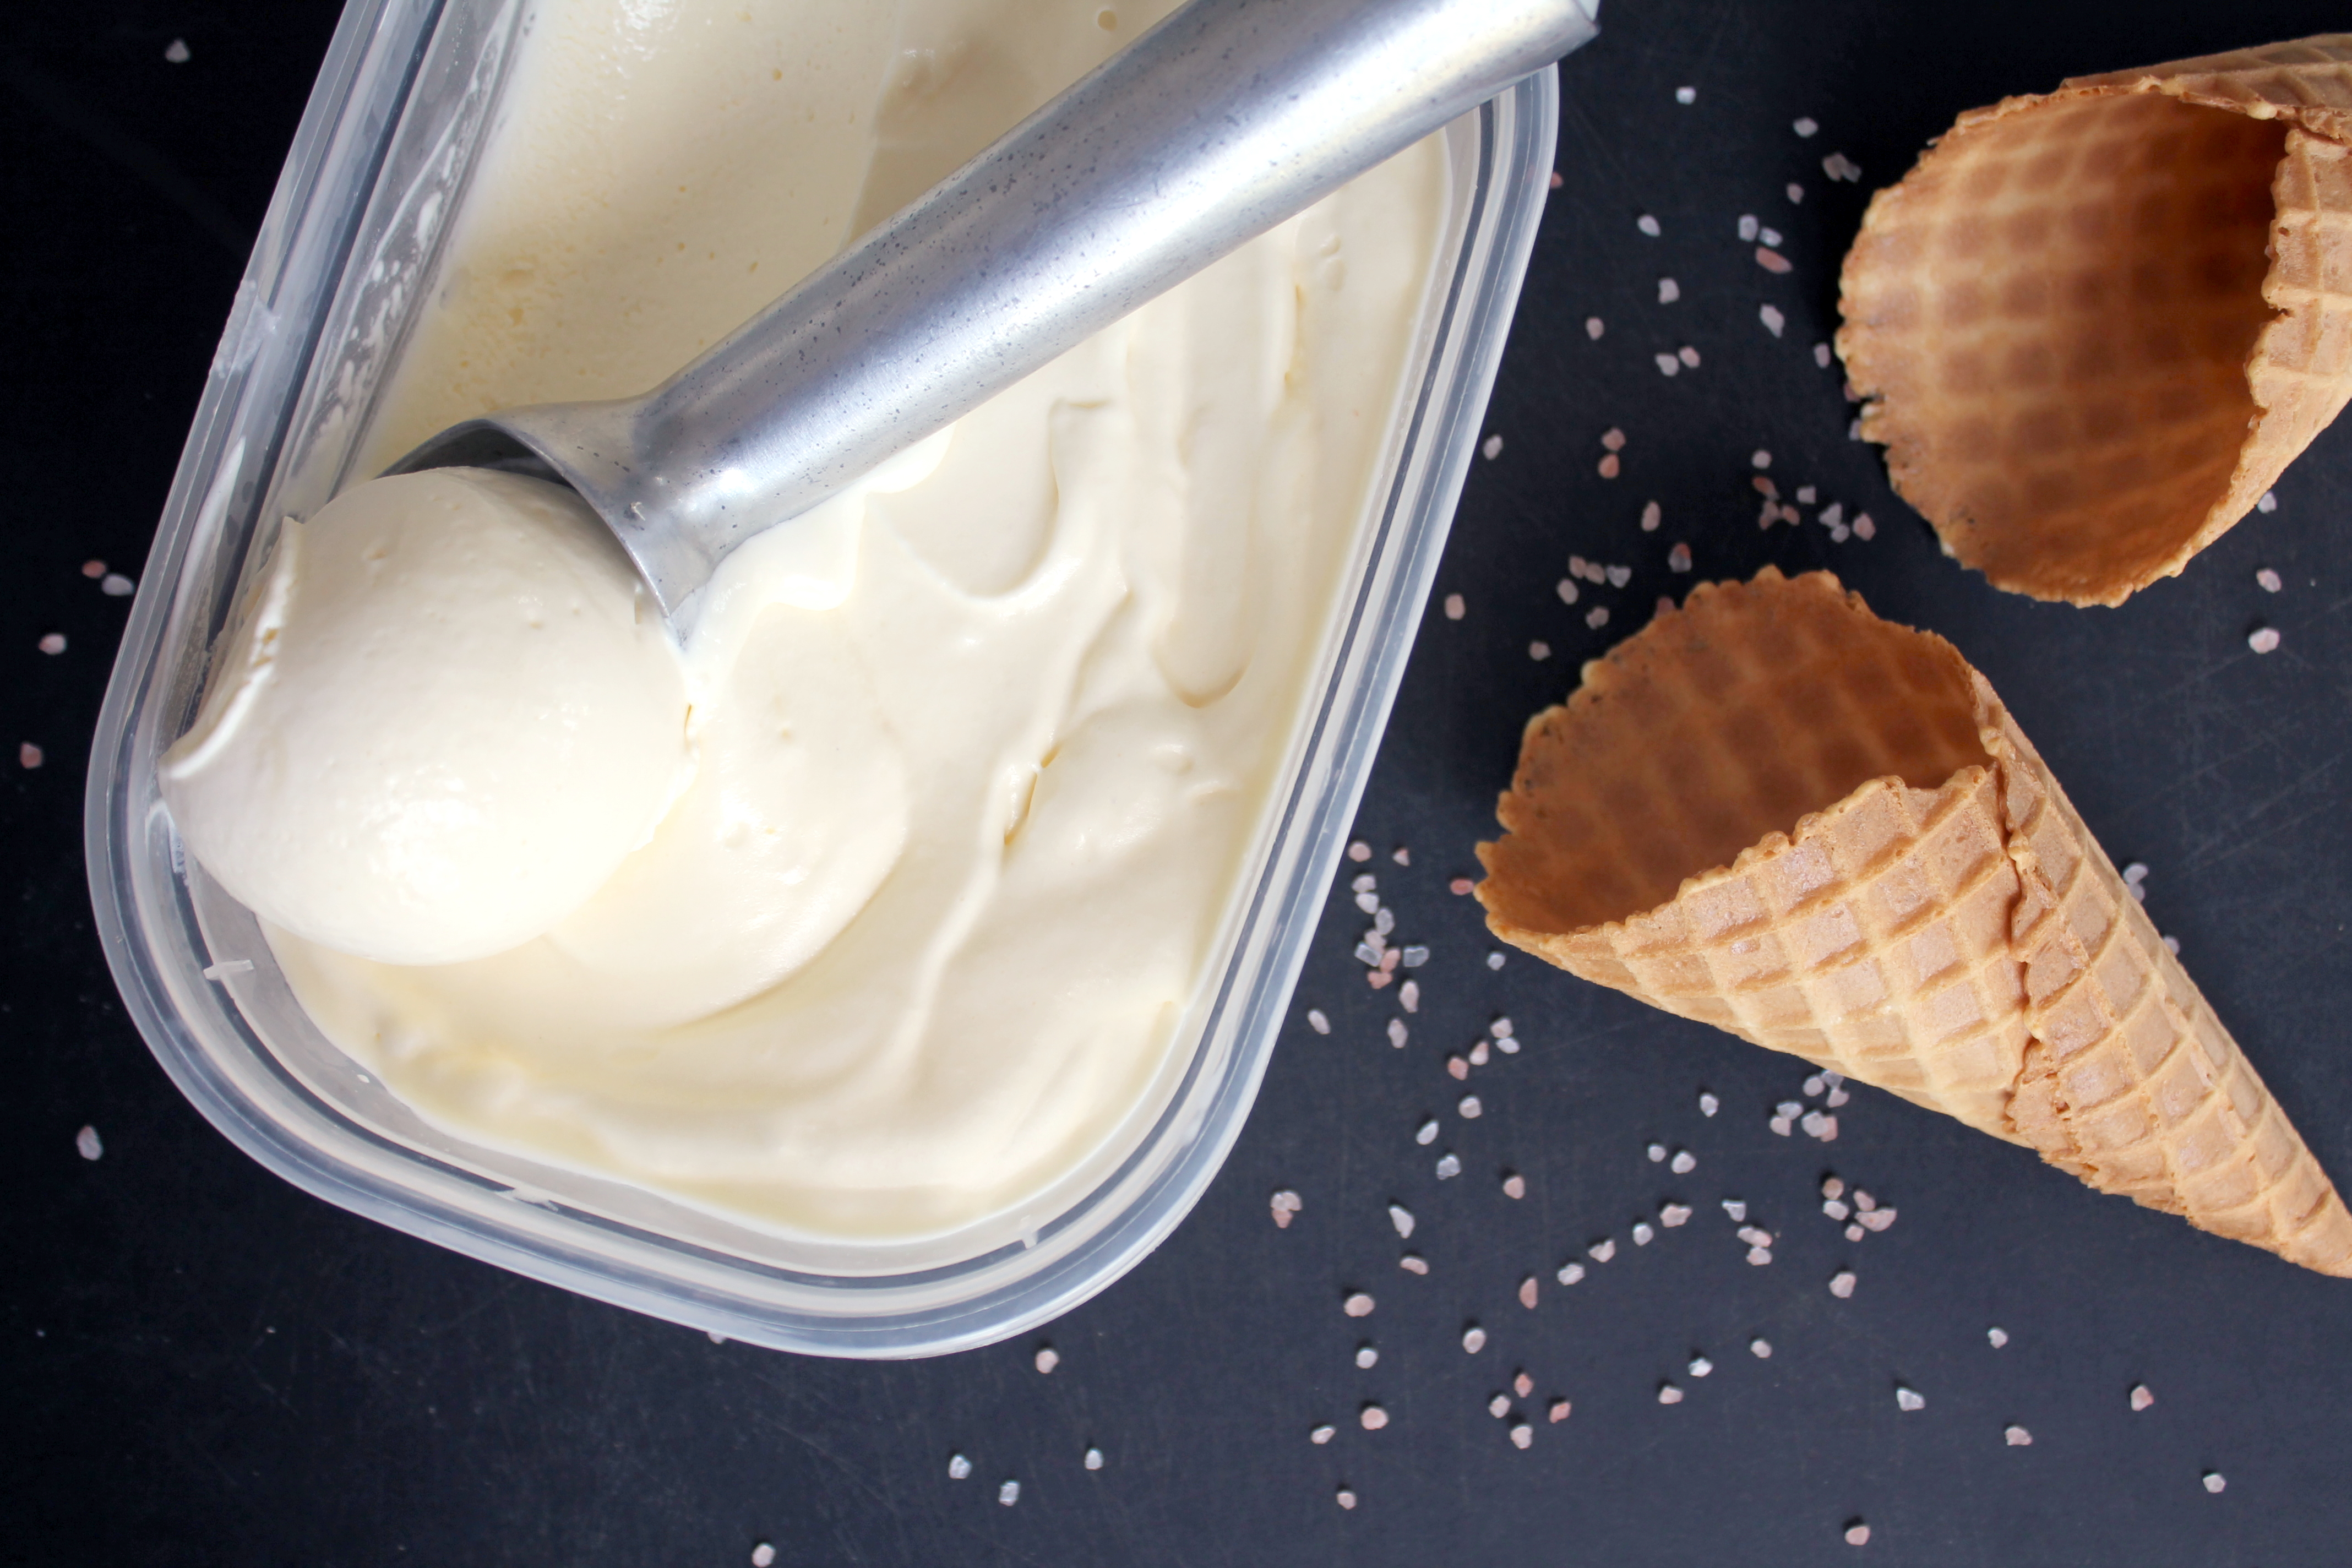
Scrape the mixture into an ice cream maker and churn until doubled in volume and about the texture of soft-serve.
Transfer the ice cream to a wide, shallow container with an airtight lid and freeze for several hours before scooping.
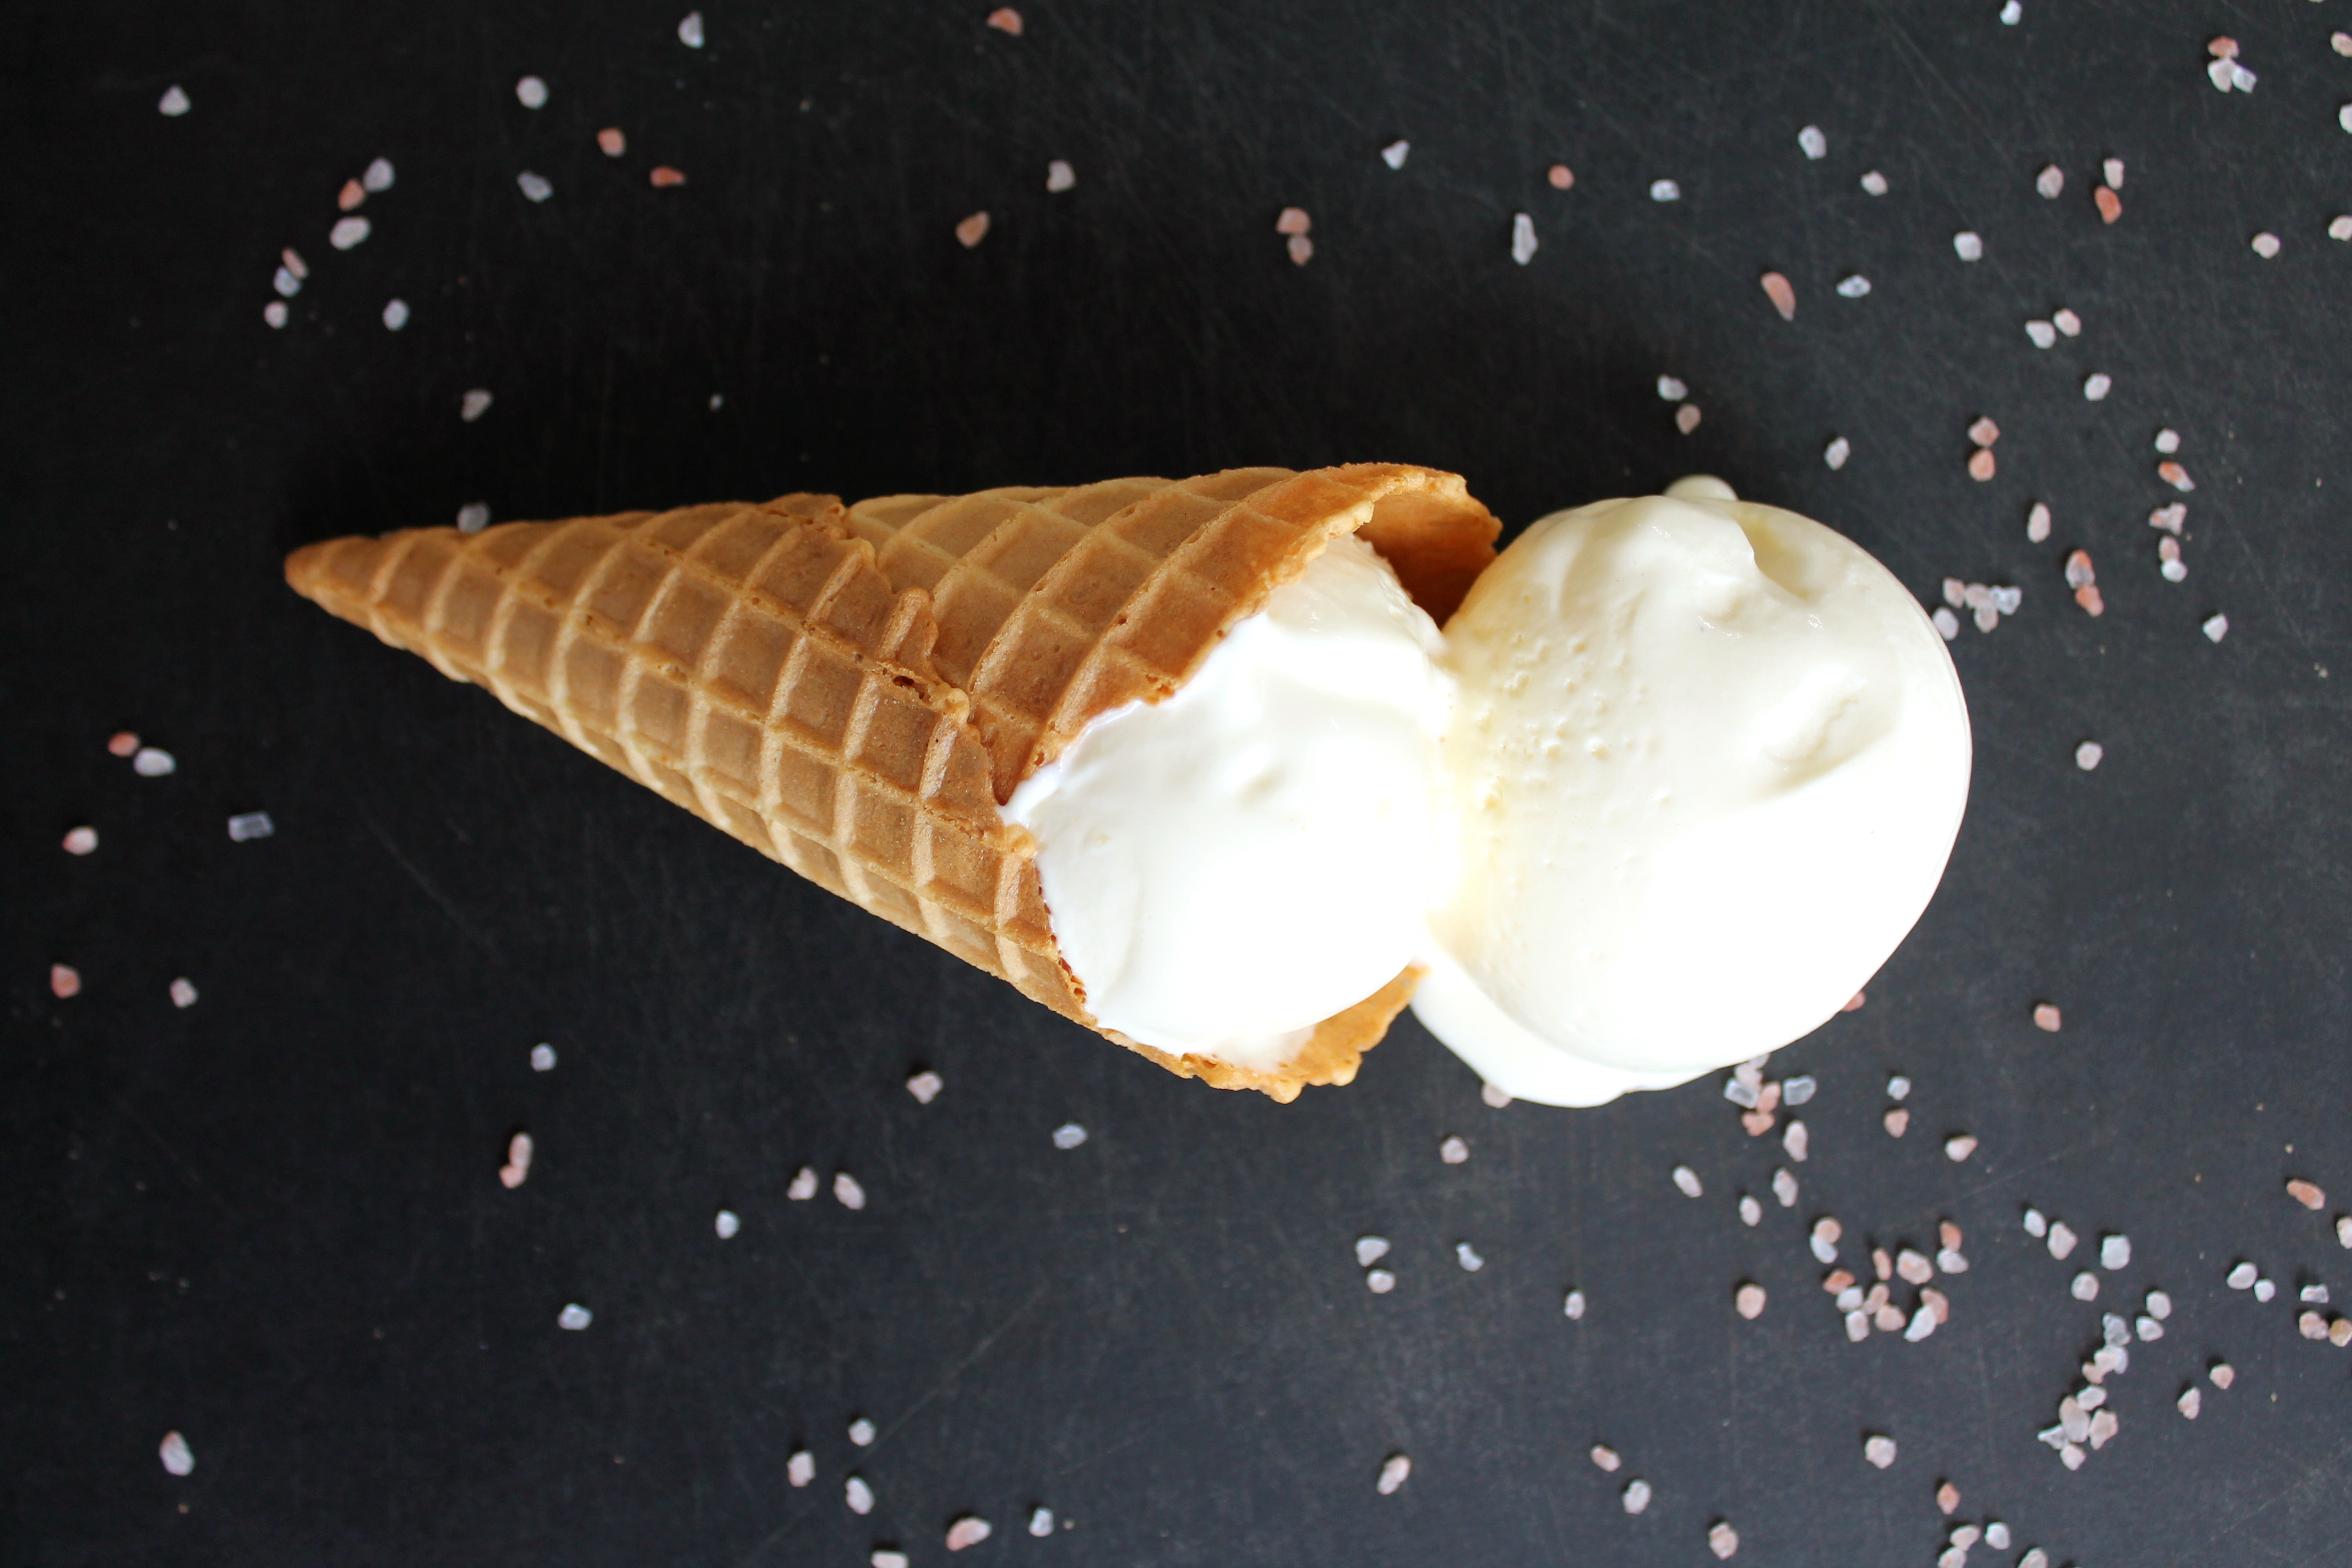
This ice cream is great on its own, with the subtle play of salt and sweet and cream all in one bite! But it also pairs well with just about everything from coffee to caramel and even *shudder* berries.
Happy National Ice Cream Month!

Sea Salt Ice Cream
Ingredients
- ½ cup plus 2 tbsp. granulated sugar (120 grams)
- 5 large egg yolks
- 1 cup whole milk
- 1½ tsp. coarse ground sea salt* (or to taste)
- 1 cup heavy cream
Instructions
- Beat the sugar and egg yolks together in a large bowl using an electric mixer for 2 minutes, or until the mixture is pale yellow and thick enough to hold its shape for 2 seconds.
- In a small saucepan, heat the milk over low heat until simmering.
- Temper the egg mixture: very slowly pour the hot milk into the eggs while whisking constantly. Do not whisk too quickly or the milk will begin to foam.
- Pour the warmed eggs back into the saucepan and return to the heat. Using a spoon or spatula, stir until the custard is thick enough to coat the utensil.
- Pour the custard through a fine-mesh strainer into a bowl. Lay a sheet of plastic wrap against the surface of the custard.
- Chill the custard for 1 hour, or until completely cool.
- Stir in the salt. Taste and add more salt if desired.
- In a separate bowl, whip the cream to soft peaks. Do not overwhip! Stiff cream will be challenging to fold into the custard.
- Fold the whipped cream into the custard, working gently so as not to deflate the cream.
- Churn the ice cream in an ice cream maker according to machine instructions, about 30 minutes.
- Transfer the ice cream to a wide, shallow container and seal with an airtight lid. Freeze for at least 4 hours before scooping.