When I was in high school, my best friend and I liked to take walks through Carytown. We almost always started our jaunts at Montana Gold Bread Co., where we would snag a free slice of challah and slather it with butter before venturing out to a bench to people-watch and pretend we were cool.
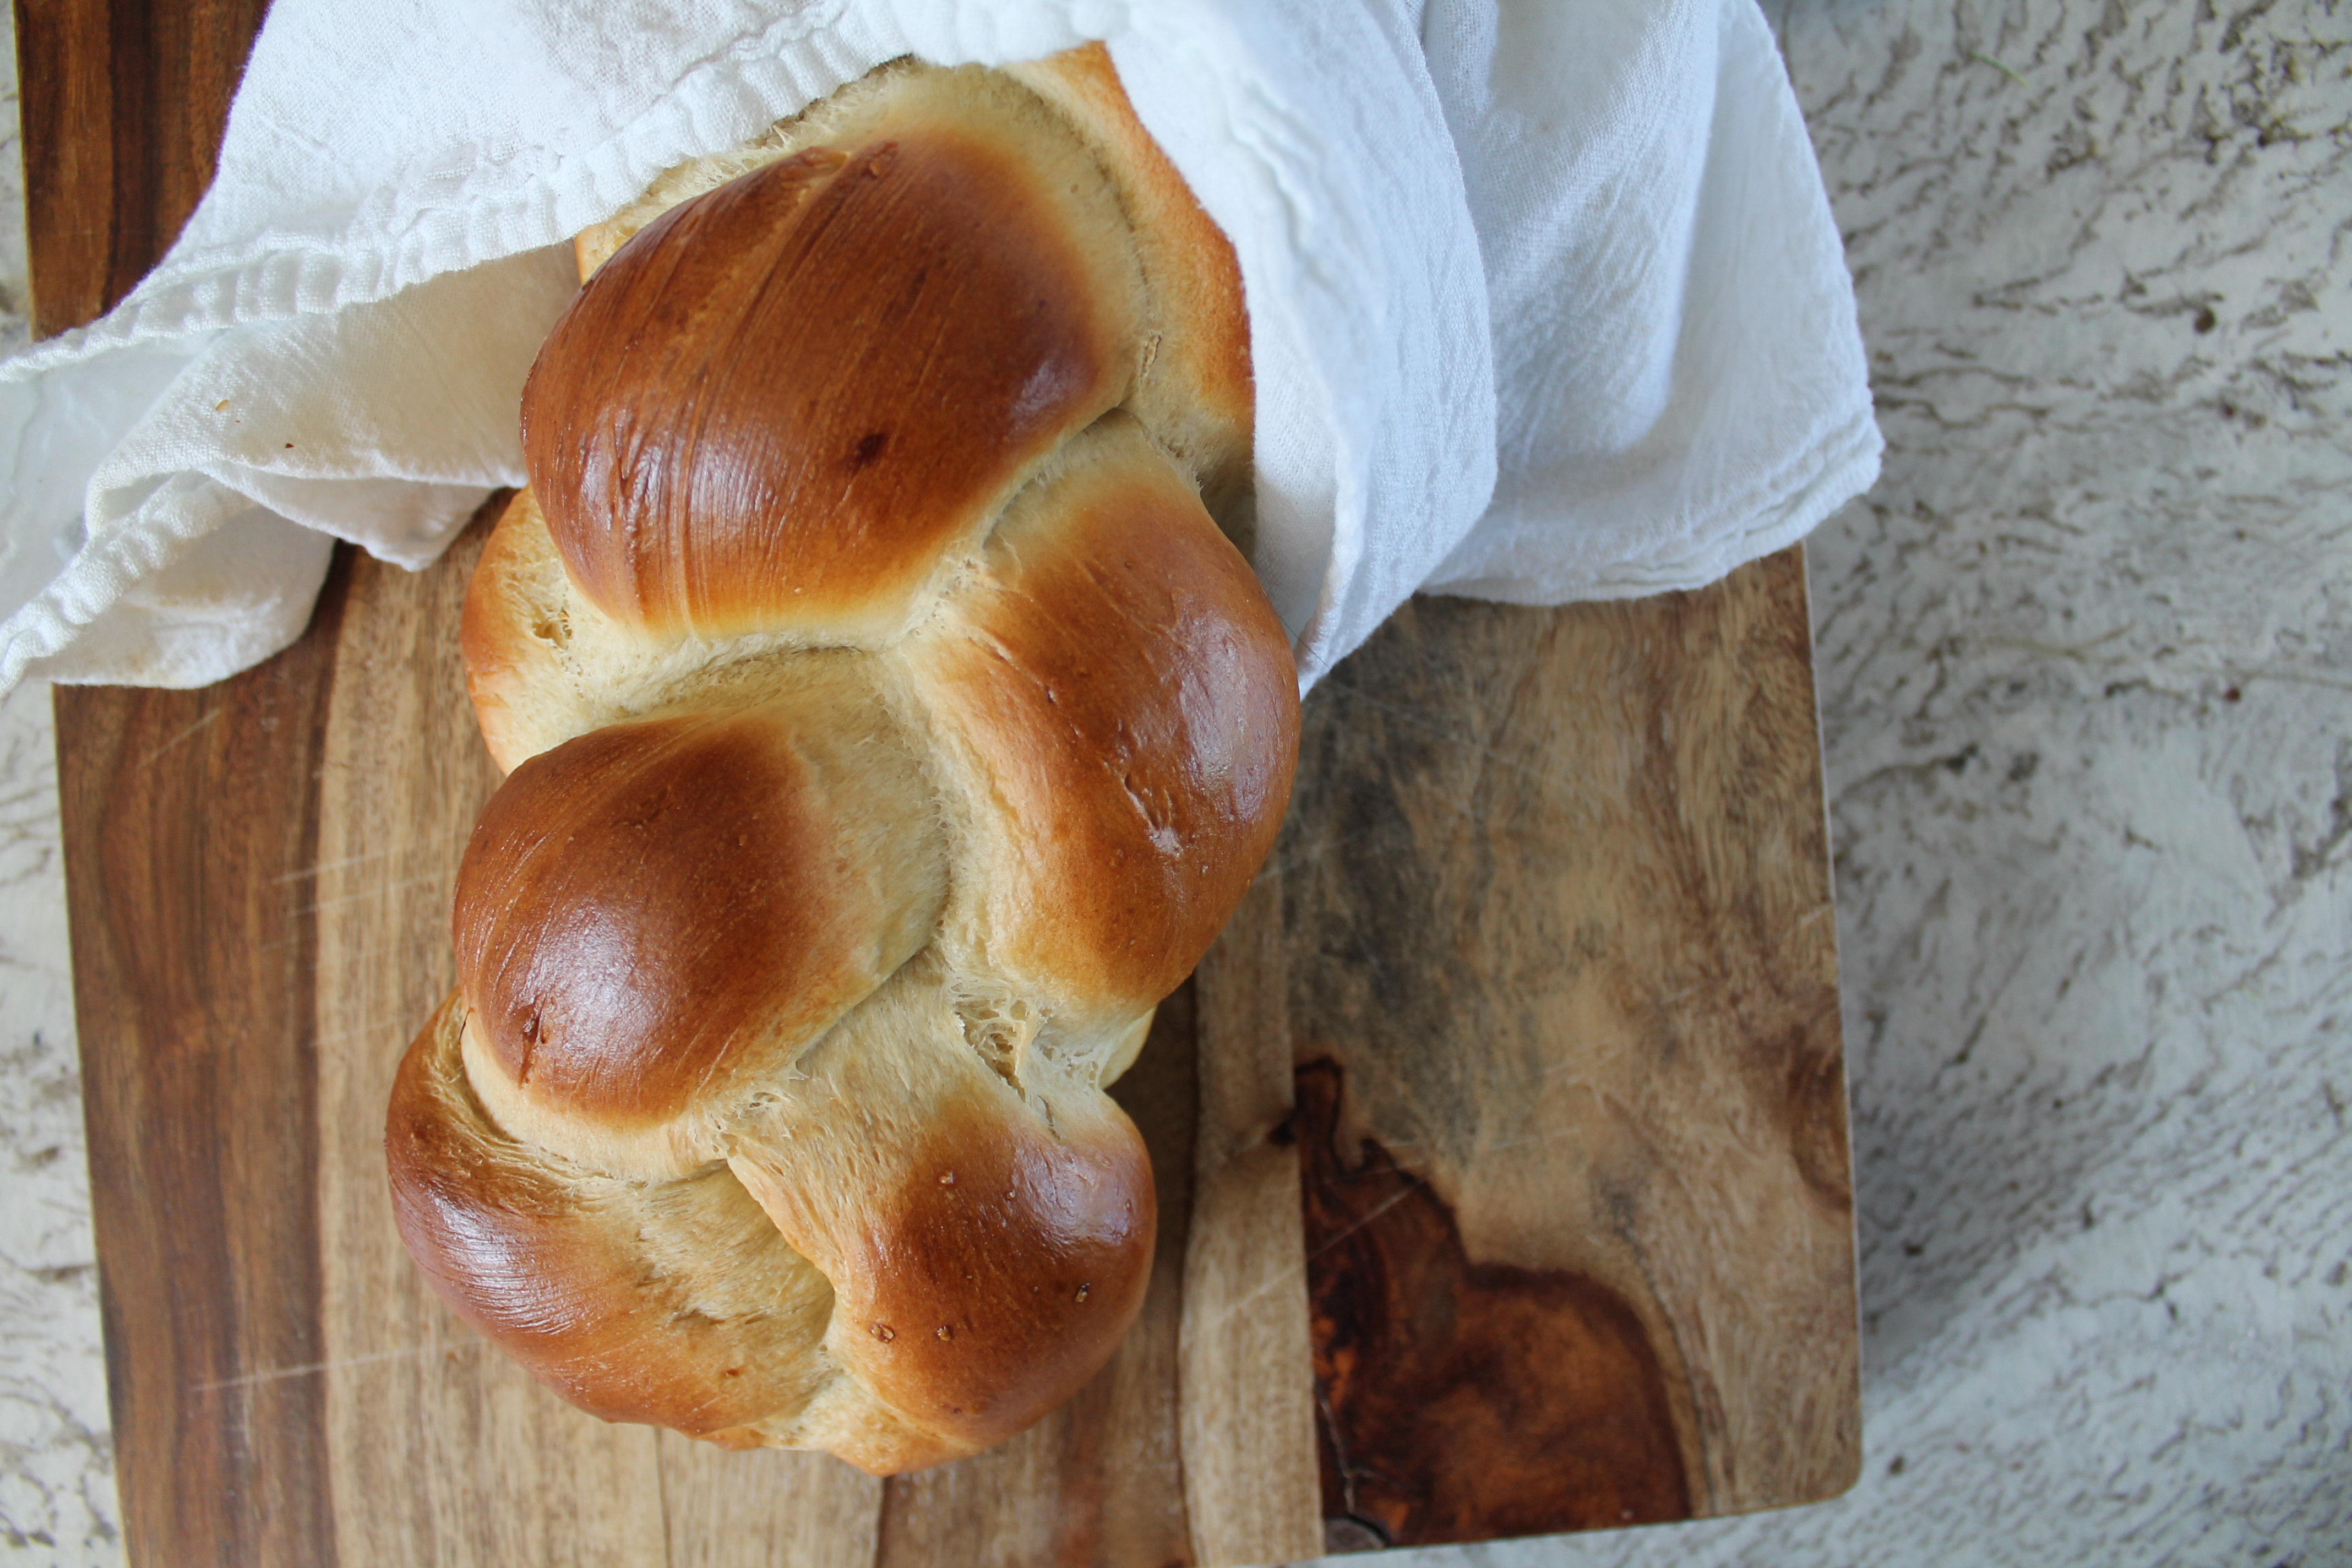
Challah has always been a little amazing to me. It’s stunning, with an intricate braided pattern, as well as soft and chewy and a little sweet: everything that a great bread should be.
Until now, I’ve been a little afraid to try baking it on my own. I worried that braiding the bread would be messy and awkward and, well, hard.
But when I was assigned Oh! You Cook! for the June Secret Recipe Club blog exchange, I knew it was time to go for it.
Dena has devoted her blog to kosher cooking. I have only the barest grasp on what it means to keep kosher, but at its most basic level, it requires avoiding certain types of animal meats (famously, pork products, but also shellfish and a few others) and completely separating meat from dairy (both in what you eat when and in how you prepare foods). Dena has shared many traditional Jewish dishes that look interesting, but since I am a vegetarian and a baker, I knew immediately that I wanted to try her challah recipe.
This recipe makes one loaf of braided challah.
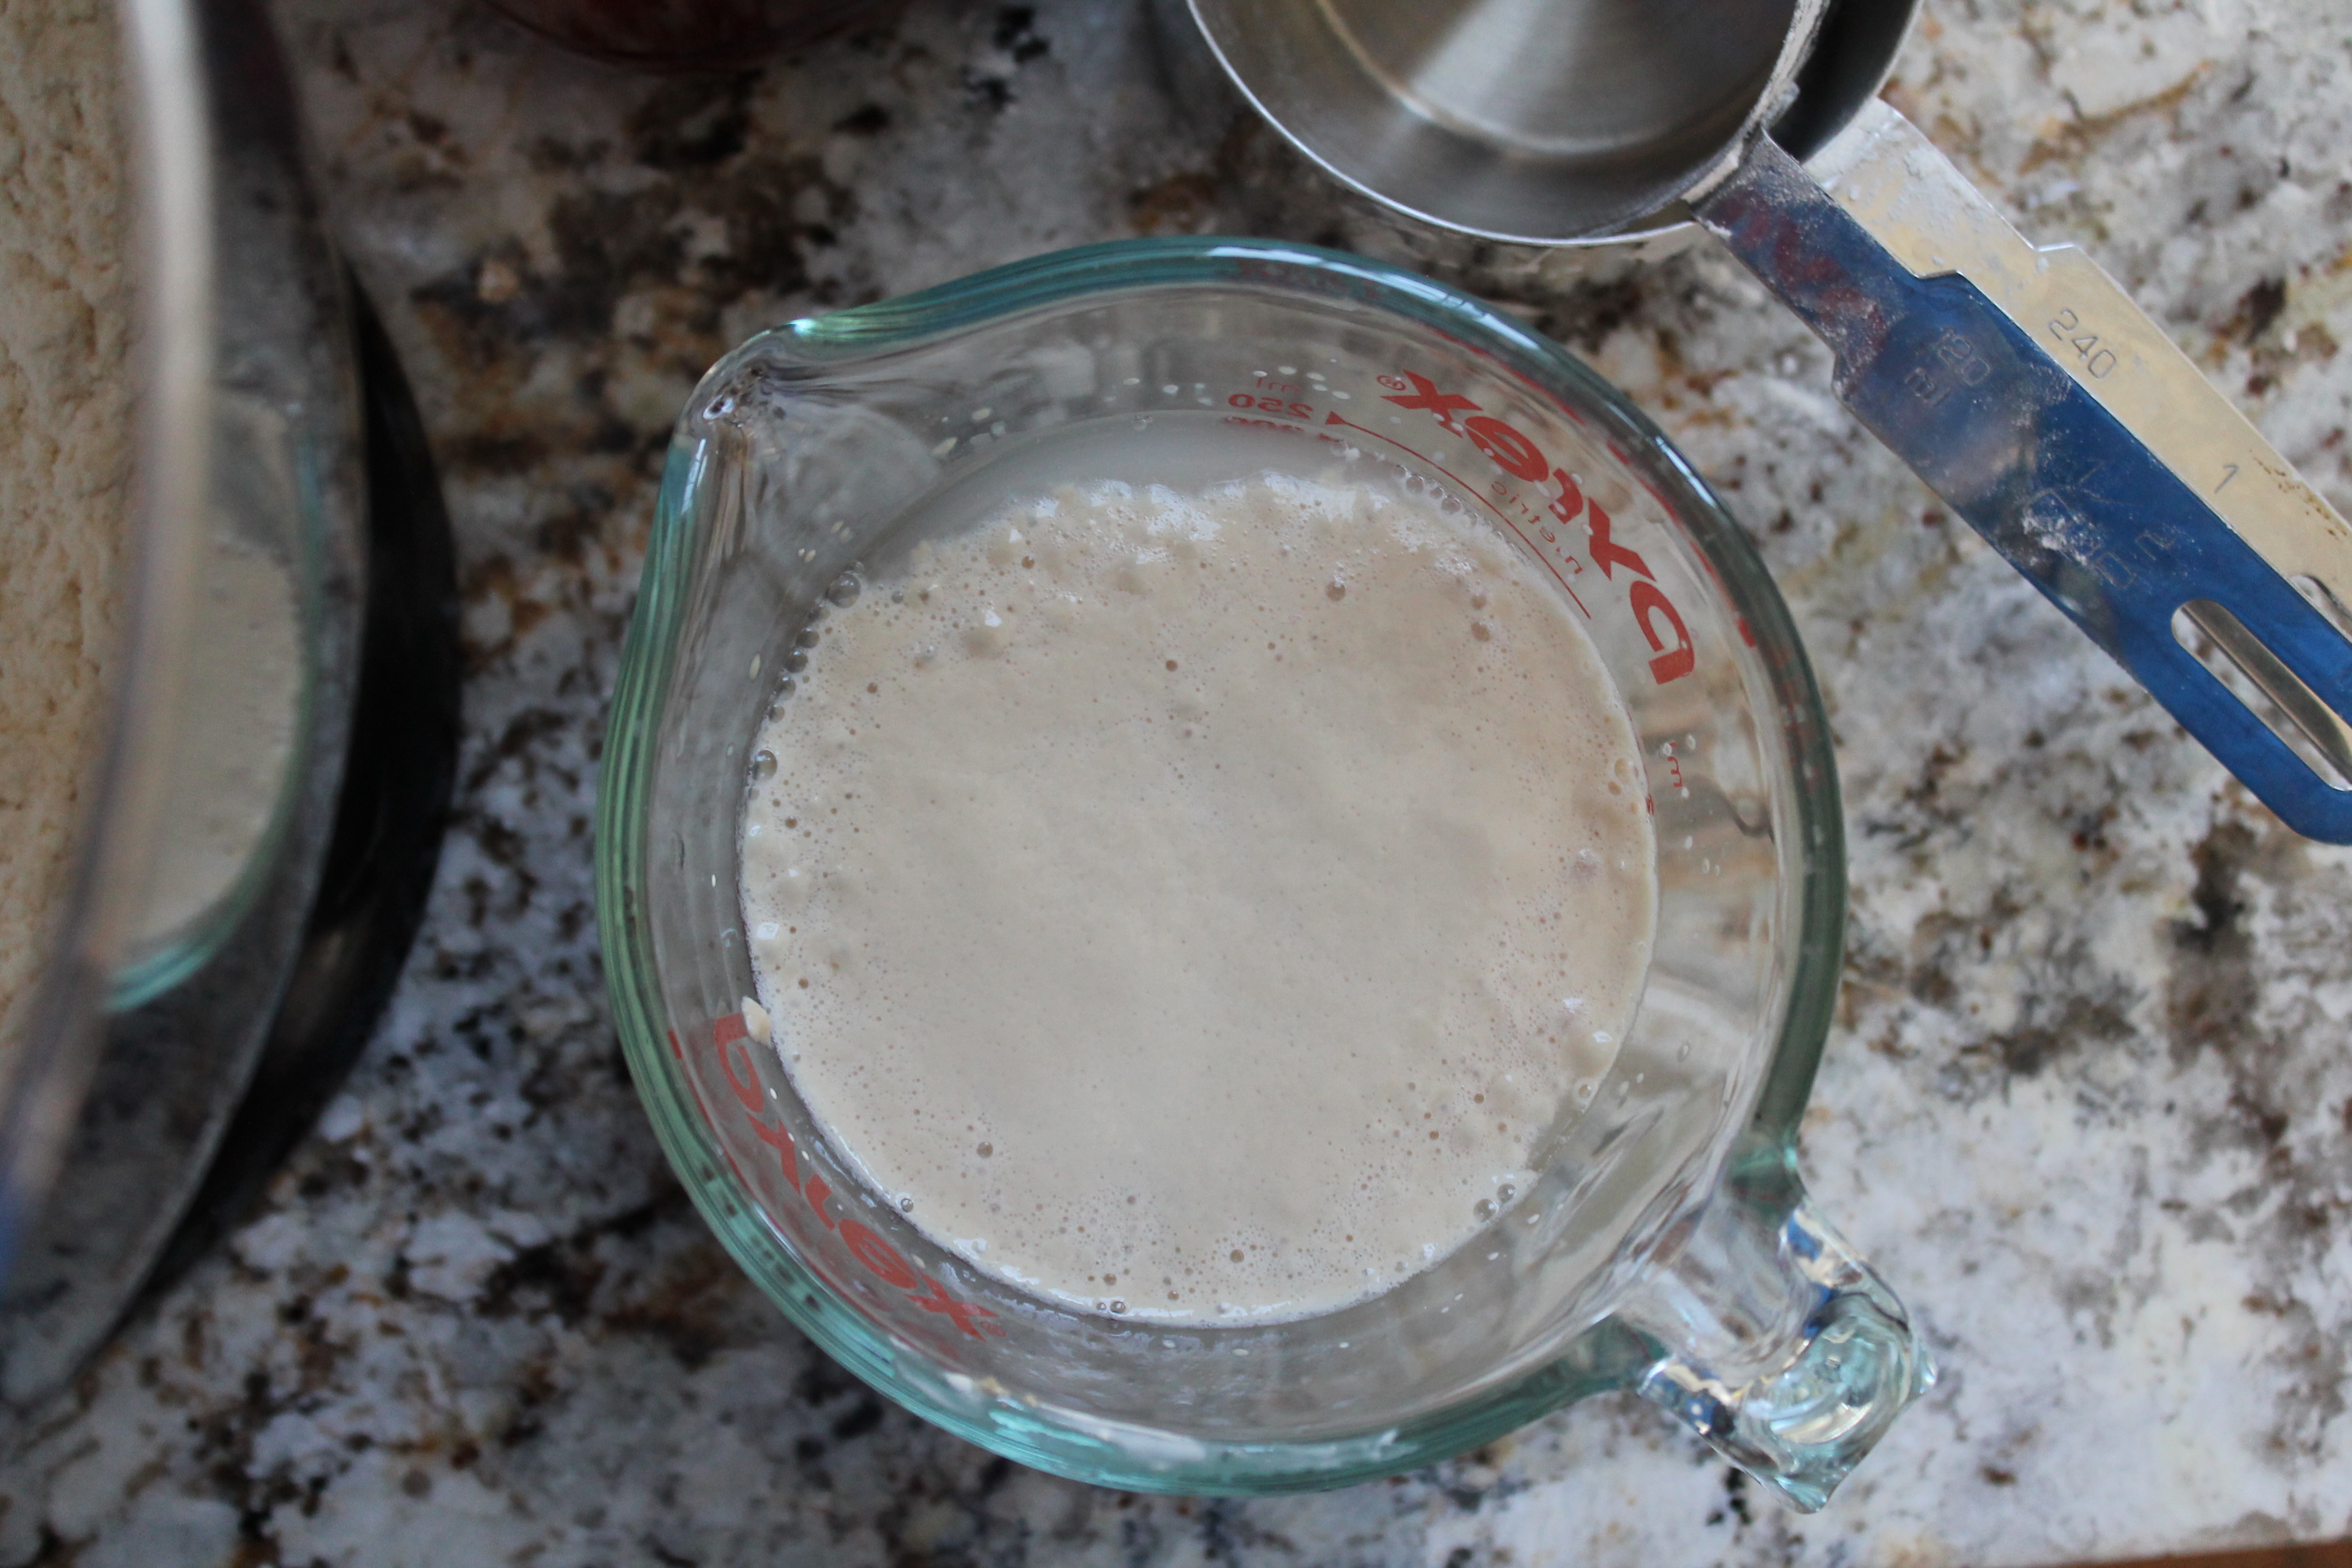 Start by activating the yeast. Dena used instant yeast to make her bread, but I never keep instant yeast on hand. Instead, I proofed my active dry yeast in warm water to activate it.
(I just read a really clear description of why this is needed in Stir: My Broken Brain and the Meals That Brought Me Home. Essentially, active dry yeast, which is what I have always used, is coated in a layer of dead yeast to preserve it, and this dead yeast layer must be dissolved so that the yeast can expand!)
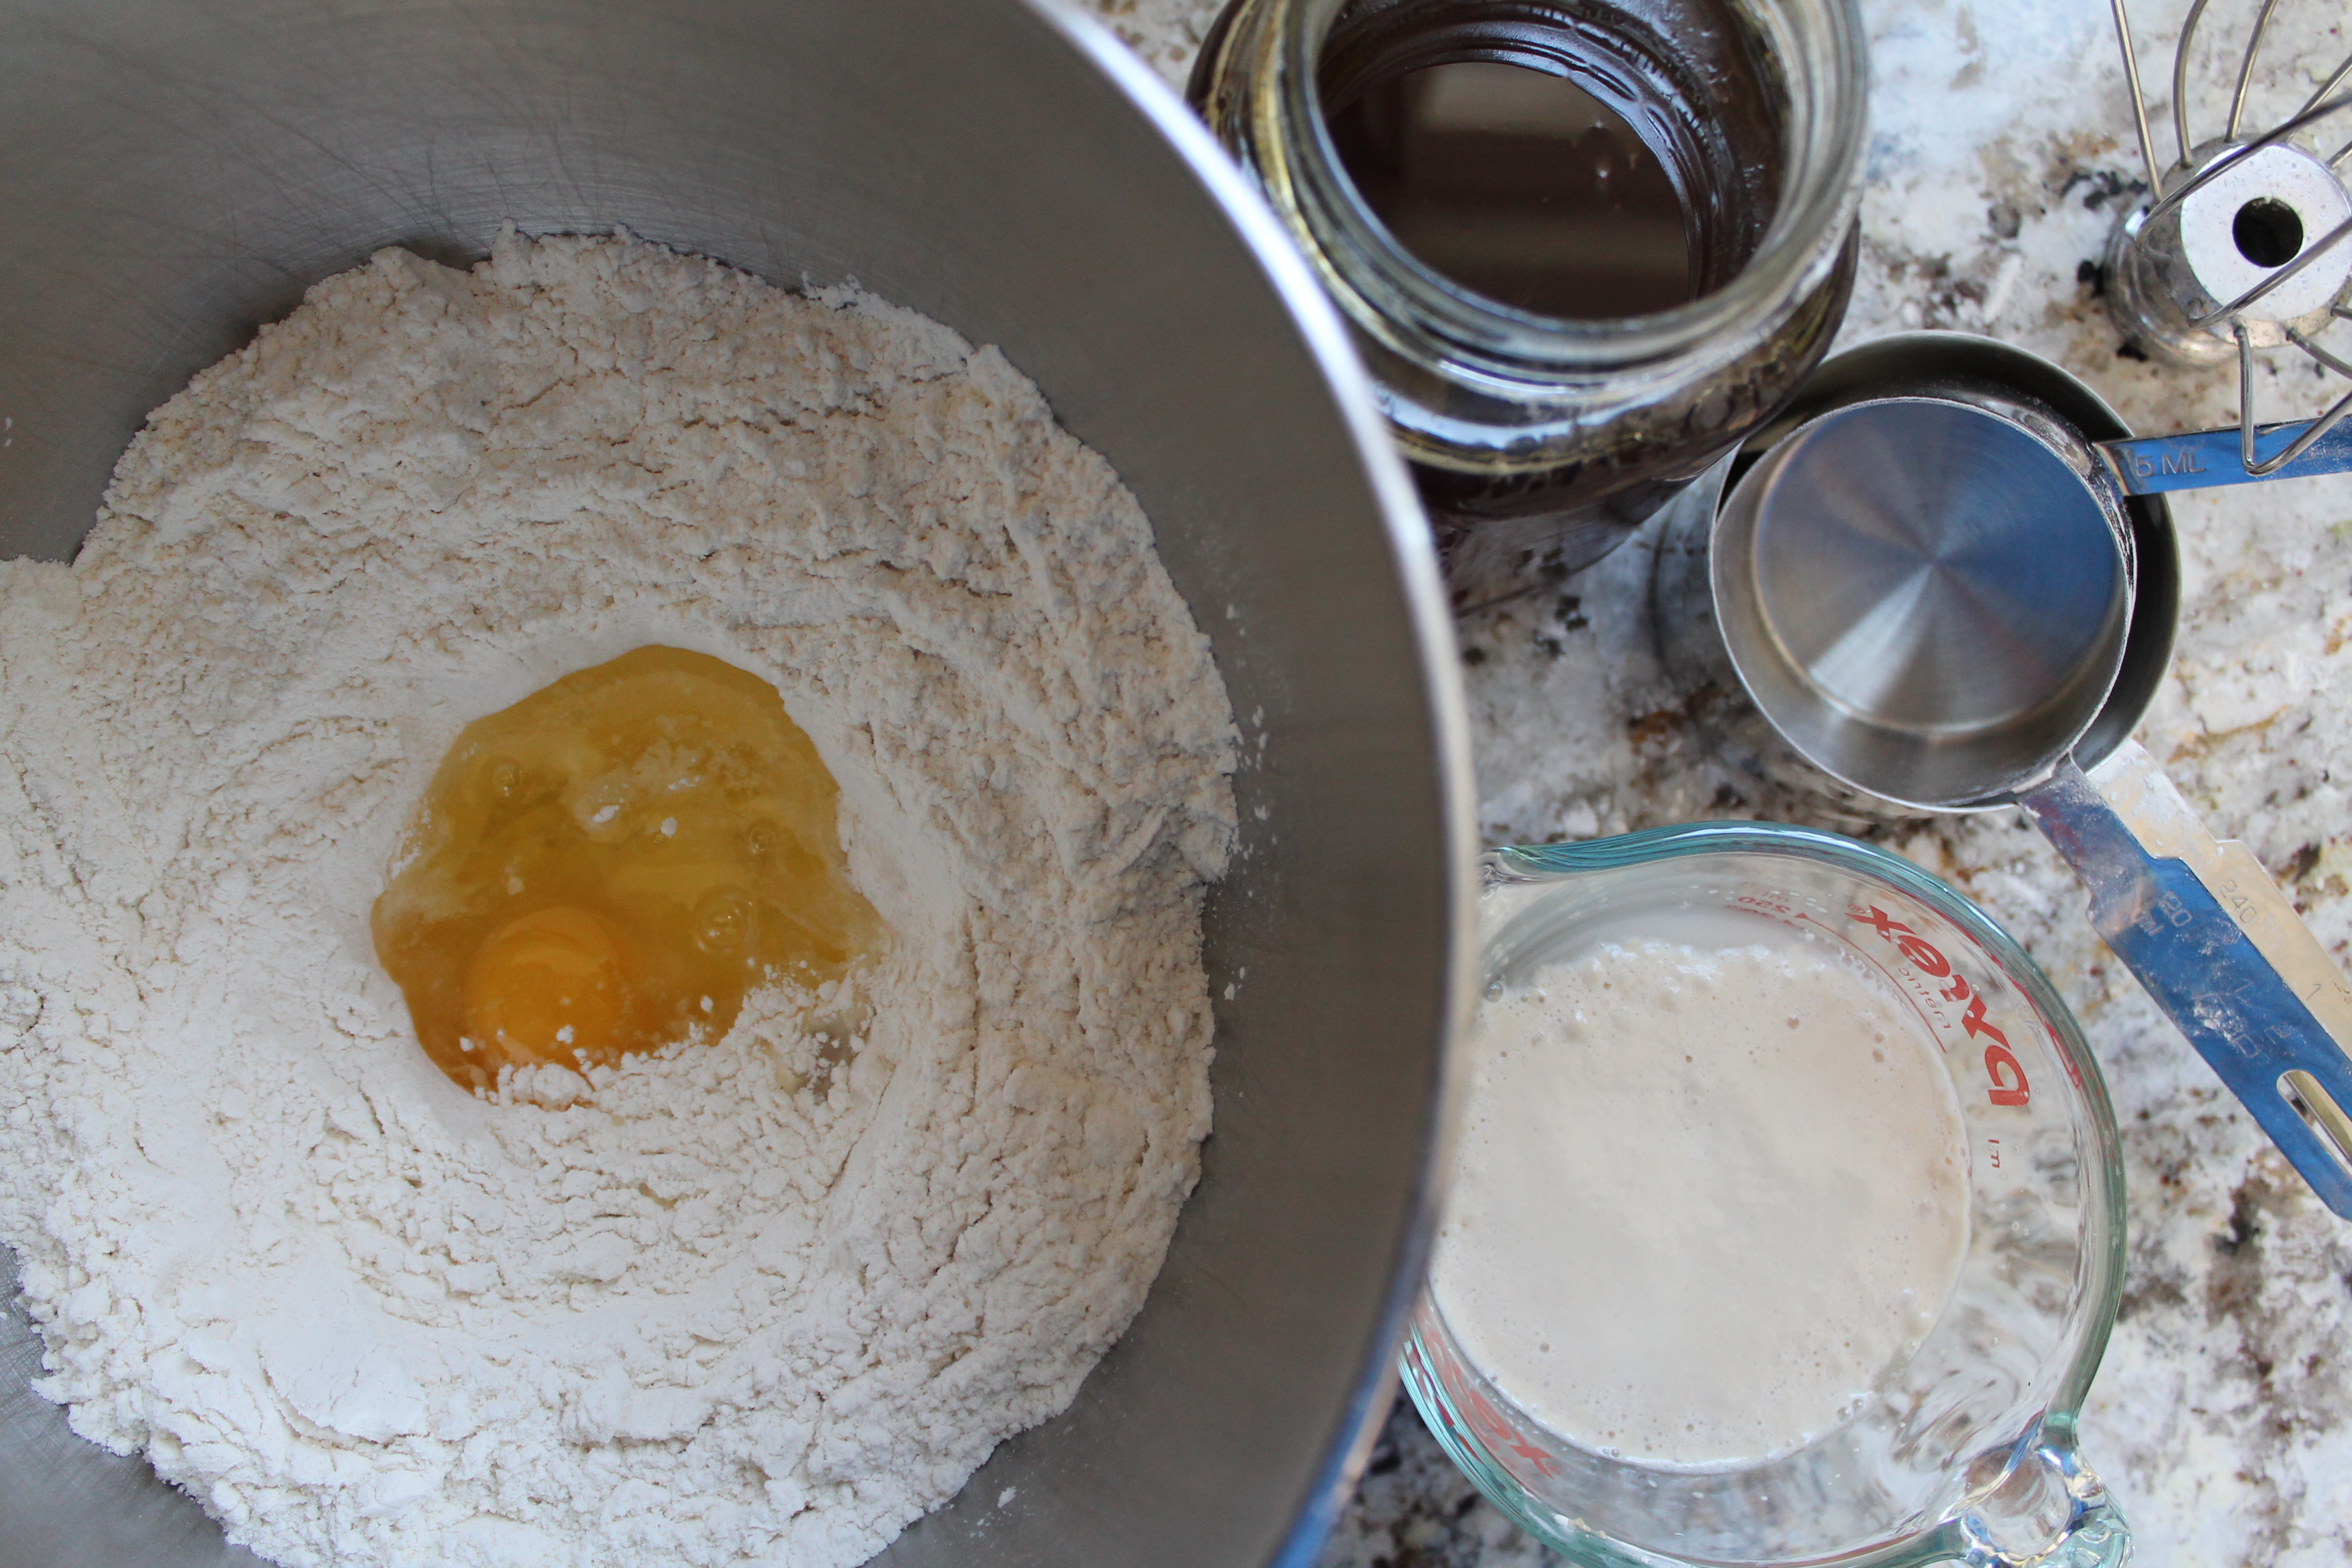 While the yeast mixture comes to life, mix together the flour and kosher salt.
When the yeast has started to foam and bubble, add it to the flour, along with olive oil, honey, a whole egg, and an egg white (setting aside the remaining yolk to brush over the shaped loaf later). Stir to combine.
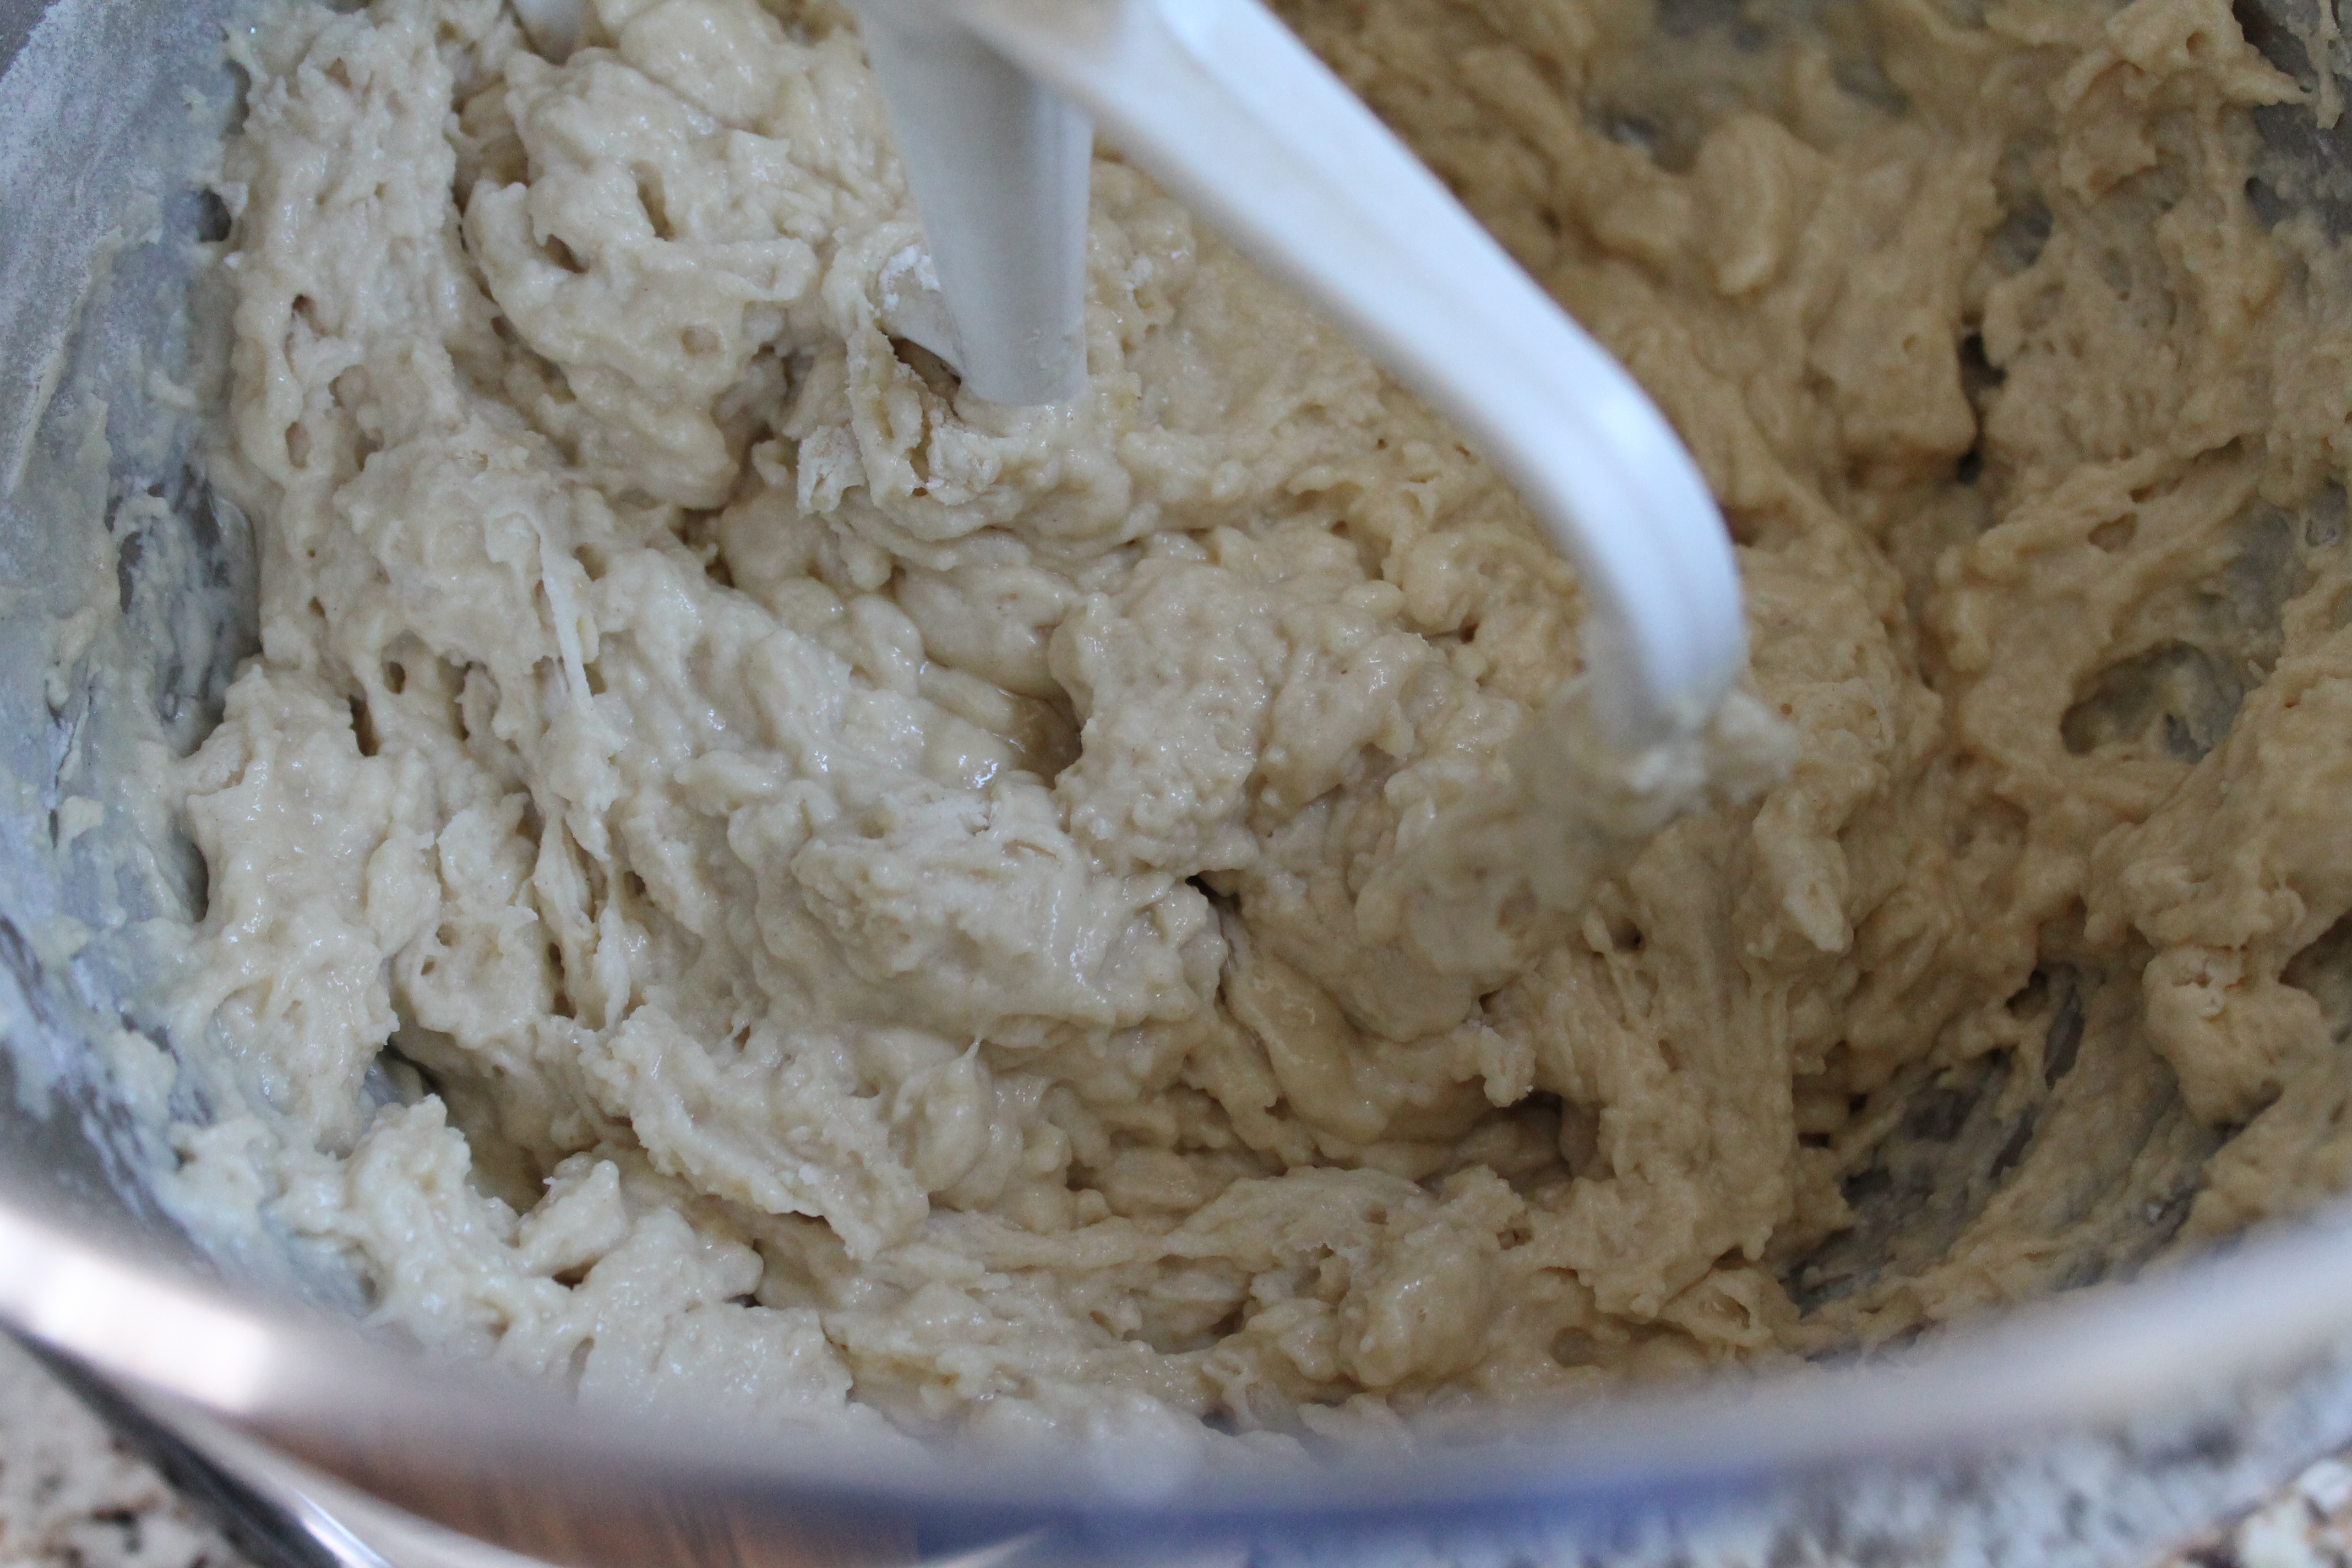 Sprinkle ¼ cup flour on a clean work surface and turn the very sticky dough out onto the work space.
Knead. The point of this kneading is both to develop the glutens, and to work in the extra flour! When the dough has completely absorbed the first amount of flour, add ¼ cup more and carry on, until you have kneaded 1 cup flour into the dough. This took me about 10 minutes, which is just the right amount of kneading for this soft, sweet dough!
As a side note, Jessica Fechtor (who wrote Stir, which I mentioned above) shared a recipe in that book for challah that rises slowly in the refrigerator and does not require kneading. It reminds me a bit of the gluten-developing method for Jim Lahey’s pizza crust, which I love. I found myself thinking about cold, slow rising a lot while my hands were coated in very sticky challah dough…and because of how sticky this challah dough is, I might try the no-knead version next time!
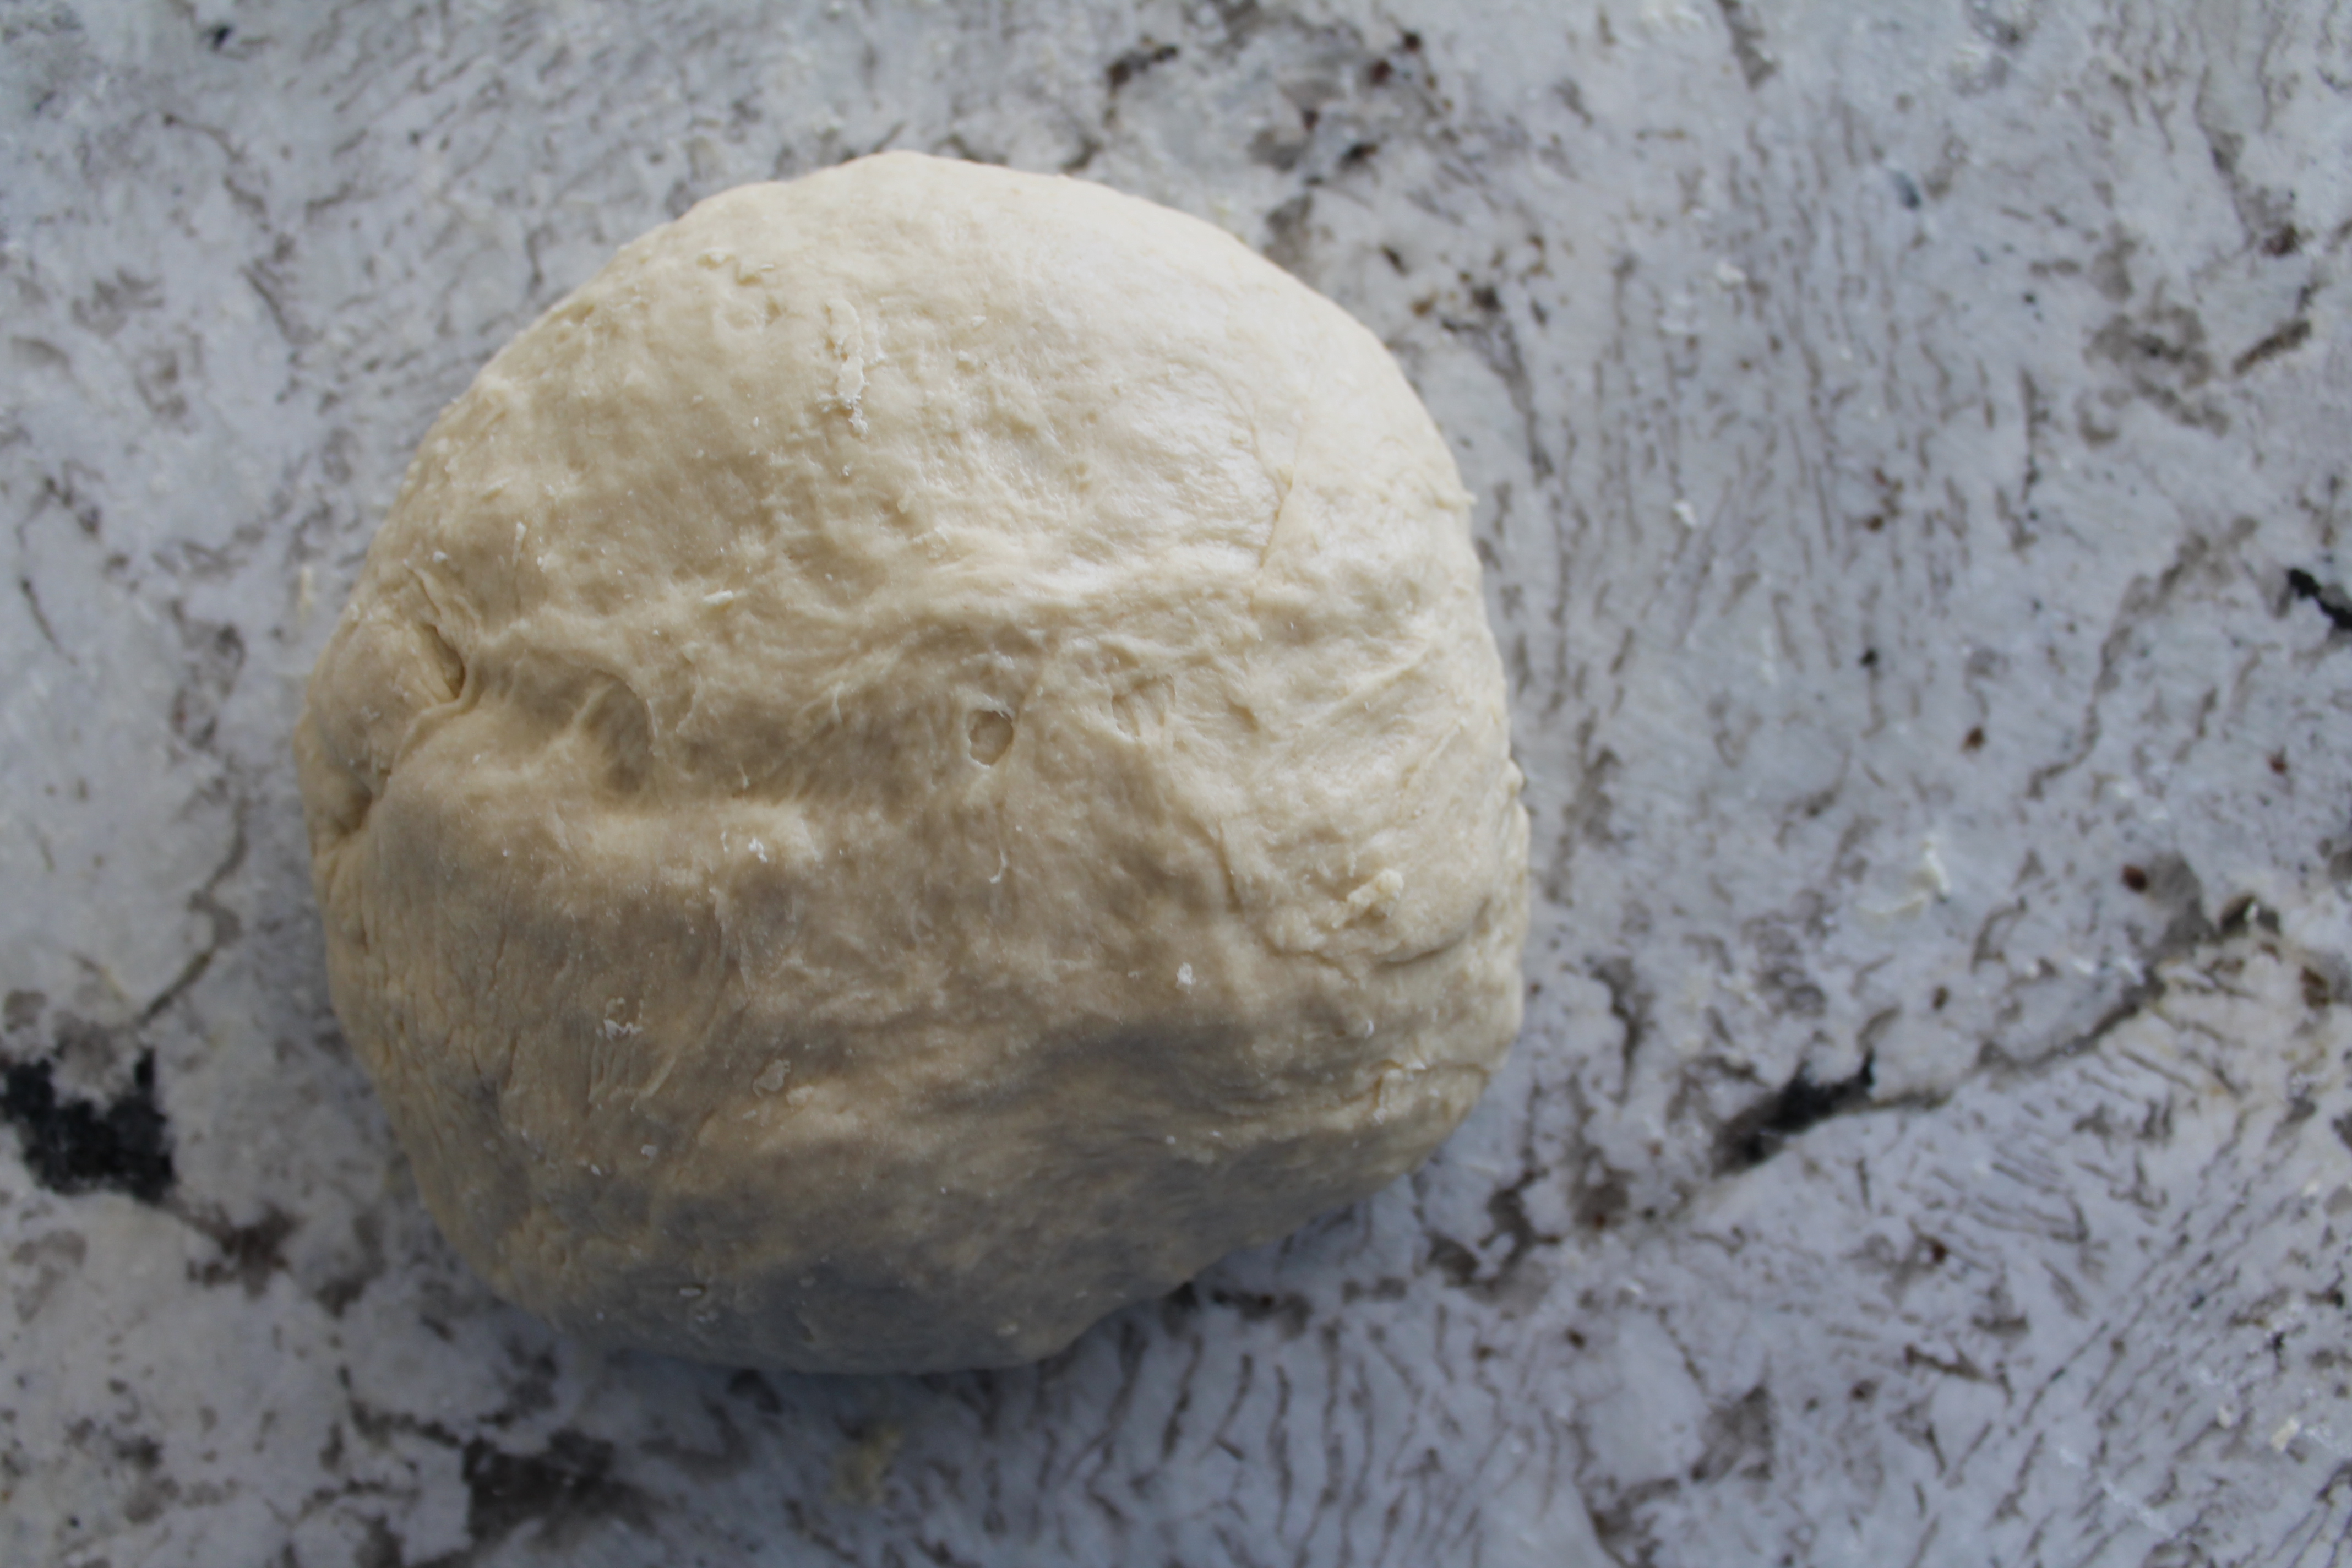 Back to our dough. After kneading in all the flour, it may still be slightly gummy feeling, which is okay. Just scoop it up into a lightly oiled bowl, turn the dough a few times to give it a thin coating of oil, and cover the bowl with a towel. Sit the dough in a warm, dark place (such as your oven, barely preheated to 110° and then turned off!) to rise until doubled, about 1 hour.
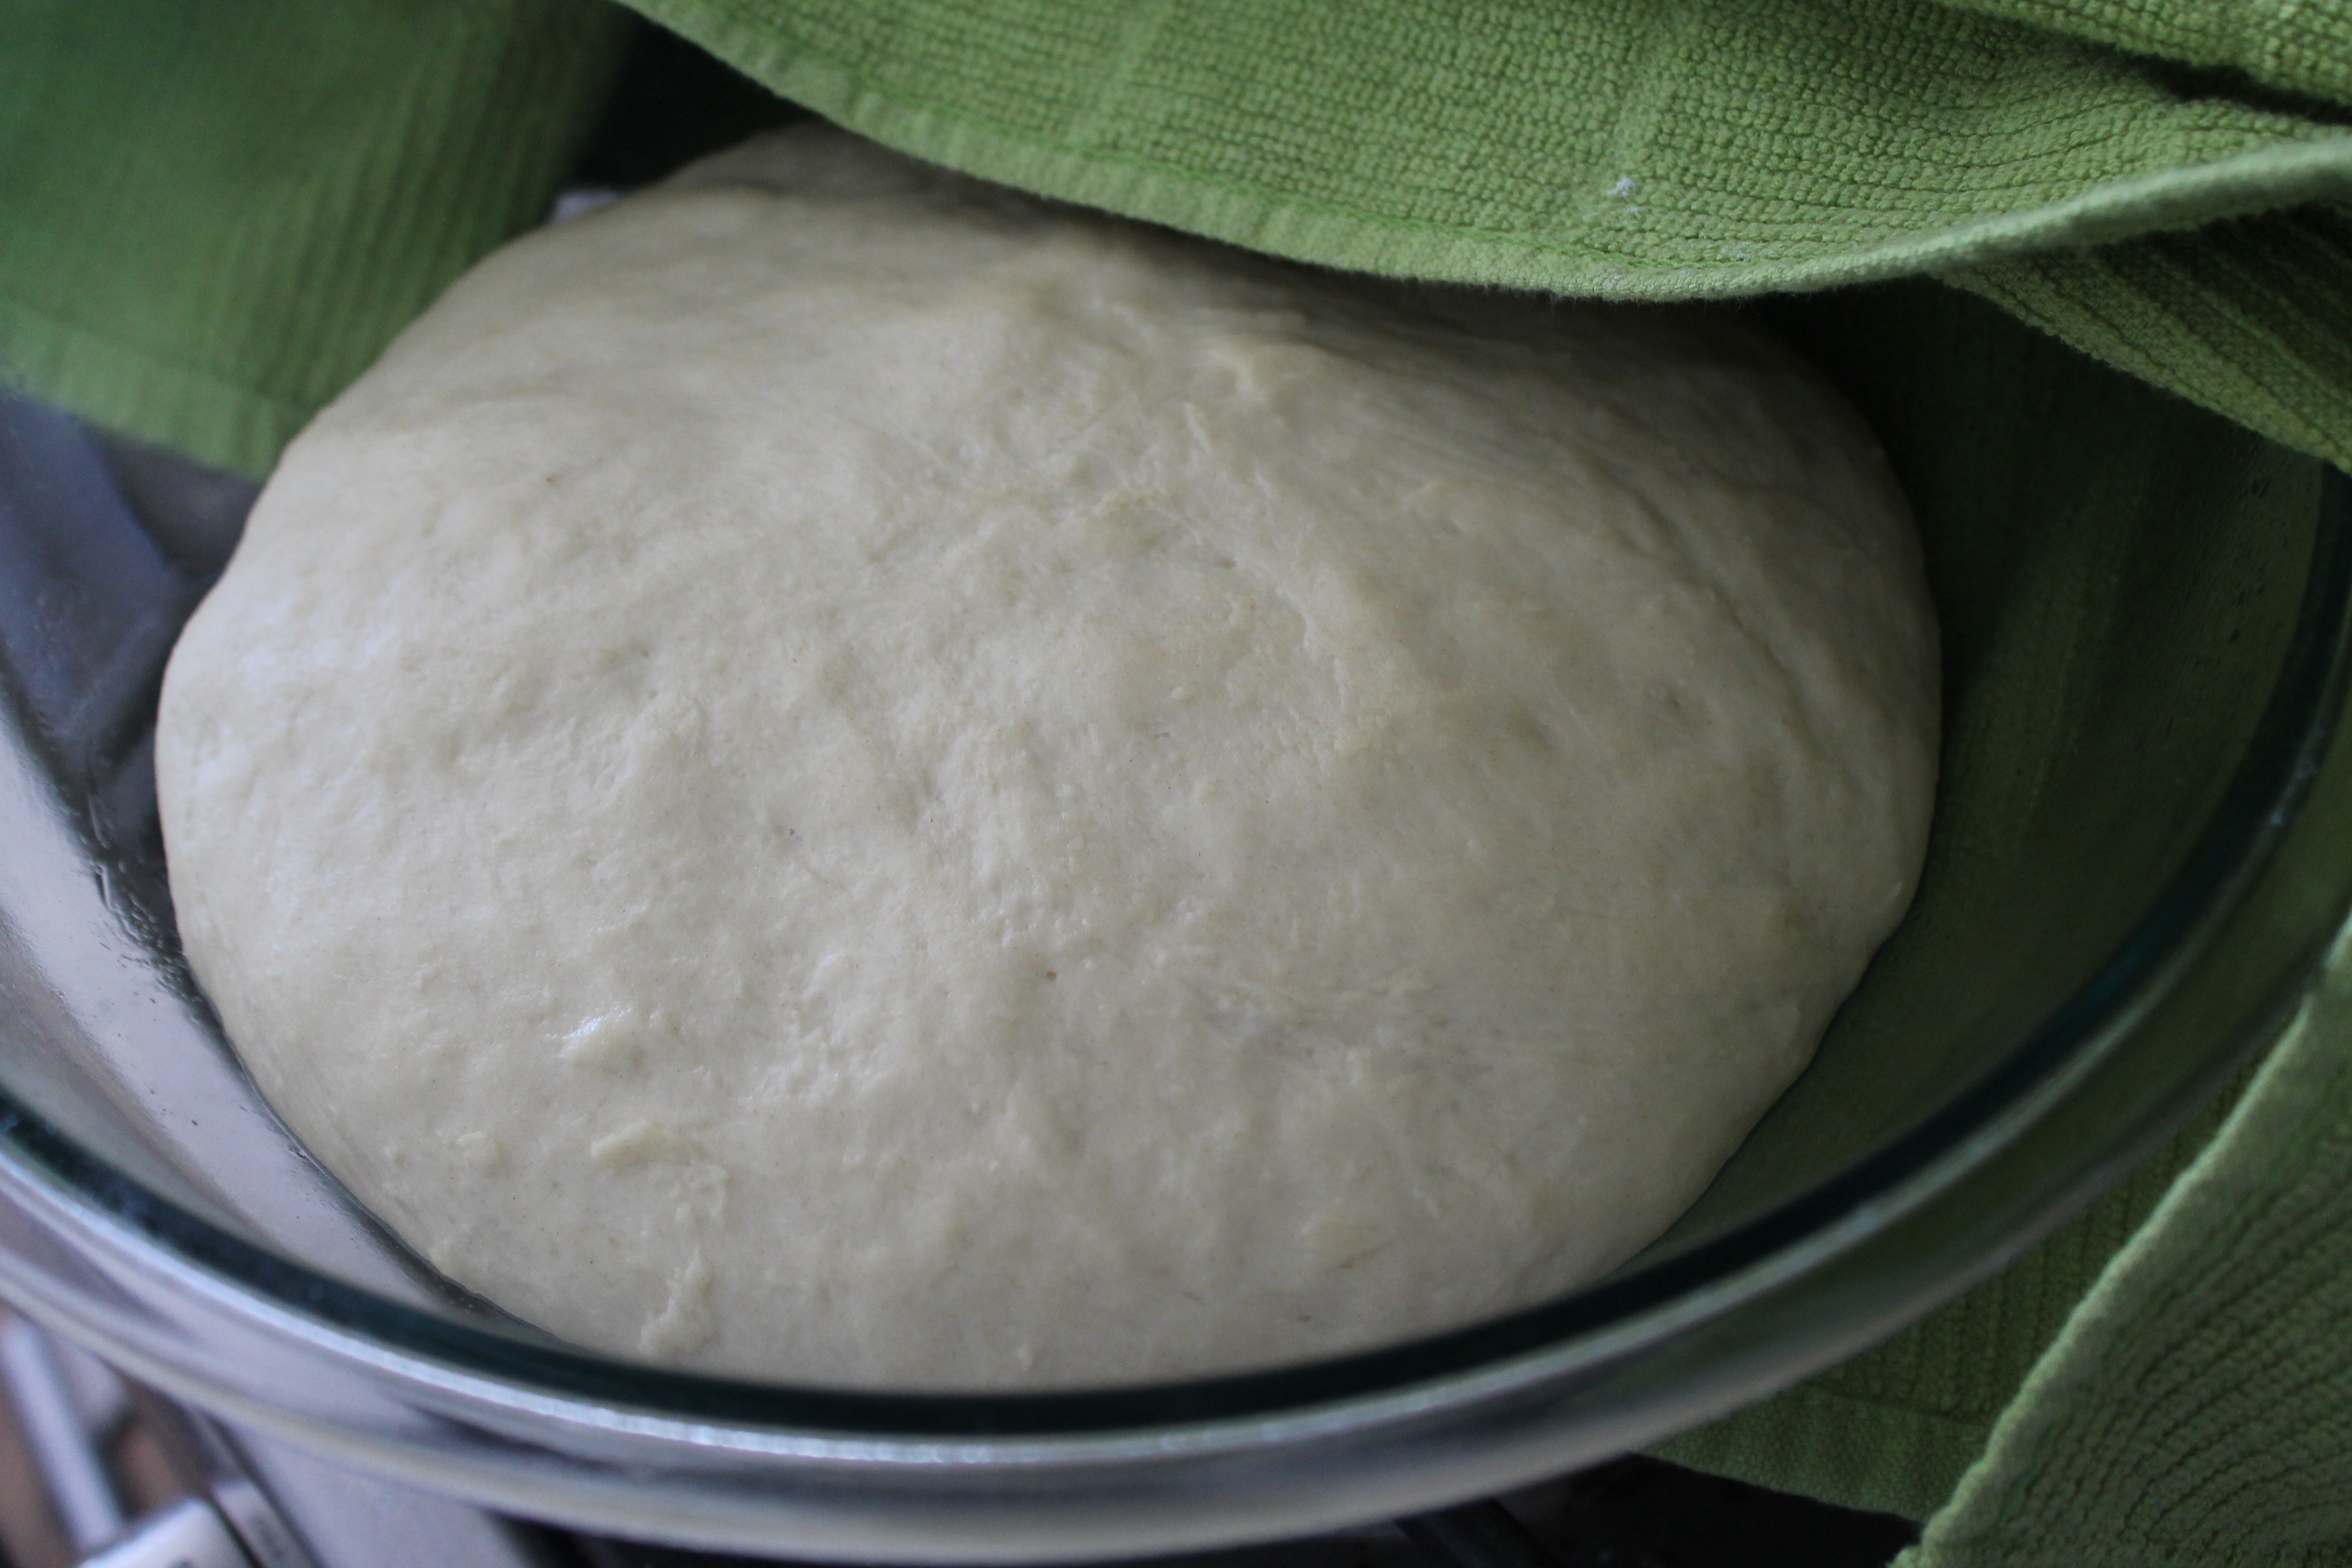 I did actually chill my dough at this point. I have always found it easier to work with cold bread dough, especially when it needs to be shaped. Chilling the dough slows down the rising process but does not stop it, which gives it more complex flavor, and it also gives you the freedom to run an errand or sit down and eat lunch before baking!
The final two steps of this process take about an hour.
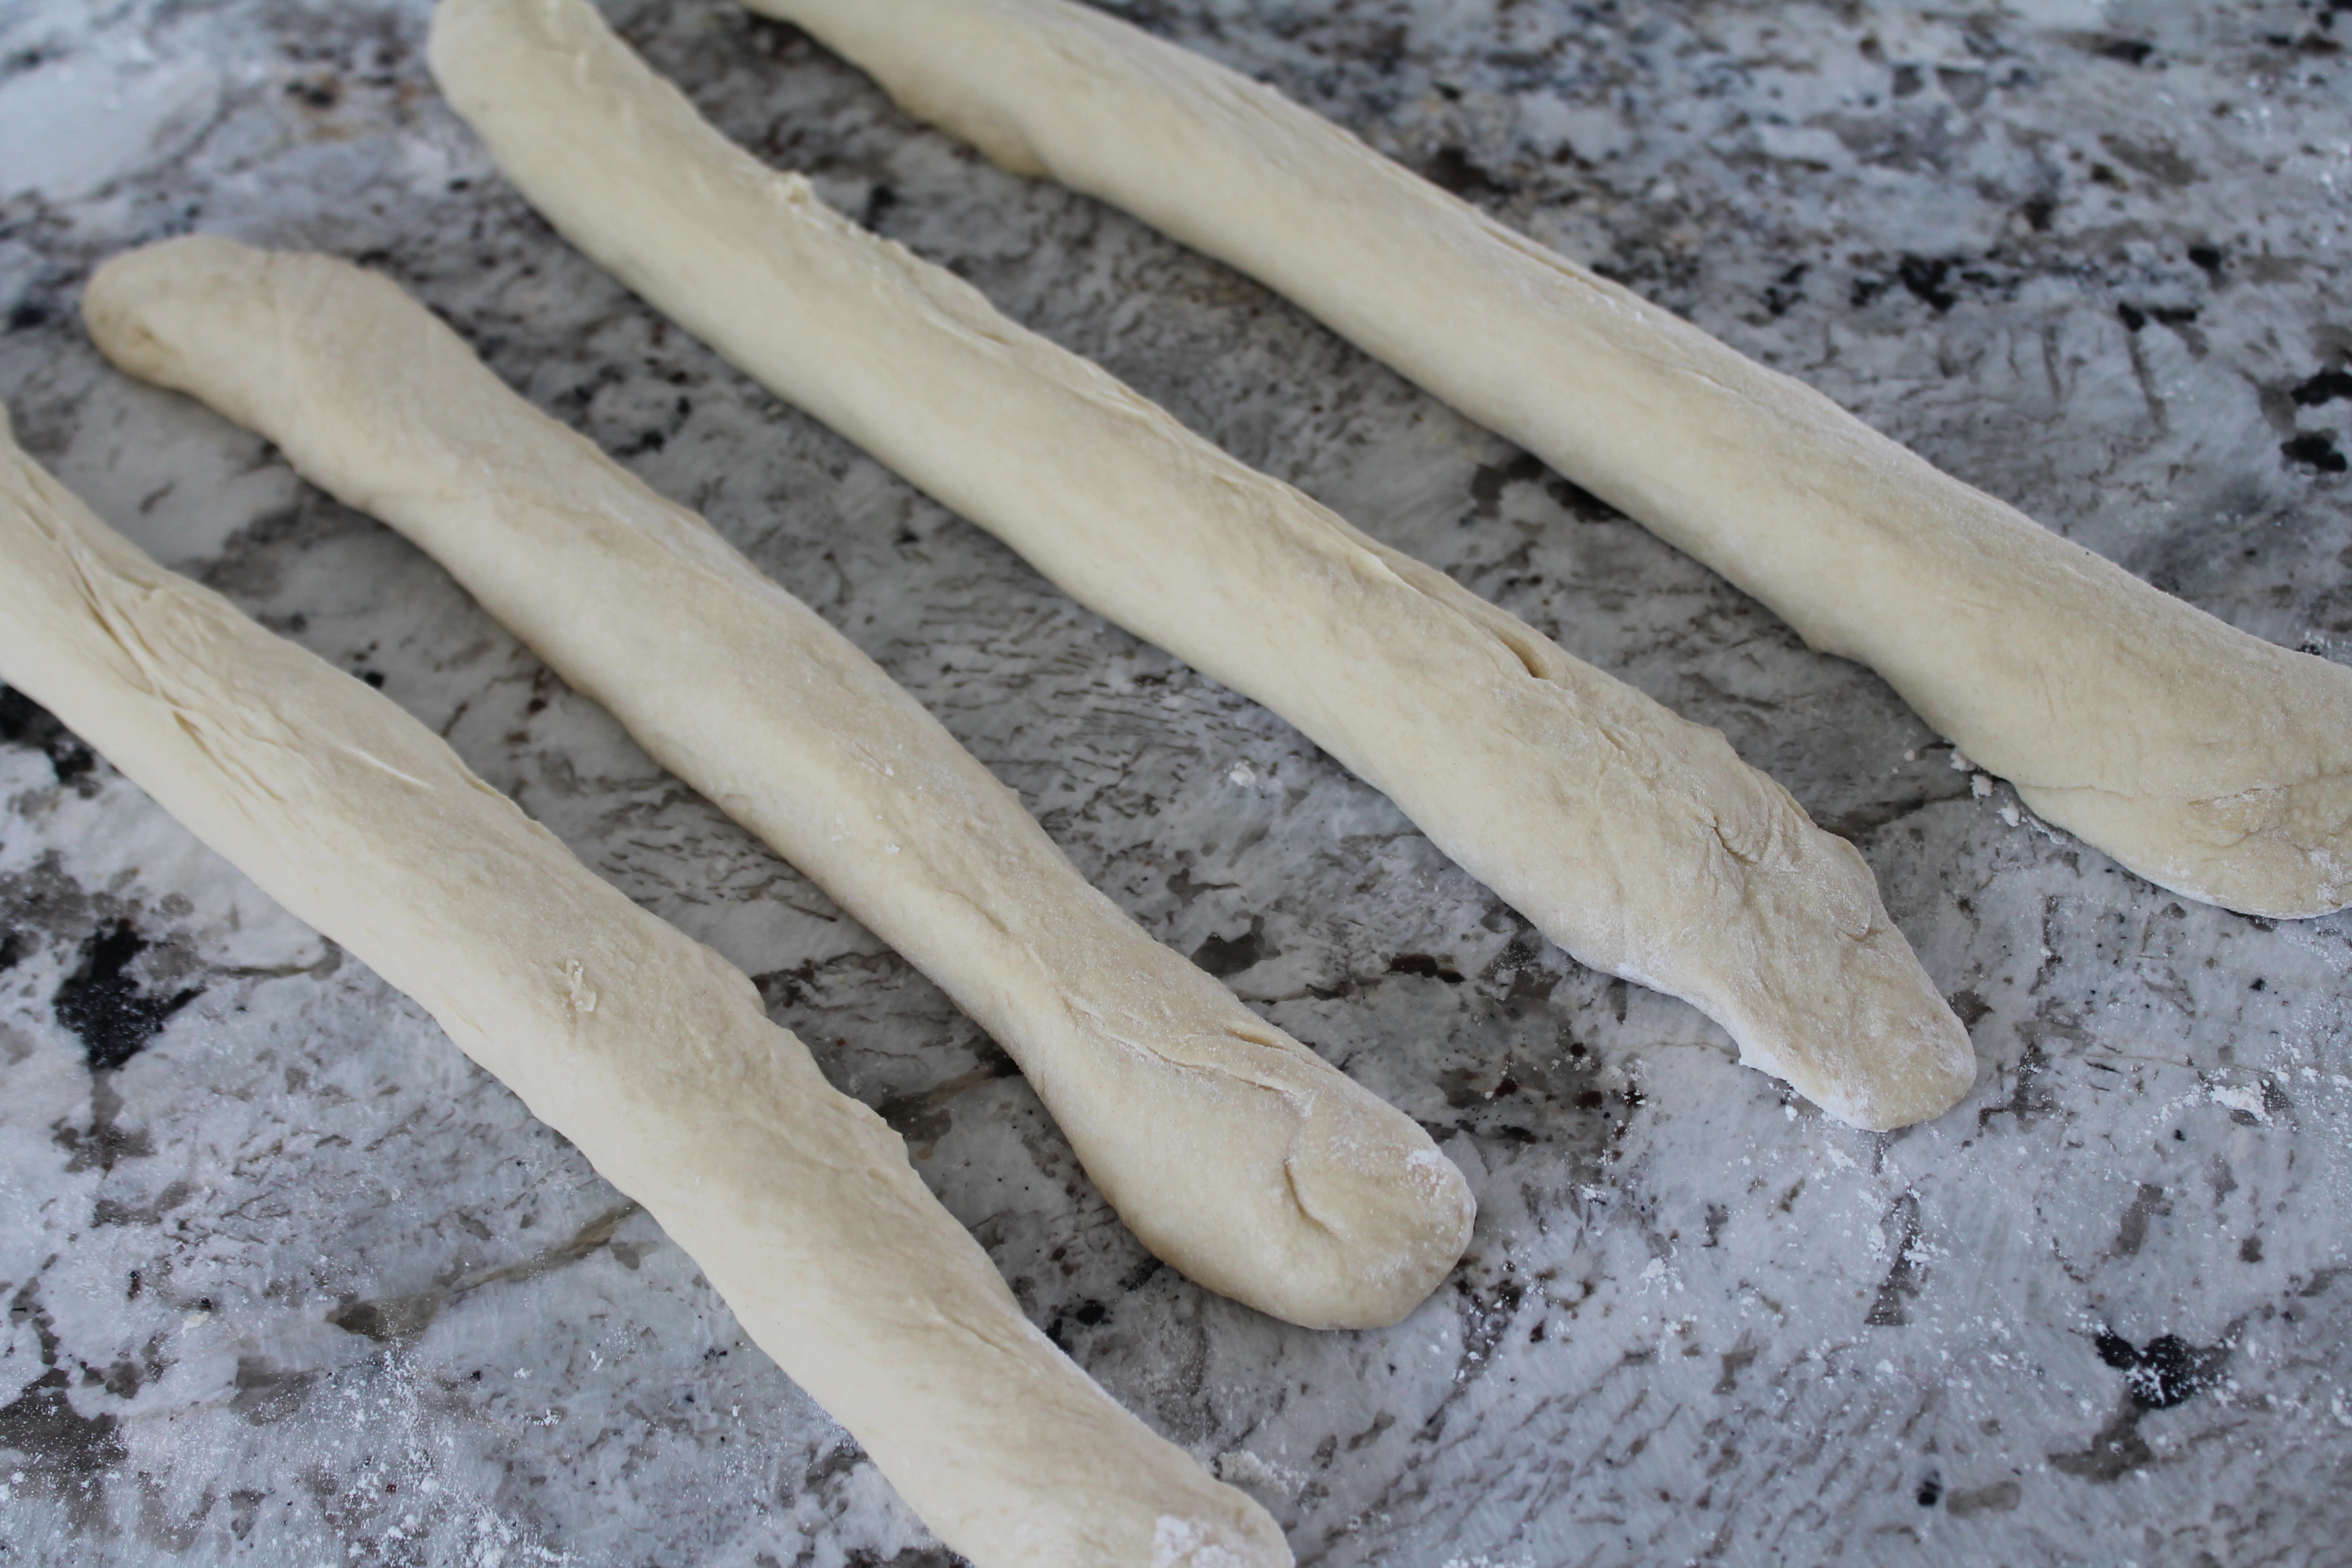 Shape your dough. I followed Dena’s instructions and did a four-strand braid. Braiding dough is not as intimidating as it sounds: it behaves itself, just like shoelaces and strands of hair. Simply divide the dough into four equal parts and then roll or stretch the dough out into long ropes, about 15″ long.
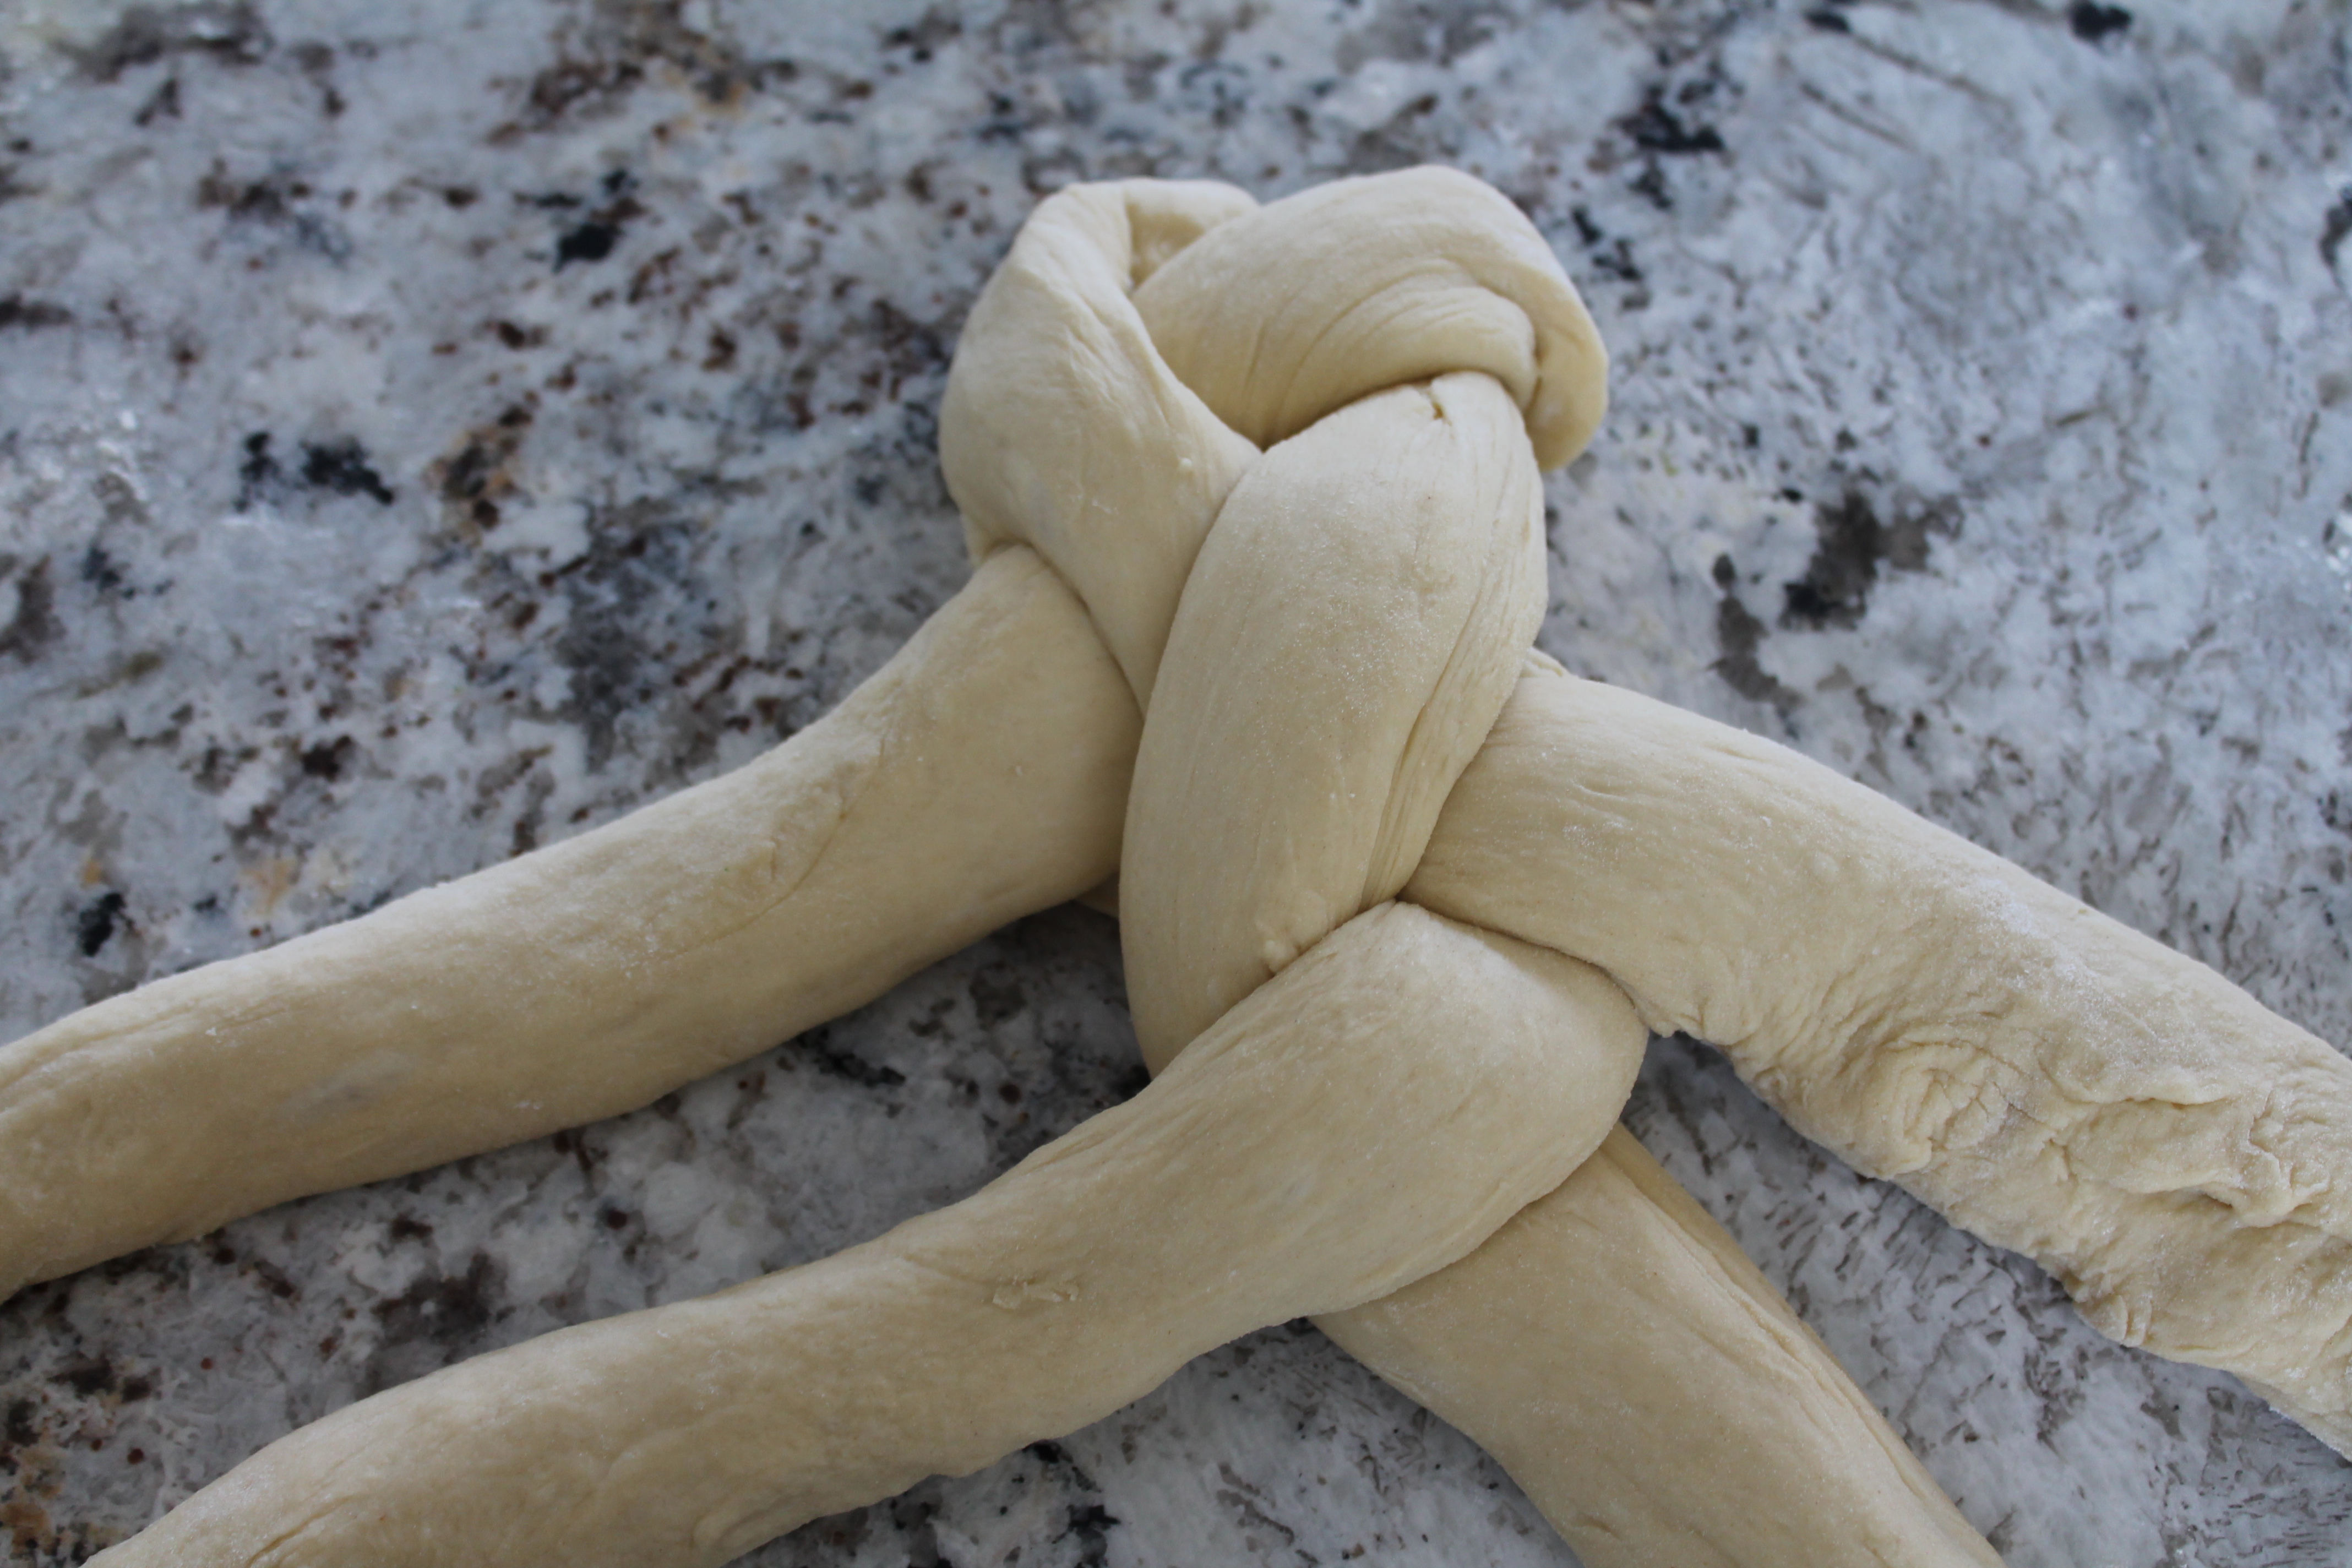 I had never made a four-strand braid before, so I had to look it up. I wanted to draw you a beautiful diagram, but instead you will have to settle for the one King Arthur Flour uses if you are a visual-spatial learner. The basic gist is:
- pinch the four ropes together at one end
- cross one of the outside strands over top of the two middle strands
- take that same strand and pull it back underneath just one of the two strands you already crossed over
- repeat steps 2-3 (over two toward the center, back underneath one toward the original side), alternating sides, until you run out of dough
- pinch the bottom ends together and tuck underneath the loaf
Ta-daa! Four-strand braid.
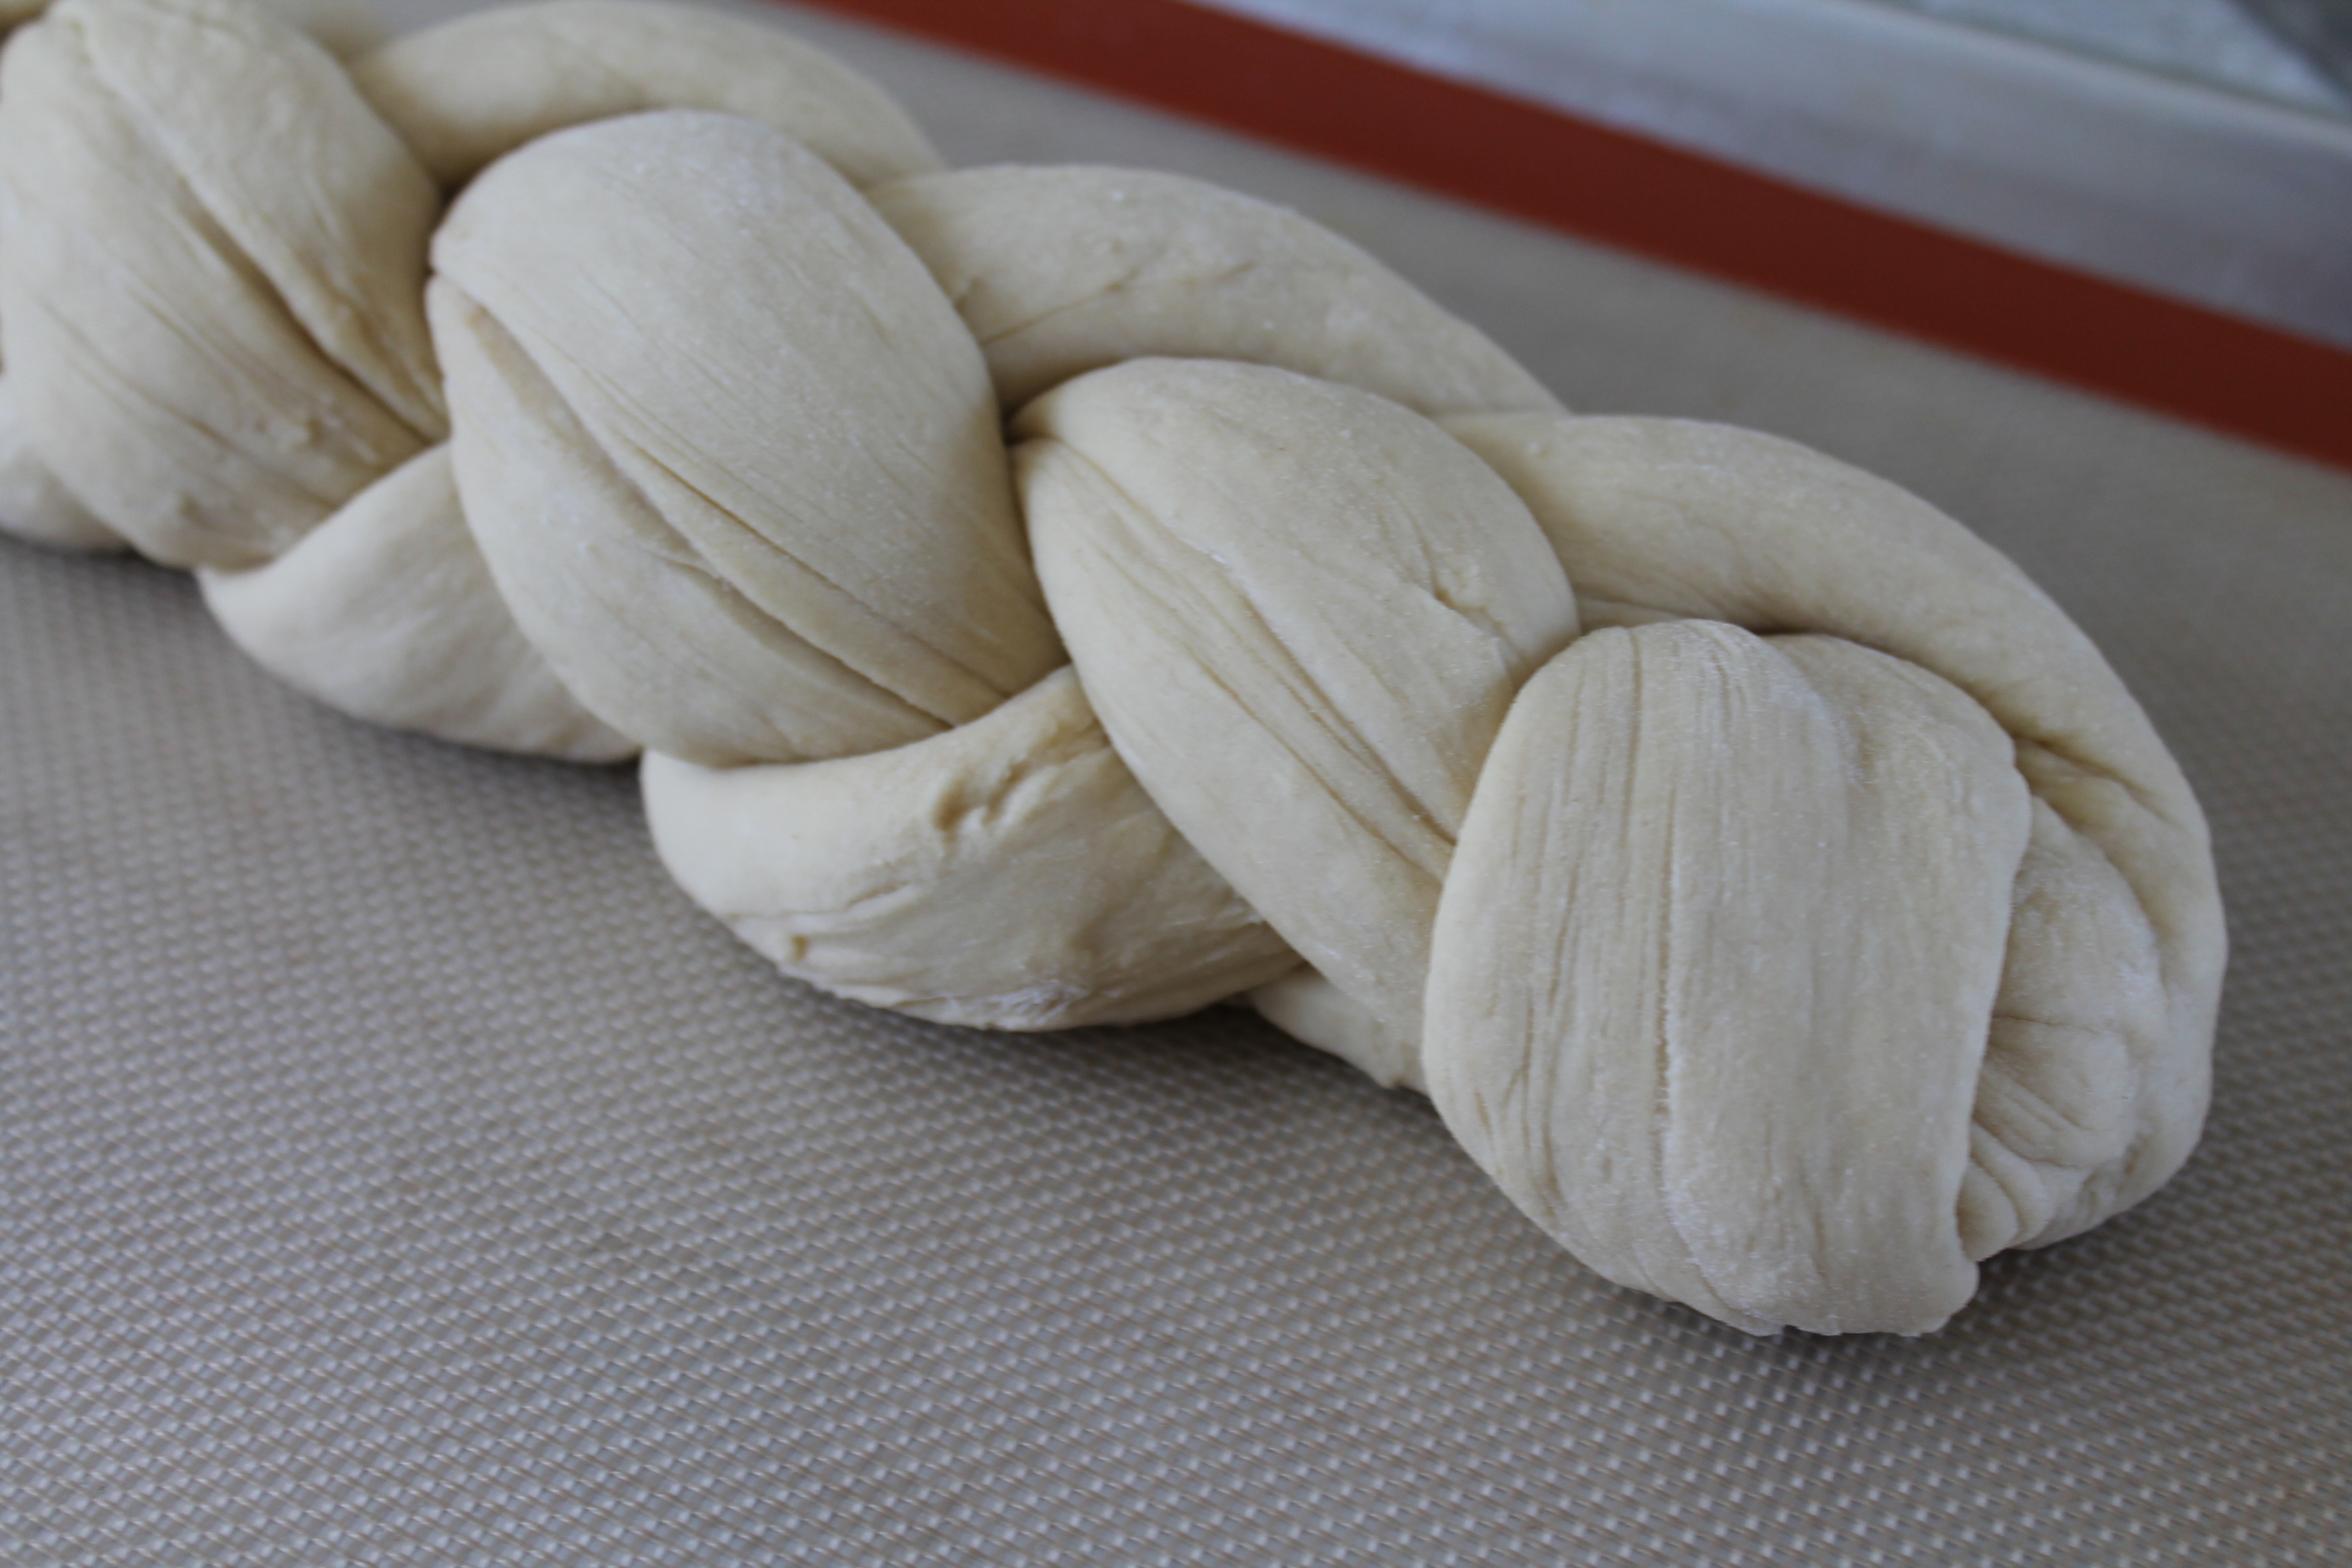 Now there seem to be two different ways to approach the final rise, after you’ve braided the bread. The first is to let the challah rise completely before baking, so that when you brush on the egg wash the whole entire loaf will bake with a burnished, glossy brown crust. I tried this and ultimately had disappointing results. The challah dough was so soft that it expanded horizontally more than vertically; by the time I brushed on the egg wash, much of the definition of the braid deflated entirely, and it didn’t much look like a braided bread by the time it came out of the oven.
The second strategy, which I preferred immensely, is to let the challah rise a short time on the counter, and finish rising in the oven. True, this does mean that some of the bread will not be a glossy, eggy baked brown on top, but your braid will also be clearly visible and beautiful, and the loaf will produce nice, round slices rather than sort of flat, oblong pieces. (Also, you will be done faster, and therefore you will be able to eat your bread sooner!)
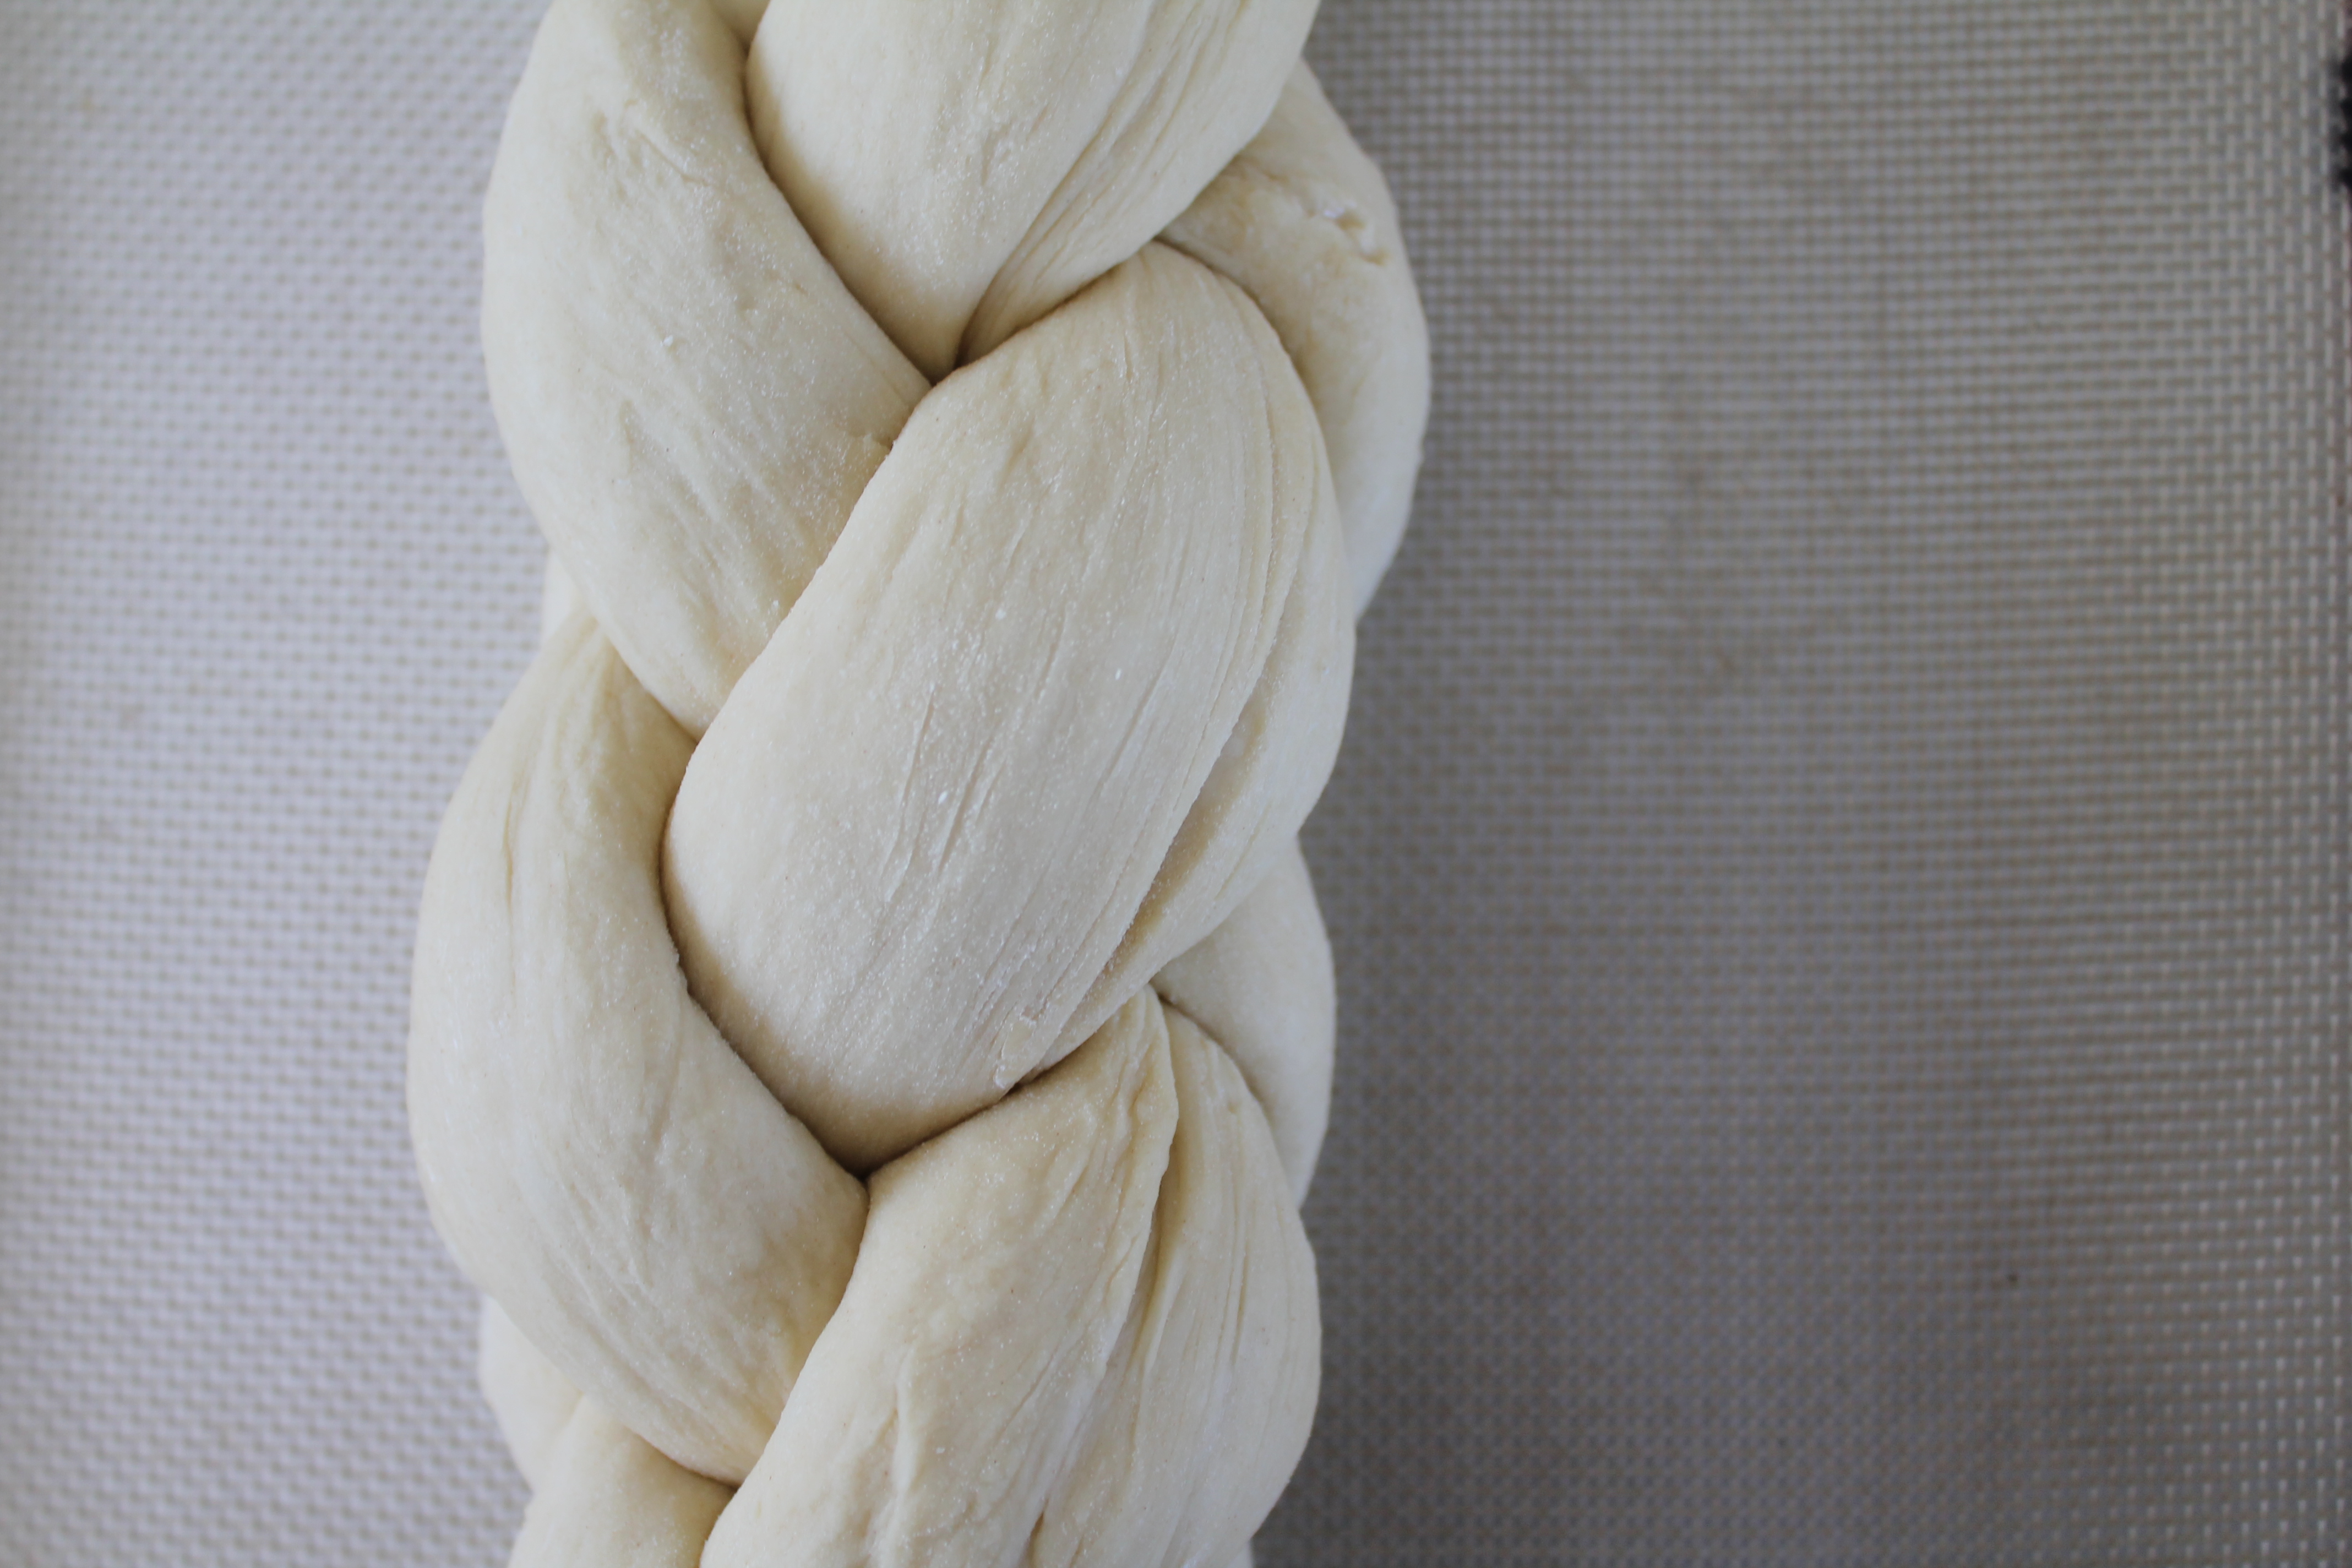 So. Let your challah rise for 30 minutes on a lined baking sheet, covered by a clean towel. This will give it more volume without letting it develop so much air that the bubbles will start to collapse.
Grab that reserved egg yolk. Mix in a splash of water, then brush the entire challah with the yolk mixture, gently, so as not to crush it.
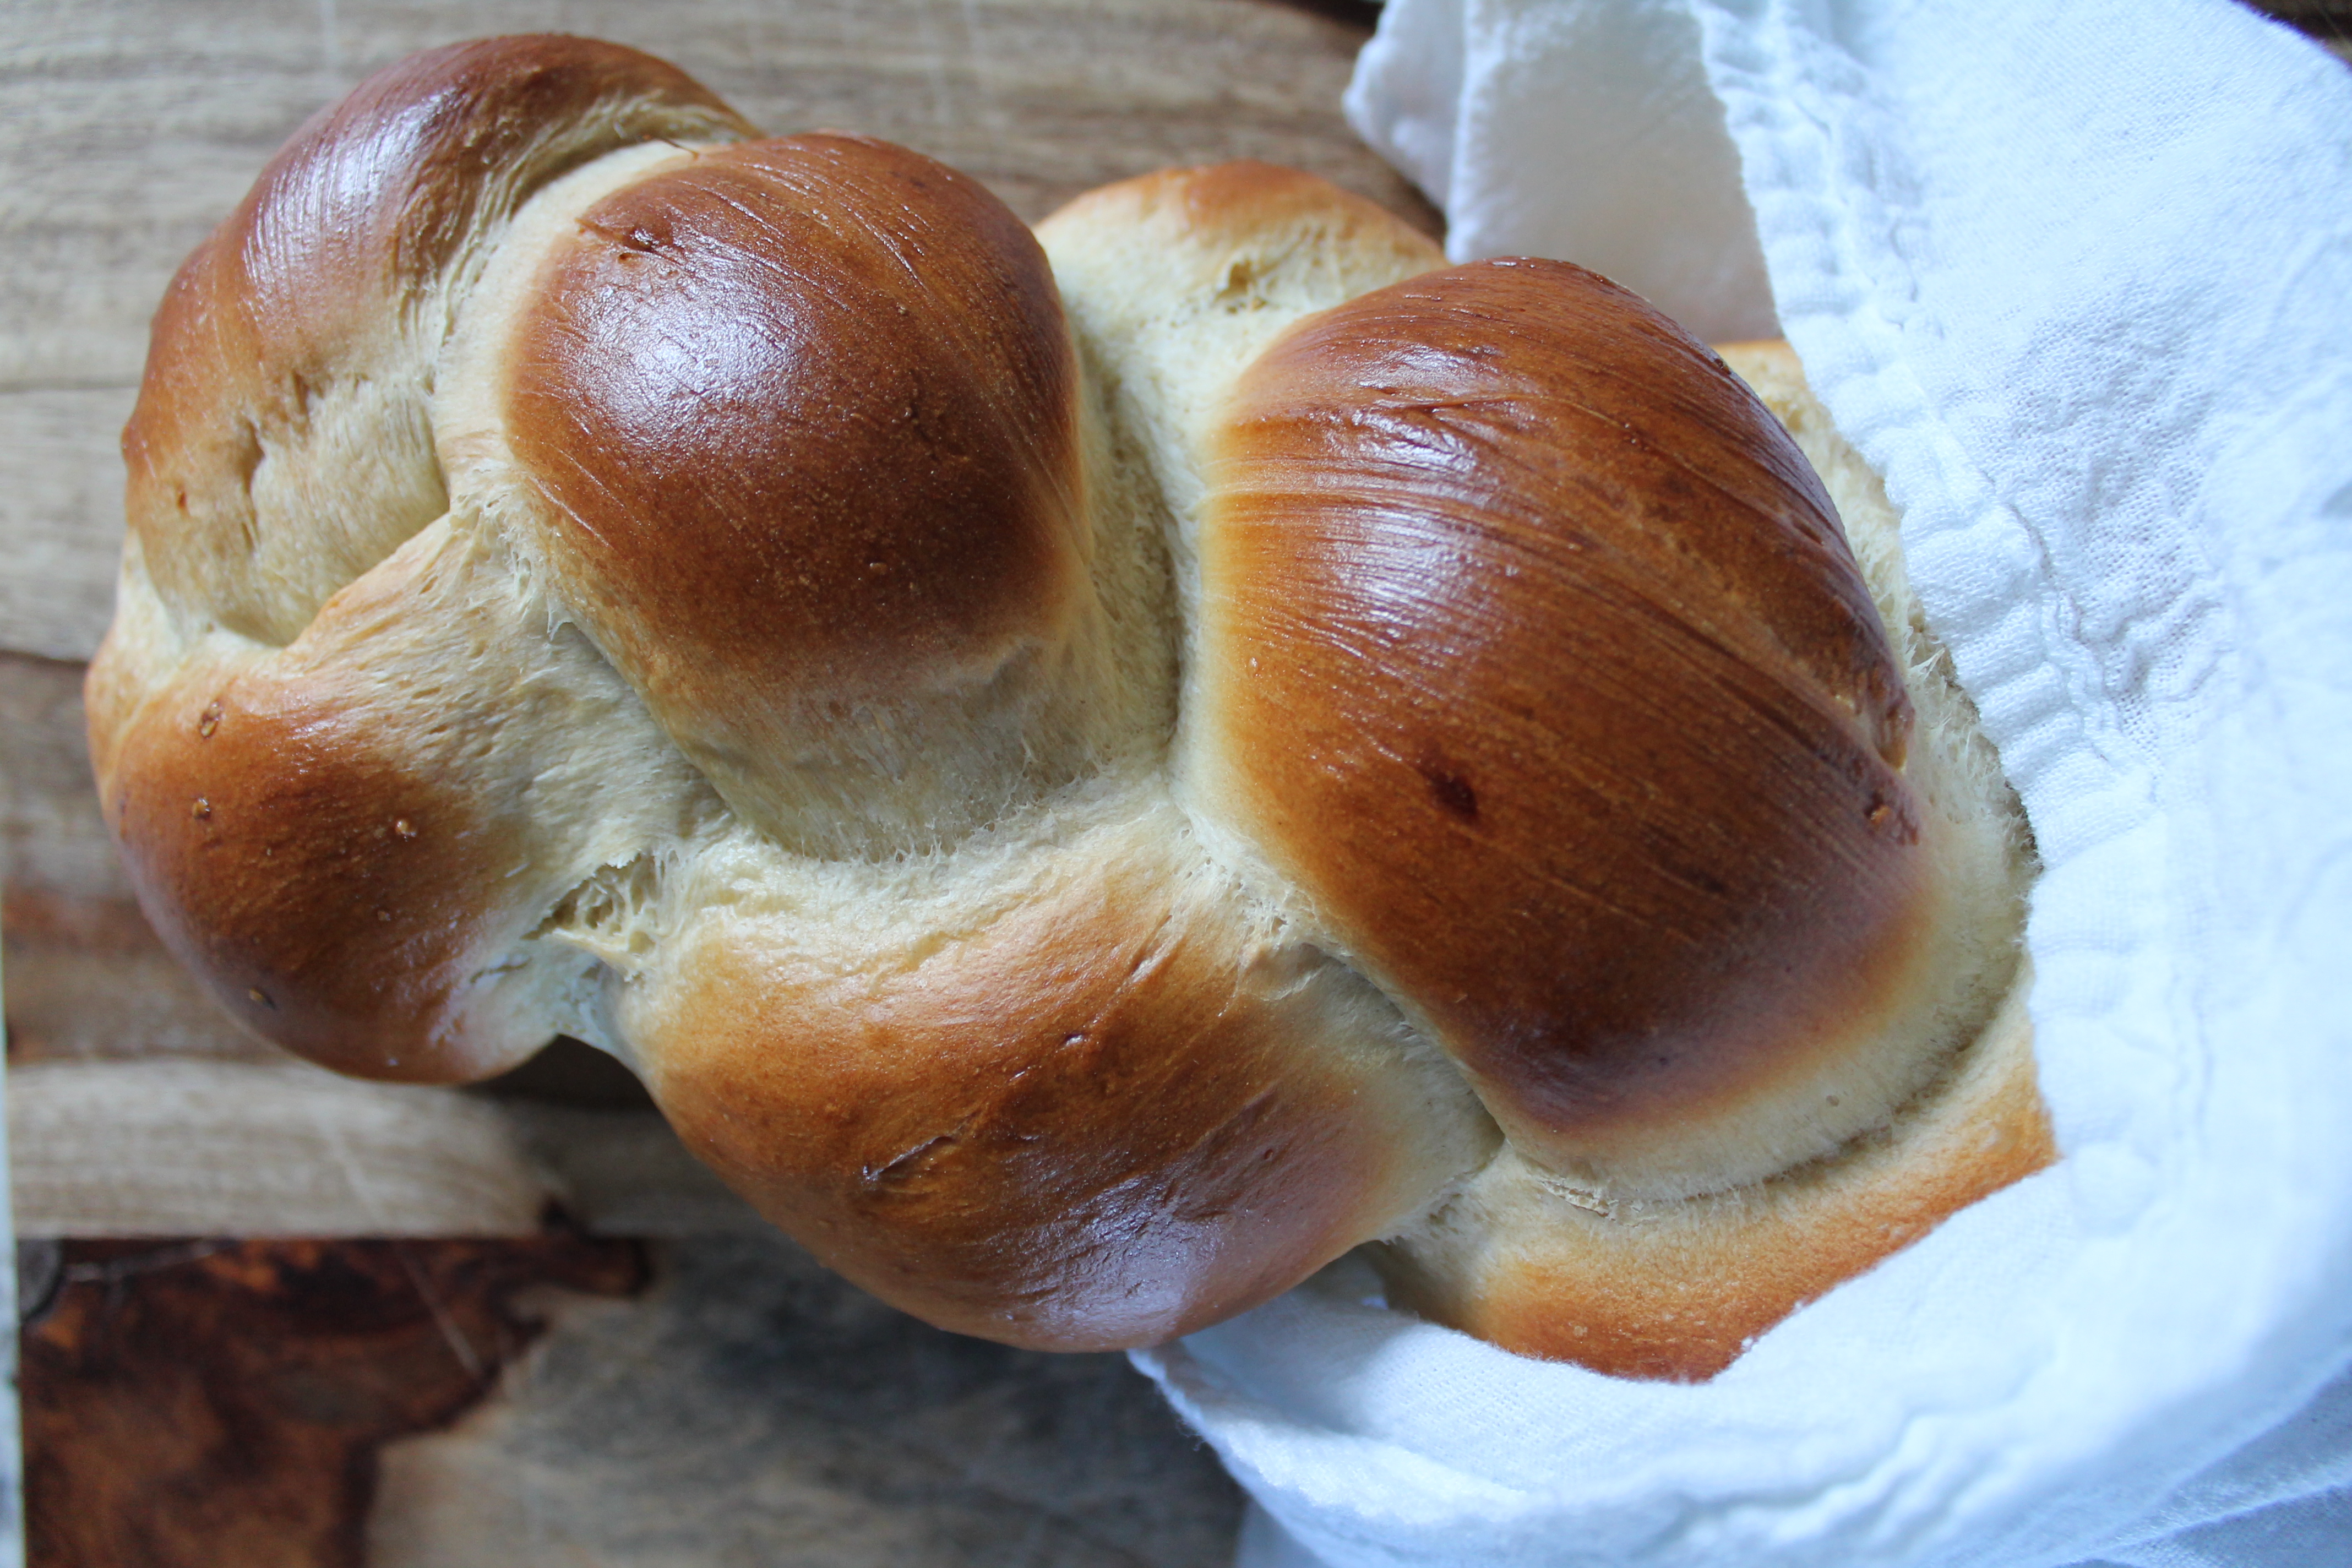
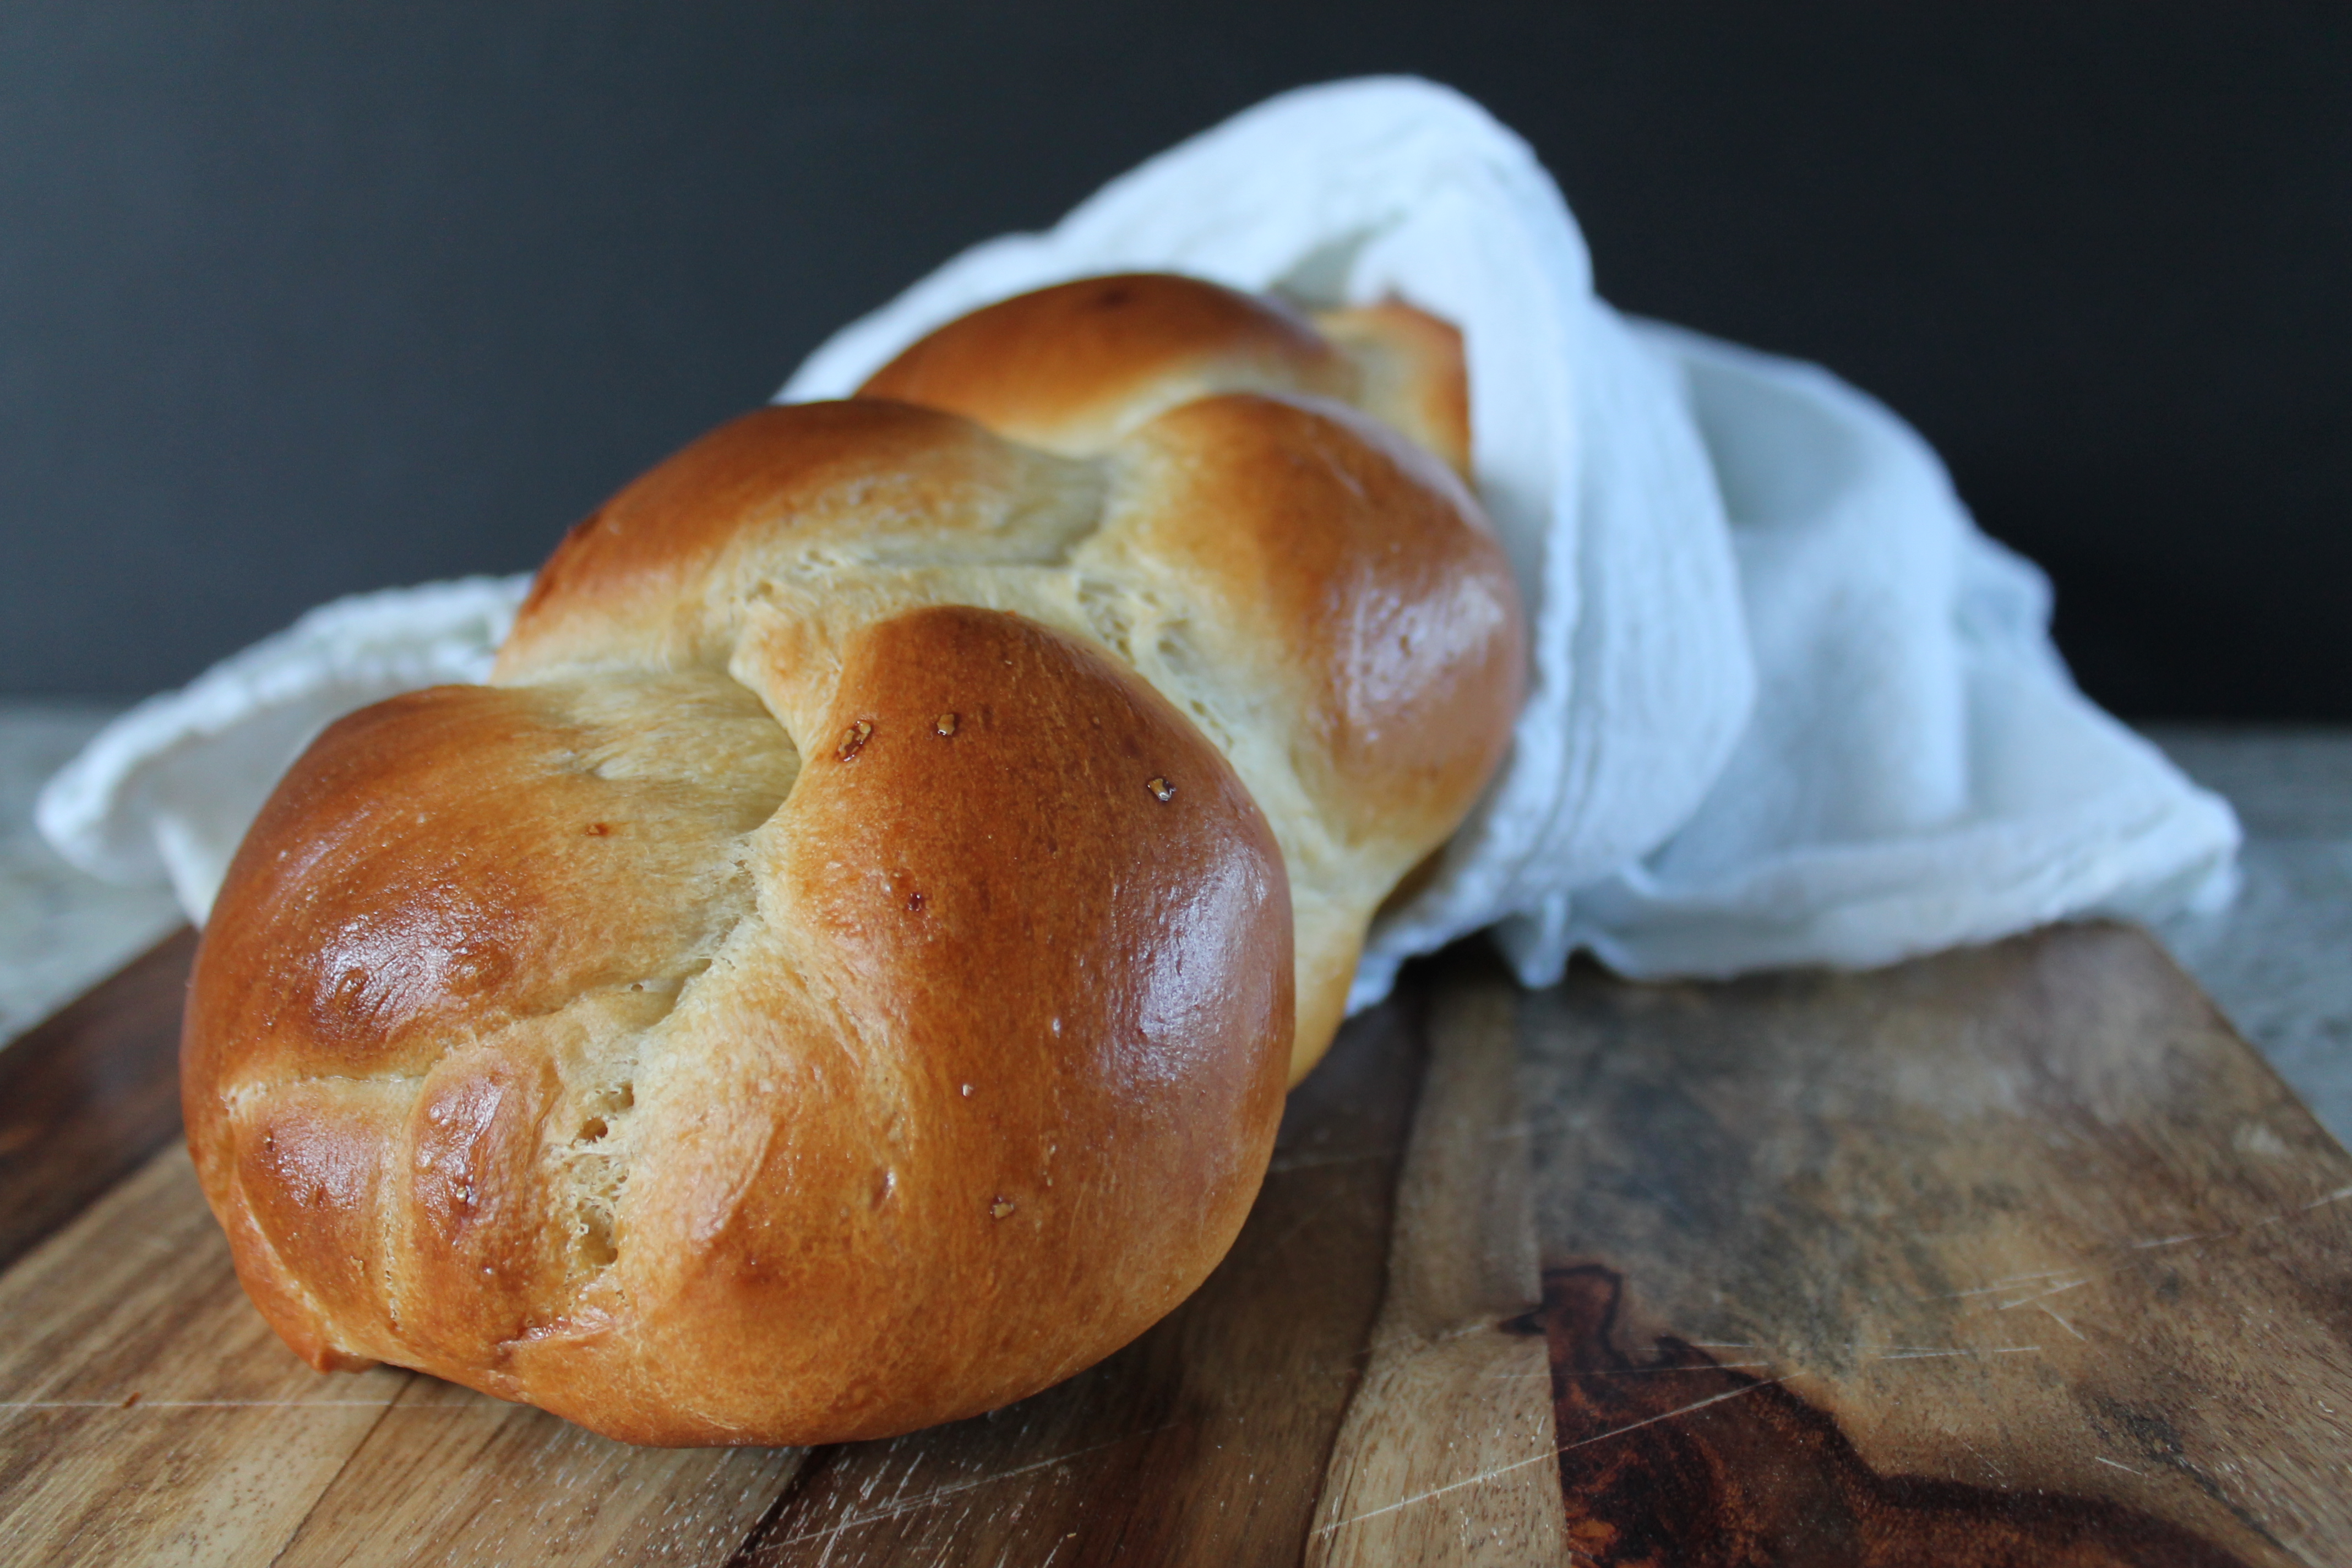 Bake for 35 minutes, until golden and aromatic. The bread should be firm on top and sound hollow when knocked.
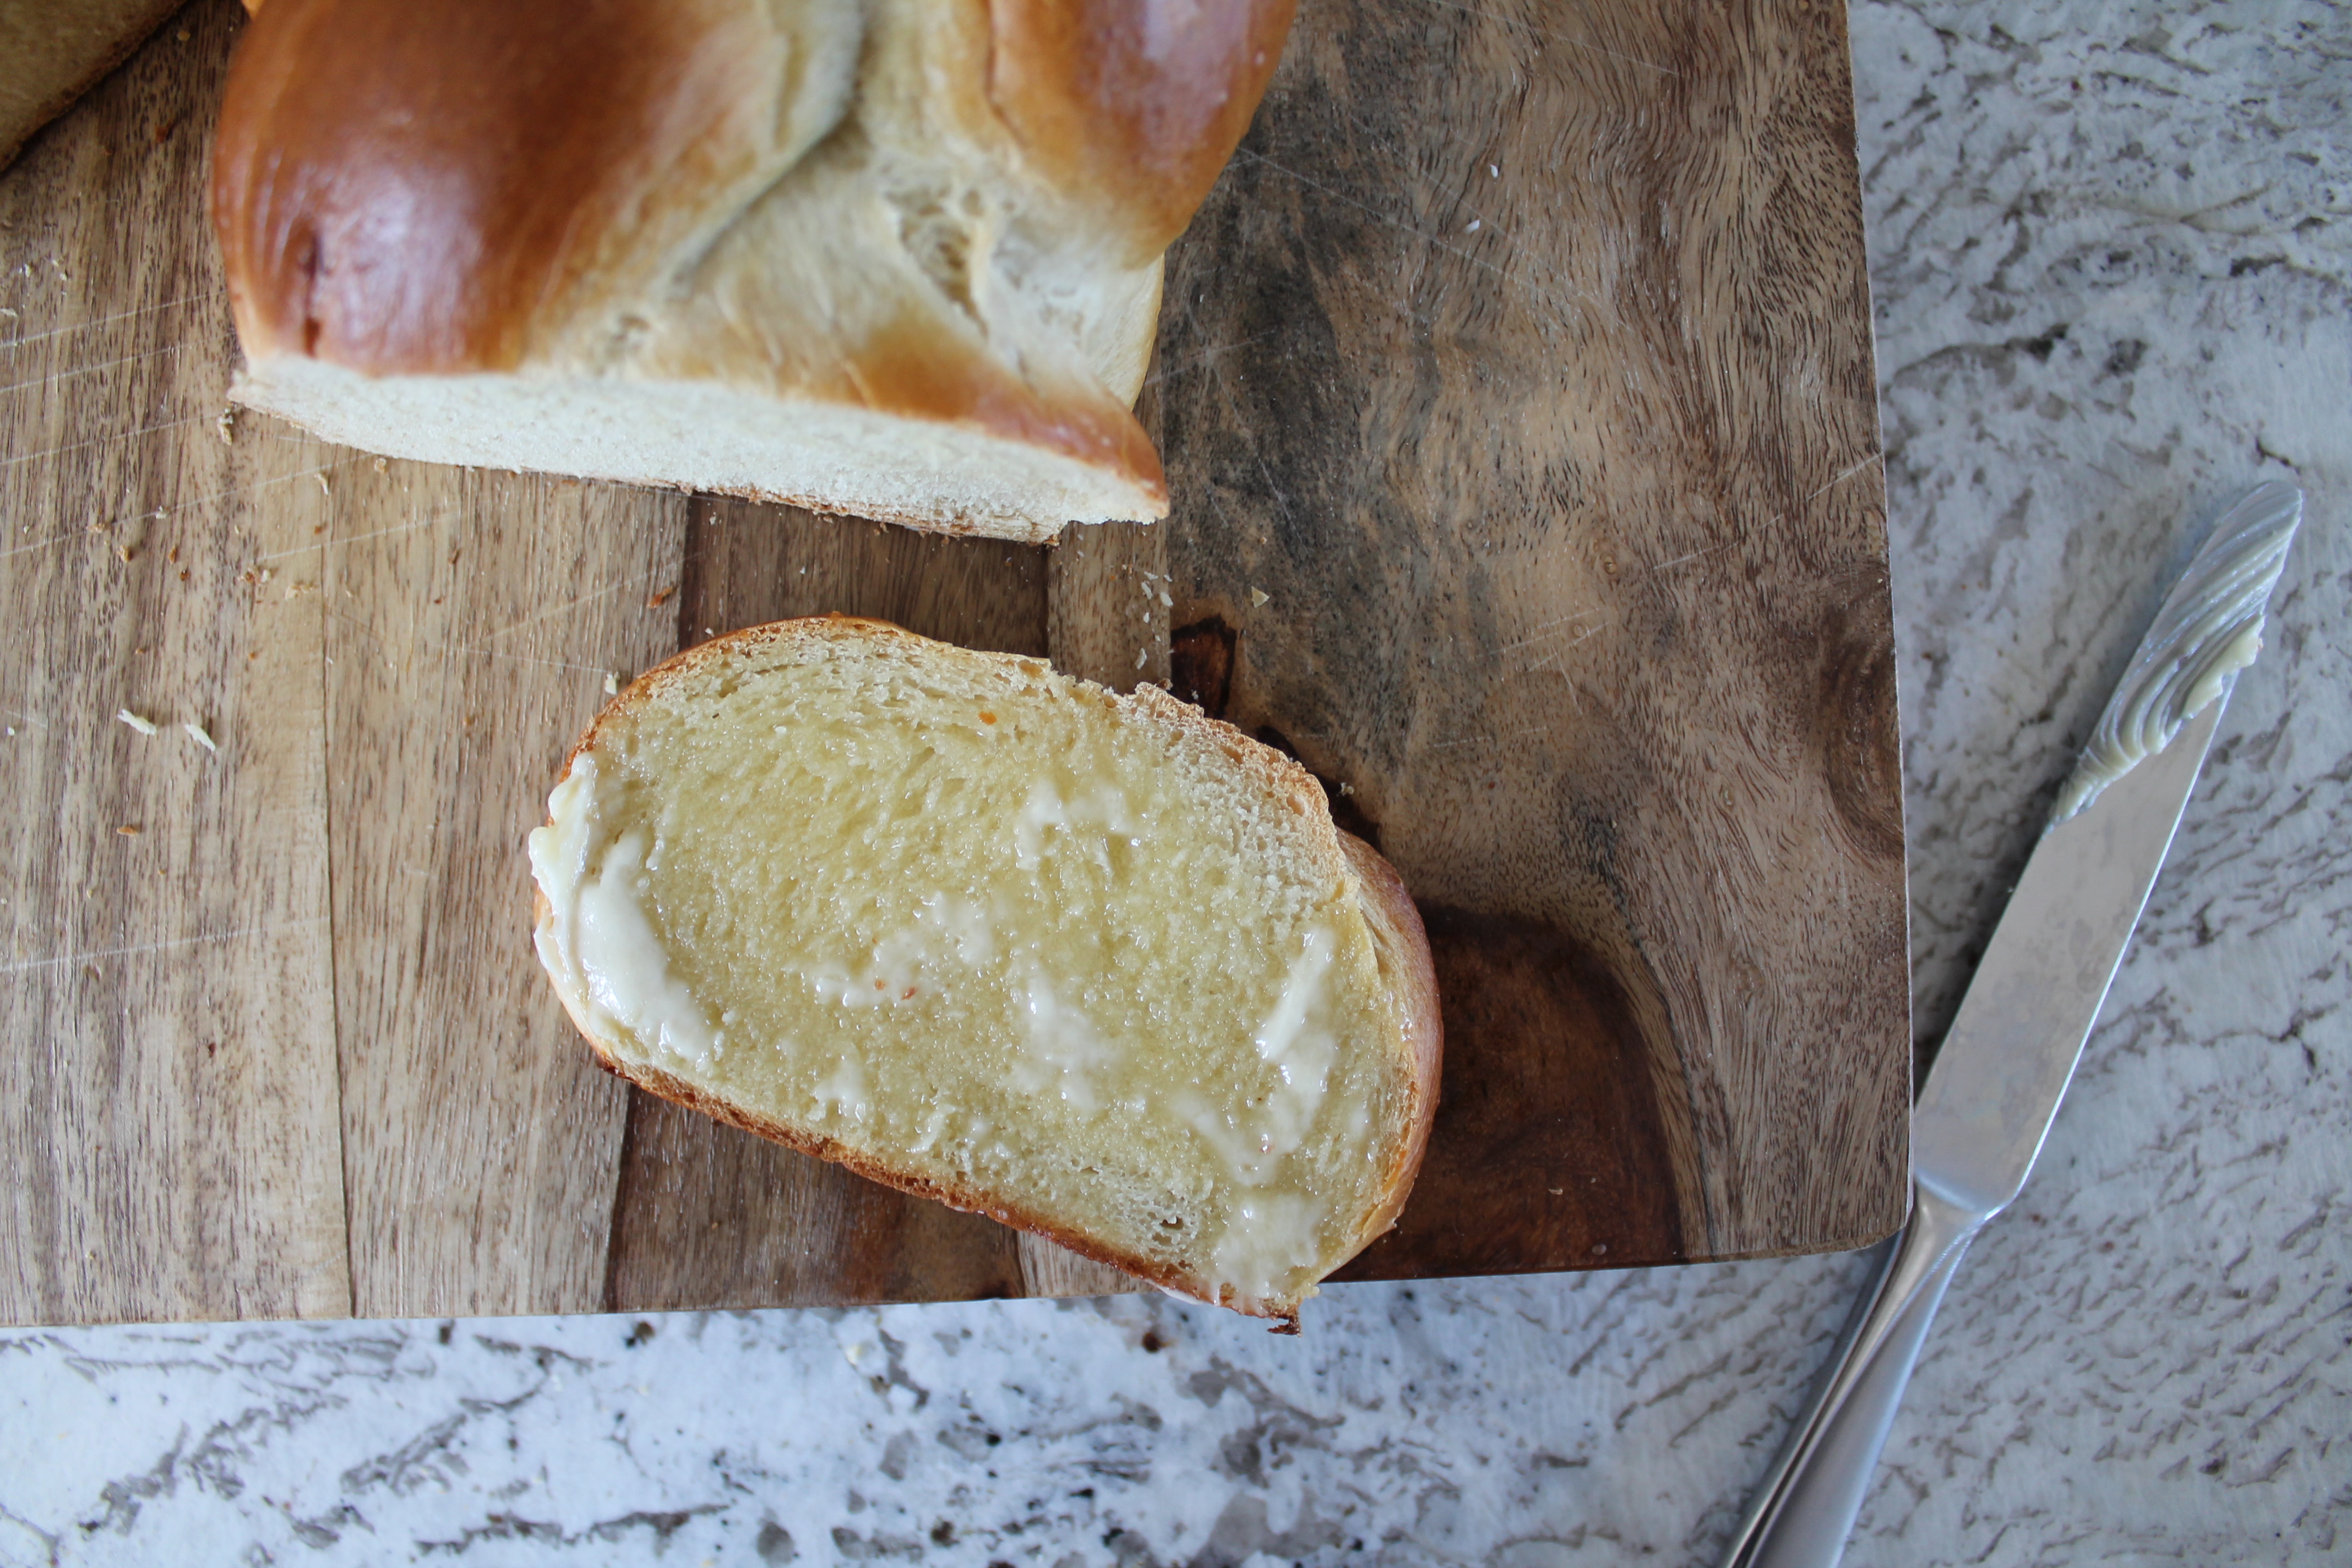
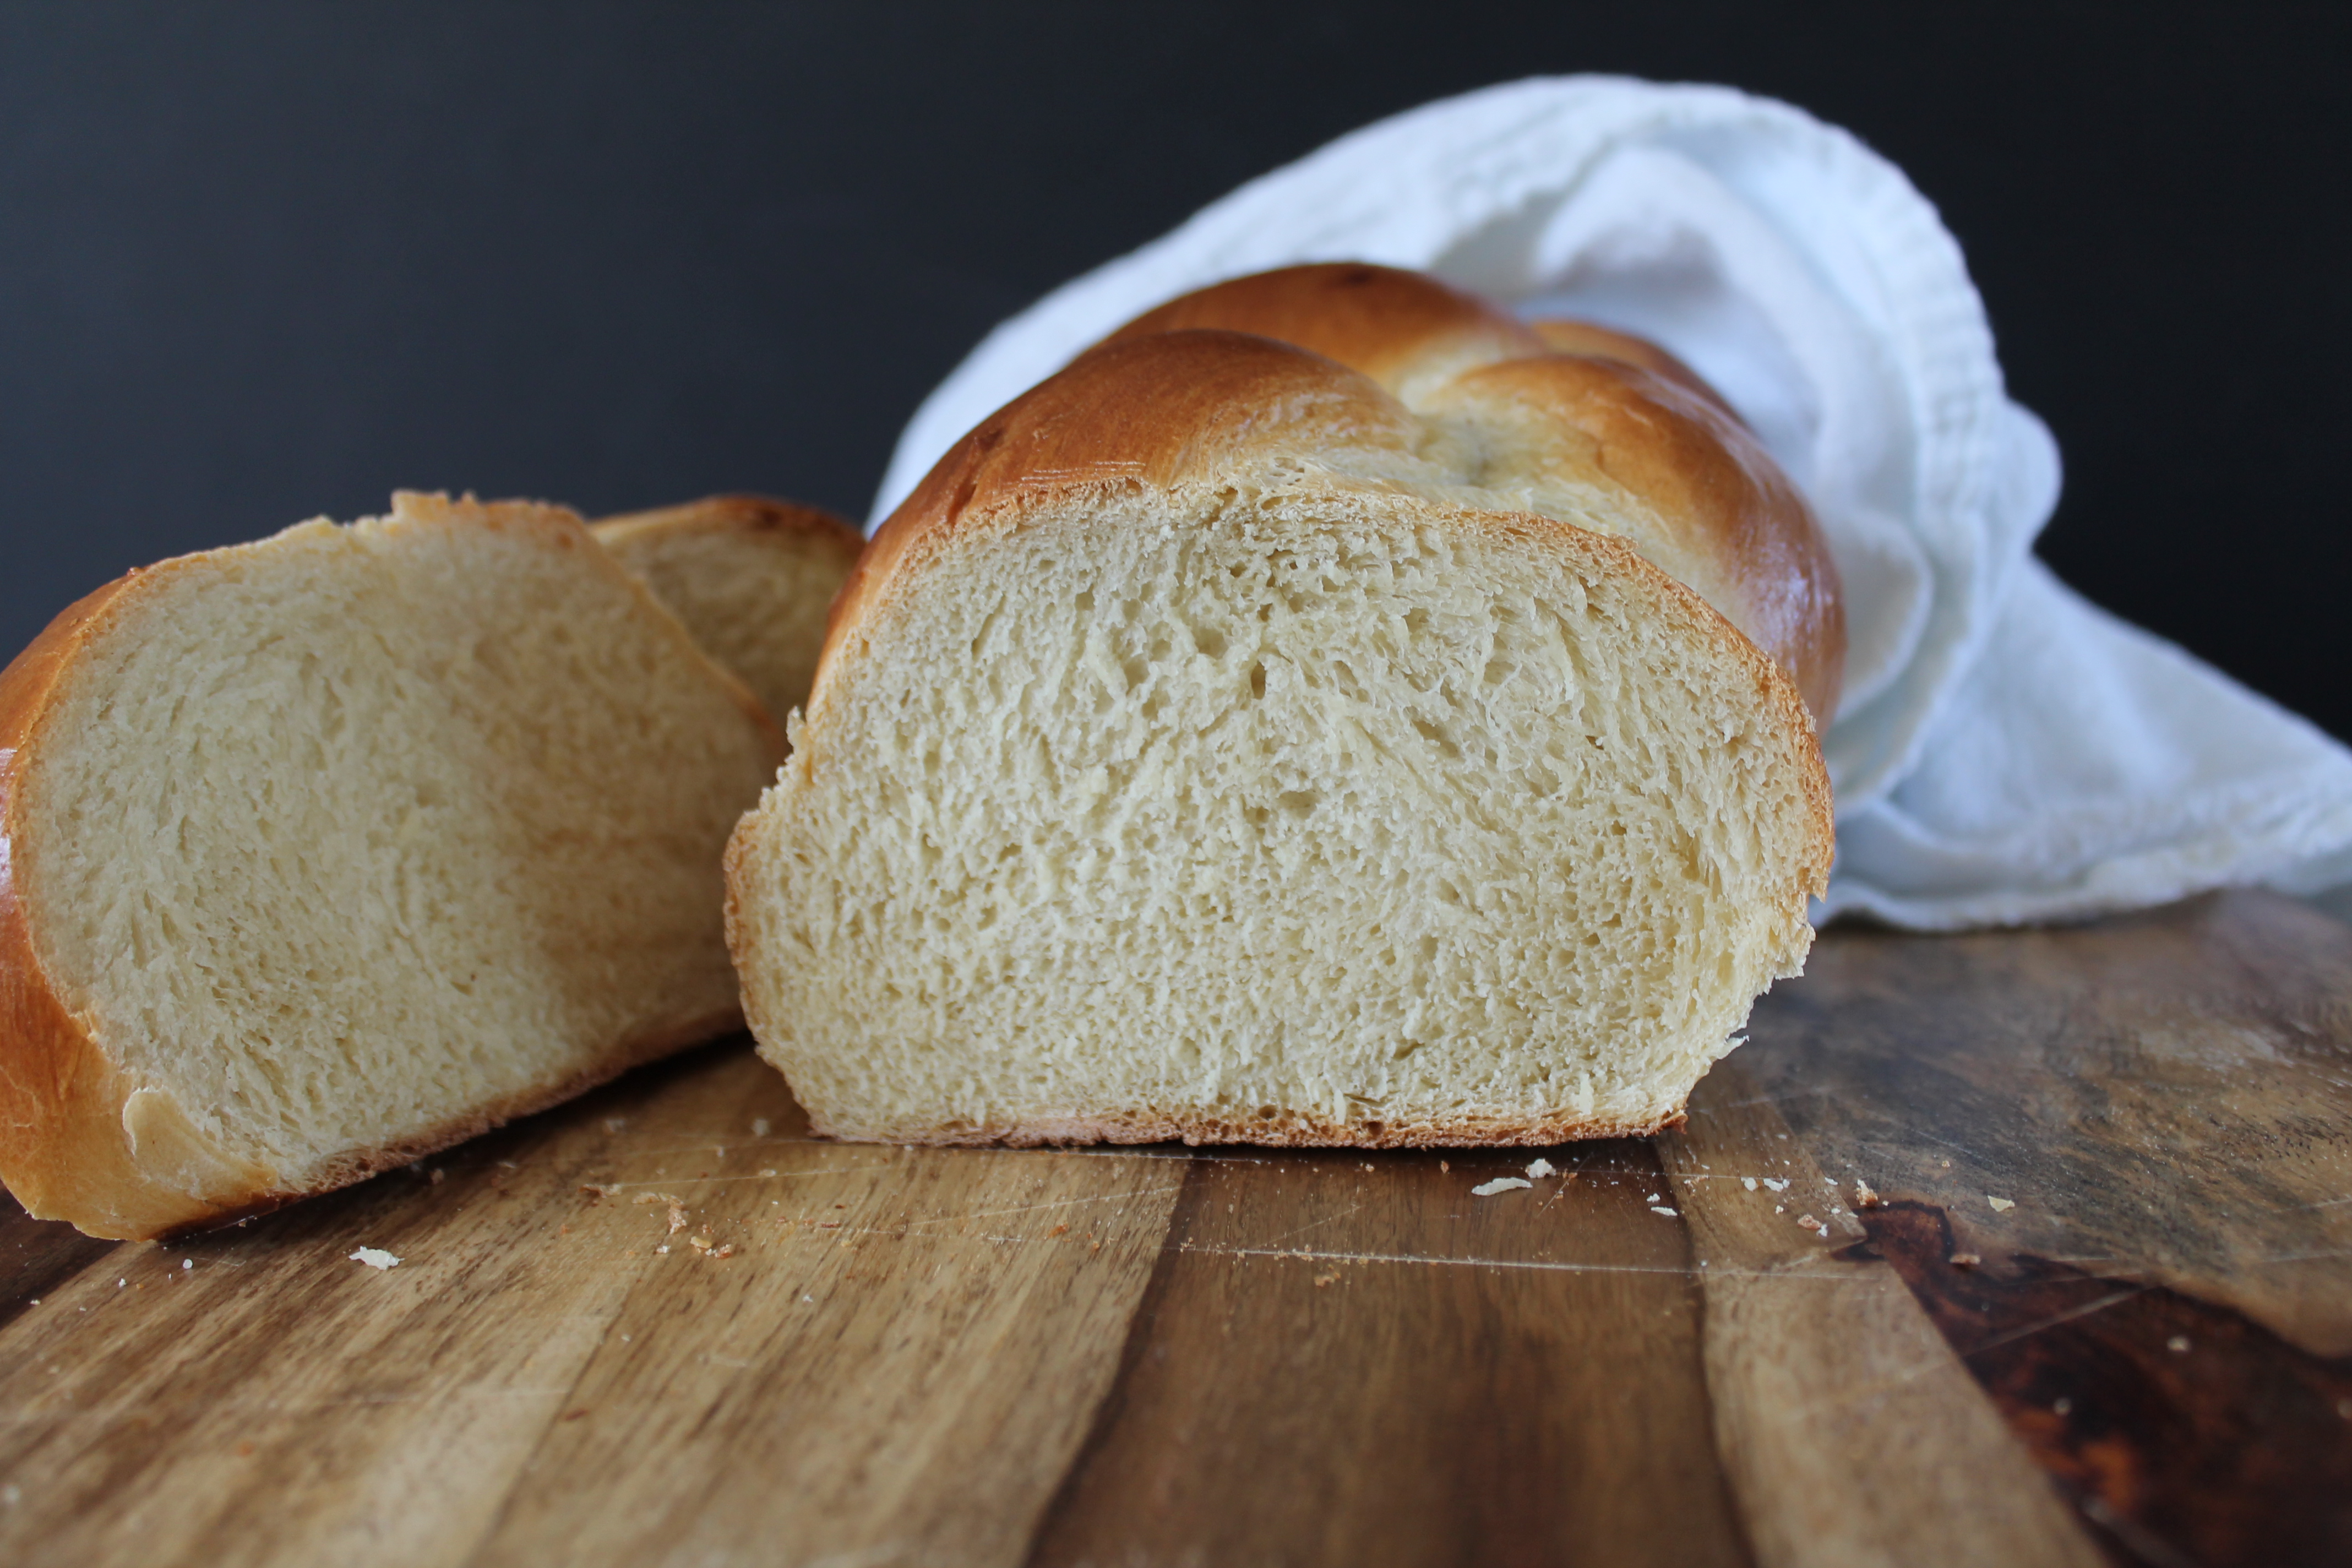 Remove the bread from the baking sheet and let it cool at least 10 minutes on a wire rack before cutting. This bread is delicious warm, with a smear of salted butter, and it also makes great French toast if you manage not to eat it all in one sitting!
Challah
lightly adapted from Oh! You Cook!
makes 1 loaf
Ingredients:
1 cup warm water
2¼ tsp. (1 package) active dry yeast
4½ cups flour, divided
2 tsp. kosher salt
2 tbsp. olive oil
2 eggs, divided
¼ cup honey
1 tbsp. water
Directions:
Combine warm water and yeast in a small bowl and let stand for 10 minutes, or until the yeast is bubbly or foamy.
Meanwhile, mix together 3½ cups flour and the salt.
Make a well in the center of the flour mixture. Add the oil, 1 whole egg, 1 egg white (reserve the yolk in an air tight container in the refrigerator), the honey, and the yeast mixture. Stir to combine.
Sprinkle ¼ cup of the remaining flour onto a clean work surface. Scrape the dough out onto the work surface. With lightly floured hands, knead the dough, working in the flour. When the dough has absorbed all of the flour, add ¼ cup cup more and knead. Knead, adding flour until the entire reserved 1 cup has been worked into the dough, about 10 minutes.
Shape the dough into a ball and transfer to a lightly oiled bowl. Turn the dough a few times to coat the surface in oil. Cover the bowl with a clean towel and set in a warm place to rise for 1 hour.
After the first rise, optionally chill the dough for 1–3 hours.
When ready to shape, divide the challah dough into four equal portions. With lightly oiled hands, roll each portion into a rope about 12–15″ long.
Pinch the ends of the four ropes together on one side and work into a braid. (Cross one outer rope over the two center ropes, then pull back under one rope toward its original side; continue, alternating sides, until reaching the end.) Tuck the bottom ends under the loaf and transfer to a baking sheet lined with a Silpat or parchment.
Let the braided challah rise, covered with a towel, for 30 minutes.
Meanwhile, preheat oven to 350°.
Just before baking, mix the reserved egg yolk with 1 tbsp. water and lightly brush the entire surface of the braid with the yolk mixture.
Bake the bread for 35 minutes, until glossy brown and firm on top.
Immediately transfer the loaf to a wire rack to cool. Cool at least 10 minutes before cutting.
Enjoy!
- One year ago: Cauliflower-Crust Pizza
- Two years ago: Spring Wheatberry Salad
- Three years ago: Buttermilk Ranch Dressing and CSA Goodness
- Four years ago: Whole Wheat Zucchini Waffles
- Five years ago: Spinach Frittata


19 comments to “Challah”
OrganicIsBeautiful - June 13, 2016
Looks delicious 😉
Sabrina 🌺🍃🌞
http://www.OrganicIsBeautiful.com
Melissa - June 16, 2016
Thanks! It was!
ohyoucook - June 13, 2016
Great job on the braiding!
Melissa - June 13, 2016
Thanks! We have really been enjoying all the challah here!
Wendy, A Day in the Life on the Farm - June 13, 2016
This looks amazing. I have never made a 4 braid bread either. I think I will let my kitchen aid do all that kneading though. Thanks for sharing.
Melissa - June 16, 2016
That’s a good idea!
Corina - June 13, 2016
It looks absolutely beautiful – I love homemade bread but don’t often have time to make it at the moment.
Melissa - June 16, 2016
That’s honestly why I end up sticking my dough in the fridge half the time I bake bread. It doesn’t hurt it, and then I can work on my schedule! I hope you get a chance to try this some time!
Cookaholic Wife (@cookaholicwife) - June 13, 2016
Looks like you mastered the braiding!
Melissa - June 16, 2016
It took a few tries of baking this recipe, but I think I understand the braid now! Thanks!
Sarah@WellDined - June 13, 2016
Gorgeous! You are such a pro baker!
Melissa - June 16, 2016
Thanks! Though, you are around for many of my screw-ups as well… 🙂
Linda @ 2 Cookin Mamas - June 13, 2016
That’s one great looking bread! i don’t think it would last long in our house either!
Melissa - June 16, 2016
Seriously. Is there anything better than fresh baked bread?
Jean - June 13, 2016
Oh my gosh. I need this in my life. Can’t wait to learn that braid.
Melissa - June 16, 2016
Let me know how it goes! Challah is pretty much amazing.
traci - June 14, 2016
Absolutely gorgeous! We love fresh bread here.
Melissa - June 16, 2016
Thanks!
chefceaser - June 14, 2016
Reblogged this on Chef Ceaser.