Here’s some big news: We are expecting our second baby this coming spring! A little girl!
Jake is very excited to become a big brother. It’s so cute to see the things that stand out to him: he is sure that “Baby Nugget” spends all her time swimming (and she may or may not also be inside his tummy, too); some of his toys have now been earmarked to share with the baby; and he is very concerned that his sister may have to sleep in the same room as the vacuum cleaner.
Here’s some more big news: We just moved to a new house!
This is a super crazy season of life. For months (and maybe you noticed by my conspicuous absence…) I was too exhausted and grossed out to cook anything, and we subsisted largely on Taco Bell (let’s blame that on the baby) and pancakes. Then, at last, I recovered some of my energy and poured it all into making a wedding cake and packing up everything I own to move to a wonderful, amazing, beautiful new house!
It’s been hectic and quite emotional, and I don’t think that’s just the hormones talking.
Now, in the middle of unpacking Christmas has reared its dear sweet head, and it’s definitely time to break out all the delicious cookie recipes and get baking.
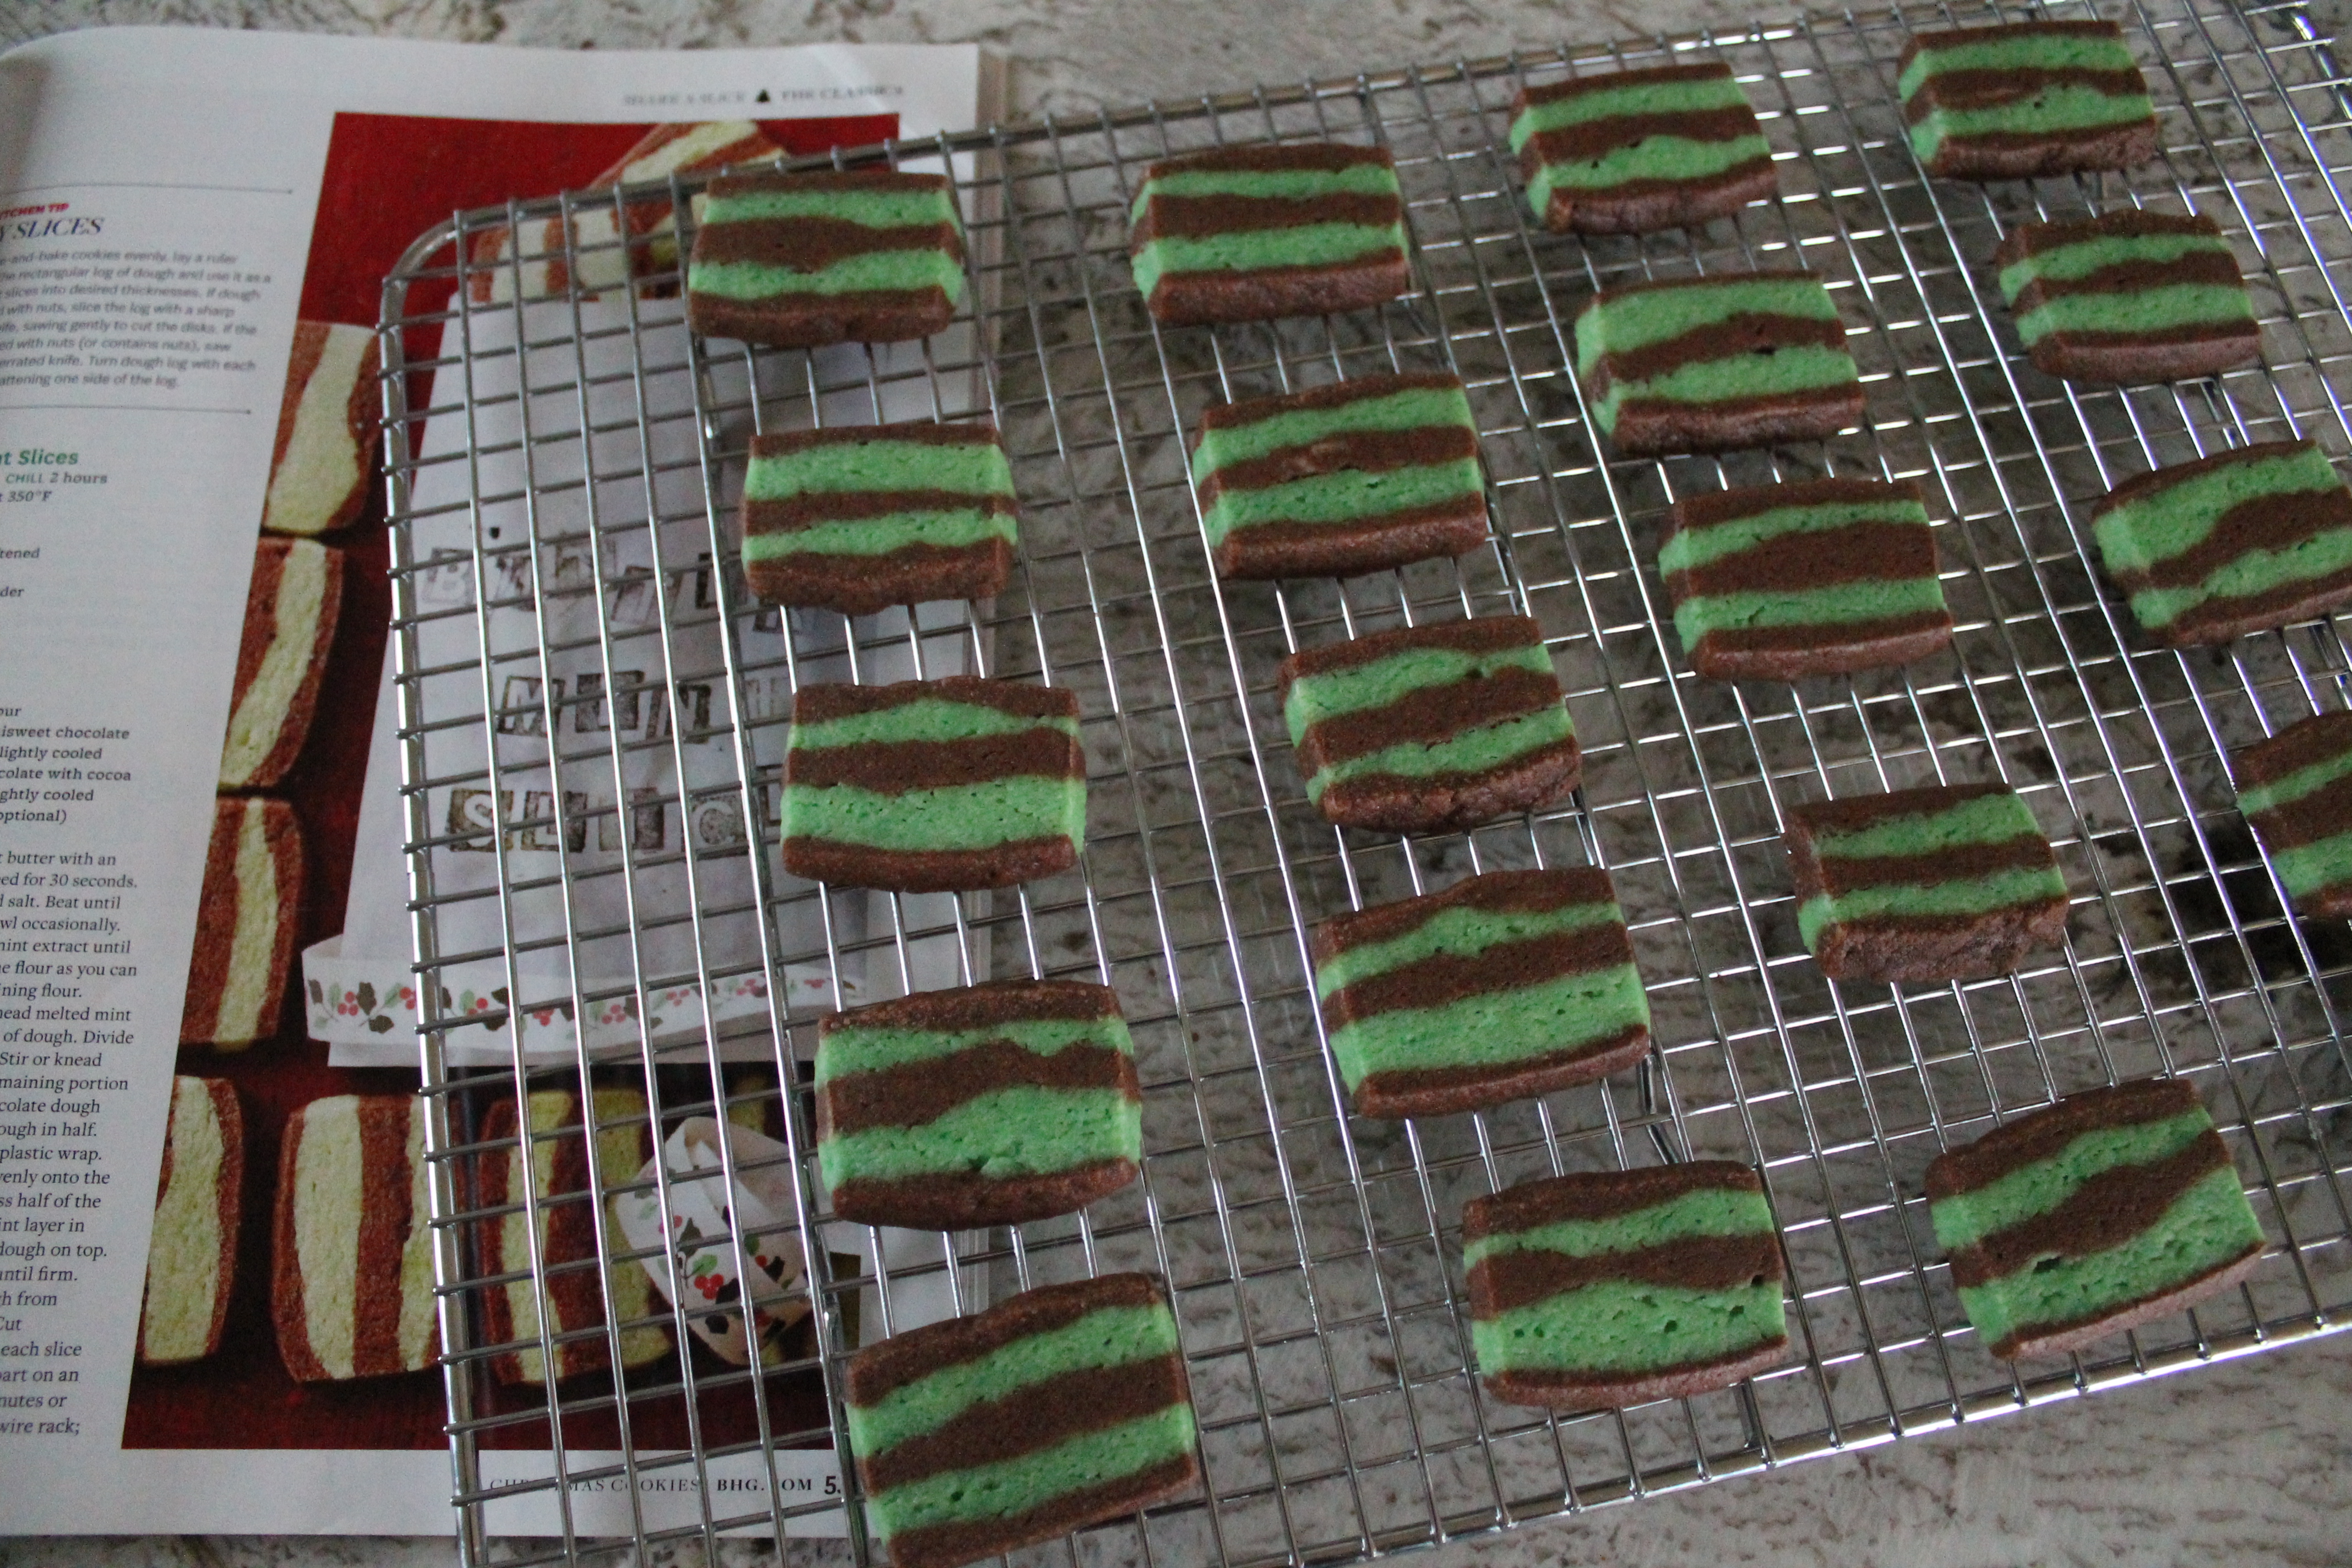
I love chocolate and mint together during the holiday season, and these buttery, minty icebox cookies are fairly easy to make. Not only that, but they are cute and festive!
The dough for these cookies couldn’t be quicker. I whipped it out while Jake was eating breakfast, and he didn’t even notice that I was baking!
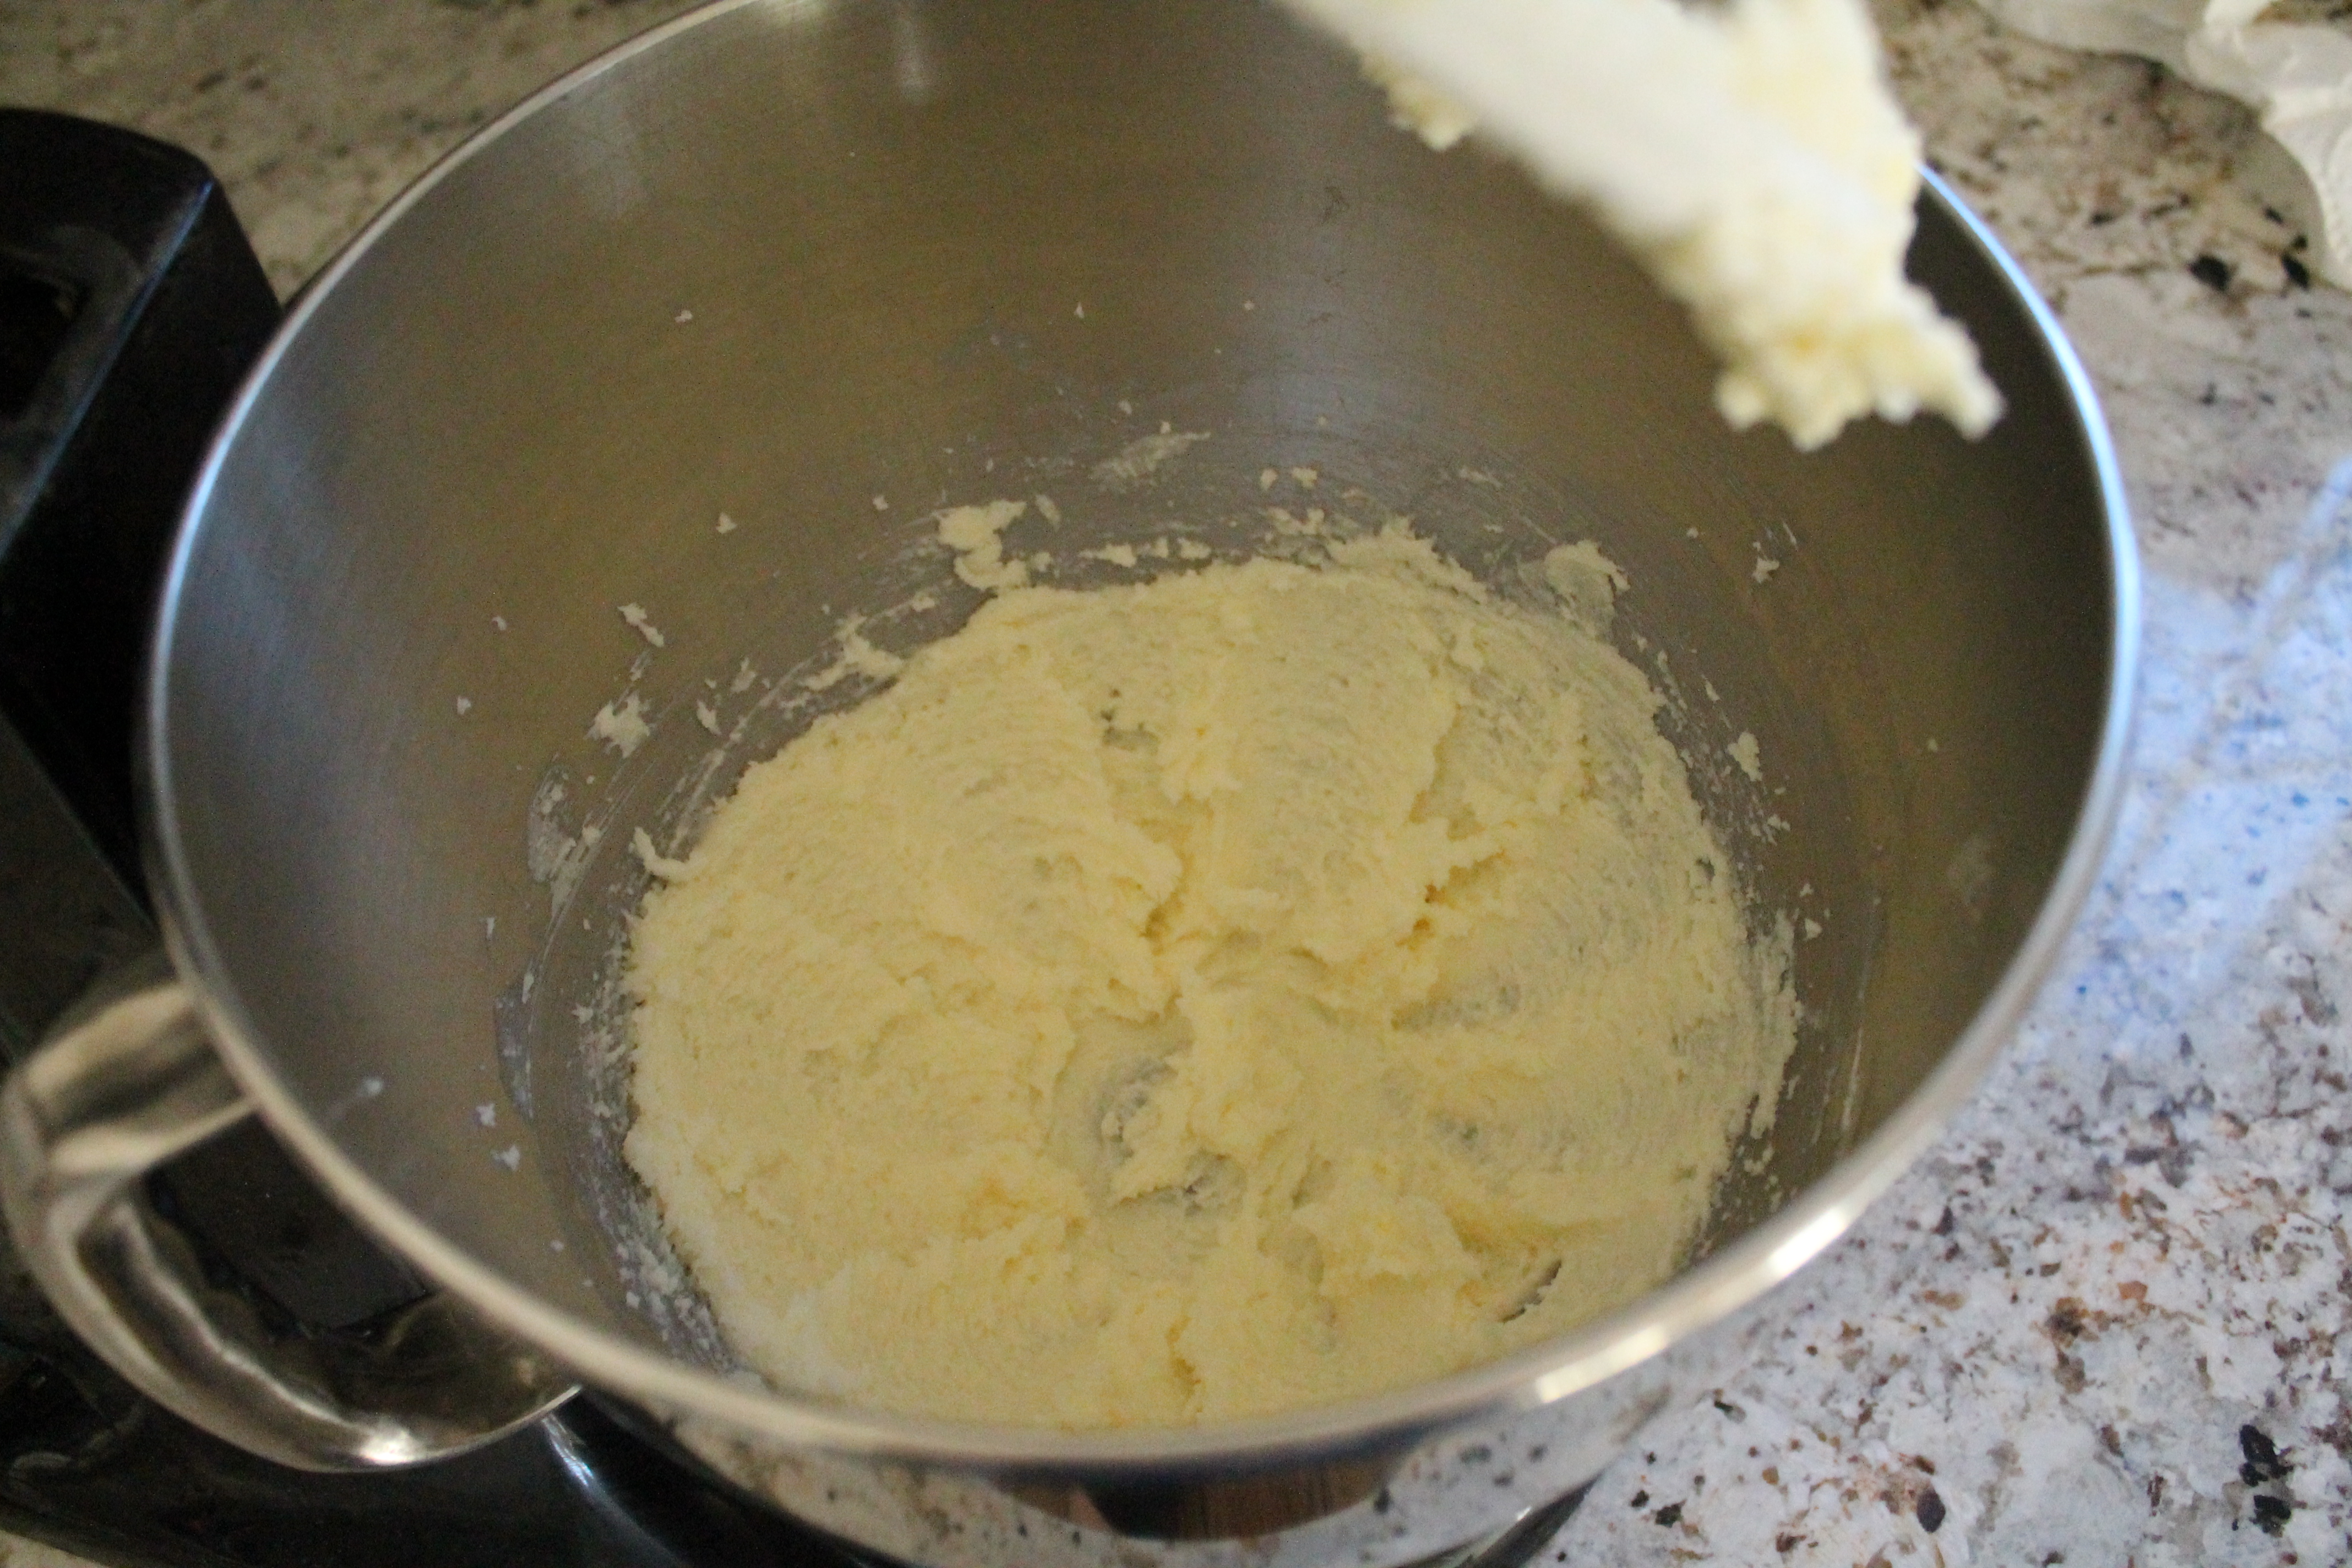 Beat soft, room temperature butter until it is smooth and creamy. Oh, new house discovery: butter doesn’t soften on the counter properly if you have stone countertops. Ha! Who knew that my dream kitchen would now require me to insulate my butter from the naturally cold granite counter? (I’m guessing anyone who has stone countertops could have told me that…but it simply never occurred to me before.)
Add sugar, baking powder, and salt and beat until completely combined.
Beat in the egg, milk, vanilla, and ½ tsp. mint extract. My mixture looked quite soupy at this point, and a little lumpy from flecks of still-chilly butter. But it all turned out fine in the end!
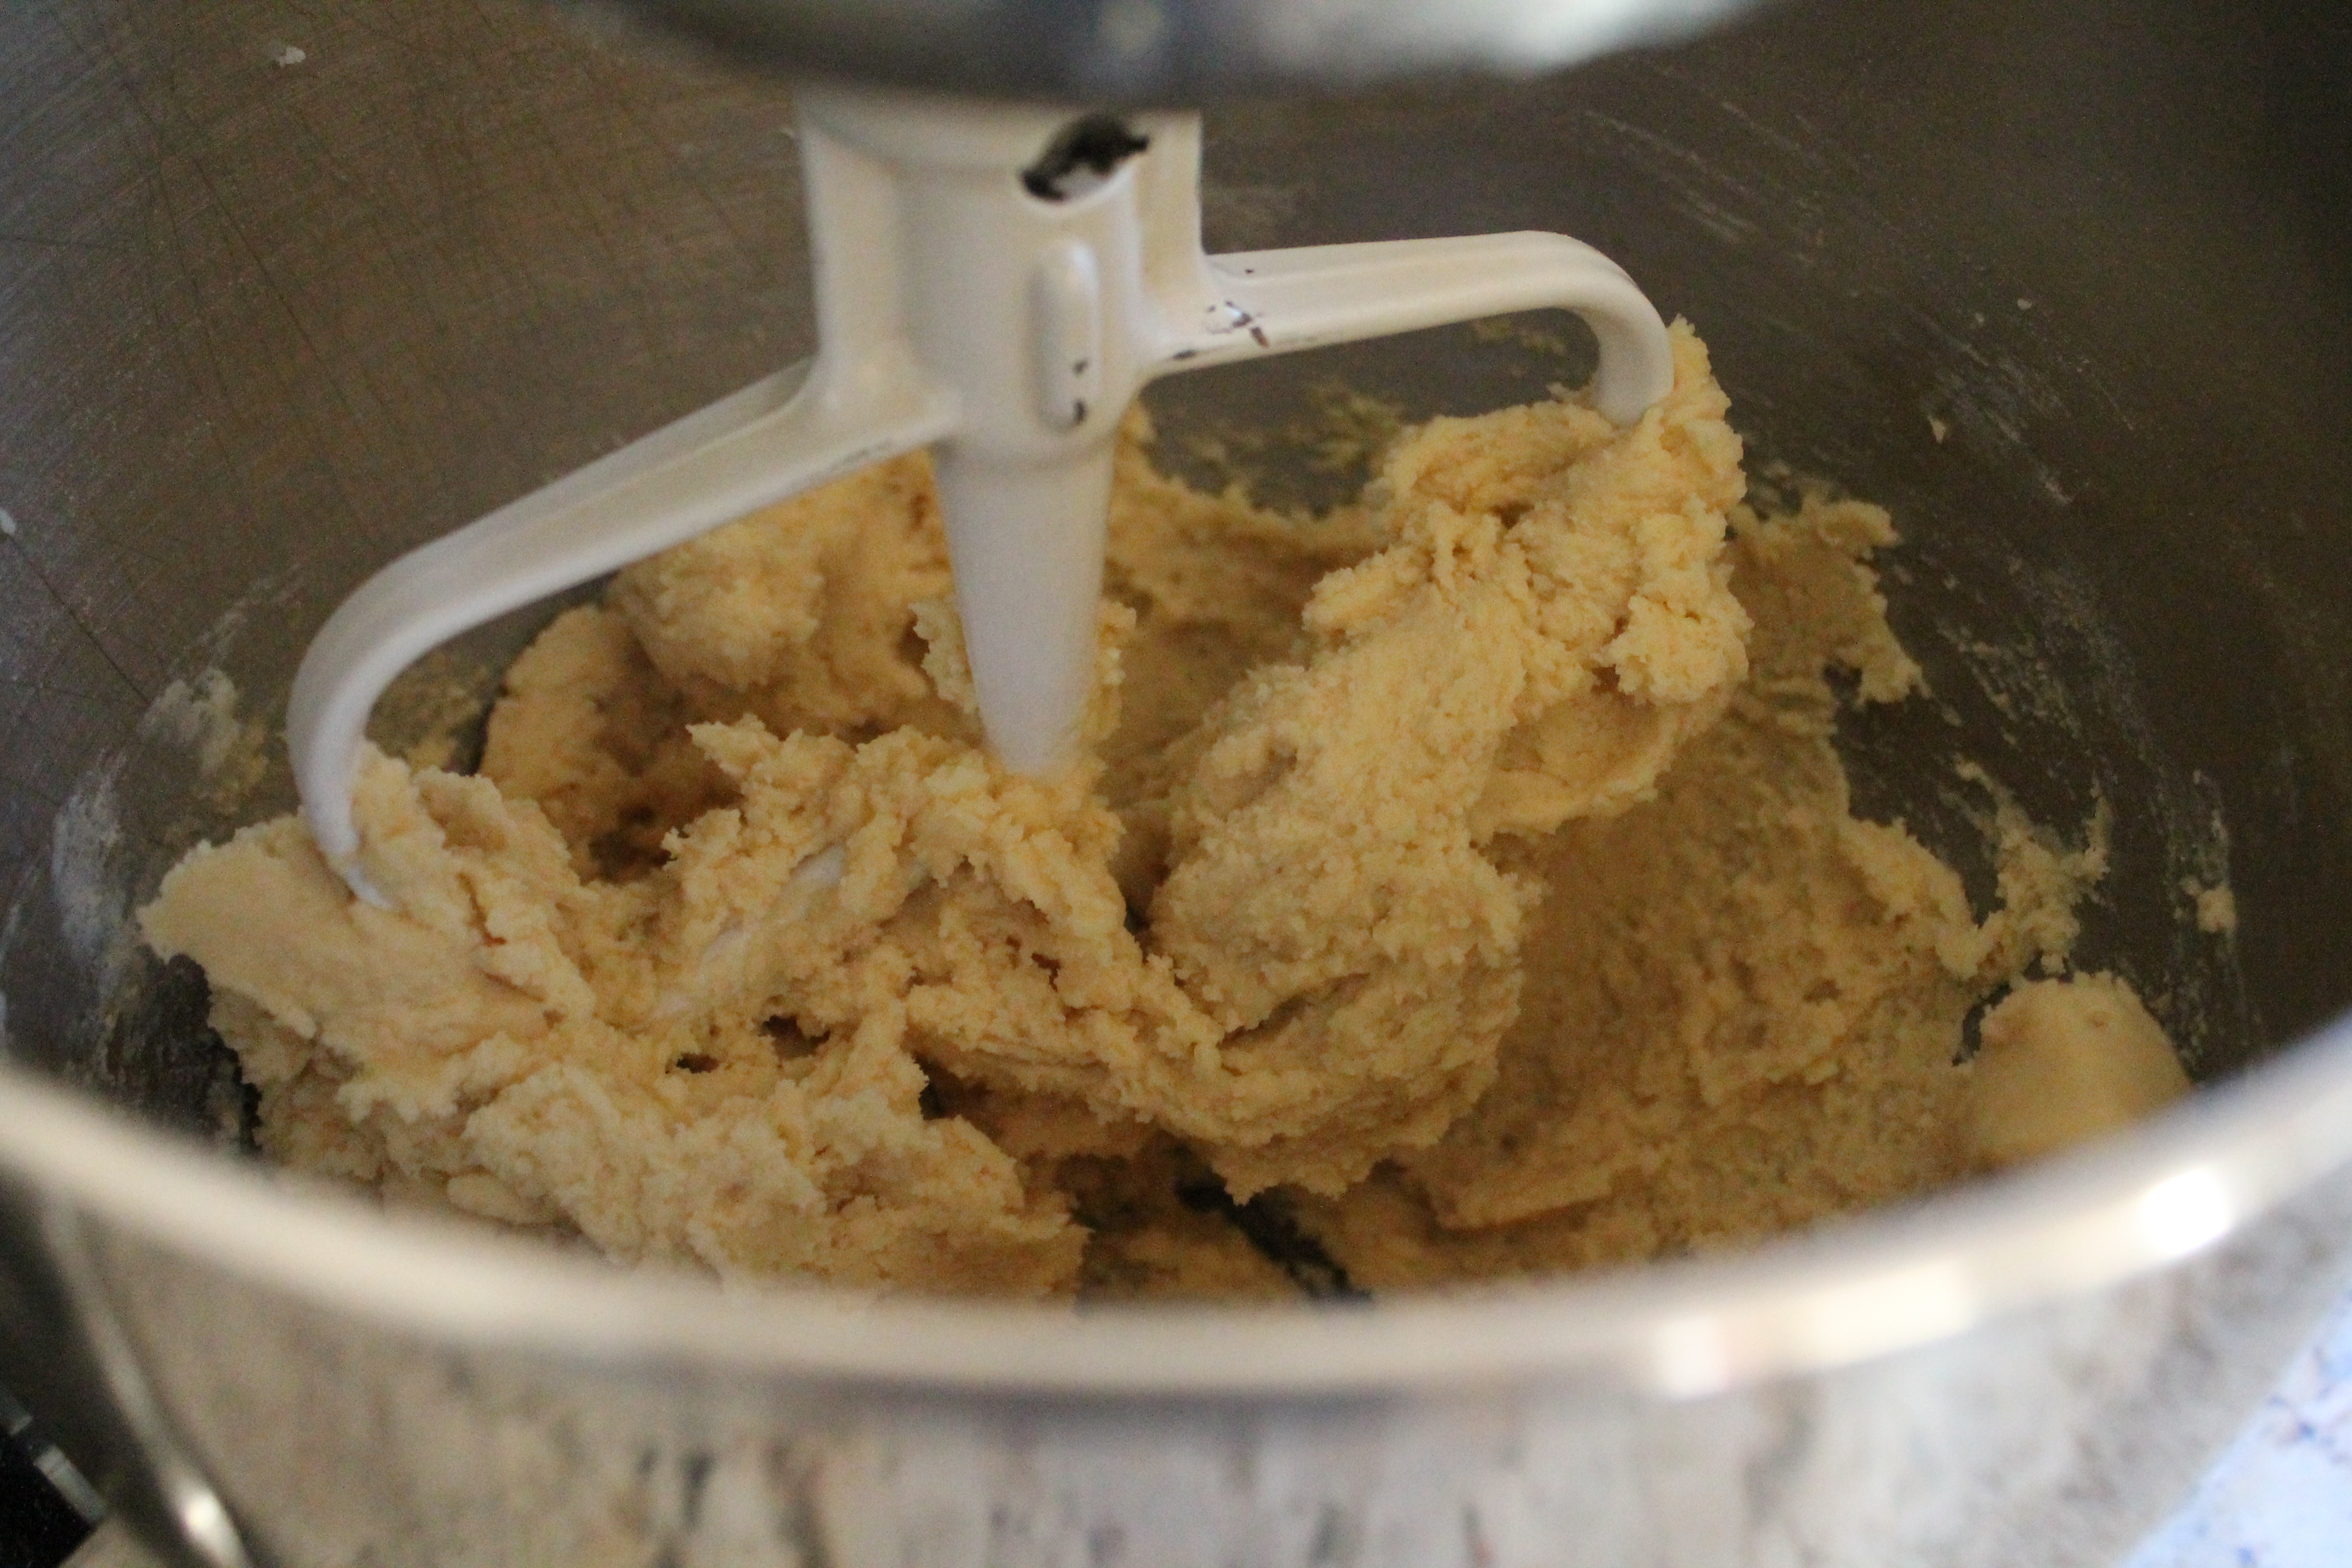 Stir in the flour until completely combined.
Now it’s time to divide the dough in half so we can make some lovely, flavored stripes.
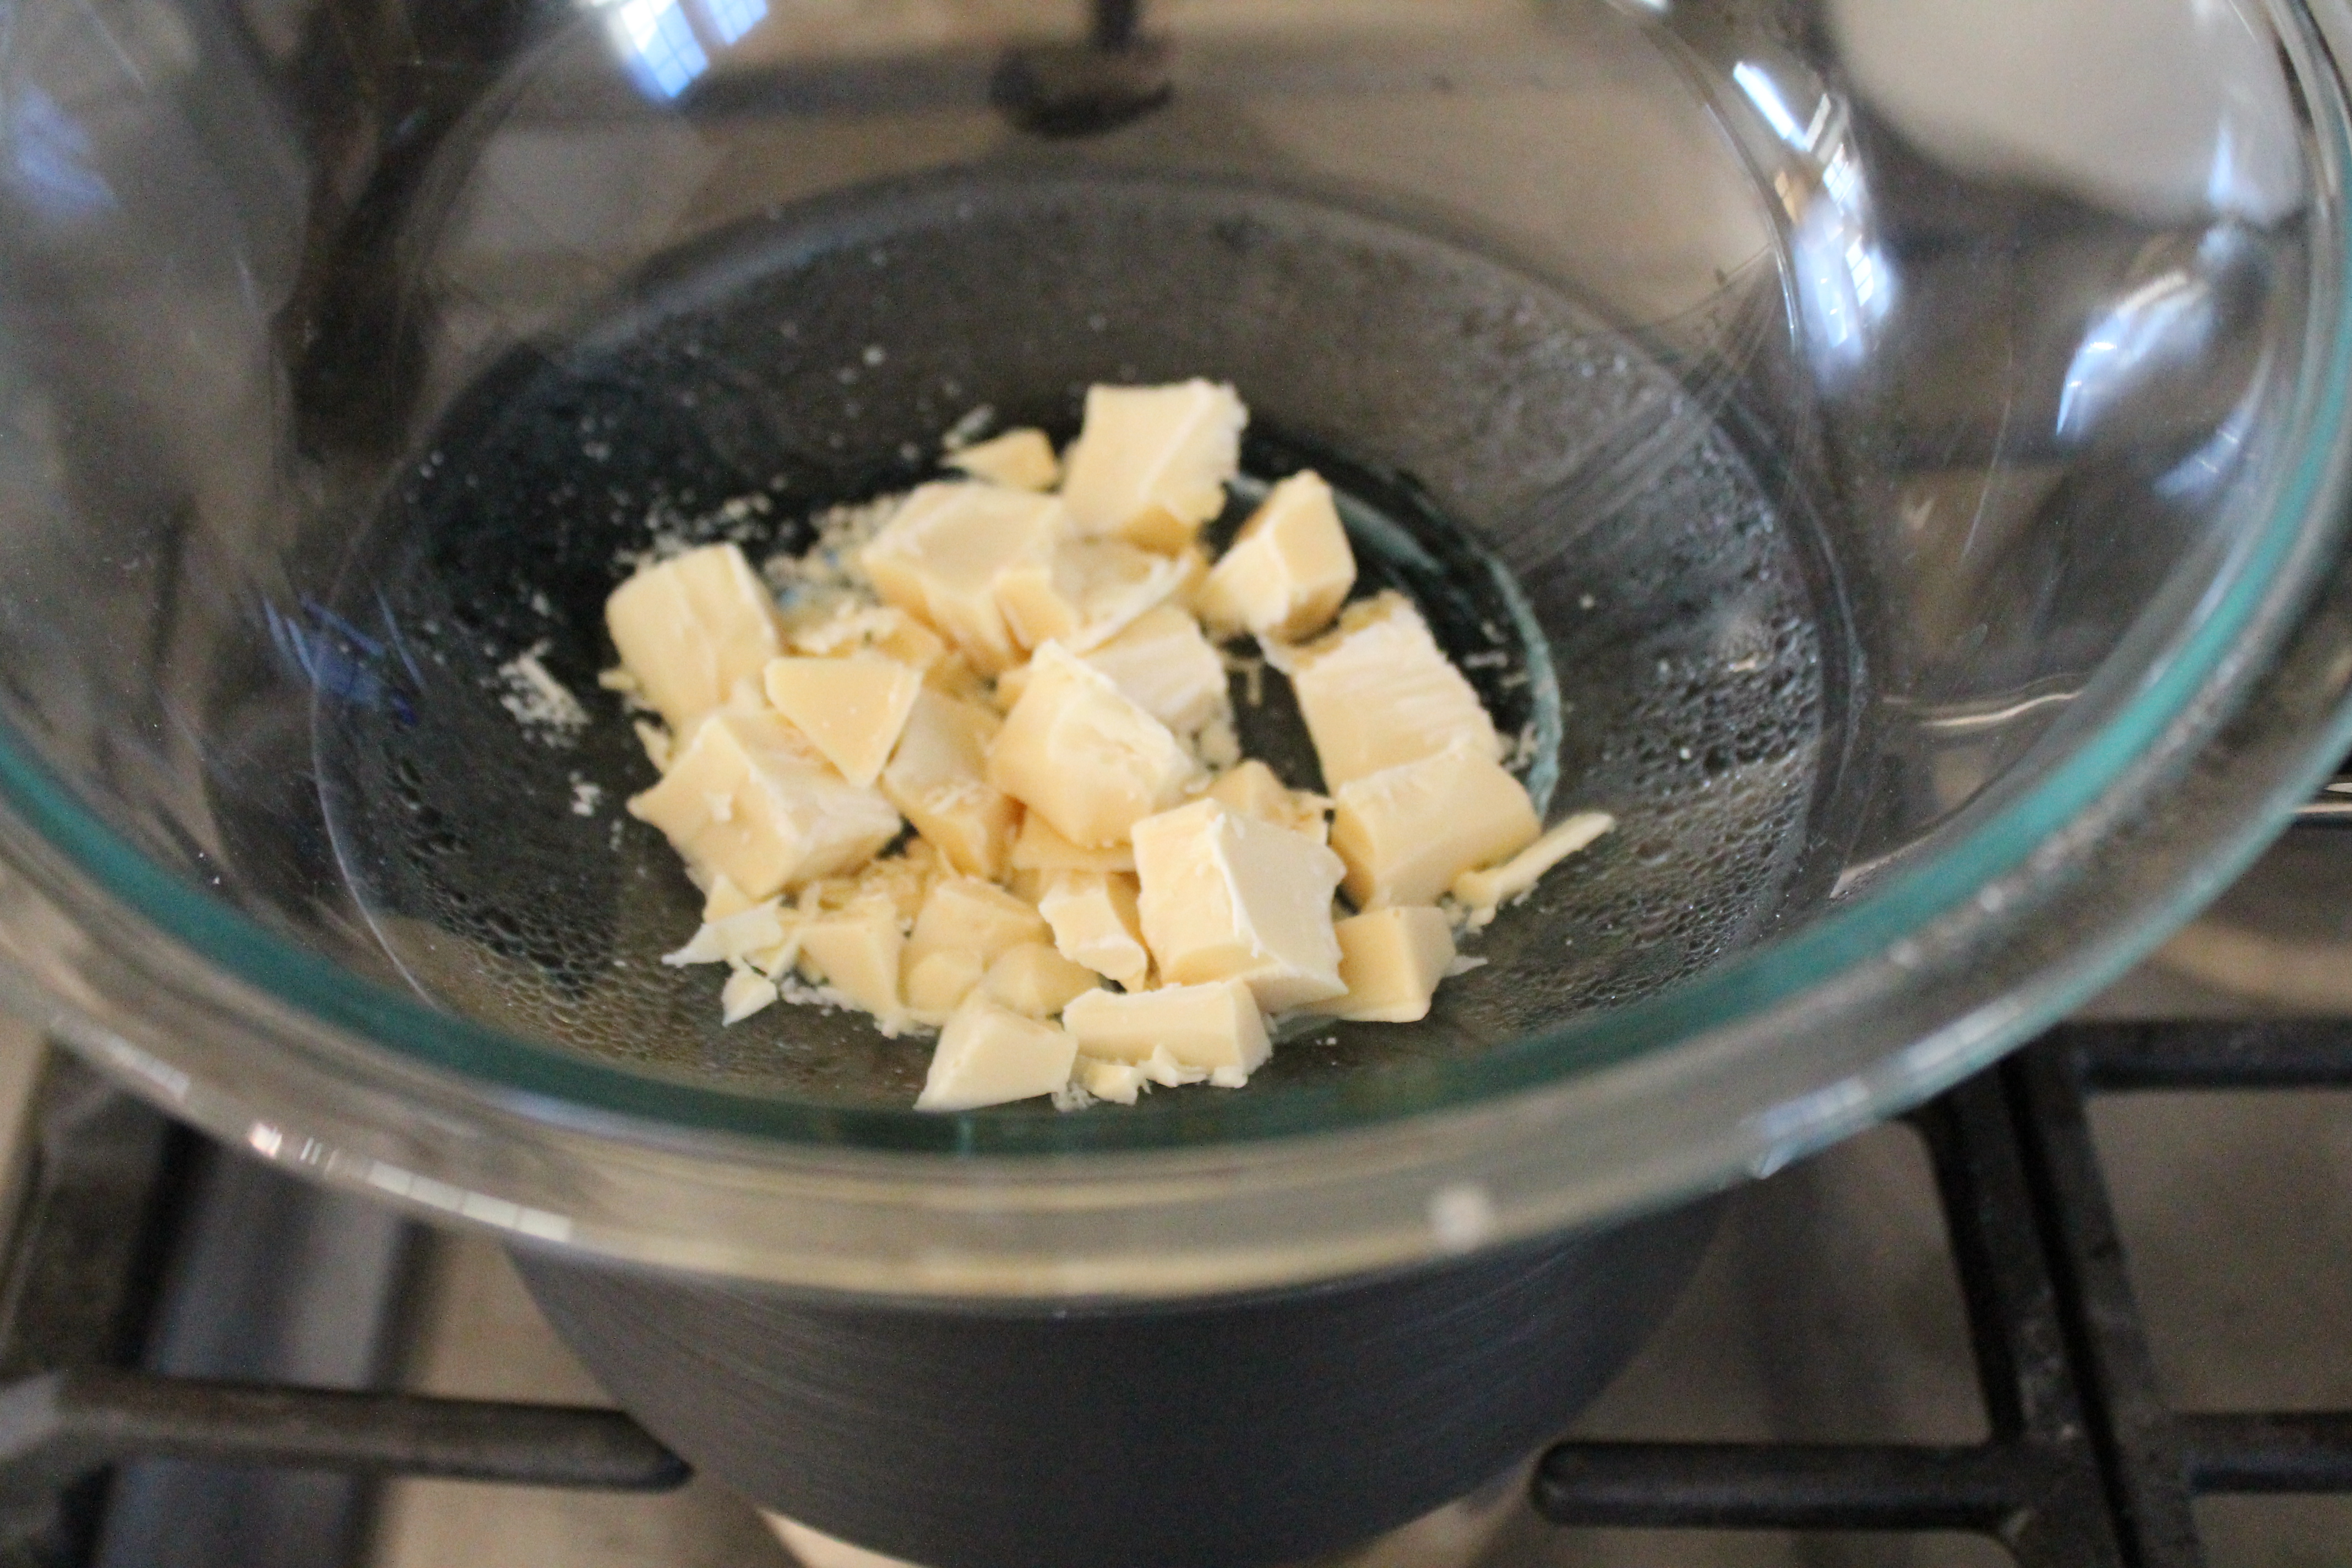 First, I melted my white chocolate in a large bowl over a pan of simmering water. I don’t know about you, but I have a lot of fights with white chocolate. It doesn’t really like to be melted in the microwave…microwave melting, which is often totally fine for dark chocolate, tends to cause white chocolate to seize and turn into little crumbly rocks. So I definitely recommend using a double boiler for this step! It will work perfectly the first time, allowing you to maintain your holiday cheer.
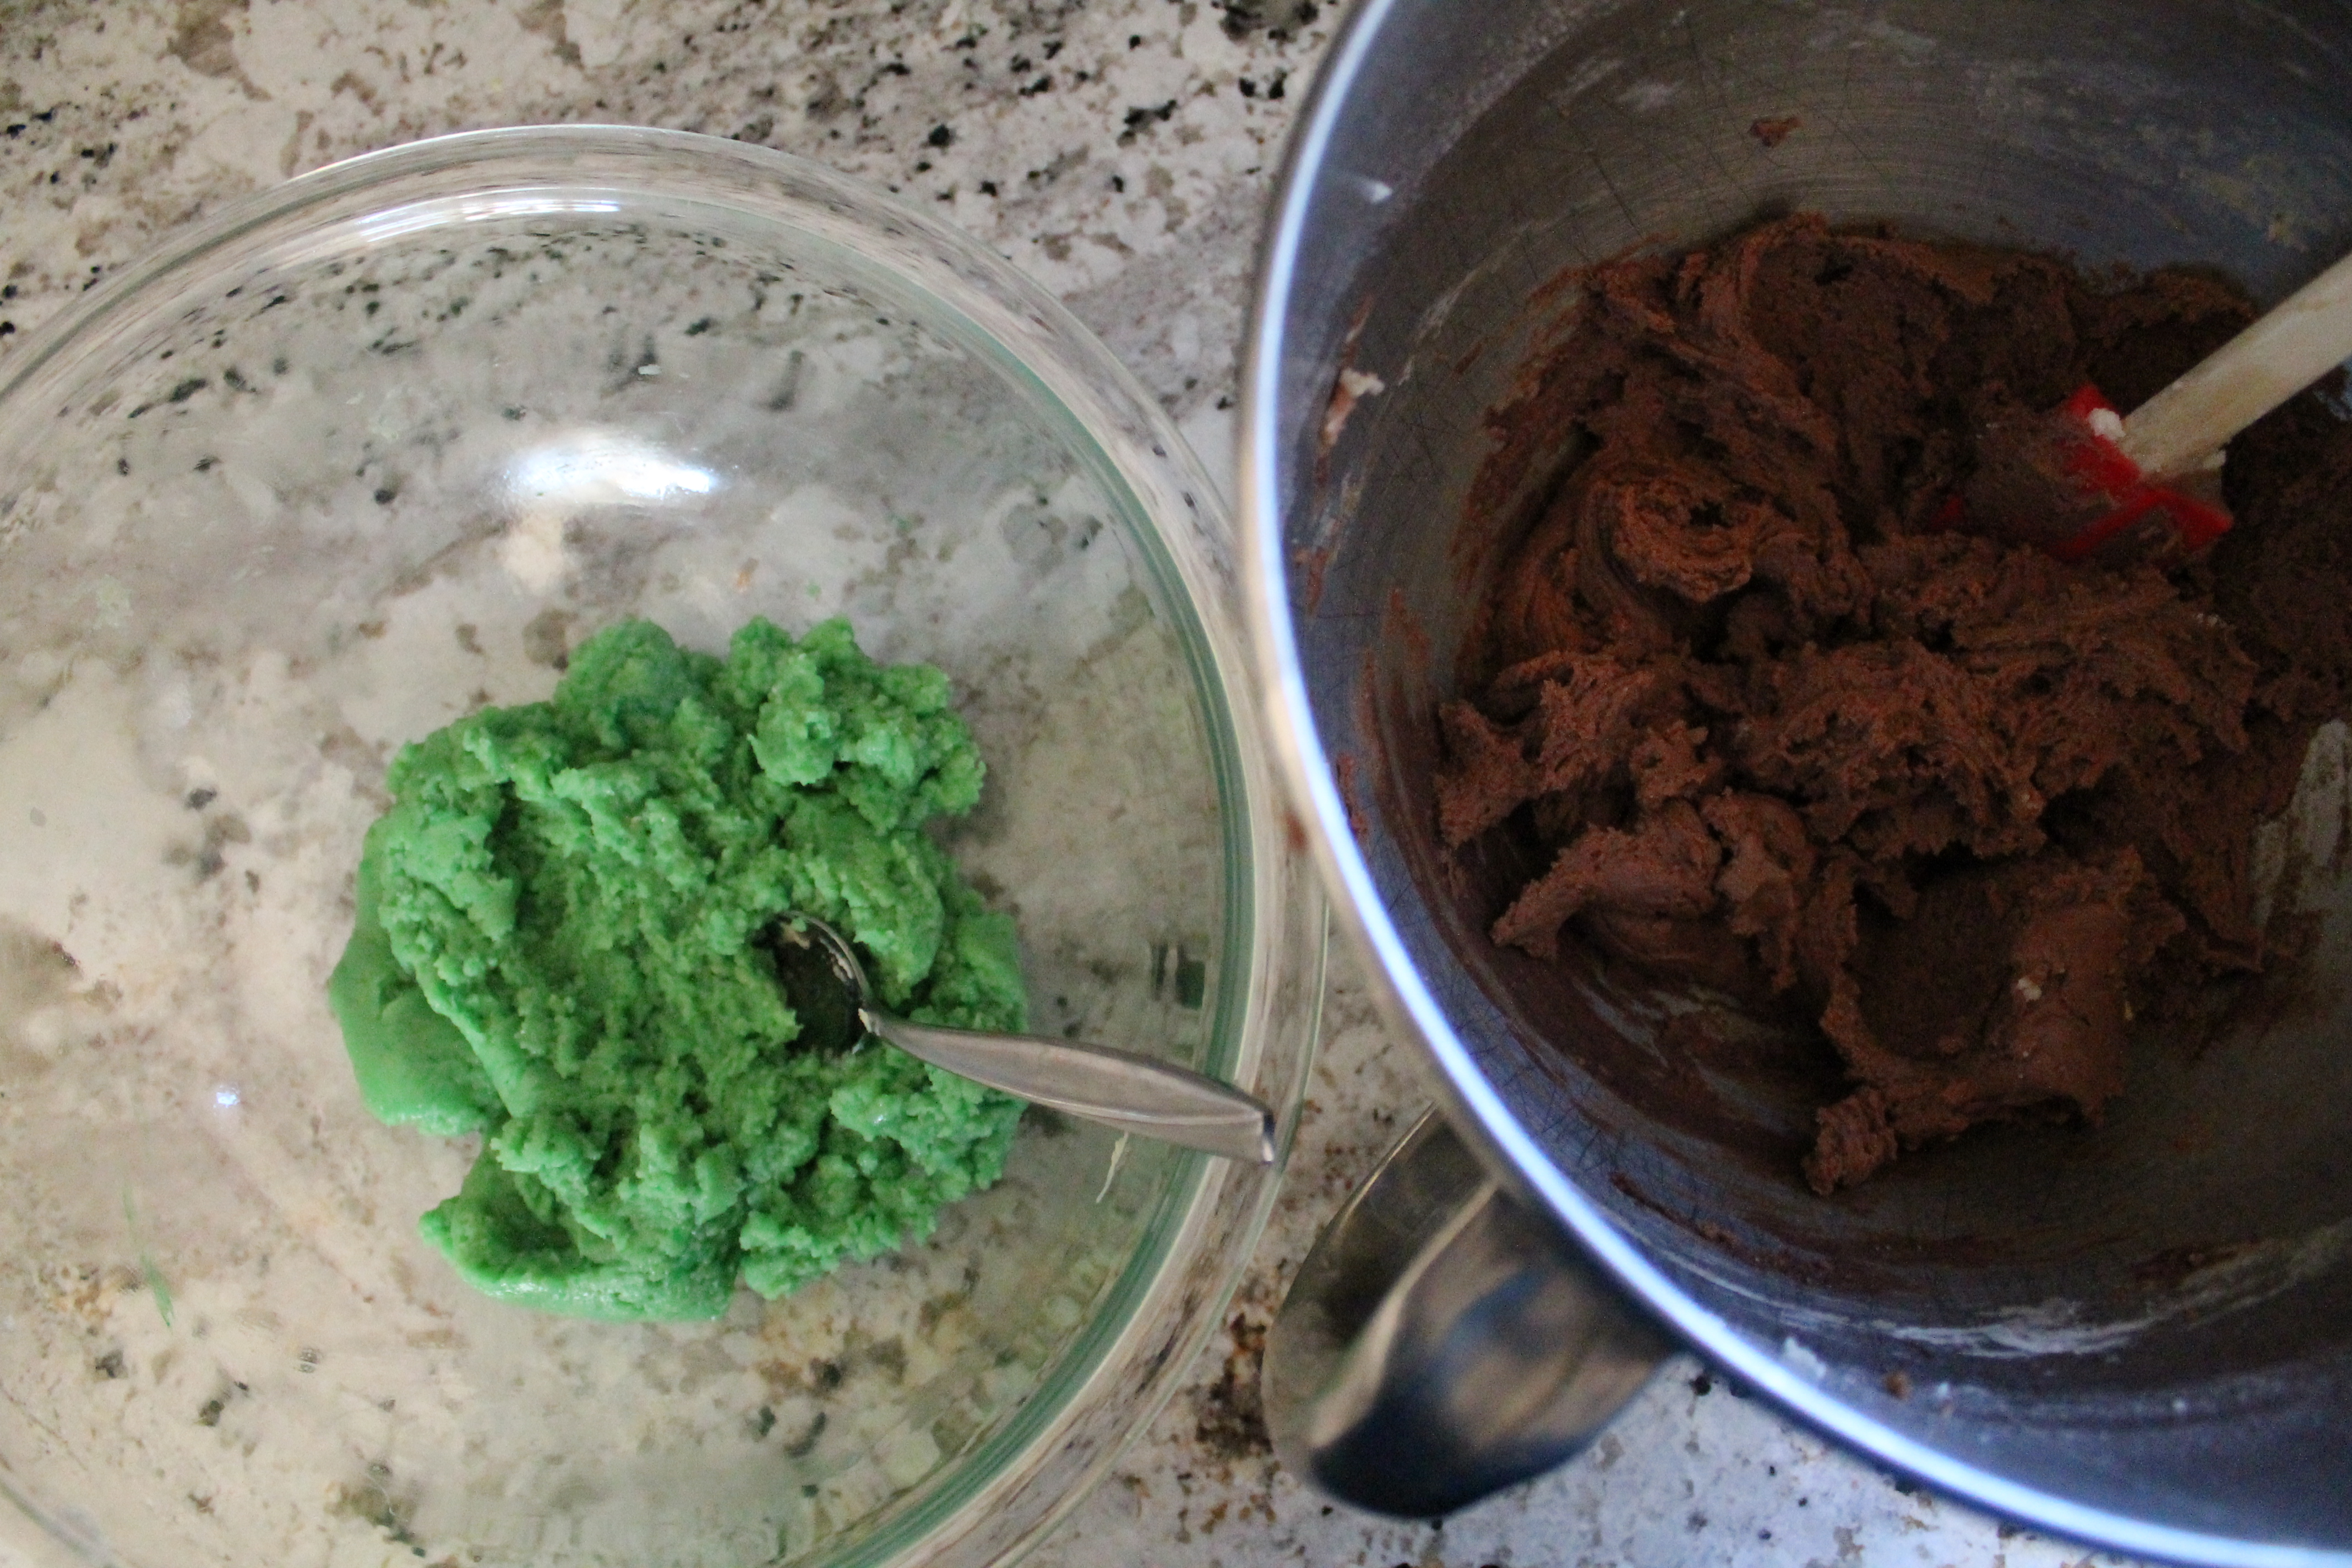 Once the white chocolate is melted, scoop half of the cookie dough into the bowl with the white chocolate, add a few drops of green food coloring, and stir until everything is evenly incorporated.
Stir melted semisweet chocolate and an extra splash of mint extract into the remaining batter. (I did melt the dark chocolate in the microwave with no problems or reservations!)
 Okay. Here’s the most challenging step: layering the doughs to create a striped effect. I won’t judge you at all if you decide that two layers is good enough, but if you want to go for stripes, here’s how!
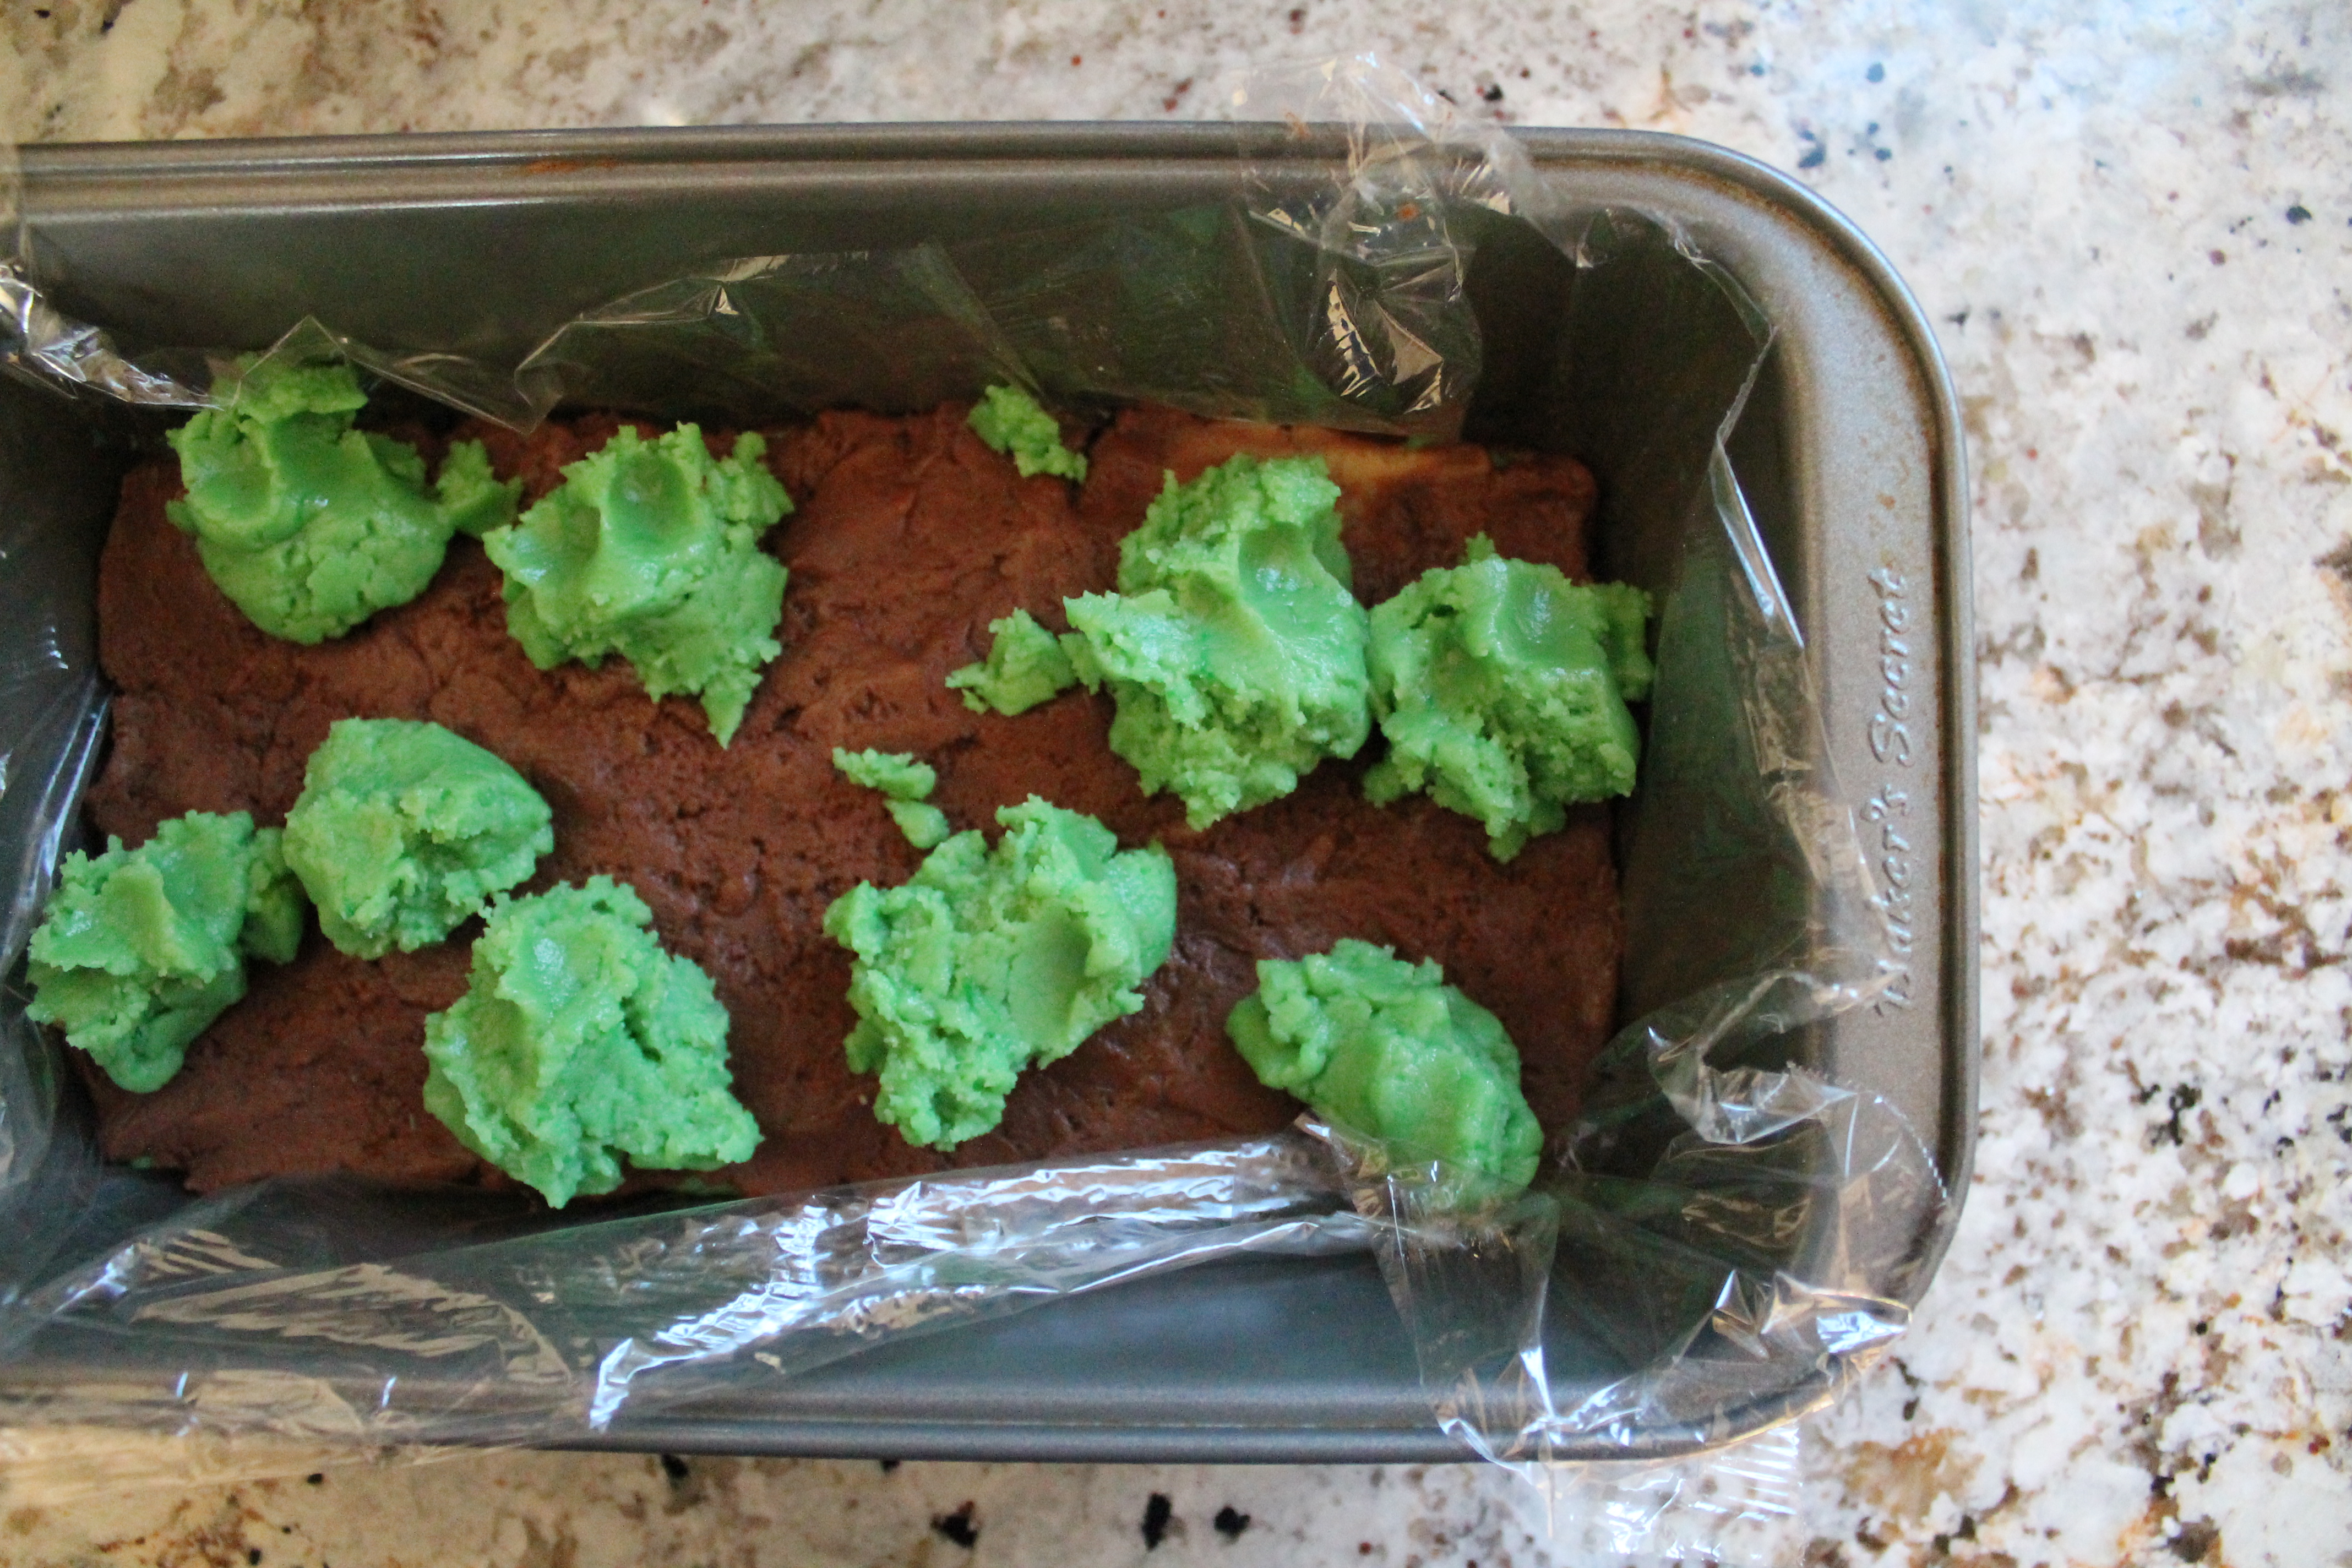
Line a loaf pan with plastic wrap. My loaf pan is about 9″x5″. Grab about a third of the dark chocolate-mint dough and press it into the bottom of the loaf pan. I actually found that it was far easier to spread this dough out flat on the counter than inside the loaf pan. You can eyeball the size and then adjust when you put it back into the loaf pan.
If you are patient enough, it would be really helpful to chill for 5 minutes or so before adding each new layer; this would help keep the lower layers from smushing around while you try to press the new layer into place.
I did not have patience for this (and by me, I mean Jake), so we just forged ahead! Press about half of the green dough into the pan over the bottom chocolate layer. This will work much better if you distribute pieces of dough across the whole pan. Don’t worry about getting any one layer too flat or even; the cookies are supposed to be simple and charming, so just get the job done!
Repeat with the remaining dough, until there are five layers: dark chocolate, green, dark chocolate, green, dark chocolate.
Stick the loaf pan in the fridge for a few hours and go do some decorating or Christmas shopping or whatever else!
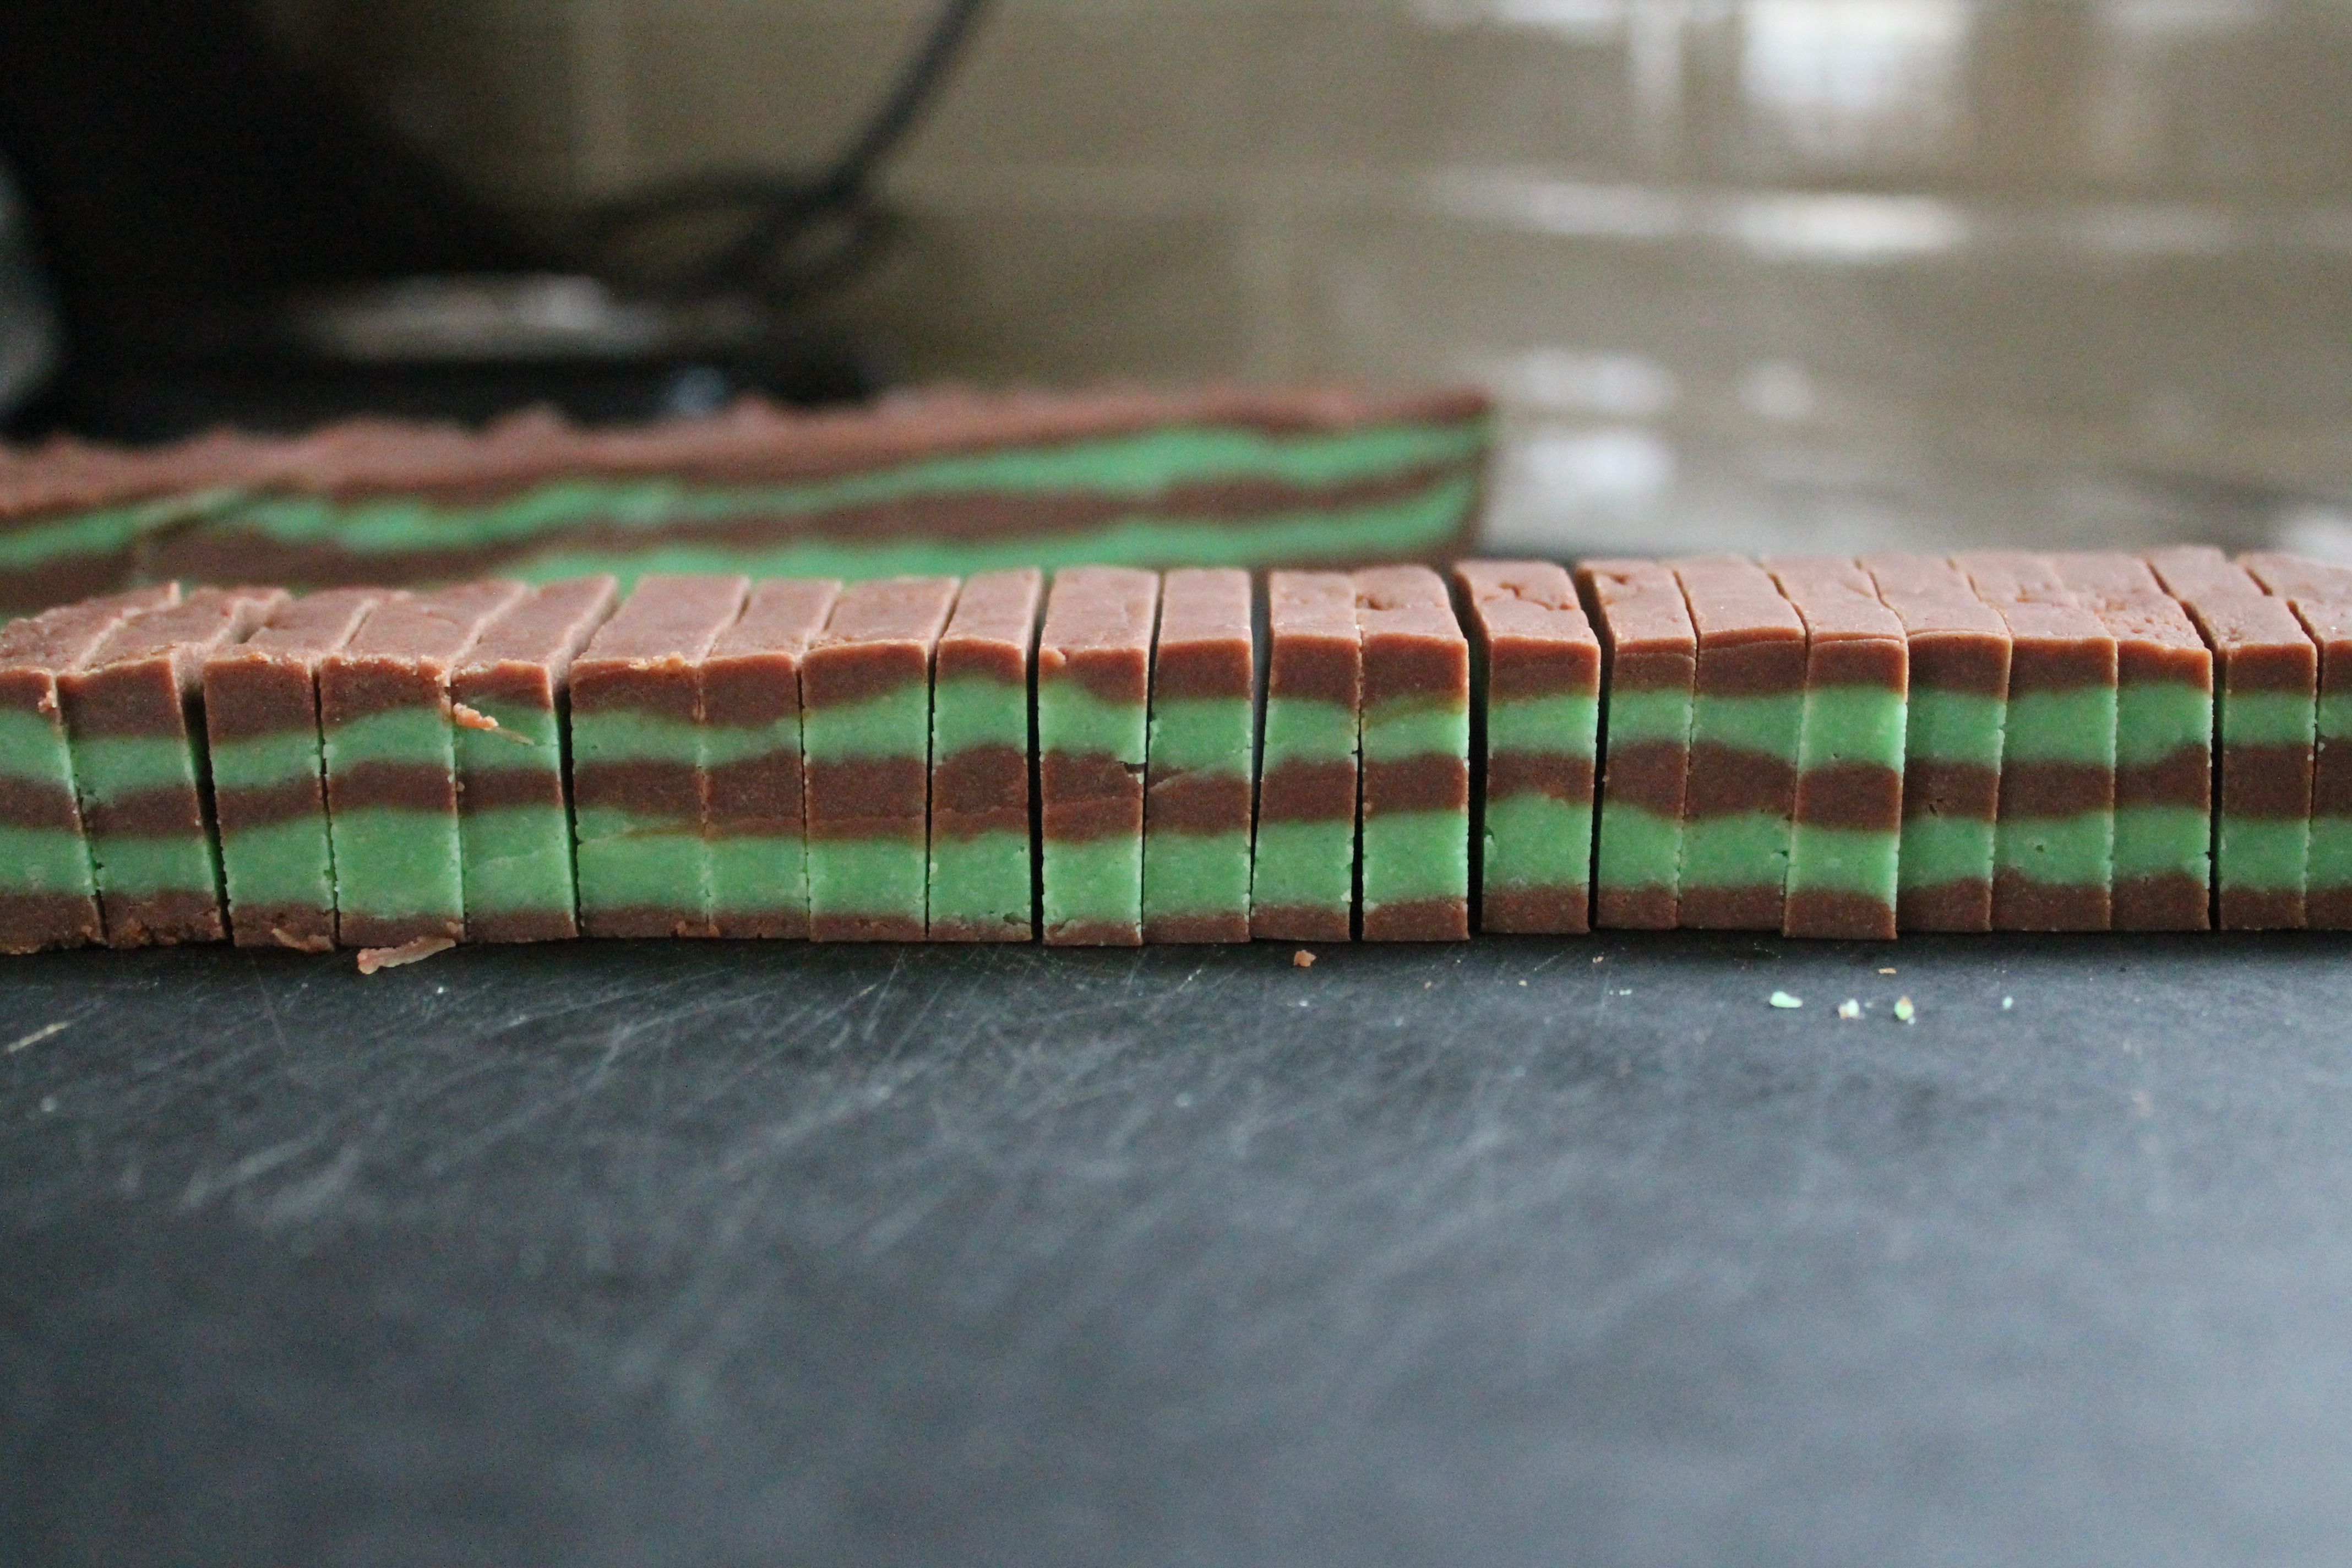 When you are ready to bake, pull the pan out of the fridge and peel the plastic wrap off the dough. Slice into small, thin rectangles with a sharp knife. I got almost 7 dozen cookies out of this recipe! Yay for efficiency.
 Bake for 8–10 minutes at 350, until set and crisp. Yum.
Chocolate Mint Butter Cookies
lightly adapted from Better Homes and Gardens Christmas Cookie magazine
makes about 7 dozen
Ingredients:
½ cup unsalted butter, room temperature
⅔ cup sugar
1 tsp. baking powder
½ tsp. salt
1 egg
1 tbsp. milk
1 tsp. vanilla extract
¾ tsp. mint extract, divided
2 cups flour
2 oz. white baking chocolate (or ⅓ cup chips)
green food coloring
2 oz. semisweet baking chocolate (or ⅓ cup chips)
Directions:
In a mixer bowl, cream butter until soft and smooth, about 30 seconds.
Add the sugar, baking powder, and salt, and mix well to combine. Beat in the egg, milk, vanilla, and ½ tsp. mint extract.
Stir in the flour until just combined, scraping the sides of the bowl at least once. Set the dough aside.
In a heatproof bowl over a pot of simmering water, melt the white chocolate, whisking constantly until smooth. Remove from the heat and add half of the cookie dough. Fold the white chocolate into the cookie dough. Add green food coloring as desired and stir until the dough is evenly tinted.
In a small, separate bowl, melt the semisweet chocolate (either in the microwave or over a double boiler). Scrape the melted chocolate into the mixer bowl with the remaining dough. Add the remaining ¼ tsp. mint extract and fold until the chocolate is completely mixed into the dough.
Line a 9″x5″ loaf pan with plastic wrap. Press one third of the dark chocolate dough into the bottom of the pan, followed by one half of the green dough. Repeat layers, ending with dark chocolate.
Chill the dough for 2 hours.
Heat oven to 350°.
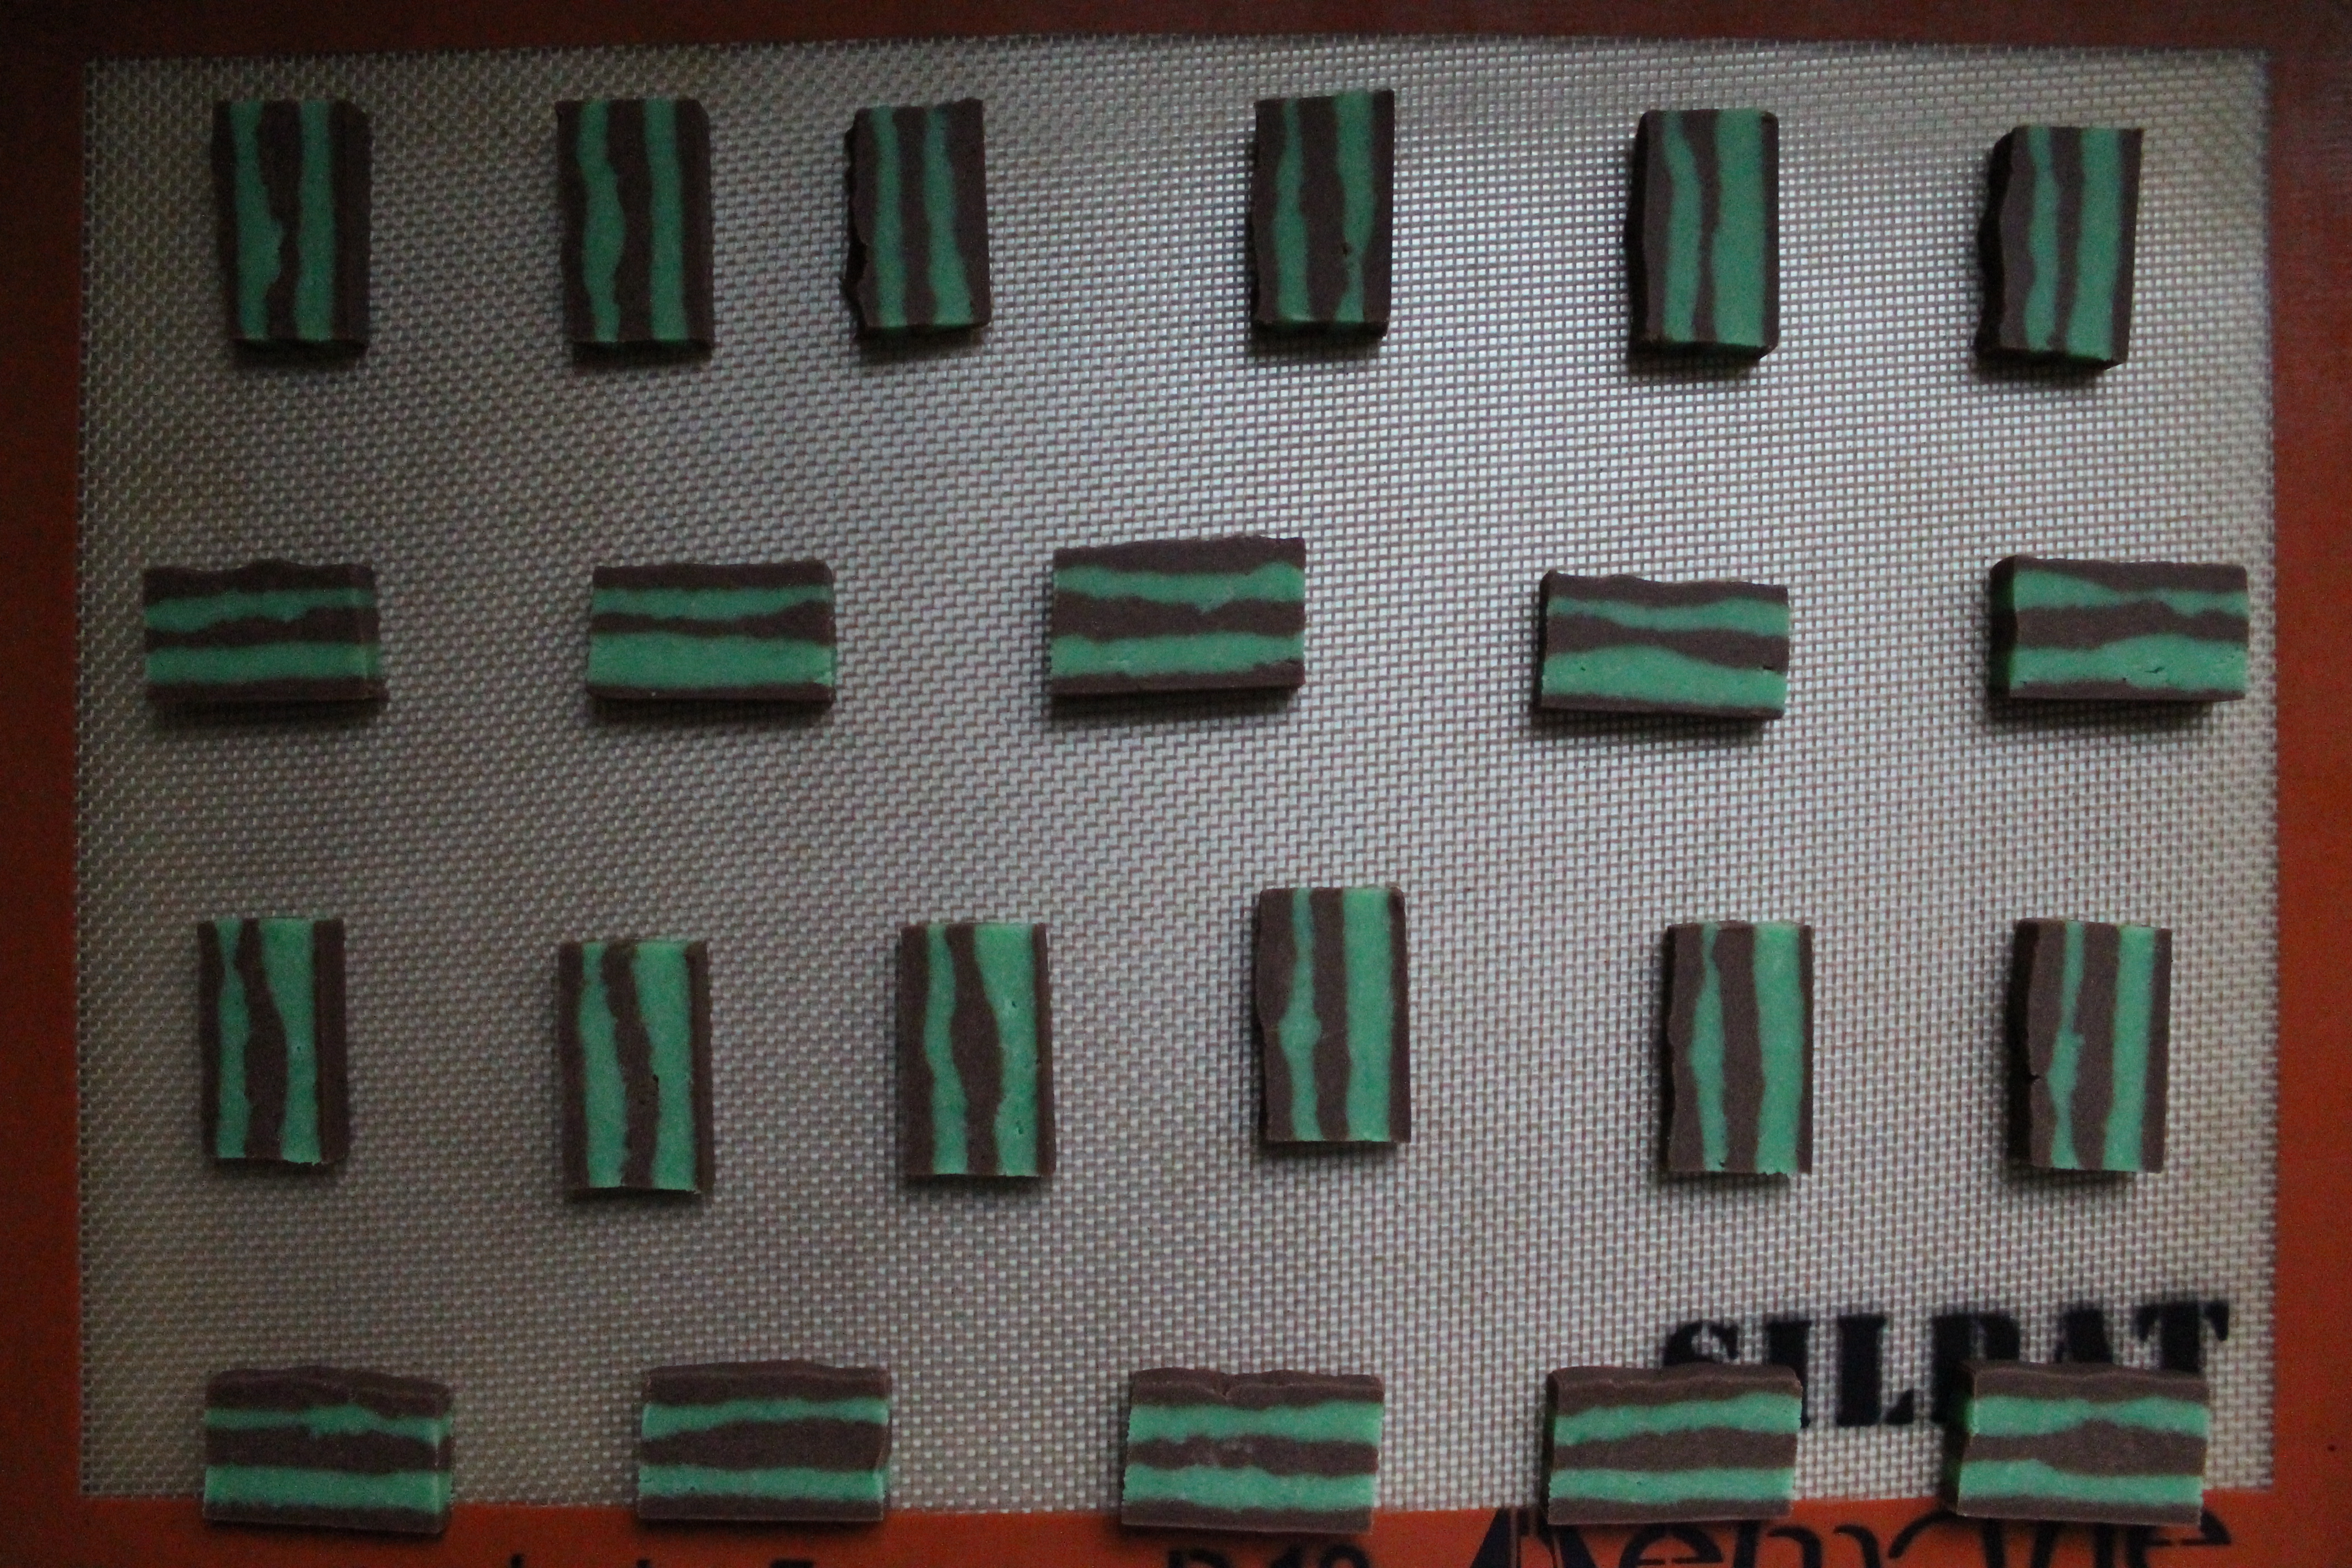
Remove dough from the refrigerator and slice thinly (about ¼″ thick) into small rectangles. Lay the rectangles flat about 2″ apart on a lined cookie sheet.
Bake for 8–10 minutes, until the edges are set. Transfer cookies to a wire rack to cool.
Enjoy!
- One year ago: Viennese Sablés
- Two years ago: Butternut Squash Galette
- Three years ago: Chocolate Peppermint Pinwheels
Has one comment to “Chocolate Mint Butter Cookies”
Sarah@WellDined - December 12, 2014
The light in your new kitchen is fab!!!