Here is what you get when your husband “helps” you write a blog post:
“I made the chips! The chips were many-colored, made of quite different root veggies. Including potatoes… potatoes… and…not potatoes. Salt is tasty. I want more of that.”
And with that brilliant introduction…
But seriously. I generally find myself squarely in the sweets camp for indulgent foods, yet this month for the Secret Recipe Club challenge, I was immediately drawn to the many recipes that Patricia of ButterYum had posted about chips! Small-batch fried potato chips, purple potato chips (you know I’m a recent convert to all things purple potato), even baked beet chips. All of Patricia’s photos are gorgeous, and I have to applaud the moniker she chose for her blog: butter makes everything delicious!
 When I went off to the store to buy the ingredients to make my own chips, I decided to go for a whole mix of roots: purple potatoes, sweet potatoes, watermelon radishes (which Harris Teeter had misleadingly labeled as celery root…good job, guys…but I couldn’t resist their beautiful pink centers, so I bought them anyway), turnips, beets, and yucca. I would have liked to try actual celery root and jicama also, but I decided that they were so large they would not work well for slicing into chips.
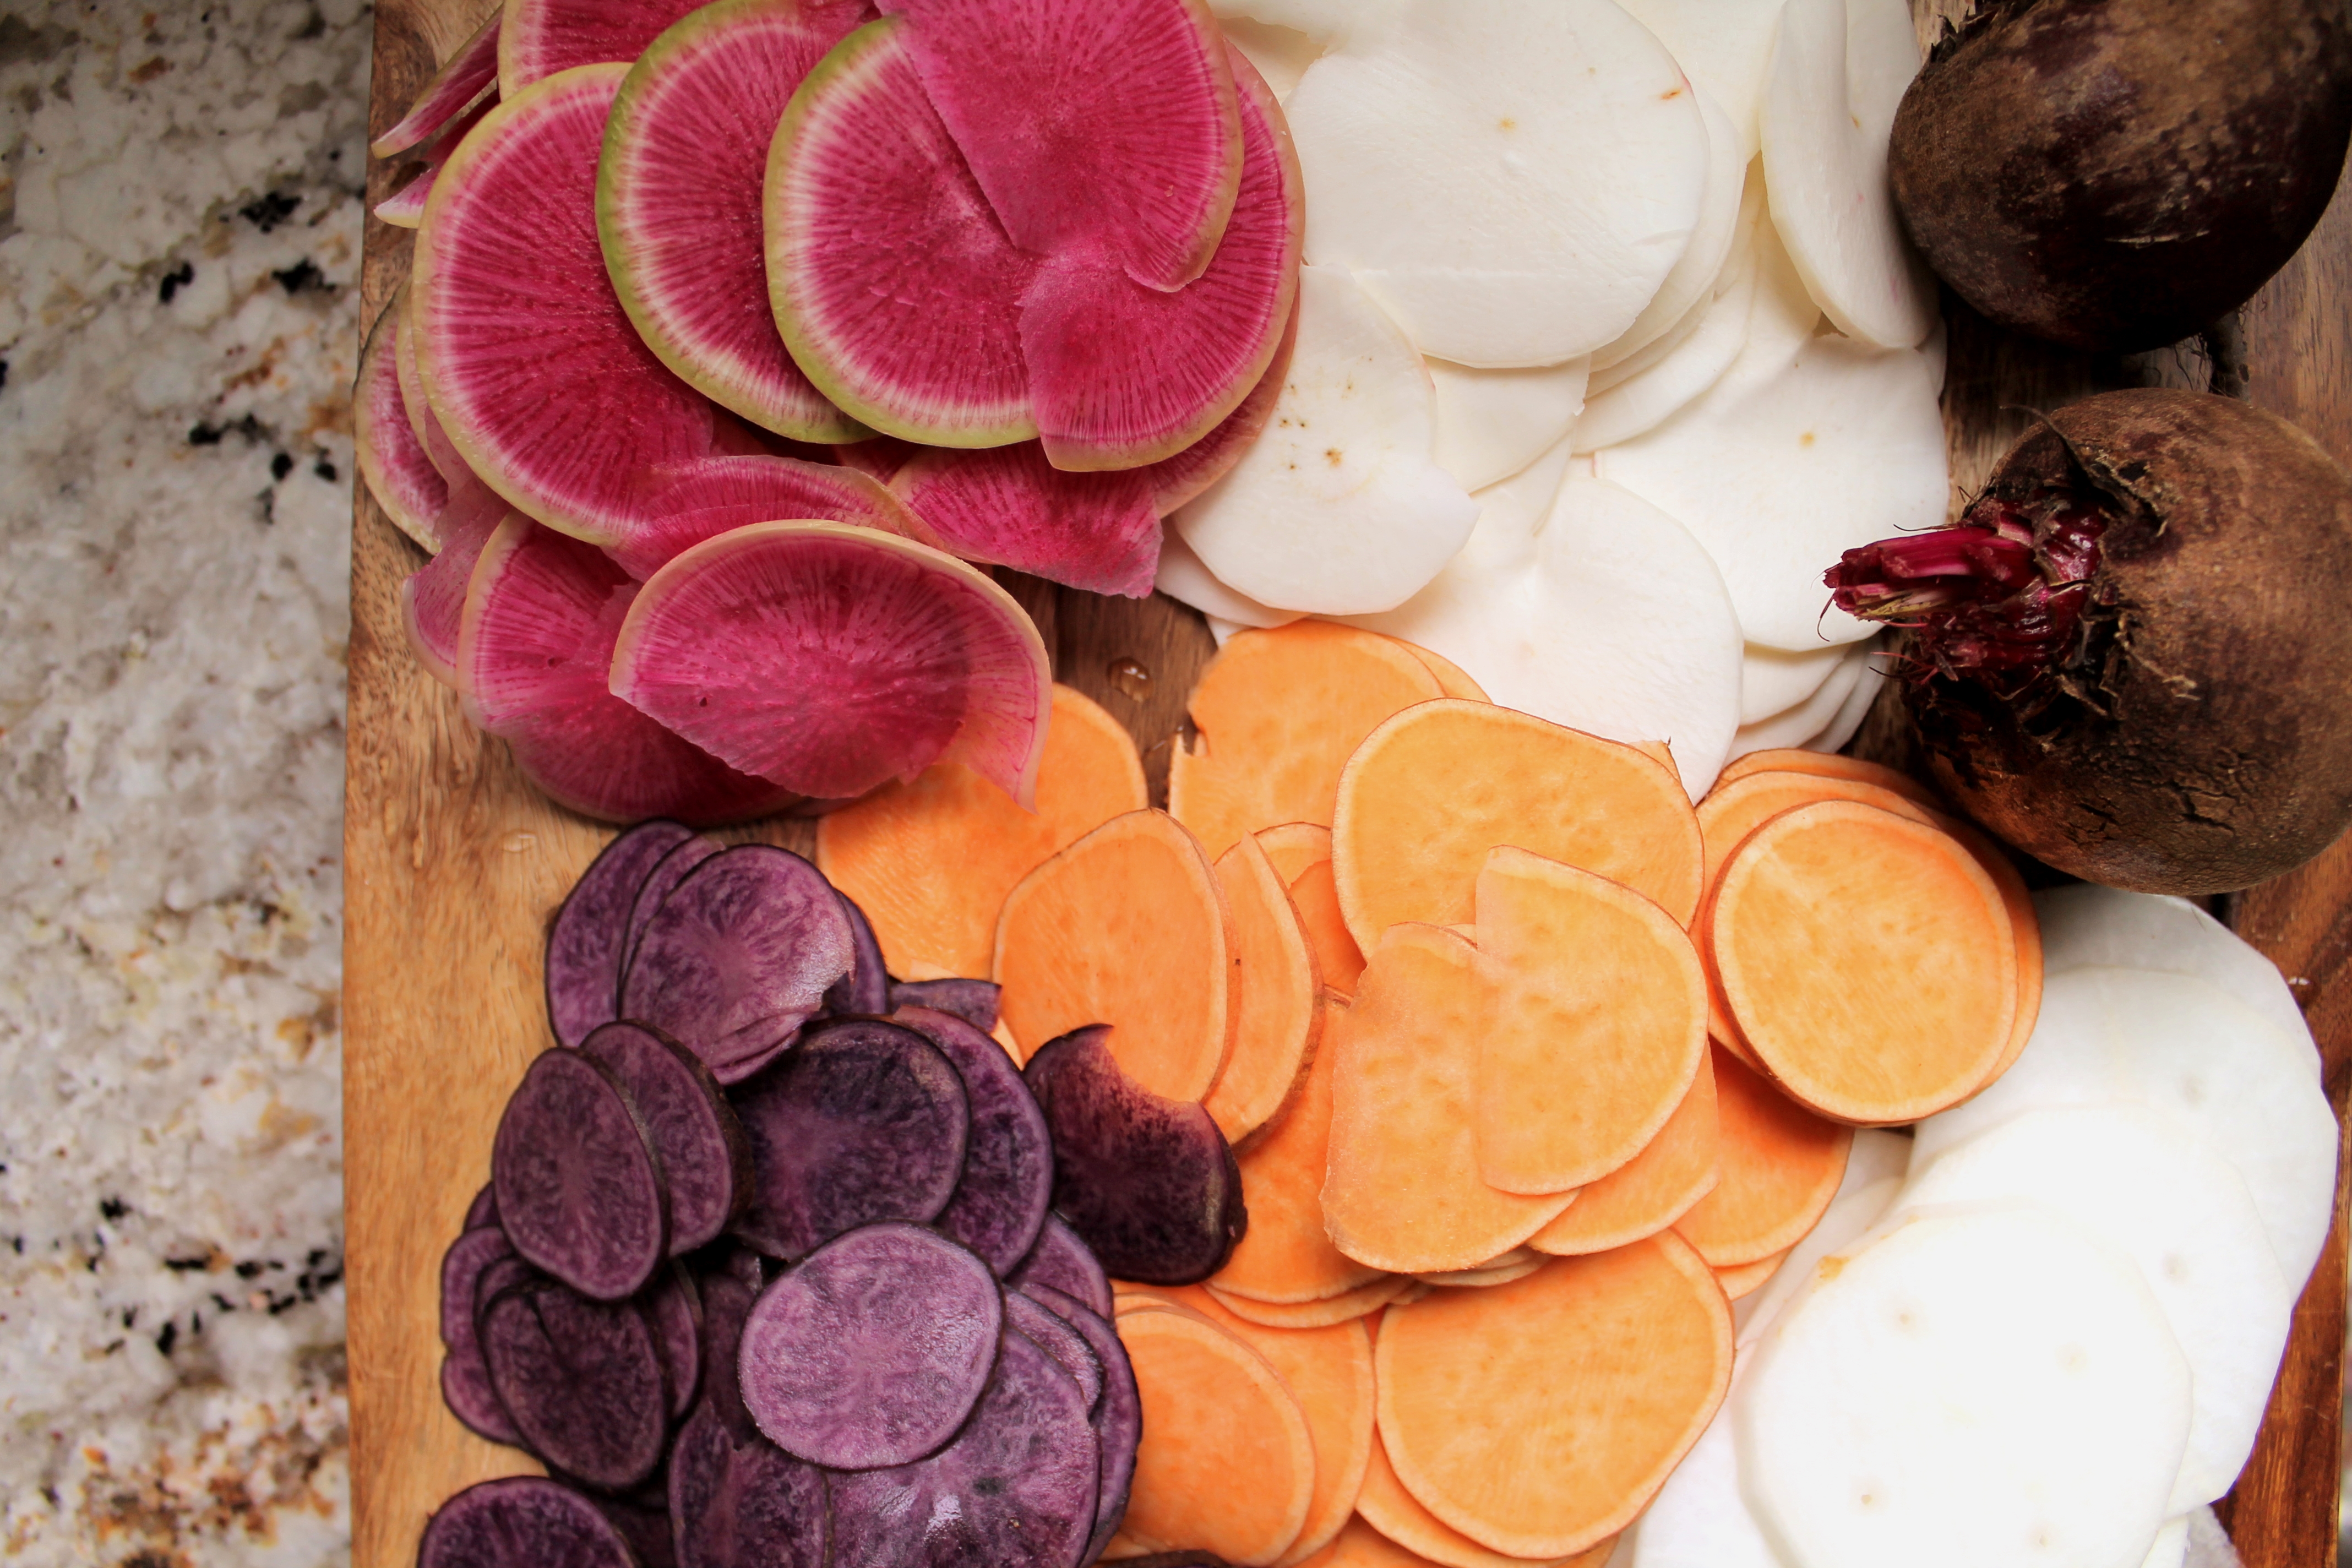 So. Slice everything into paper-thin pieces, ideally using a mandoline. I set my mandoline to 1/16″, but for a few of the veggies (namely the watermelon radish), I ended up bumping it up to ⅛″ in order to get even slices rather than tiny shreds. Do peel the tough skin off the yucca before slicing! Also, the purple potatoes I had were so small that I decided it would be safer for my fingers to slice them manually with my chef’s knife.
It really made a pretty picture! And, boy, was this a ton of veg!
I totally intended to make beet chips, but I decided to save the beets for last because of how much their juices stain. Then ultimately I had so many chips that I ended up saving the beets for another use.
I decided to try both of Patricia’s chip-making methods, frying in small batches and baking on a wire rack. I have never been a huge fan of fried, greasy foods or frying things at home, so I really expected to prefer the baking!
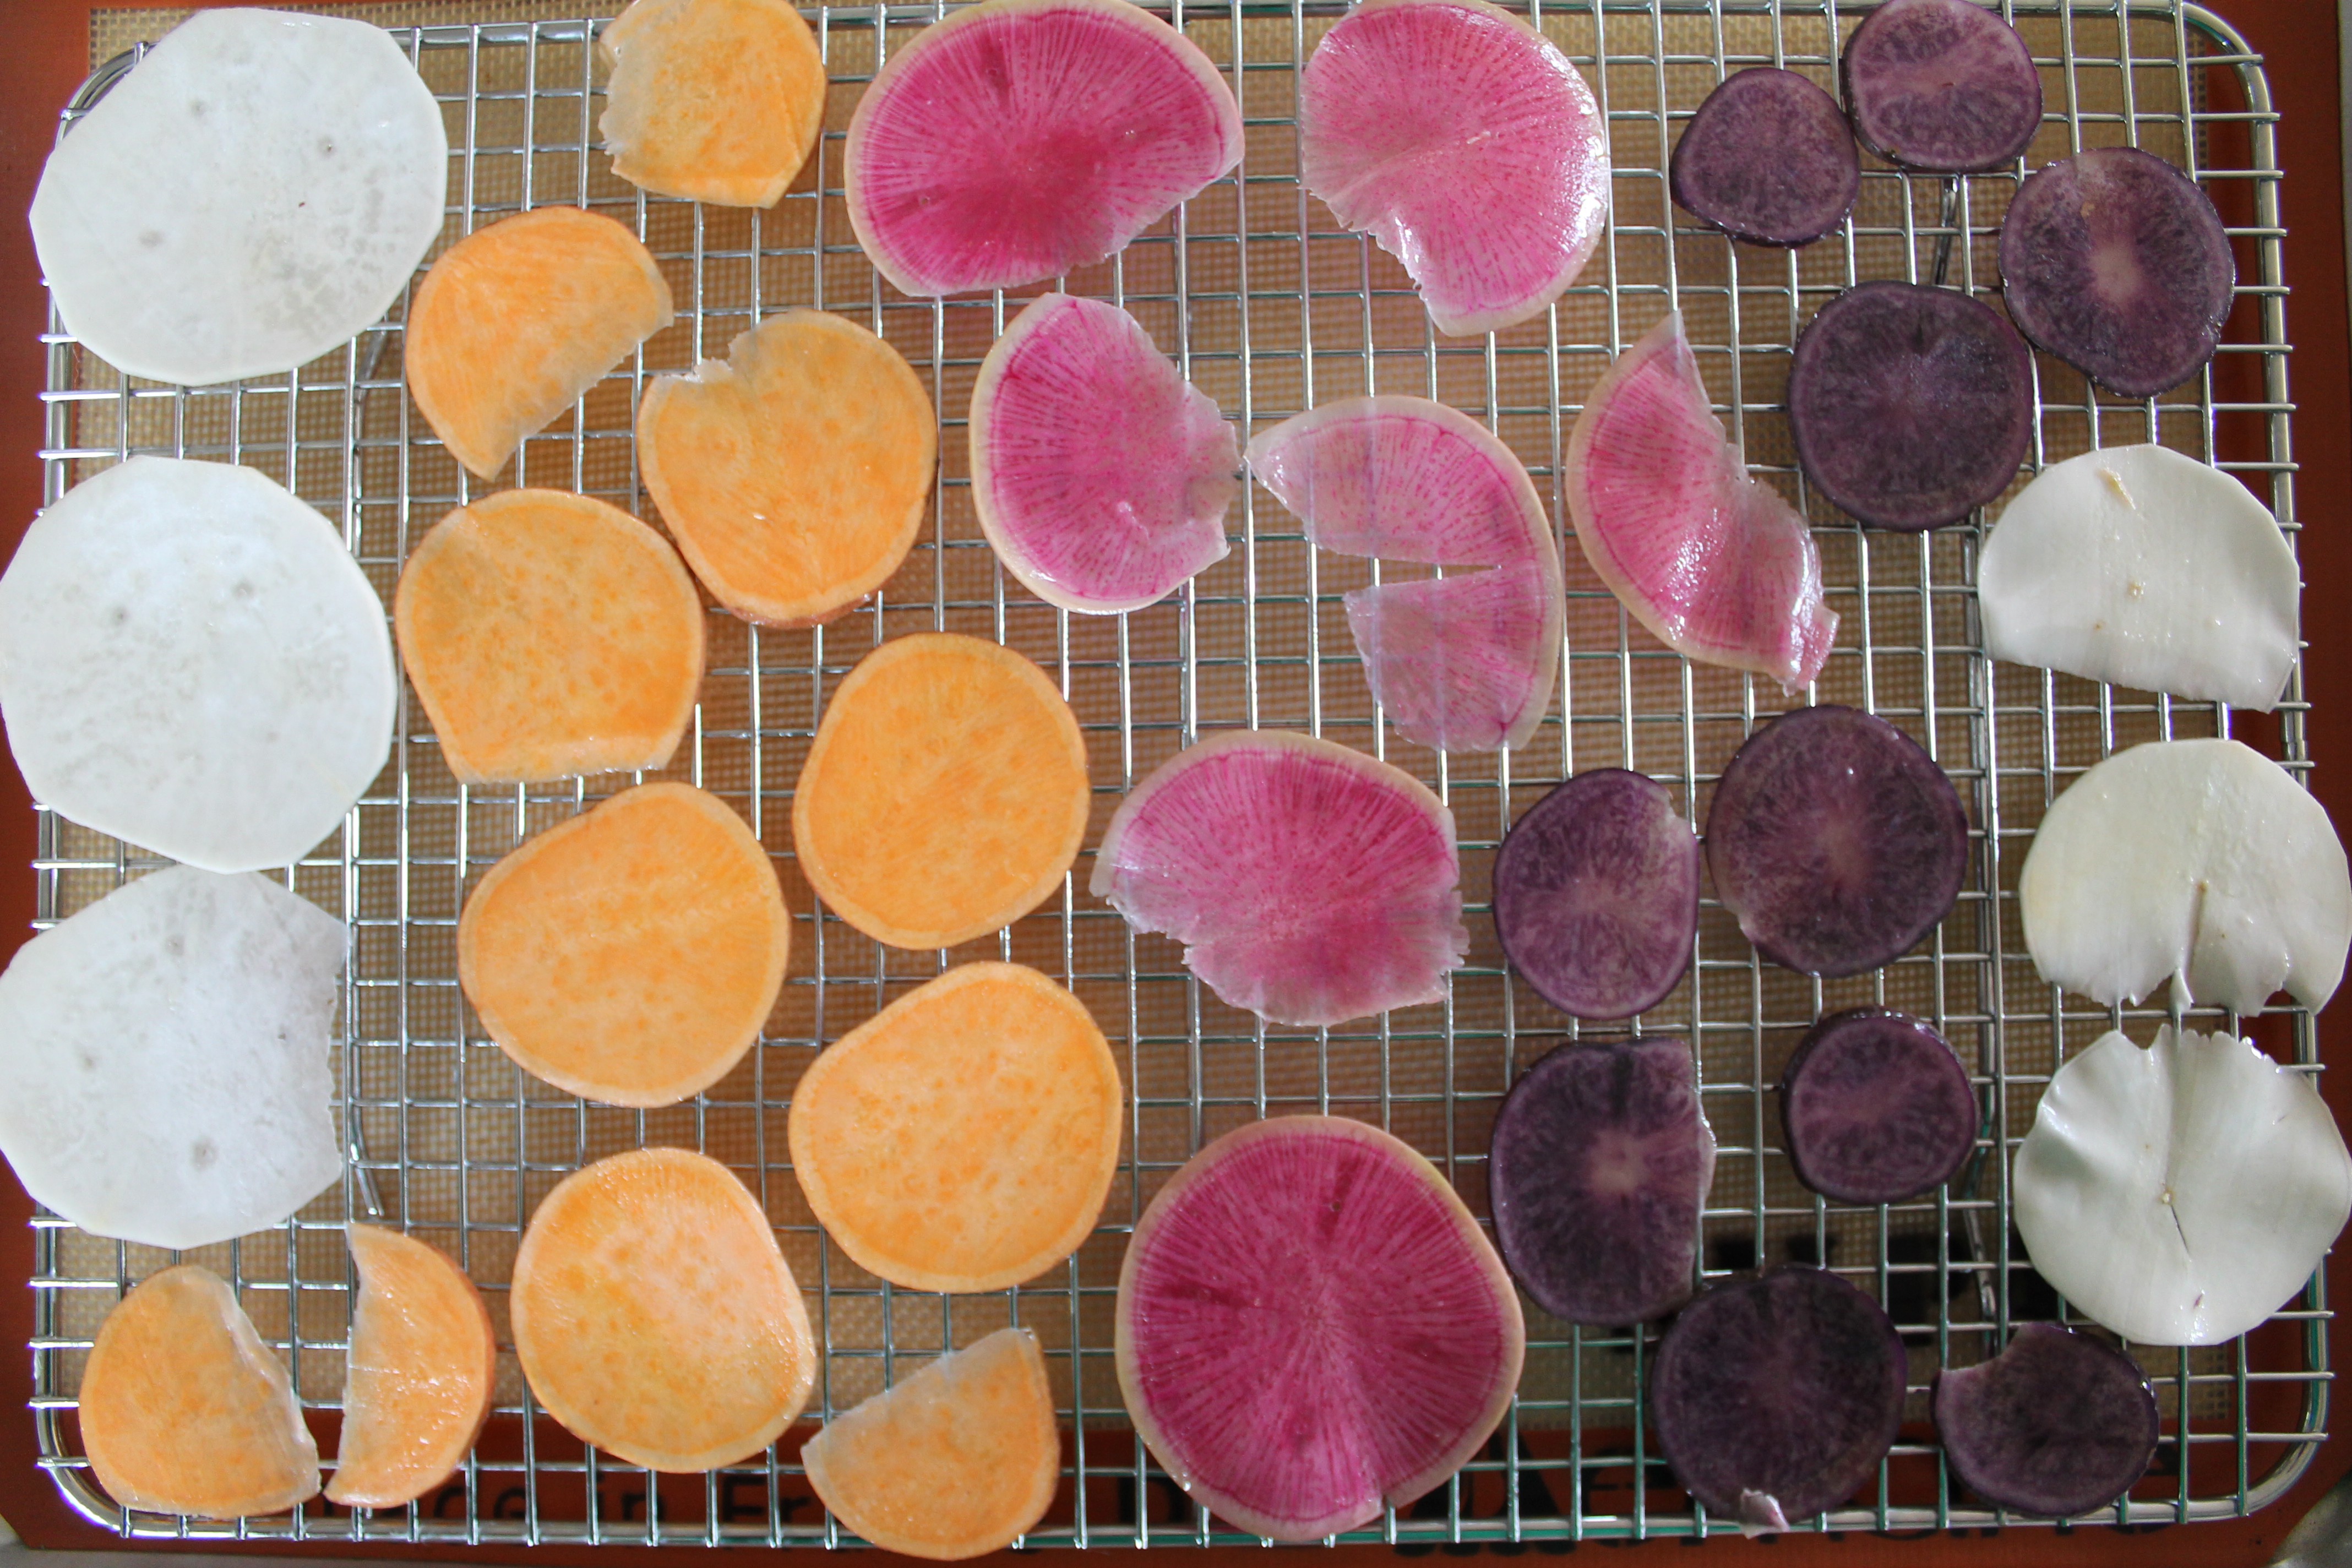 If you want to bake your chips, here’s how. Place all your veggie slices in a bowl and drizzle with 1–2 tsp. oil. Toss well, making sure to get both sides of all the slices lightly coated in oil. You will probably need to pull some pieces apart from each other to make sure they get oiled on both sides.
Set a wire cooling rack in top of a baking sheet. Lay the veggie slices in a single layer, not touching each other, on the wire rack. Bake for 20–30 minutes, or until browned and crisp. I really recommend baking only one type of veggie at a time, as the different vegetables will cook at different rates.
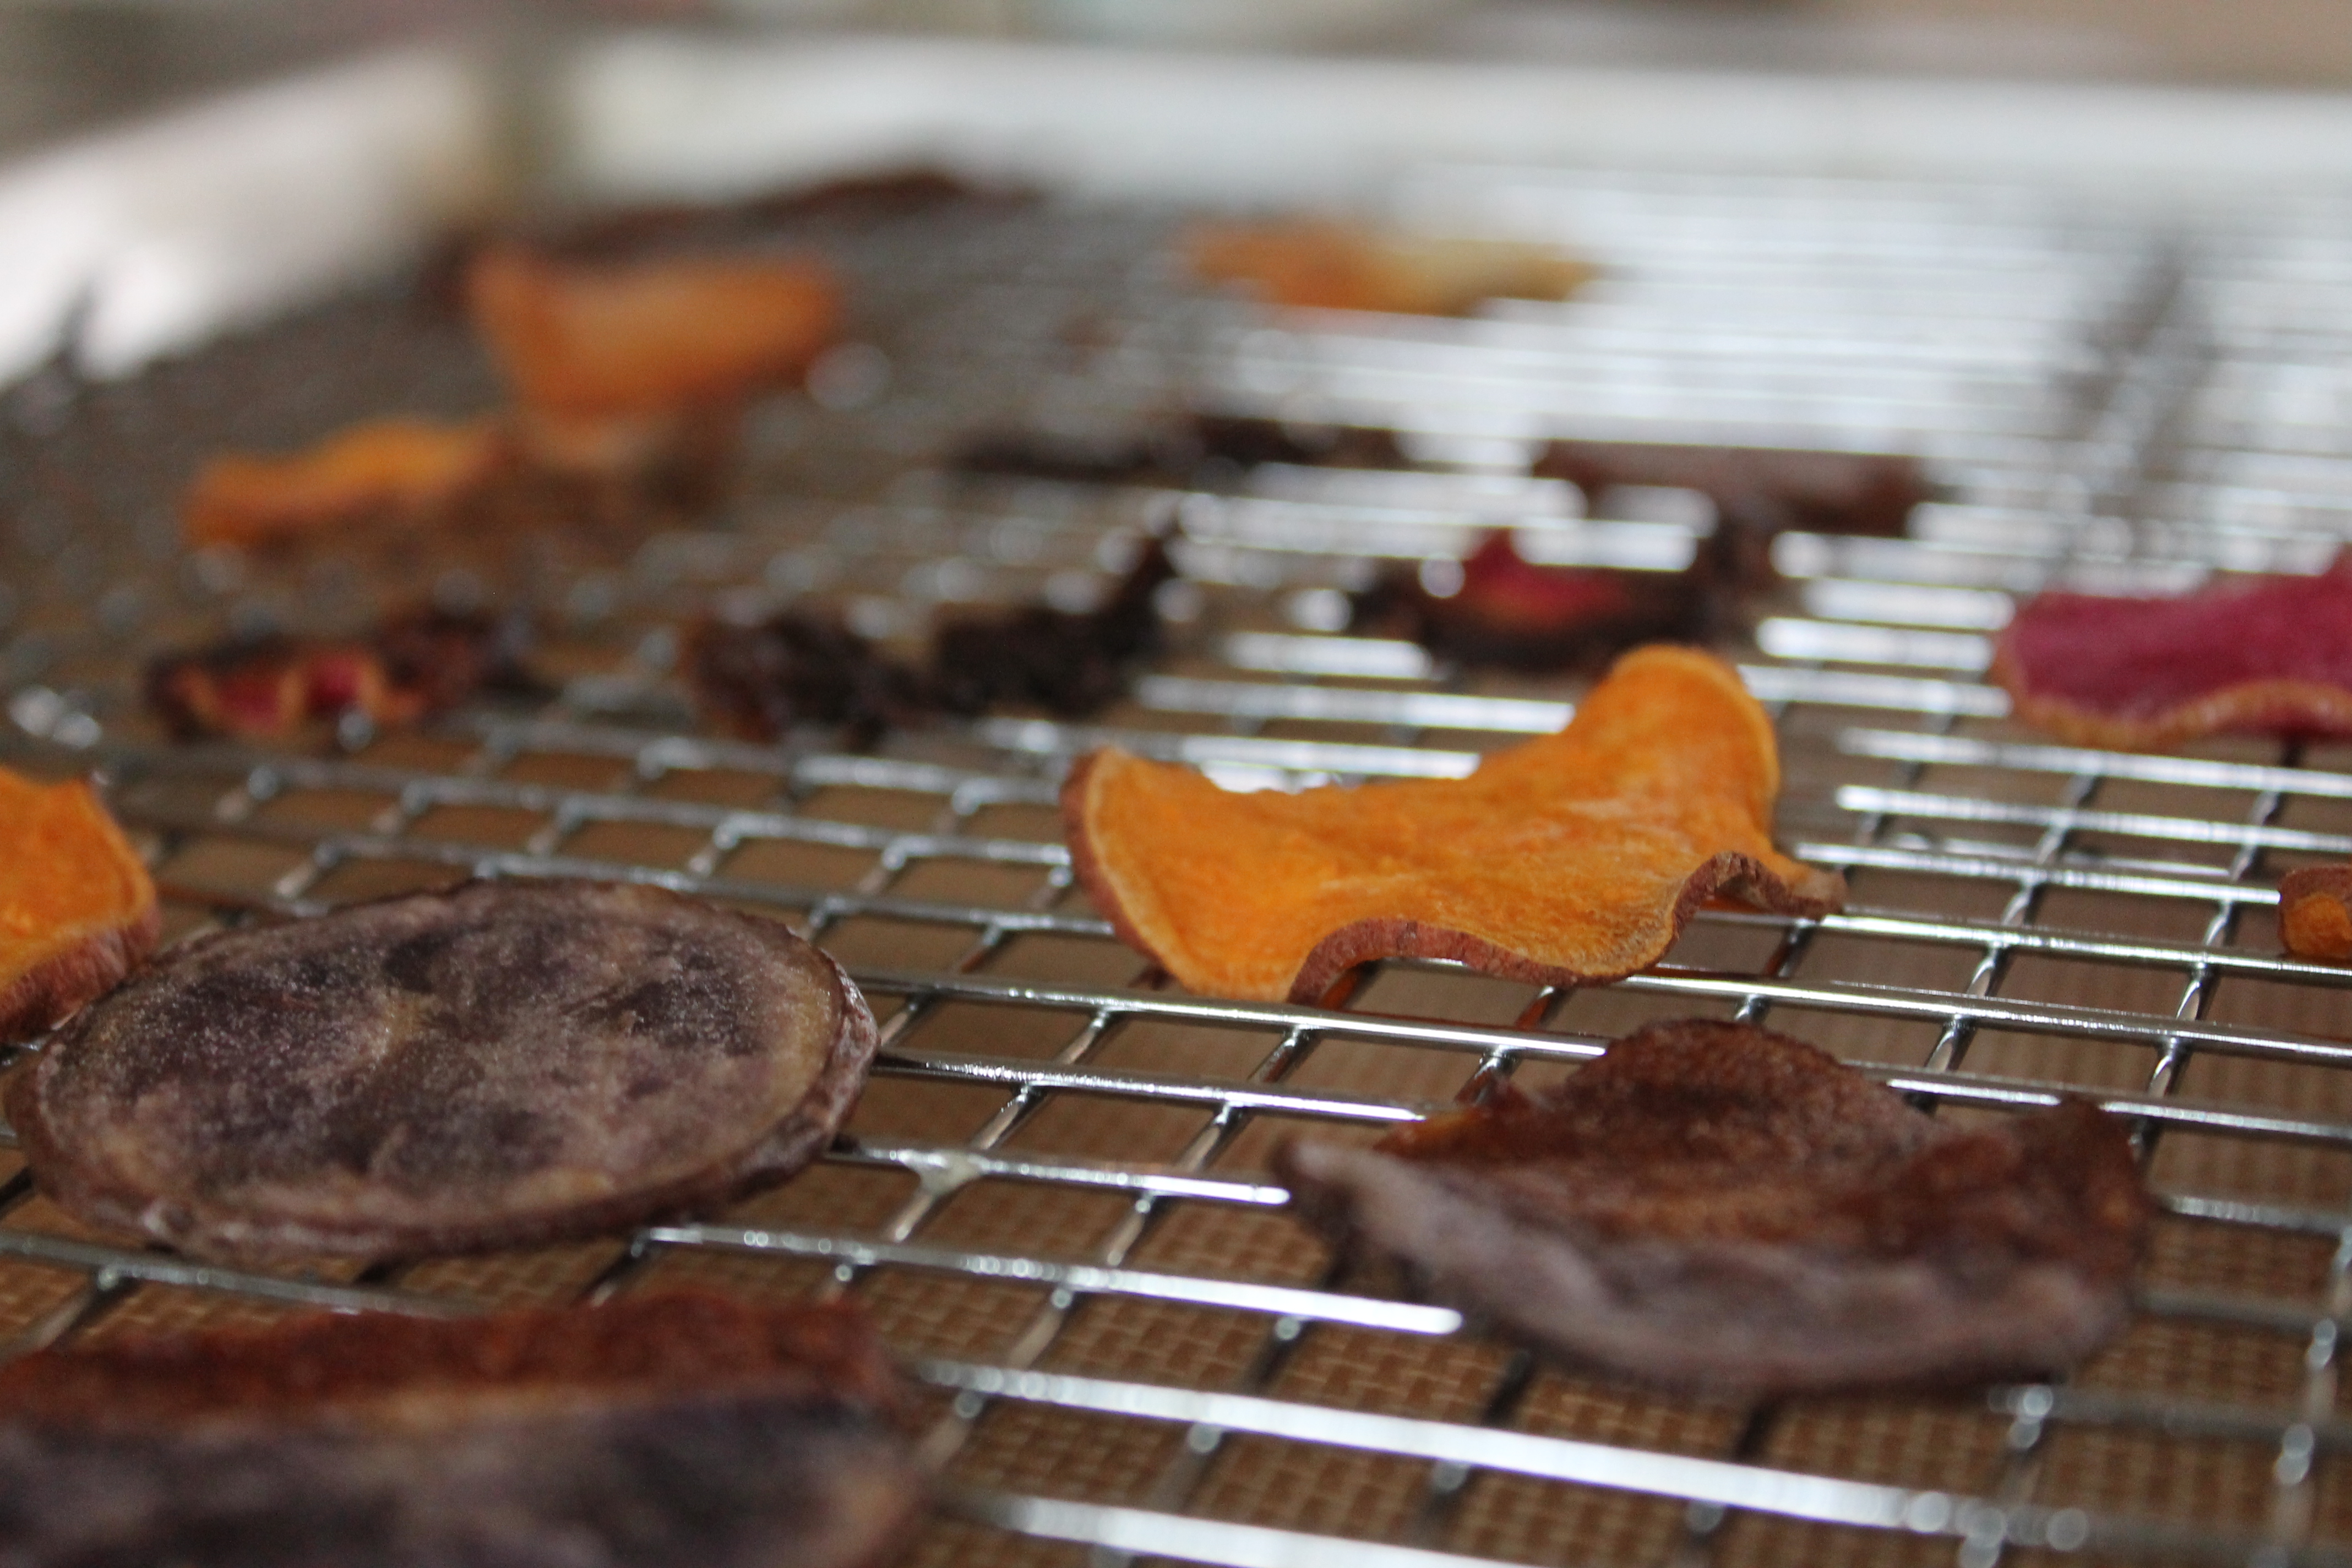 However, I have to admit that I didn’t love the baked chips. They were really more crunchy than crisp, and although I had thought baking would result in more brightly colored and uniformly cooked chips, they were still often soft in the centers while being blackened around the edges.
 I was so surprised that I enjoyed the fried chips best!
I admit to not being a frying-things afficionado. I also admit that while this was an interesting experience, I am unlikely to ever make my own chips again. They really were delicious; I loved the mix of flavors from the different vegetables, and Dave said that they were more flavorful than most chips he has had from the store. But I am just not into the amount of effort and time (and oil) that goes into making chips at home.
So. Here’s what I learned while frying my own root veggie chips!
All root veggies are certainly not made equal. The turnip and watermelon radish were just useless. They did eventually get crisp, but they turned into nearly-blackened shriveled little pieces in order to do so. Don’t bother with them.
But the yucca, my friends, the yucca was beautiful and perfect. It crisped so quickly! And it was delicious!
My very unscientific analysis is that the waxier and starchier the veggie, the better it will fry. (This is another reason I ultimately didn’t make it around to slicing the beets and turning them into chips.) So go for tubers and tuberous roots! You’ll thank me later.
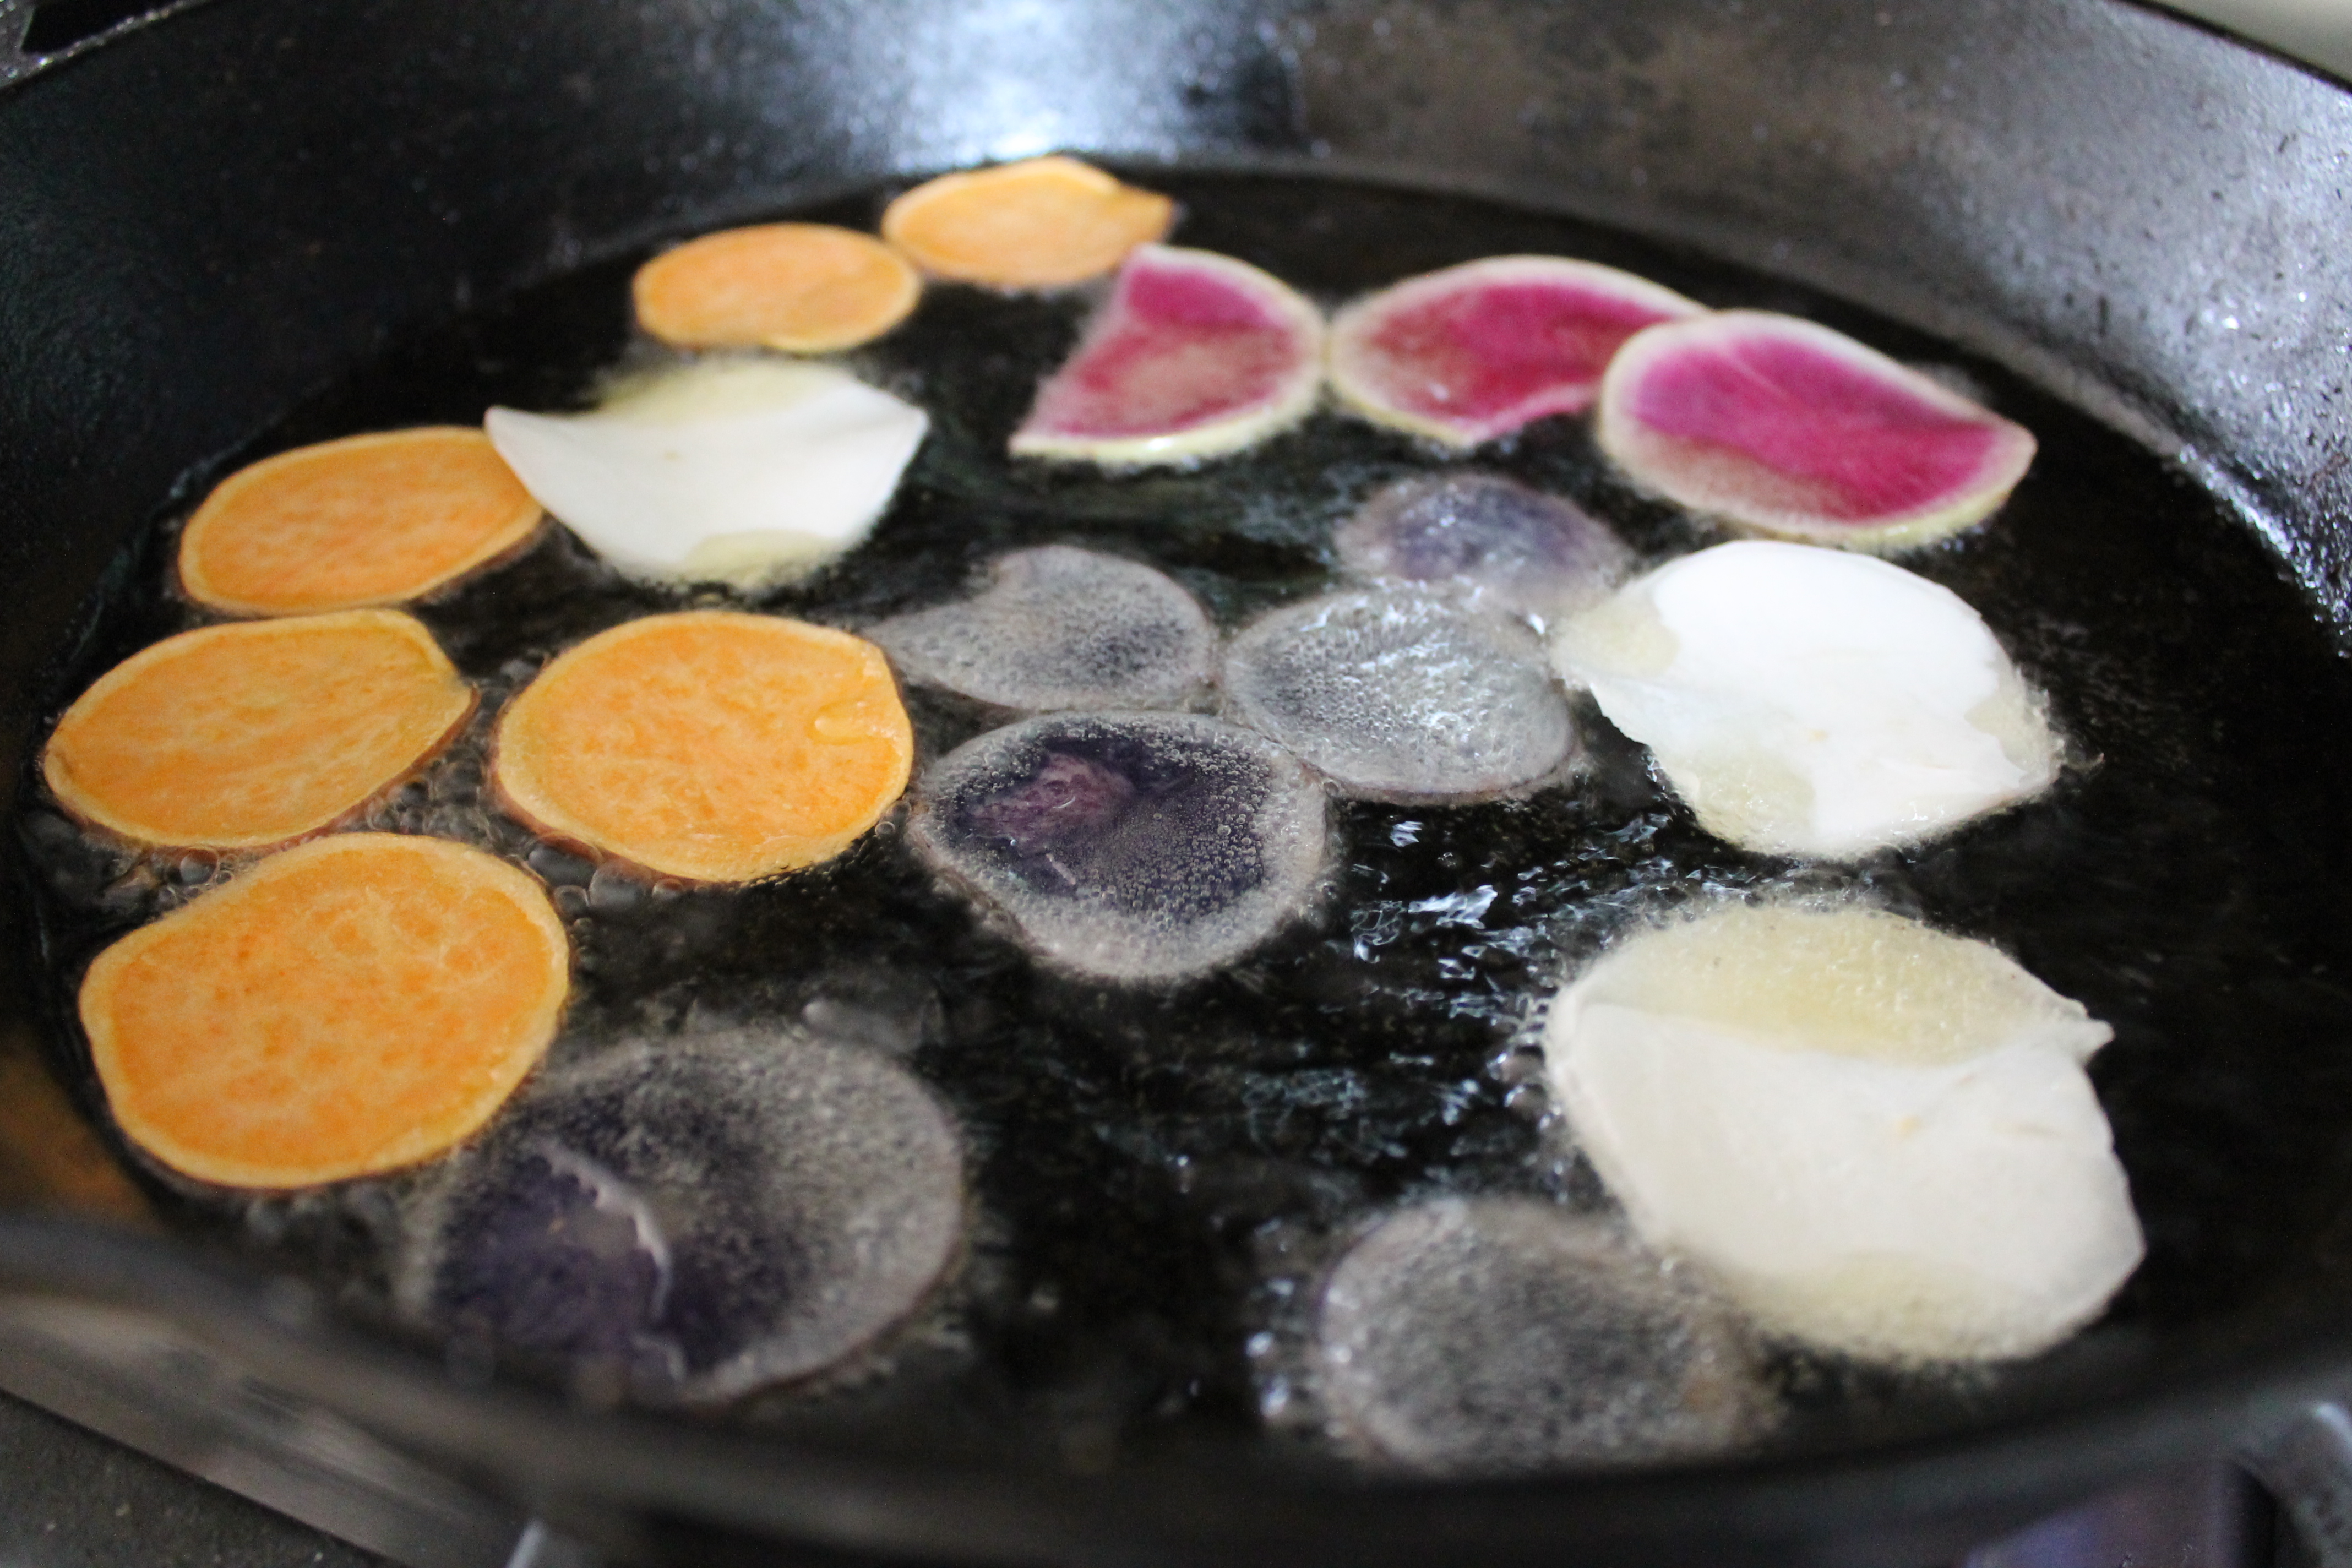
 Grab a cast iron or other heavy pan and fill it with about ½″ vegetable oil. Heat the oil over medium heat, until the first potato sizzles when you carefully drop it in. Don’t let the oil smoke! You may need to adjust the heat of your burners a little as you work to keep the oil at the right temperature.
Now for the frying. These root veggies will cook at different speeds depending on their composition and how thickly you sliced them. As with the baking, I found that it was sometimes hard to get the centers nice and crisp at the same rate that the edges crisped up. My best advice is to do a very small test batch with all the different types of veggies, as practice for understanding how long each type of veggie will need, and to be willing to flip them several times to get them crisped without burning. The multiple-flip strategy was particularly effective for my two types of potatoes.
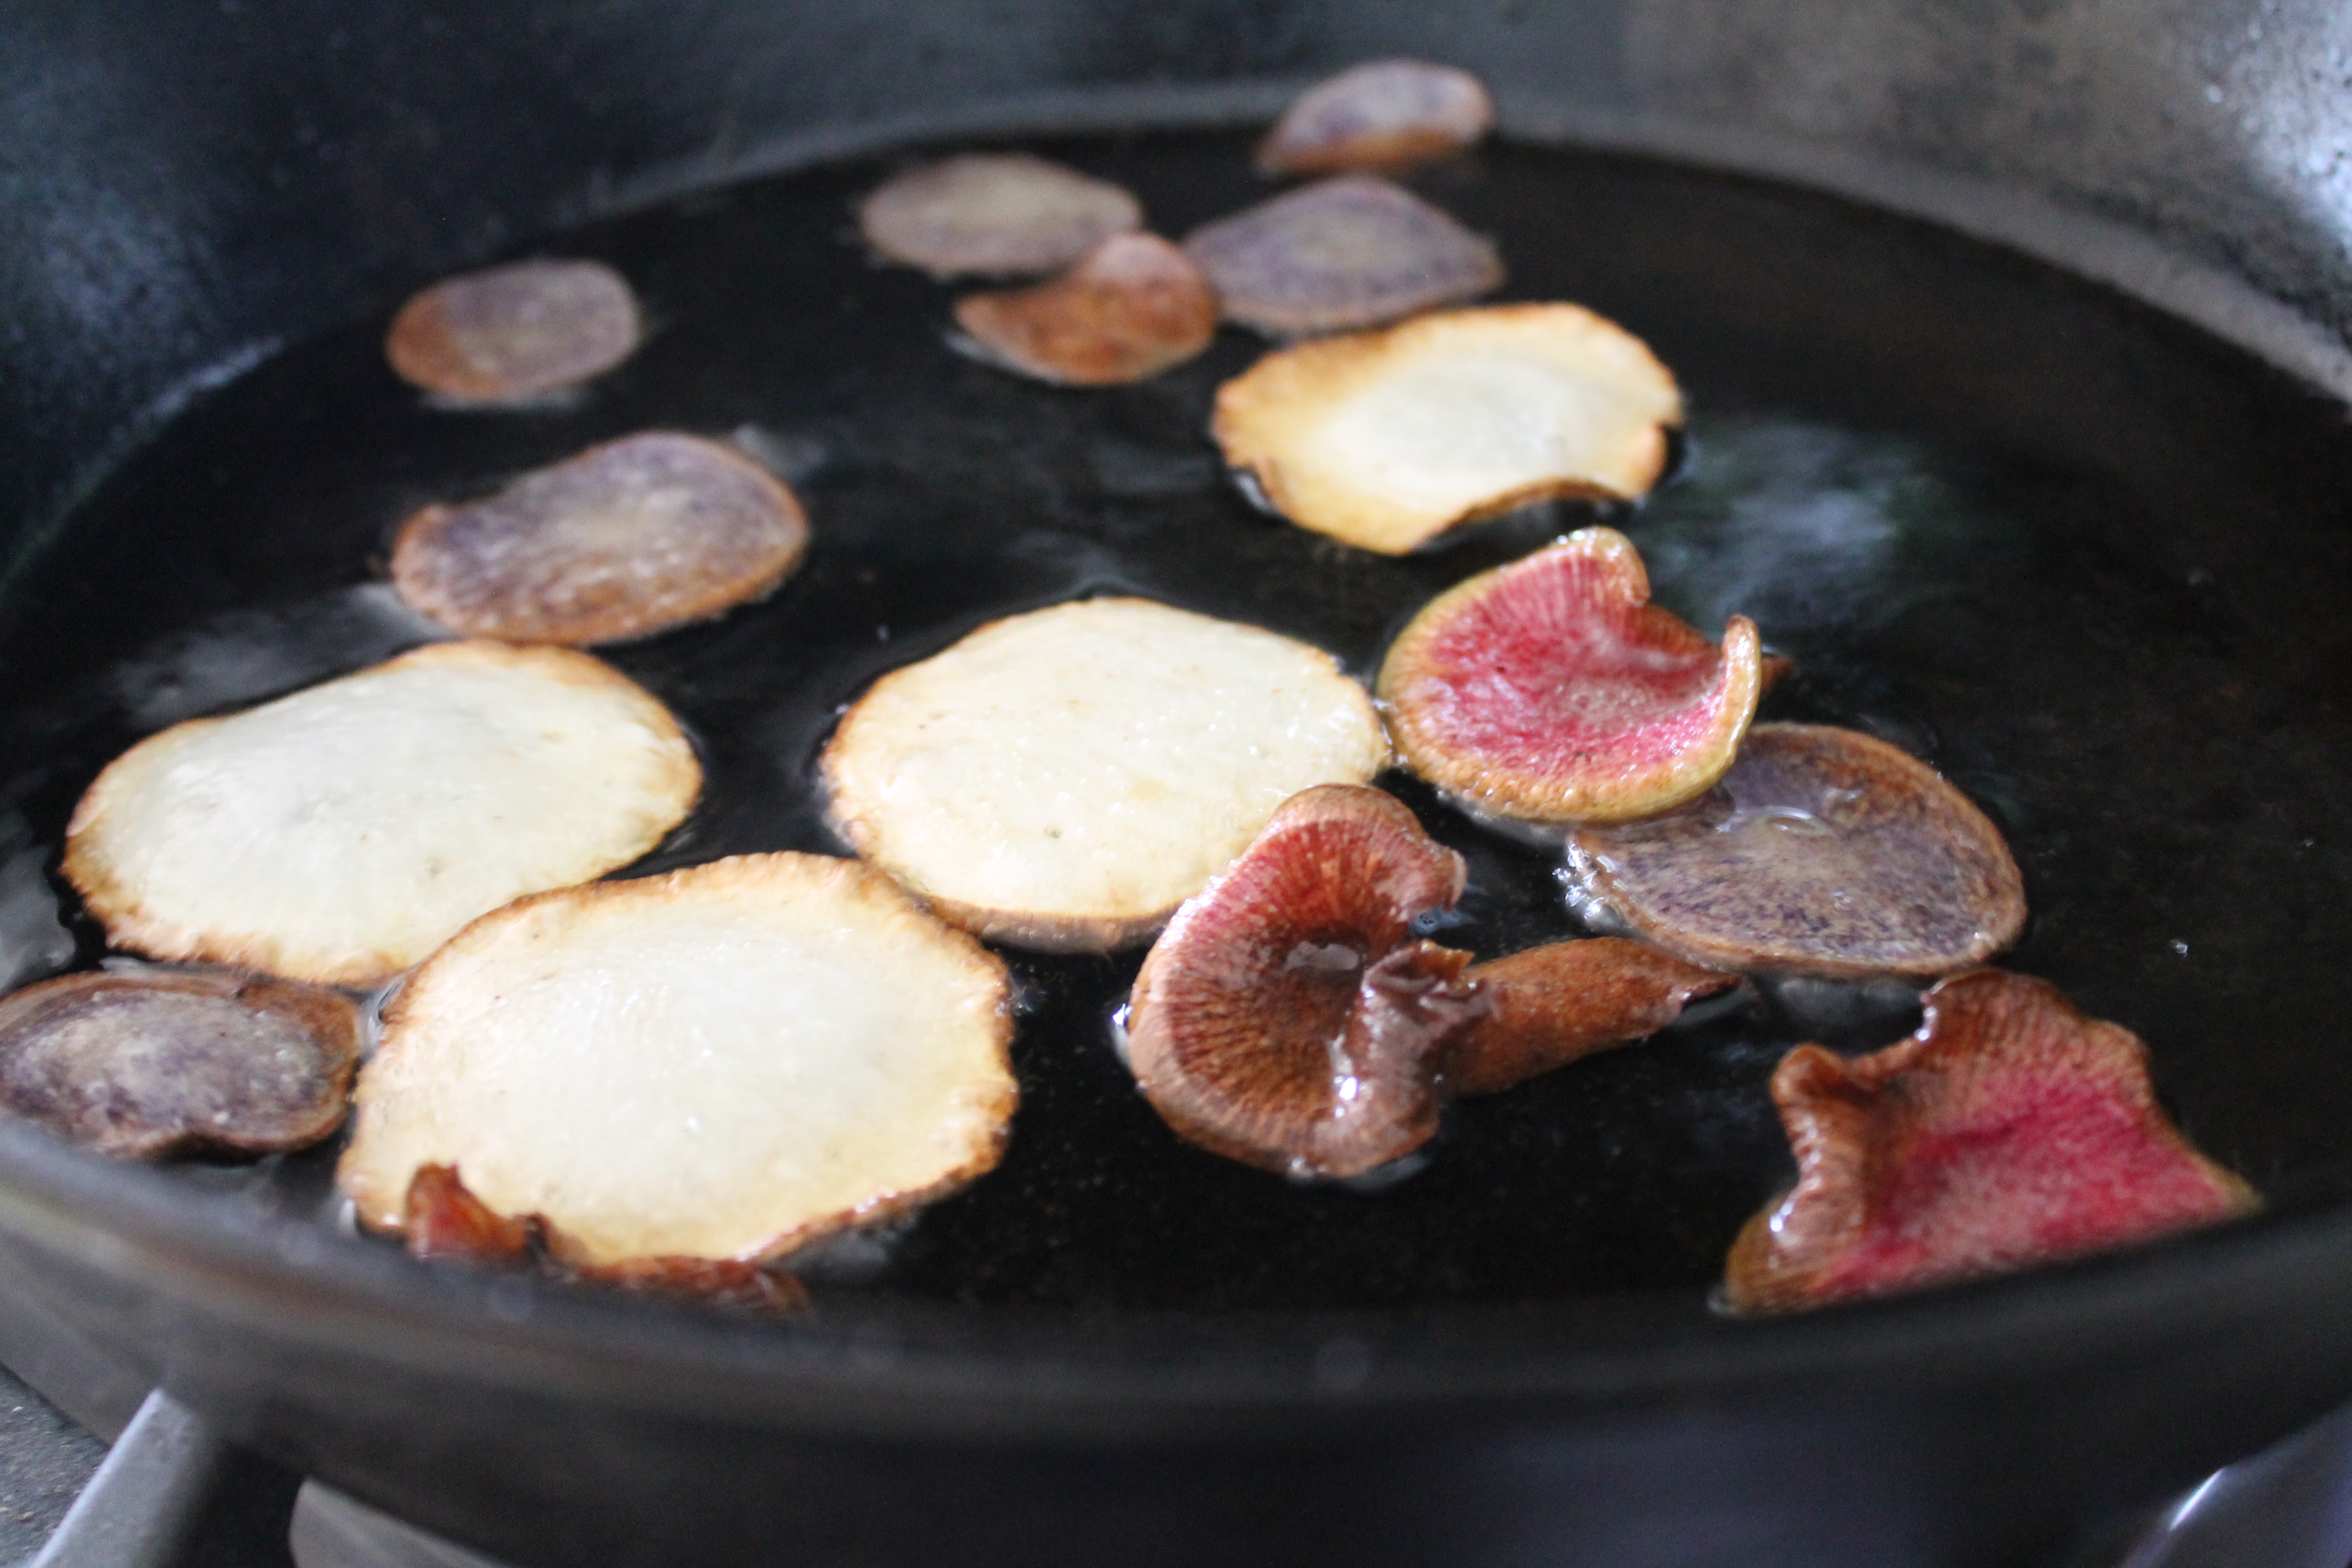
The veggies will be done when they really start to curl up, just like a regular potato chip. And if they are floppy when you pull them out of the oil, then they will remain soft…they will only end up nice and crisp if they come out of the oil that way! I did end up with quite a few limp-centered chips as I worked out the kinks in my frying technique. They were still delicious, but they certainly left something to be desired.
I used tongs to flip all my chips over and to pull them out of the pan. Let as much oil as possible drip back into the pan before placing the chips on paper towels to drain thoroughly. You may even want to cover them with a paper towel as well, to soak up more grease!
Let the chips drain for 5 minutes or so before placing into a large bowl and tossing with salt.
 Let’s talk about salt. Patricia recommended popcorn salt in her original recipe, something I had never heard of before. She described it as very fine salt, which would more evenly coat the chips and result in more delicious flavor.
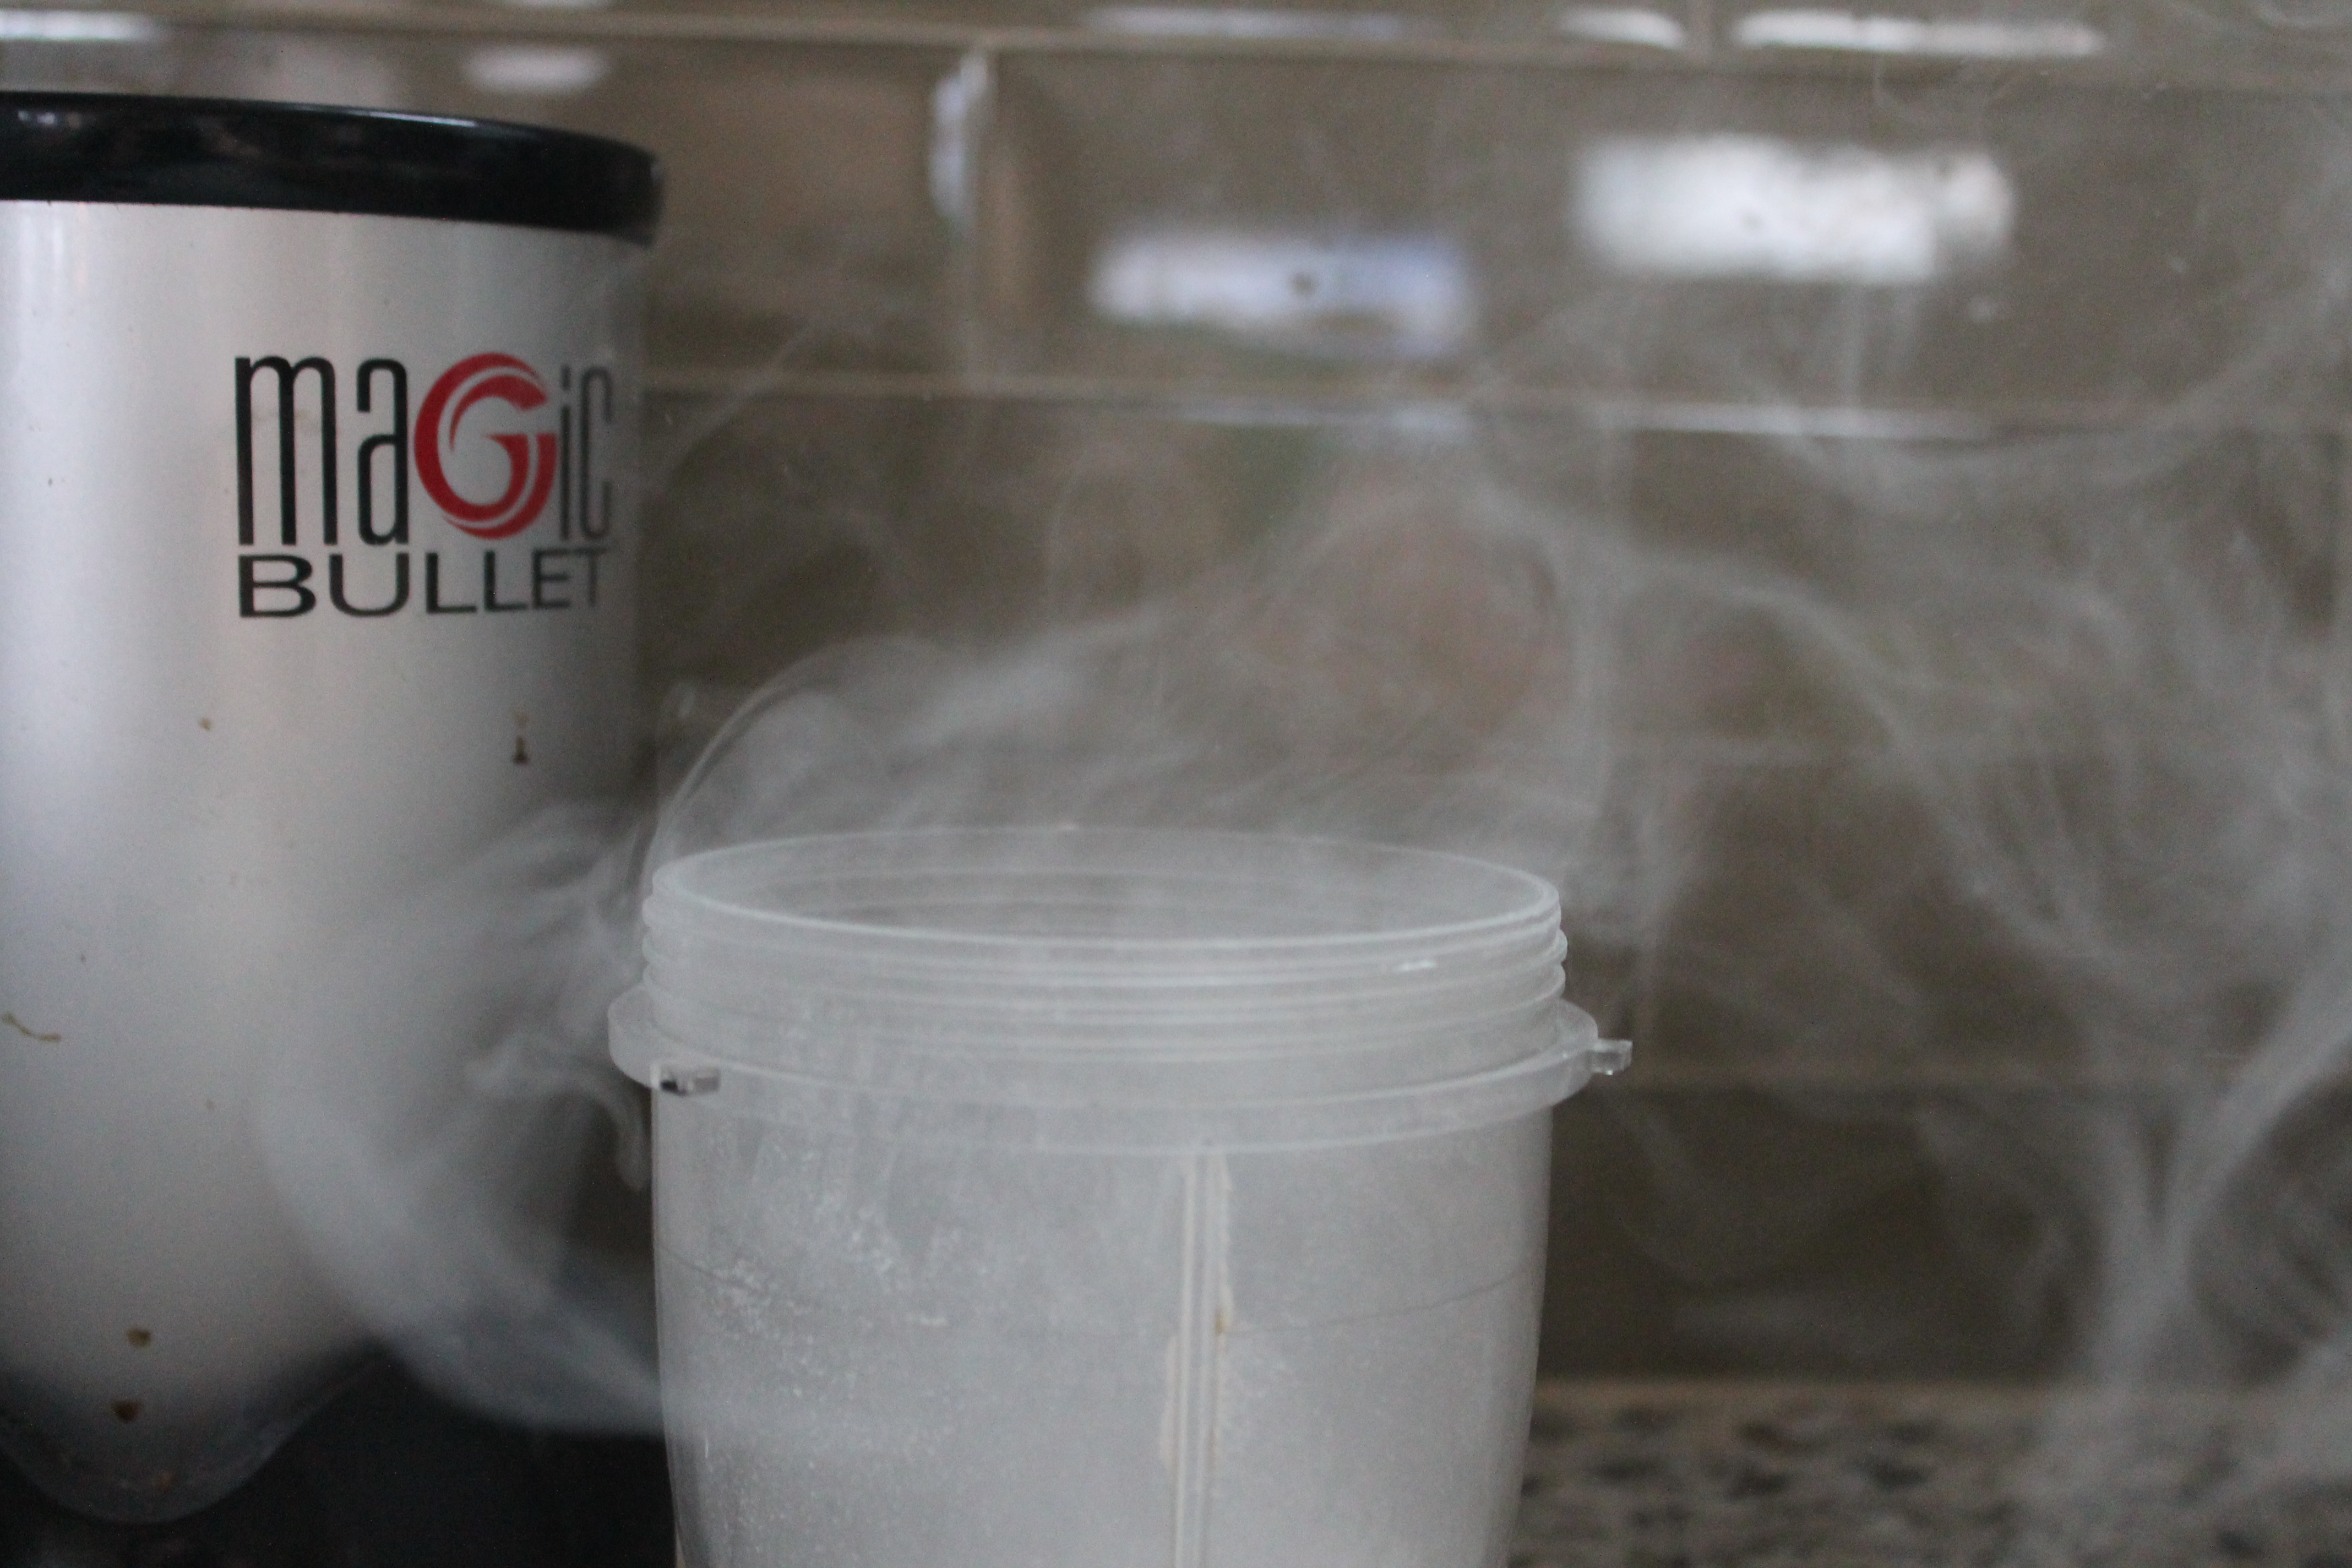
I didn’t have popcorn salt, so I grabbed my coarse kosher salt and threw it into the Magic Bullet and whizzed it until it turned into a fine white powder. (It made a beautiful, salty smoke when I opened the cup!) I can pretty much guarantee you won’t need more than 1 tbsp. coarse salt. I had a tremendous amount of root veggie slices, about 6 cups worth, and I barely used 1 tsp. of salt for all of them!
And let me tell you…I do think the salt is what made these chips delicious. You don’t have to buy popcorn salt for making your own chips, but you do have to use the finest salt powder you possibly can to coat the chips perfectly and bring out their fresh flavor!
 These chips are definitely best the day they are made, so bring them to the last block party or church picnic of the season and share with friends!
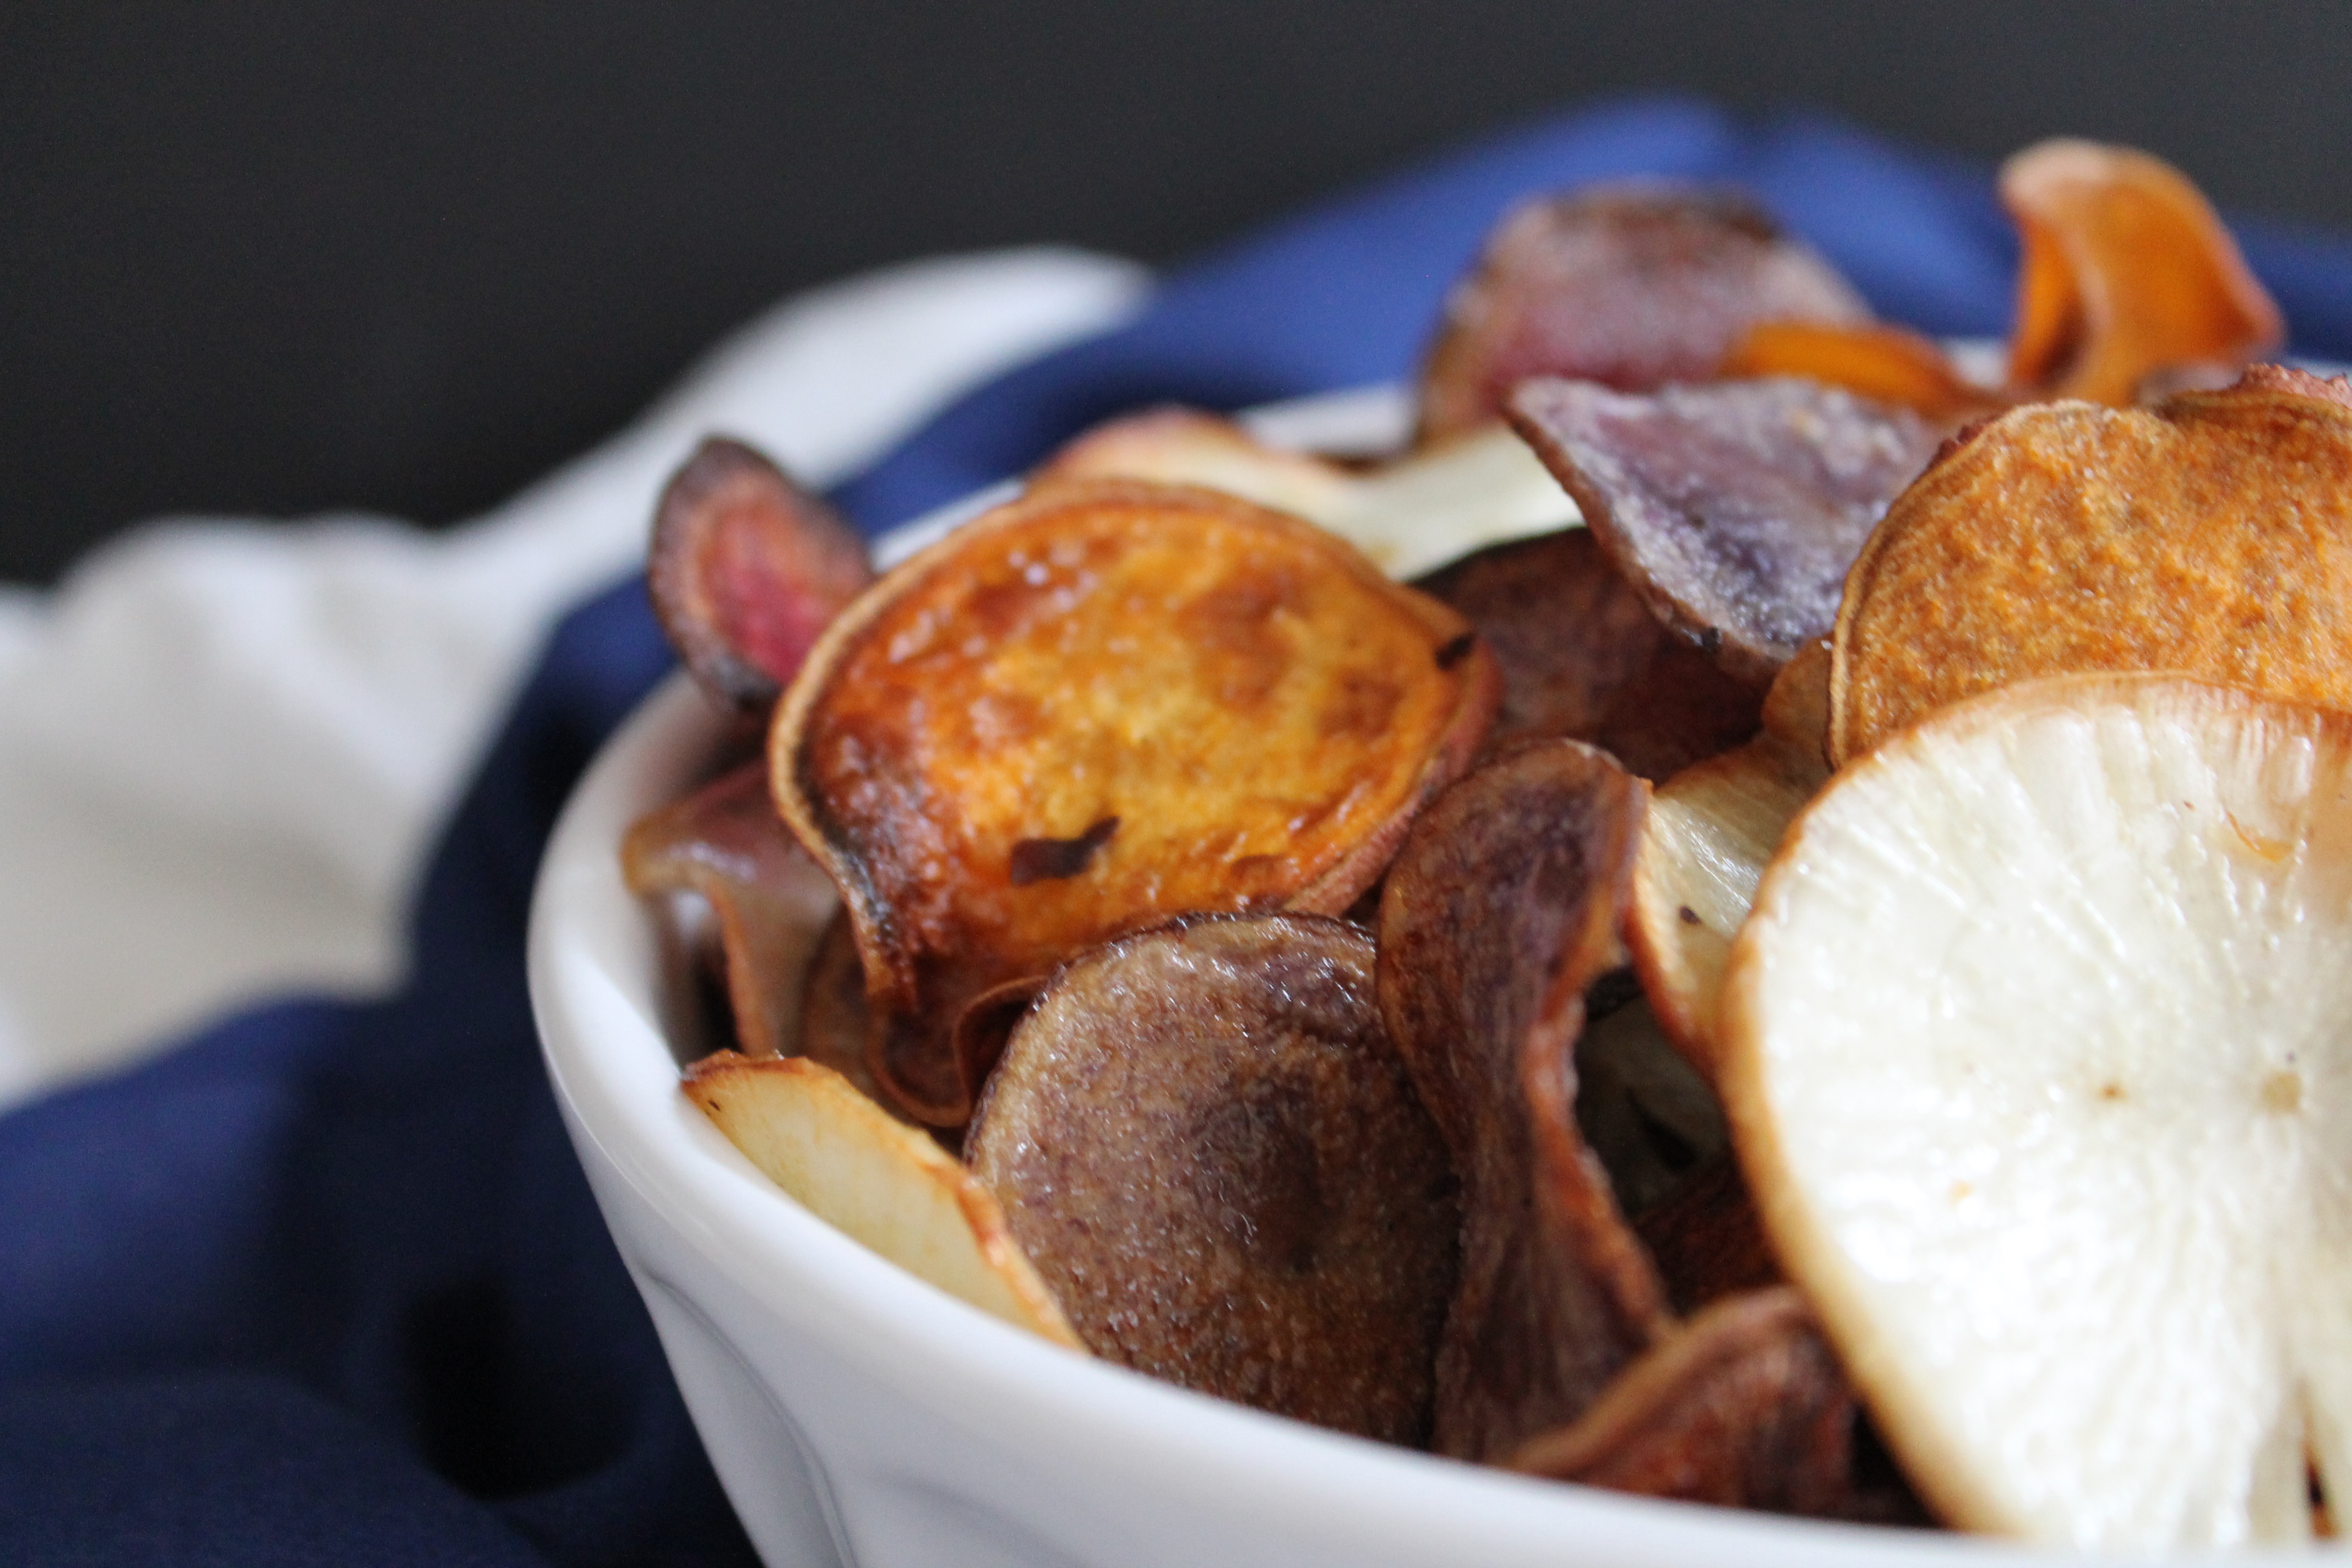
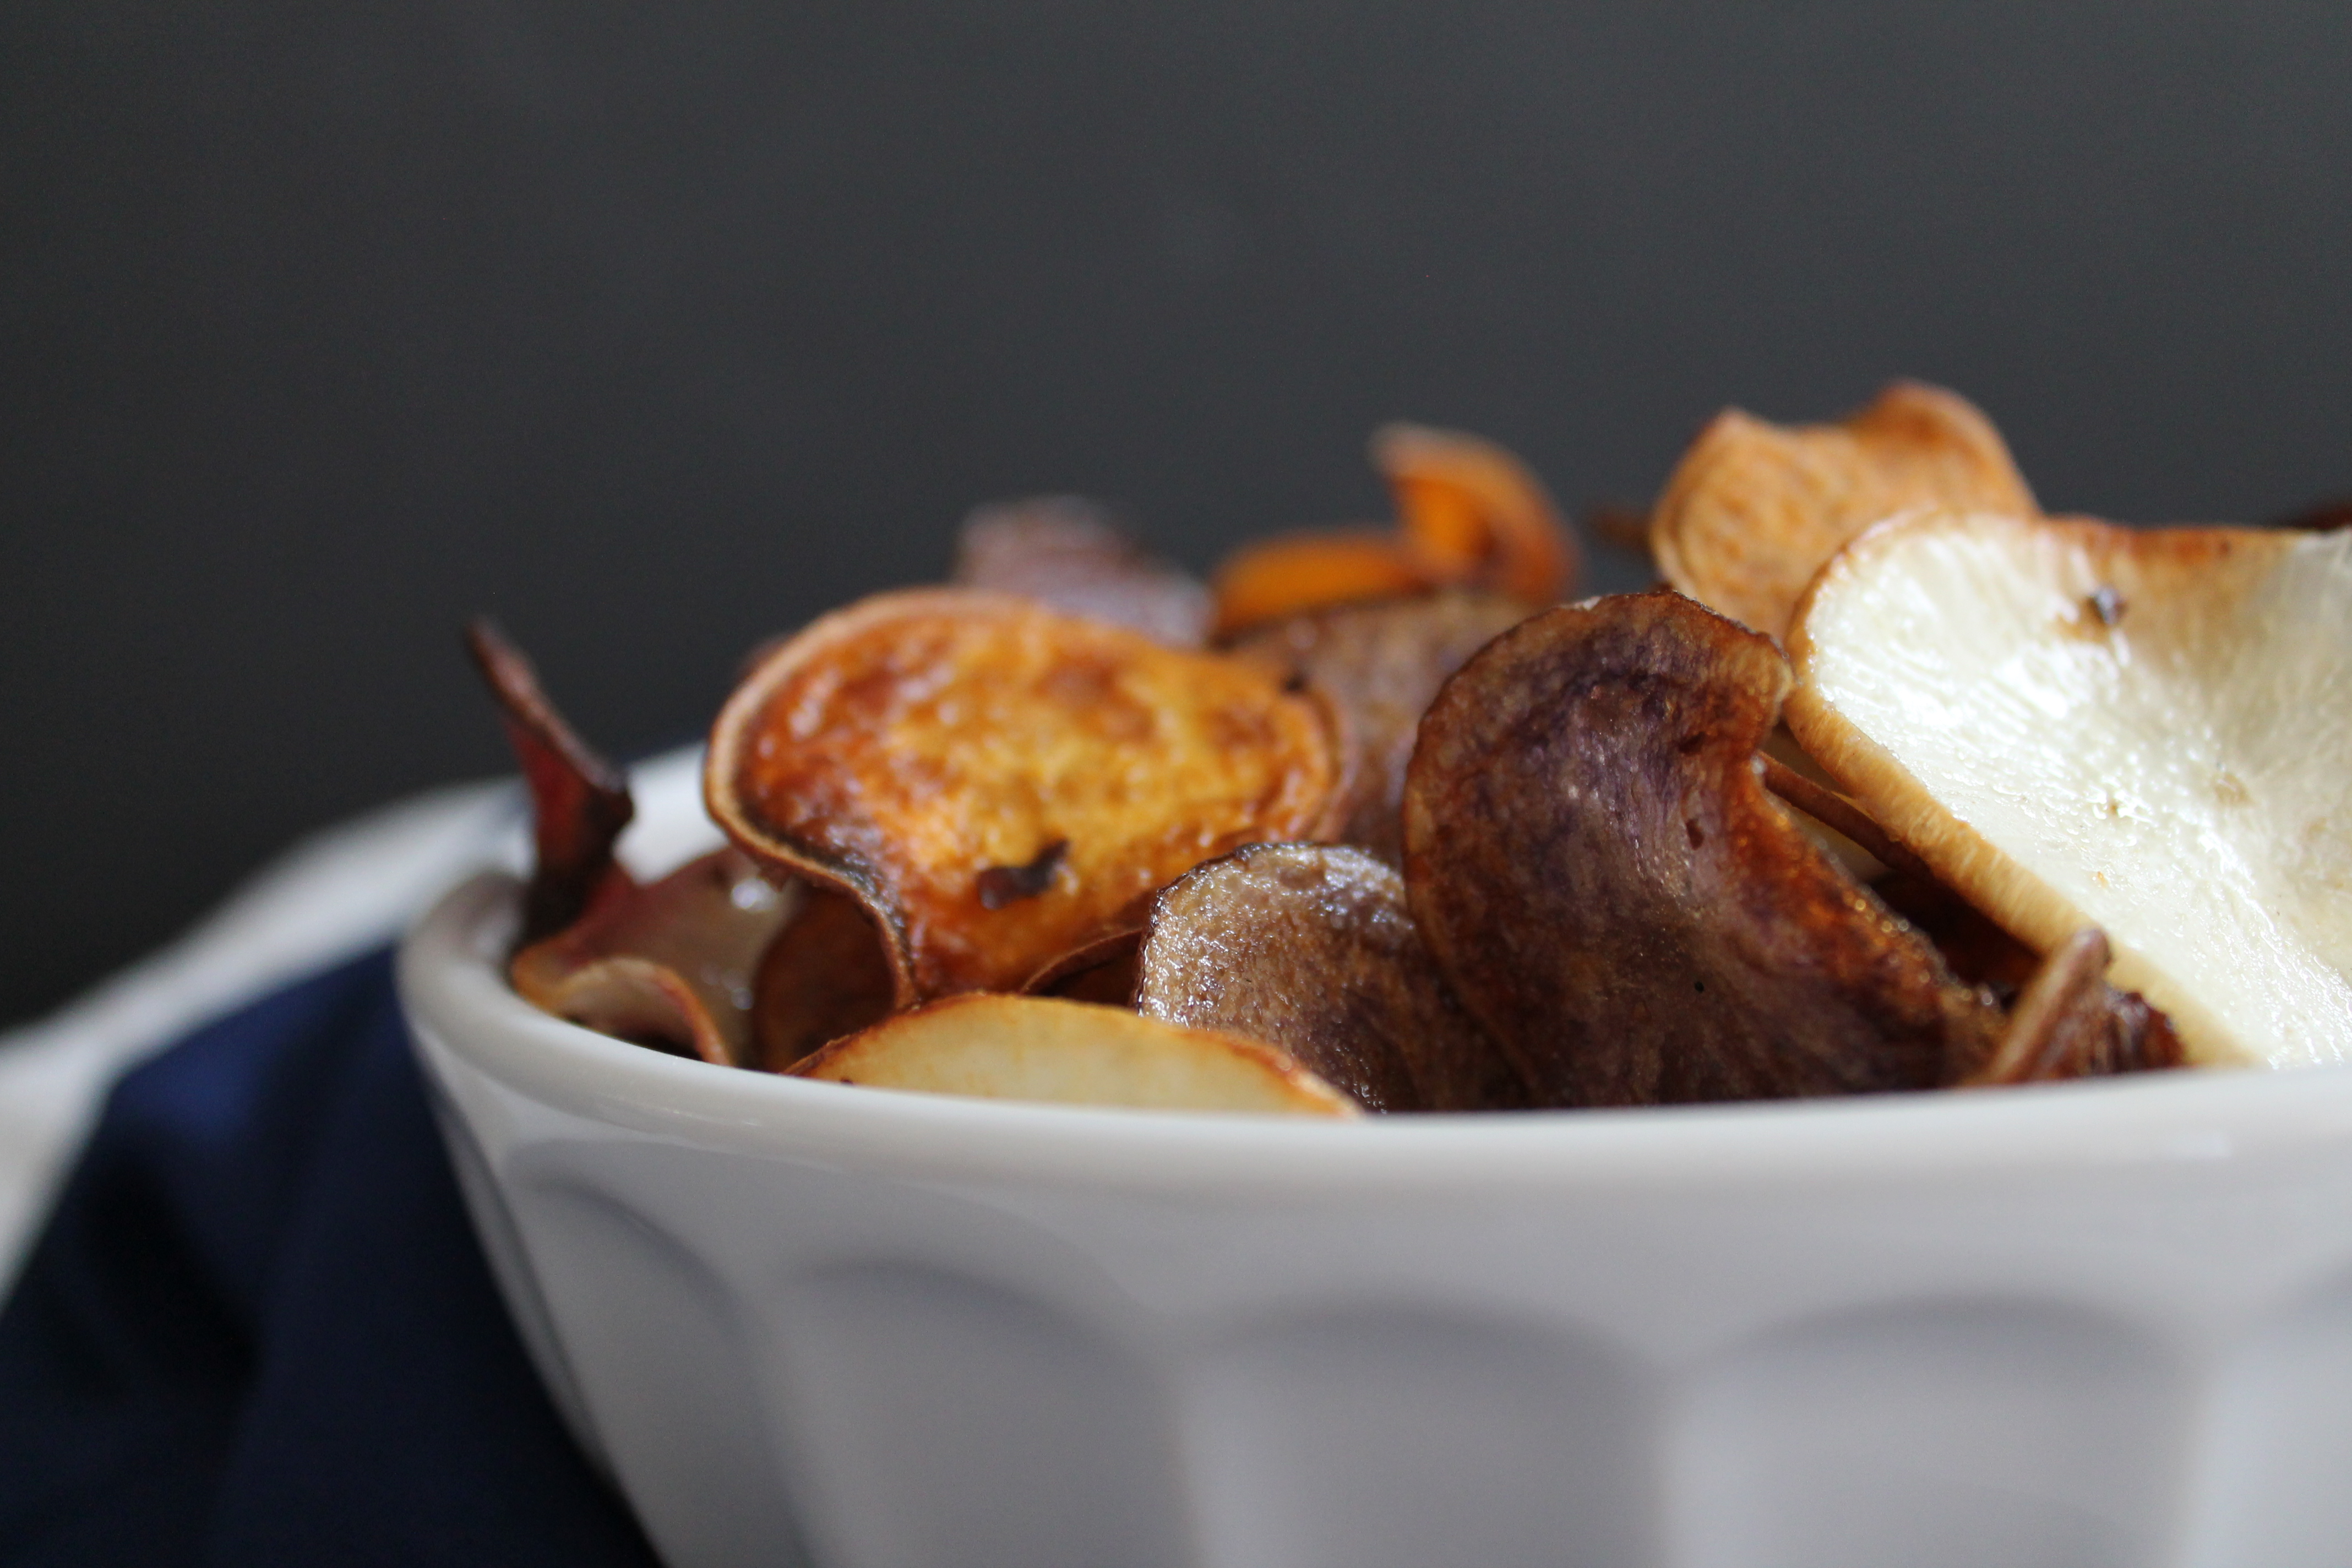
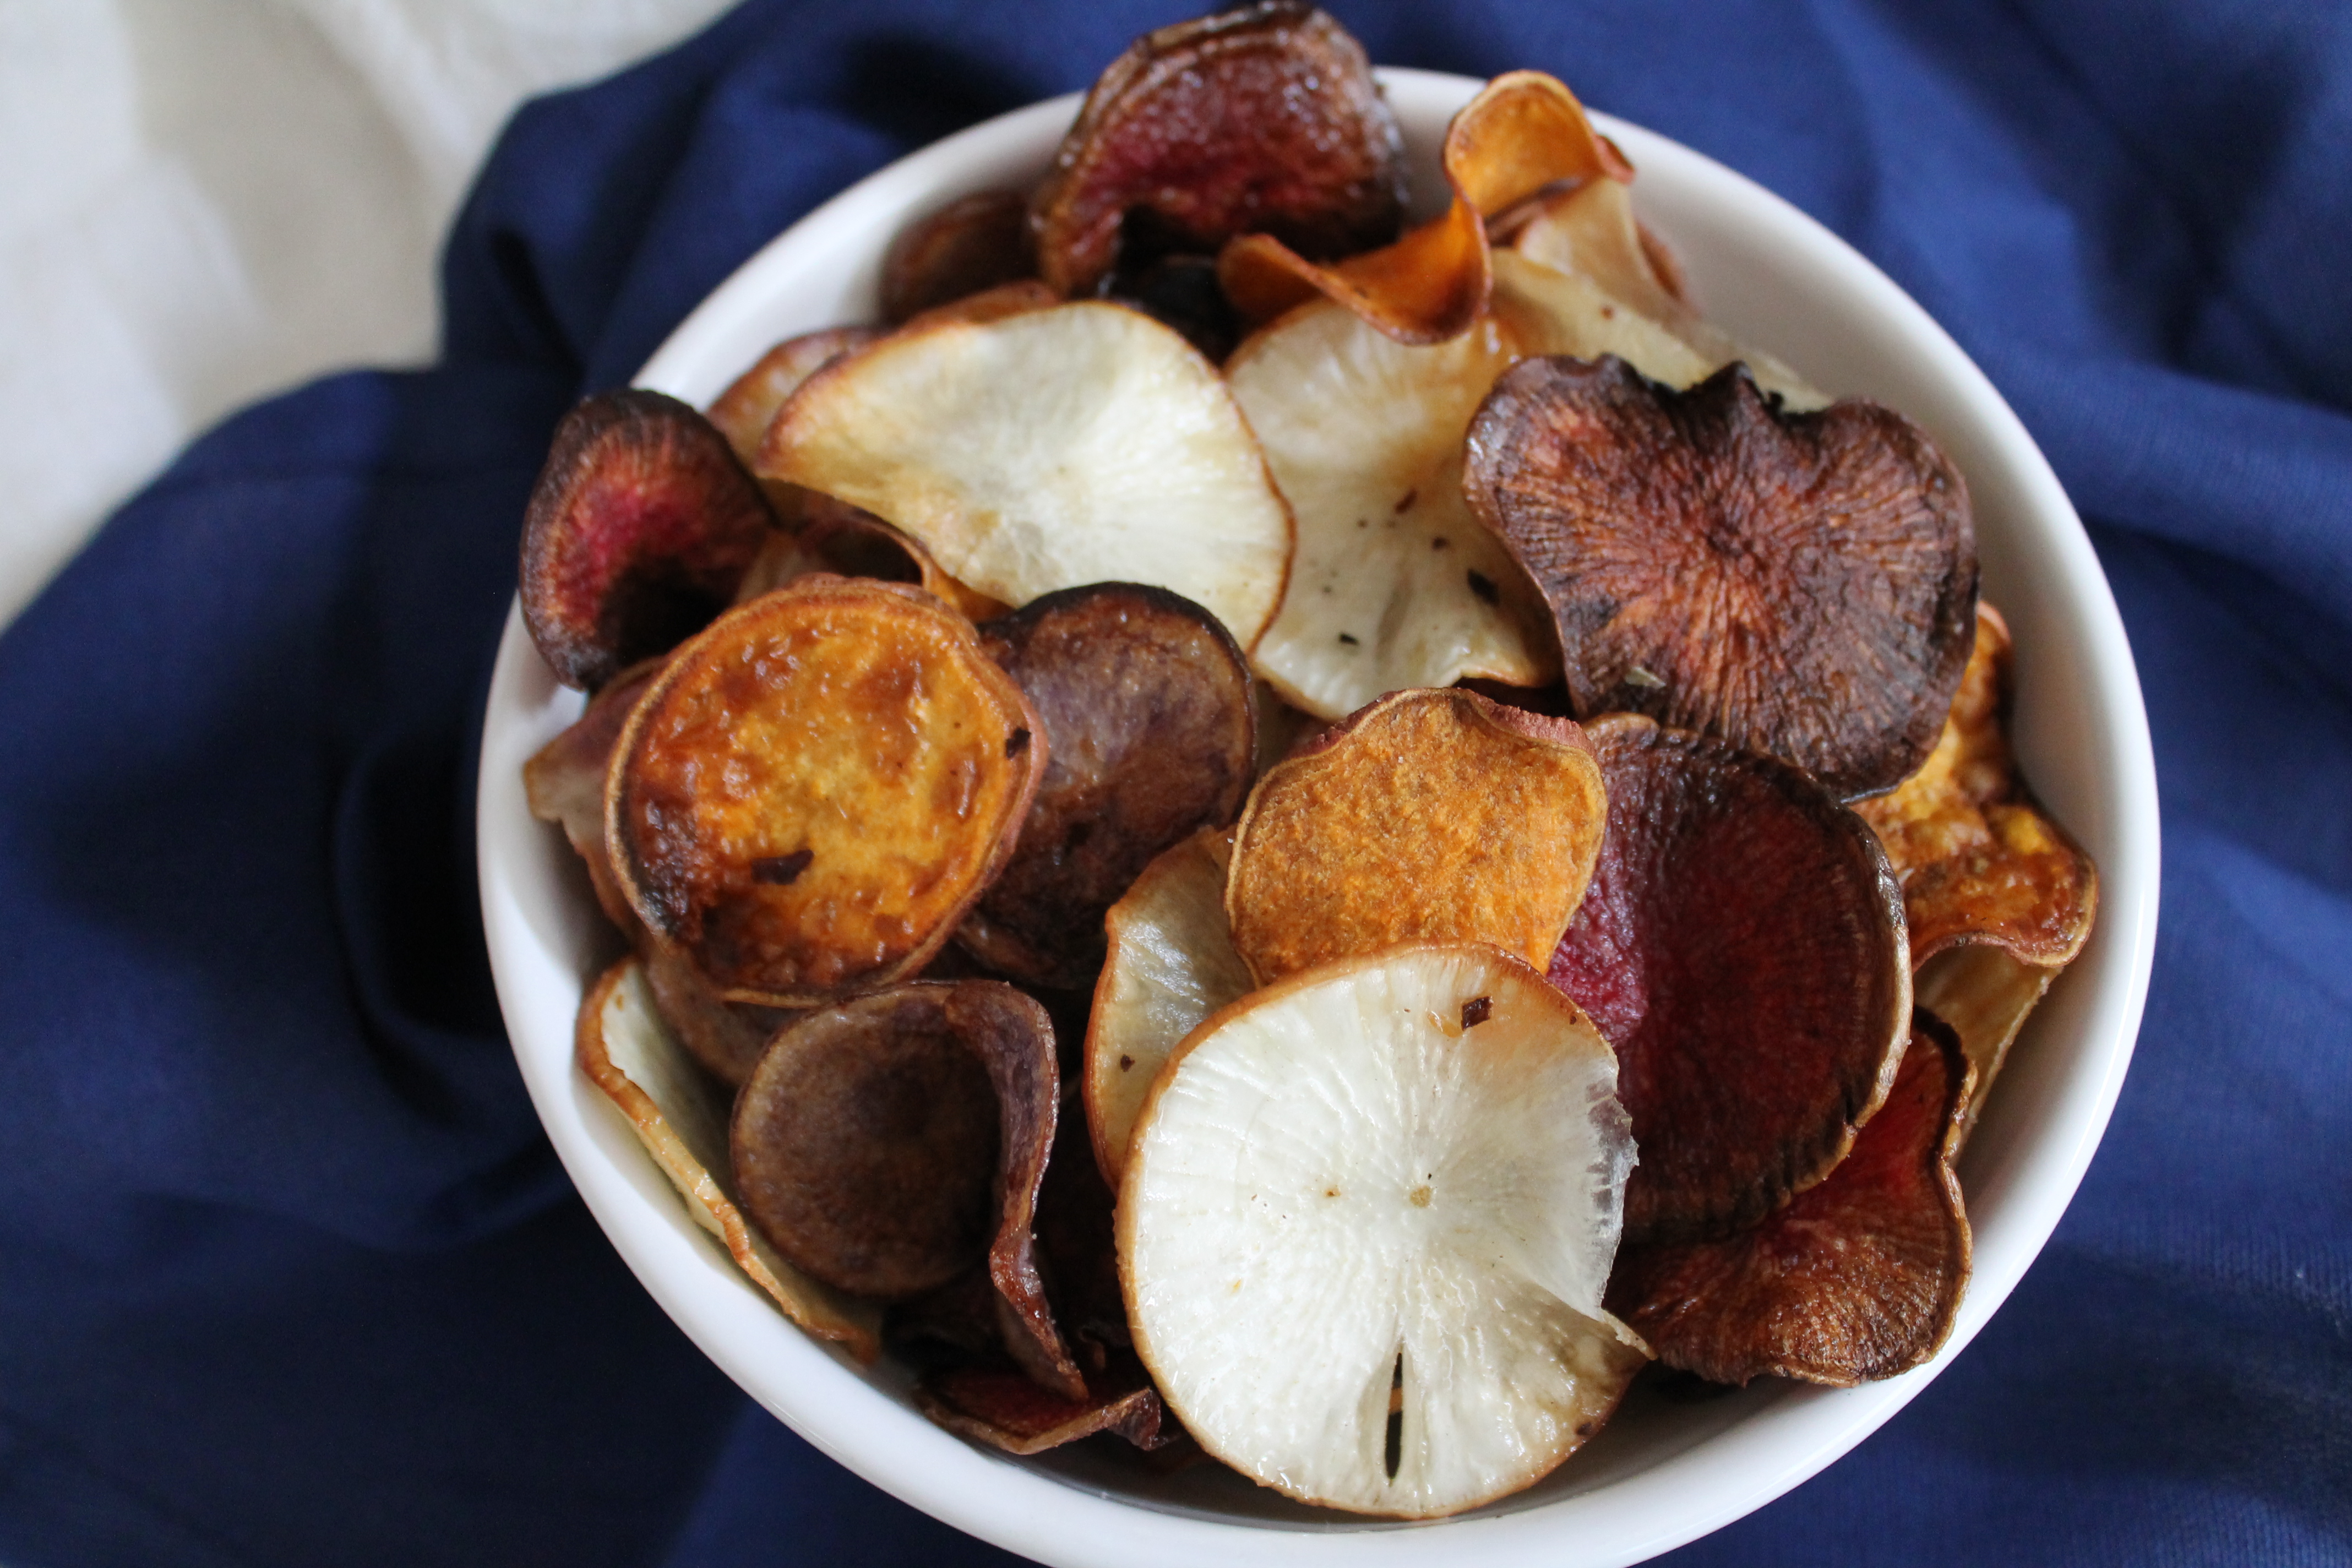 There you have it. Fresh made root vegetable chips. They are beautiful (although some of them browned beyond recognition in order to get crisp) and tasty, and perfect for the coming Fall season!
Root Vegetable Chips
adapted from ButterYum
makes 4 cups/serves 4–8
Ingredients:
4–6 medium-size starchy tuberous roots, such as purple potatoes, yucca, sweet potatoes, and sunchokes
½–¾ cup vegetable or canola oil
1–2 tsp. kosher salt
Directions:
Using a mandoline, thinly slice the starchy root vegetables about 1/16″ thick. If using yucca, peel before slicing.
Heat the oil in a large, cast iron skillet over medium heat. Very carefully slide the sliced vegetables into the hot oil. The veggies should begin to sizzle upon contact with the hot oil; if they do not, then the oil is not hot enough. Do not allow the oil to get hot enough to start smoking or spattering uncontrollably. Adjust the temperature of the burners as needed to maintain oil temperature.
Fry the veggies for 2–5 minutes, turning over with tongs as the edges start to curl up. They are done when they have curled up and browned at the edges, and the centers are no longer limp.
Remove with tongs and place the chips on paper towels to drain thoroughly.
Repeat with remaining vegetables, working in batches until all the slices are fried.
Meanwhile, process the salt in a mini food processor such as a Magic Bullet until very fine and powdery. Toss the salt, to taste, with the warm chips.
*Note: Baking the chips will result in a firmer, more crunchy consistency than frying. To make baked veggie chips, heat the oven to 400°; toss the vegetable slices with 2 tbsp. oil, making sure to coat both sides of every slice lightly; bake on a wire rack for 20–30 minutes, until browned and cooked through in the centers.
Enjoy!
- One year ago: Salmon en Papillote with Zucchini and Tomatoes
- Two years ago: Donut Muffins
- Three years ago: Neiman Marcus Cookies
- Four years ago: Corn and Zucchini Tacos

9 comments to “Root Veggie Chips”
Kelly@WildfloursKitchen.com - September 14, 2015
I very much love making homemade potato chips! So the next time you get a craving, call me! I’ll make you some! I’ll have to try yucca next, sounds intriguing!! Great pick for the SRC! 😀
Wendy, A Day in the Life on the Farm - September 14, 2015
I love the idea of using all the different root vegetables for the chips and thanks for the tip on the salt.
ButterYum - September 14, 2015
Wow – I absolutely LOVE the variety of veggies you turned into chips! I would have never thought about trying yucca, but now I want to rush out and get one. Great solution for making your own popcorn salt too. Fantastic write up – thanks for linking back to my blog. Have a great week!
goodiegodmother - September 14, 2015
Such pretty colors, and I probably spent a good 30 seconds staring at the salt “smoke” because it was so pretty! I agree with you that making chips at home takes a lot more oil and work than I’d like to invest on a regular basis, but at least now you can say you tried! The SRC is awesome for expanding our horizons like that, isn’t it? 🙂
Sarah@WellDined - September 14, 2015
Oh, gorgeous! I love those terra chips from the store, so these would be great. And I love Dave’s introduction – I’m literally snorting in laughter.
Tracy - September 14, 2015
Beautiful root chips! I bet they taste as good as they look. Fried is, unfortunately, always better!
Jean - September 15, 2015
Those look gorgeous. I’ve got to try these.
Lynz Real Cooking - September 21, 2015
these look lovely and I would love to try them!
Linda @ 2 Cookin' Mamas - September 22, 2015
I’m not much into frying either but these chips look delicious! I would definitely try the sweet and purple potatoes and they make such a pretty picture. Thanks for all the tips!