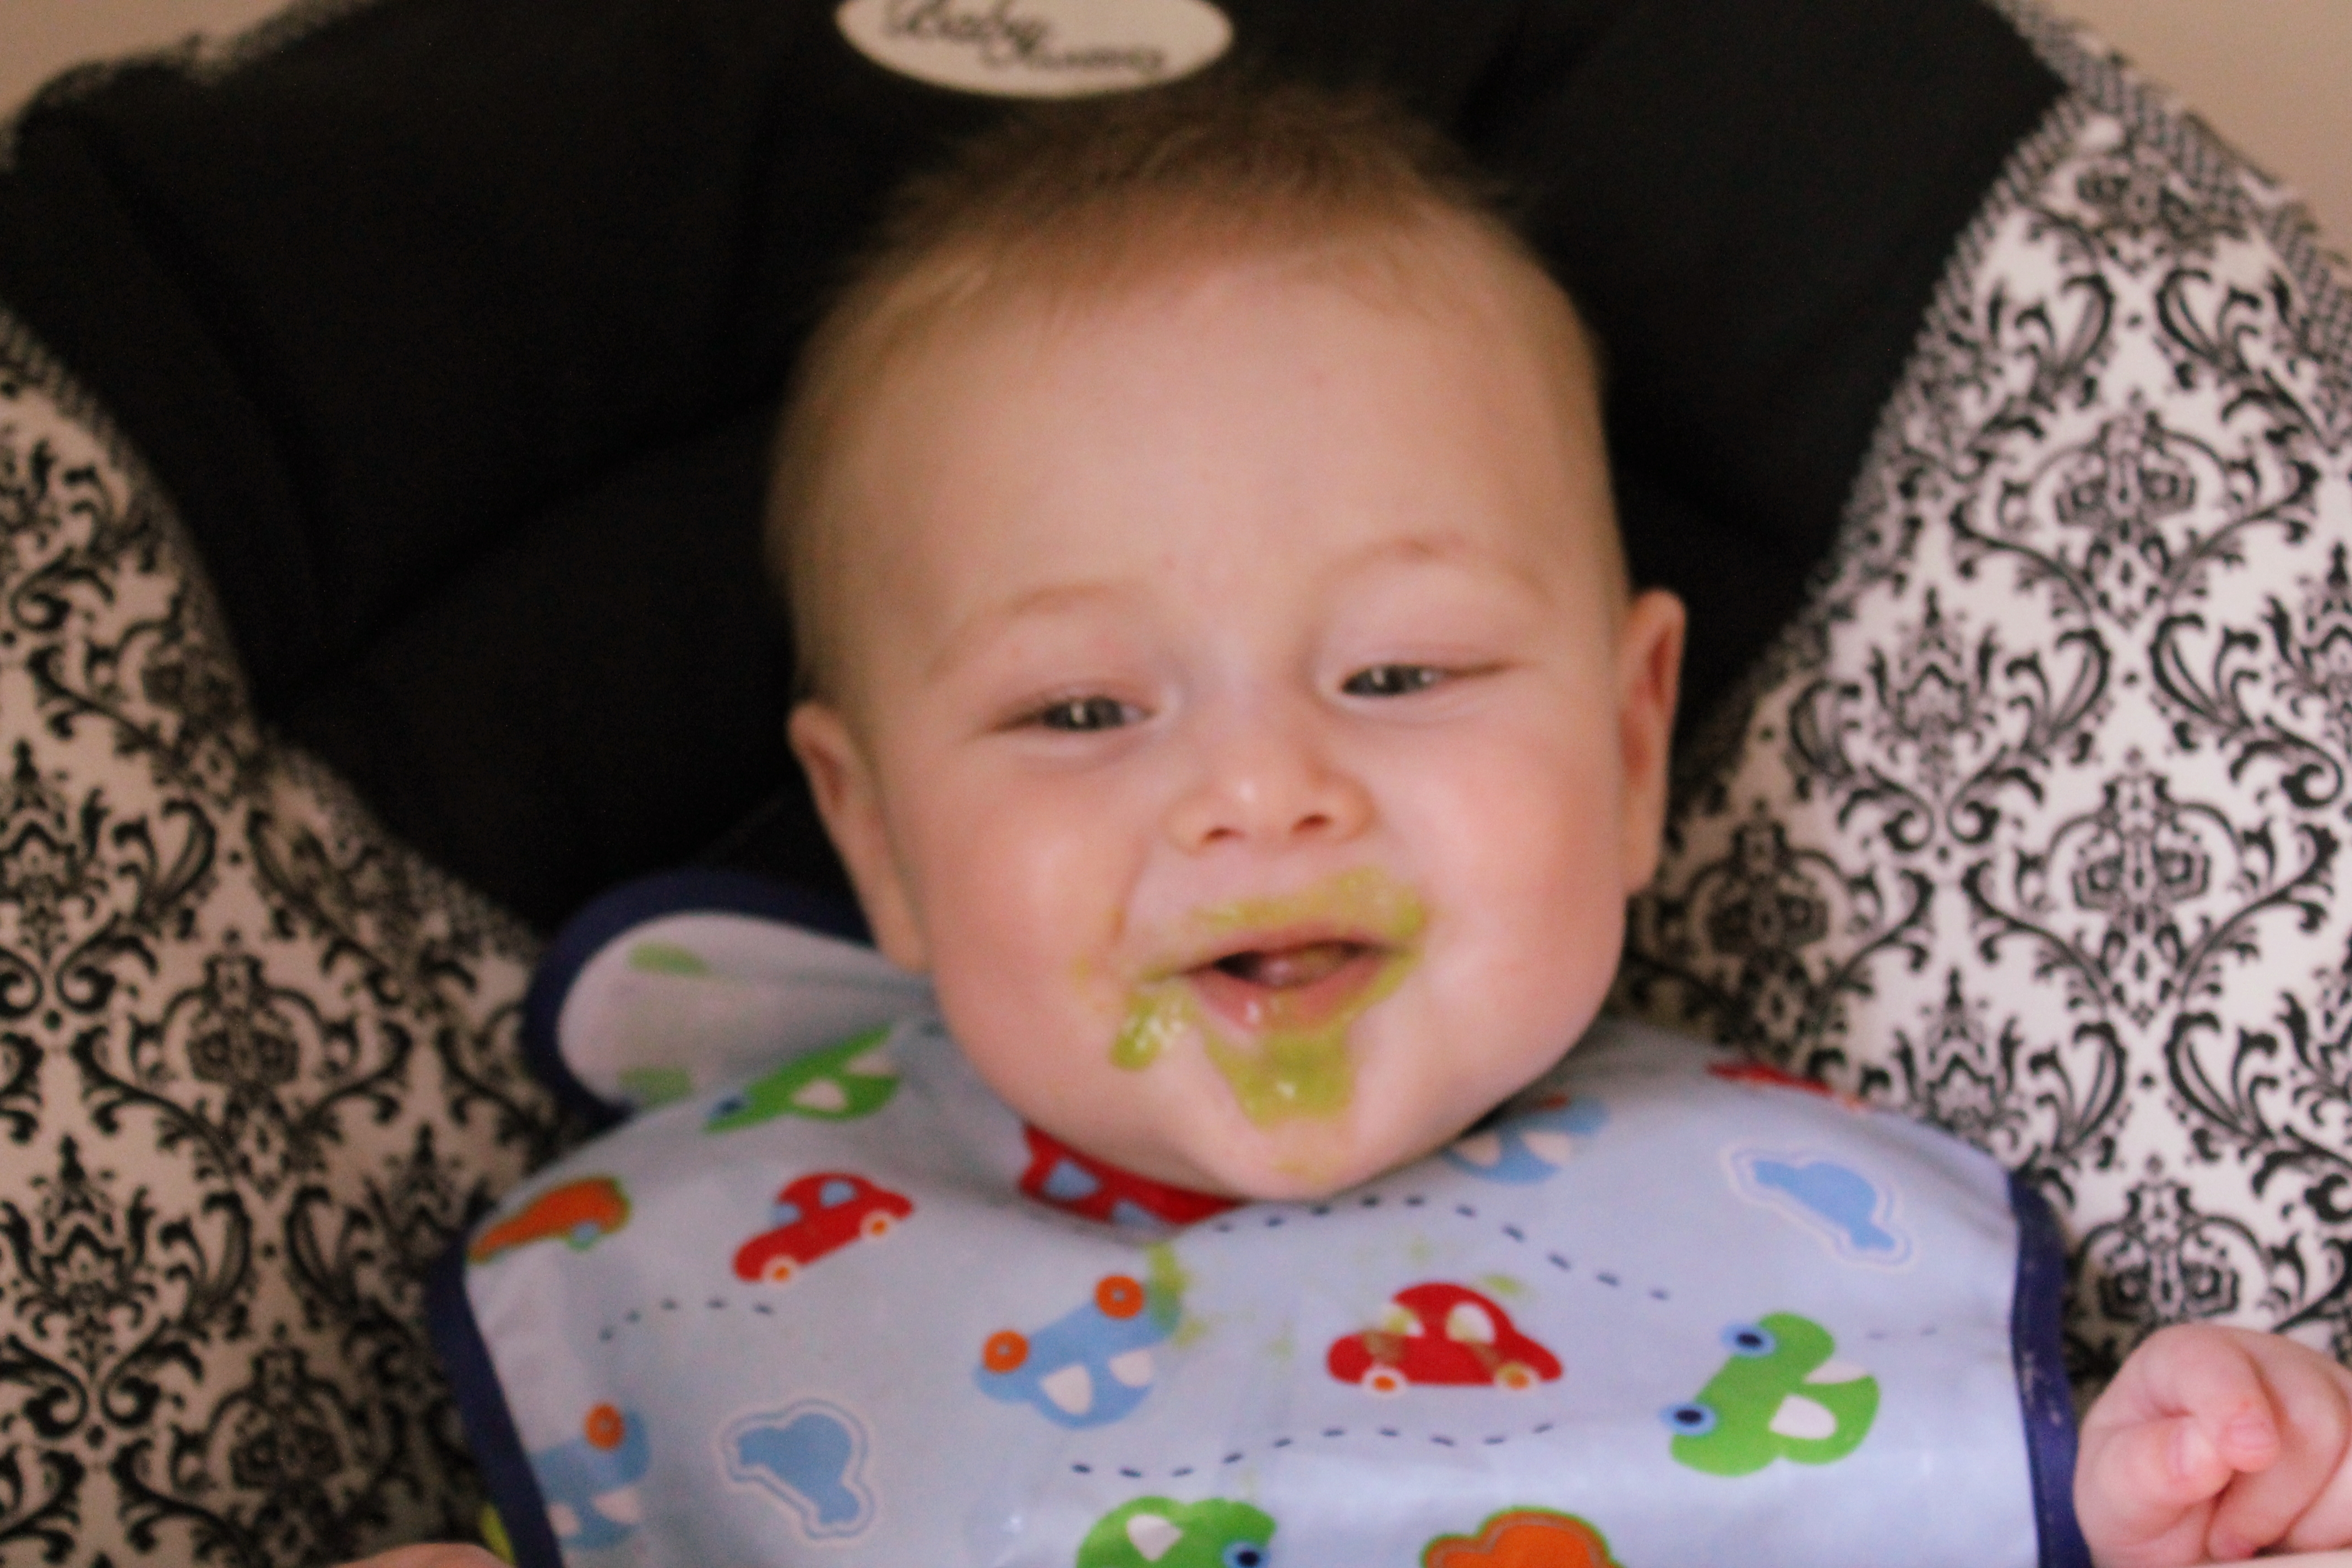
I can’t believe Jake is almost 7 months old!
We have been feeding him solids for about a month now. We started with rice cereal, per our pediatrician’s recommendation, and then slowly started introducing vegetable purees.
But, um…did you know that a lot of store brand baby foods have all kinds of chemical additives in them? Yikes!
Am I crazy to think that baby food should just be made out of, well…food?
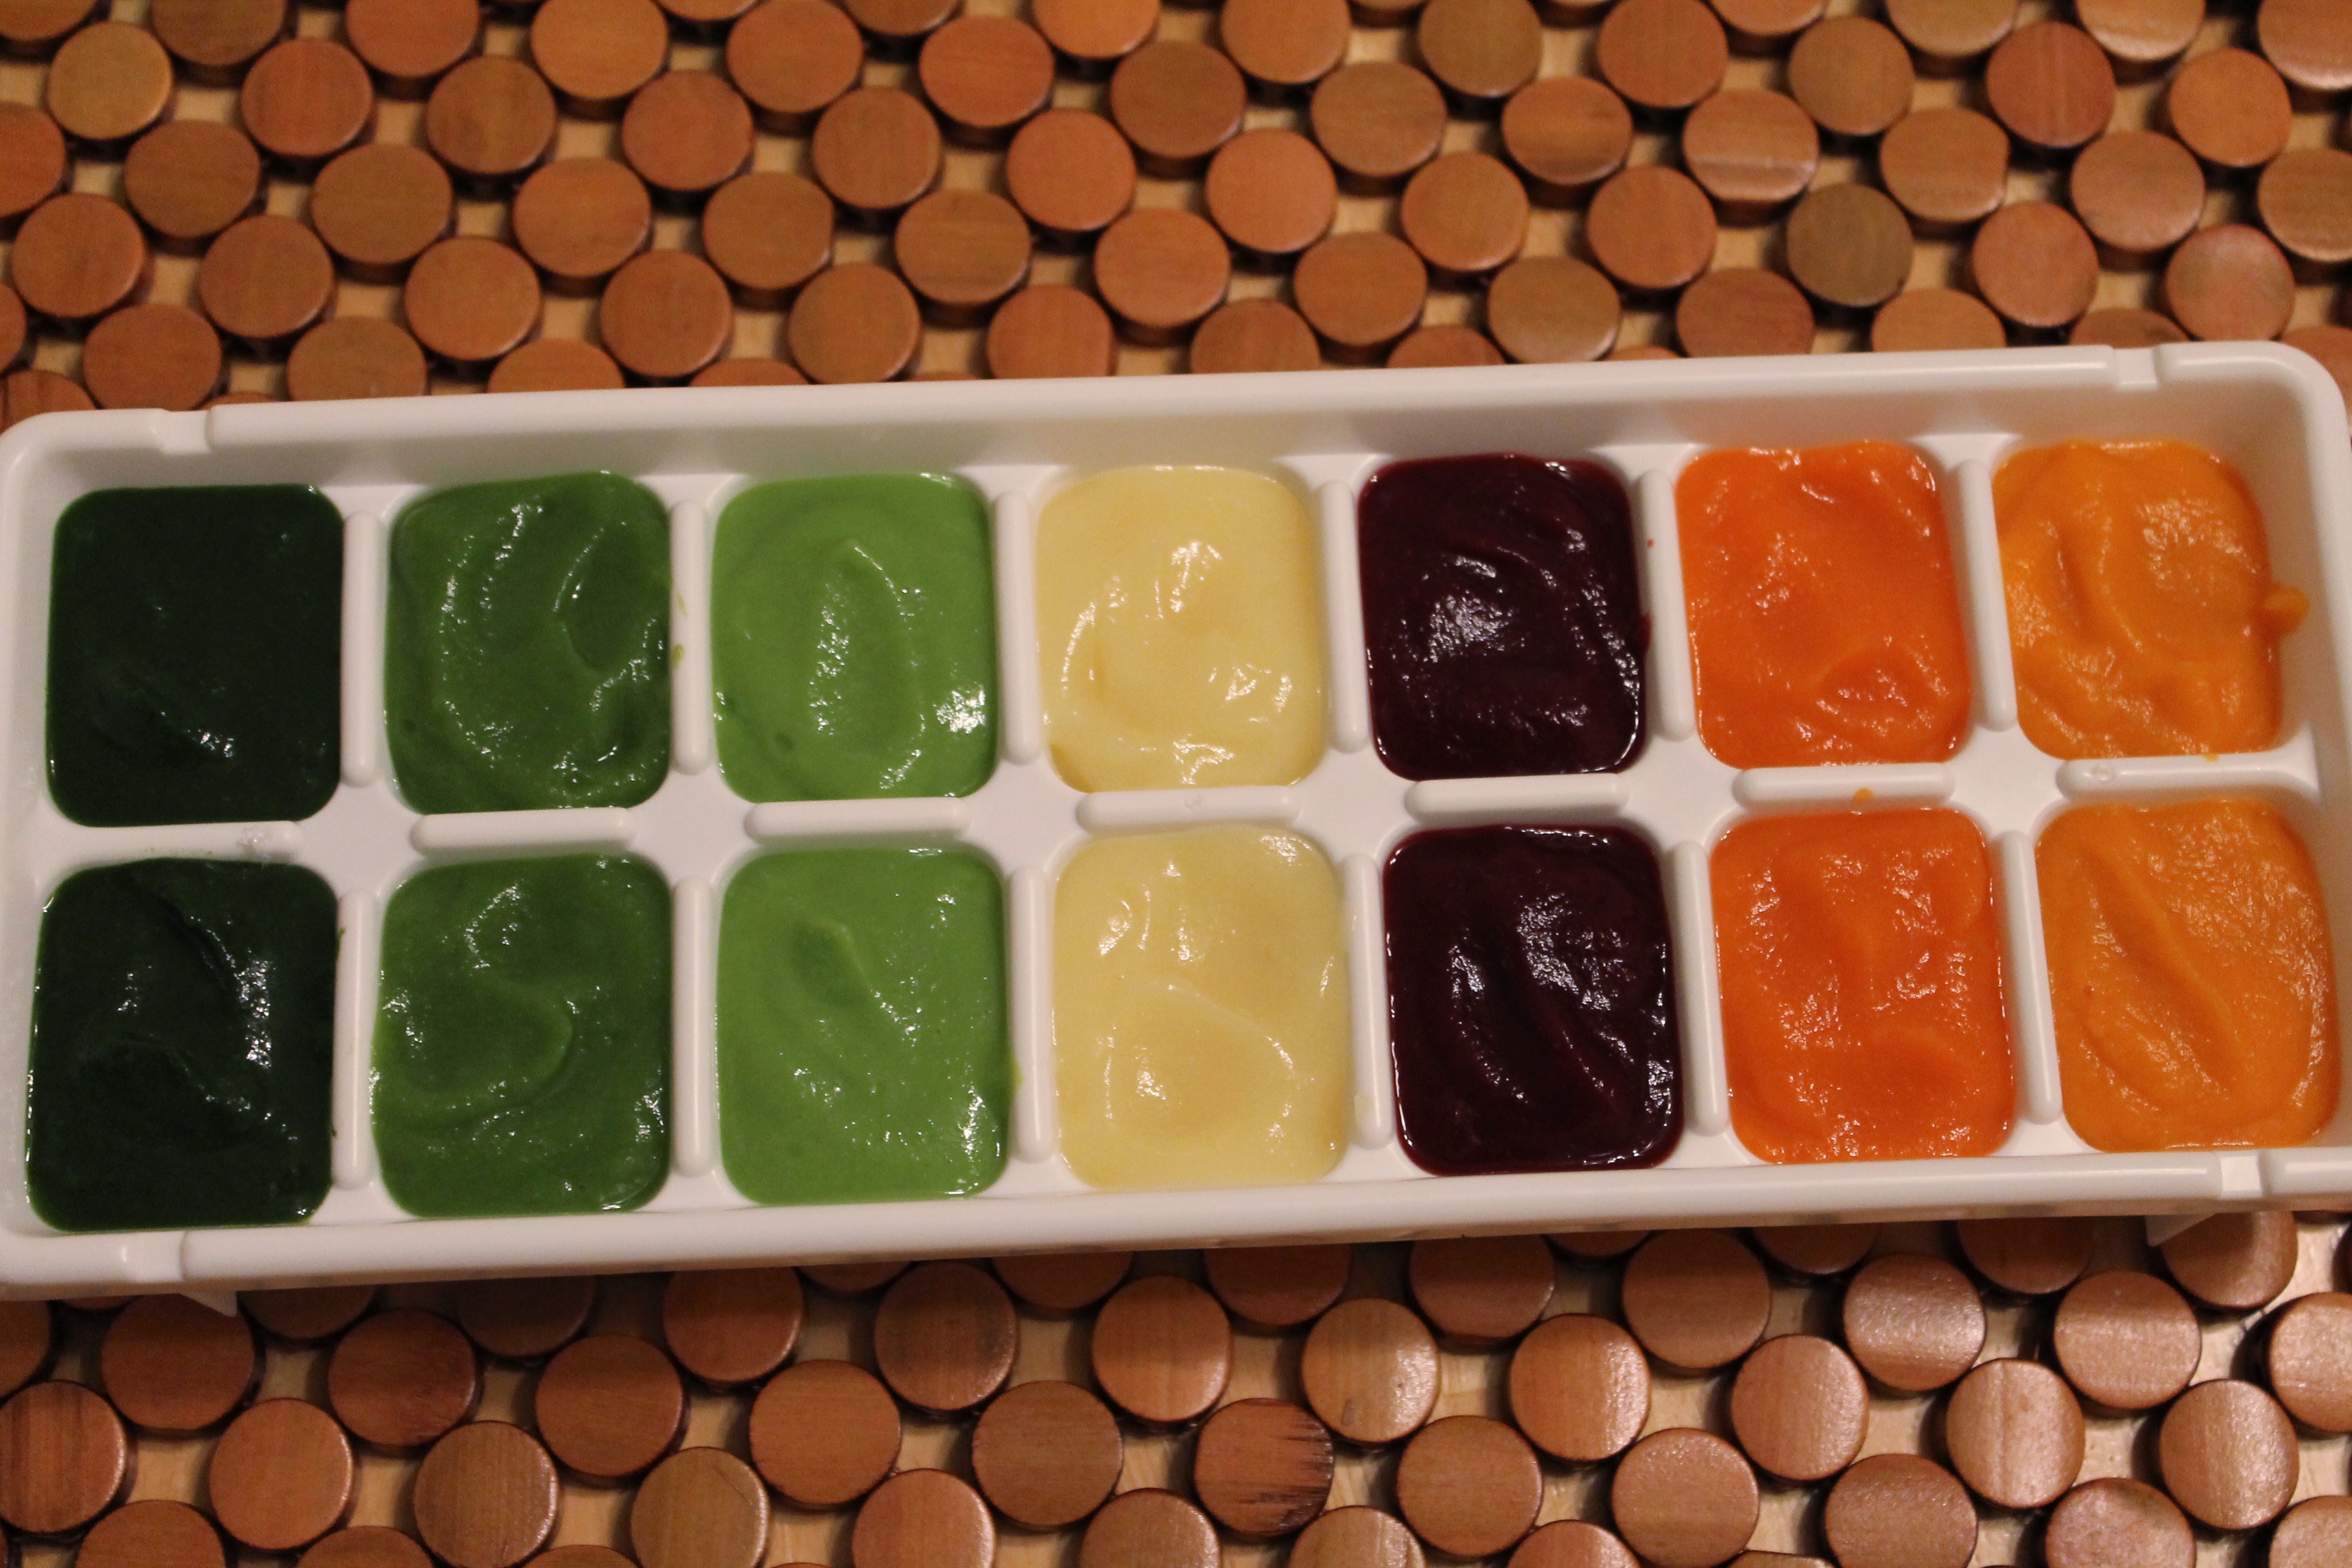 I was thrilled to see a great idea for baby food on this month’s Secret Recipe Club blog, Join Us, Pull Up A Chair. I had already tried making a few veggie purees for Jake, but I particularly loved Heather’s method for storing the baby foods: freezing individual portions in an ice cube tray! This totally eliminates the need for baby food jars, and it also means that I can make and store a variety of foods all at once. Hooray!
Don’t worry. It is not at all hard to make your own baby food. You don’t need a Baby Brezza or anything like that. Doing it yourself is not only way cheaper than buying the jarred baby food, but it is also healthier for your baby.
I don’t put too much stock in the whole “first foods,” “second foods” marketing scheme, because Jake doesn’t seem to have trouble with less soupy purees. But one added advantage of making your own baby food is that you can adjust the consistency to your liking! In the recipes below, I have aimed for a very smooth, silky consistency, but thick enough not to run readily off a spoon.
To me, the main challenge of making his baby food myself lies in deciding what to make. Right now, we are mainly working through the vegetables (which doesn’t bother me, since I don’t like fruit anyway), and I am focusing on single-food purees. Check out this amazing chart by Momtastic’s Wholesome Baby Food site to figure out when different veggies or fruits should be introduced! I imagine at some point I will move on to blends that include berries or veggie-potato combinations.
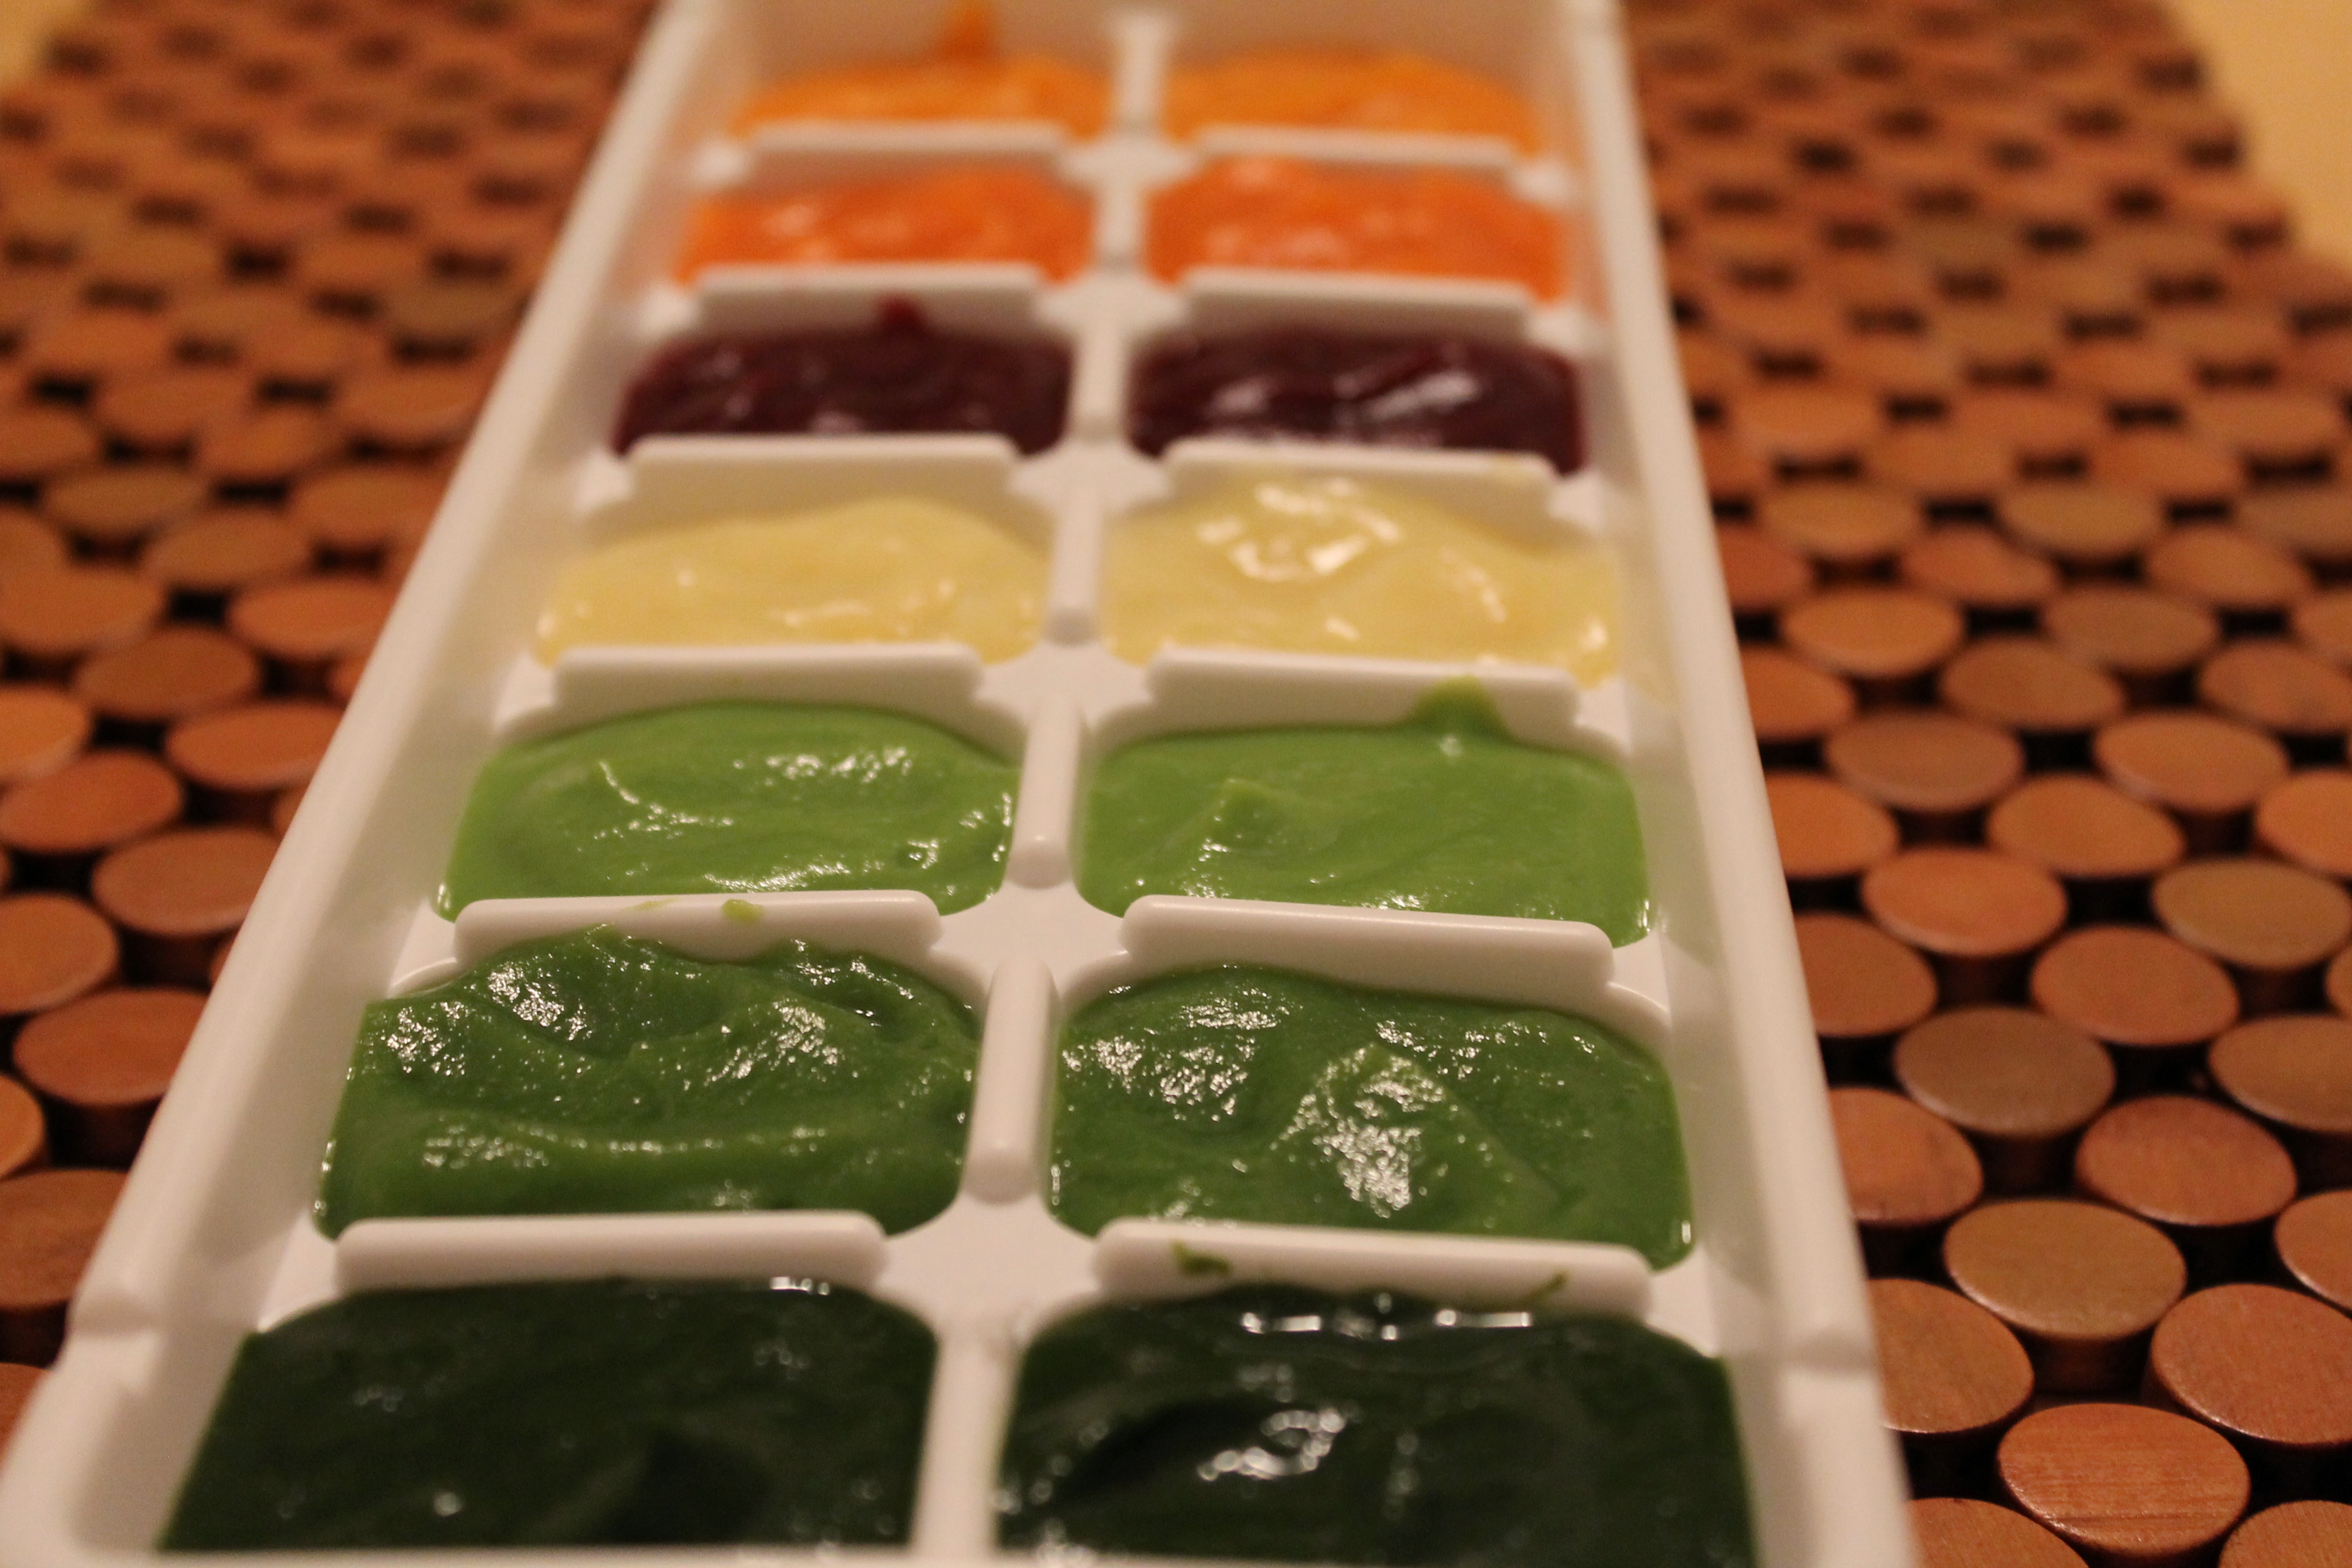 Because fall squash (which is what Heather used in her recipe) is one of the things I only eat in season, I decided to go with a variety of different vegetables (and some of my choices were definitely off-season…oh well). I also tried different base forms—fresh, frozen, and canned (er…I don’t recommend canned)—just for simplicity and cost effectiveness, but in theory fresh is always best if you can find it and have the time for any extra prep! The veggies I chose here were sweet potatoes, carrots, beets, parsnips, peas, green beans, and spinach! Jake is not quite ready for all of those veggies (um…we tried spinach, one of my favorite greens, before I realized it’s more appropriate for older babies…Jake made gagging noises…poor kid!), but I wanted to try making some things ahead of time! We are also planning to try avocado and summer squash in the next few weeks.
The Basics
You can cook your veggies however you’d like. I, personally, found it the easiest and fastest to use my microwave rice cooker to steam them, but you could also boil them on the stove, roast them in the oven in a shallow layer of water, or even just straight-up microwave them. I noted what method I used for each vegetable below.
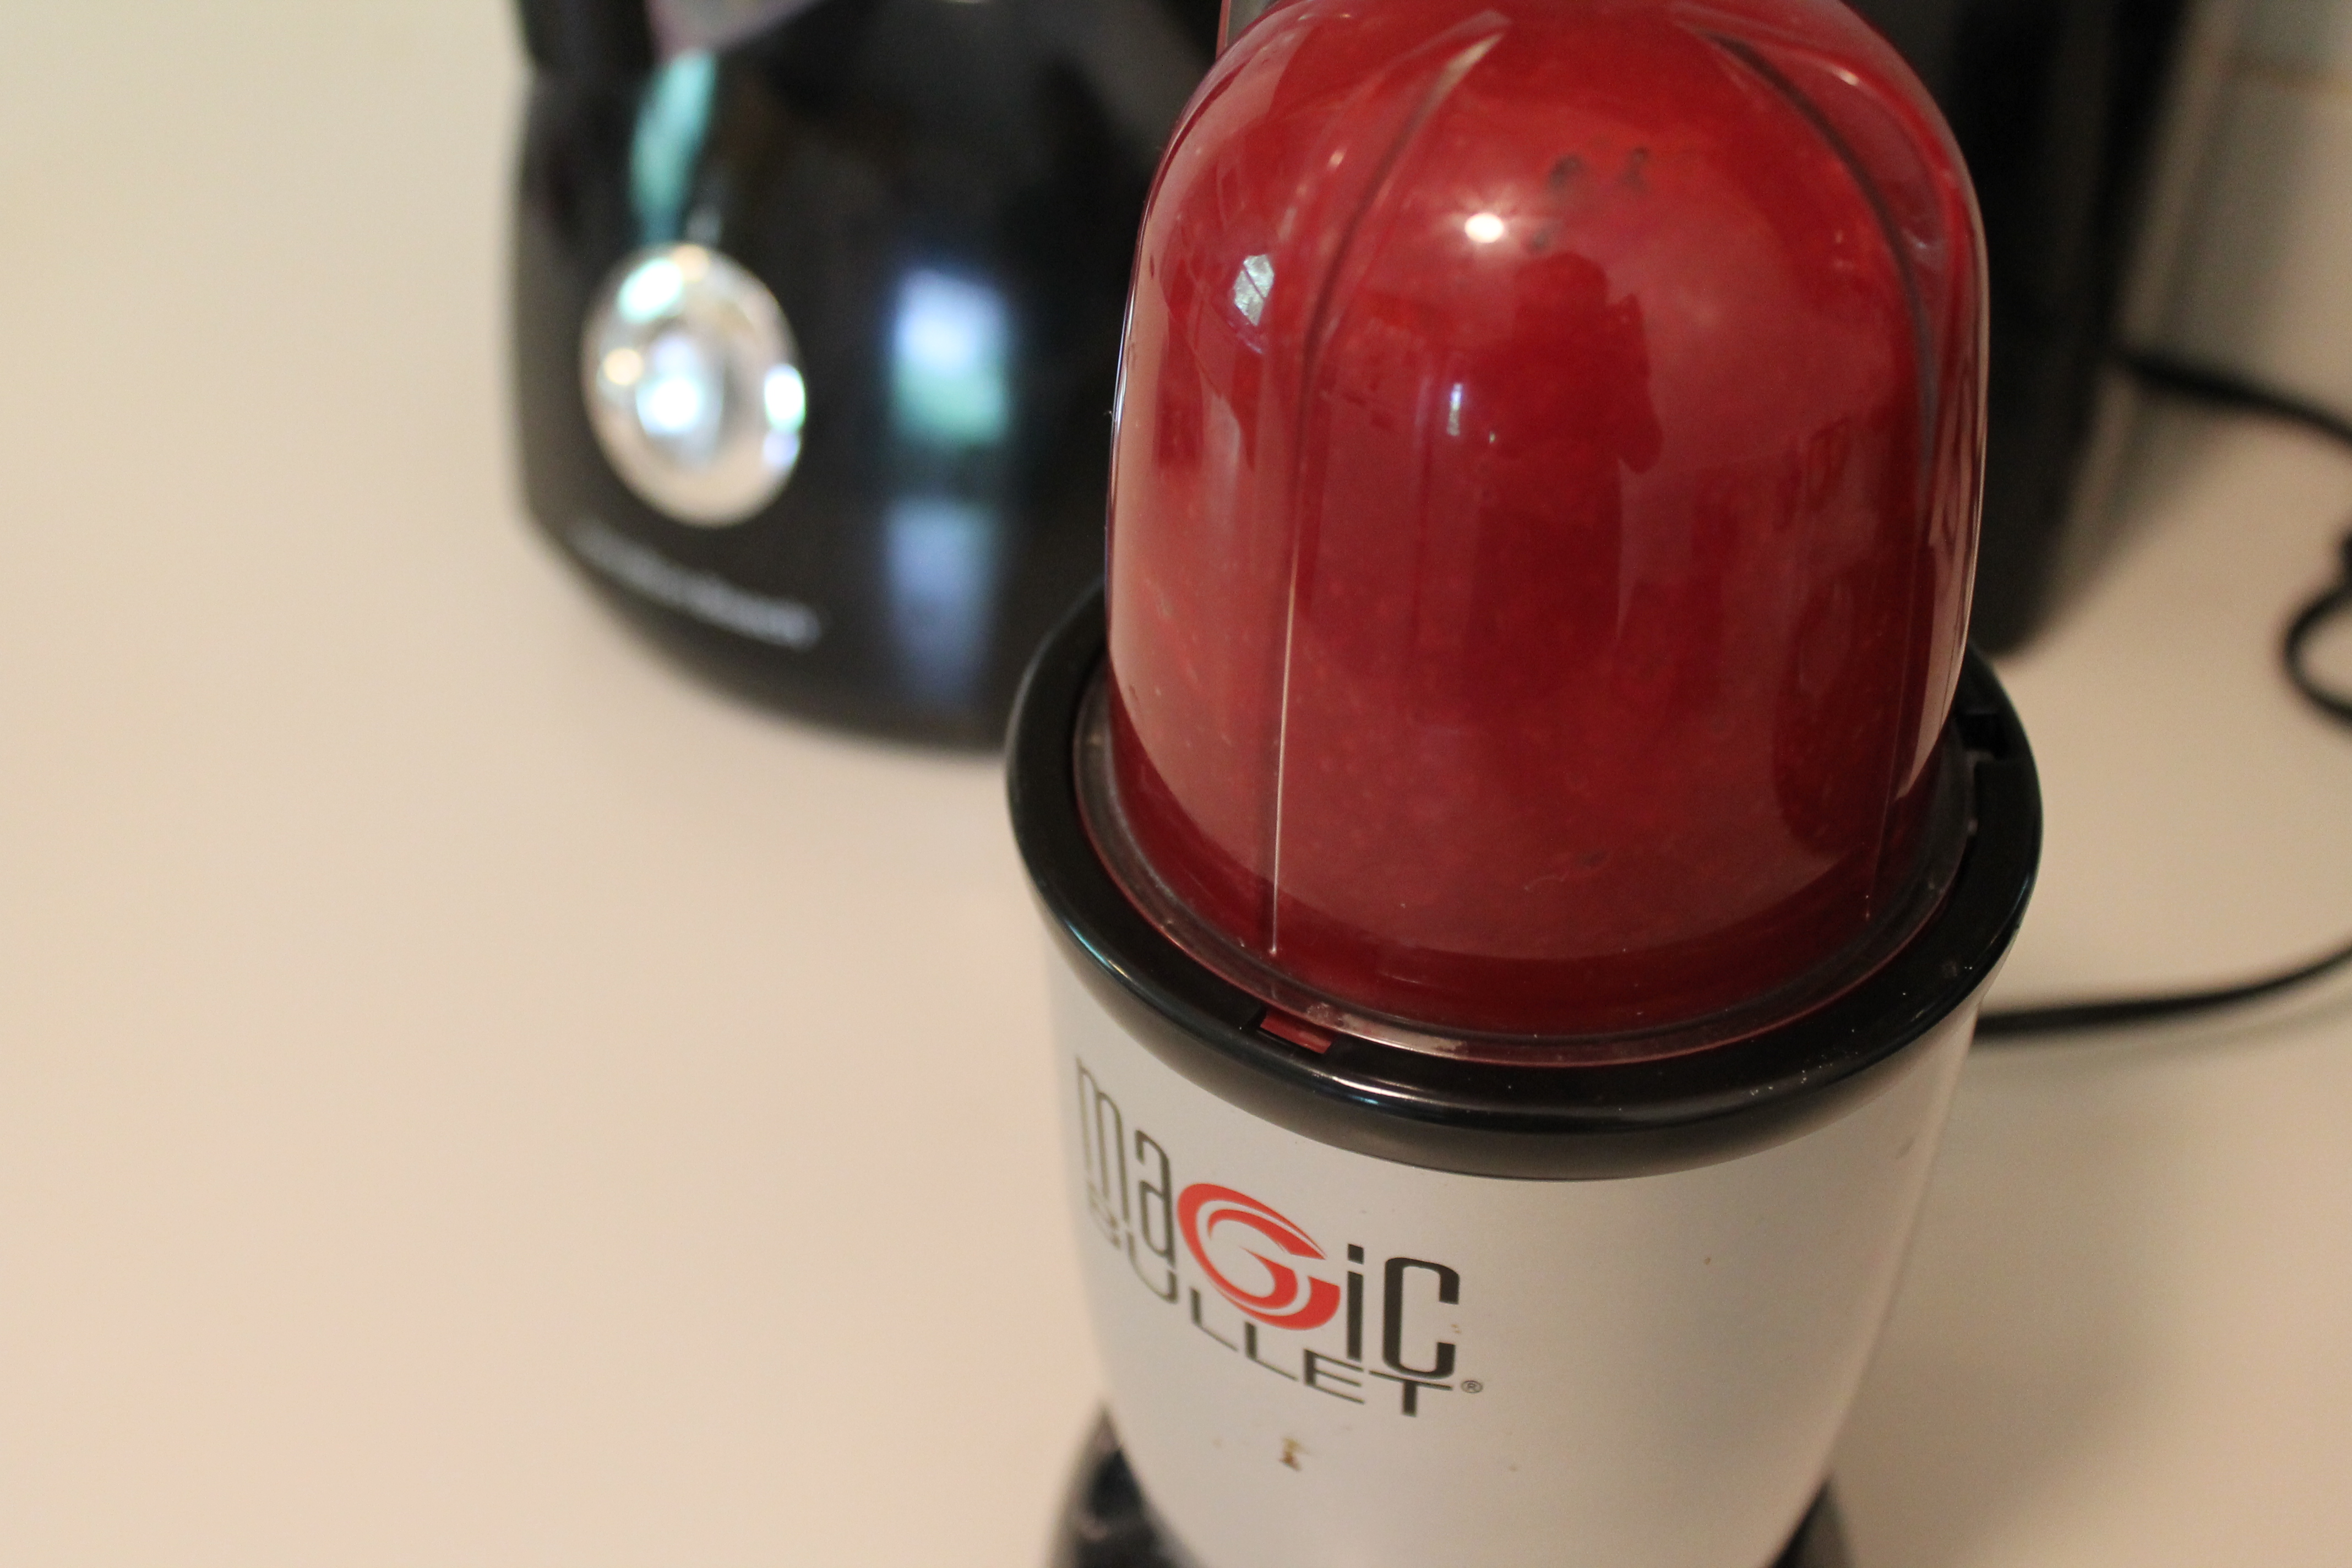
After the veggies are completely tender and mushy, transfer them to a food processor. I used my Magic Bullet (no, not a Baby Bullet), because its small size allowed me to puree faster and more evenly. Start with just the veggies and 1 tbsp. water. Puree until evenly mushy. Of course, the mixture will likely still have some small chunks and it will the very thick. So add water, 1 tbsp. at a time, pulsing between each addition. A great general rule of thumb is that you will need about 1 tbsp. water for ever ounce of raw/frozen vegetables you started with. (That is, 4 oz. of frozen peas will need about 4 tbsp. water to reach a good consistency, give or take a little depending on how soupy you want your purees to be.) I listed the exact amount of water I used for each vegetable in the recipes below, but if course you can adjust to suit your needs (and remember that adding extra water will increase the yield)!
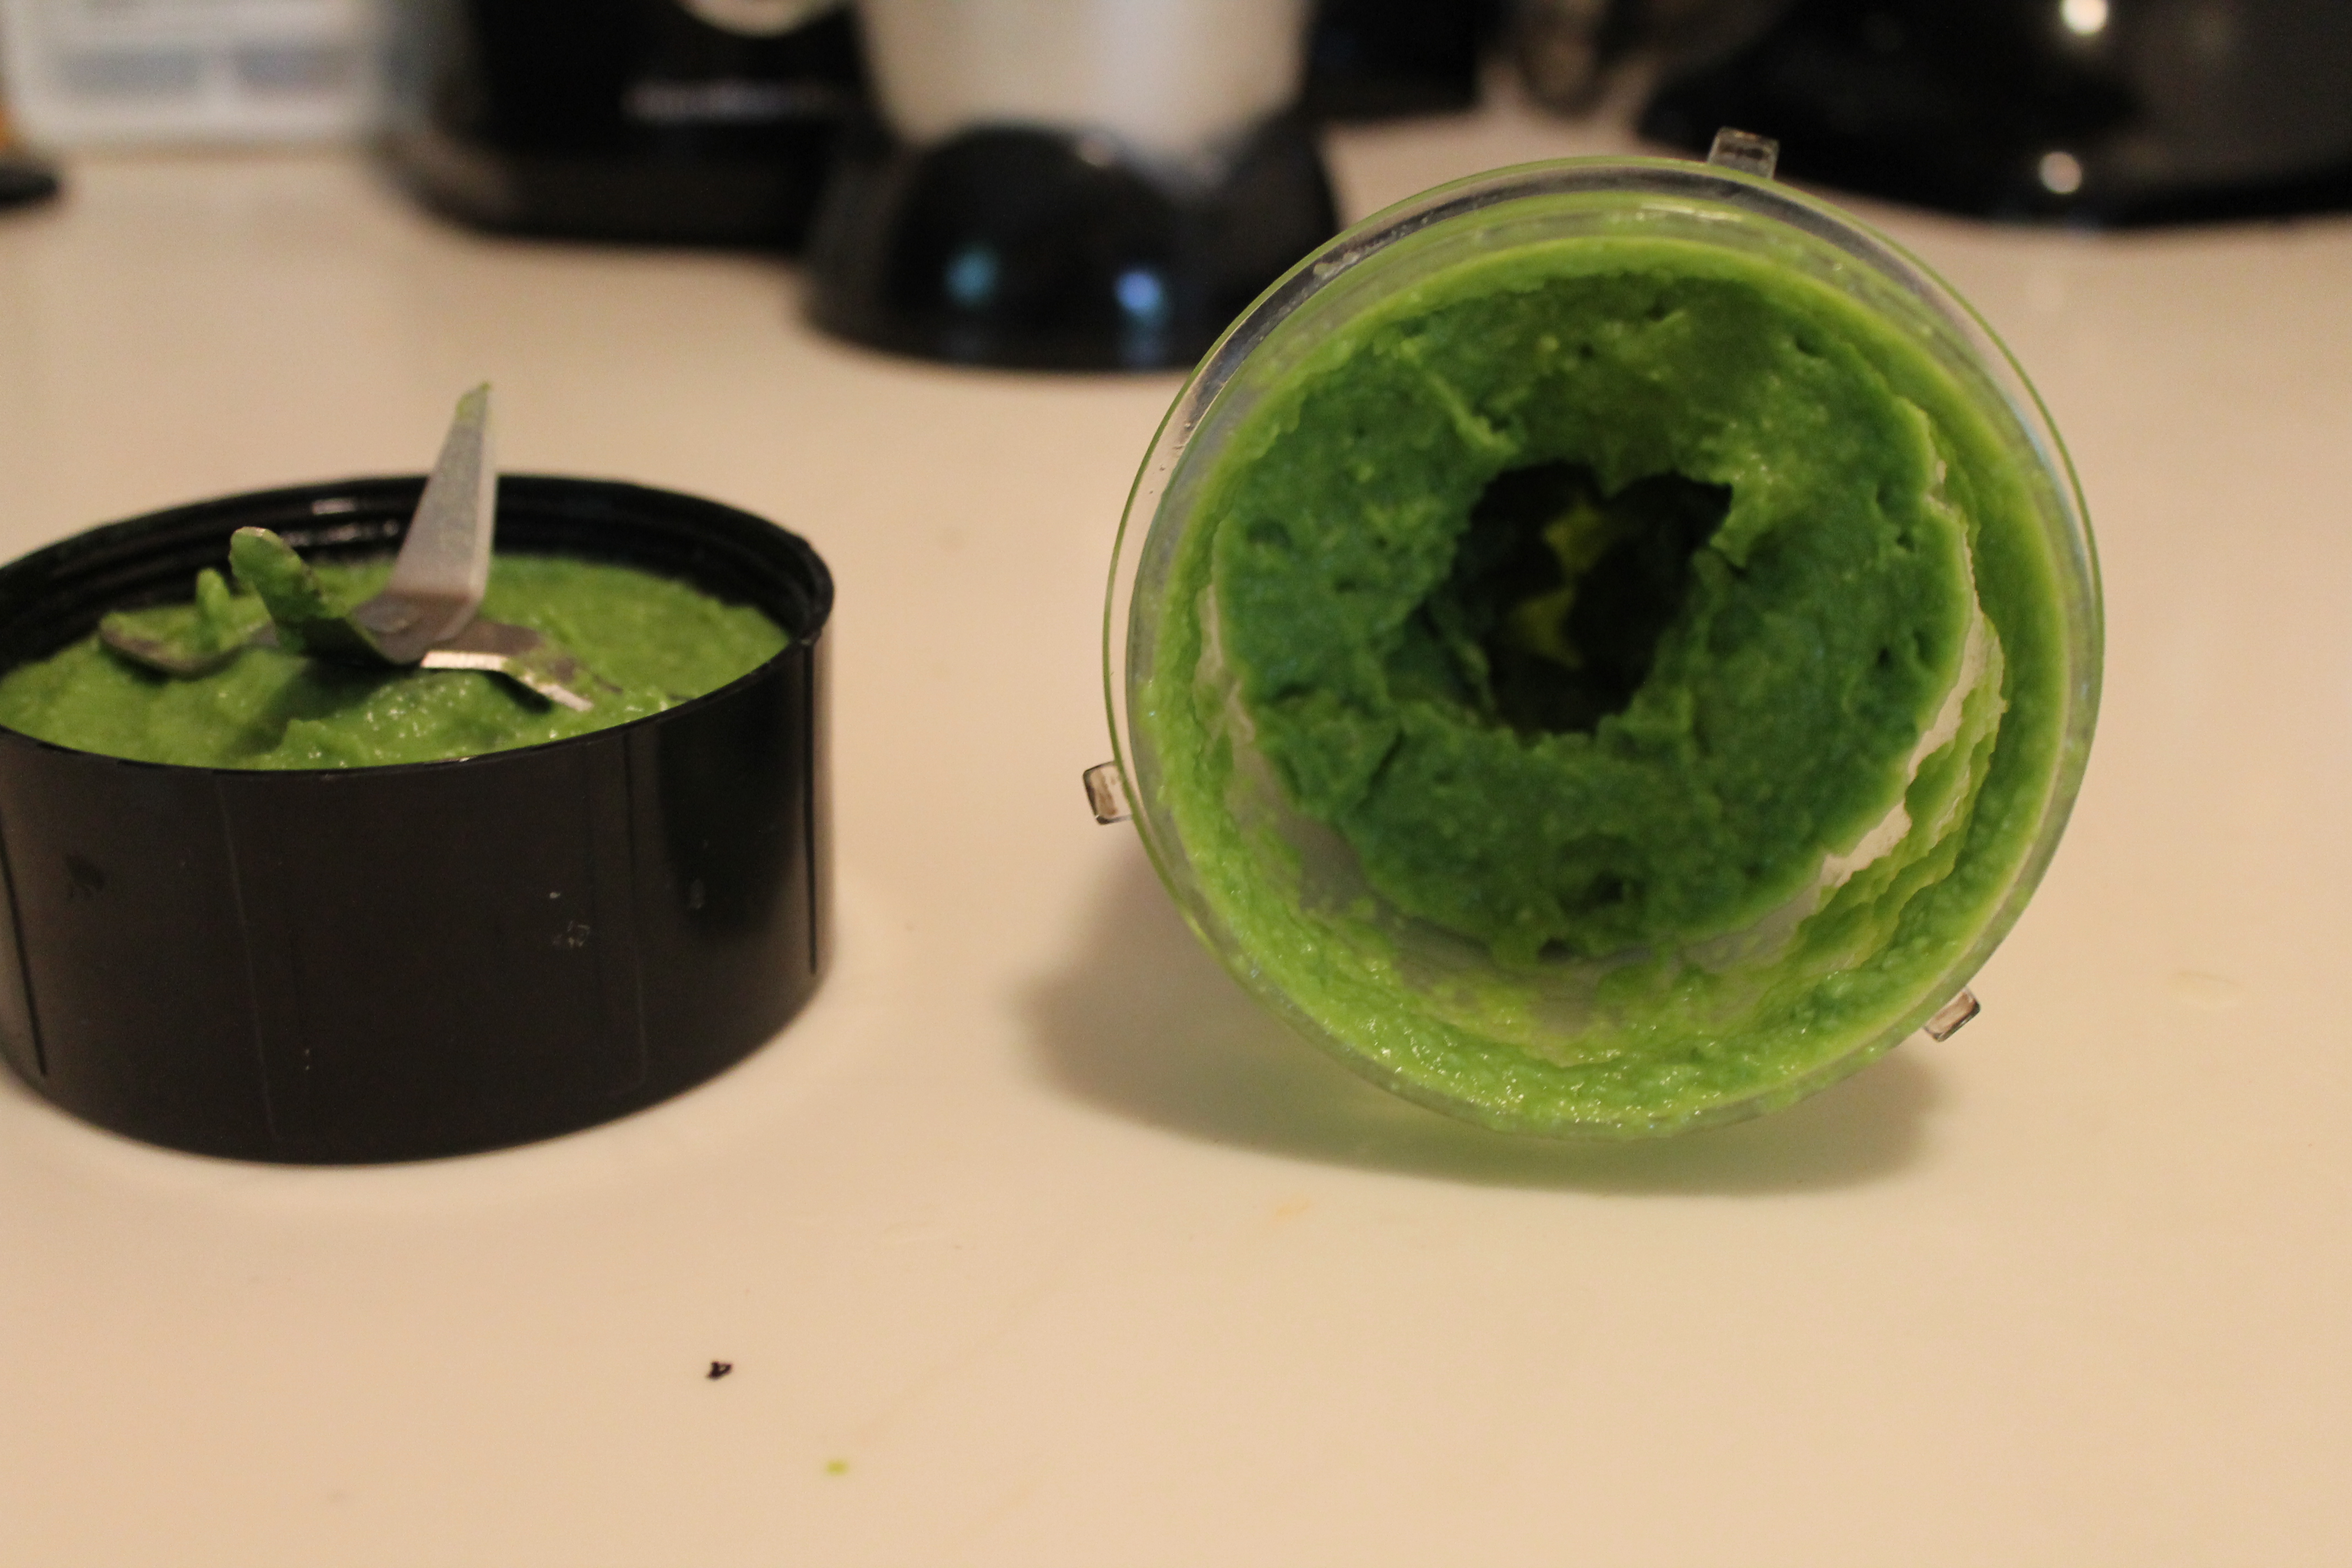
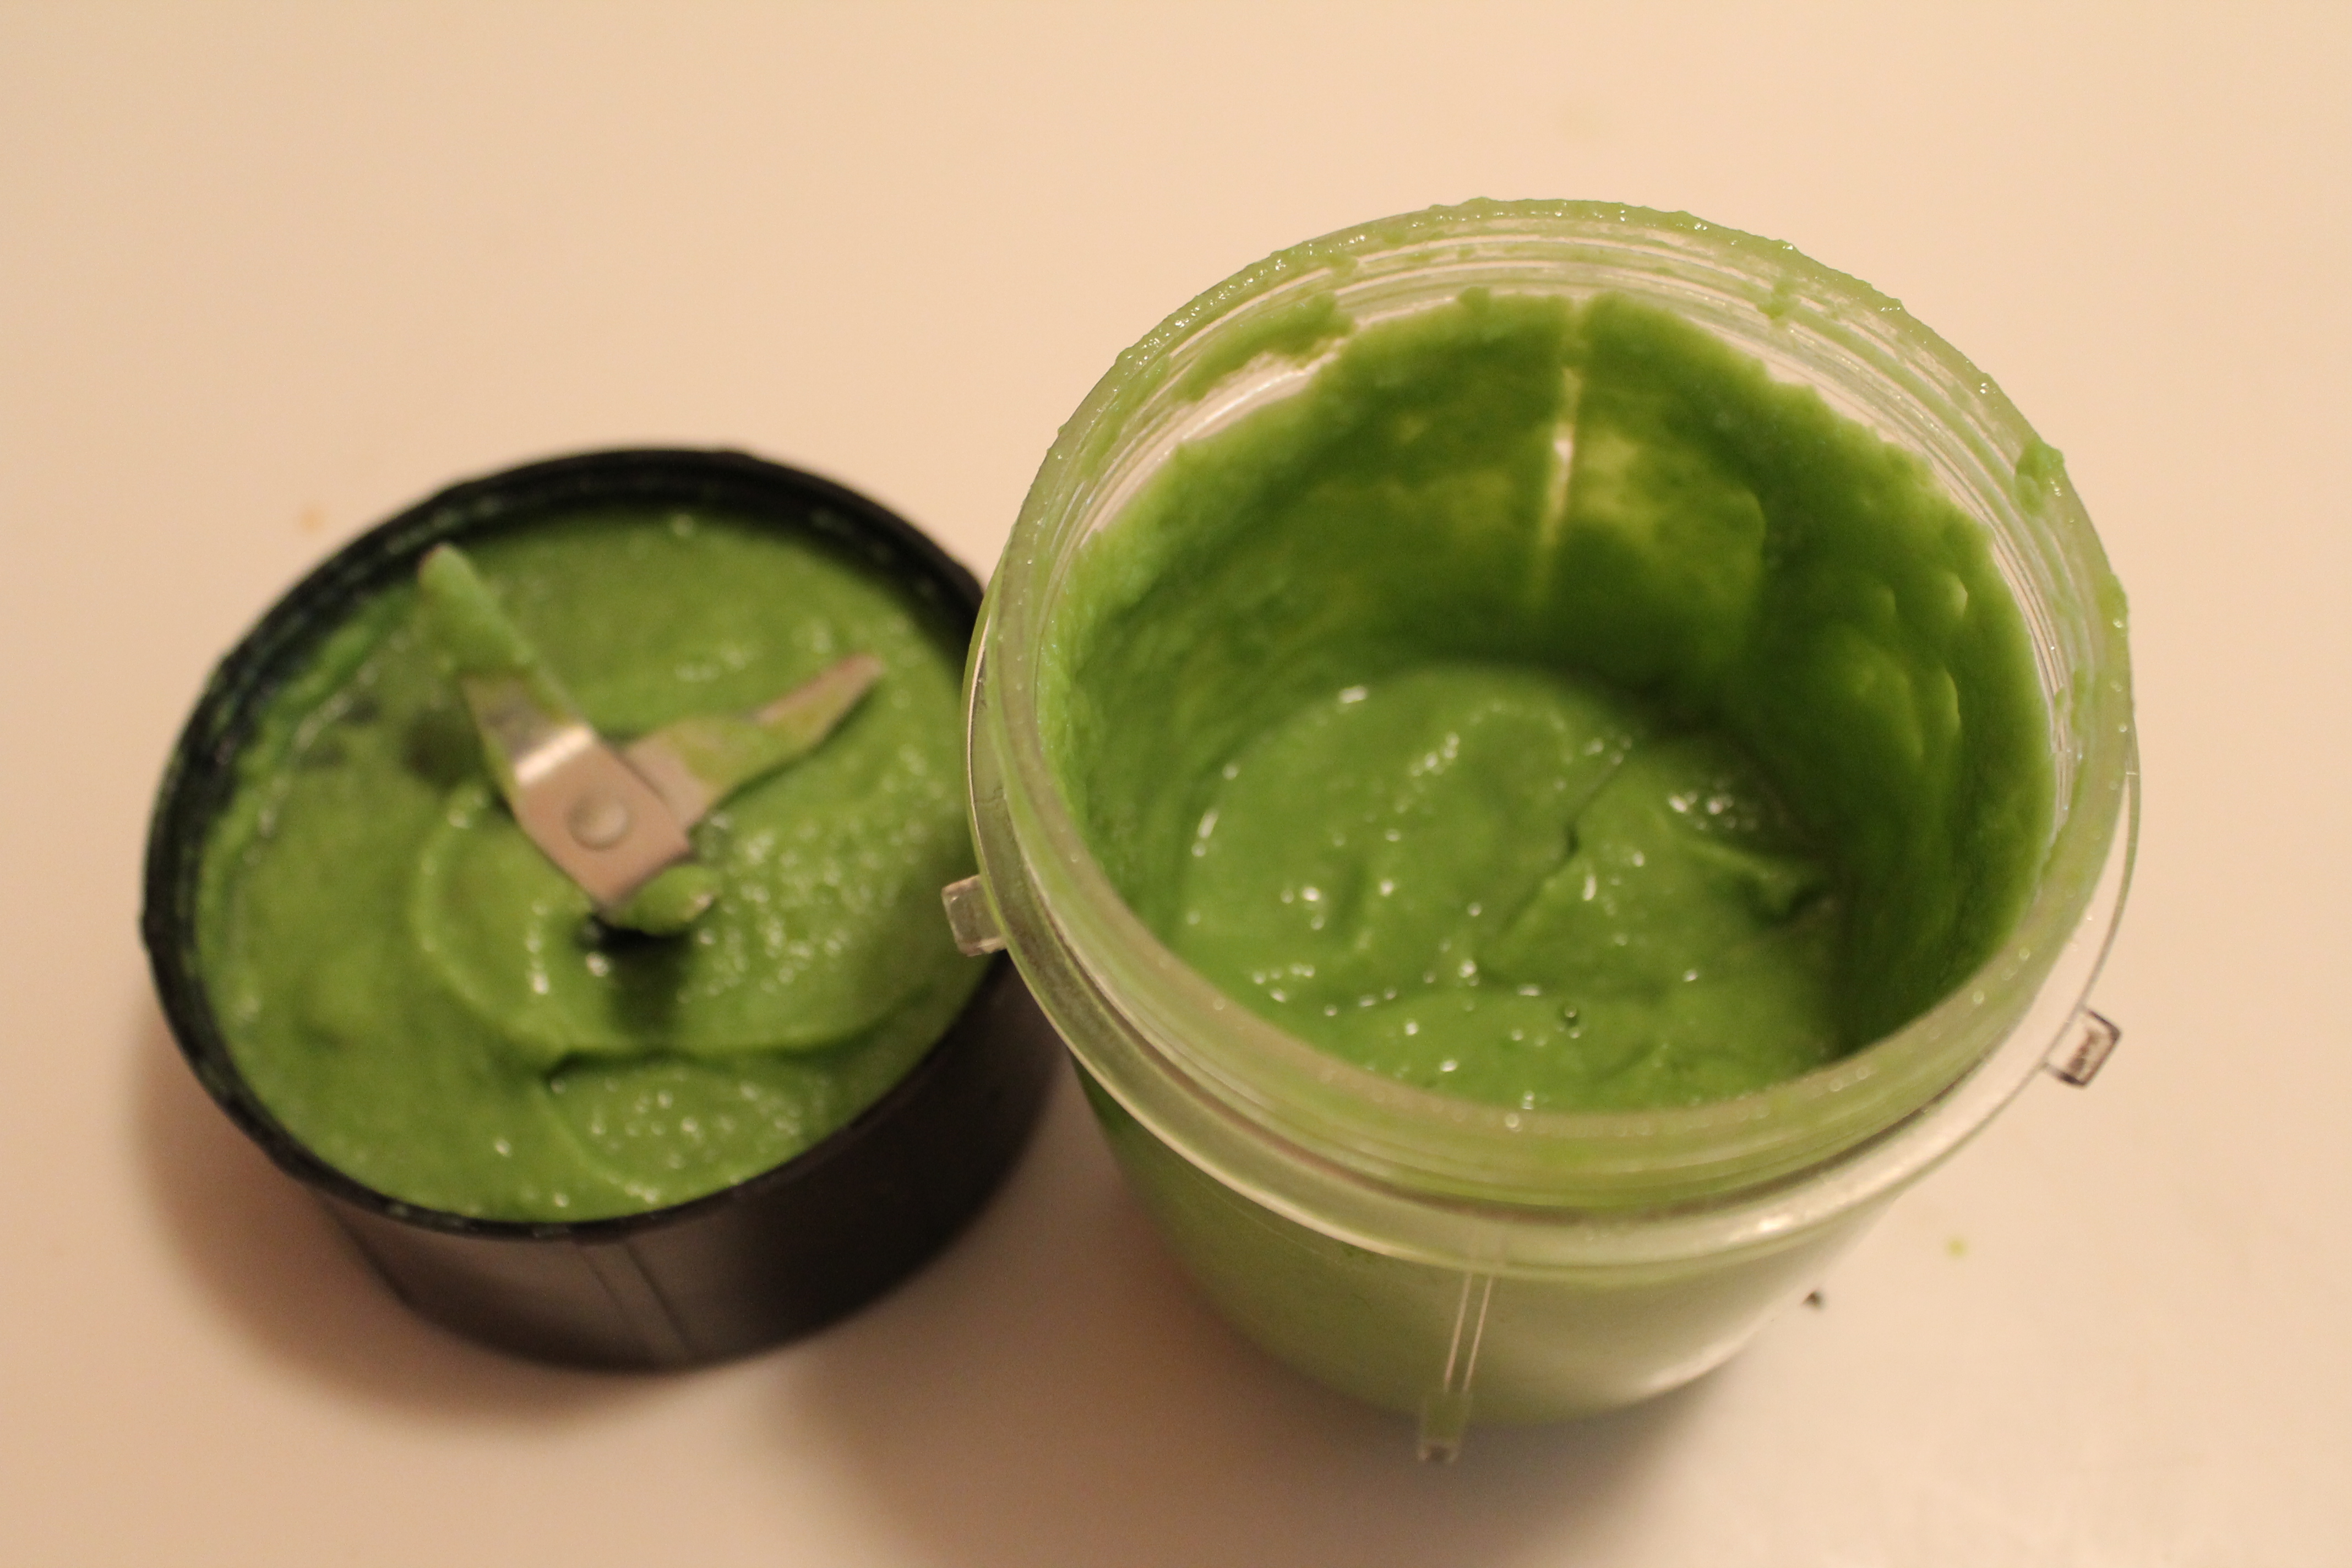
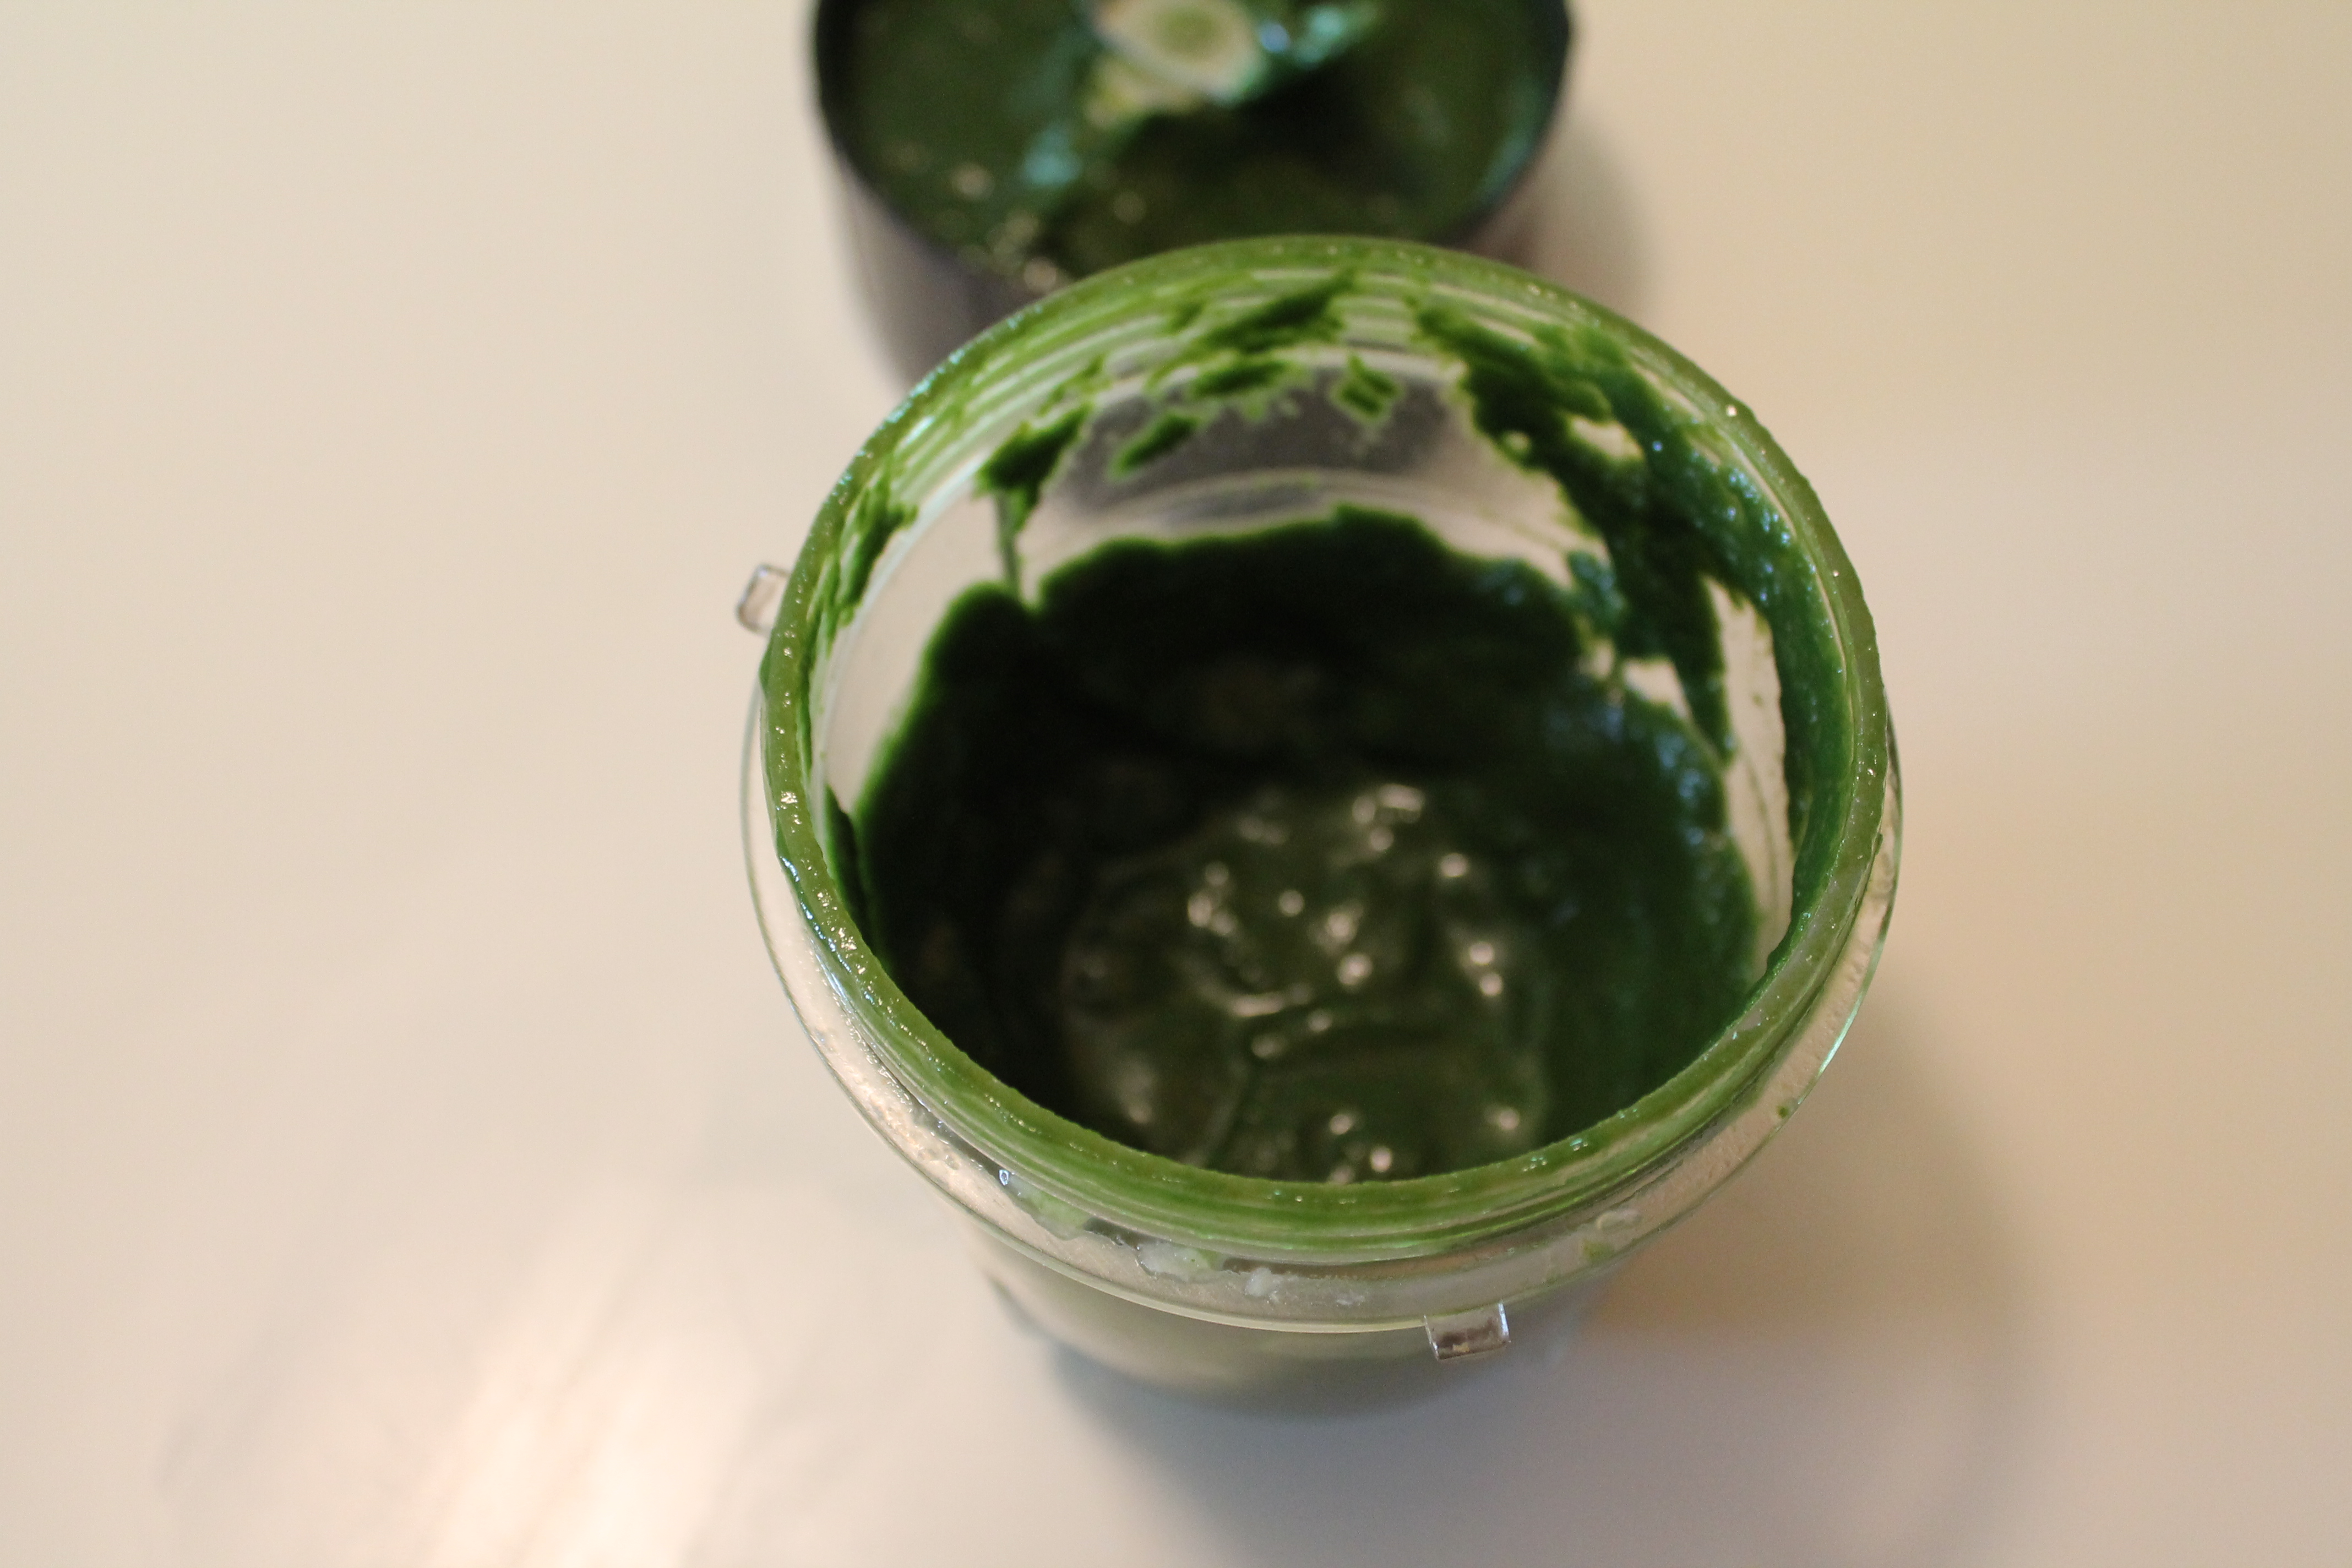
My final admonition is to just puree the heck out of your veggies! You literally cannot puree too much. I looked for all of my veggies to become glossy and well whipped…something like a cross between slime and a somewhat soupy pudding.
If you want to go for fruits, then wait until the fruits are soft and ripe, then go ahead and puree them raw. Some fruits won’t need any water at all to reach the right consistency. We haven’t tried giving Jake any fruits yet, but mangoes, pears, and bananas are on the list (shudder).
Storing
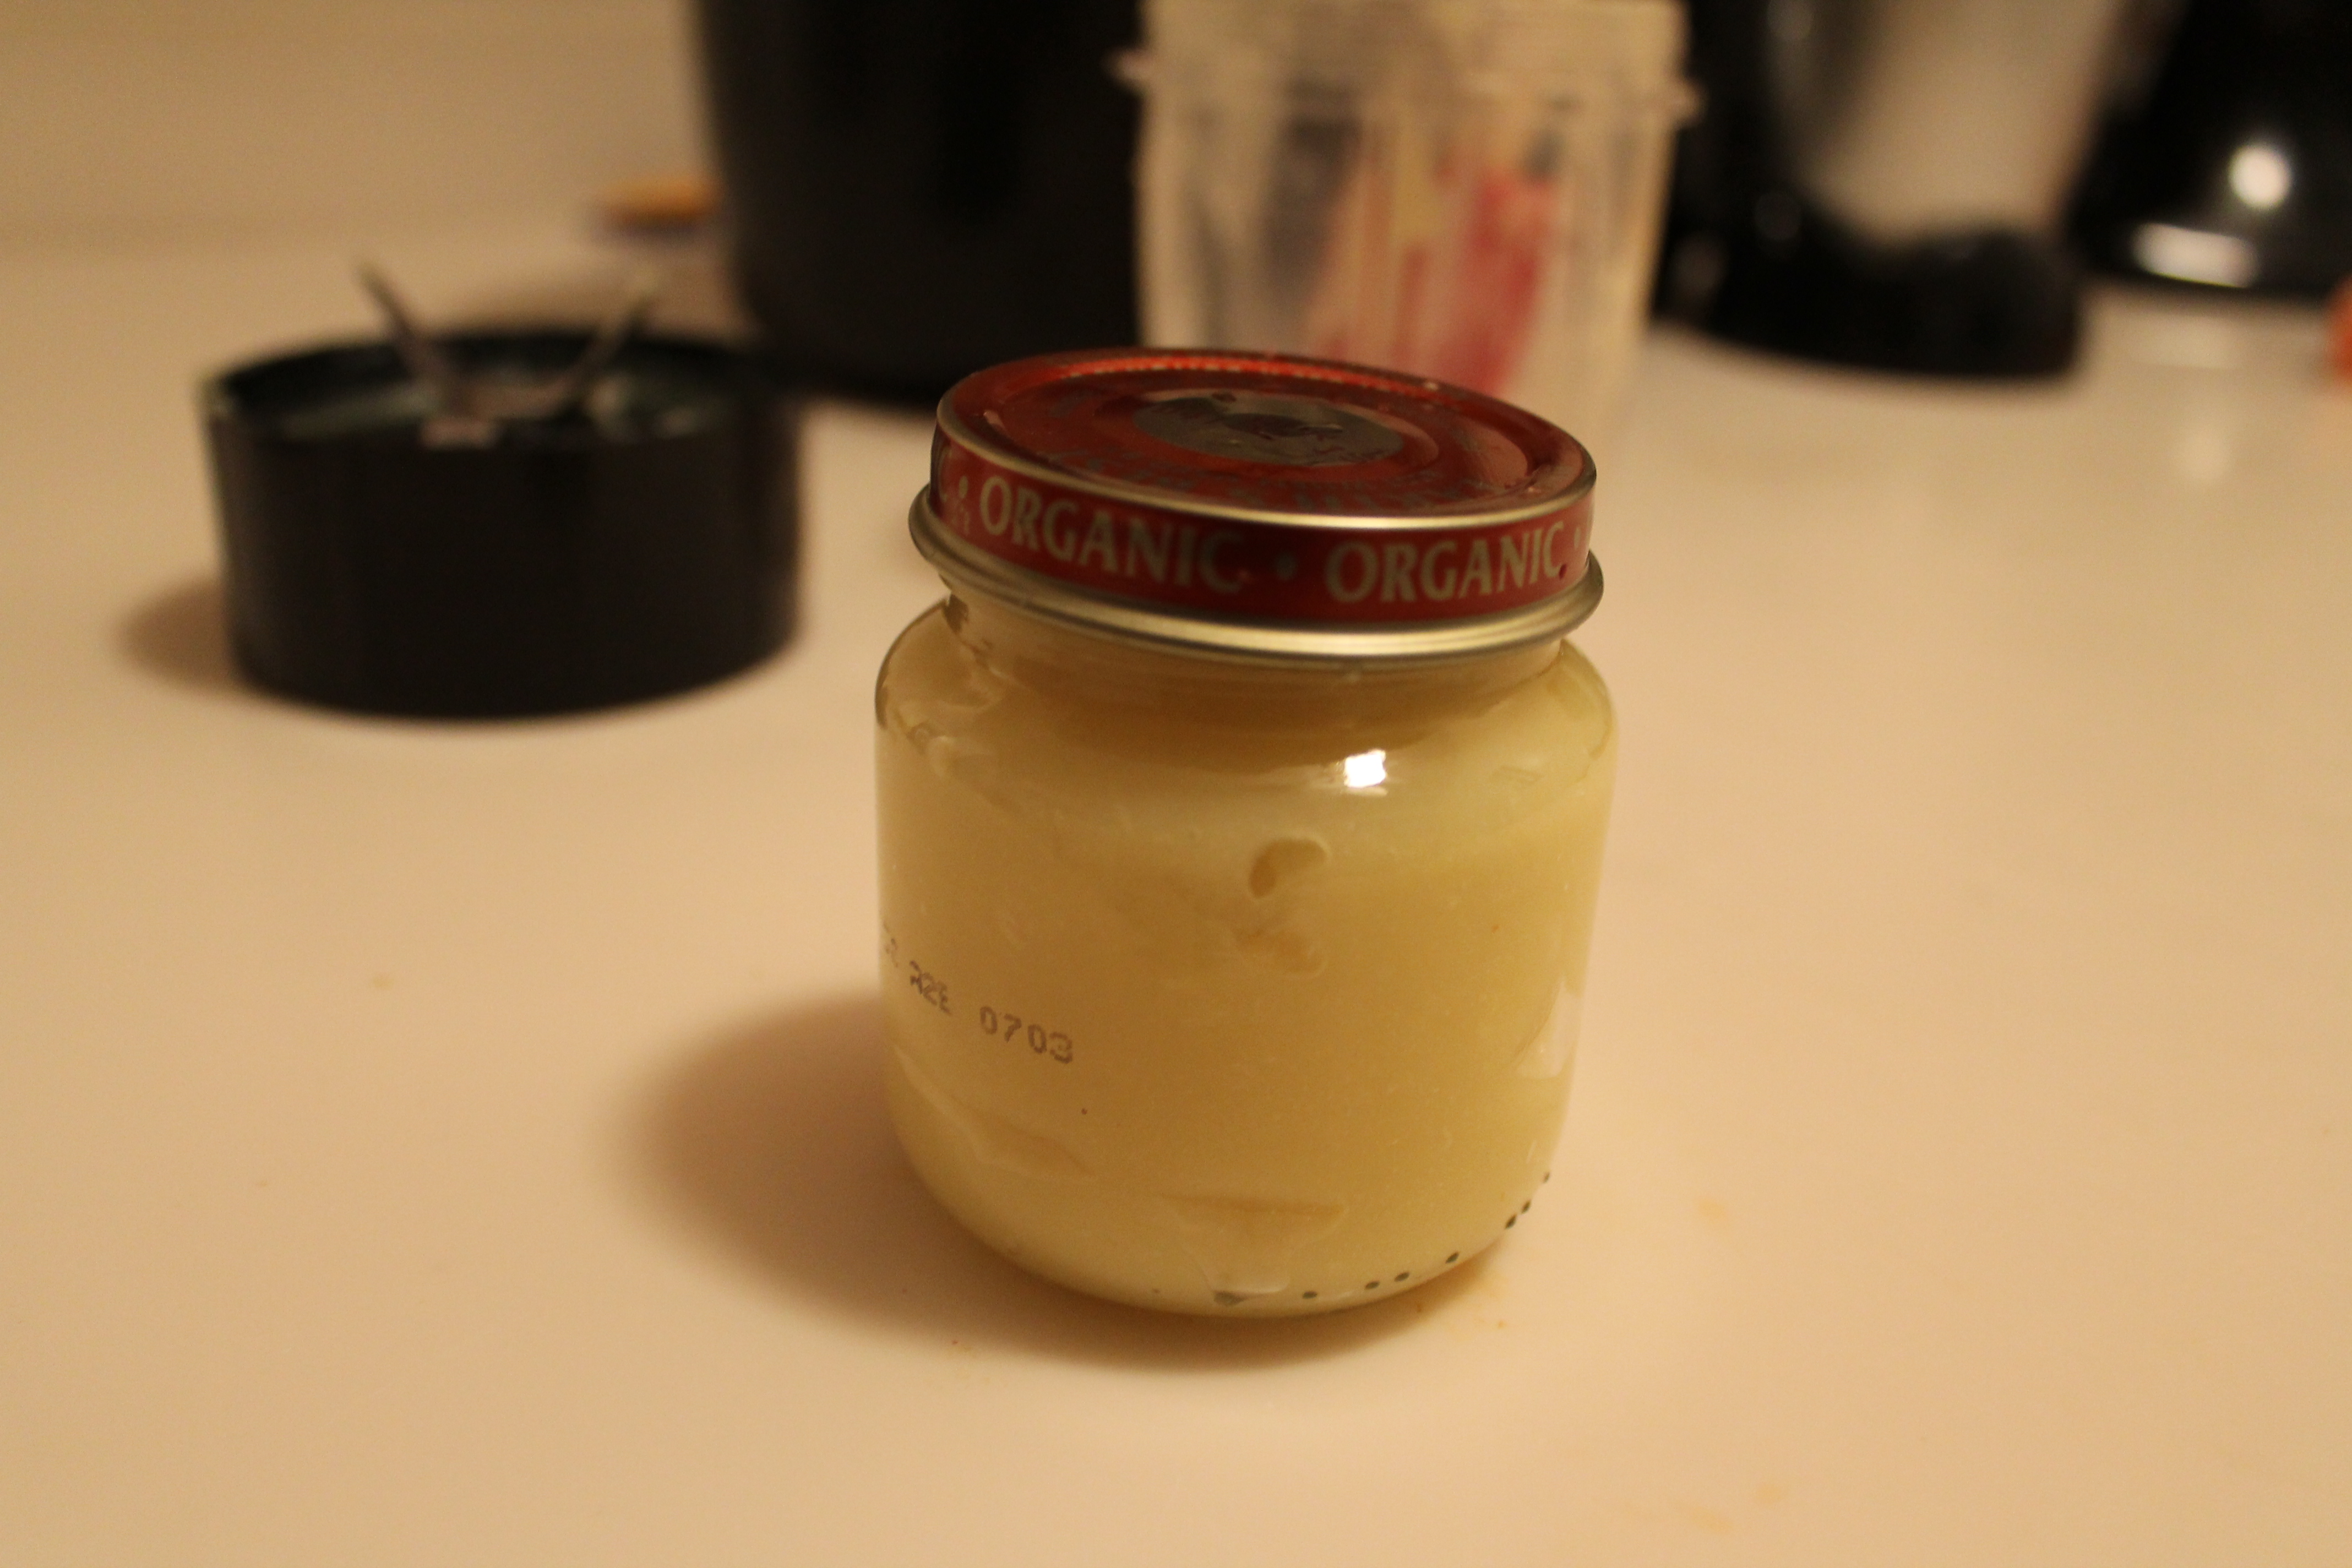
 Here is where I really took my cue from Heather of Join Us, Pull Up A Chair. Most baby foods can be safely stored in the fridge for a few days. But I, personally, find it easiest to work through naptime a few days in a row and make enough food for several weeks. That, of course, means I will be storing the baby food in the freezer.
So why not use something that can be used again and again, and will make it incredibly easy to pull out just as much as I need? Not only that, but then I am not re-dipping Jake’s spit-covered spoons into food that he won’t finish for a few days. I love this idea, and I am so glad Heather shared it with us!
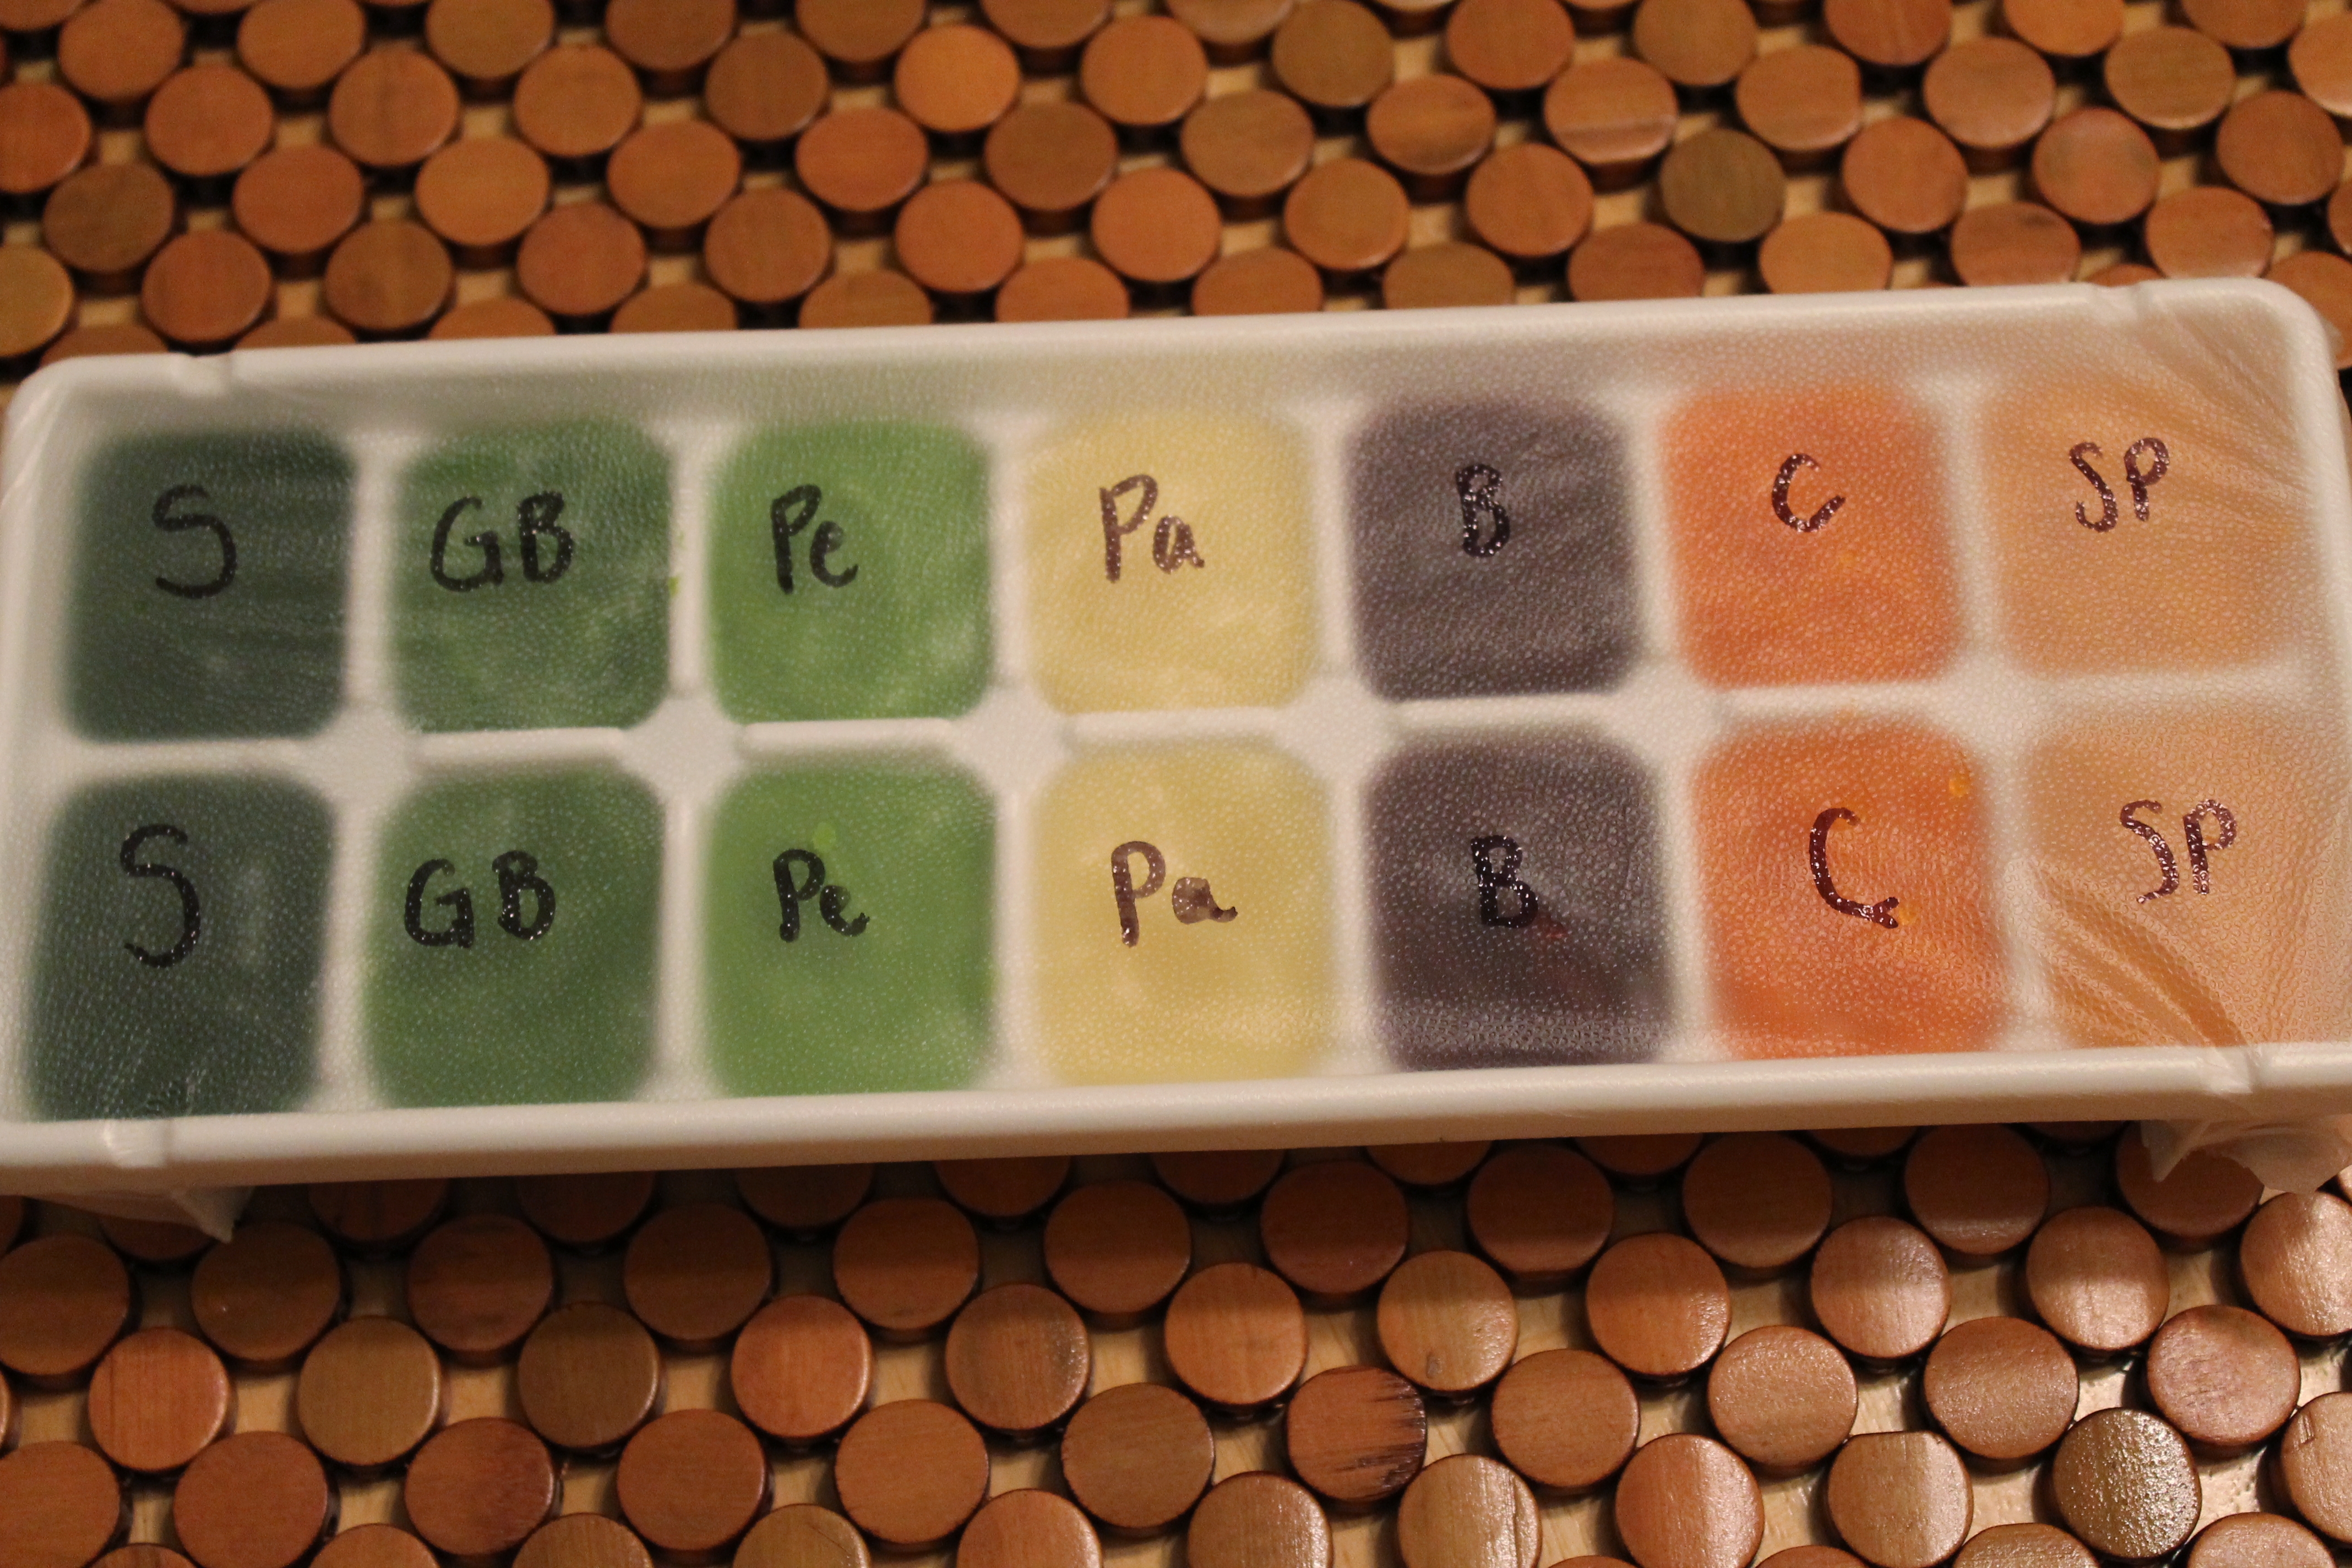
Measure 2 tbsp. (which is equal to 1 fl. oz.) into each slot. Cover the tray with press-and-seal wrap. You can even label each slot with a sharpie (look! it’s Jake’s first periodic table) so you are never guessing what you’re about to feed your baby (a definitely bonus if you’ve made several different green or orange foods…). What a great system!
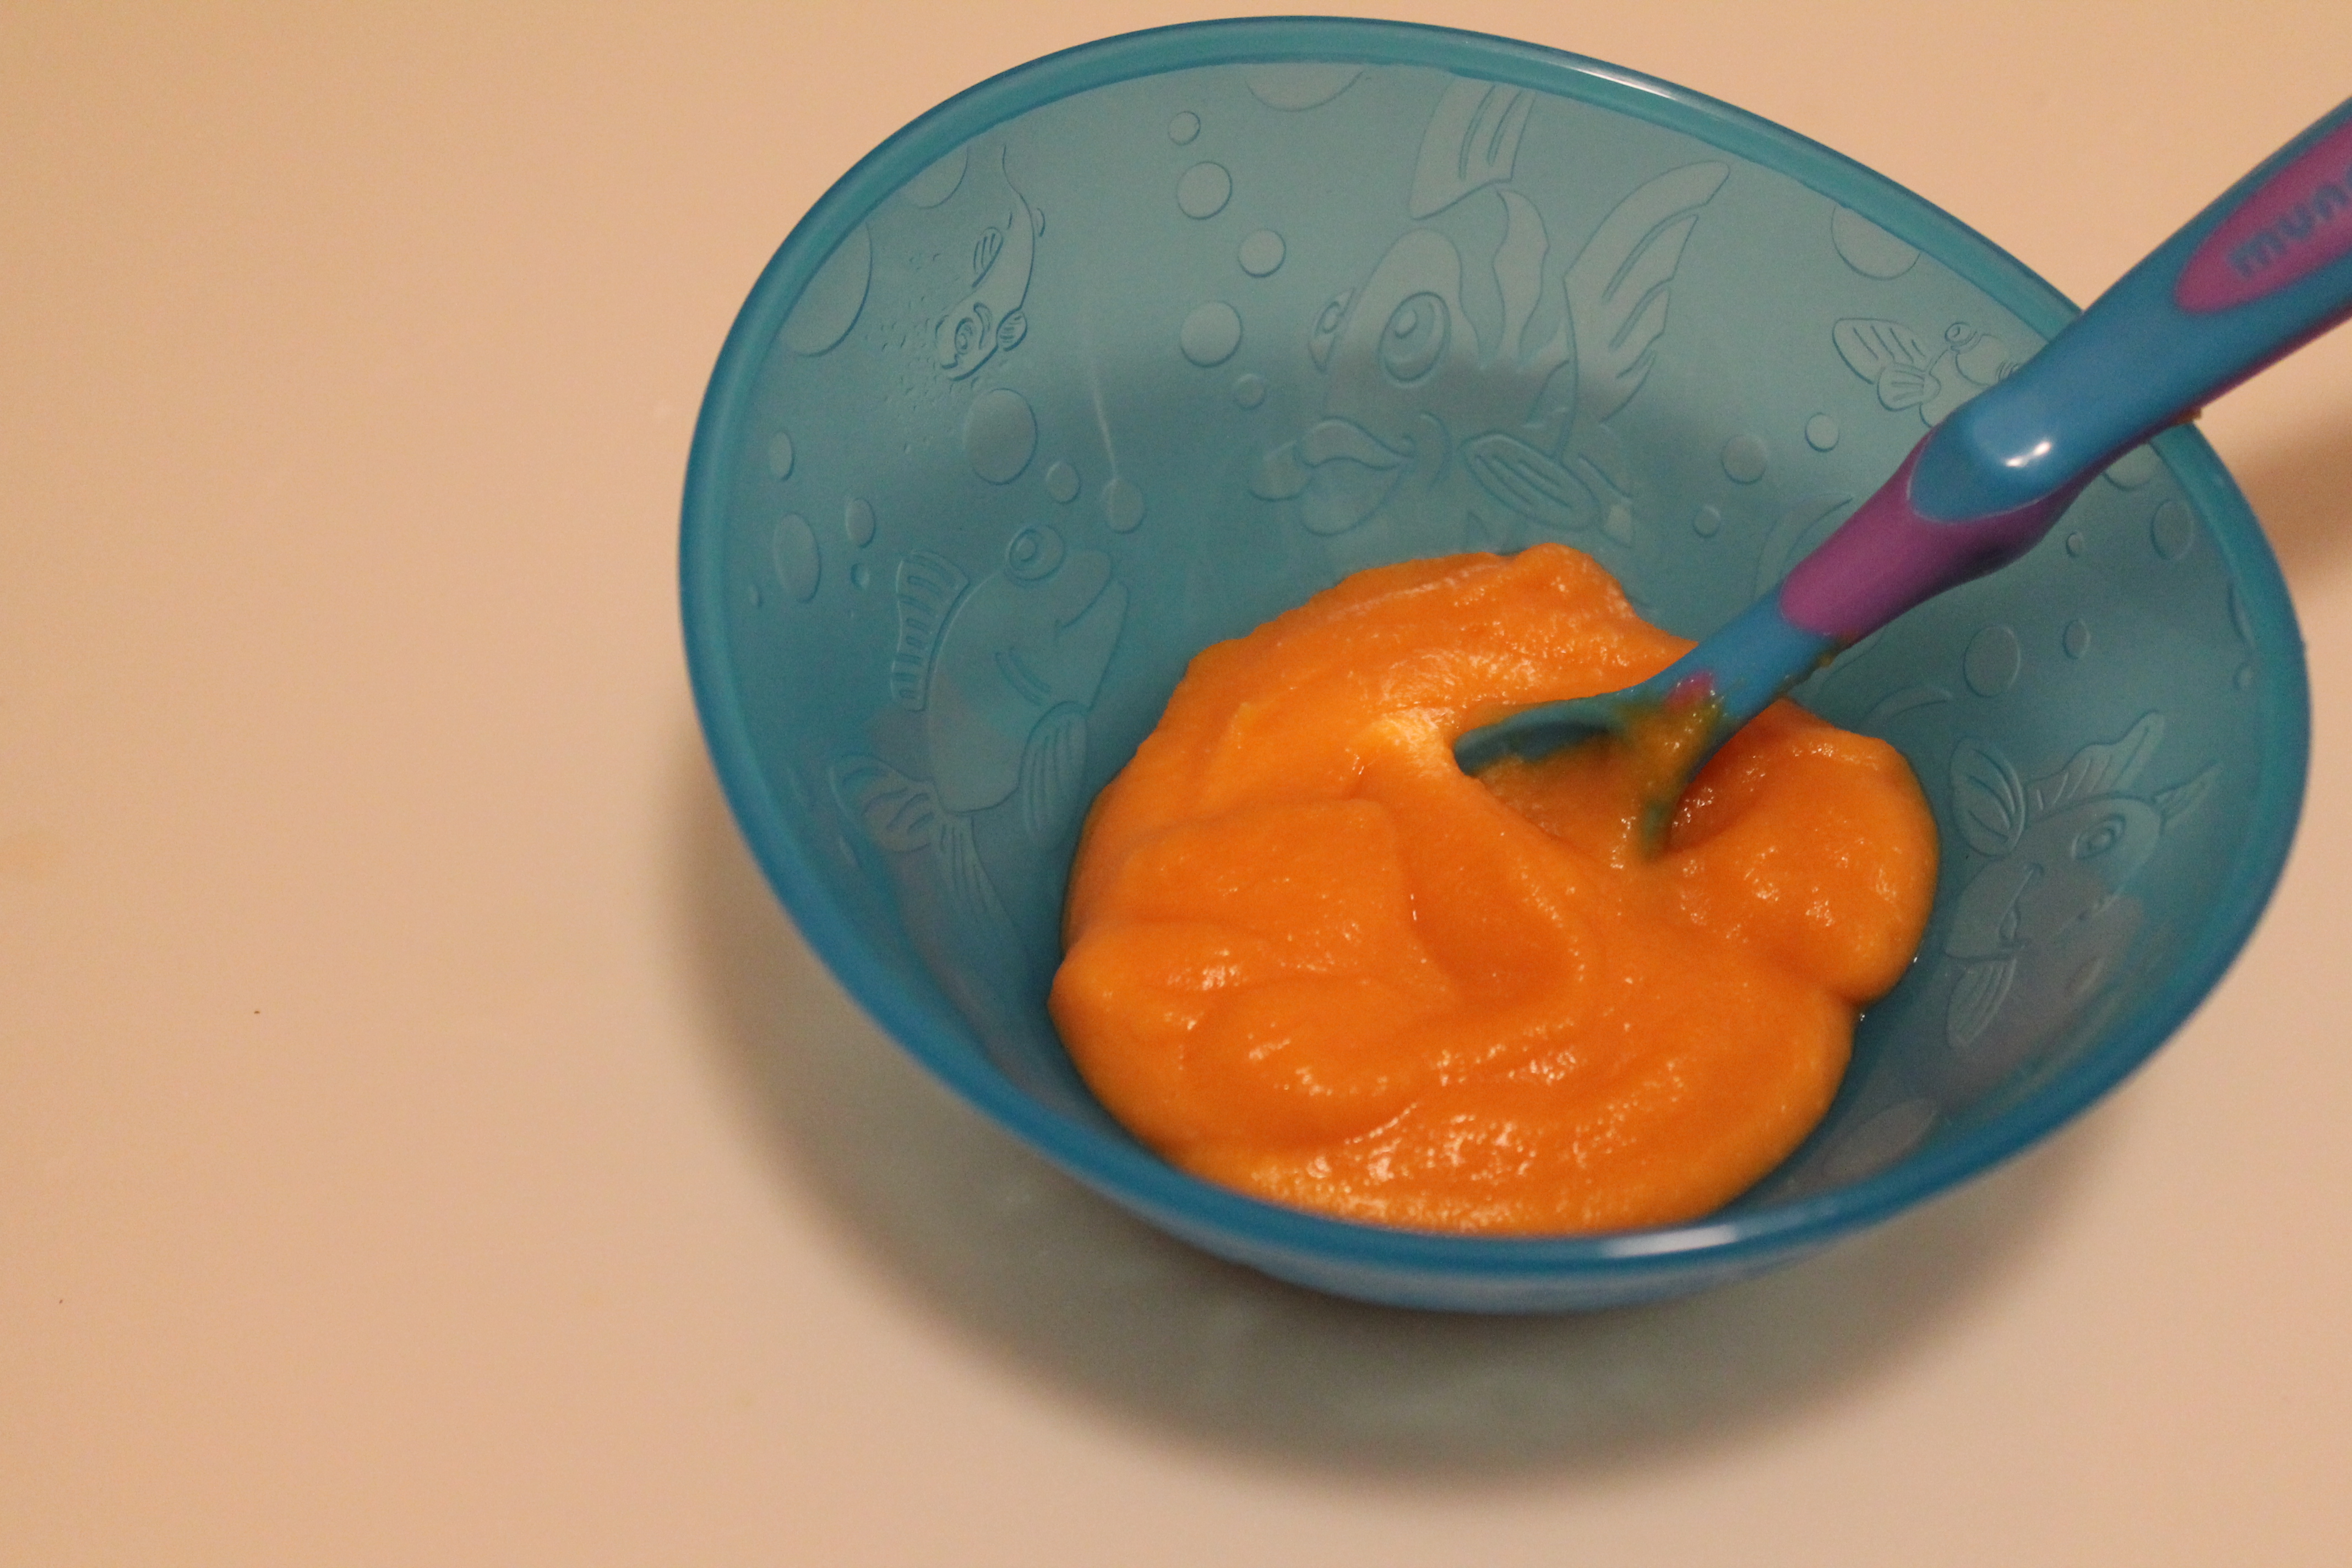 Baby Sweet Potatoes
adapted from Join Us, Pull Up A Chair
makes 5 oz.
Ingredients:
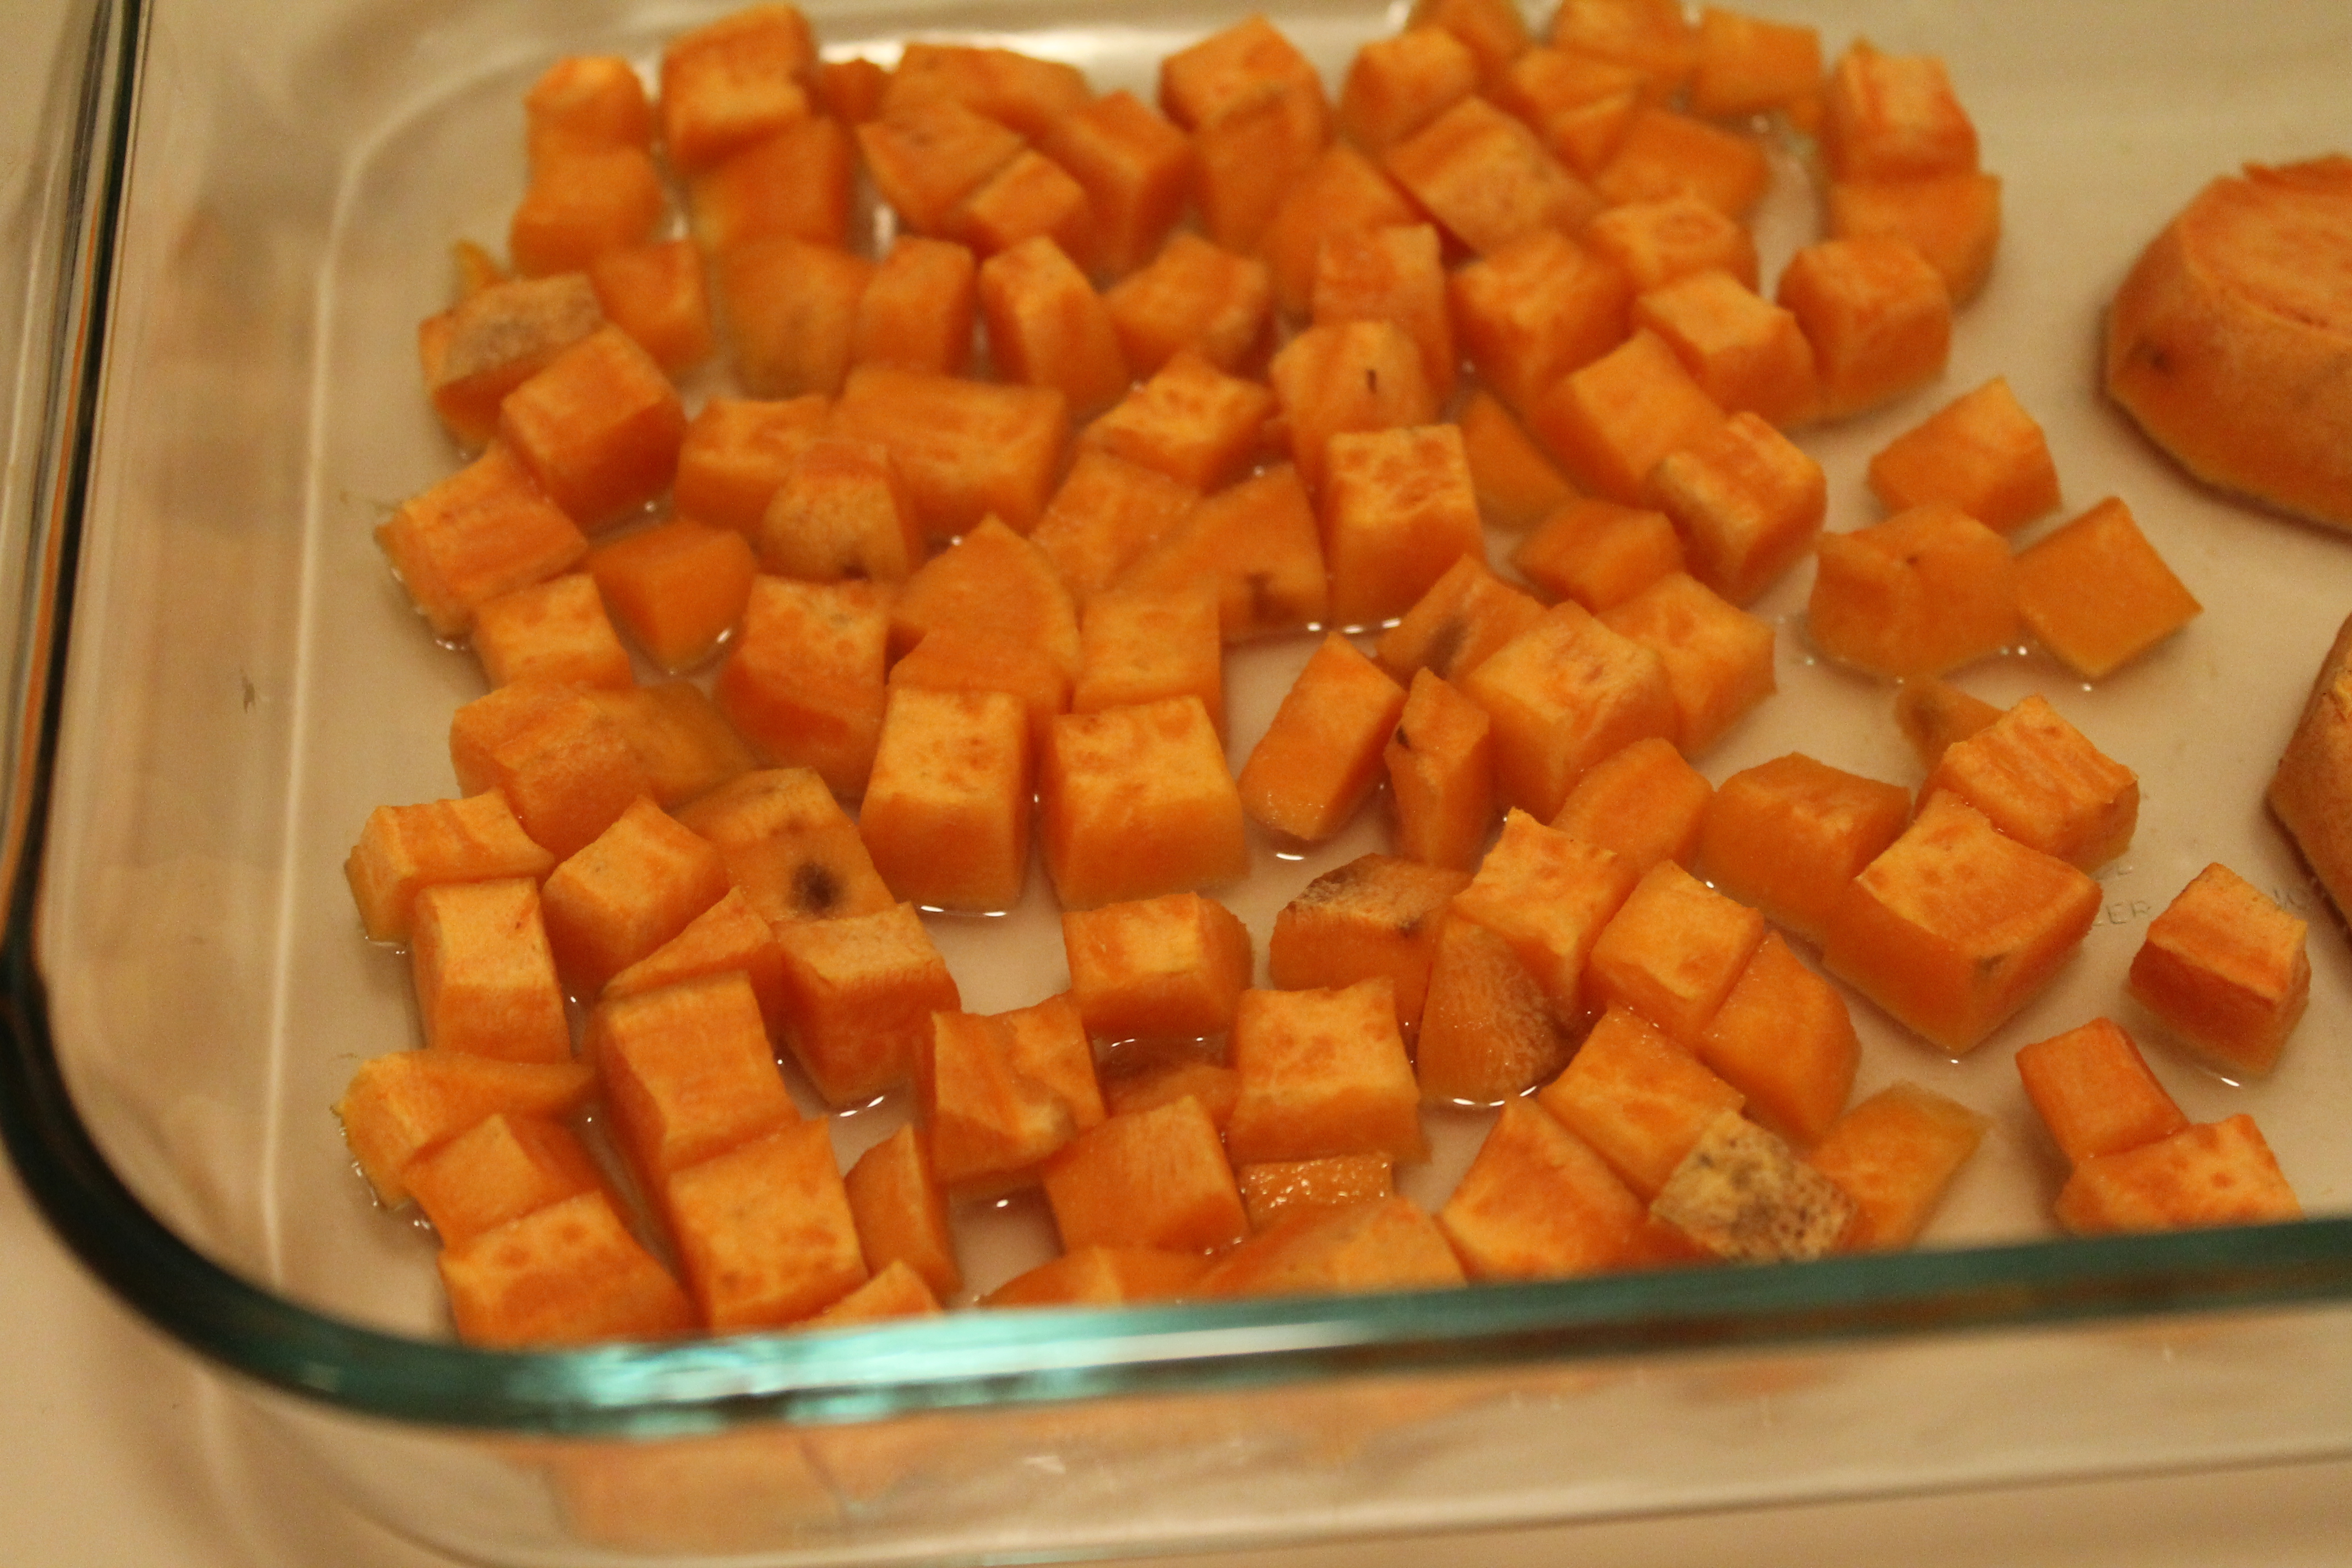
4 oz. sweet potato (about ½ a small potato), peeled and cubed
6 tbsp. water, divided
Directions:*
Preheat oven to 350°.
Set the sweet potato cubes into a small baking dish. Pour a shallow layer of water into the dish, about 4 tbsp.
Bake for 25 minutes, until water is absorbed and cubes are very tender.
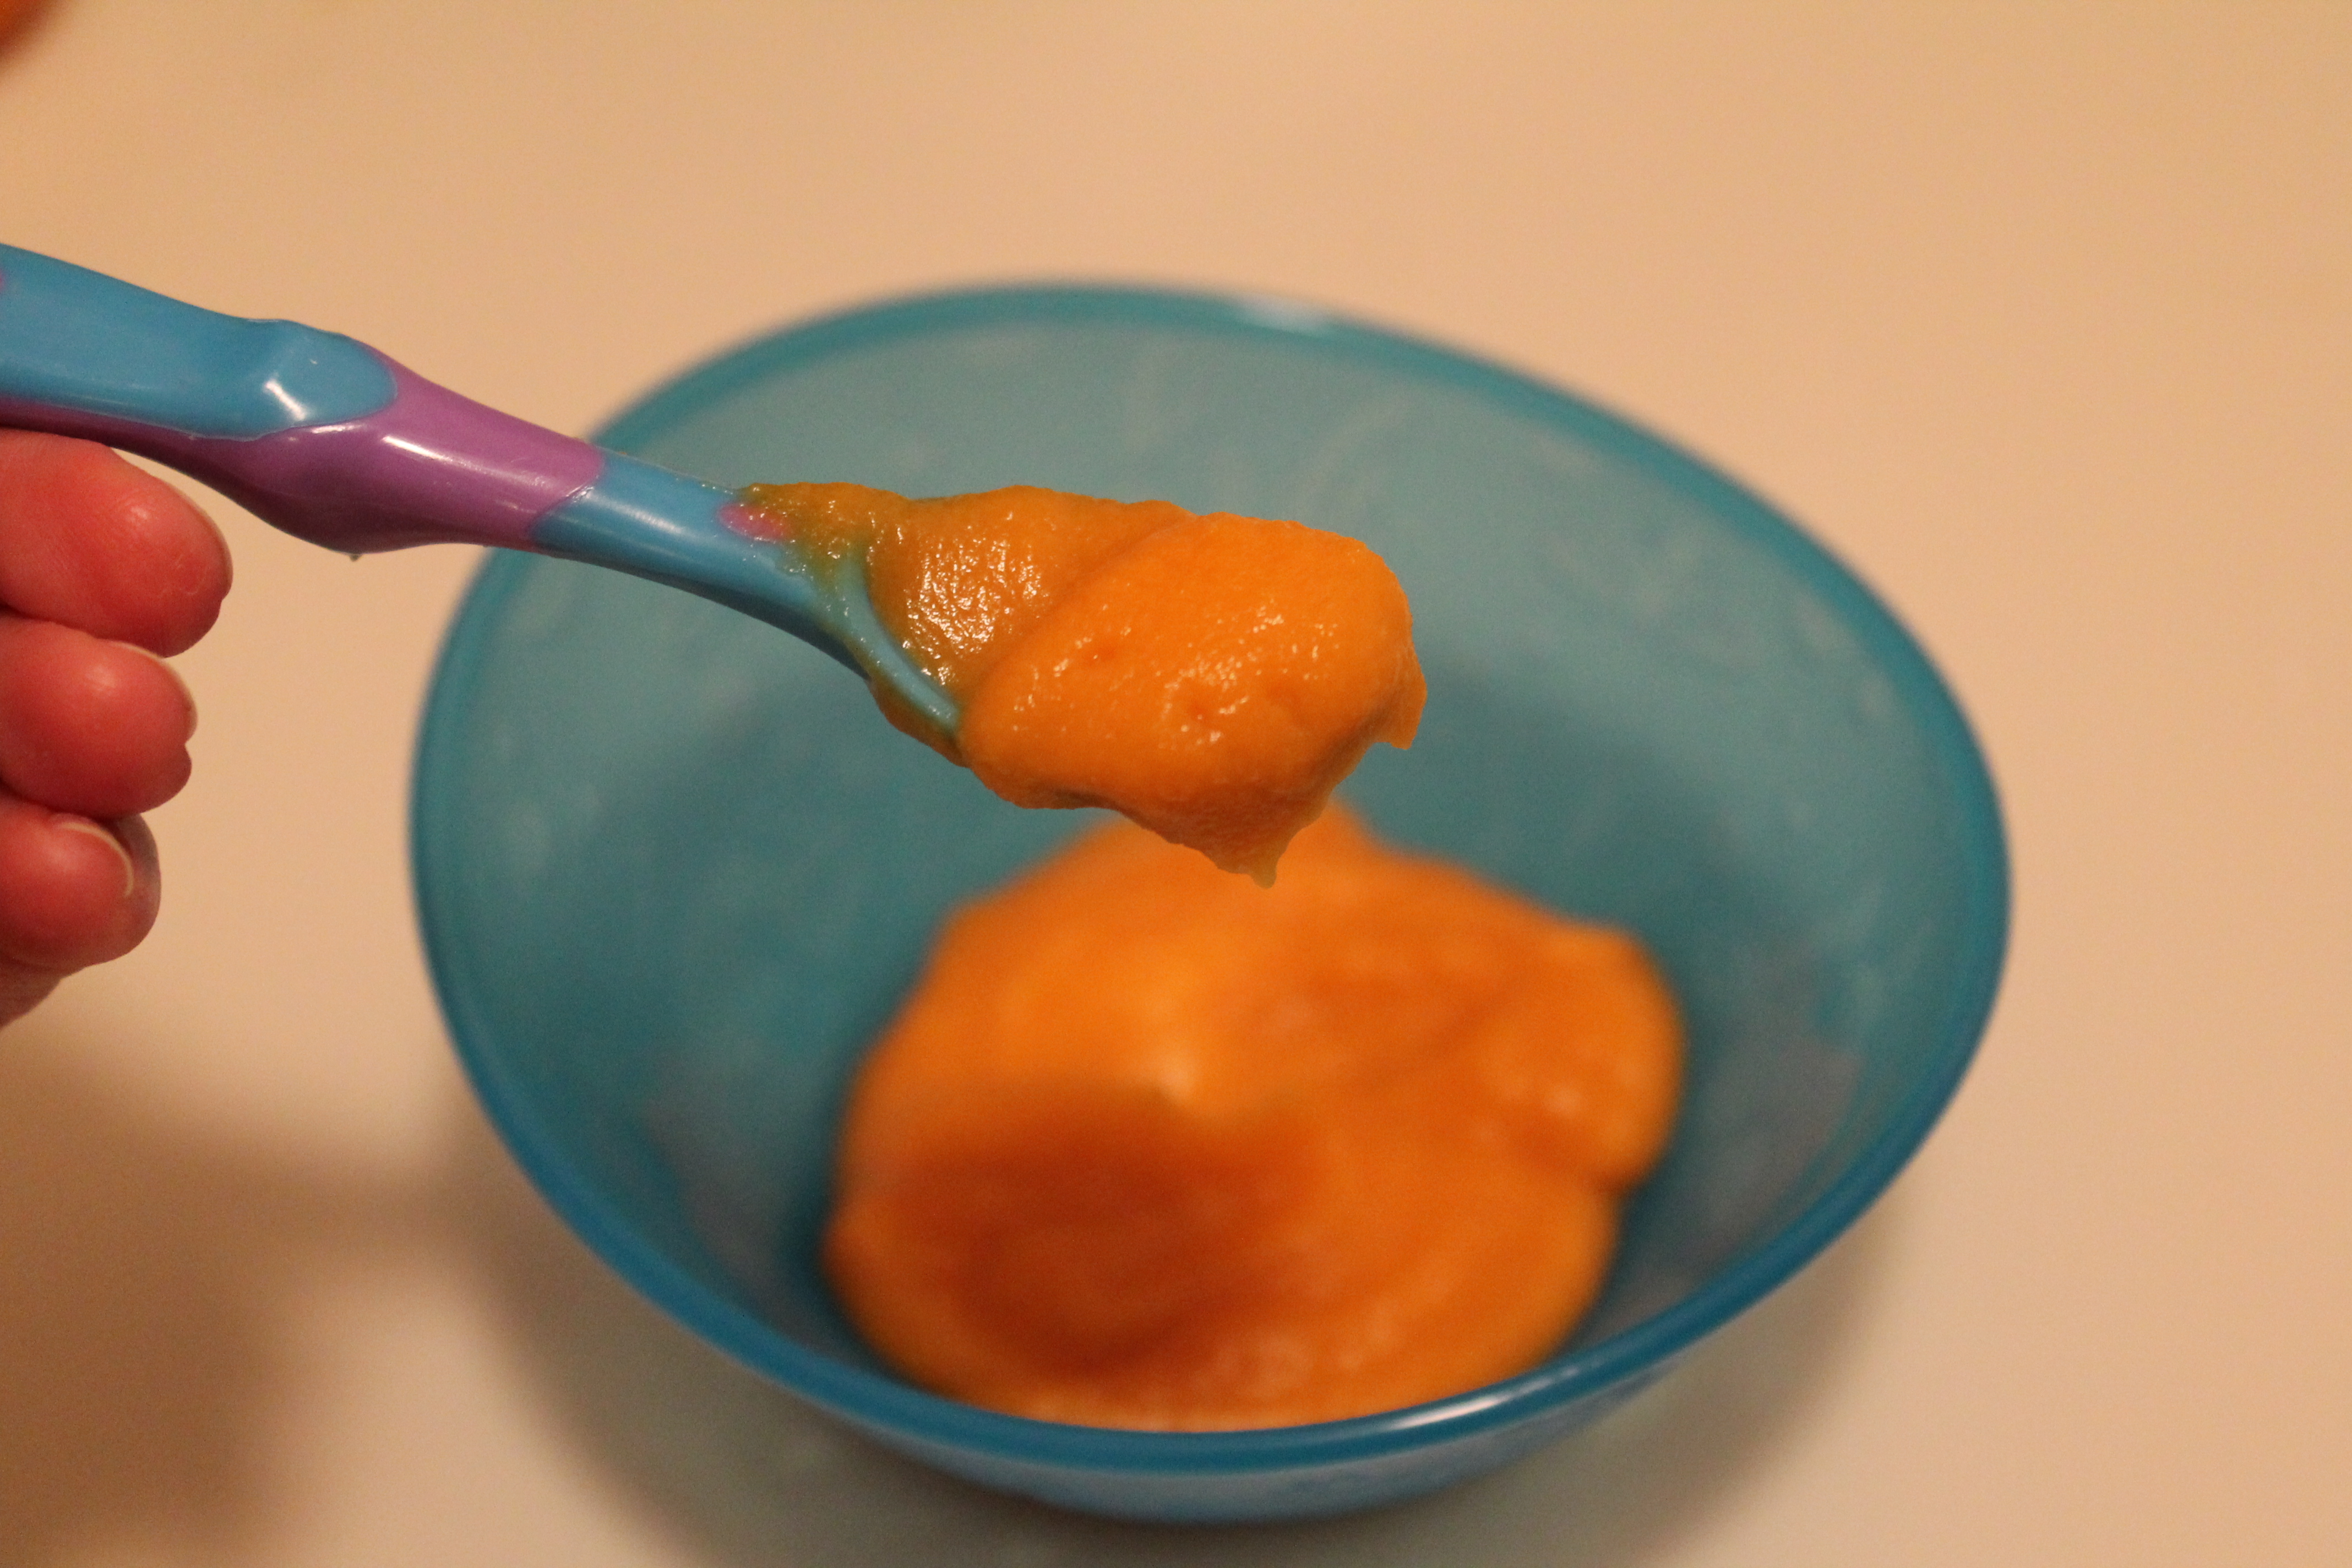
Transfer the cooked sweet potatoes to a small food processor. Add 1 tbsp. water. Process until all the potato is evenly pureed, but still thick.
Add the remaining 1 tbsp. water, pureeing thoroughly, until desired consistency is reached. Sweet potatoes should be smooth and thin enough to drip slowly off a spoon.
Cool completely and store in an air tight container. Sweet potatoes will keep in the fridge for up to 3 days; otherwise store in the freezer.
*Note: I think an easier strategy would just be to bake the potato the way you would bake any other potato. Then cut open, scrape the flesh from the skin, and puree as described. This method may require a bit of extra water during the puree process.

 Baby Carrots
makes 4 oz.
Ingredients:
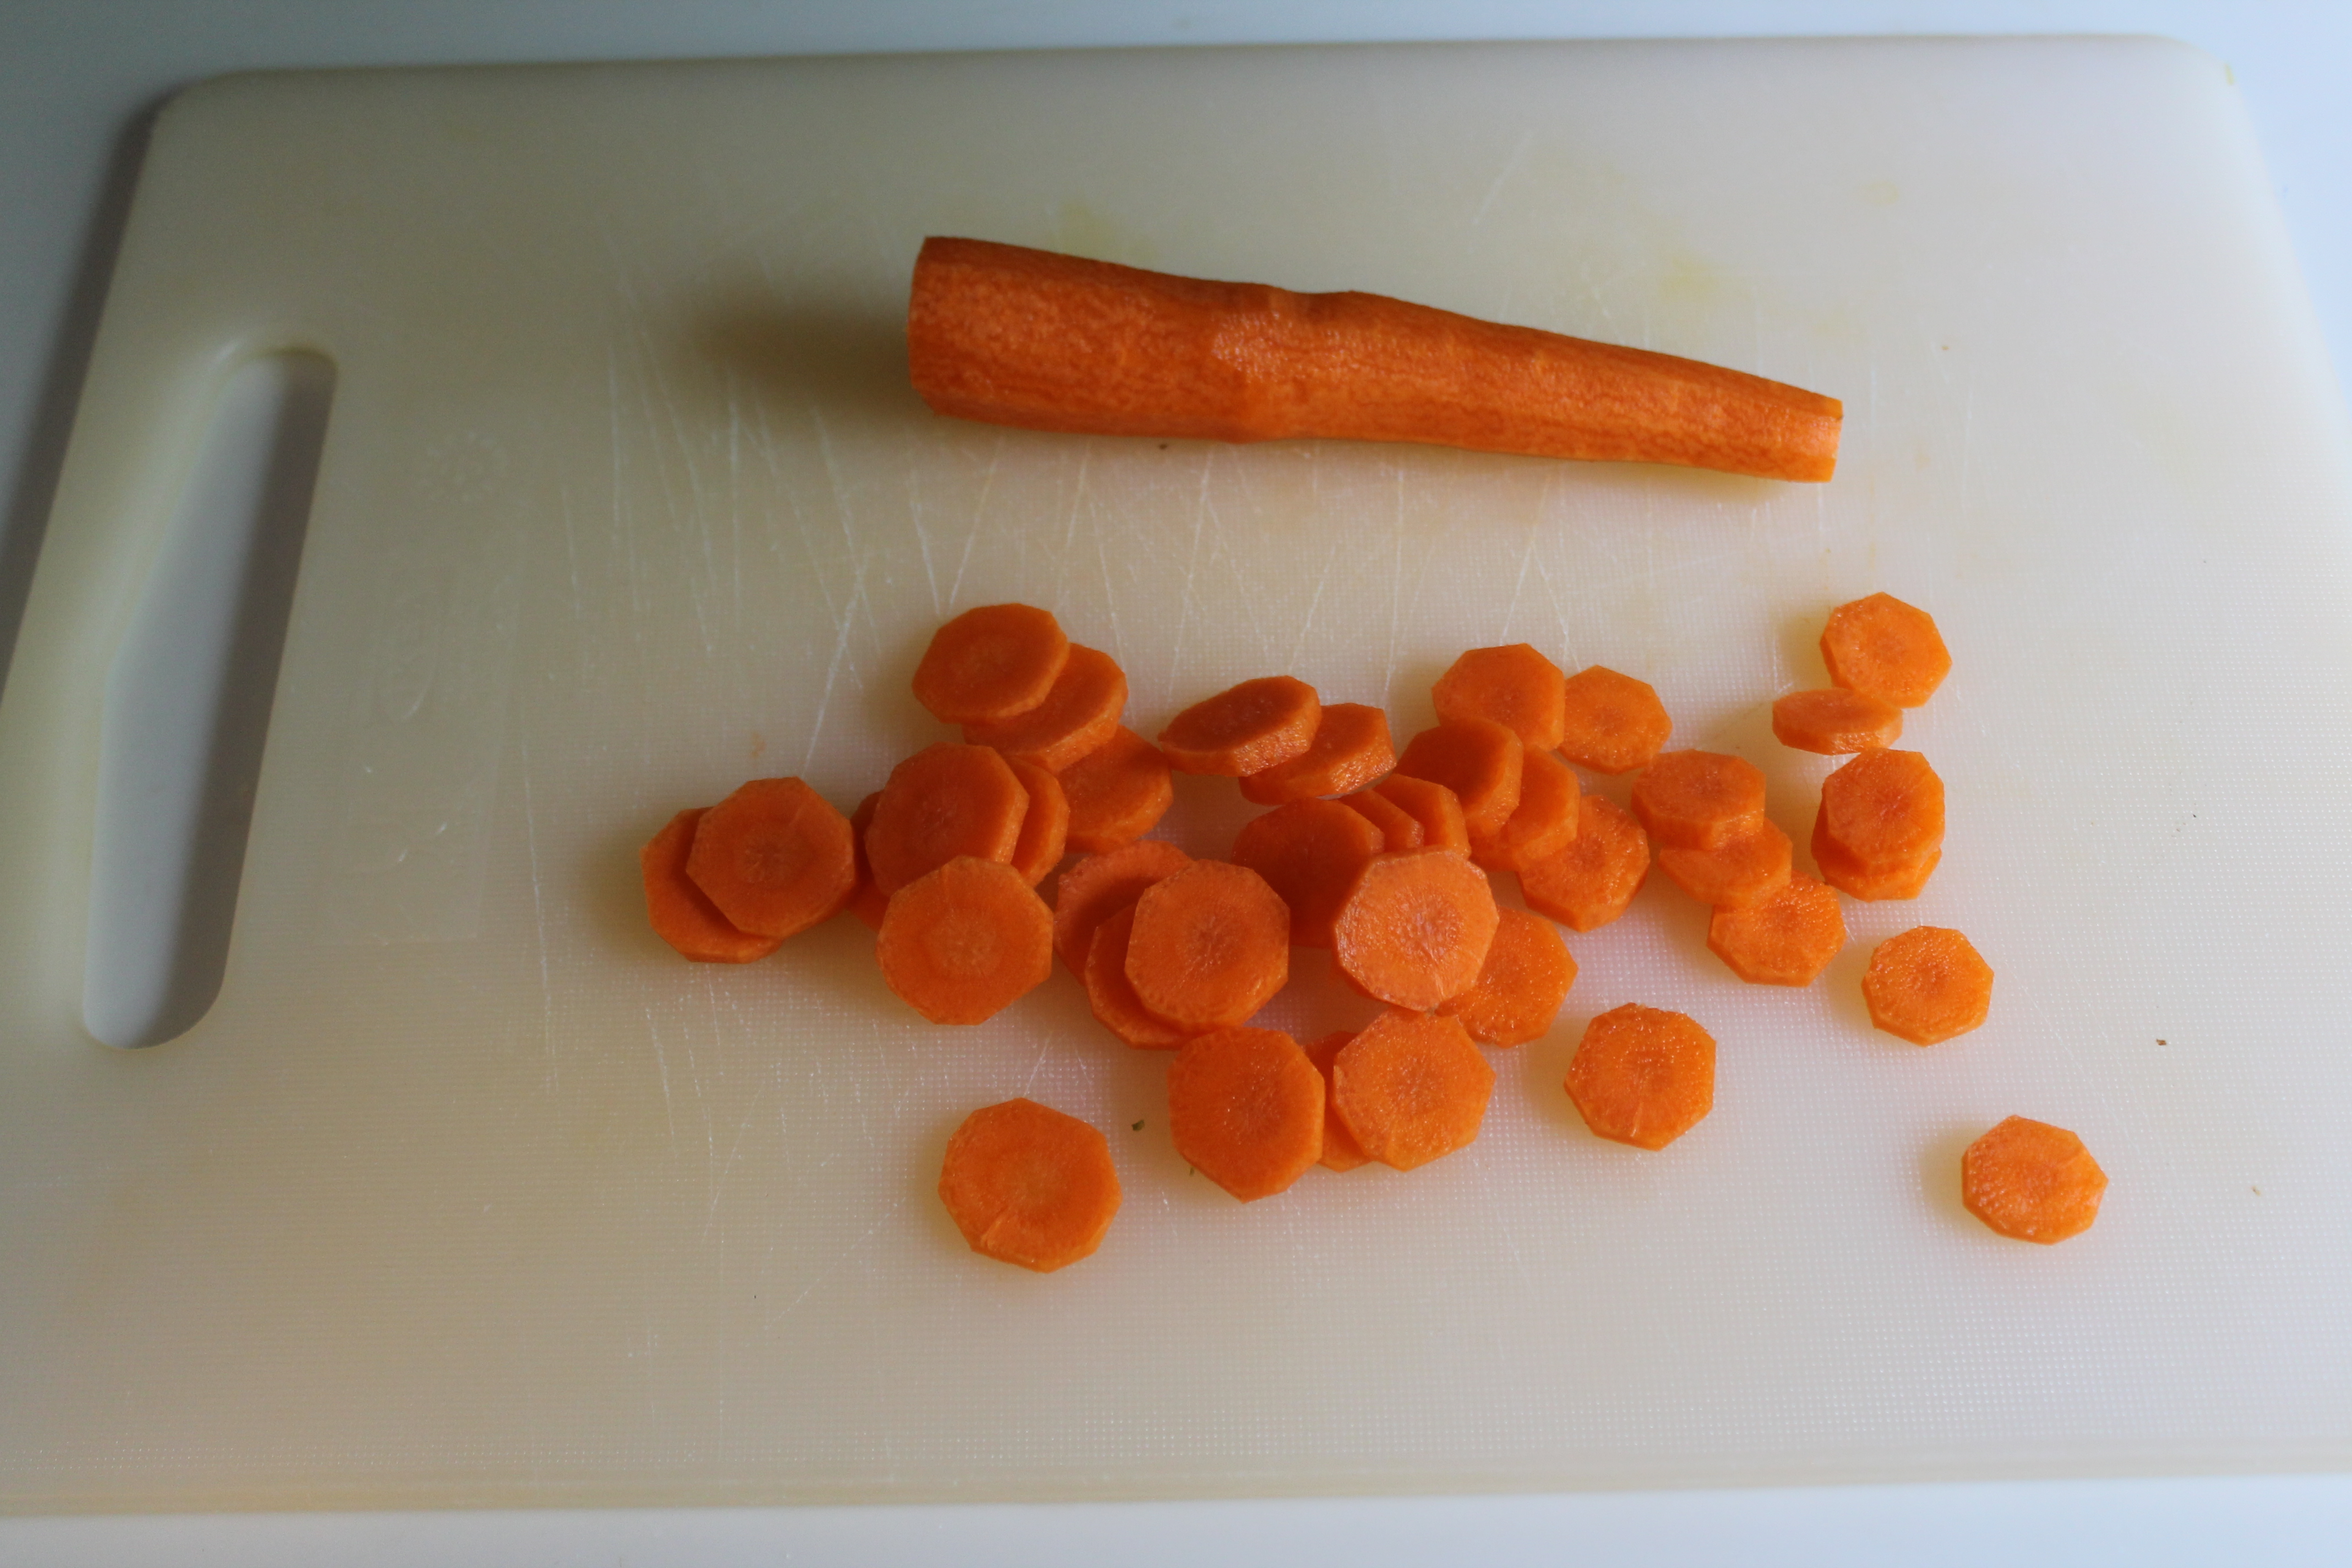
4 oz. carrot (2 small or 1 large), peeled and thinly sliced
5 tbsp. water, divided, plus extra as needed
Directions:
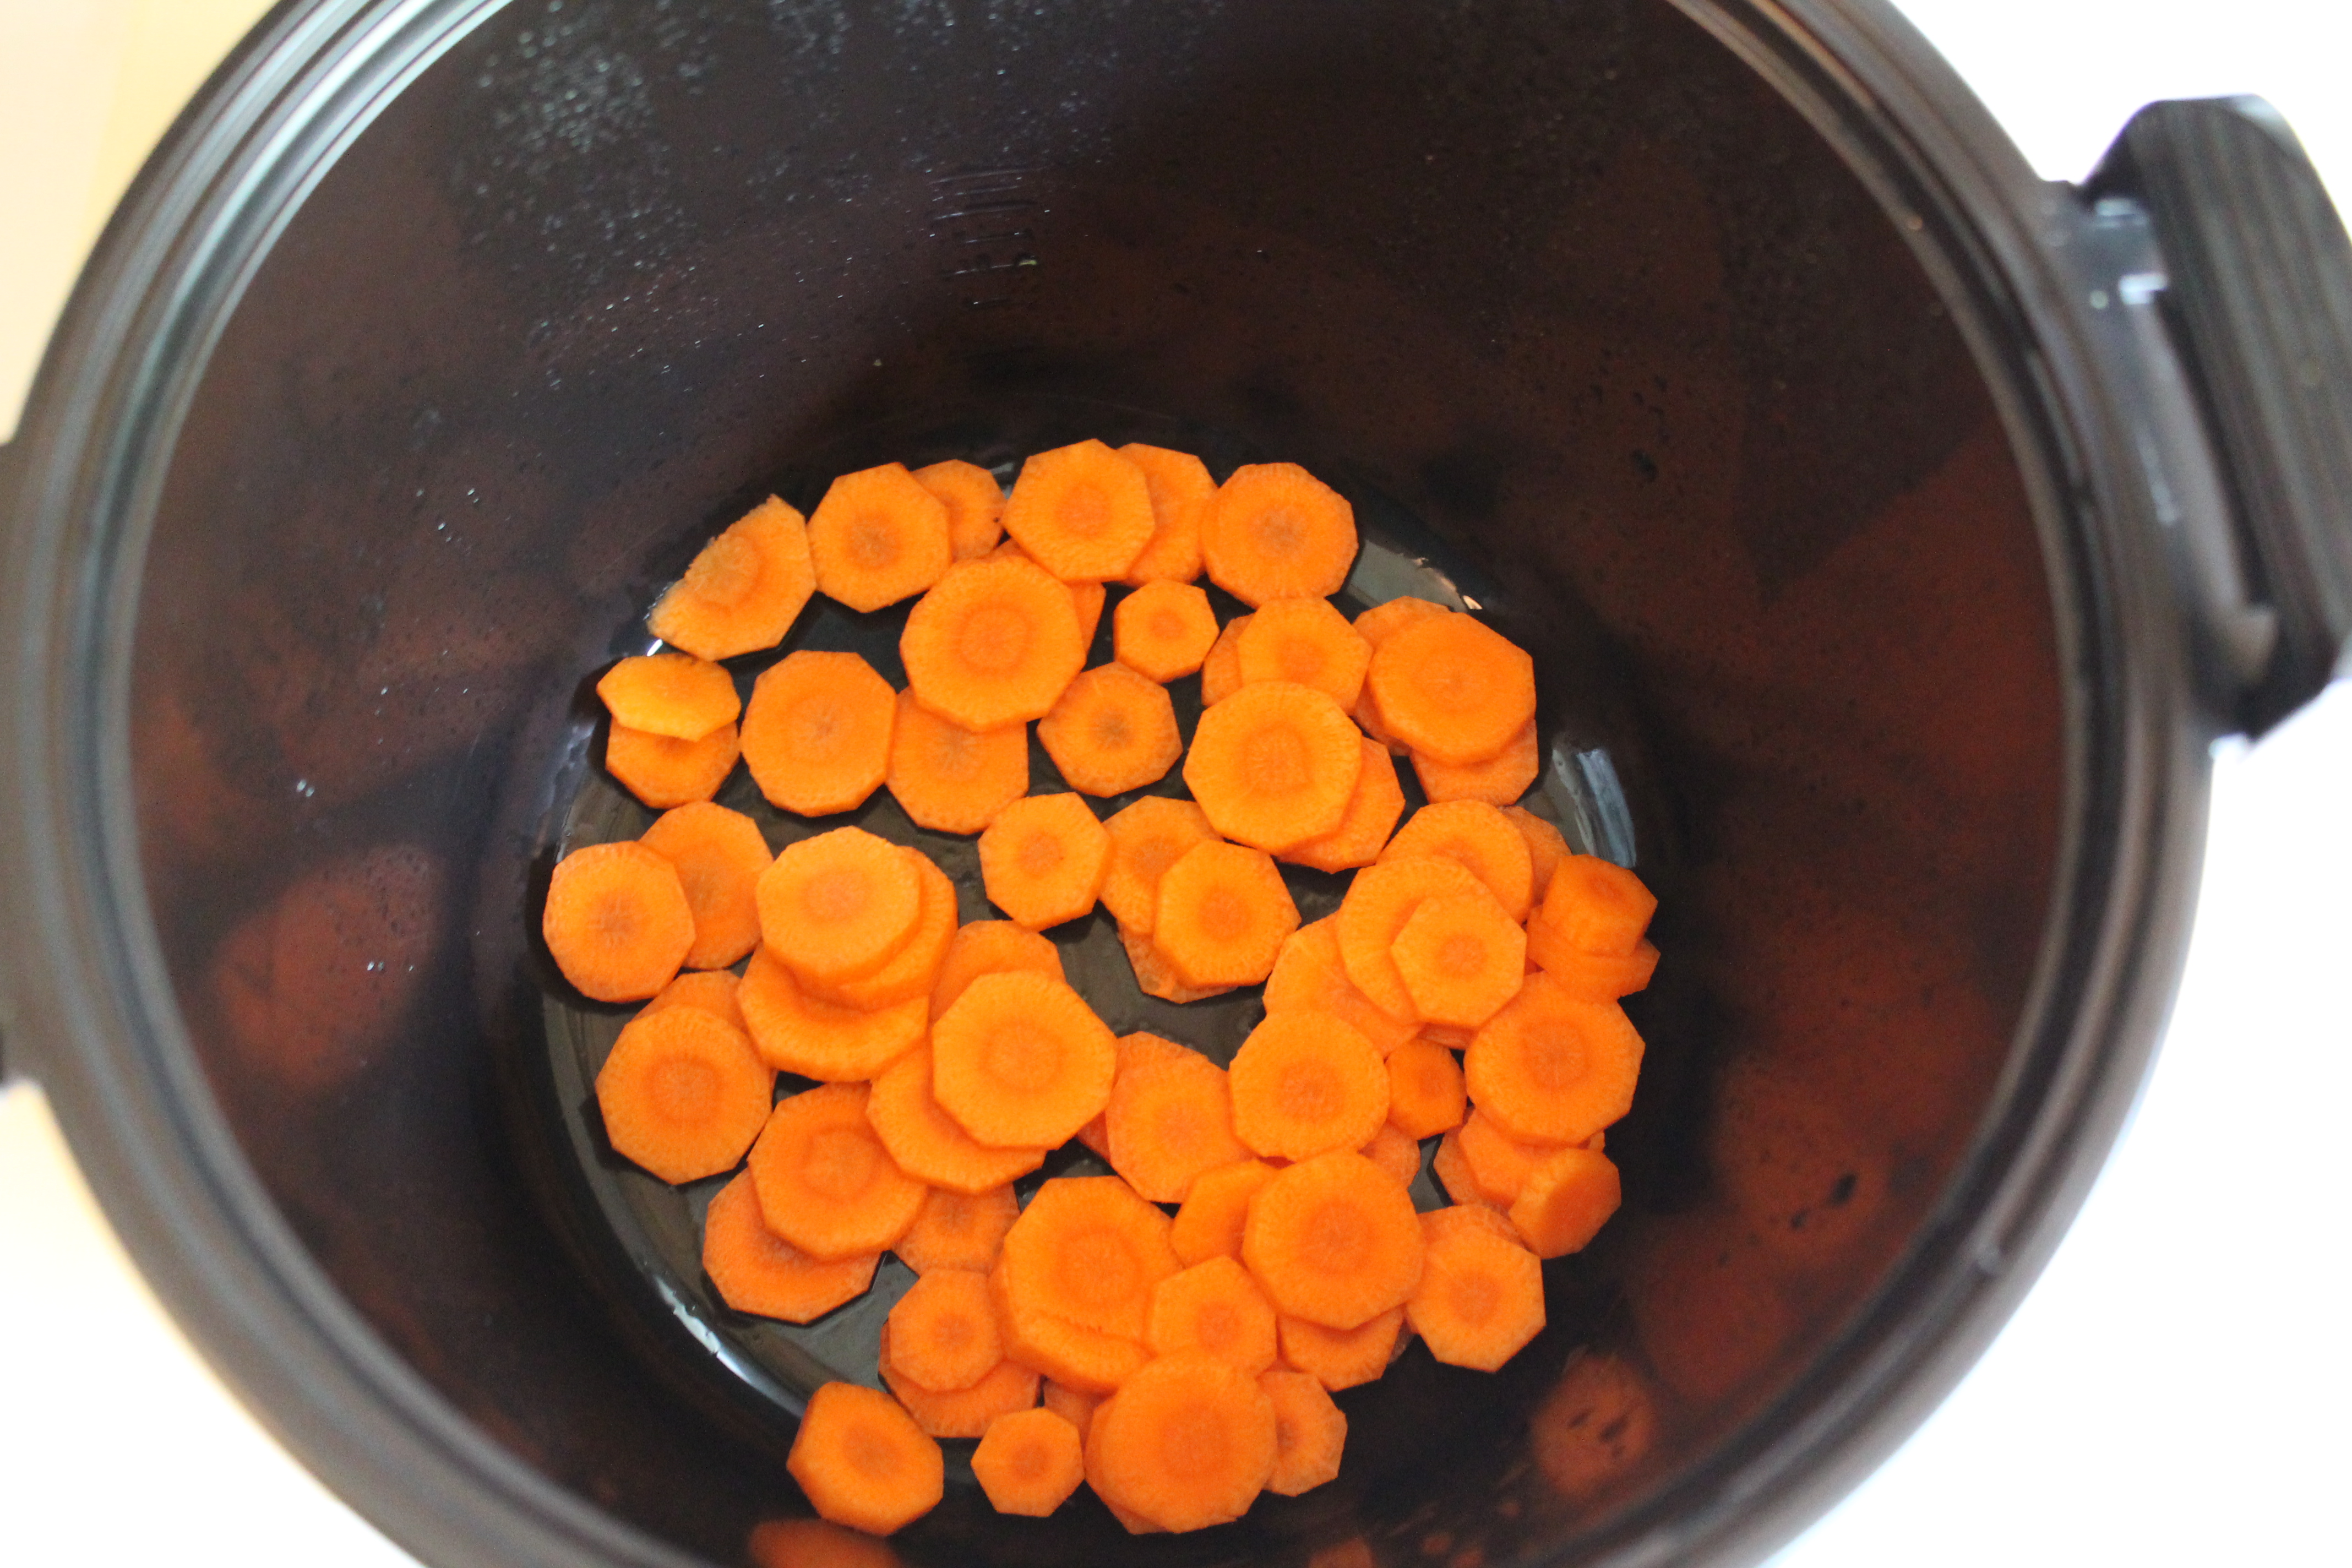
Place the carrots in a microwave-safe rice cooker with 1 tbsp. water. Microwave on high for 3 minutes. Remove the rice cooker from the microwave and let cool, closed, for 10 minutes.
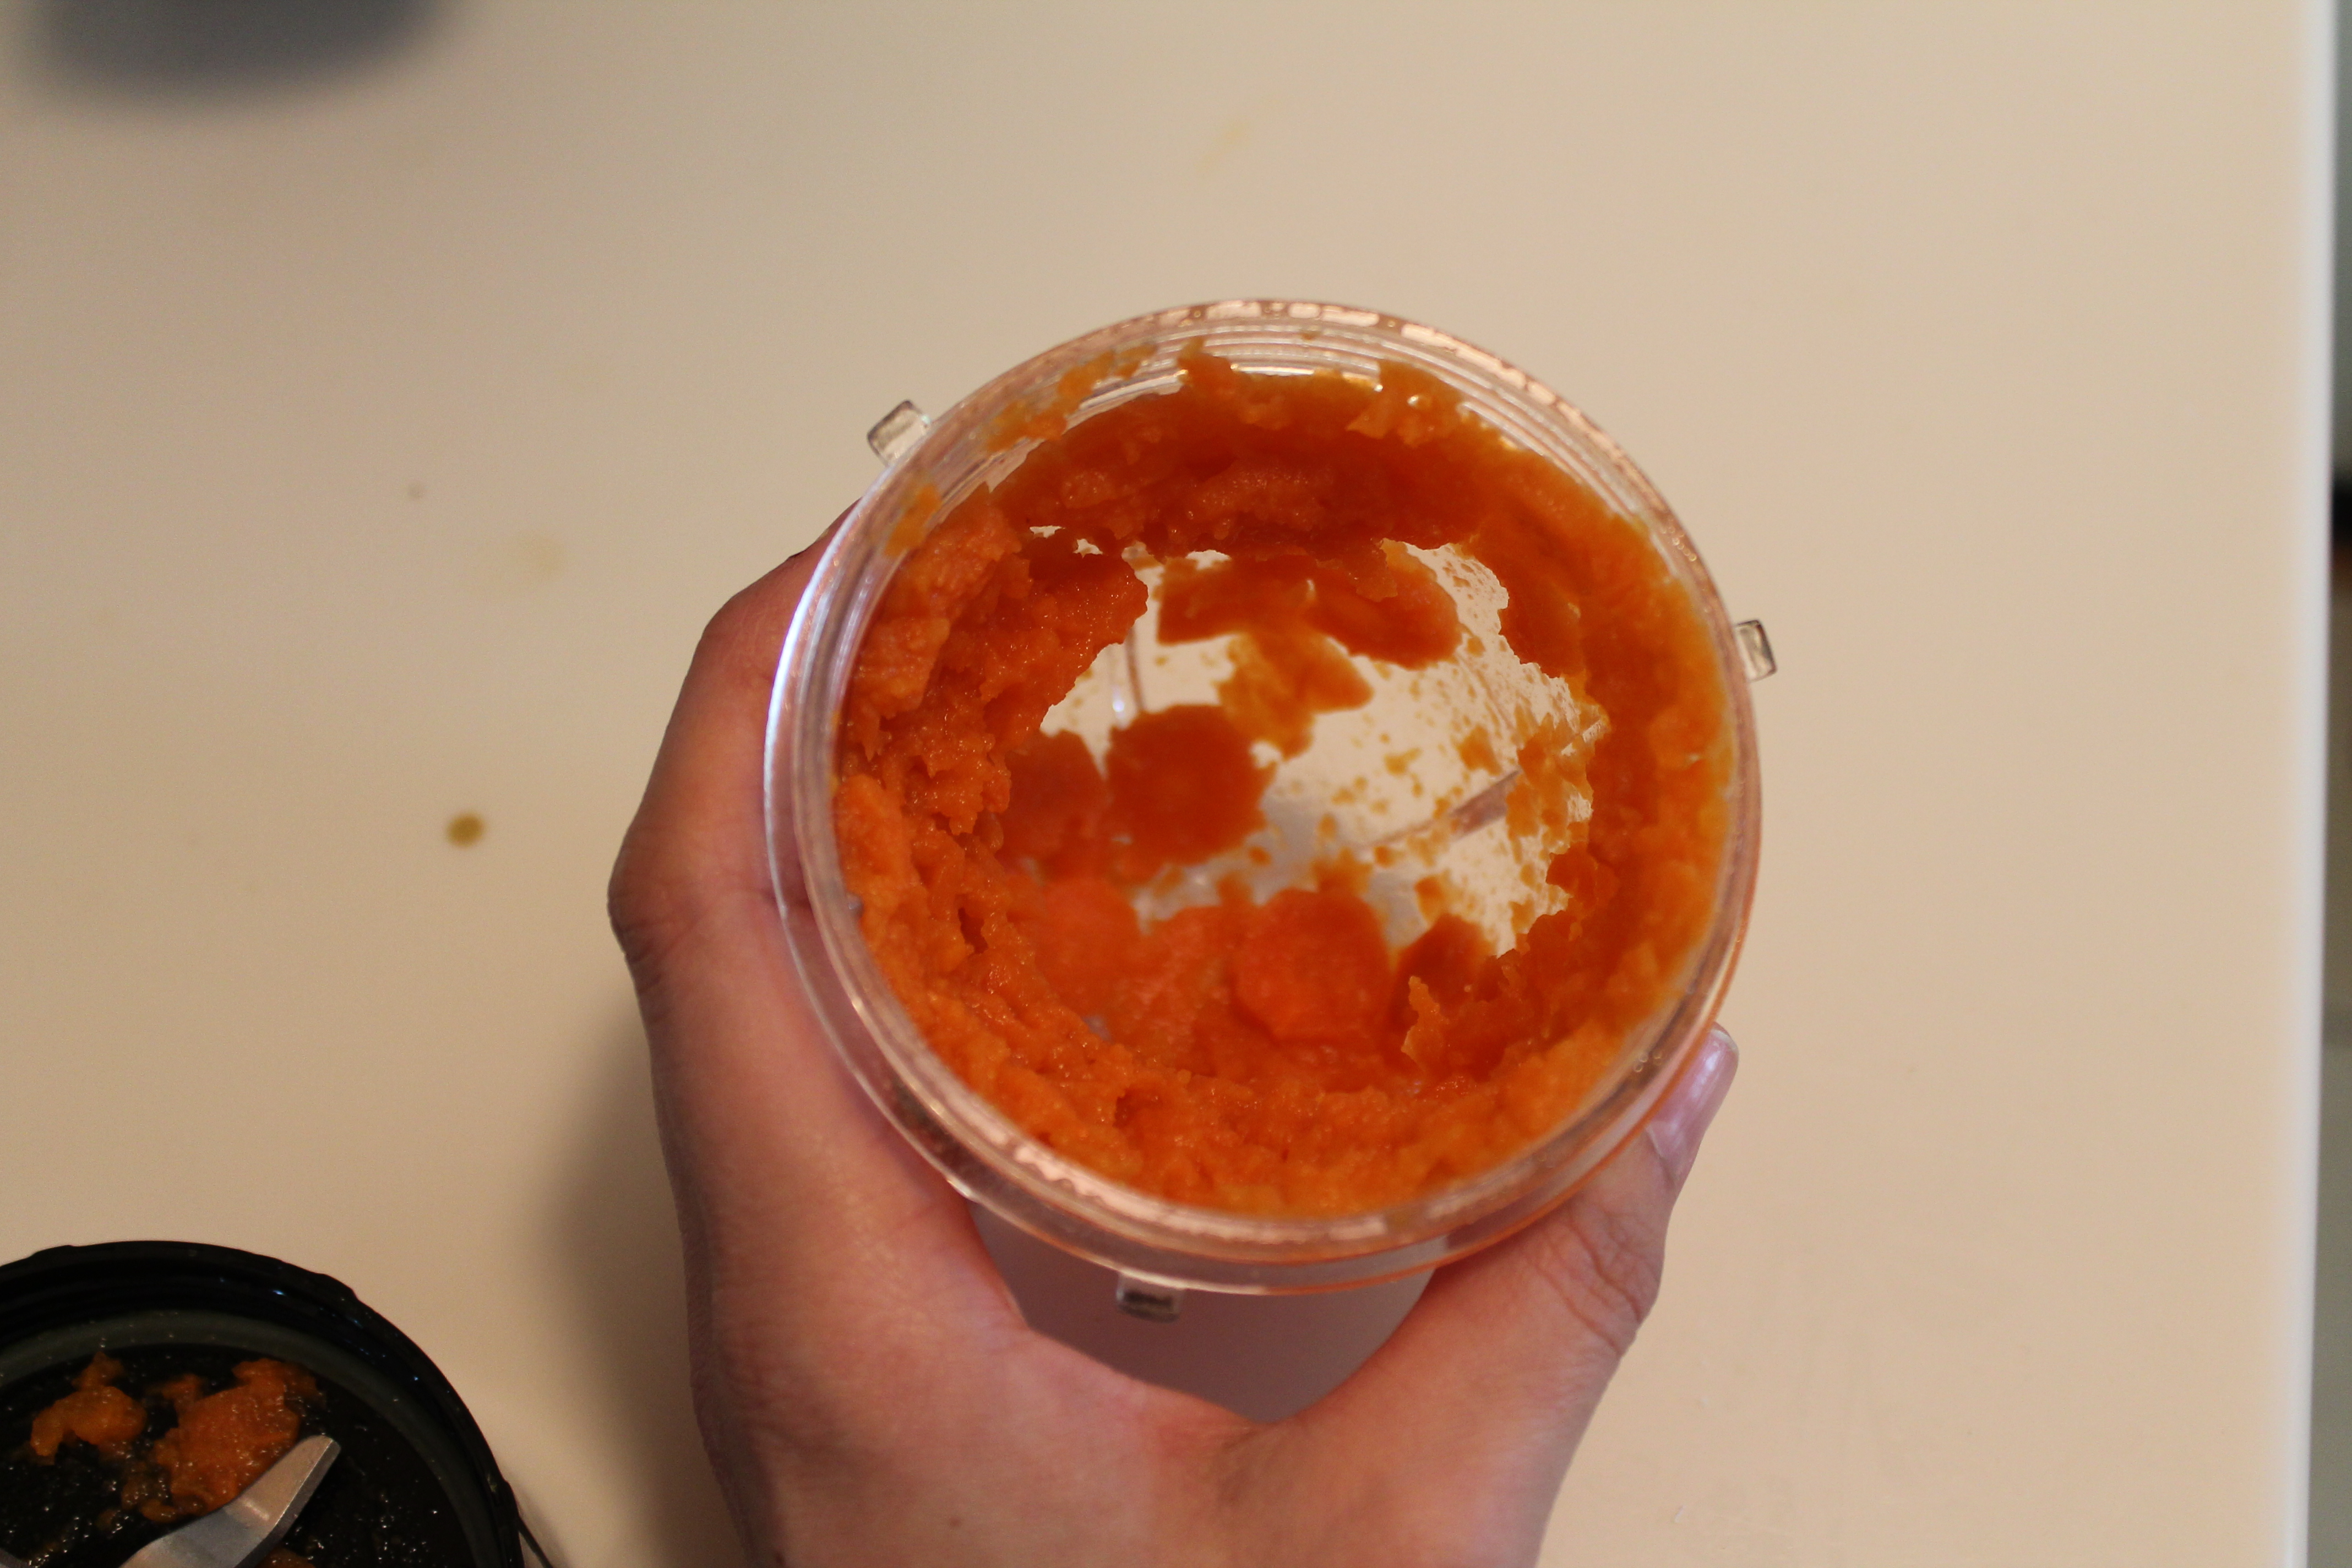
Transfer the entire contents of the rice cooker (carrots and any remaining water) to a small food processor. Add 1 tbsp. water. Process until most of the carrots are evenly pureed—there will likely still be chunks of carrot until all of the water has been added.
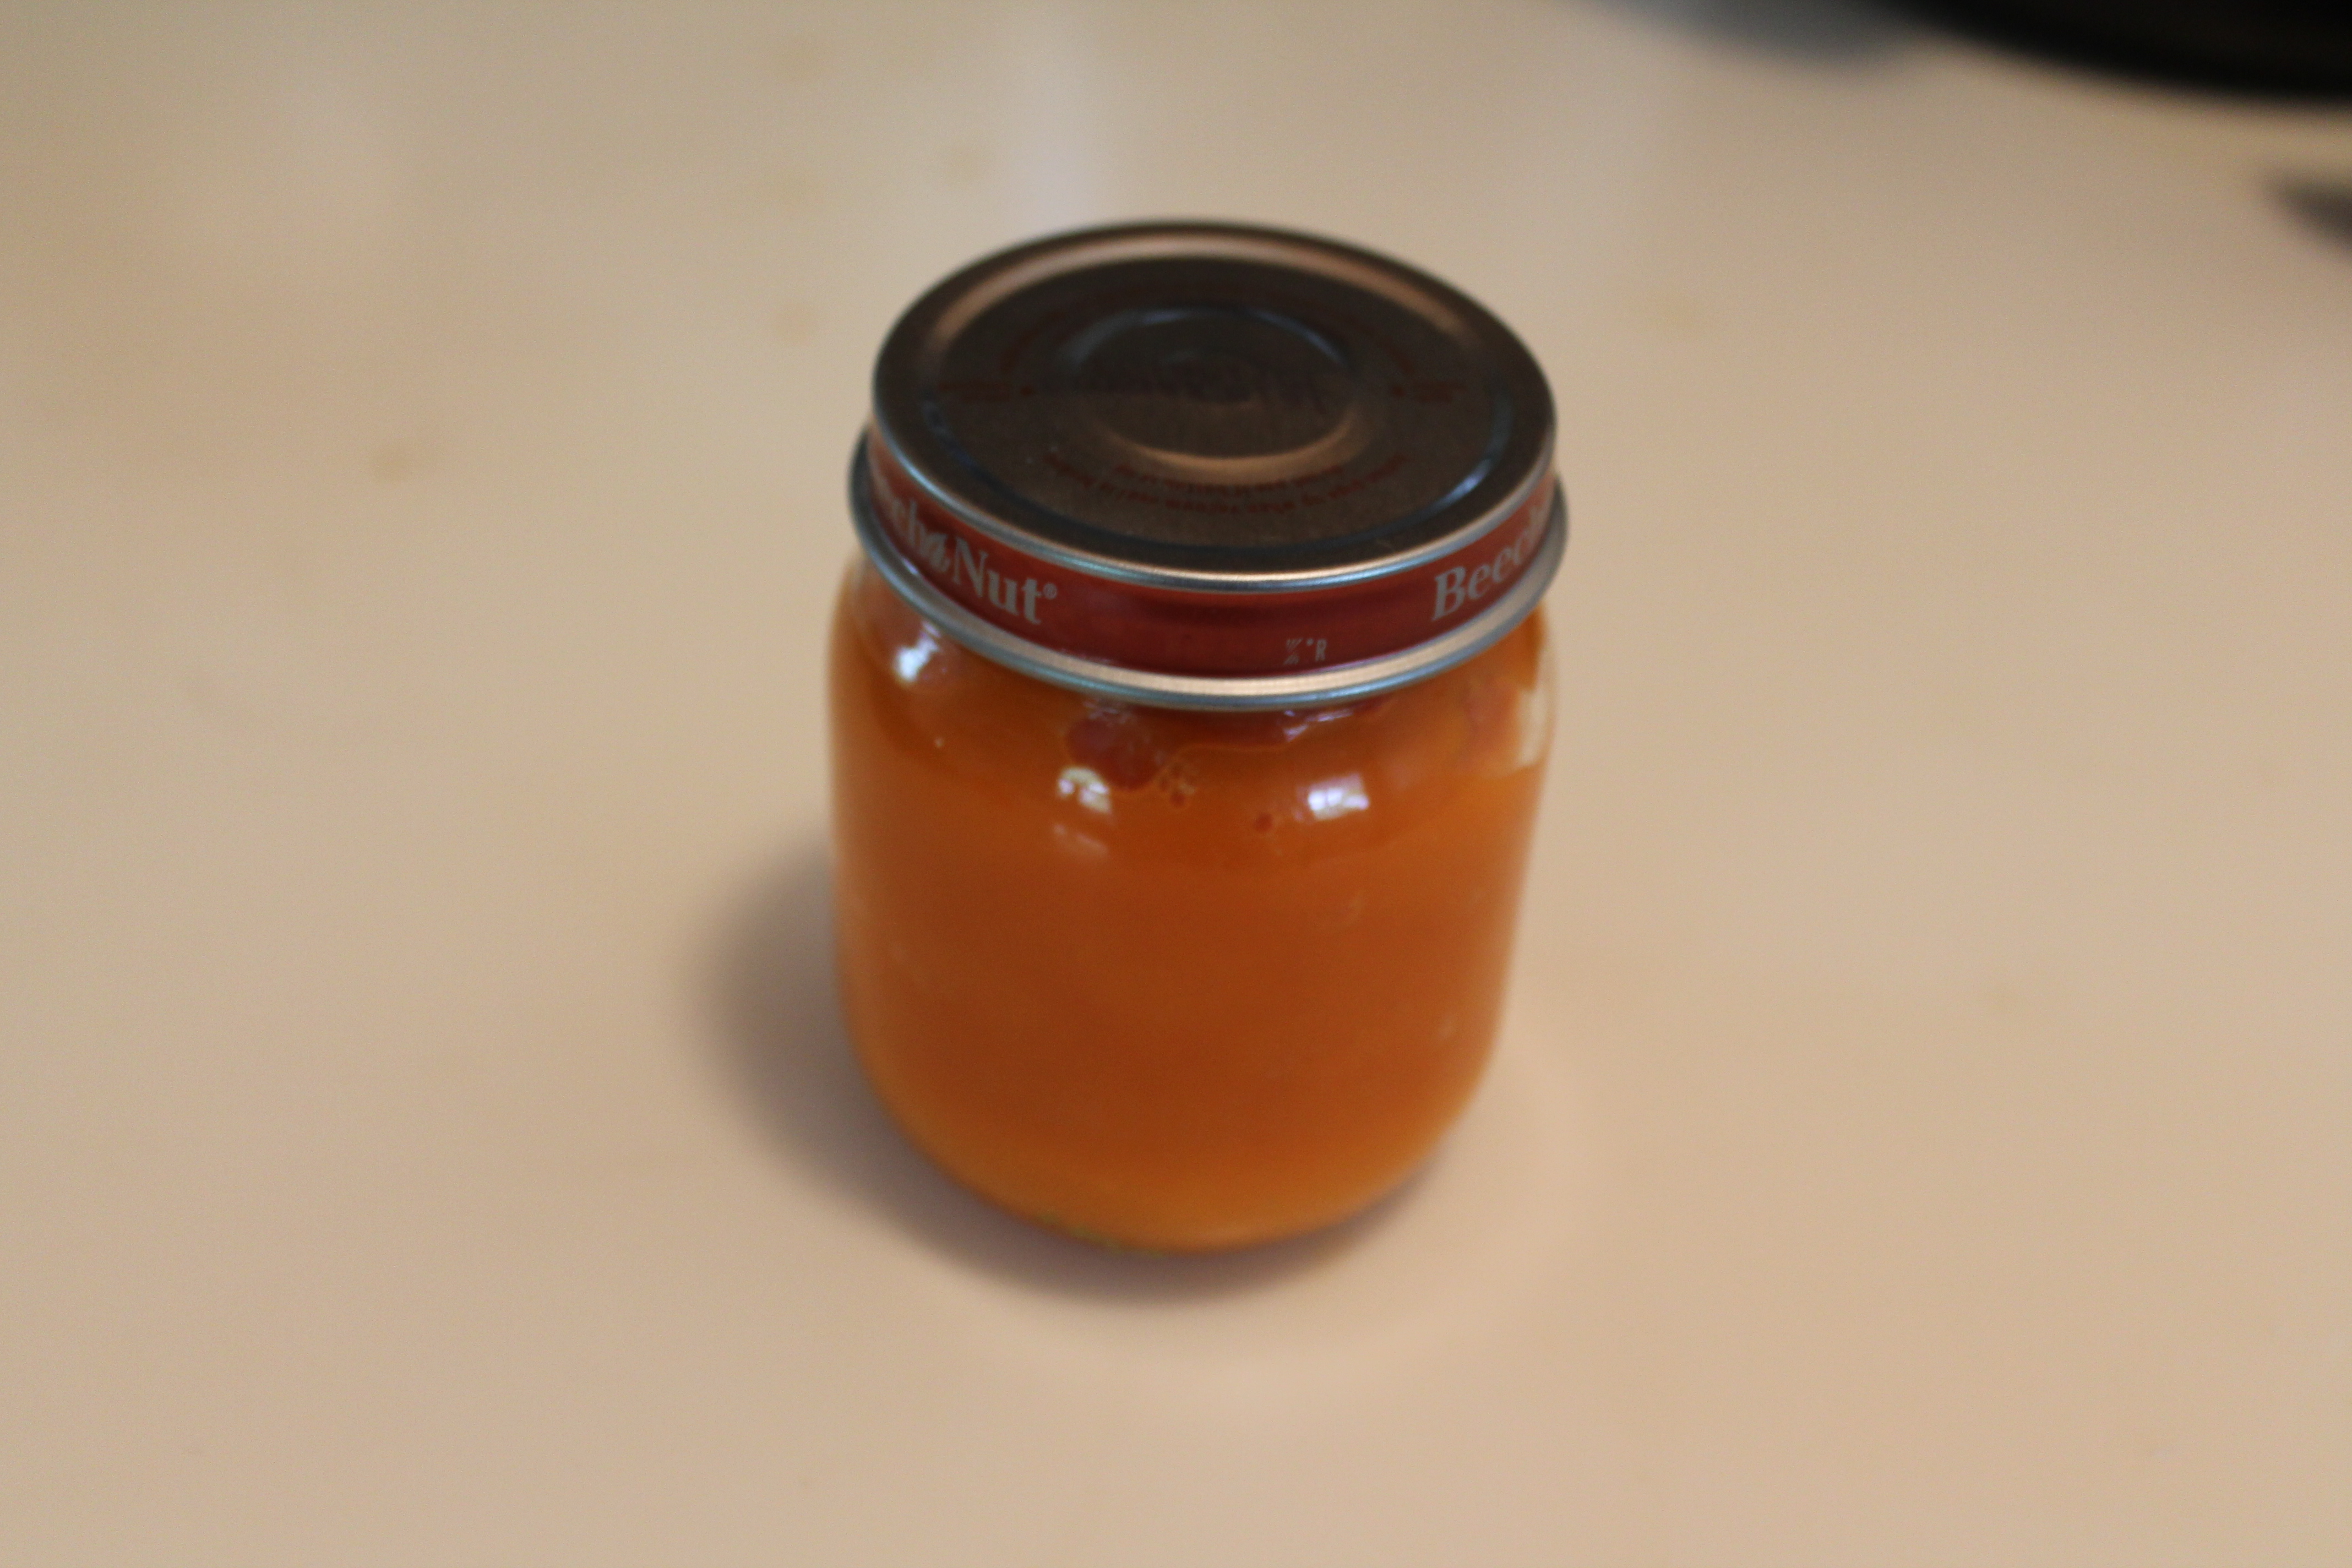
Add the remaining water, 1 tbsp. at a time, pureeing between each addition, until all the carrots are completely pureed and desired consistency is reached. Carrots should be thick and glossy.
Cool completely and store in an air tight container. Carrots will keep in the fridge for up to 3 days; otherwise store in the freezer.
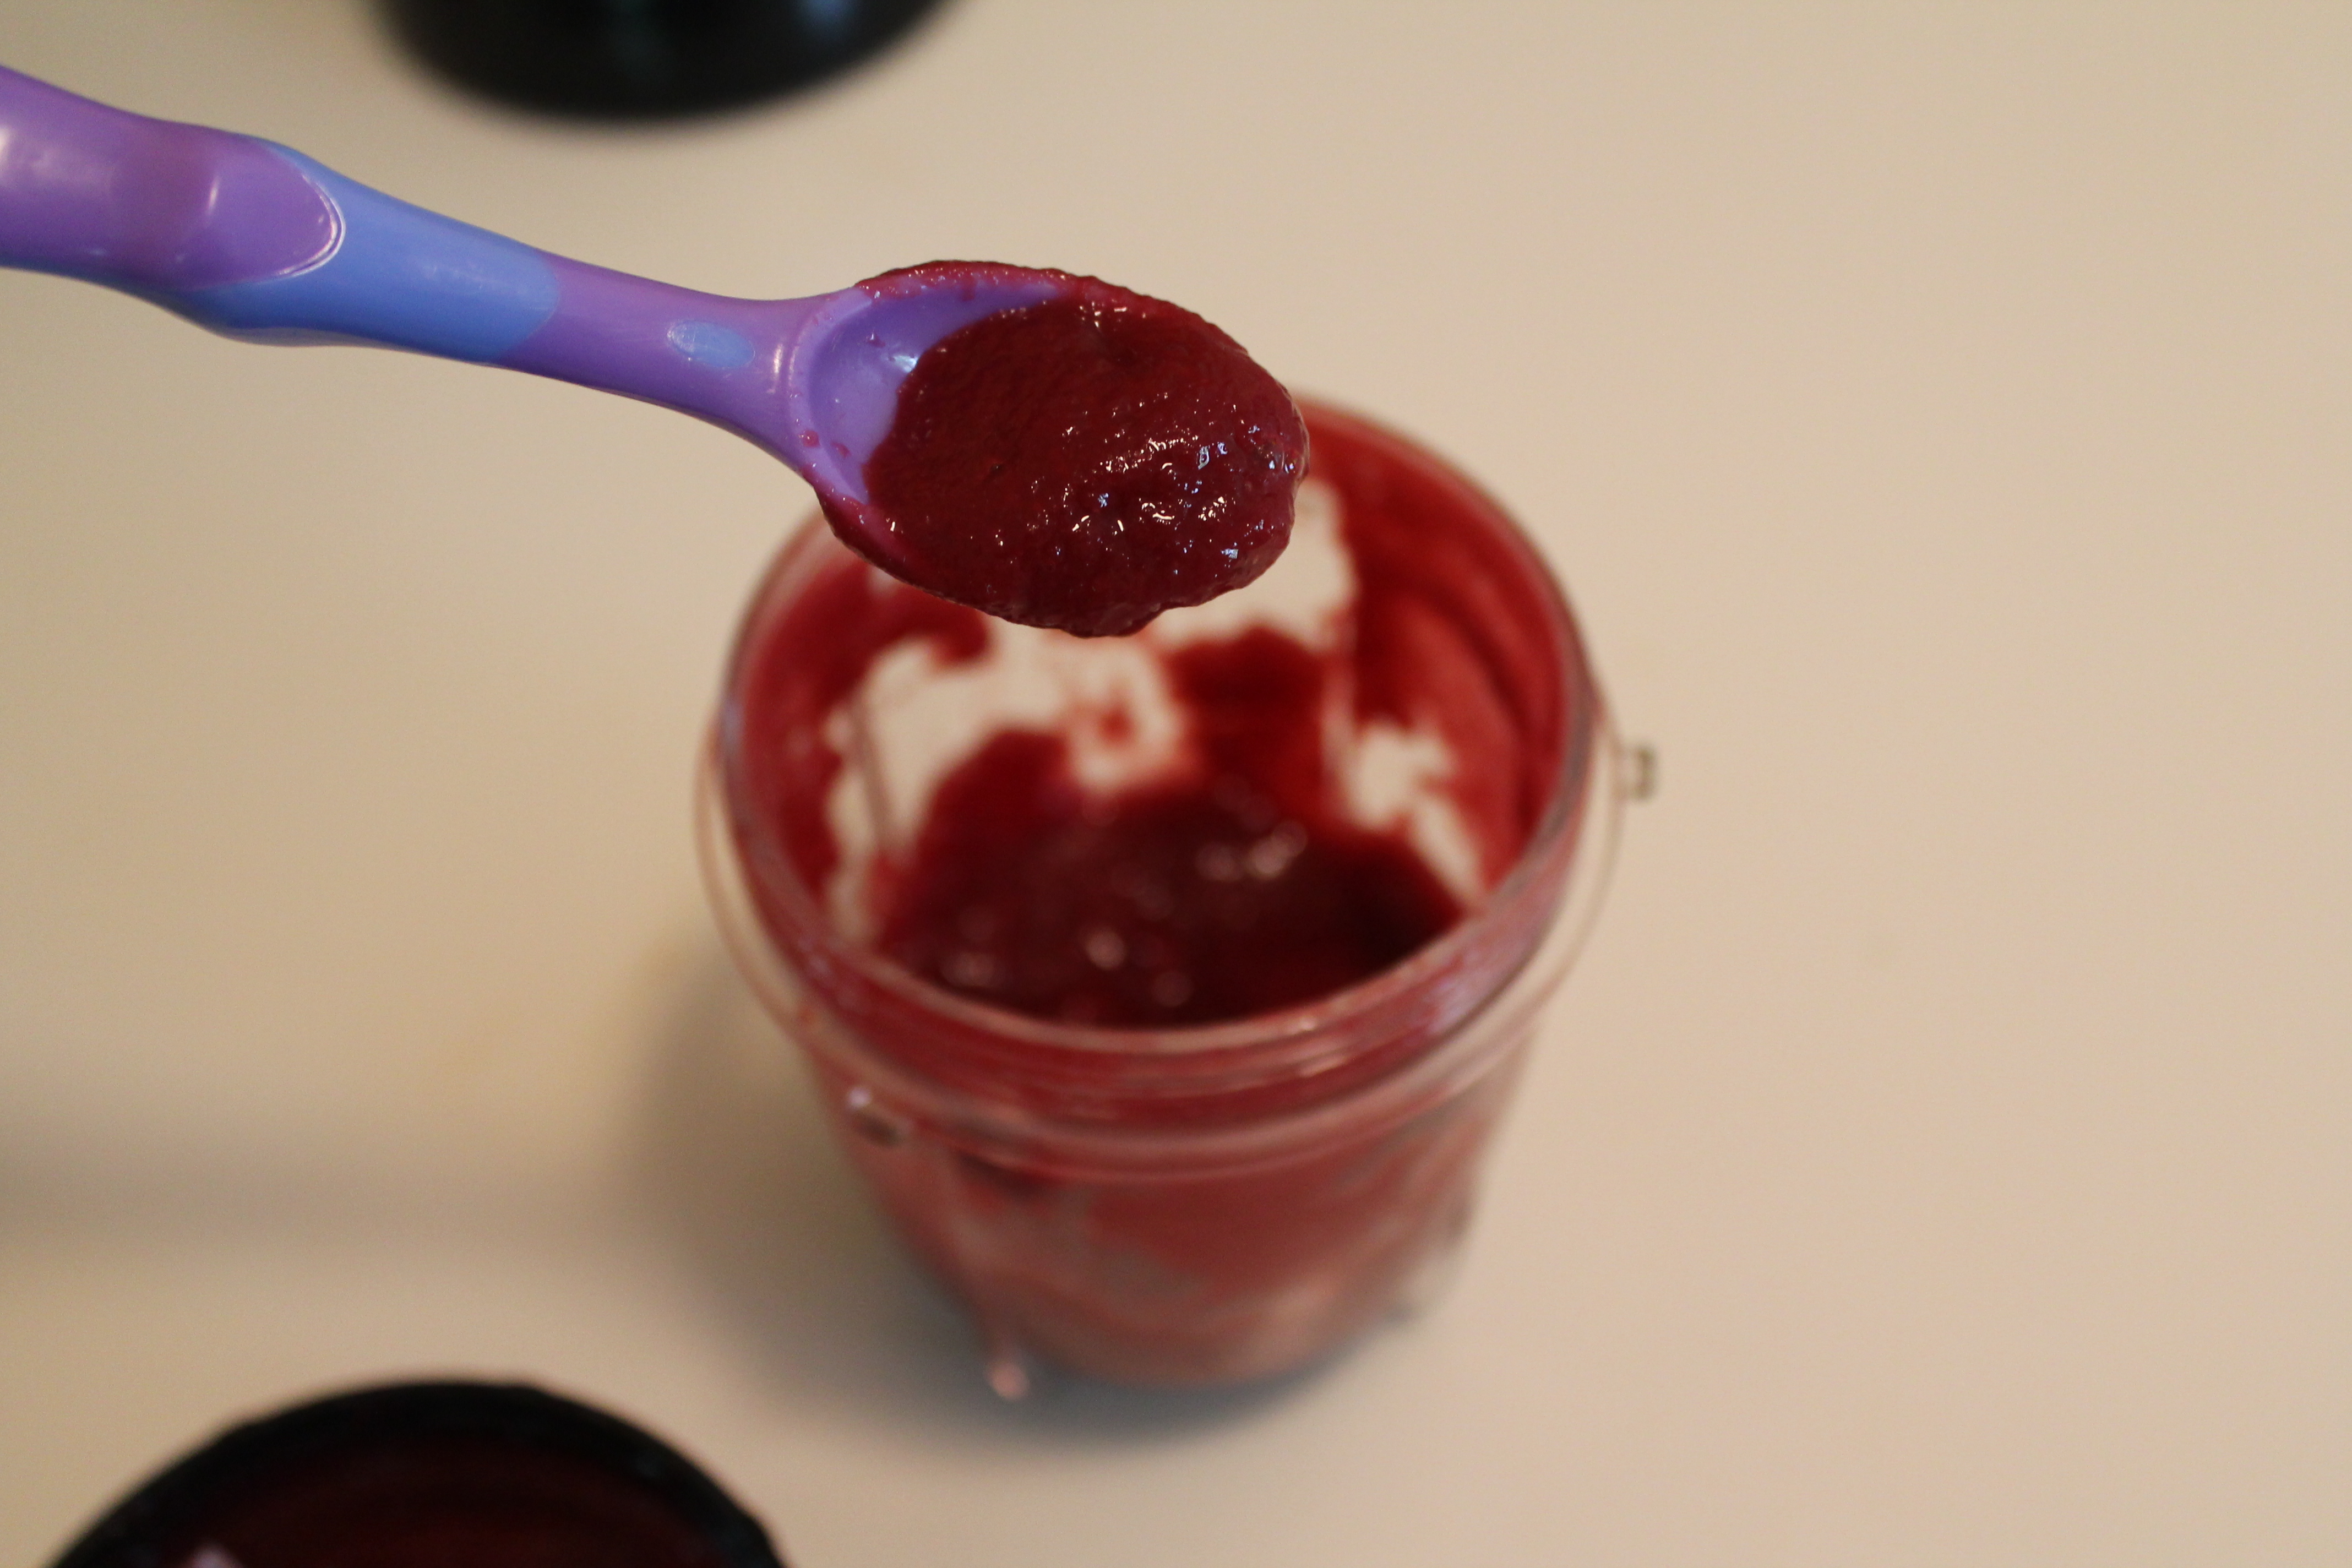 Baby Beets
makes 4 oz.
Ingredients:
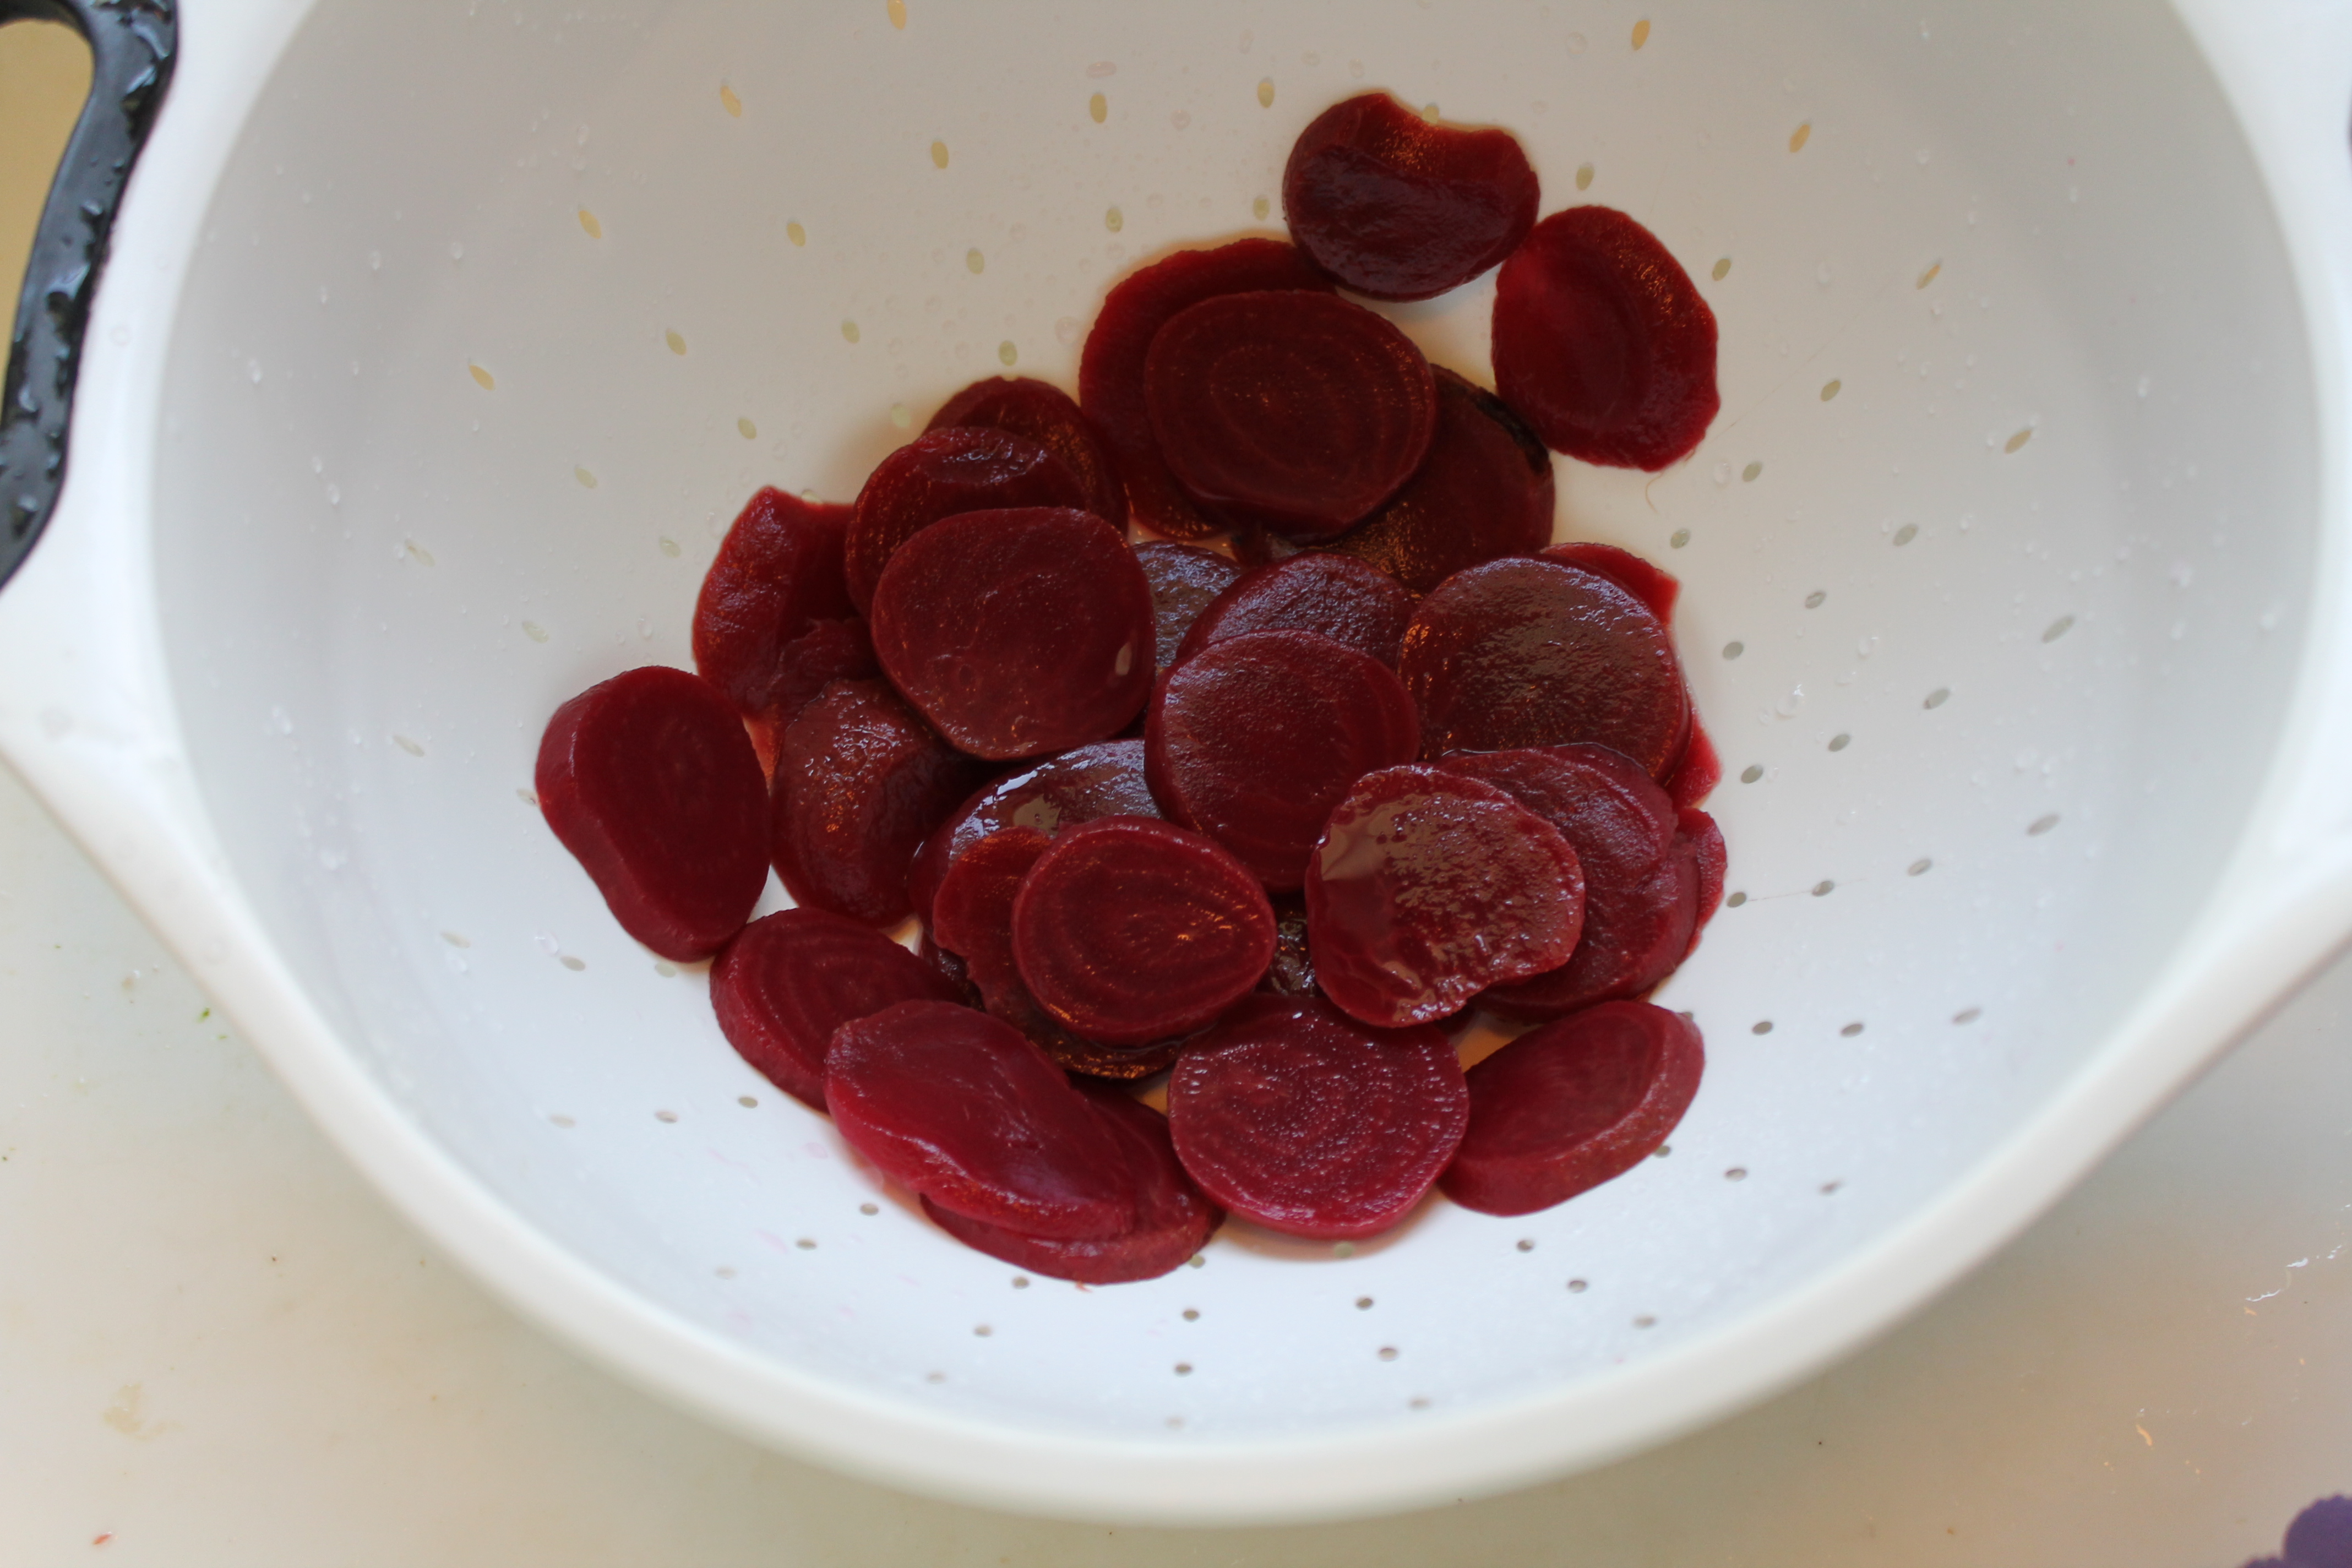
4 oz. canned beets**, drained
2 tbsp. water
Directions:
Rinse the beets very thoroughly. The goal is to desalinate as much as possible.
Canned beets are already cooked. Transfer to a small food processor with 1 tbsp. water. Process until all of the beets are evenly pureed, but still a bit gritty.
Add the remaining 1 tbsp. water, pureeing thoroughly, until desired consistency is reached. Beets should be smooth and thin enough to drip slowly off a spoon.
Store in an air tight container. Beets will keep in the fridge for up to 3 days; otherwise store in the freezer.
**Note: I actually do not recommend using canned beets. Unfortunately, I haven’t been able to test a recipe using fresh beets yet, so I could not include one here. While canned beets are cheaper and are already cooked (a time bonus!), they contain salt, which is not the best for babies. If you must use canned beets, rinsing and soaking will help eliminate some but not all of the salt. If you are able to find fresh beets, then I recommend peeling and slicing the beets in half, then roasting as described in the sweet potato recipe.
Baby Parsnips
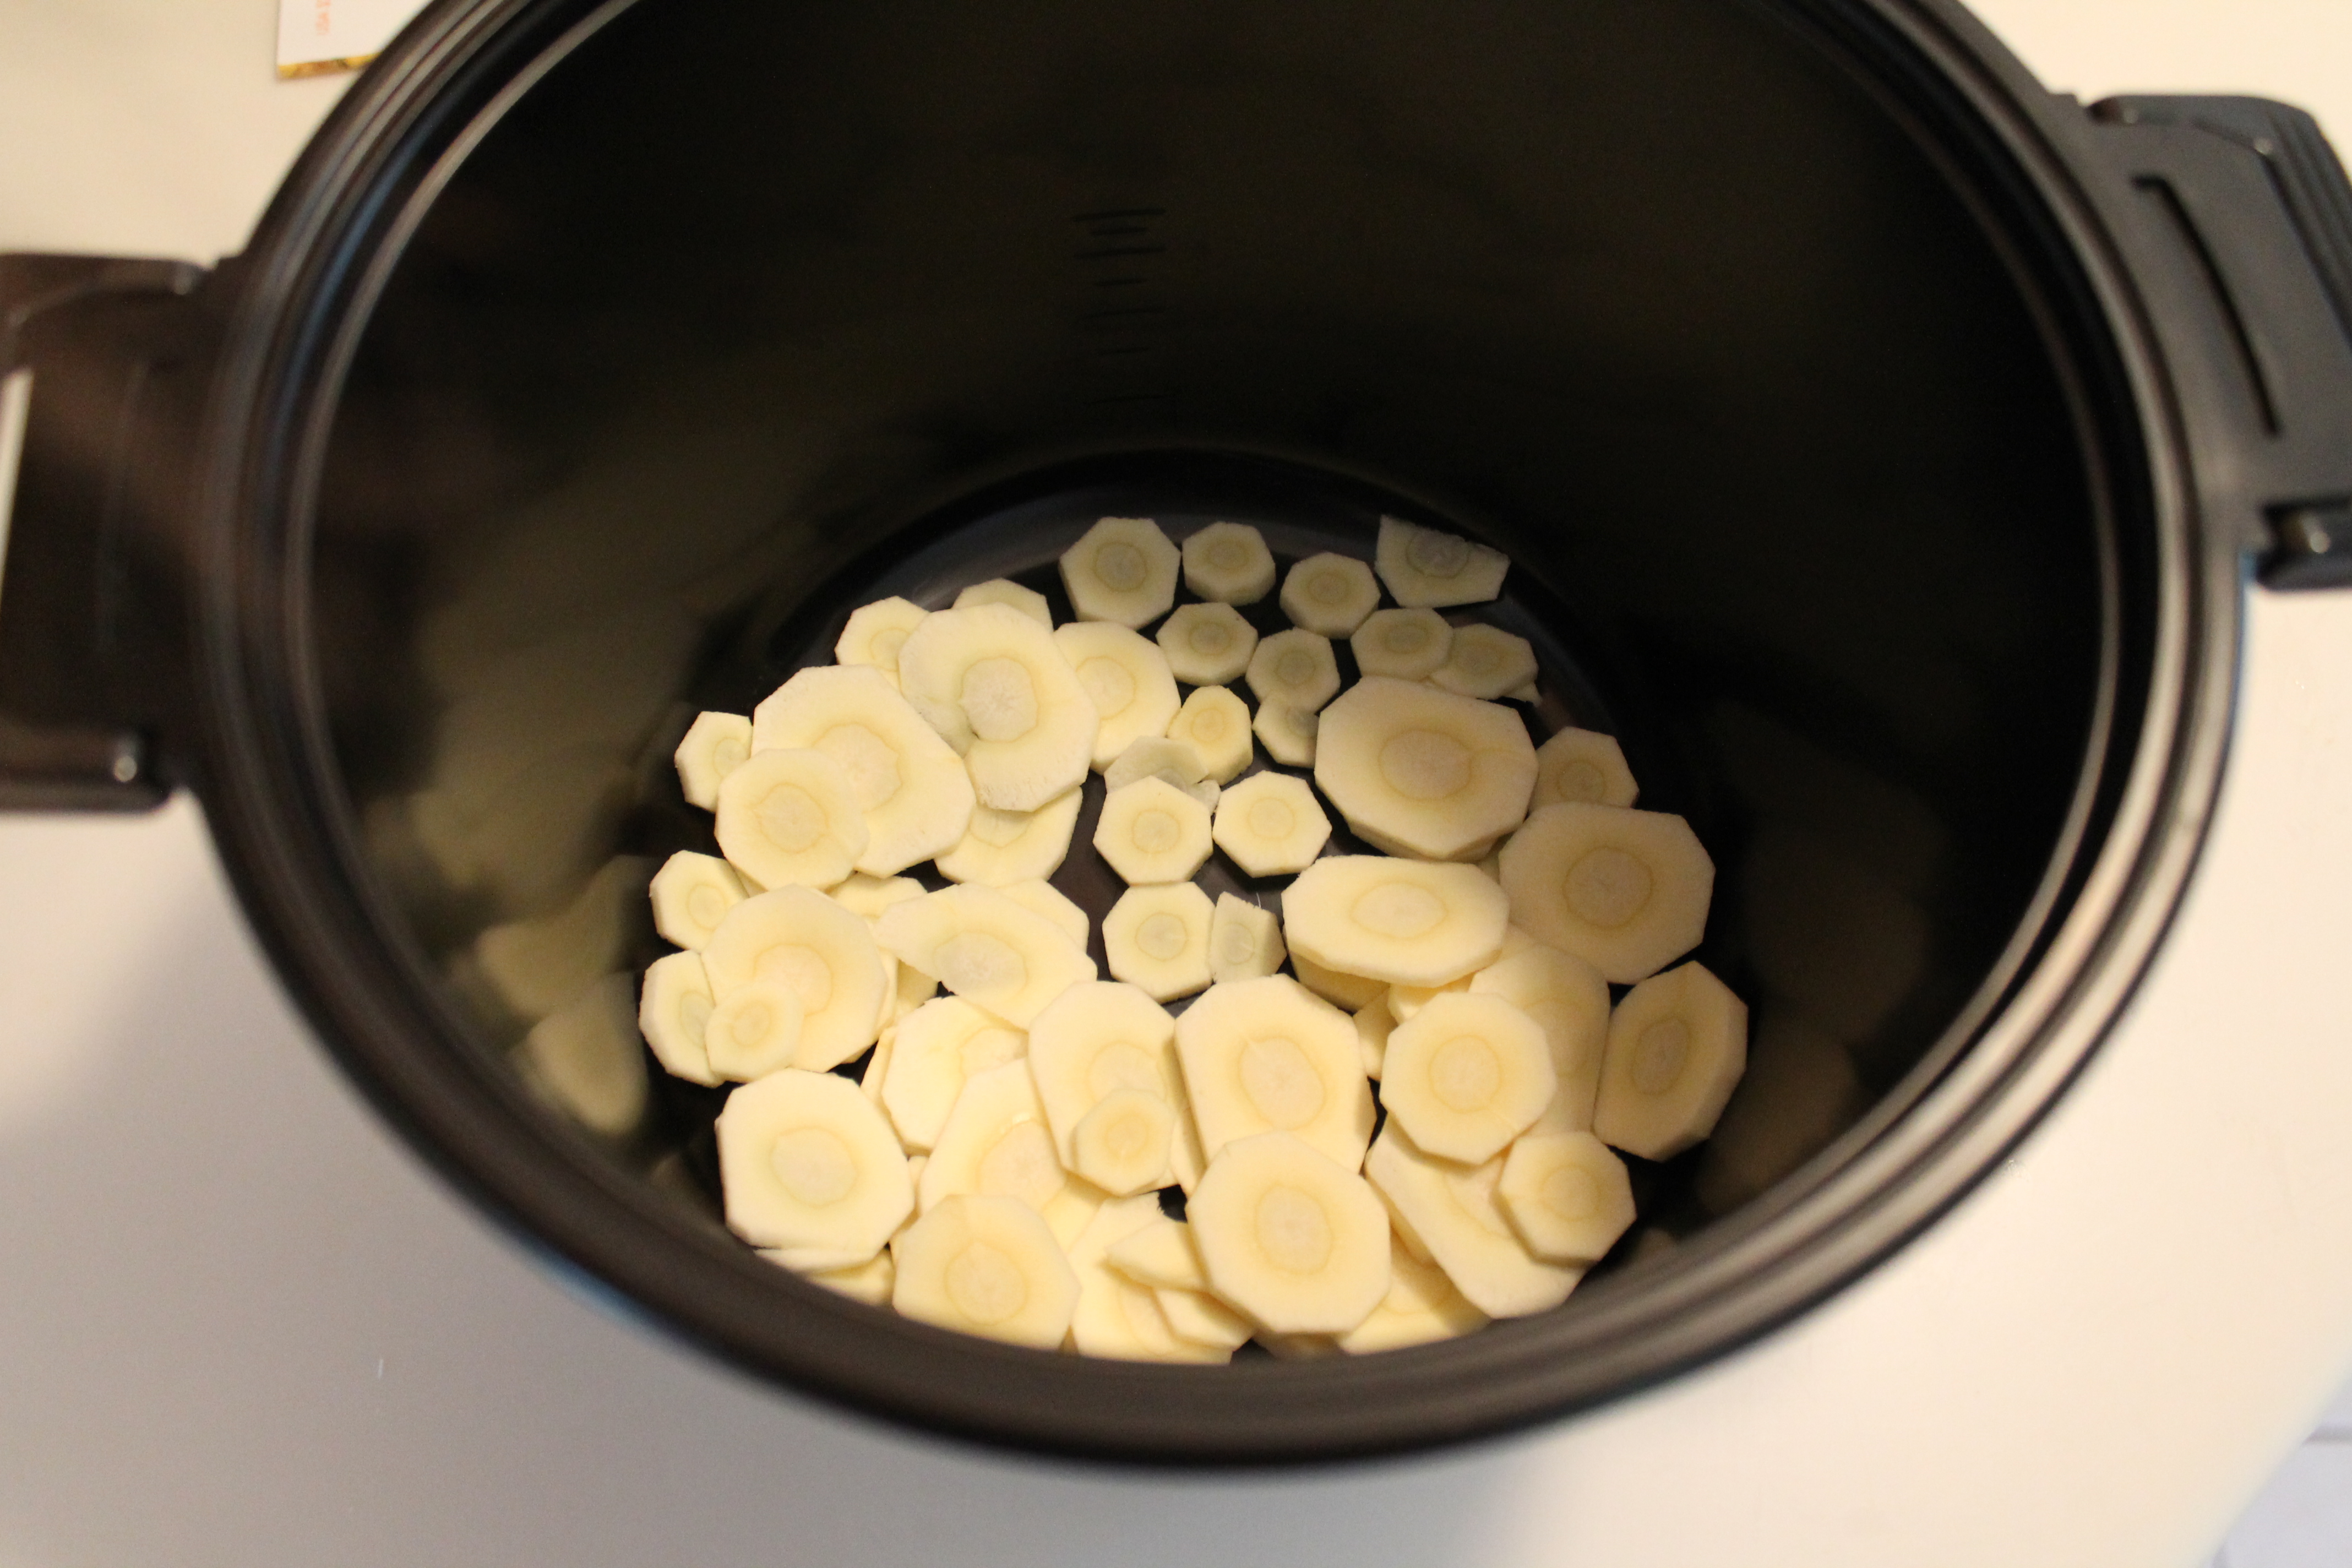
Parsnips look exactly like white carrots. They also taste similar to carrots (although Jake doesn’t seem to think so), and…you can follow the carrot recipe to make baby parsnips!
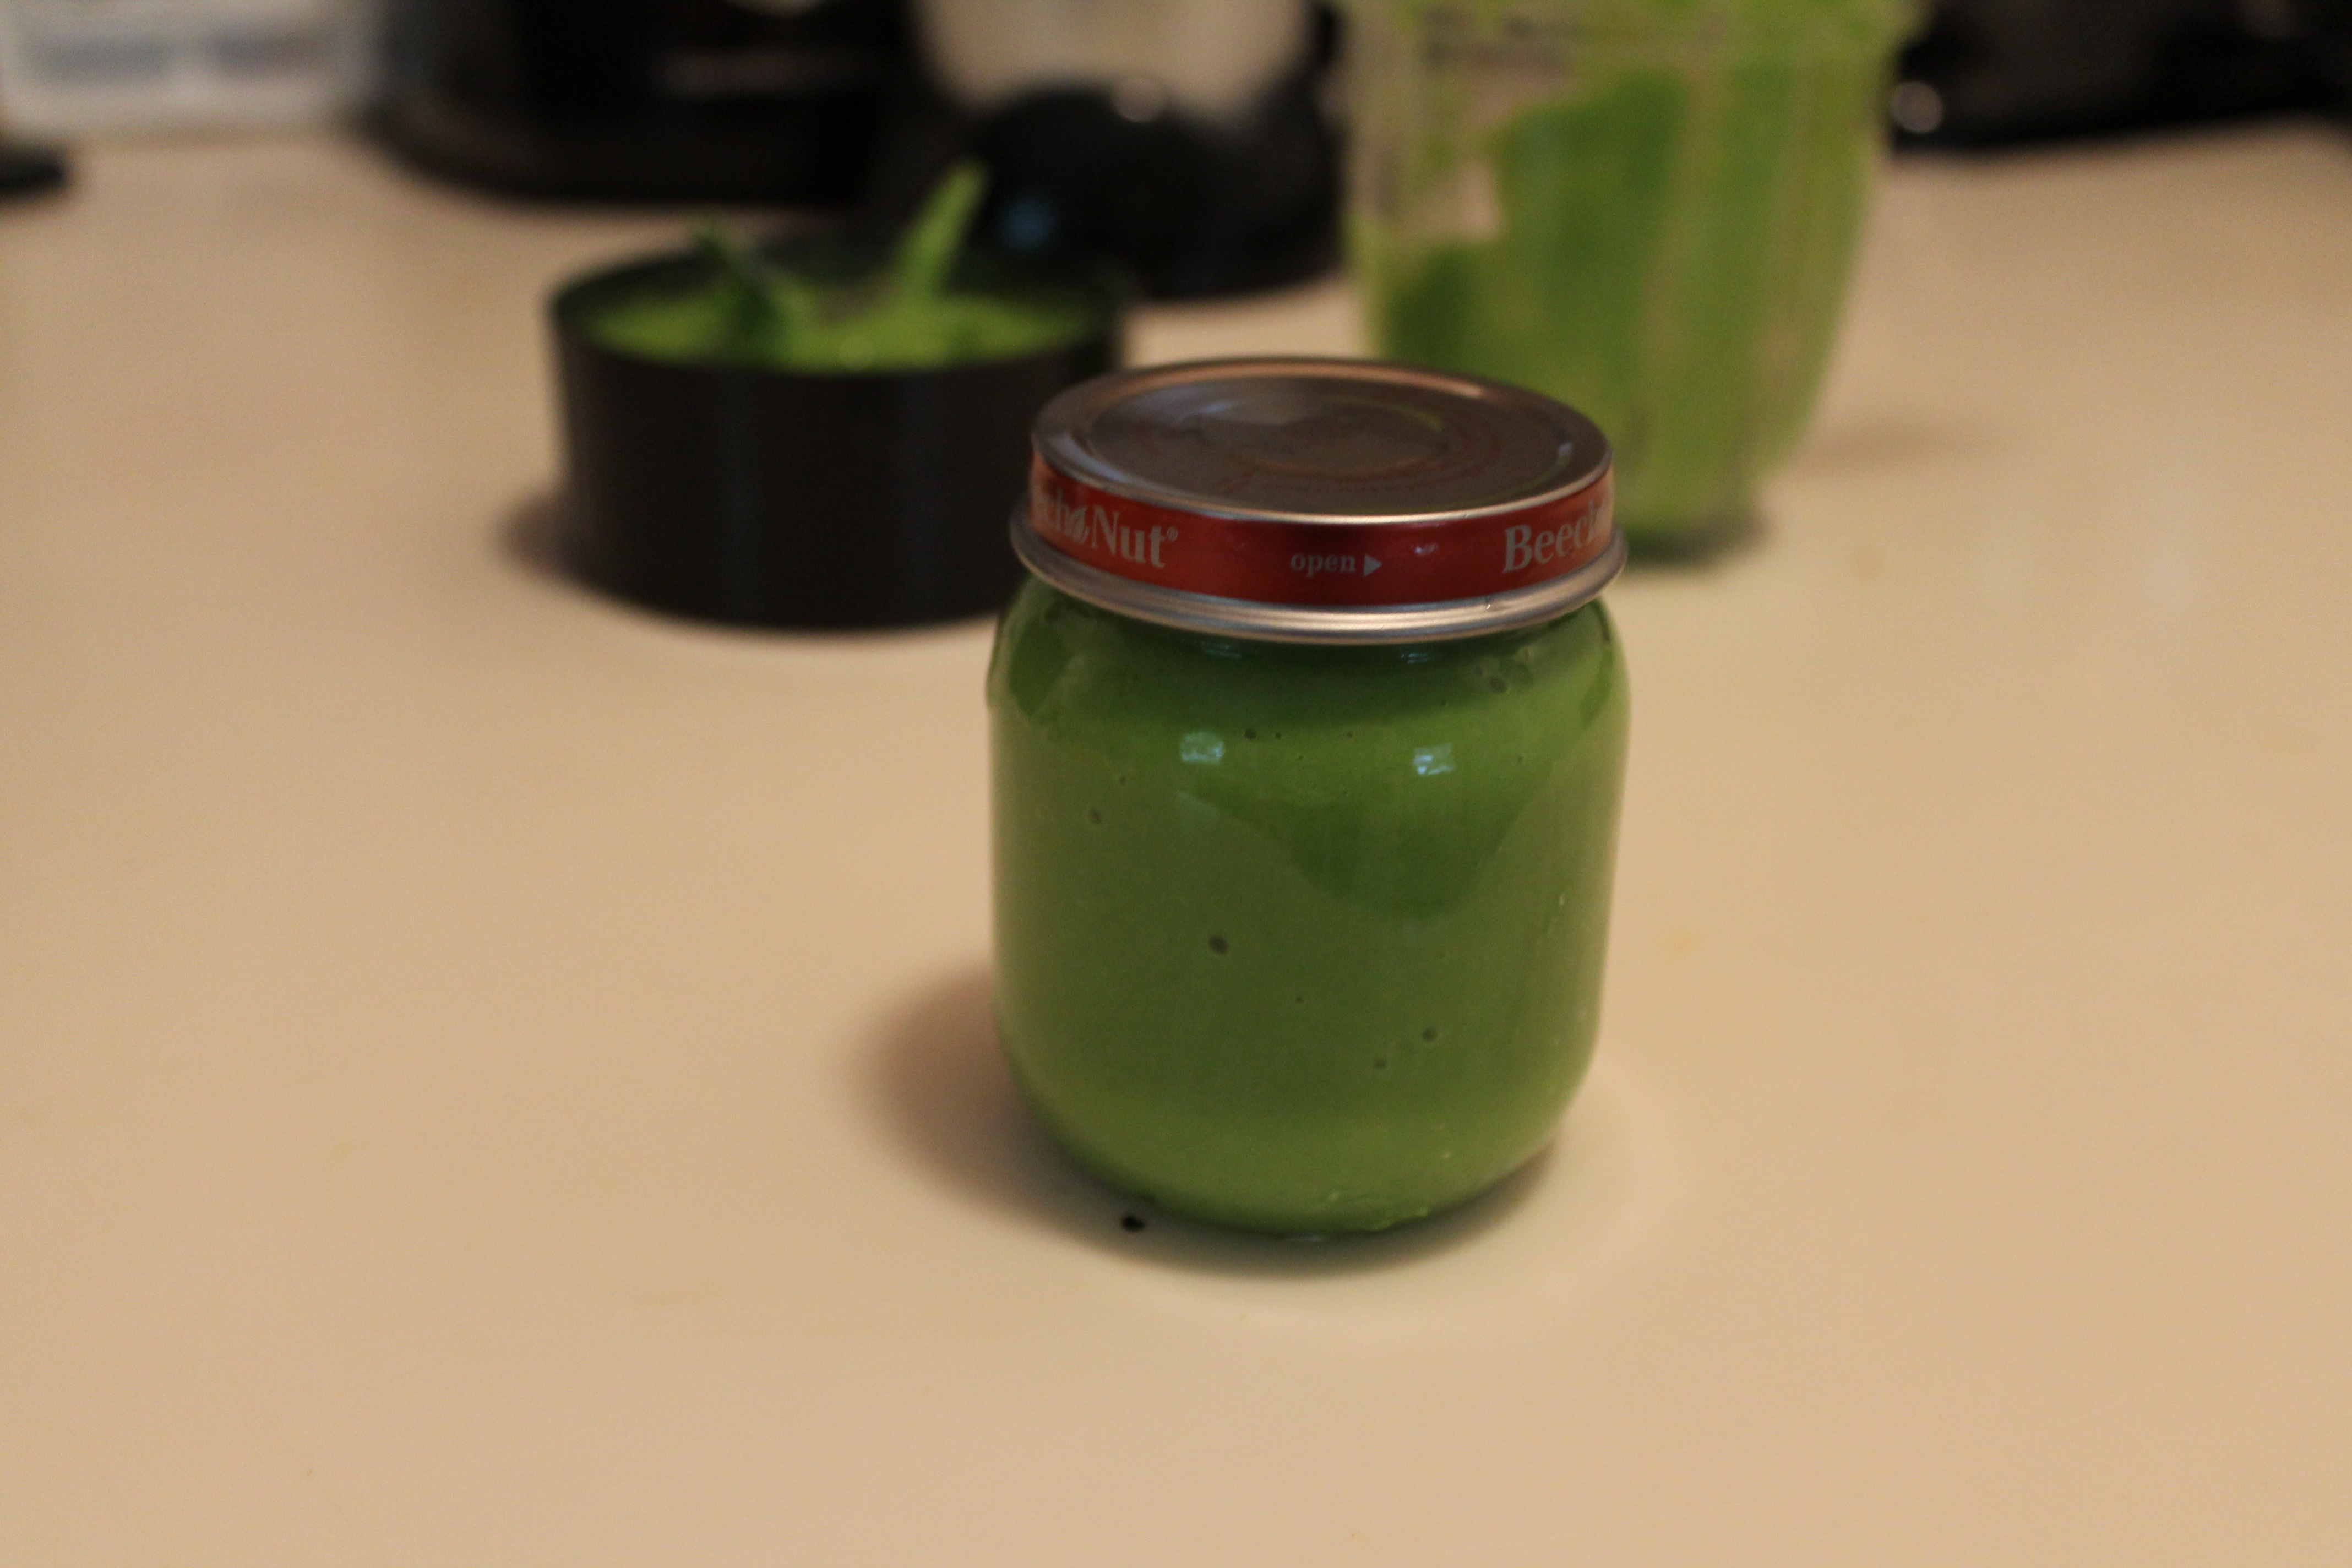 Baby Peas
makes 5 oz.
Ingredients:
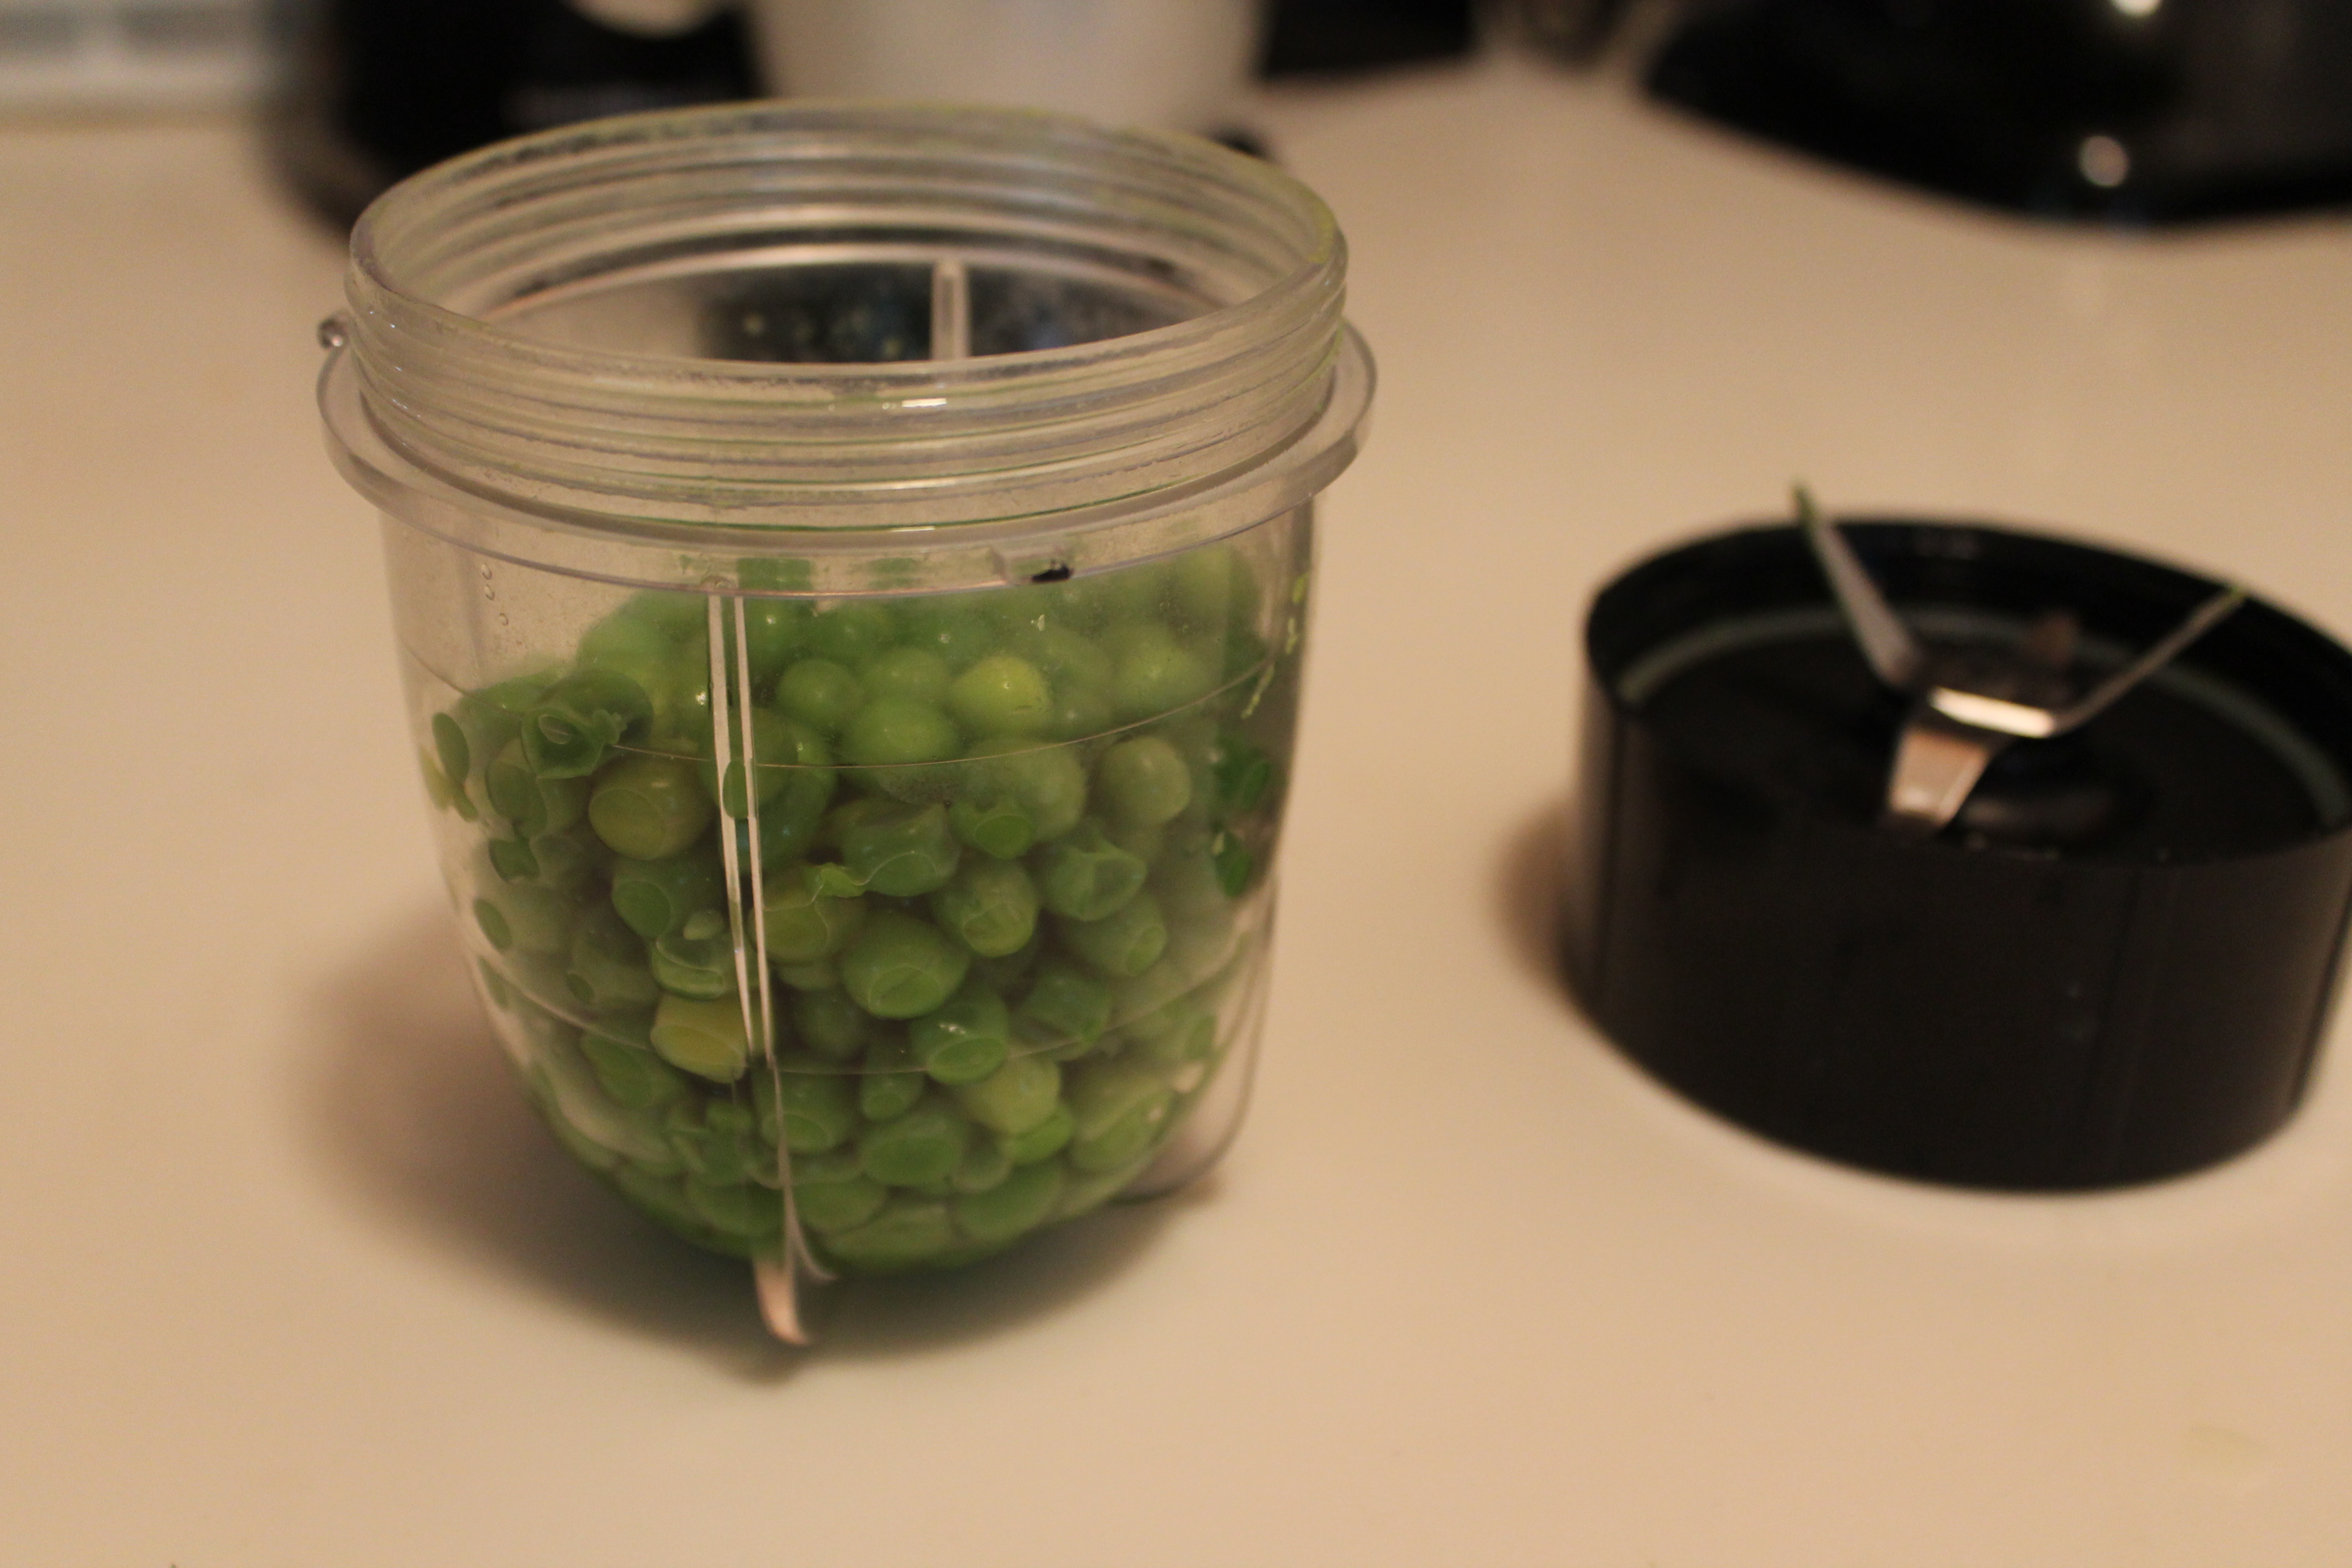
4 oz. frozen sweet peas (about 1 cup), not thawed
4½ tbsp. water, divided, plus extra as needed
Directions***:
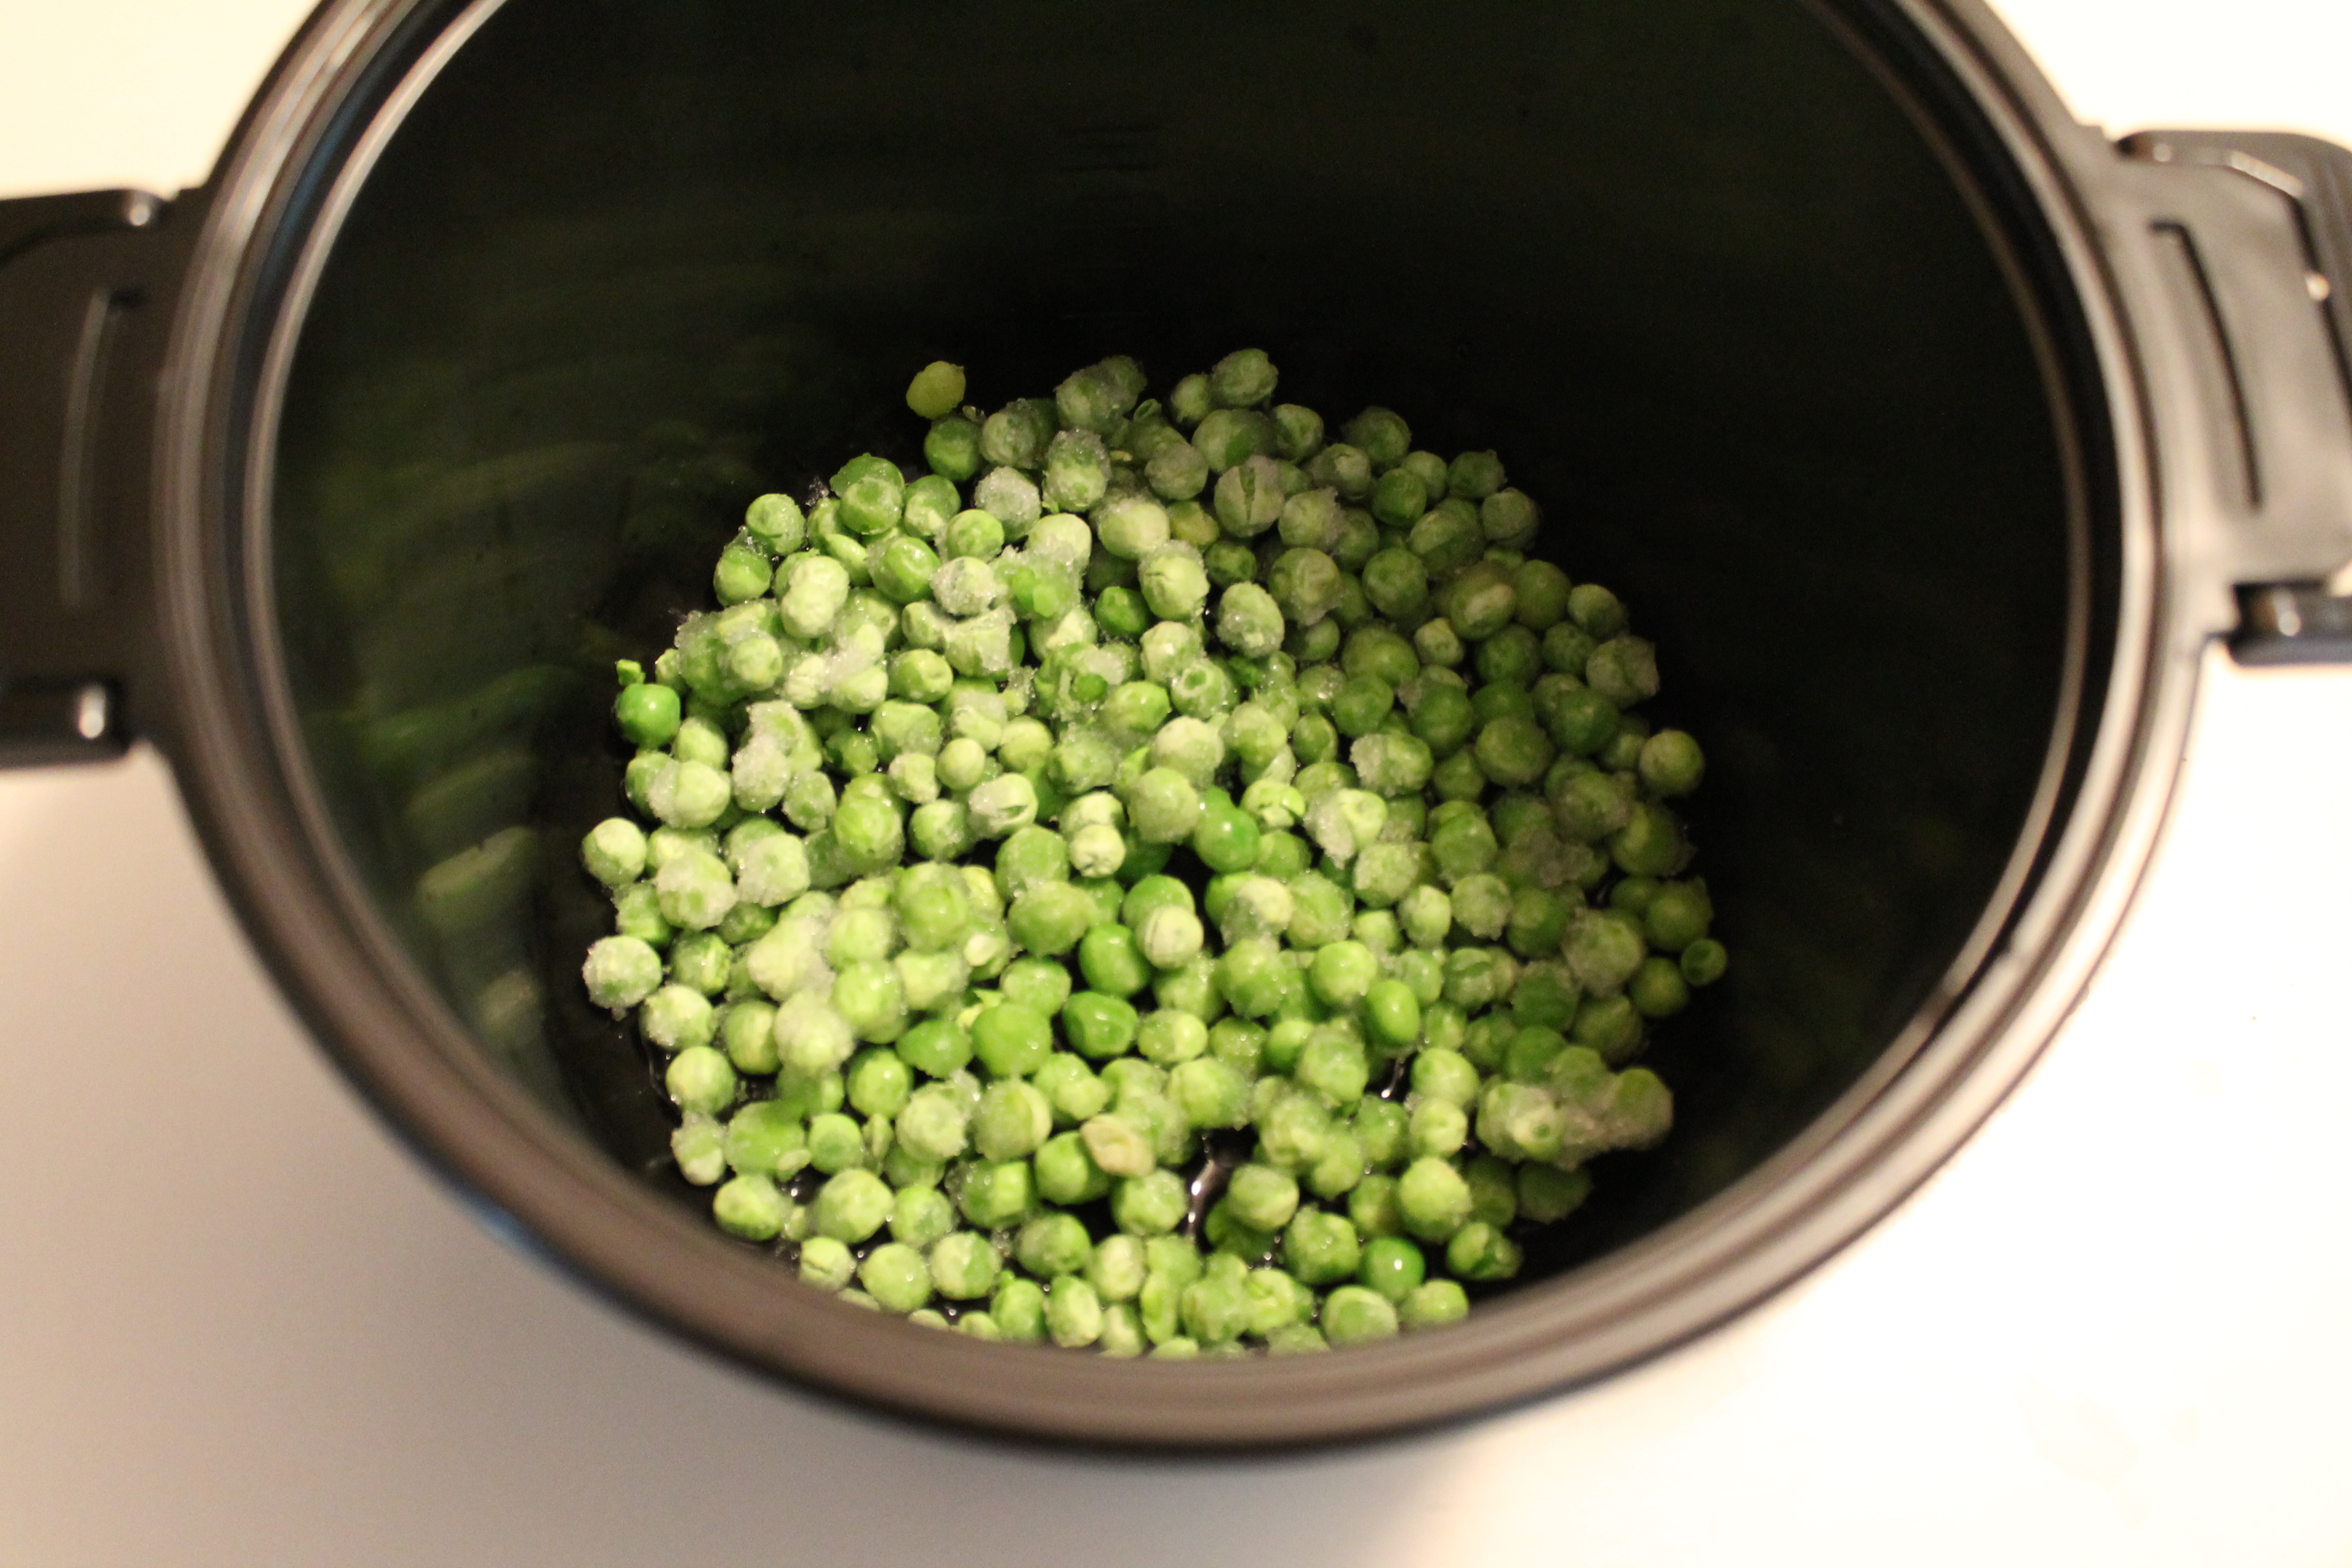
Place the peas in a microwave-safe rice cooker with 1 tbsp. water. Microwave on high for 3 minutes. Remove the rice cooker from the microwave and let cool, closed, for 10 minutes.
Transfer the entire contents of the rice cooker (peas and any remaining water) to a small food processor. Add 1 tbsp. water. Process until all of the peas are evenly pureed, but still thick.
Add the remaining water, 1 tbsp. at a time, pureeing between each addition, until desired consistency is reached. Peas should be thick and glossy.
Cool completely and store in an air tight container. Peas will keep in the fridge for up to 3 days; otherwise store in the freezer.
***Note: Frozen peas can also be quickly boiled on the stove if you don’t have/don’t want to use a rice cooker.
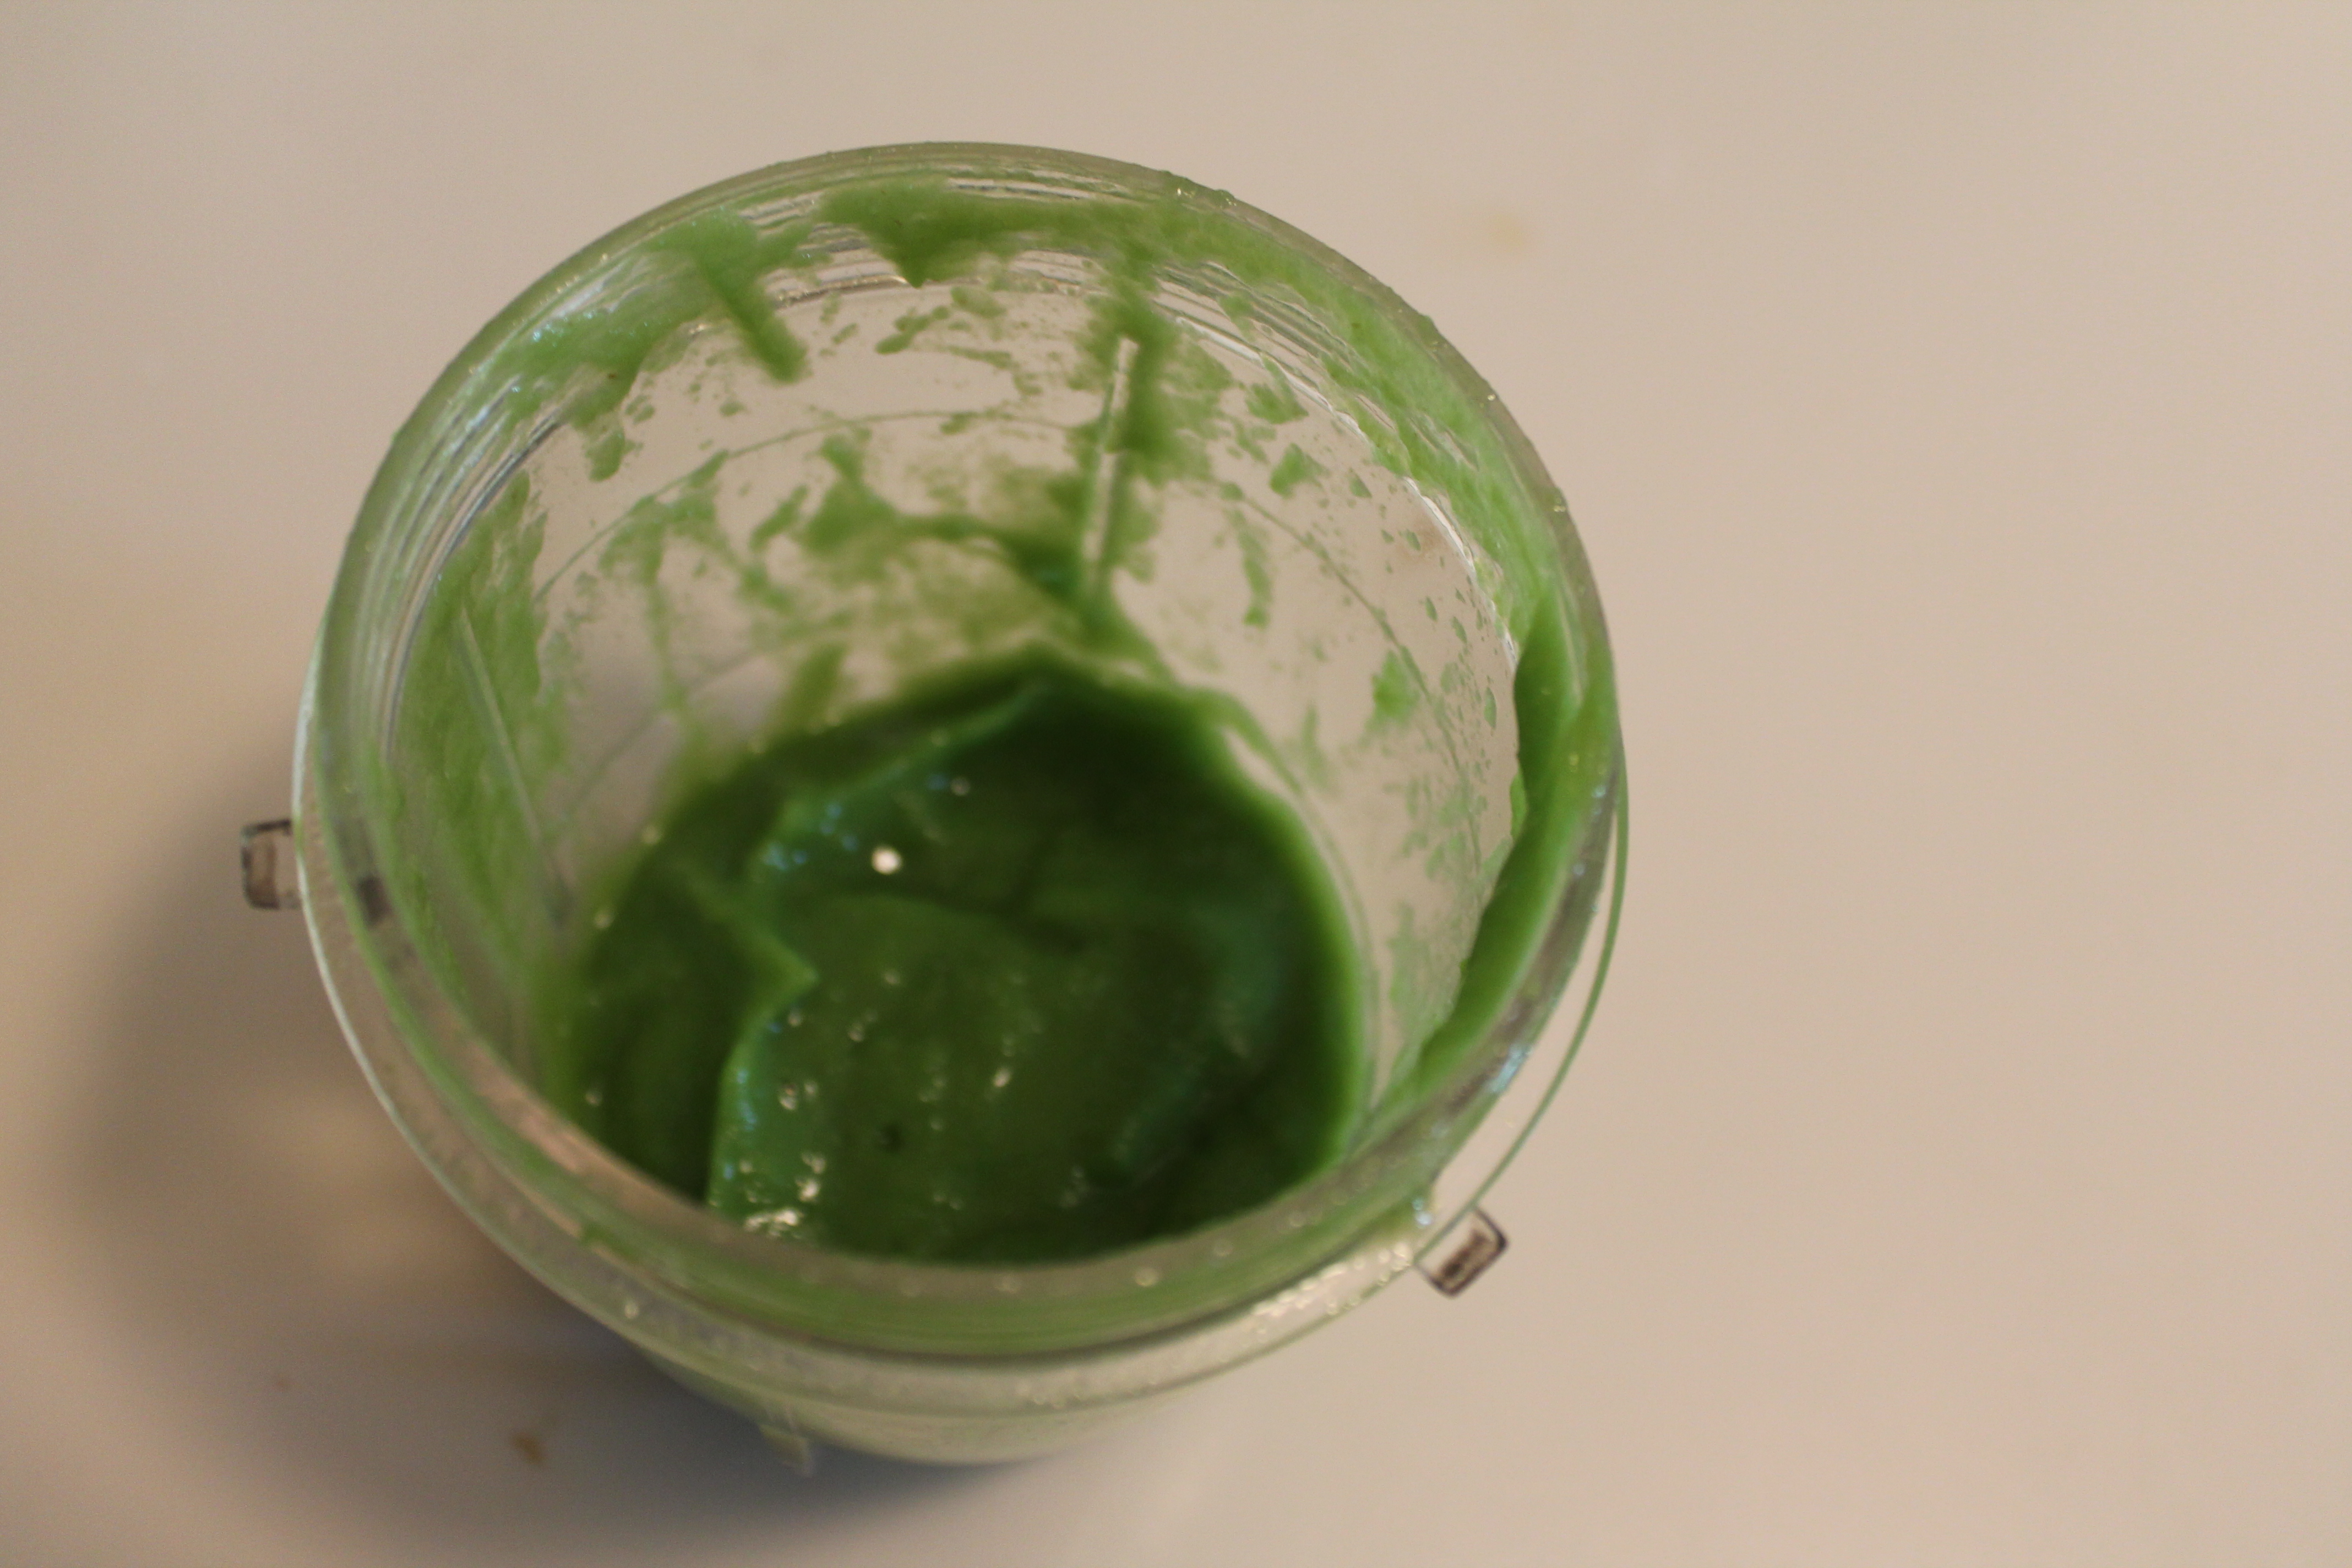 Baby Green Beans
makes 3 oz.
Ingredients:
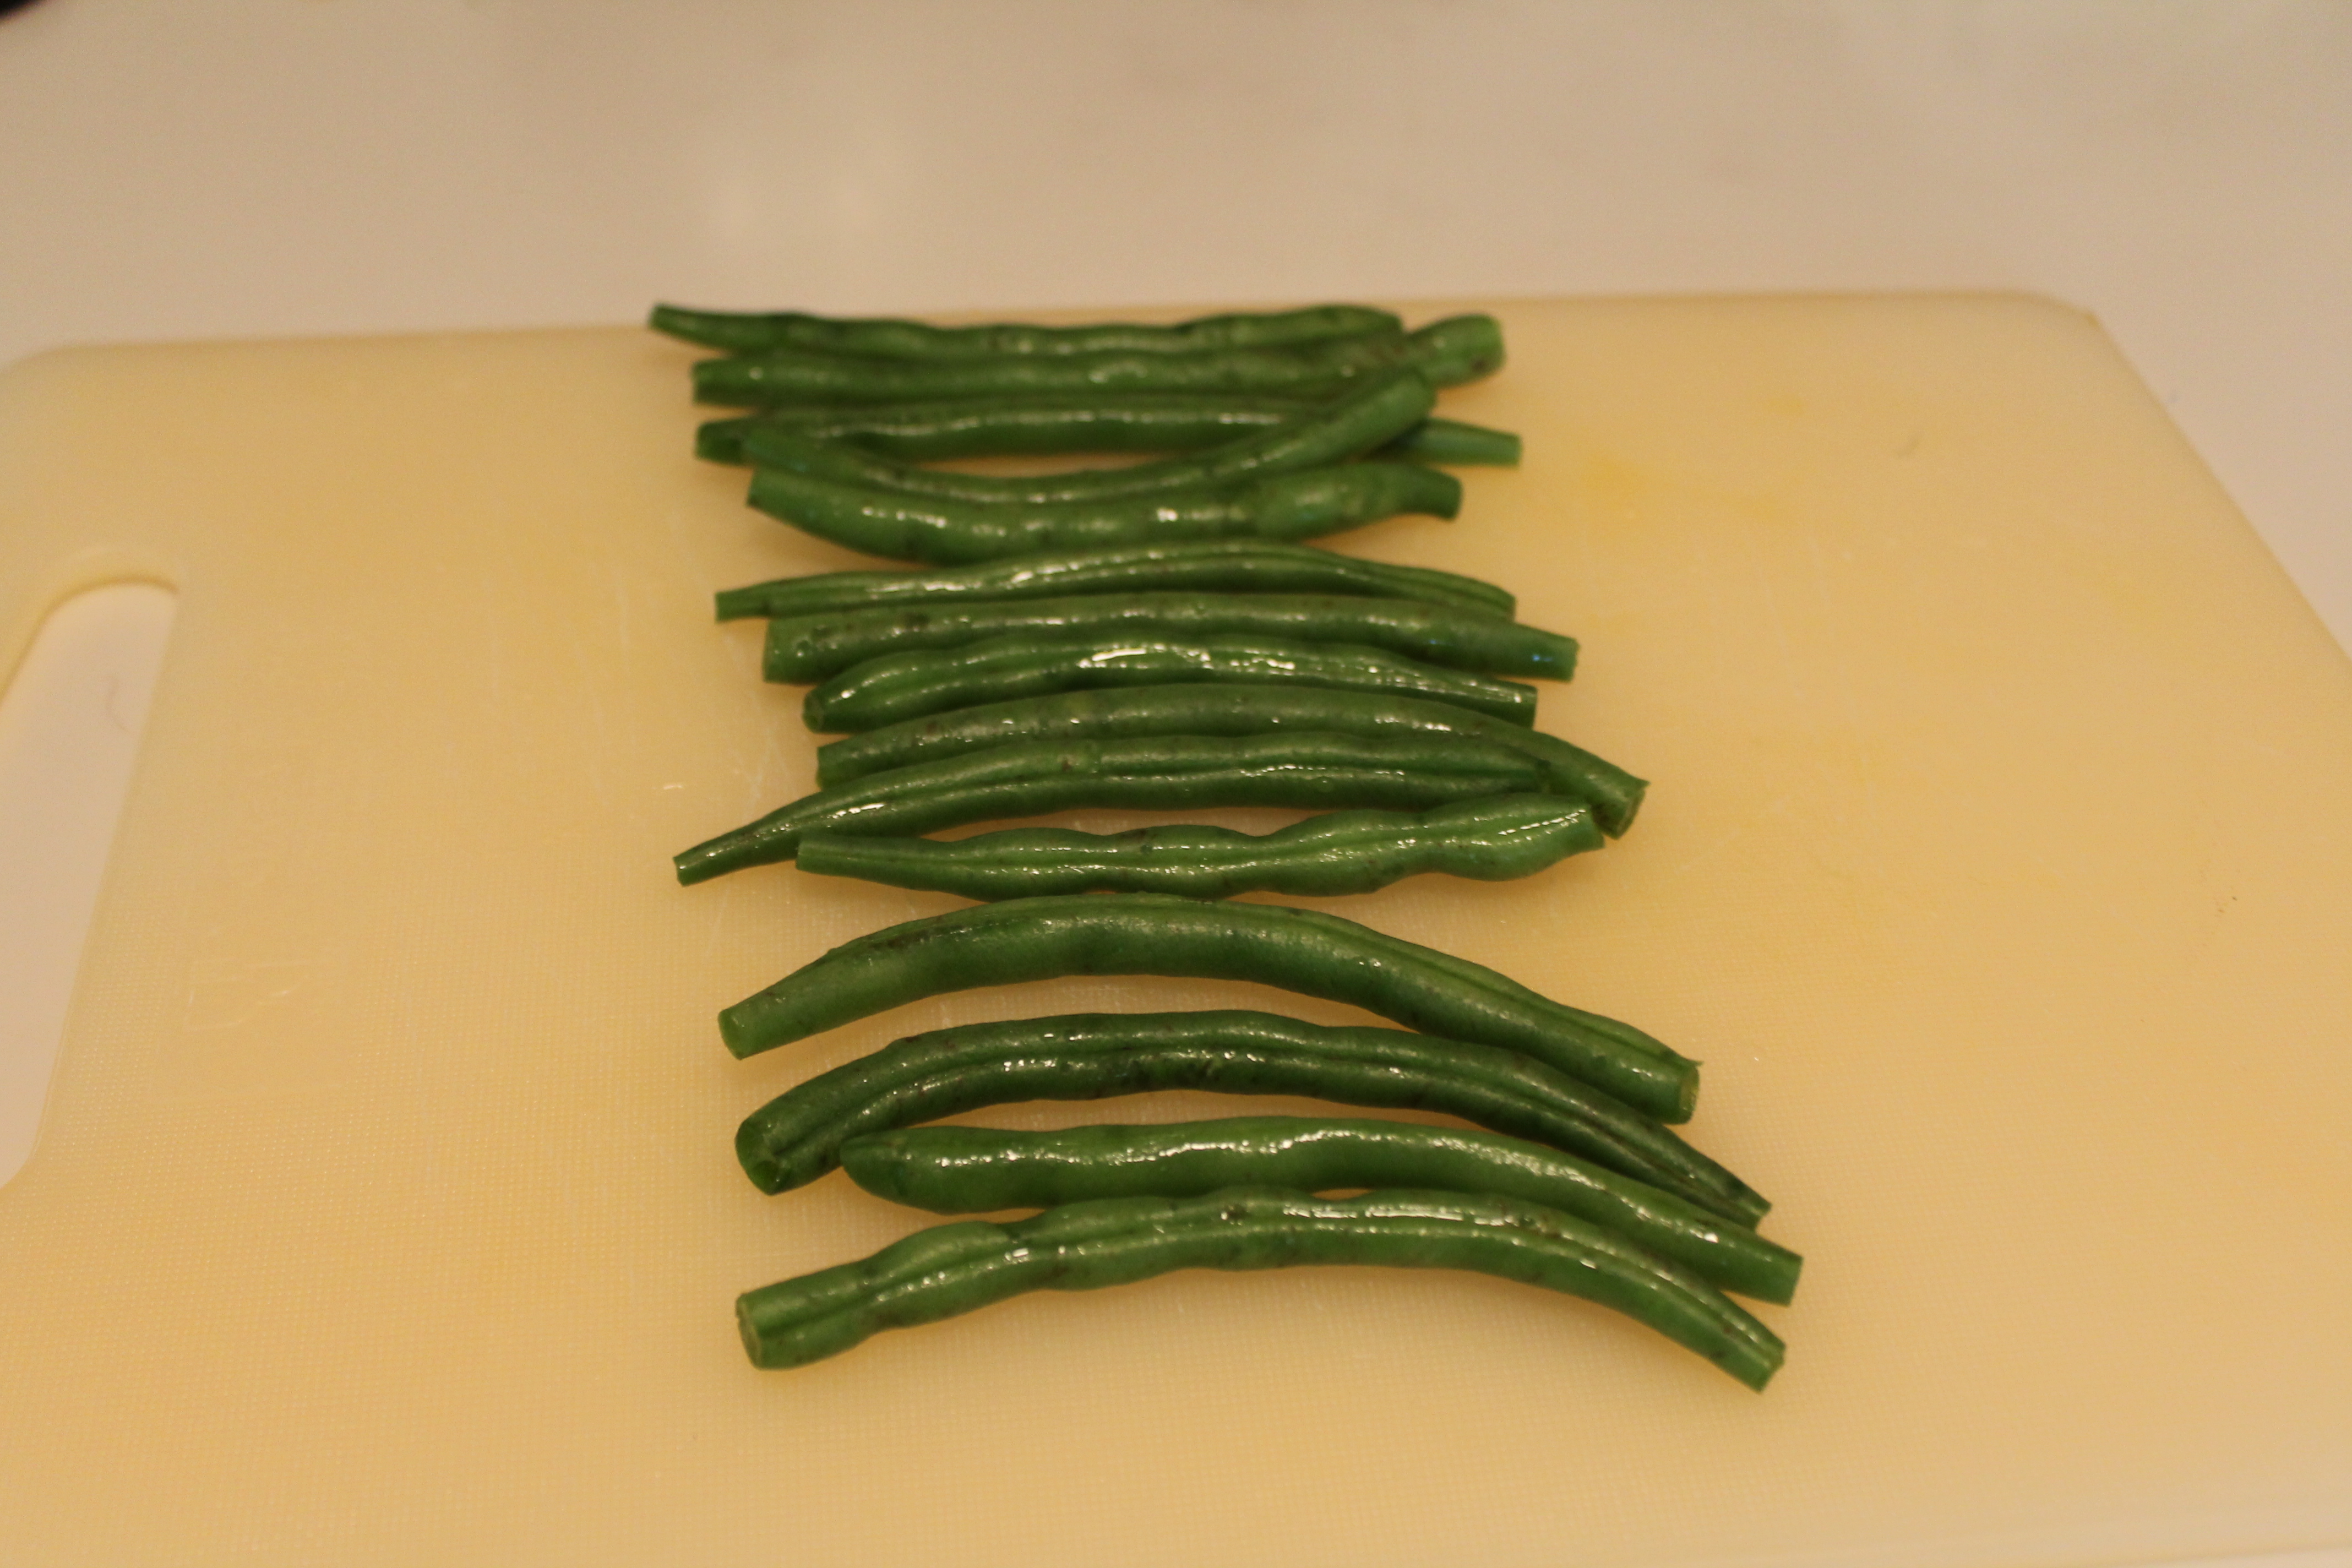
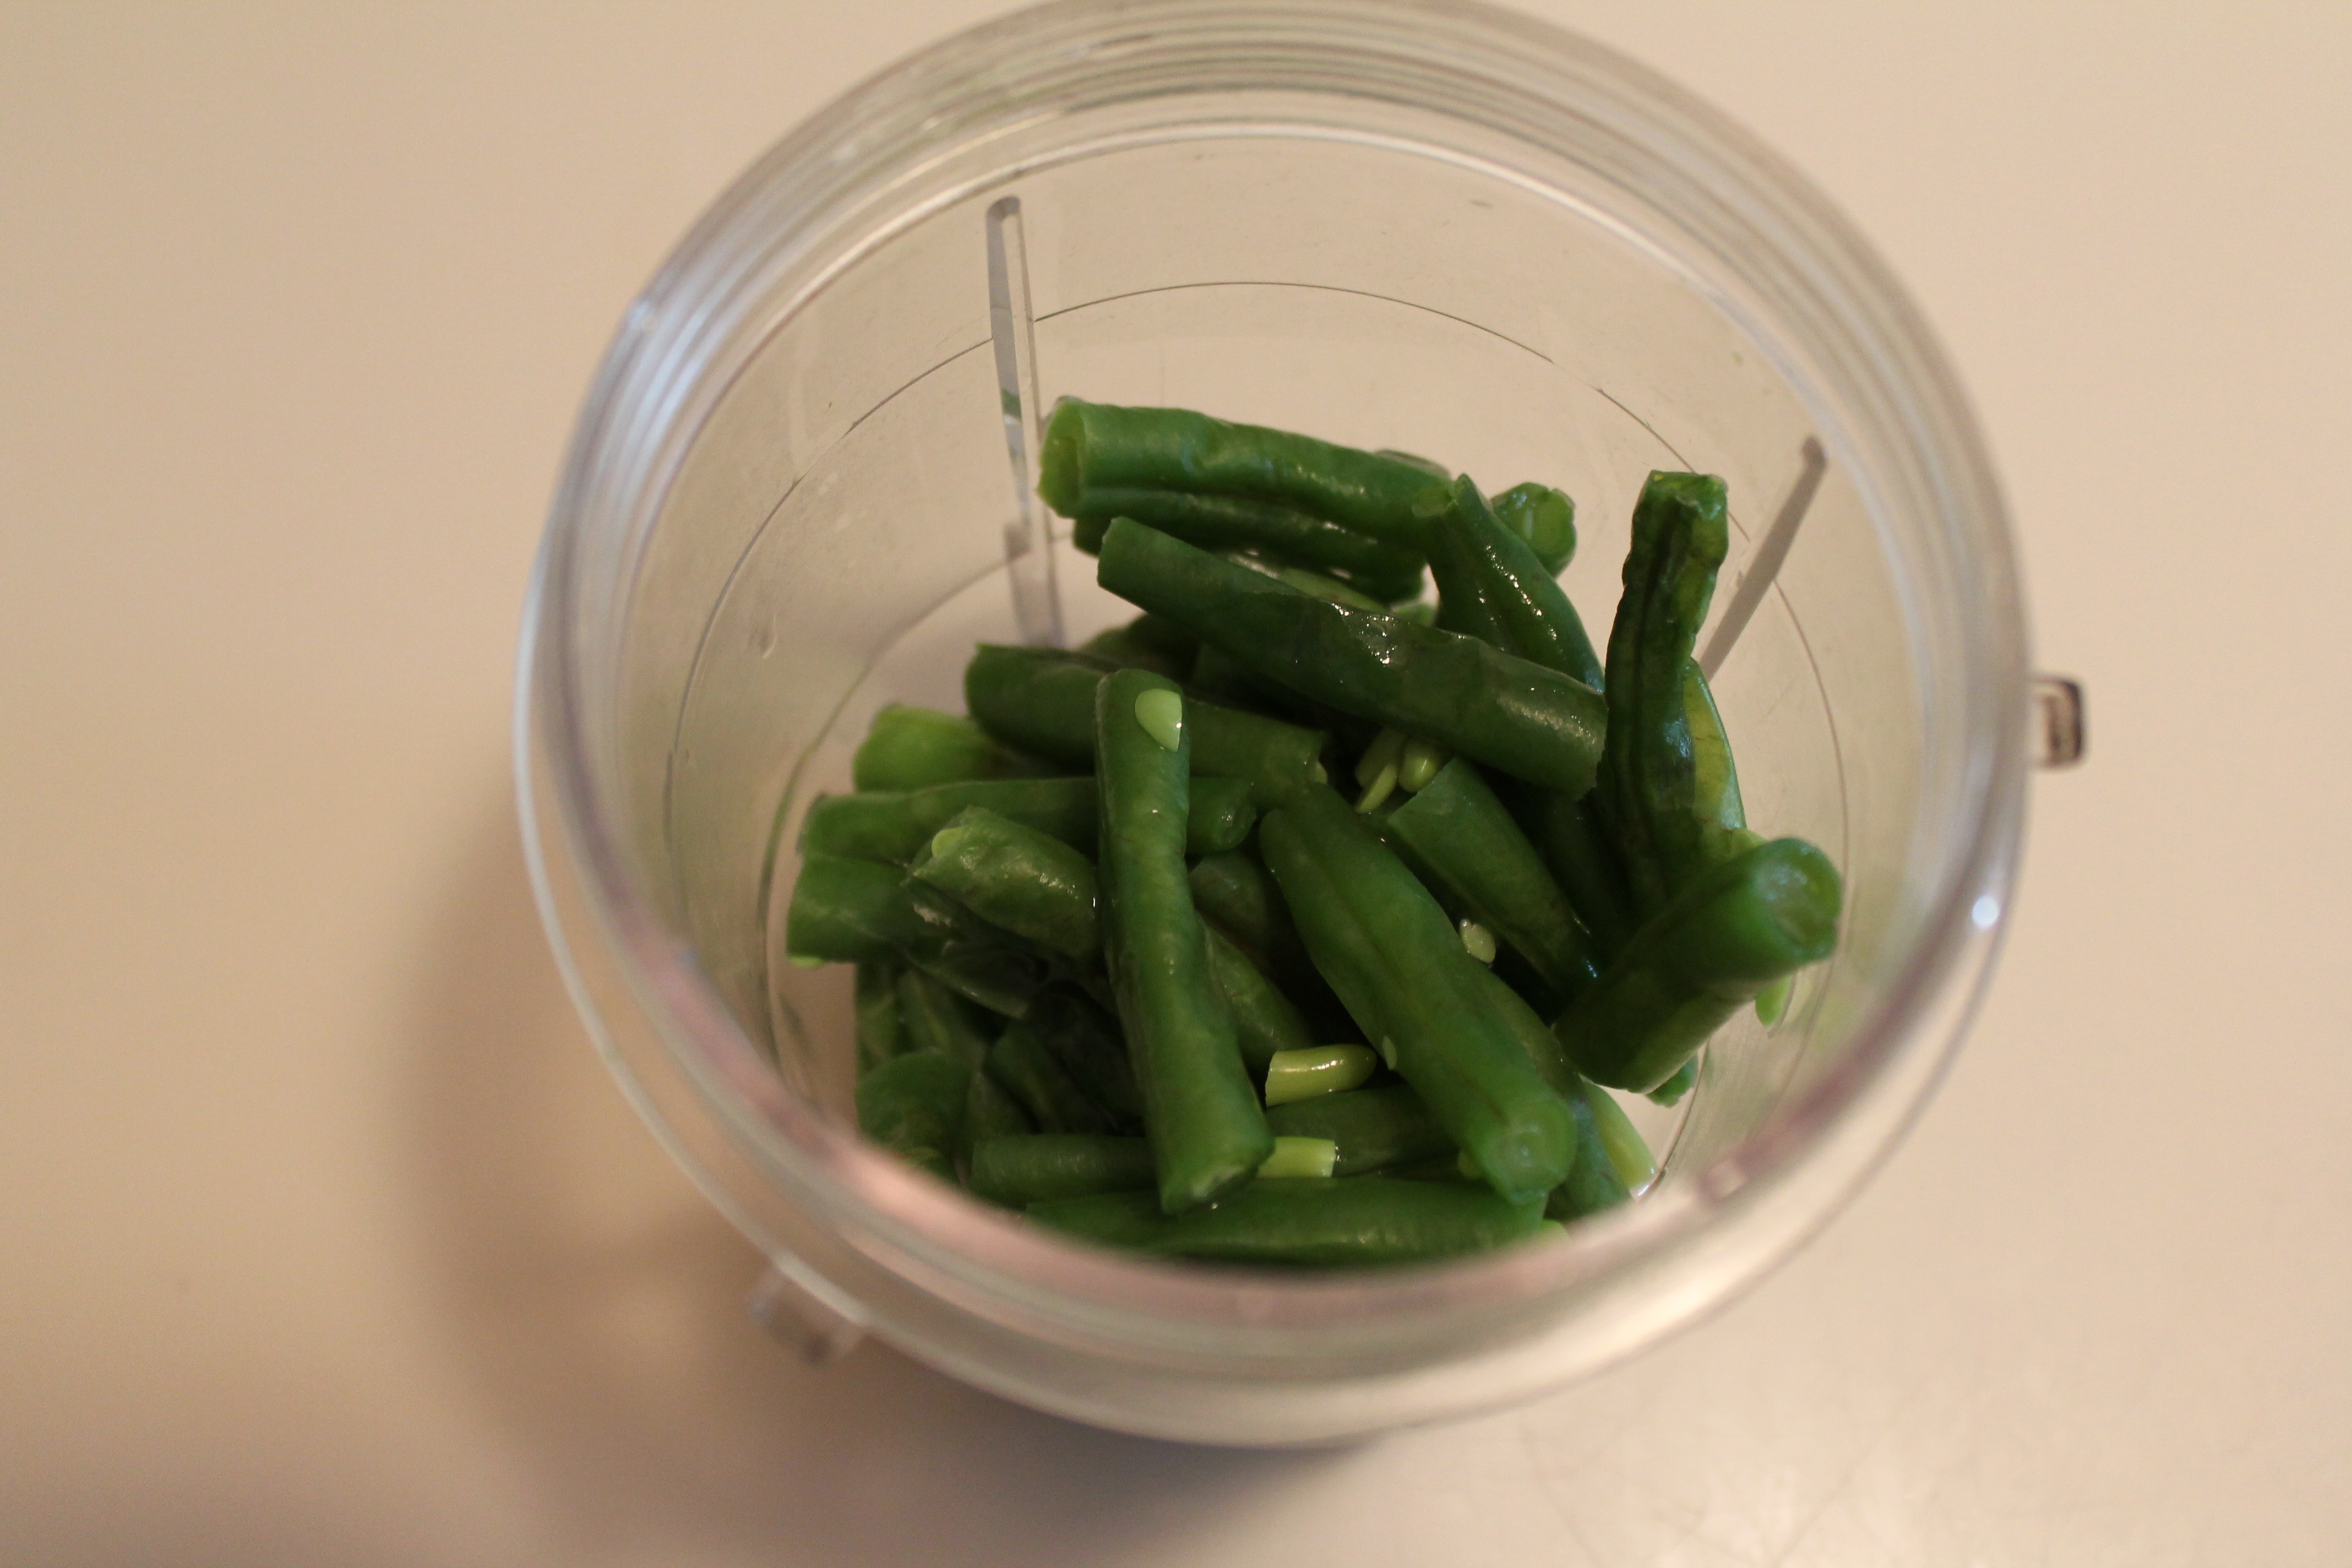
3 oz. fresh green beans (about 15 medium), washed and trimmed, cut into 1″ segments
4 tbsp. water, divided, plus extra as needed
Directions:
Place the green beans in a microwave-safe rice cooker with 1 tbsp. water. Microwave on high for 4 minutes. Remove the rice cooker from the microwave and let cool, closed, for 10 minutes.
Transfer the entire contents of the rice cooker (green beans and any remaining water) to a small food processor. Add 1 tbsp. water. Process until all of the green beans and broken up into very small bits.
Add the remaining water, 1 tbsp. at a time, pureeing between each addition, until desired consistency is reached. Green beans require a lot of puree time due to their stringy nature—when done, the green beans should be silky, smooth, and thin enough to drip slowly off the spoon in large drops.
Cool completely and store in an air tight container. Green beans will keep in the fridge for up to 3 days; otherwise store in the freezer.
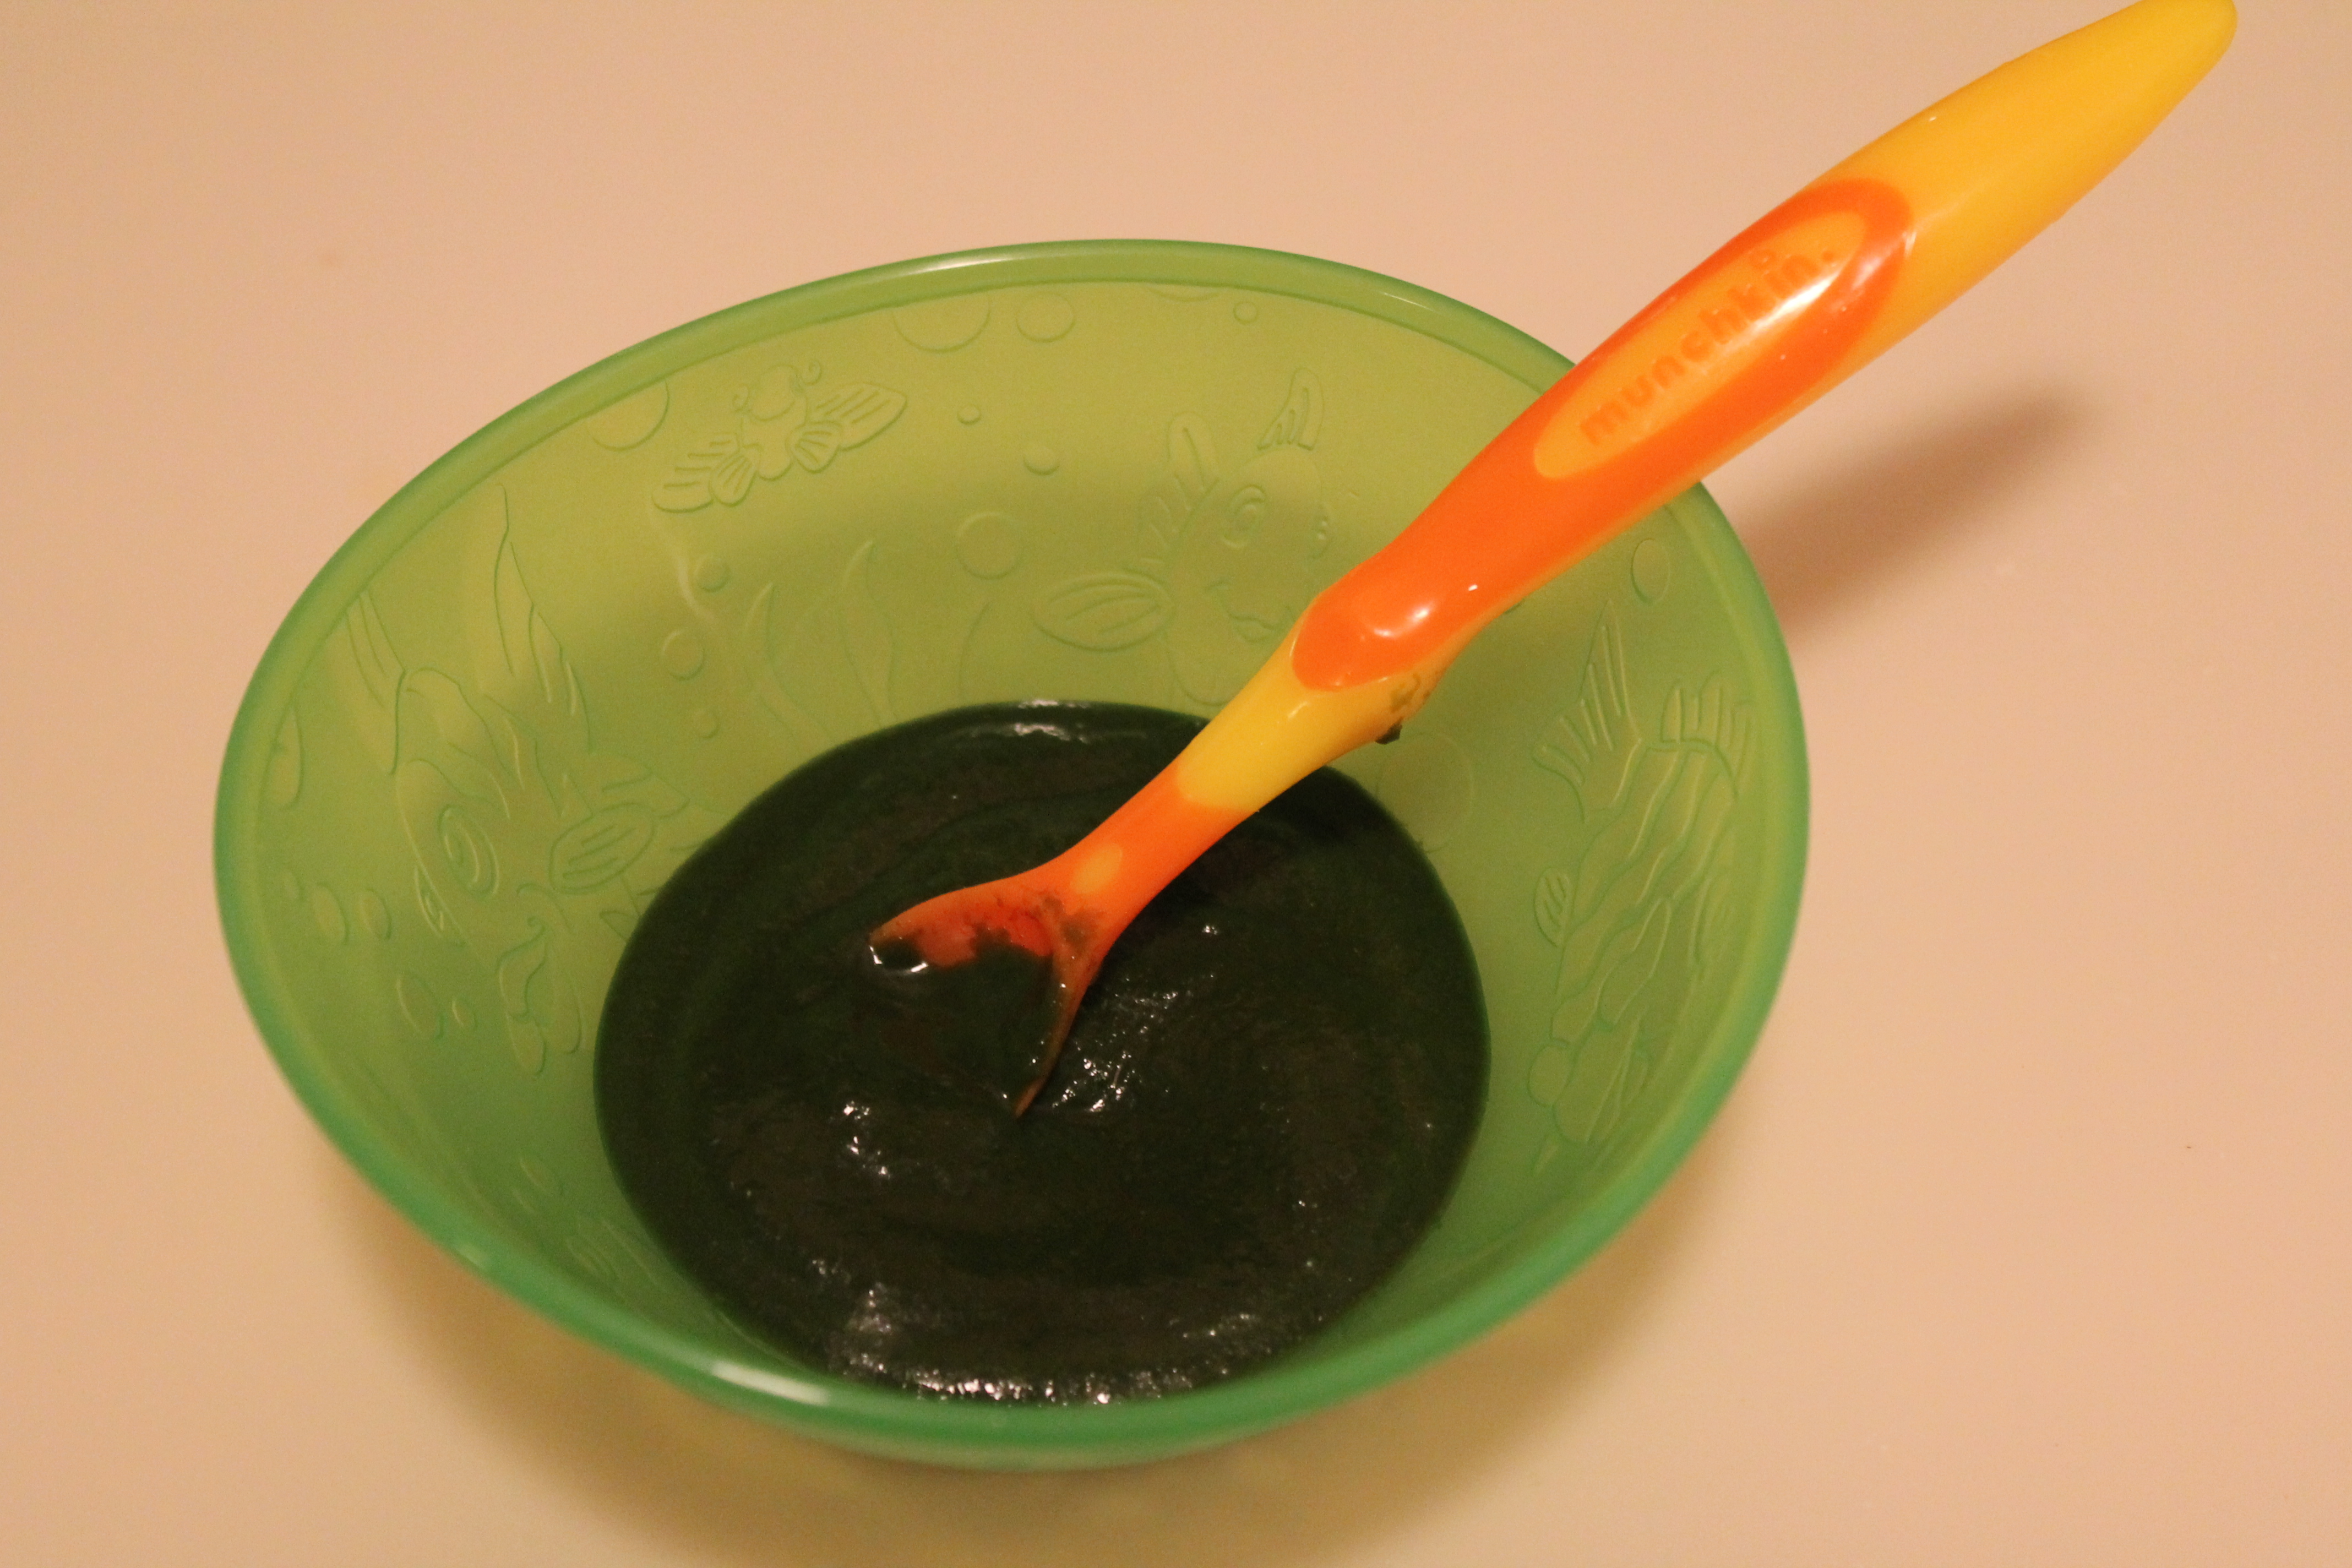 Baby Spinach
makes 7½ oz.
Ingredients:
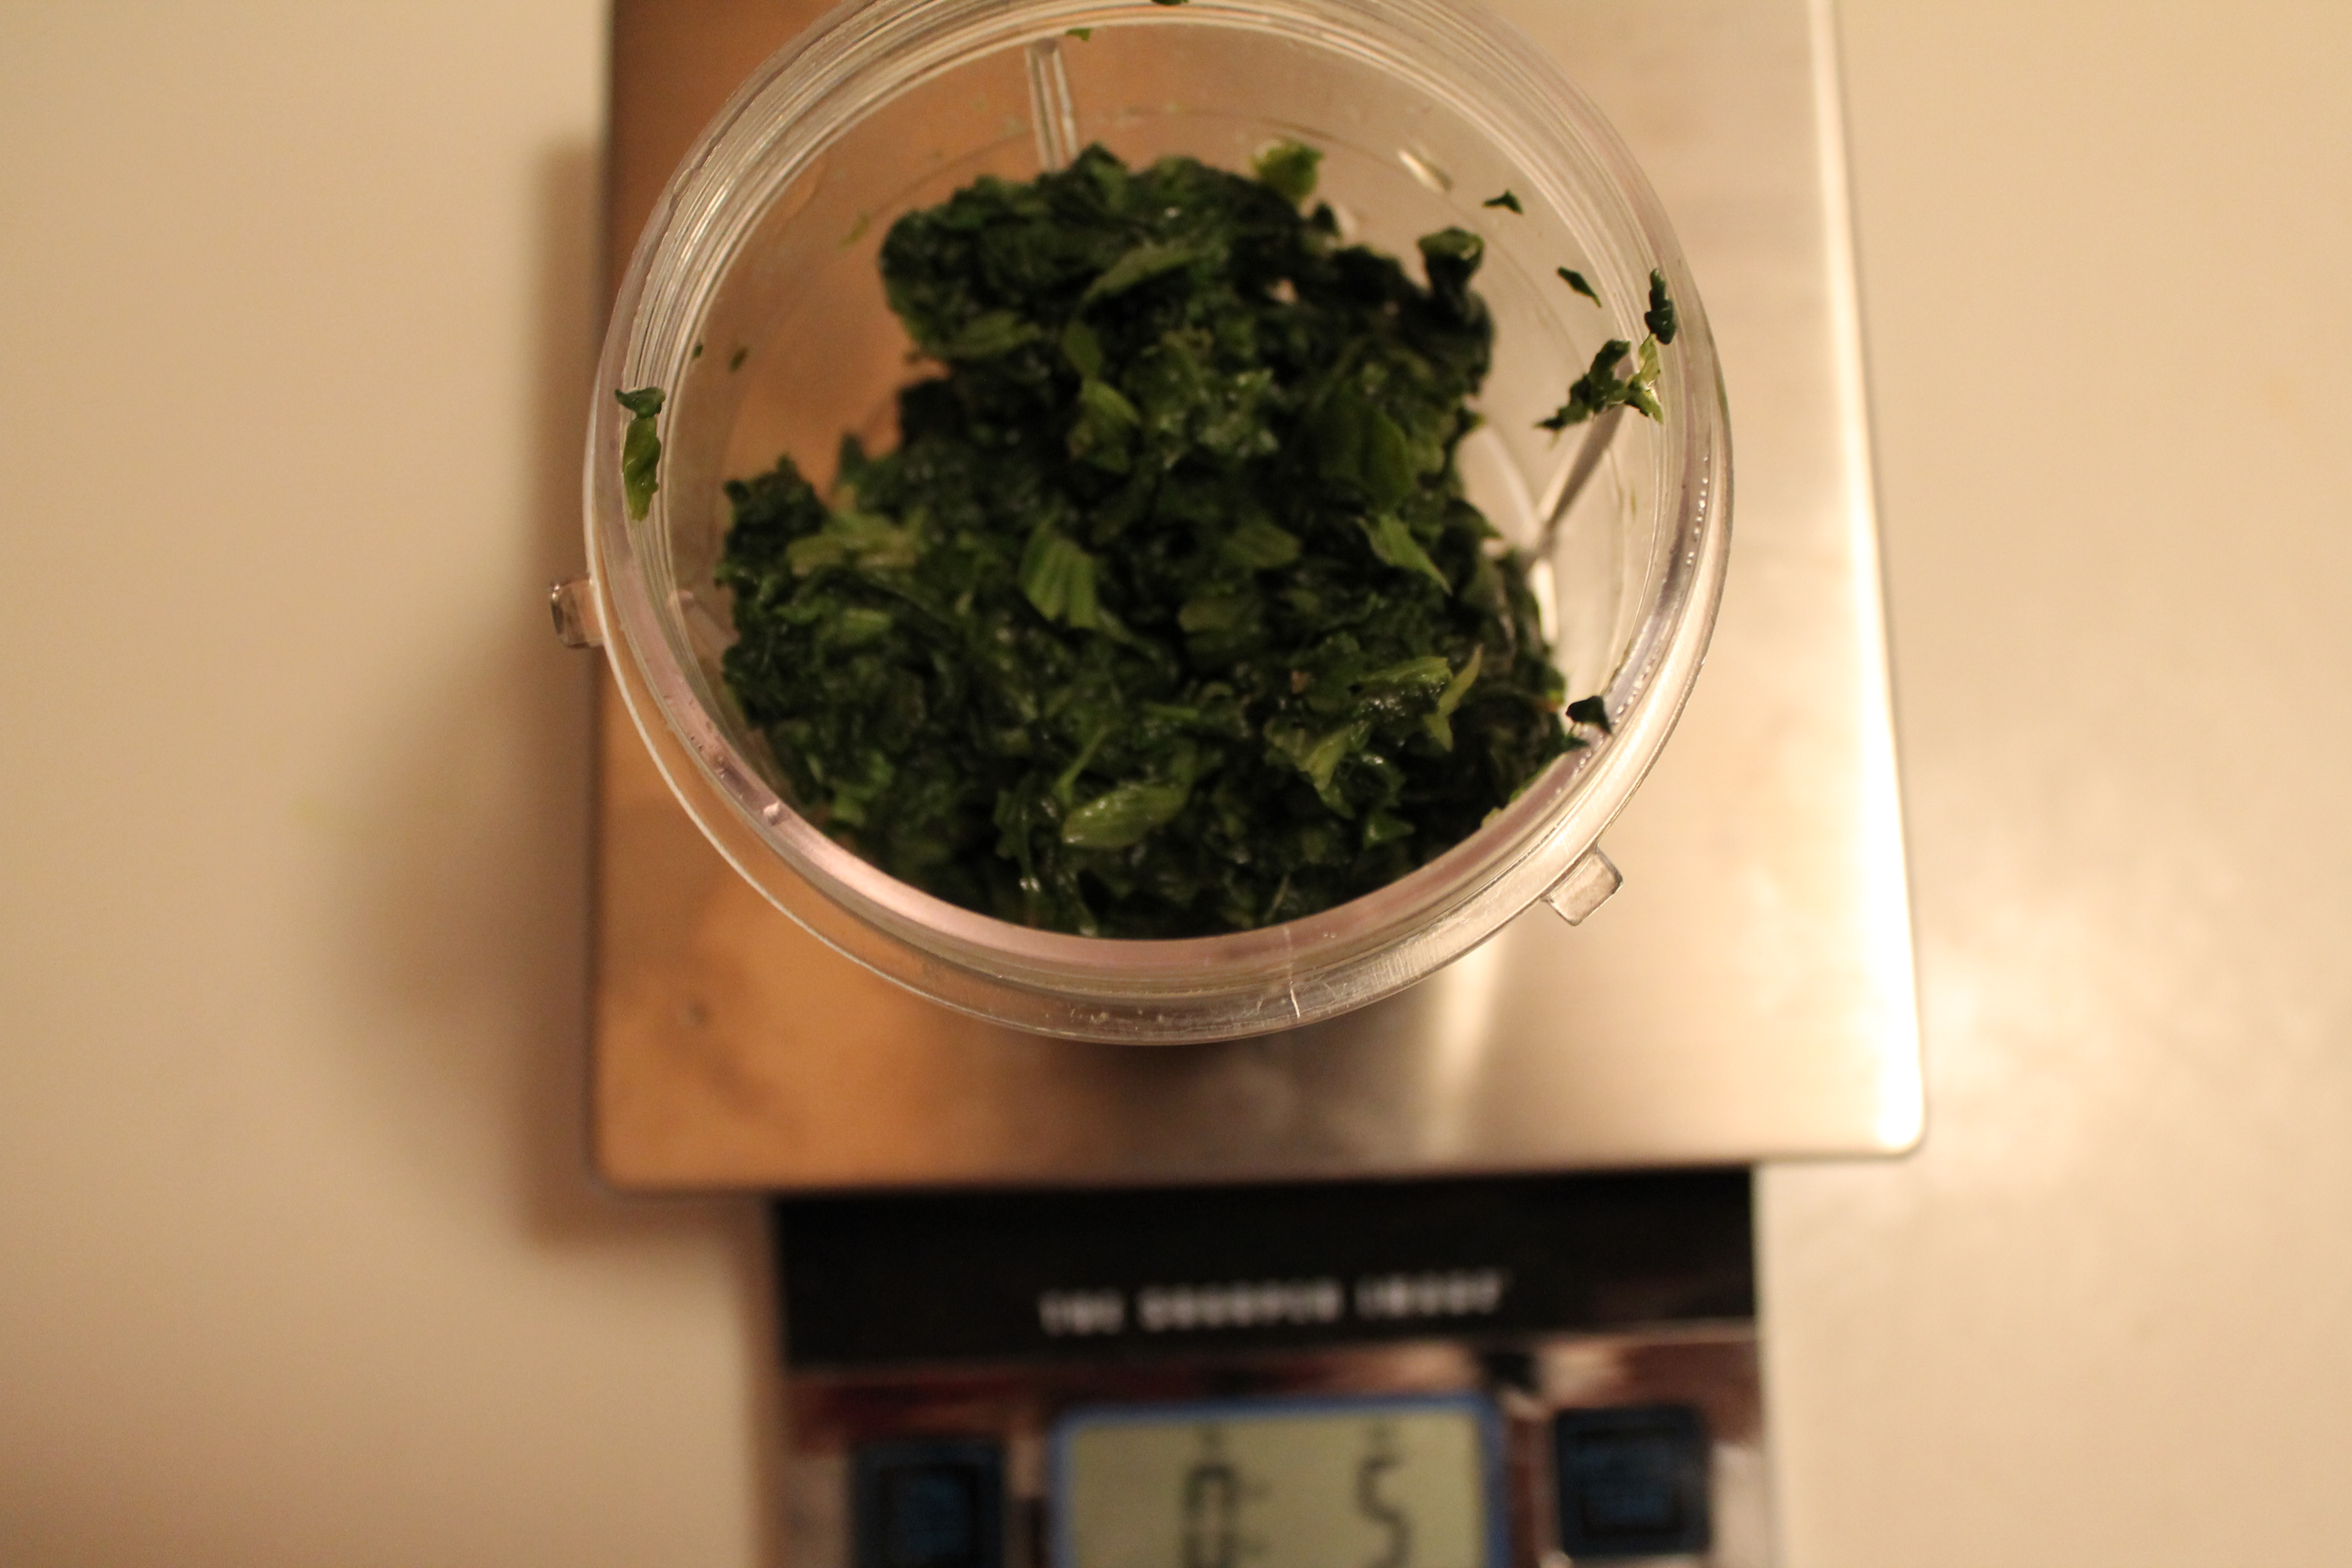
5 oz. (½ package) frozen chopped spinach
8 tbsp. water****, divided, plus extra as needed
Directions:
Place the spinach in a microwave-safe glass bowl with 2 tbsp. water. Following the directions on the package, microwave on high for 2–3 minutes. Break up any solid chunks, then continue to microwave until the spinach is cooked through.
Drain any excess liquid but do not squeeze dry. Allow the hot spinach to cool completely.
Transfer the spinach to a small food processor. Add 2 tbsp. water. Process as much as possible, stopping to scrape the sides of the processor along the way. Add more water, 1 tbsp. at a time, pureeing between each addition. Spinach requires a lot of puree time due to its stringy nature. The spinach will have enough liquid when it is forms a little funnel at the center of the food processor. Process until smooth and glossy.
Store in an air tight container. Spinach will keep in the fridge for up to 3 days; otherwise store in the freezer.
****Note: Spinach is very bitter. You could sweeten it up by substituting some breast milk or formula for water during the puree process. I will admit that Jake hates spinach and makes choking noises and faces when I try to serve it to him. But we will keep trying!
- One year ago: Vegetable Khorma
- Two years ago: Cardamom Tea Cakes



12 comments to “Homemade Baby Food”
Gluten Free A-Z - May 13, 2013
It looks so nutritious. Good for you that you make your own!
Heather @ Join Us, Pull up a Chair - May 13, 2013
So glad I could help you find a better method for storing baby food! I’ve been using is for both my kids and then just throw the cubes in a freezer bag when I make a big batch. I would add some applesauce to the spinach and that should help sweeten it up and take away the bitterness. Jake is super cute! It’s amazing how quickly they grow up. Cooper turned 11 months yesterday and I can’t believe he’ll be a year in a month!
Ashley - May 13, 2013
Great choice! We are just starting to make our own food as well for our little guy.
ps152 (@ps152) - May 13, 2013
This is such a money saver and so much healthier too. Way to go!
Shelley C - May 13, 2013
What a great choice! Would you believe that, for all of my cooking and baking, I was always afraid to make my own baby food?? Jake is so adorable and I am sure it will be so much fun to keep giving him those beautiful, colorful homemade veggies! I had your blog this month and had SUCH a hard time choosing what to make – I will absolutely be coming back here again and again!
Miz Helen - May 13, 2013
Your little guy is just adorable and he is sure getting some real special food. This is a great idea and an excellent post! This is a great recipe choice for the SRC.
Have a fun week!
Miz Helen
Amy (@amyscookingadve) - May 13, 2013
So pretty!! I made all my own baby food for my second child! i was so surprised how easy it was & so glad I could do it for my baby!
Rebekah @ Making Miracles - May 15, 2013
This was an AWESOME tutorial! I have a little one on the way and am hoping to make a good bit of her food at home – so I’m saving this one, for sure. Thank you! 🙂
colleen @ Secrets from the Cookie Princess - May 16, 2013
Great job and awesome tutorial.
CJ Huang - May 17, 2013
What a great idea! I especially like how colorful your baby food is. 🙂
Rebekah @ Making Miracles - February 10, 2014
I thought I would add another comment – it’s been almost a year and Lindsey is now 5 months old and here I am again reviewing this fantastic tutorial to get ideas and inspiration and encouragement for fixing her food at home! I can’t wait to whip some of these up and serve her homemade food. 🙂
Melissa @ Smells Like Brownies - February 10, 2014
Thanks! I am so glad you are finding it helpful!