Fall is my favorite season of the year. I love the crisp, cool air, the leaves on the ground, and giving myself permission to eat heavier foods again.
The week, CSA dumped a big pile of hard, green apples into my lap—perfect for making a fall dessert! Tarte tatin!
This dessert is a little nerve-wracking to make, but the result is (apparently) delicious!
 The first part is easy. Just make a pie crust! I usually make two at once, because why not? Whisk together flour and salt, then cut in cold butter. Gently toss in ice water until the mixture comes together in a shaggy dough.
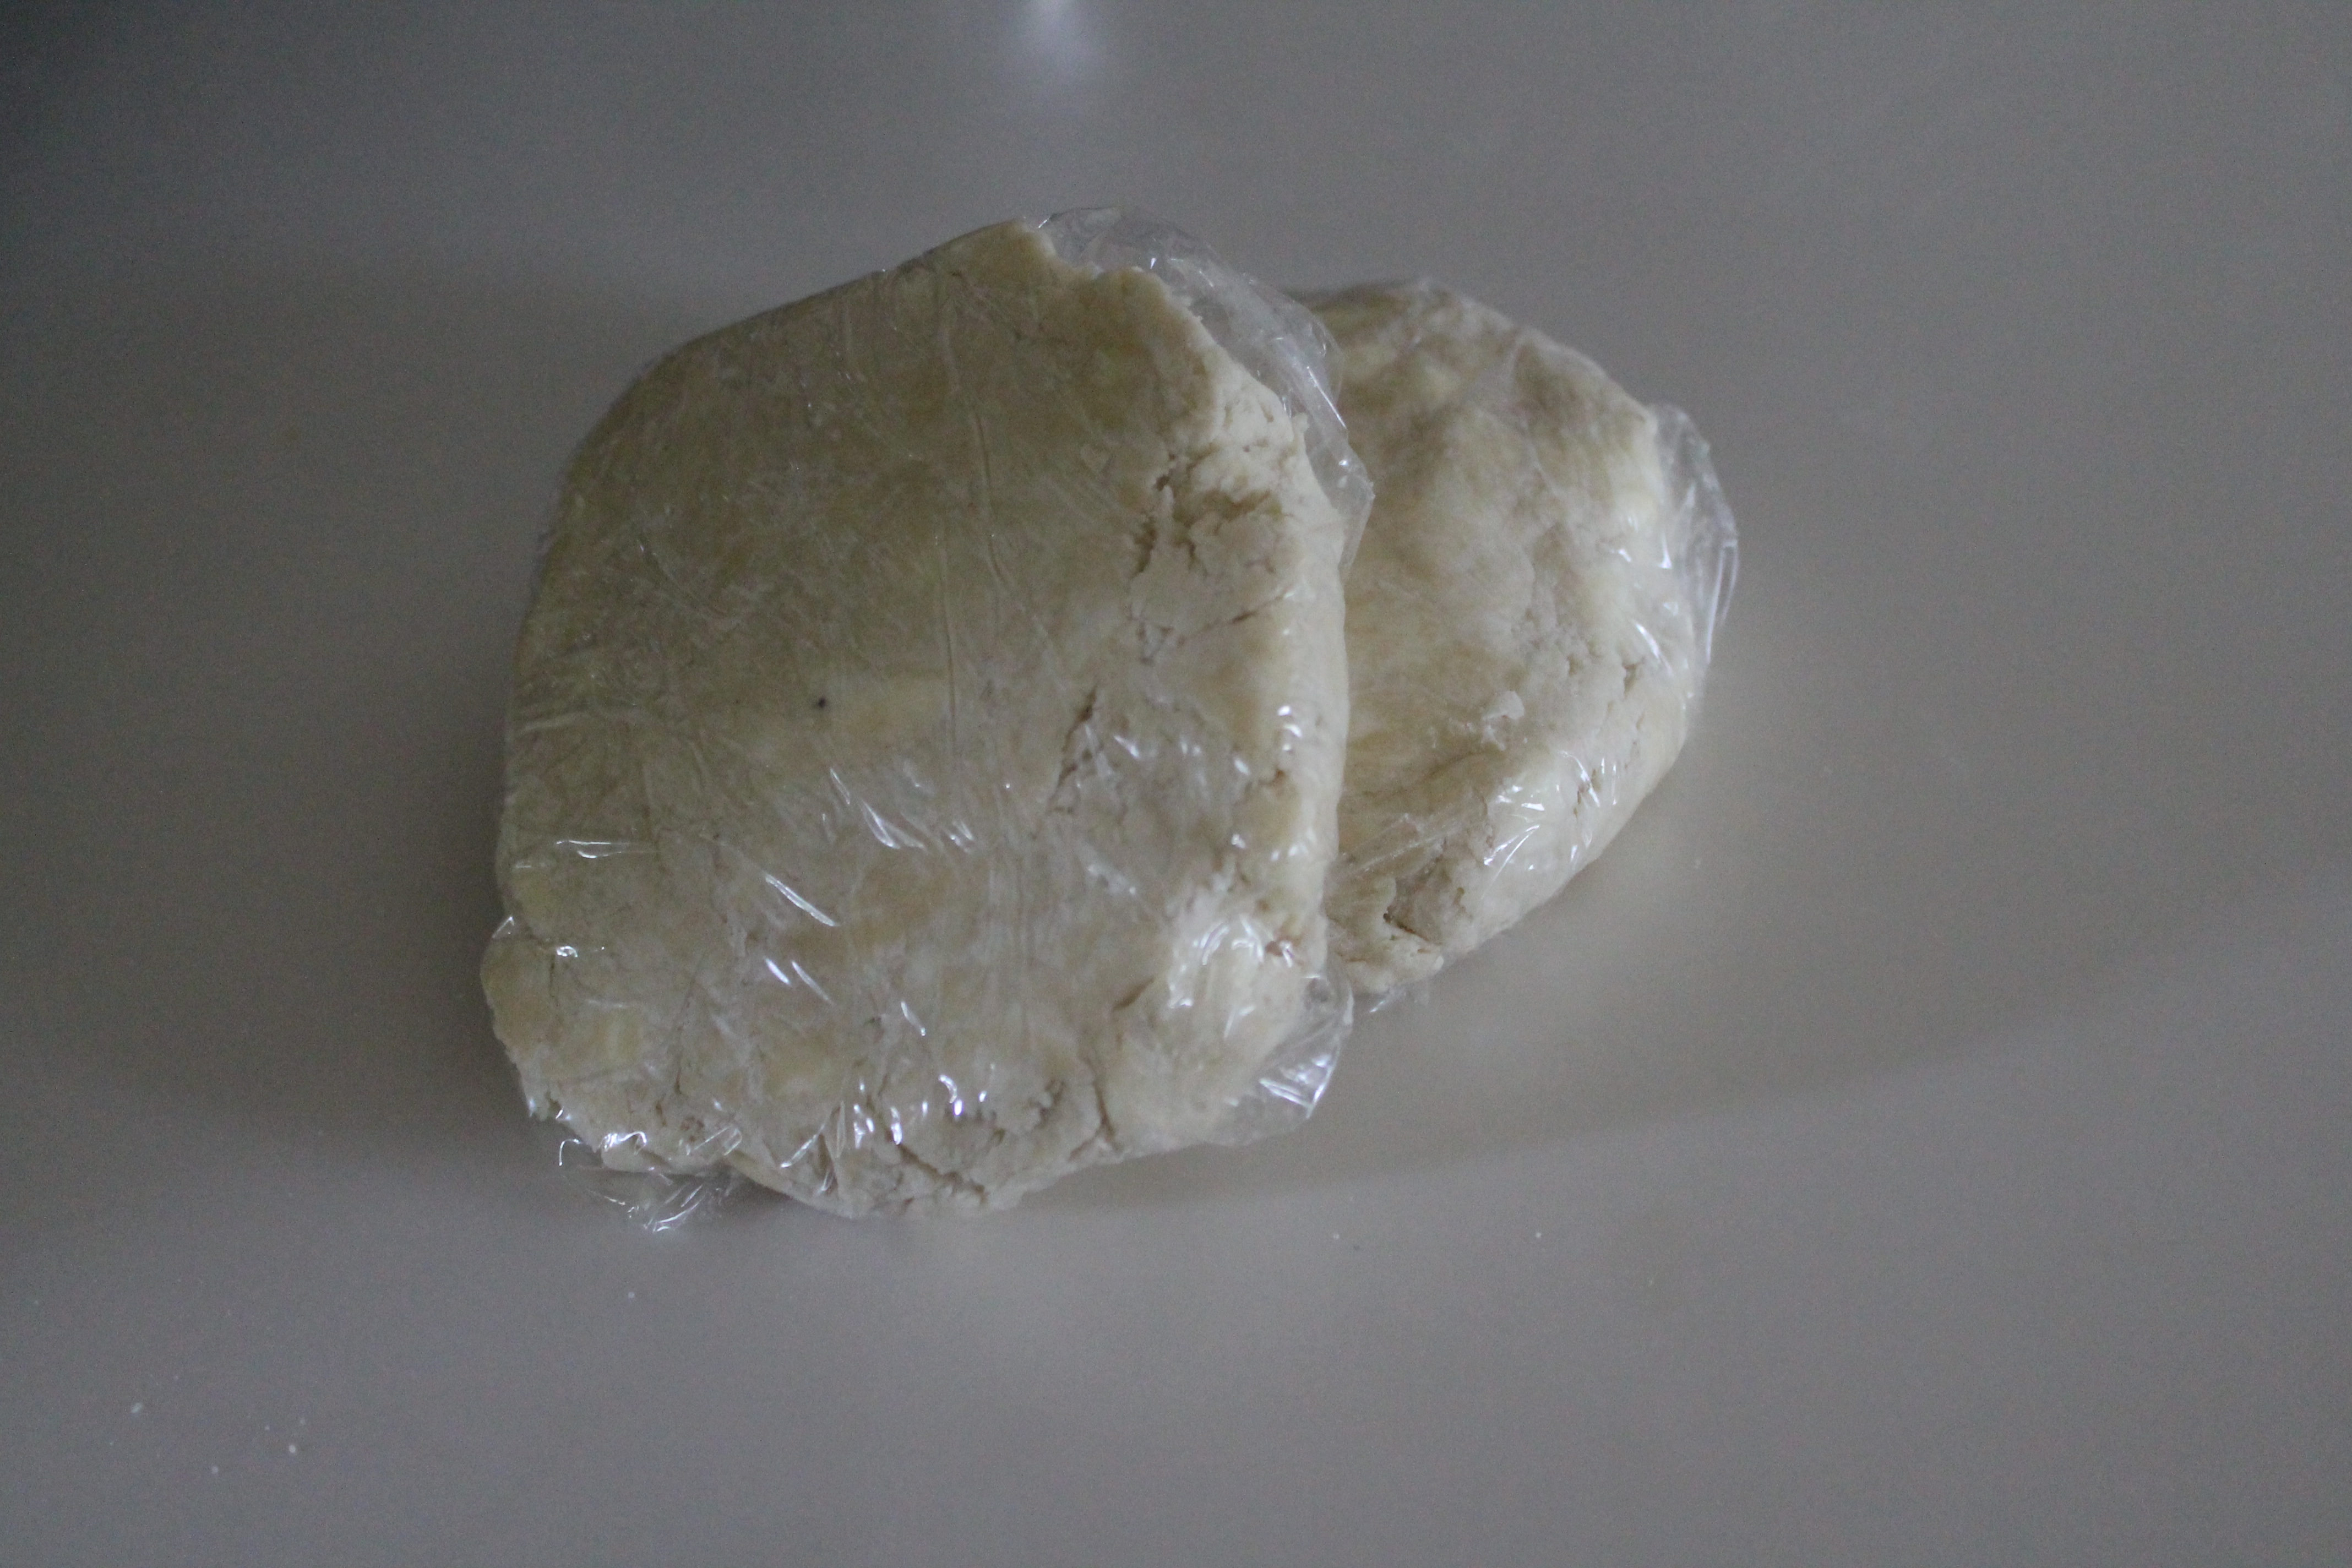
Knead a few times on the counter, just to incorporate all the extra bits of flour and butter, then wrap in plastic wrap and flatten into a disk shape. Chill in the fridge until you are ready to use it!
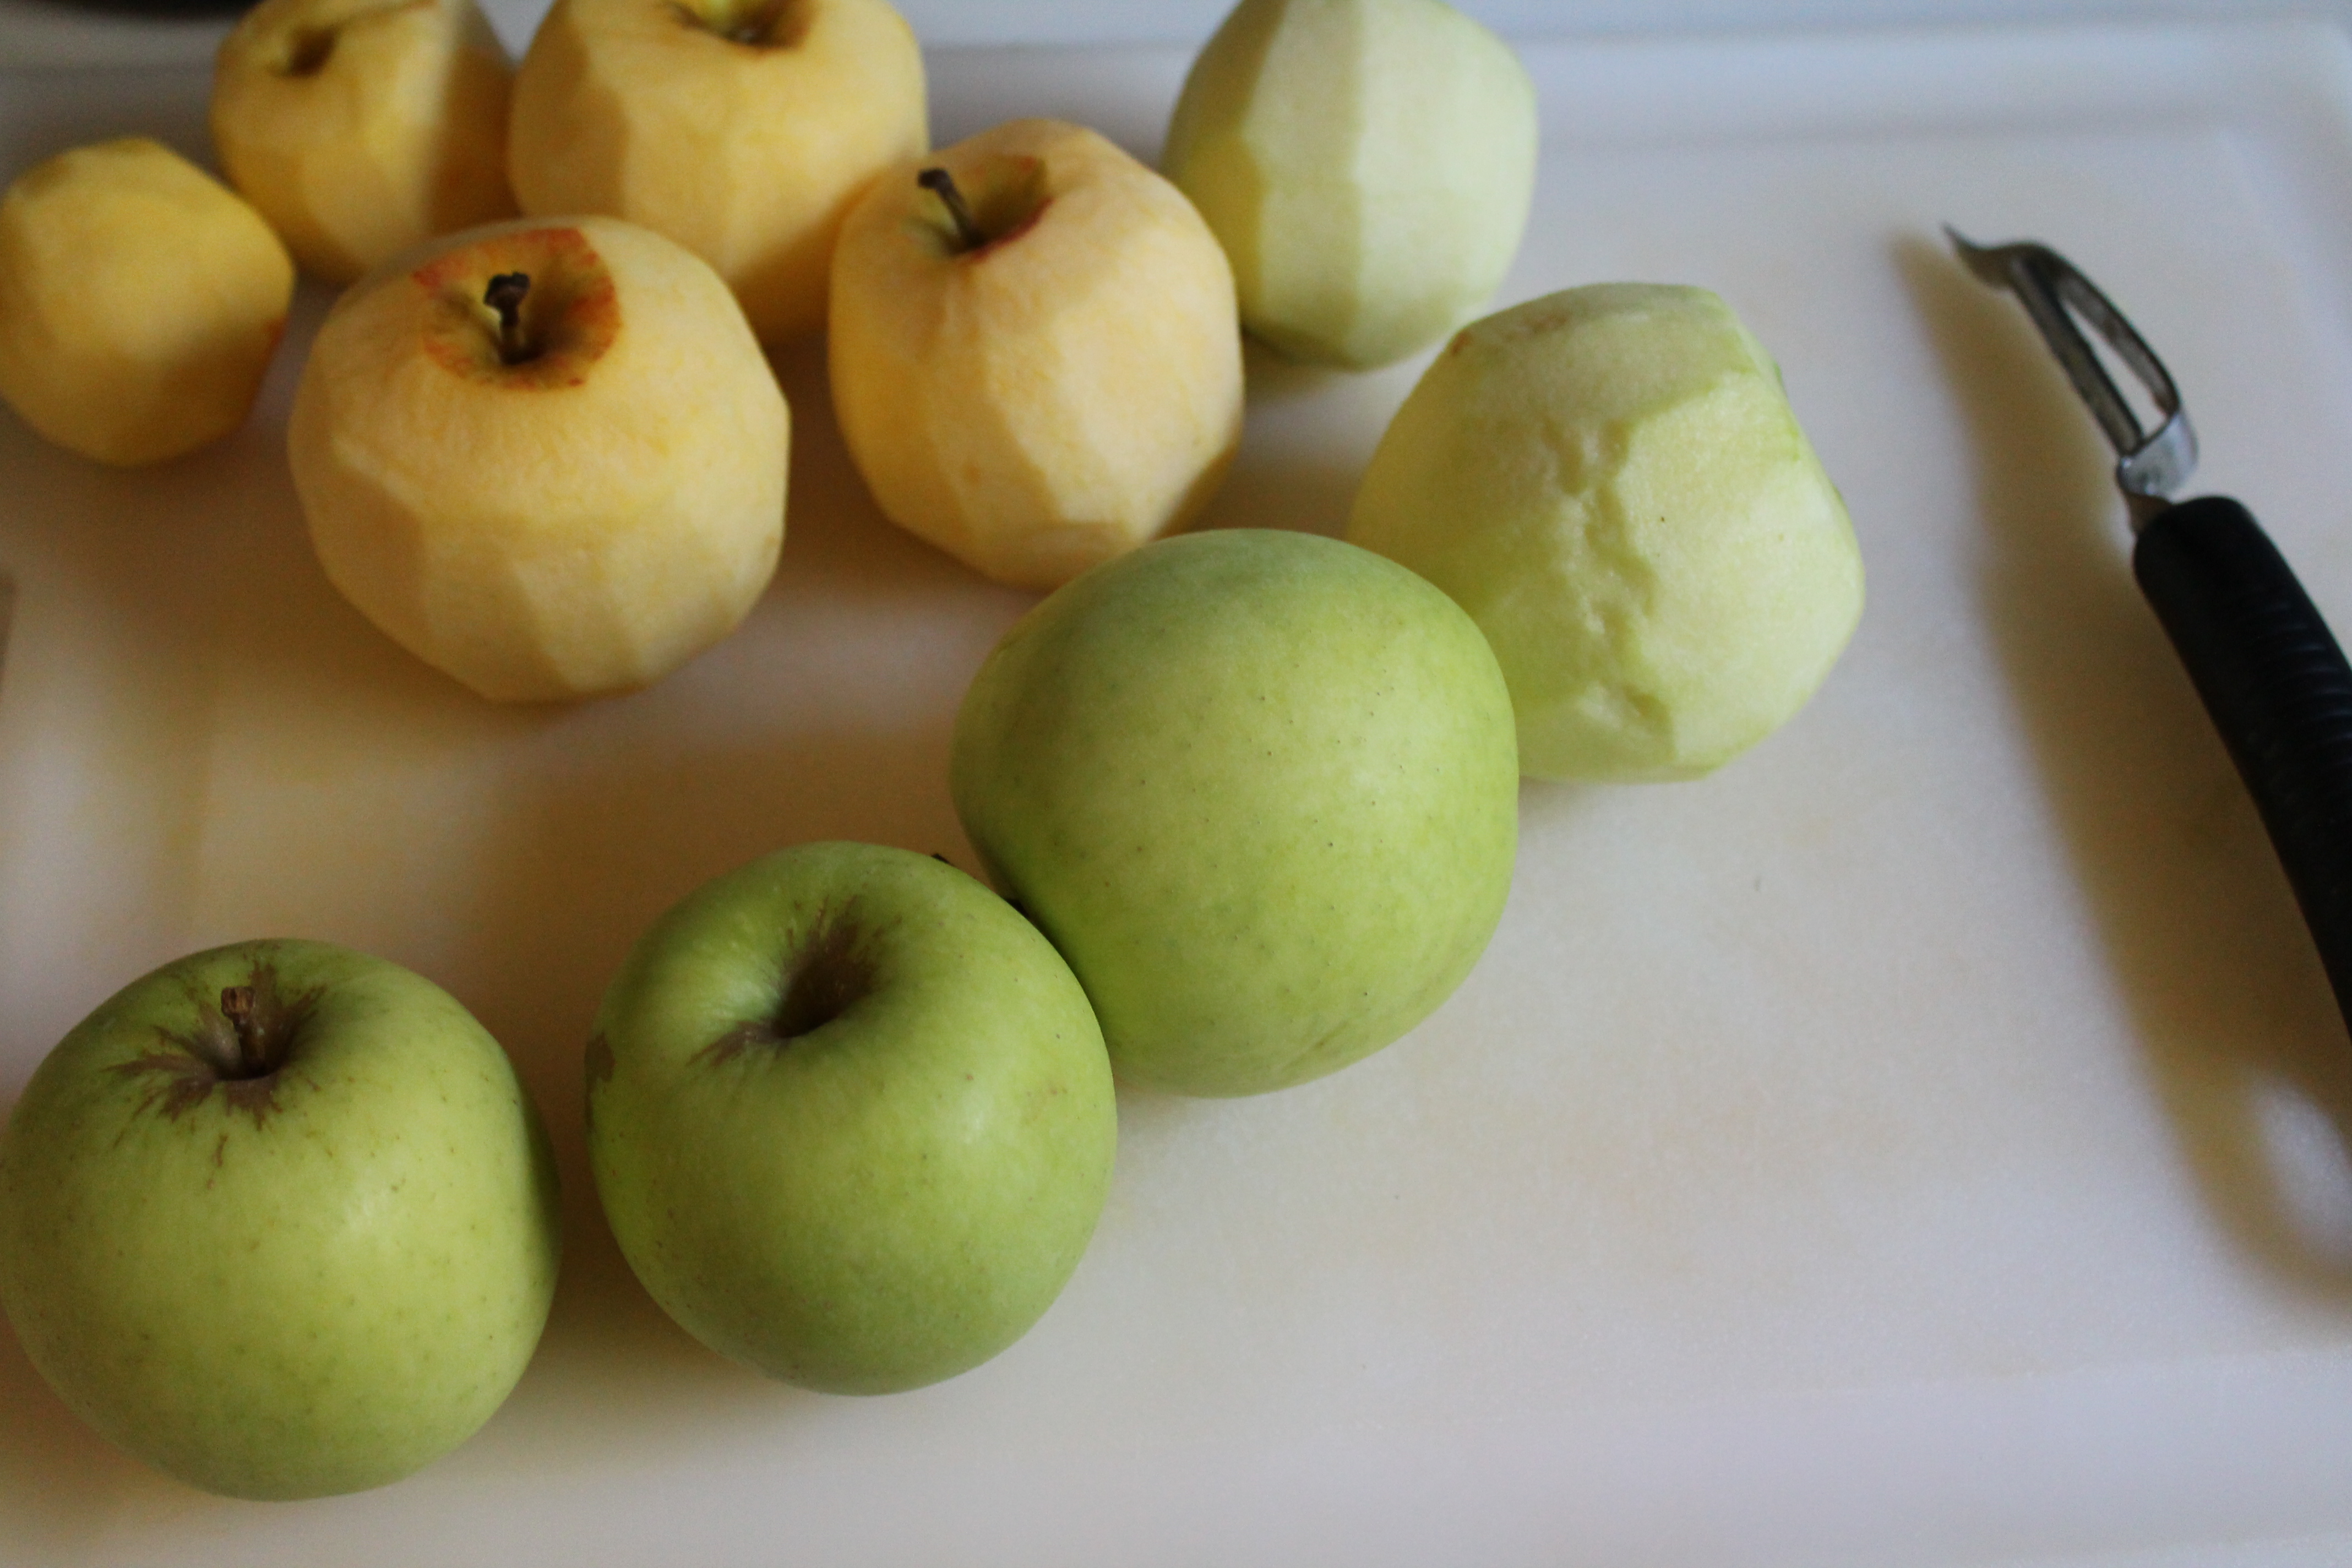 The second part is also easy, but…time consuming. Okay, I don’t really like apples or apple desserts, so I have an even harder time understanding why people would put themselves through so much effort just for a fruit pie! First, you must peel the apples. Then you must cut them into small(ish) wedges, cut out the core and seeds…this takes forever. Or maybe it just seemed like forever…I did have a little barnacle clinging to my legs, and my fingers were covered in sticky juice, which isn’t really my favorite thing.
I tossed my apples in lemon juice and refrigerated them for a day…mostly because I knew Jake wouldn’t really stand for me spending any more time in the kitchen by the time I finished the apples. You could skip the lemon juice if you are forging ahead right away, but if you find that you want to make your tart in stages, it will definitely help keep the cut apples fresher! And honestly, it won’t hurt anything even if you are going to make your caramel immediately.
Once you’ve prepped the apples, the rest is fairly quick!
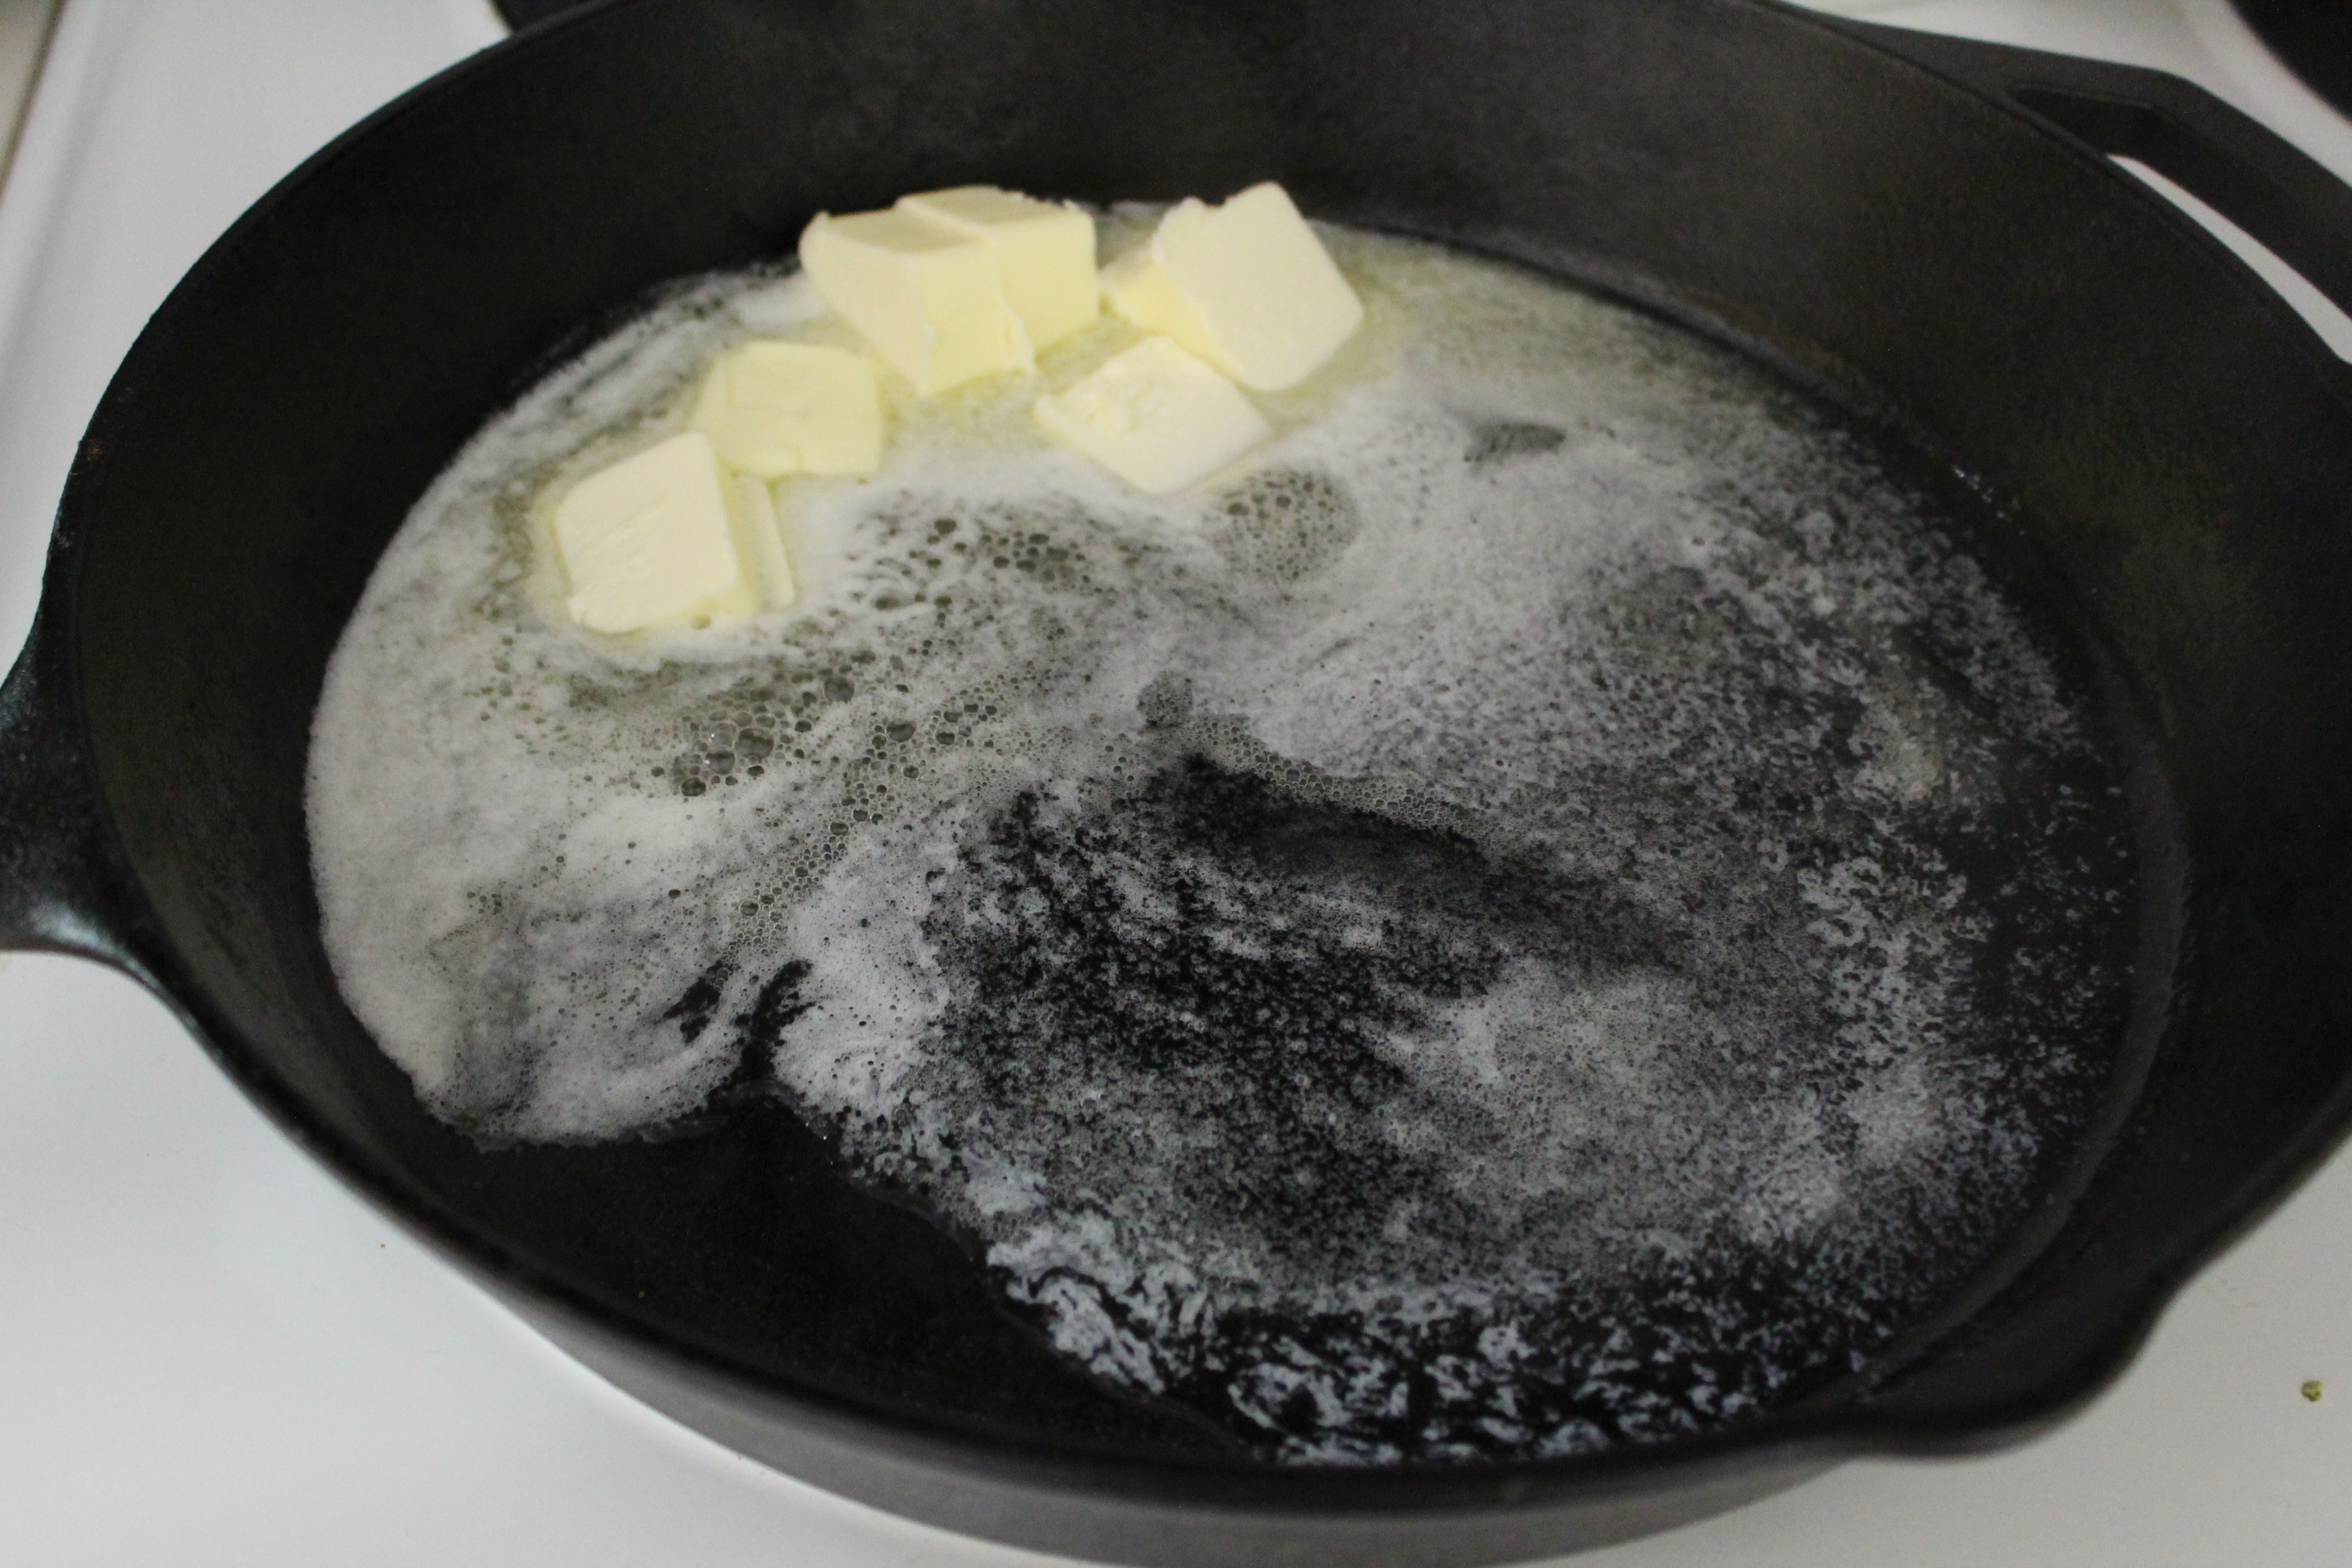 Melt unsalted butter in a large, cast iron skillet over medium high heat.
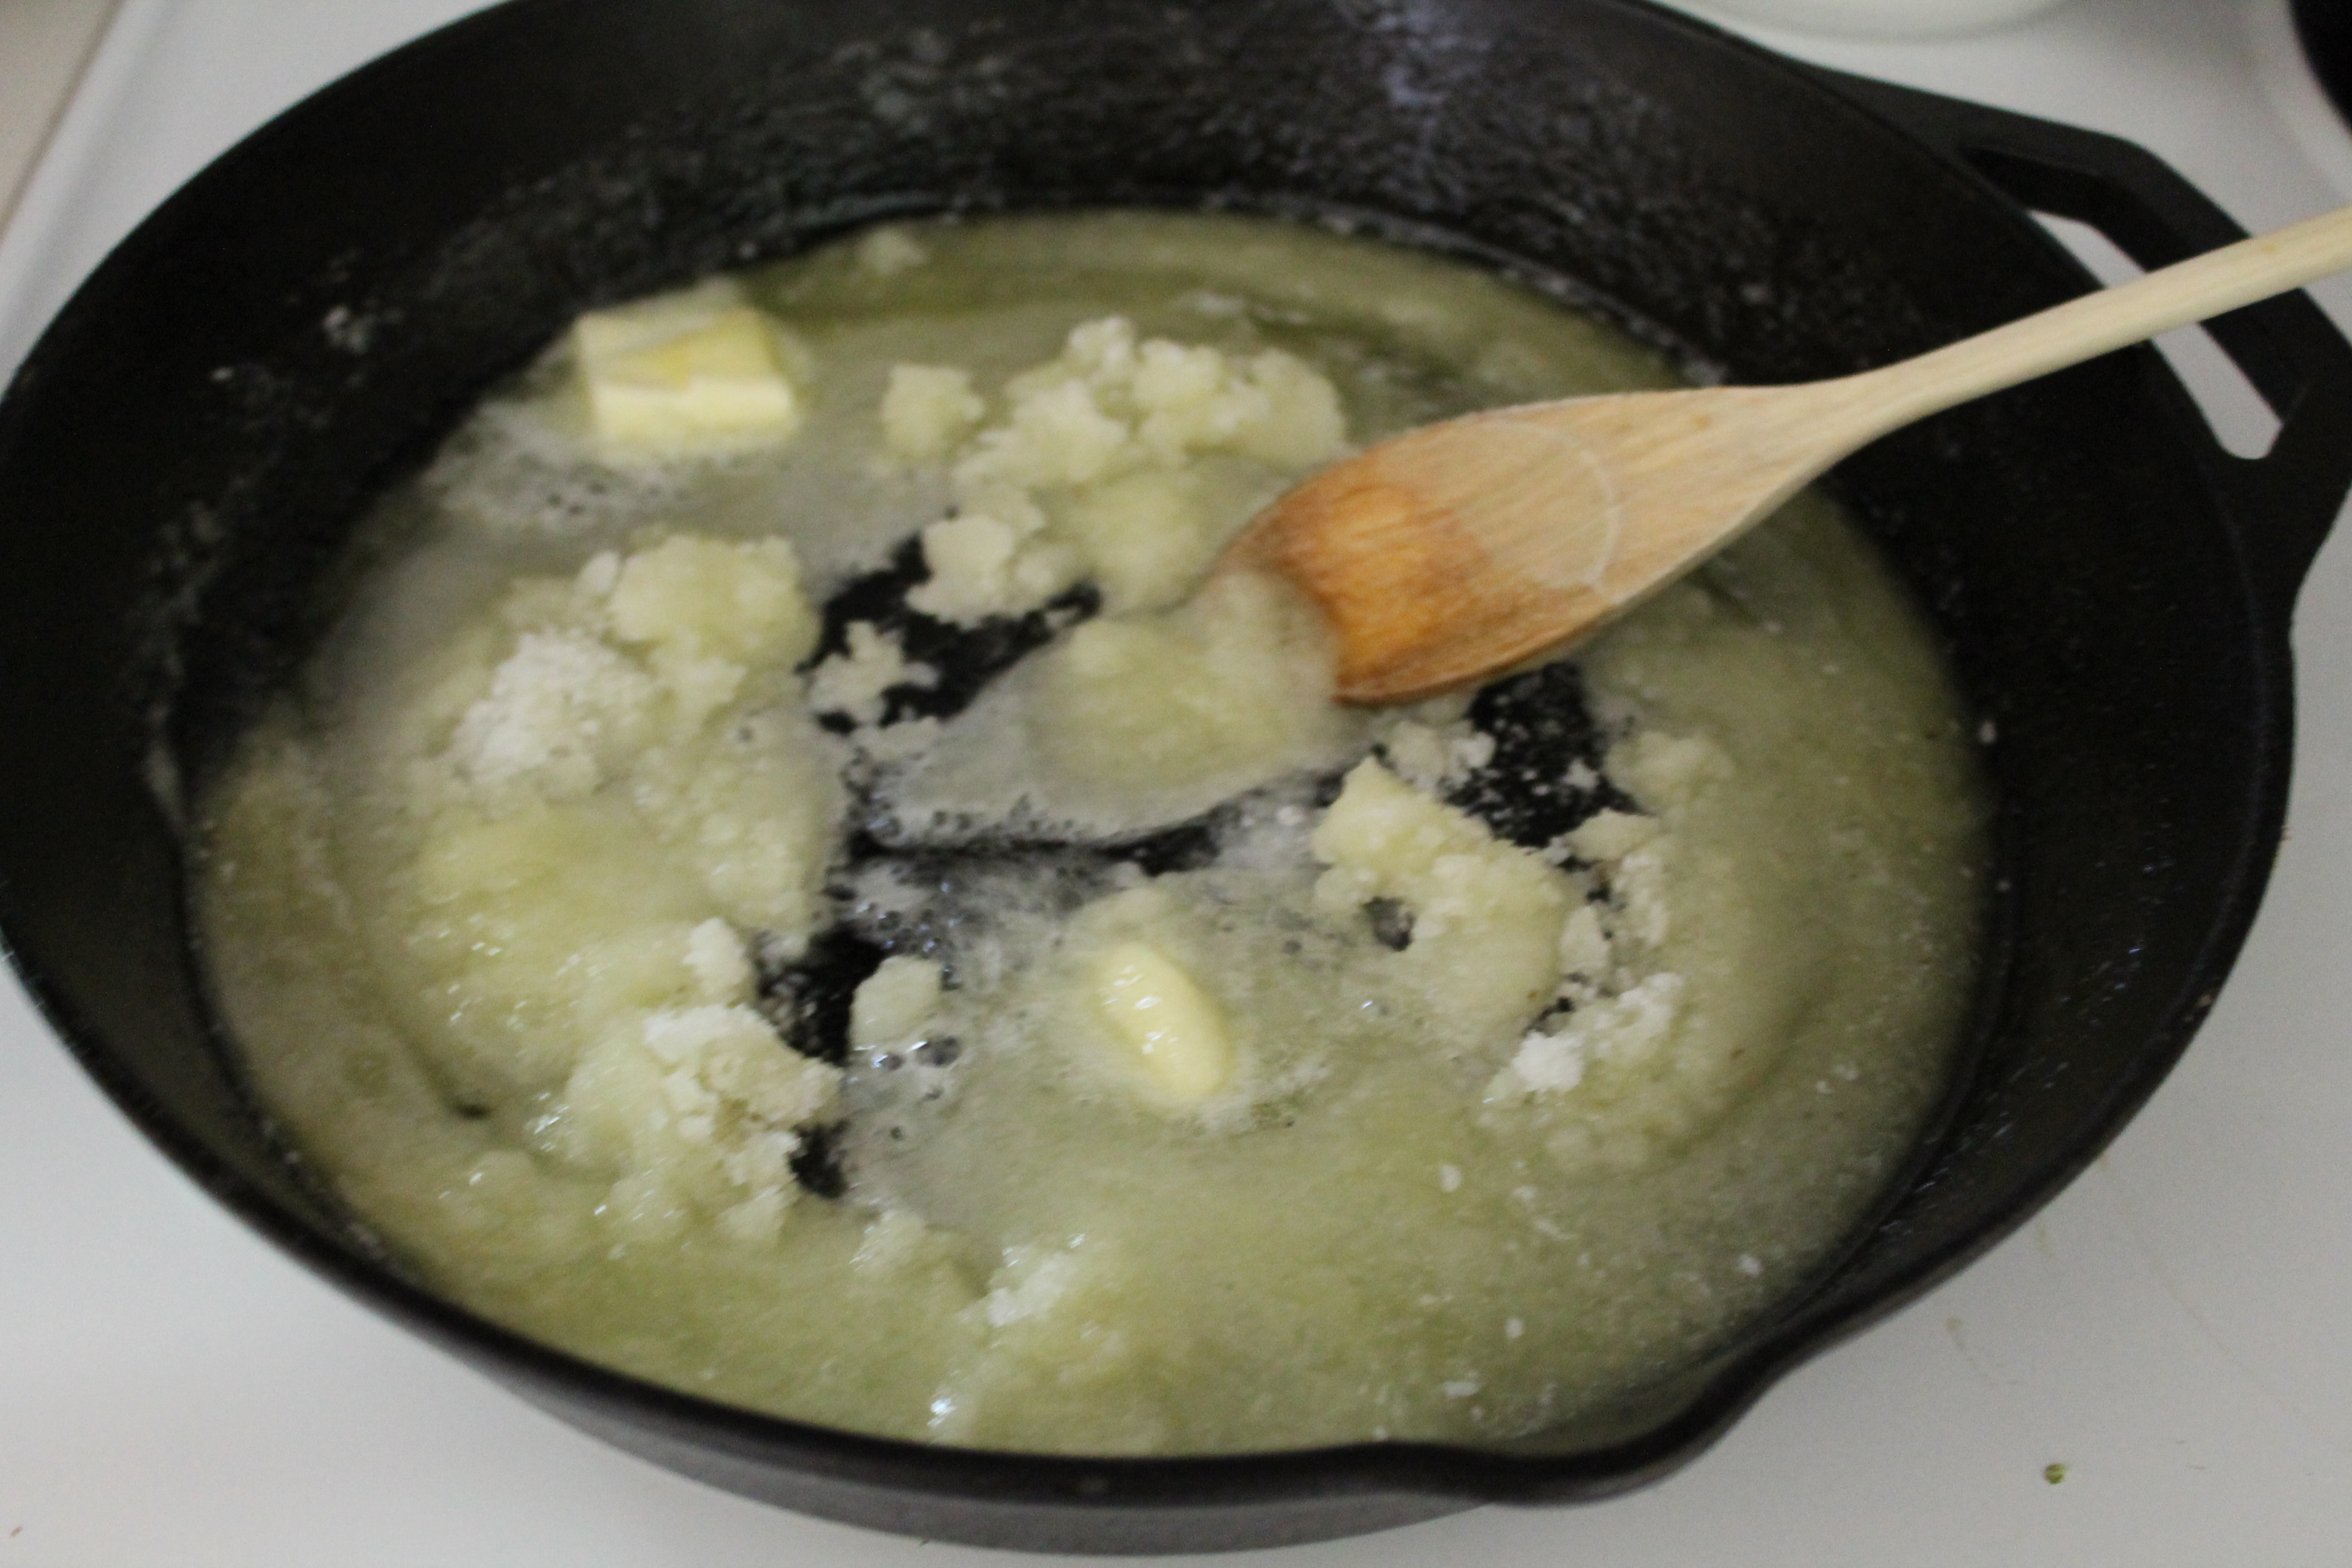 Add in the sugar and stir until the clumps melt down.
 Add in the apples and sprinkle lightly with salt. Don’t bother trying to arrange them…you can do that later, if you want. (As you can see, I wasn’t super successful in my arrangement, but more on that later.)
The apples will release some liquid, but as it evaporates, the sugar will caramelize. Stir the apples every few minutes or so, to get them coated with caramel.
Meanwhile, roll the chilled pie crust out into a large circle.
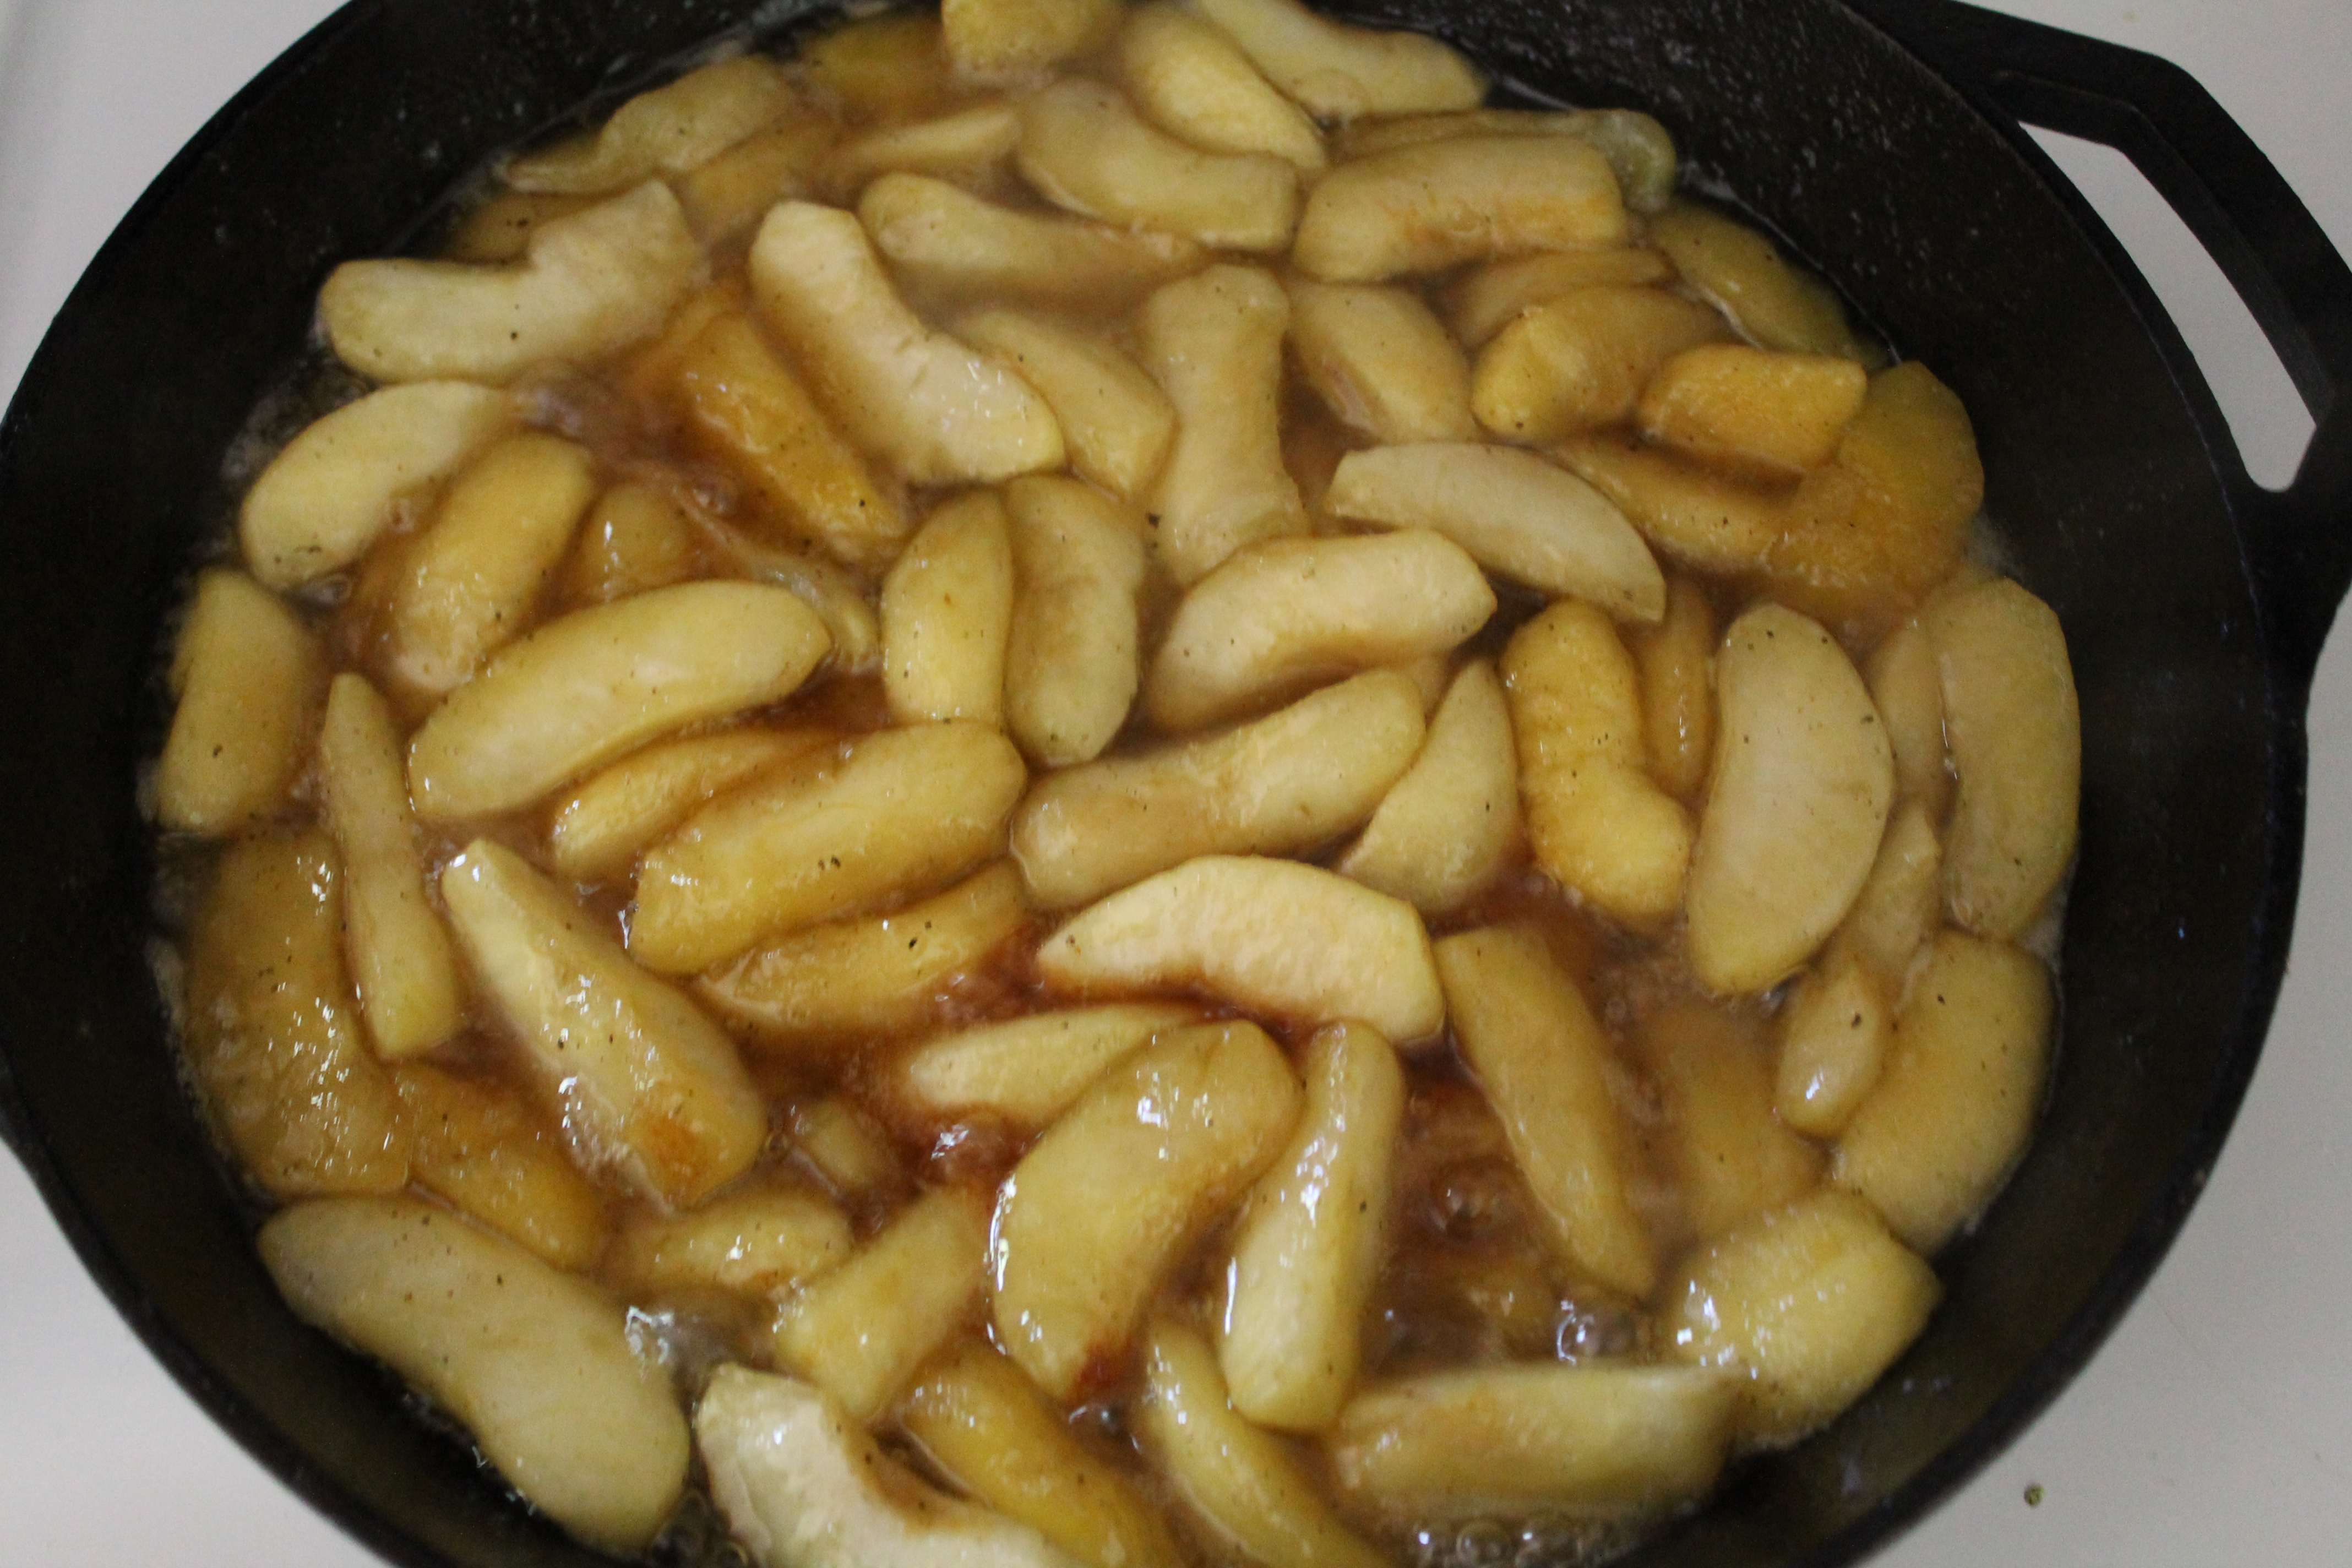 When the caramel darkens, turn the apples so that the rounded sides are down in the pan. Here is where I admit that I was using both fresh Granny Smith apples and older, softer red apples (also from the CSA a few weeks back). The older apples began to fall apart as I tried to turn them, as softer apples are want to do. That’s why it is really important to use very firm apples in this dish: aesthetic appeal!
I gave up on trying to get all the apples arranged neatly. This turned out to be just as well, because some of the apples stuck to the caramel in the pan after I turned it later. So let’s just call my tart “rustic” and move on!
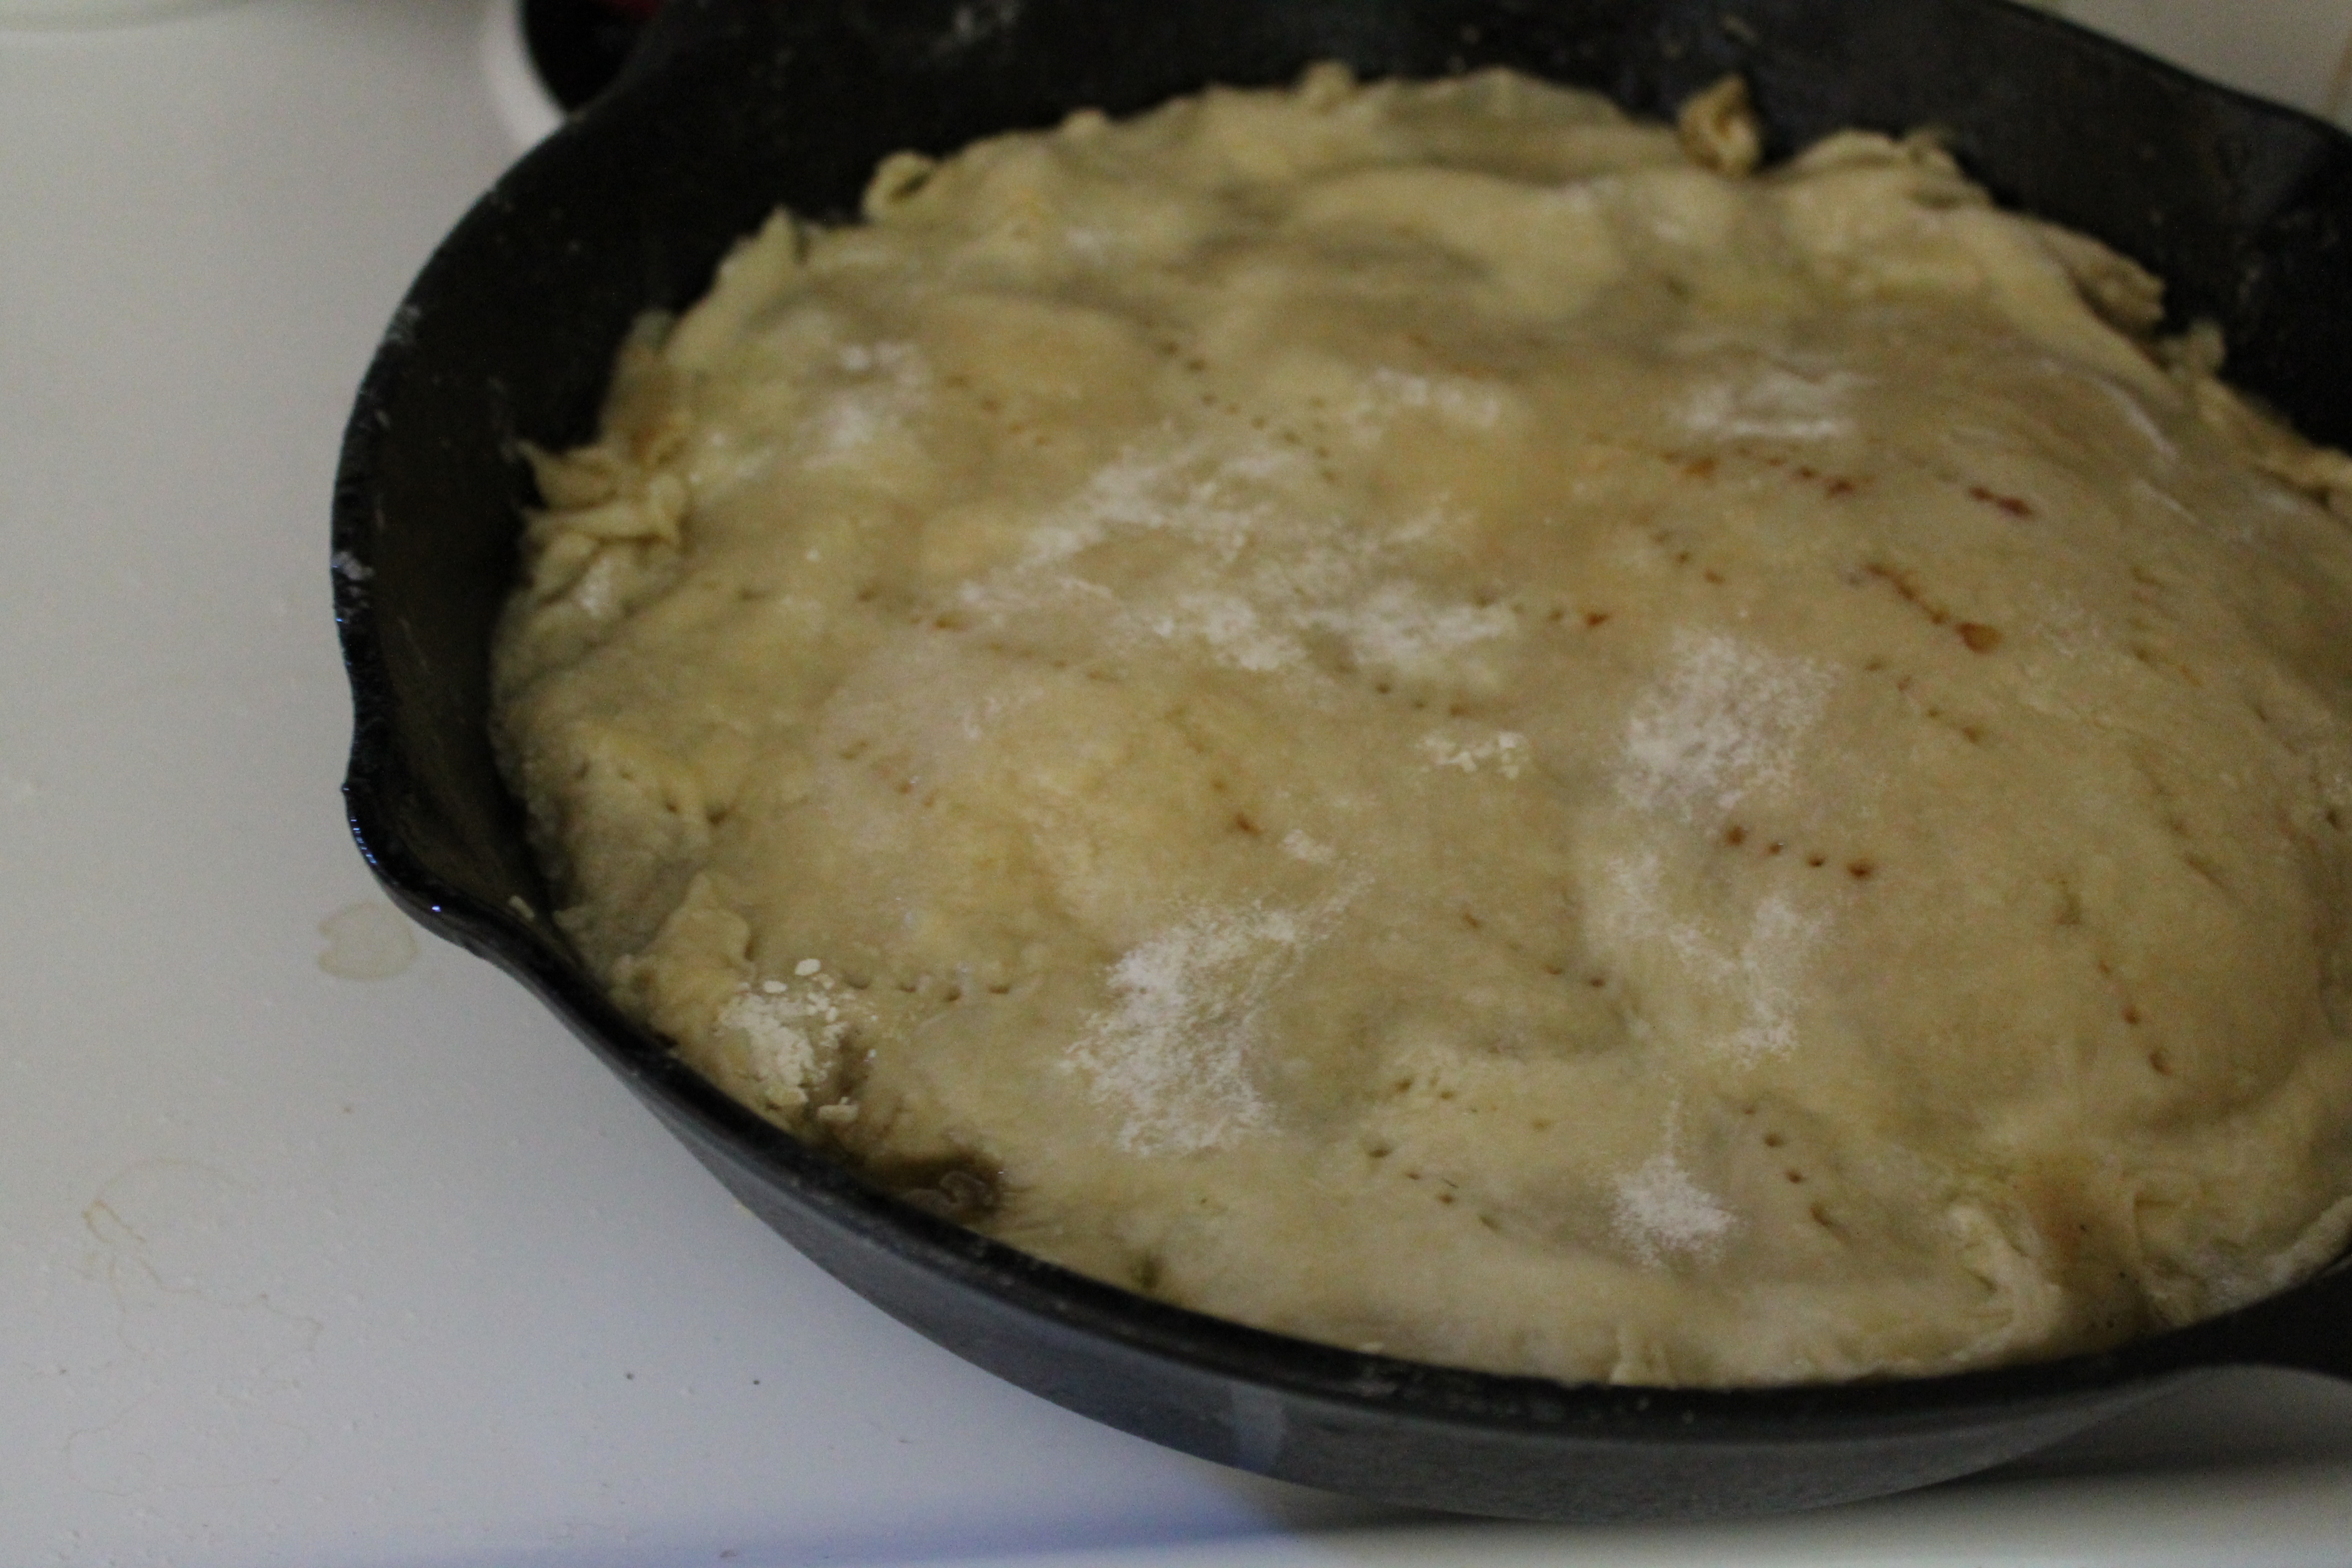 When you are satisfied that your apples are all in a single layer, arranged however neatly or messily you please, lay the crust out over the apple-caramel mixture. Be careful not to touch the pan! Either cut the excess off carefully (and quickly, as the butter will begin to melt) or fold it carefully down. Prick the crust all over with a fork to create vents for the steam.
Set the skillet into the oven and bake for 20–25 minutes at 375°.
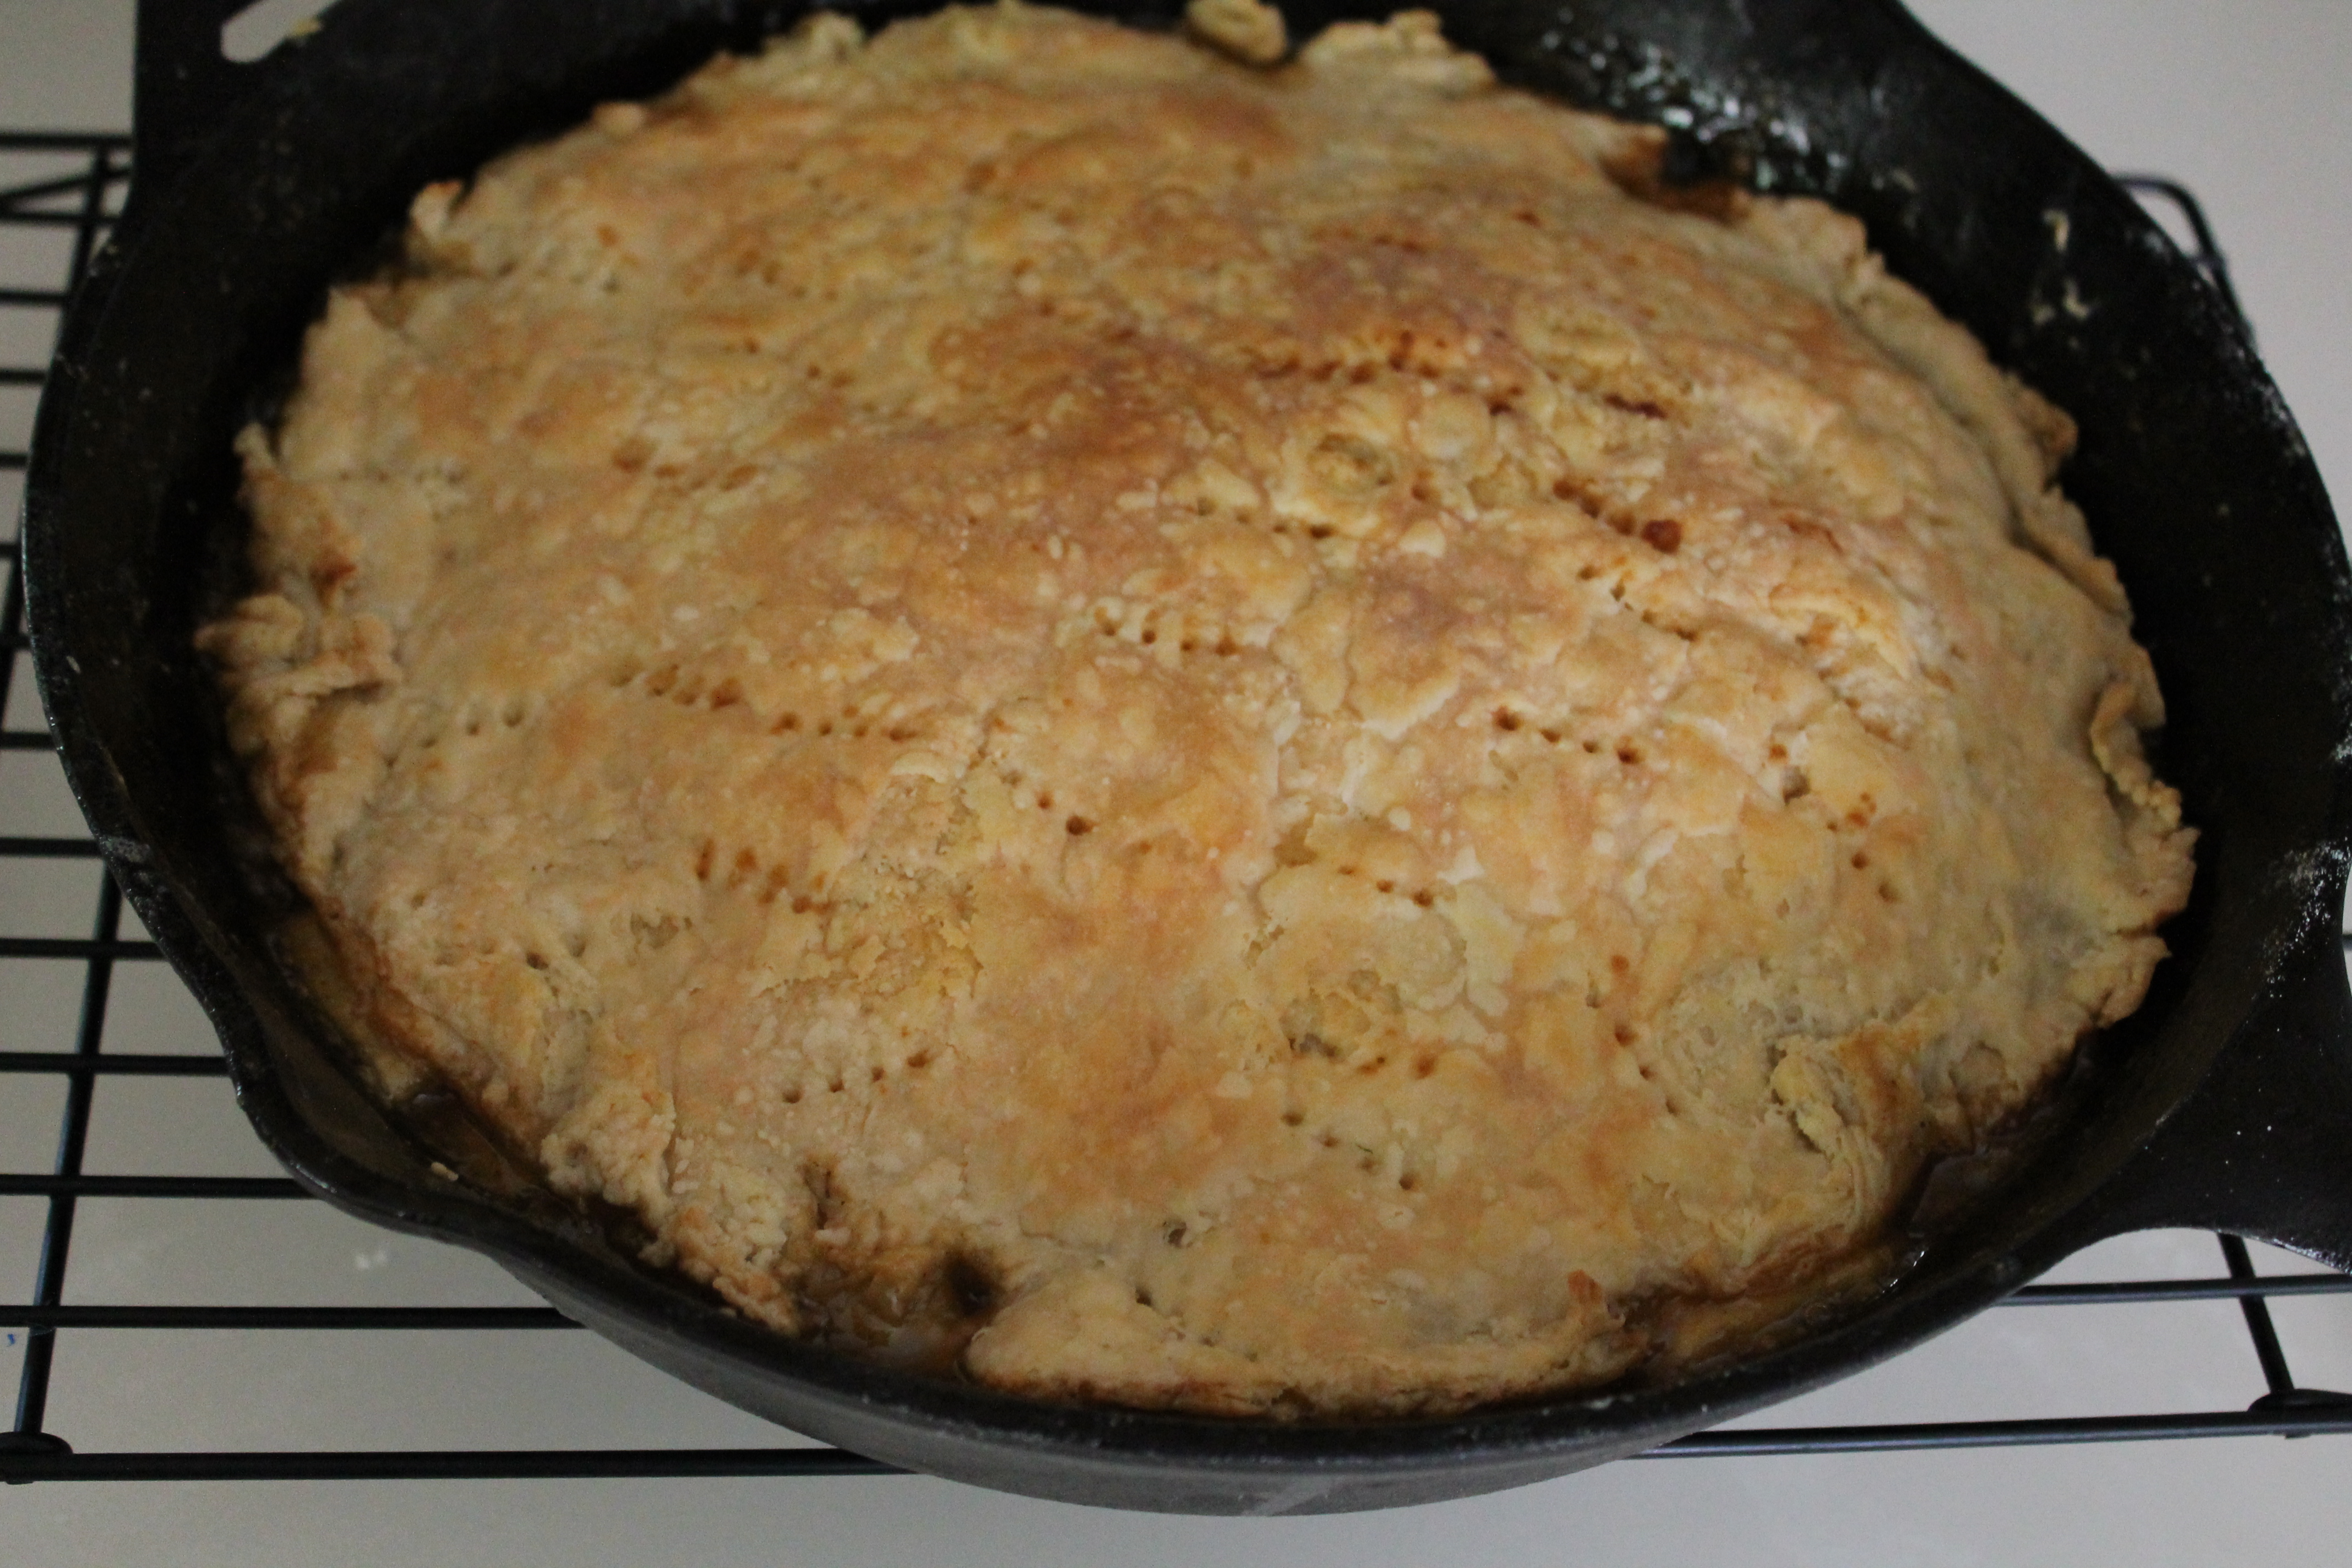 When the crust is golden all over, remove the skillet from the oven. Cool on a rack for 10 minutes.
Now comes the nerve-wracking part! You must flip the tart out of the skillet.
 Lay a large plate face-down on top of the skillet. With gloved hands, hold the skillet and plate together. (I placed my hands at the two handles on the skillet, which were opposite each other, as an even clamp.)
Turn the skillet upside down, keeping it flush against the plate.
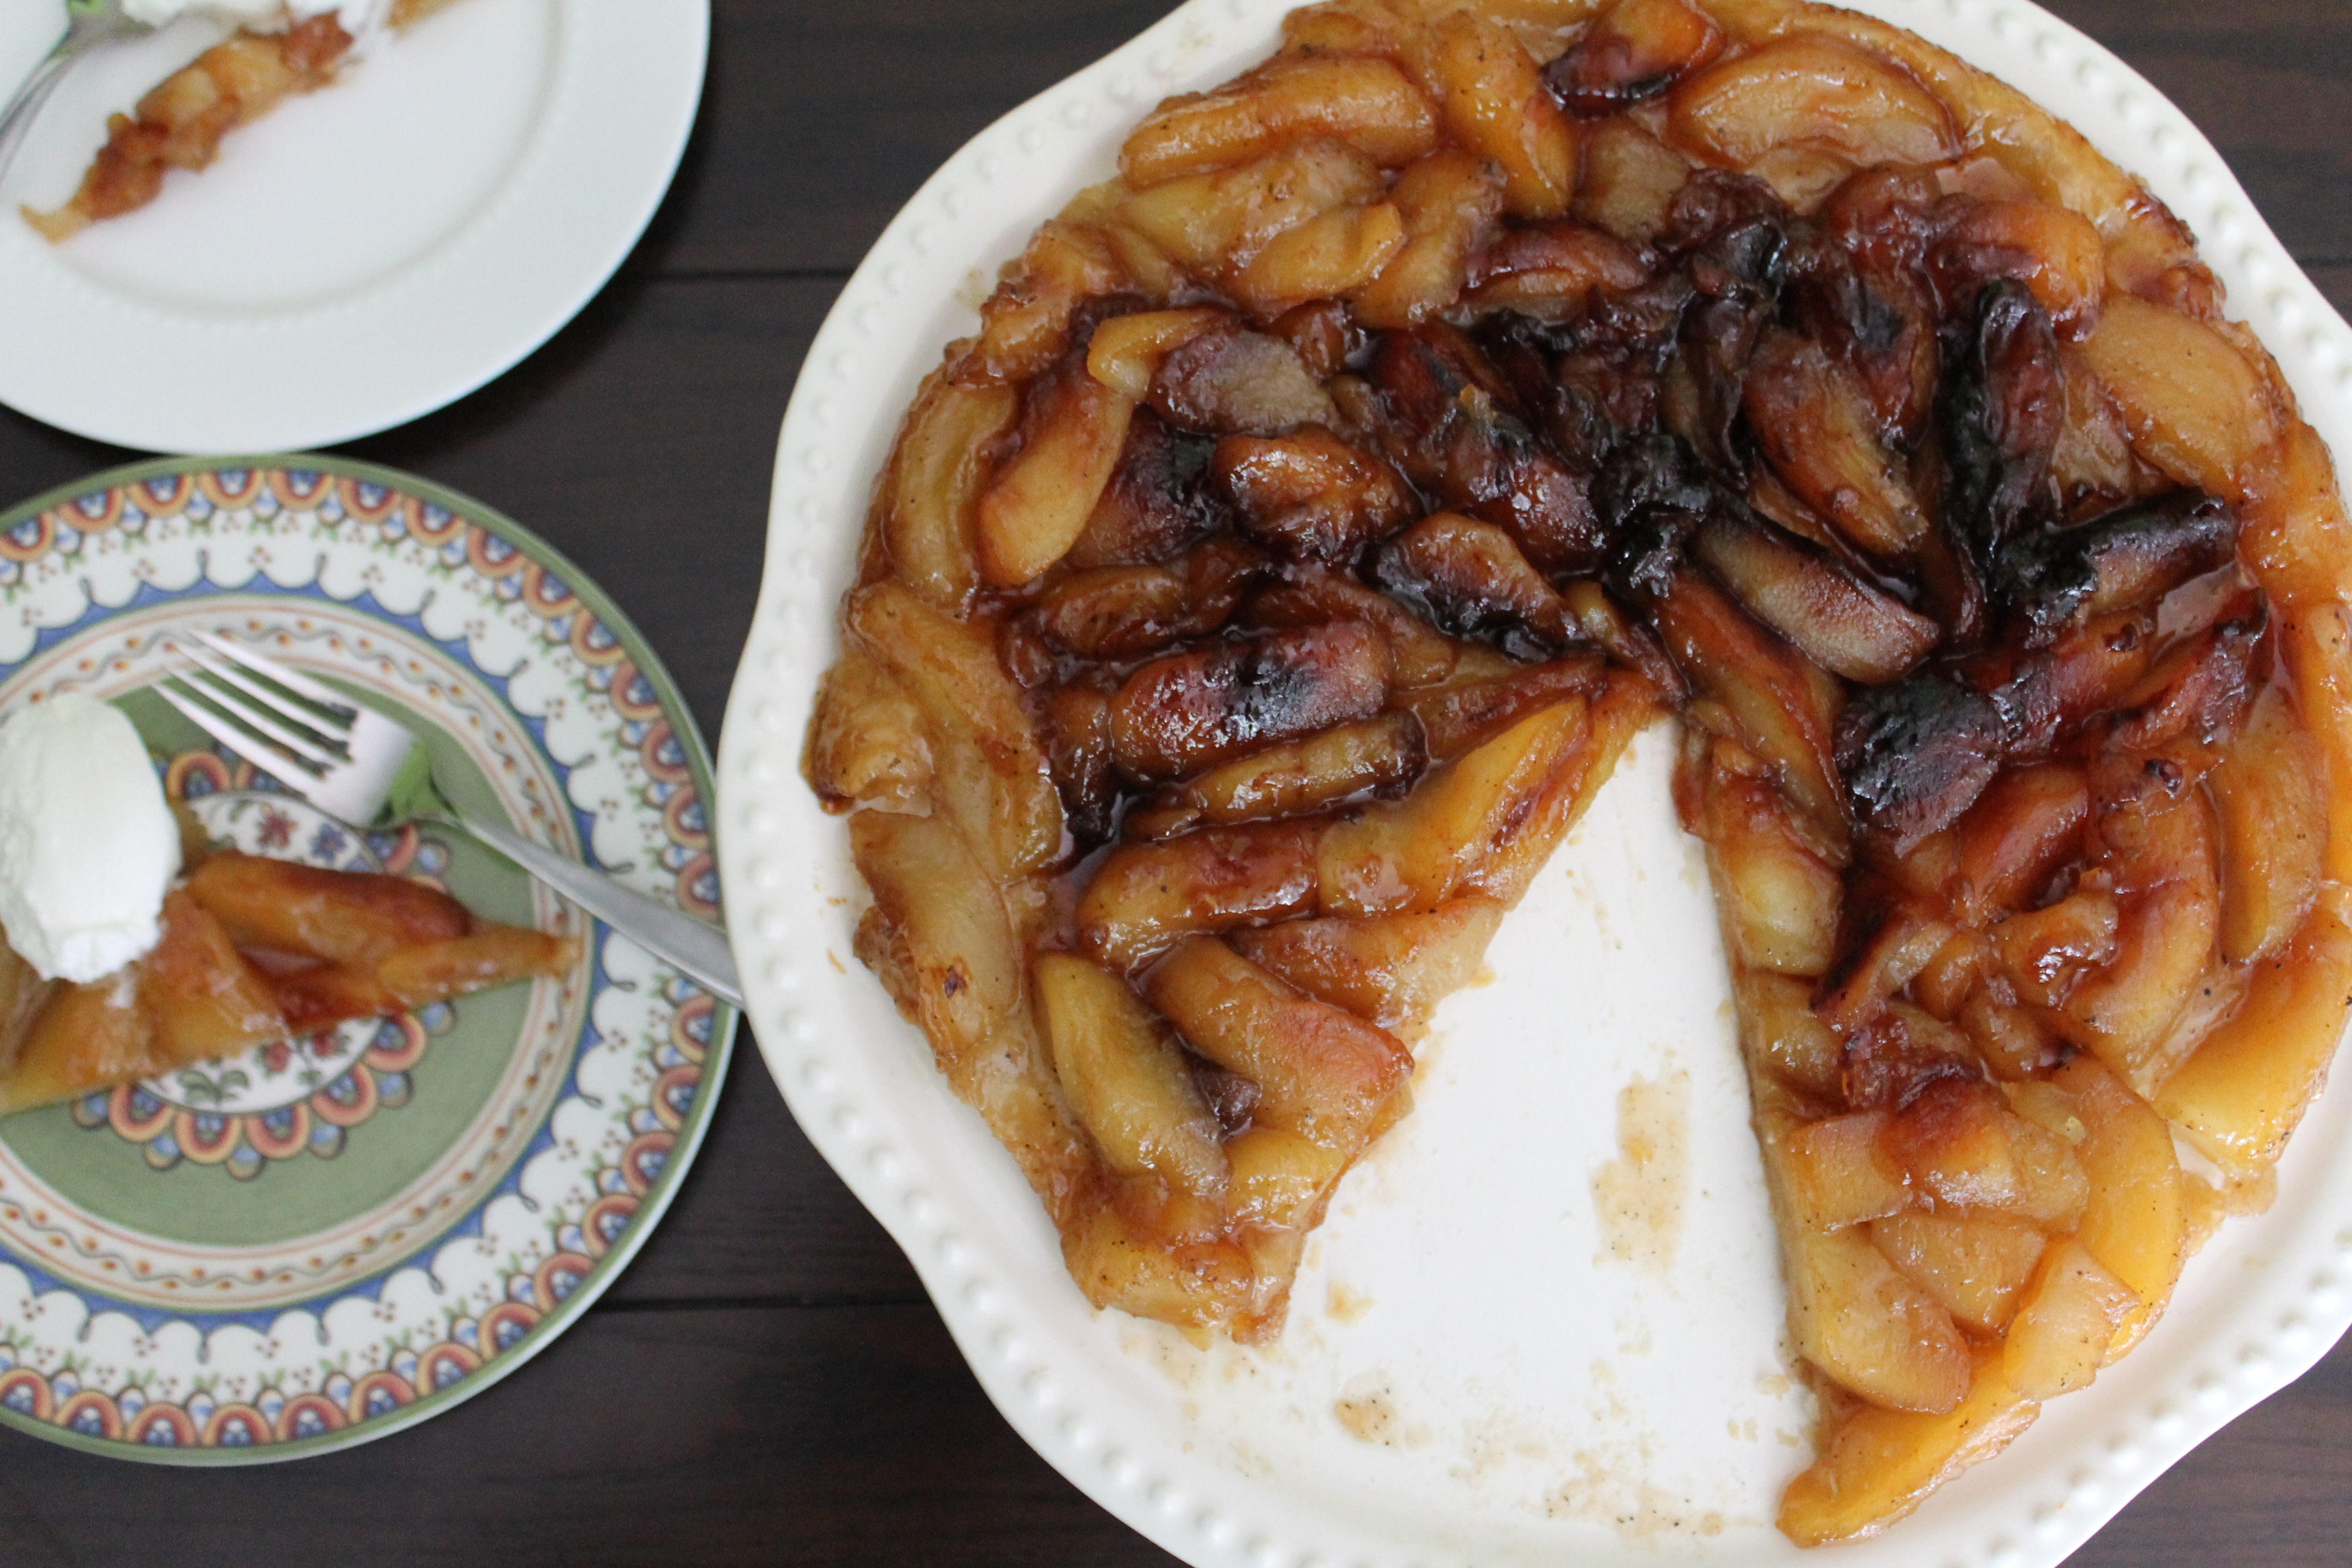
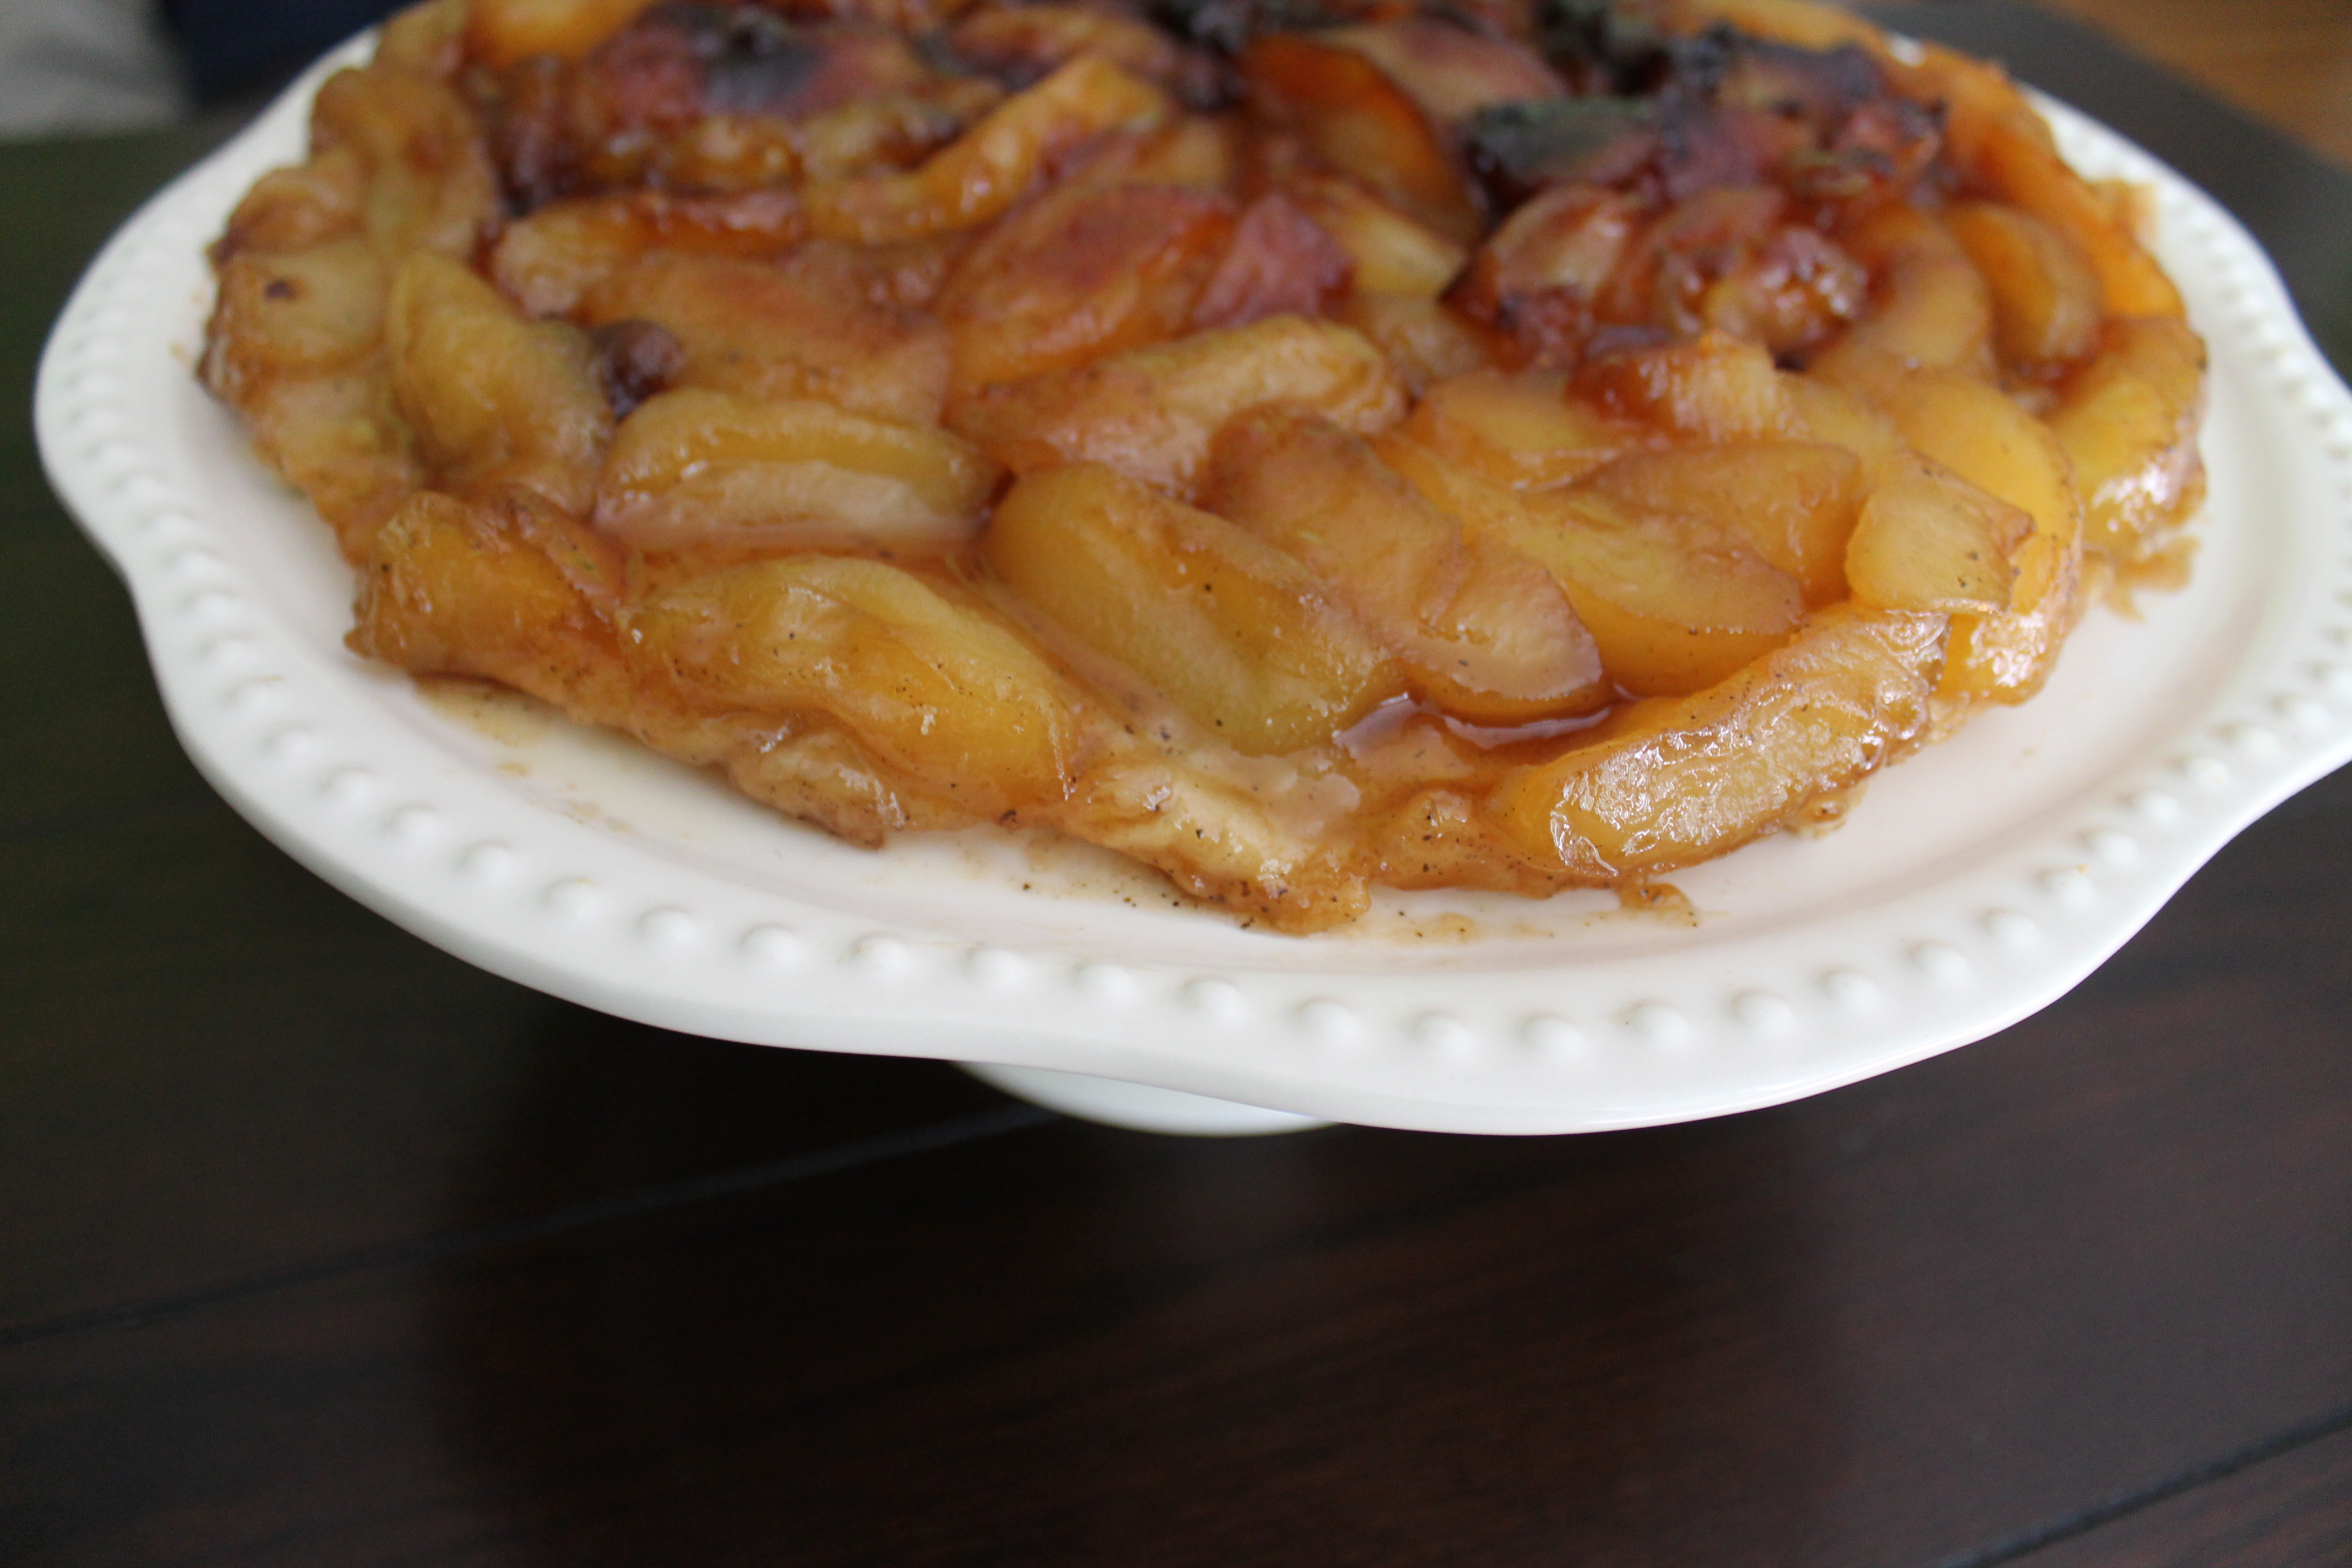 Carefully lift the skillet away. The tart should be on the plate, inverted with the crust on bottom and apples on top! If there are any apples or caramel stuck in the skillet, just scrape them out with a fork or spoon and set them back onto the crust. (You can tell my skillet was hotter in the center because the caramel darkened significantly! Oops.)
Serve with vanilla ice cream or lightly sweetened whipped cream.
Tarte Tatin
adapted from The Kitchn
serves 12
Ingredients:
1¼ cups flour
½ tsp. salt, plus 1 pinch
1 cup unsalted butter, divided
¼–½ cup ice water
8–10 medium Granny Smith apples
1 tsp. fresh squeezed lemon juice
1 cup sugar
Directions:
Whisk together flour and salt. Cut in ½ cup cold butter until it is the size of peas. Using a fork, toss in the ice water, a few tbsp. at a time, until the dough mostly comes together.
Turn the dough out onto the counter and knead 4–5 times, until all the shaggy bits are incorporated. Flatten into a disk and wrap with plastic wrap. Chill in the fridge at least 30 minutes.
Meanwhile, prepare the apples. Peel them, then cut into wedges about 1″ thick, removing the seeds and tough core parts. Toss the apples with the lemon juice so they do not oxidize.
Melt the remaining butter in a 12″ cast iron skillet over medium high heat. Add in the sugar and stir until the mixture becomes smooth.
Add in the apples. Sprinkle with a pinch of salt. Stir every few minutes, until the caramel begins to darken (about 12 minutes), making sure the apples are well coated.
Meanwhile, heat the oven to 375°.
Remove the pan of apples from the heat. With a fork and a spatula, turn the apples so their rounded surfaces are against the bottom of the pan and arrange them in concentric circles.
Roll out the chilled pie crust into a large circle. Carefully drape the crust over the apples and caramel in the skillet. Be careful not to touch the hot caramel sauce! Tucking the edges of the crust into the pan and prick vigorously with a fork to vent.
Bake for 20–25 minutes, until the crust is puffed and golden.
Cool in the skillet on a wire rack for 10 minutes.
Run a knife around the edge of the pie crust to separate it from the pan. Shake the skillet a few times to loosen the apples in the caramel sauce. Place the pie plate over the top of the skillet. Using oven mitts, grip the plate and the skillet and swiftly turn them both over so the pie plate is on the bottom and the skillet is on top.
Serve with vanilla ice cream or whipped cream.
Enjoy!
- One year ago: Quinoa Bean Salad with Lemon-Basil Dressing
- Two years ago: Cake in a Cup
2 comments to “CSA Week 16: Tarte Tatin”
Sarah - September 25, 2013
That was such an impressive flip! And Jasper asked me if I got it from Paul!
Melissa - September 29, 2013
Oooh! Thanks for the compliment! 🙂