So last time, I shared the inception of this wedding cake with you. To recap: the bride and groom requested a 3-tier cake, each tier consisting of pumpkin spice cake, a thin cheesecake filling, and Baileys cream cheese frosting on the outside.
It’s a tall order! Not only is a wedding cake a nerve-wracking, complex thing to take on, but I embraced the additional step of baking cheesecakes to fill the layers, rather than filling with a simple frosting or ganache.
Have you ever make a cheesecake-filled cake? It actually isn’t as hard as it sounds, but it does require extra time and a mountain of extra dishes. The cheesecakes are typically baked in advance and then frozen, which makes them firm enough to handle without crumbling or smushing during assembly.
When I made the tasting cake—the one that the bride and groom loved so much—I had looked specifically for a cheesecake recipe that was already scaled to a 6″ springform pan. Honestly, I don’t love doing a lot of math to adjust for different volume pans, so I wanted to test the concept as simply as possible.
But of course, I didn’t want to fill the cake with a regular-height cheesecake, so I cut recipe for the 6″ cheesecake in half and baked accordingly.
I had only sampled a cheesecake-filled cake once before, but I really wanted to sidestep a problem I had noticed when I tasted that cake: cheesecake tends to be equally tart and sweet (it’s one of the greatest pleasures of eating it!). But frosting, especially American-style frosting made with confectioner’s sugar, tends to be incredibly sweet. Against the sugar saturated frosting, the less sweet cheesecake tasted almost like plain cream cheese. Not ideal.
I wanted to make sure there wouldn’t be a flavor imbalance between the cheesecake and the frosting, so that both parts would complement each other rather than detracting from each other. To achieve this, I increased the sugar in the cheesecake recipe slightly. And hooray! That decision paid off, and the cheesecake was delicious.
For the real cake, however, the bride and groom requested an even thinner layer of cheesecake, half the size of the cheesecake layer I baked for the tasting cake. They wanted just enough cheesecake to offset the actual cake in texture and sweetness, but they didn’t want to overpower the pumpkin spice flavor.
So I ended up doing a little awkward math after all!
My final cheesecake recipe could also be used to make one normal 9″ cheesecake, if you add a crust to the bottom! I, however, divided the batter among three pans and used the shallow cheesecakes to fill the wedding cake layers.
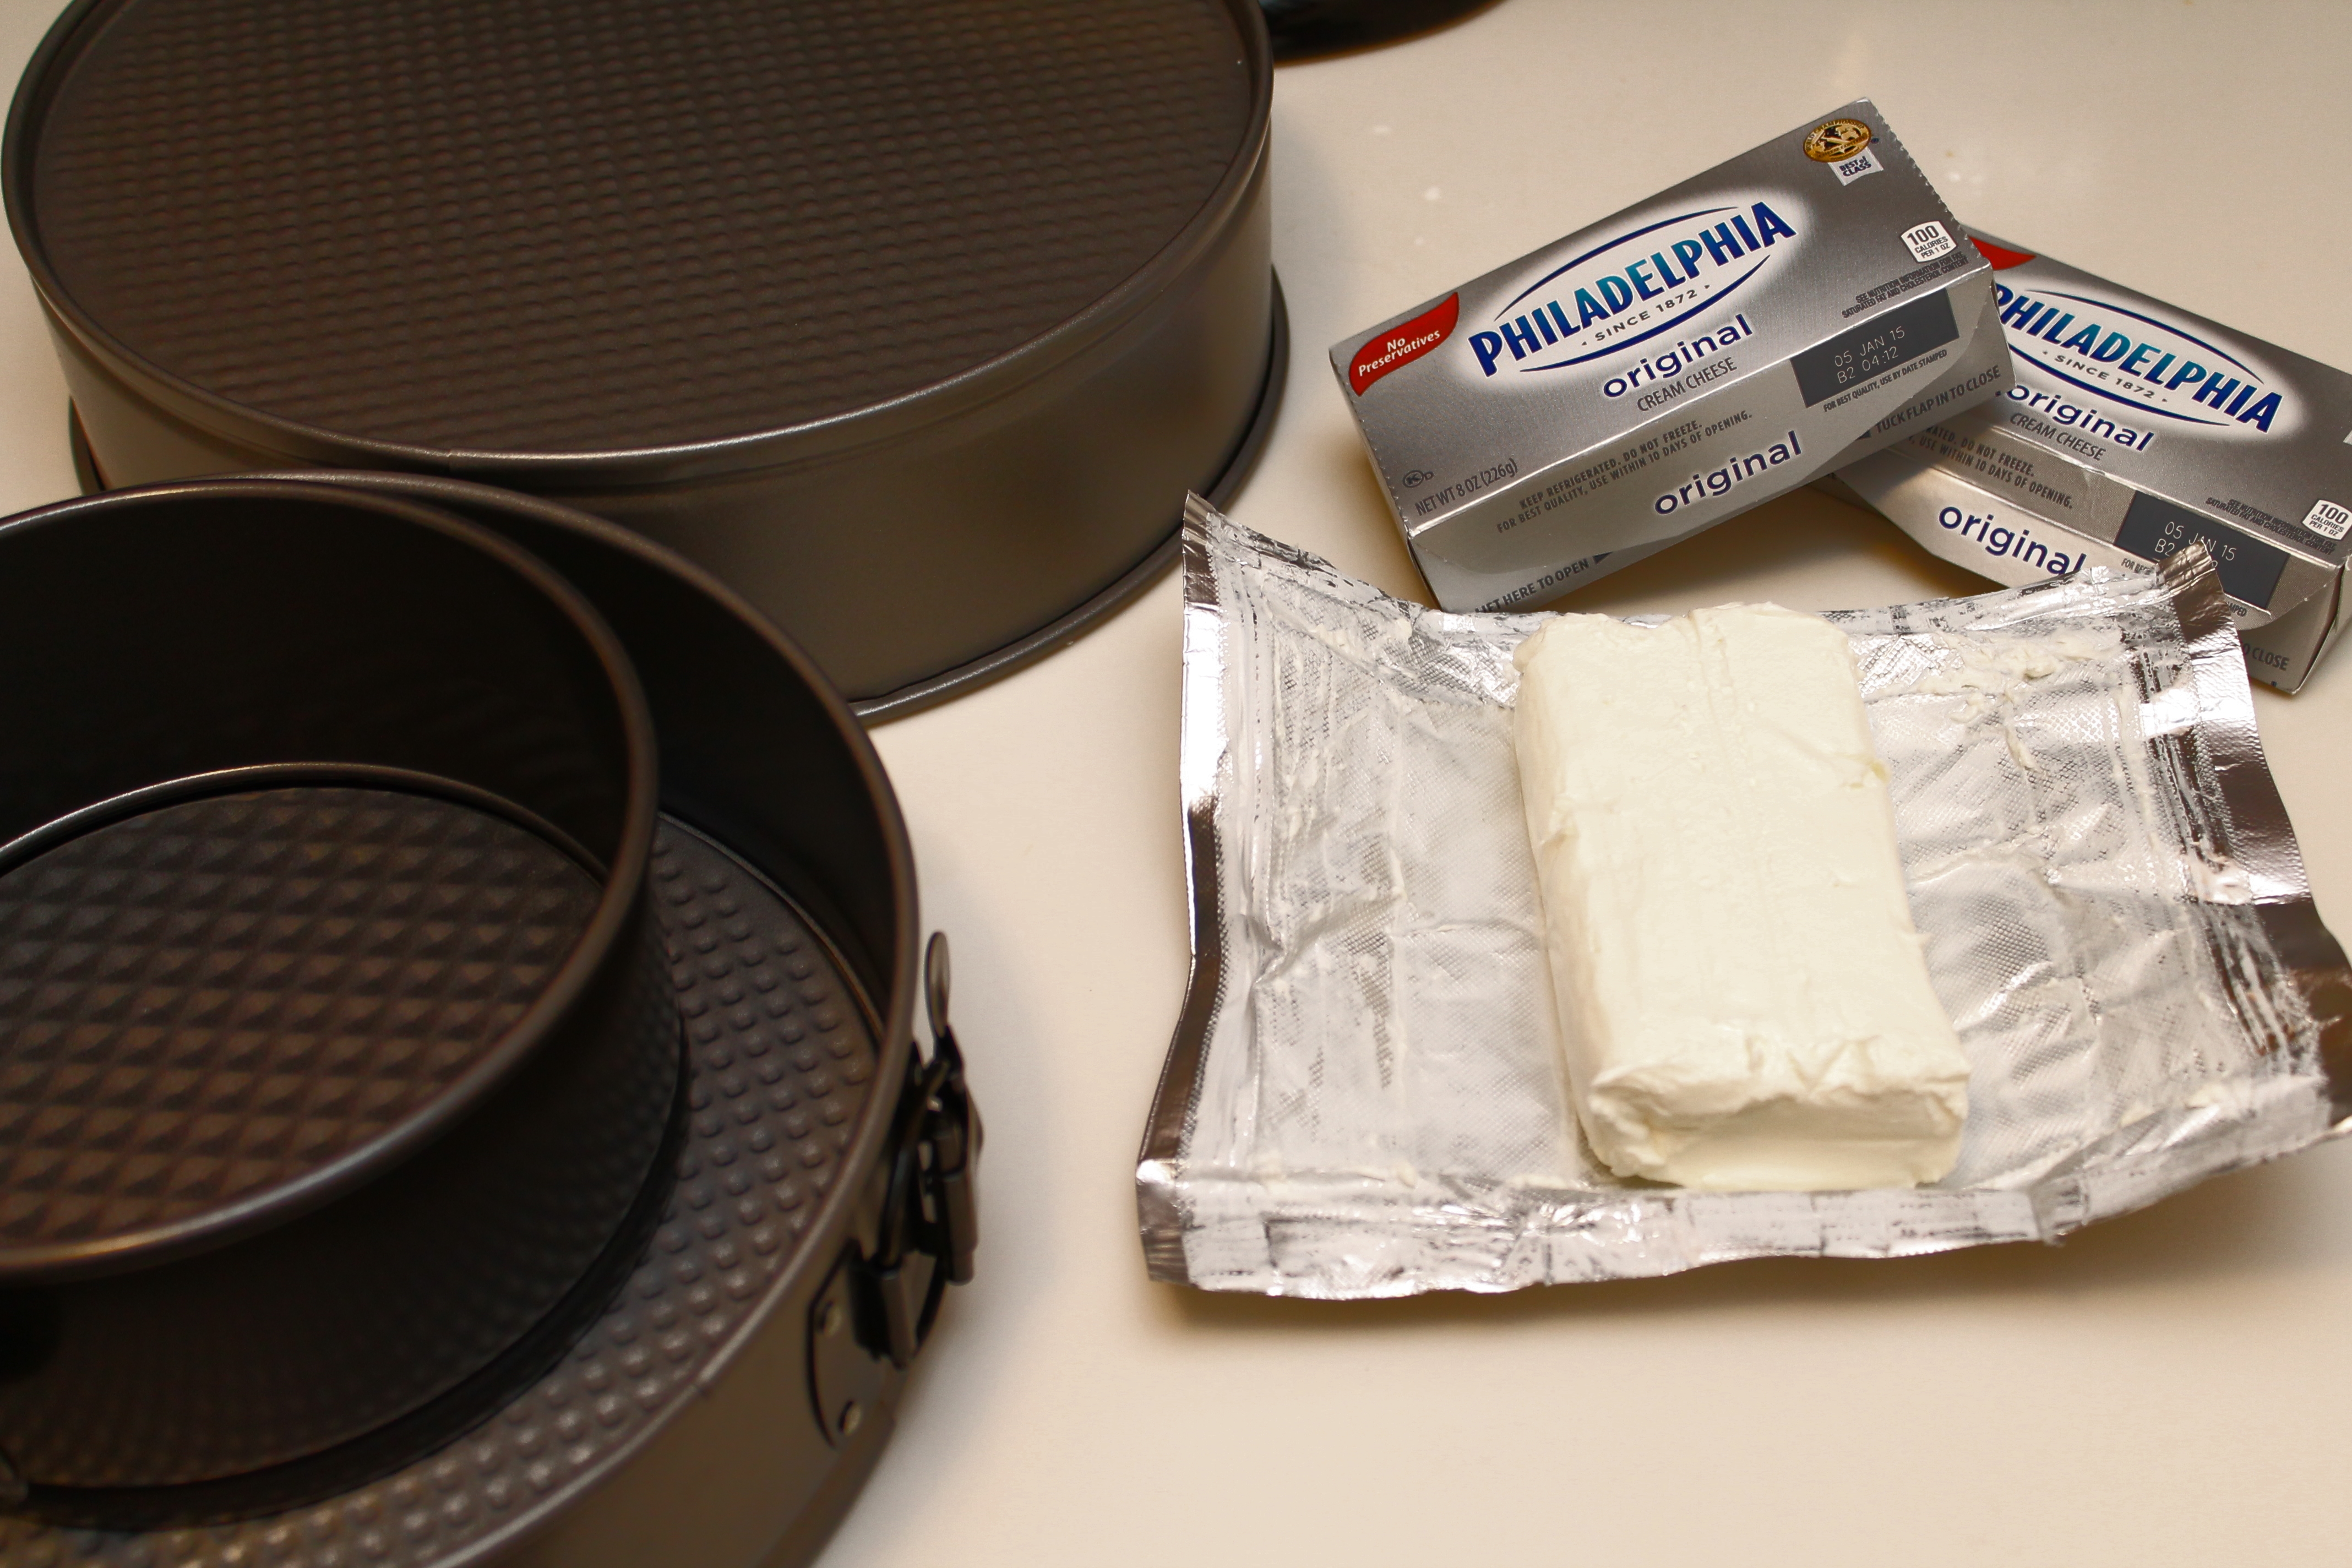 Cheesecake bakes the best when all the ingredients are evenly incorporated and the batter hasn’t been overbeaten. It’s very important that all the cream cheese start at room temperature, otherwise it will be very challenging to incorporate the other ingredients. (You can also set out the eggs and sour cream to come to room temperature if you like, but ultimately, I didn’t. Again, I’m sure all the professional bakers are taking offense.)
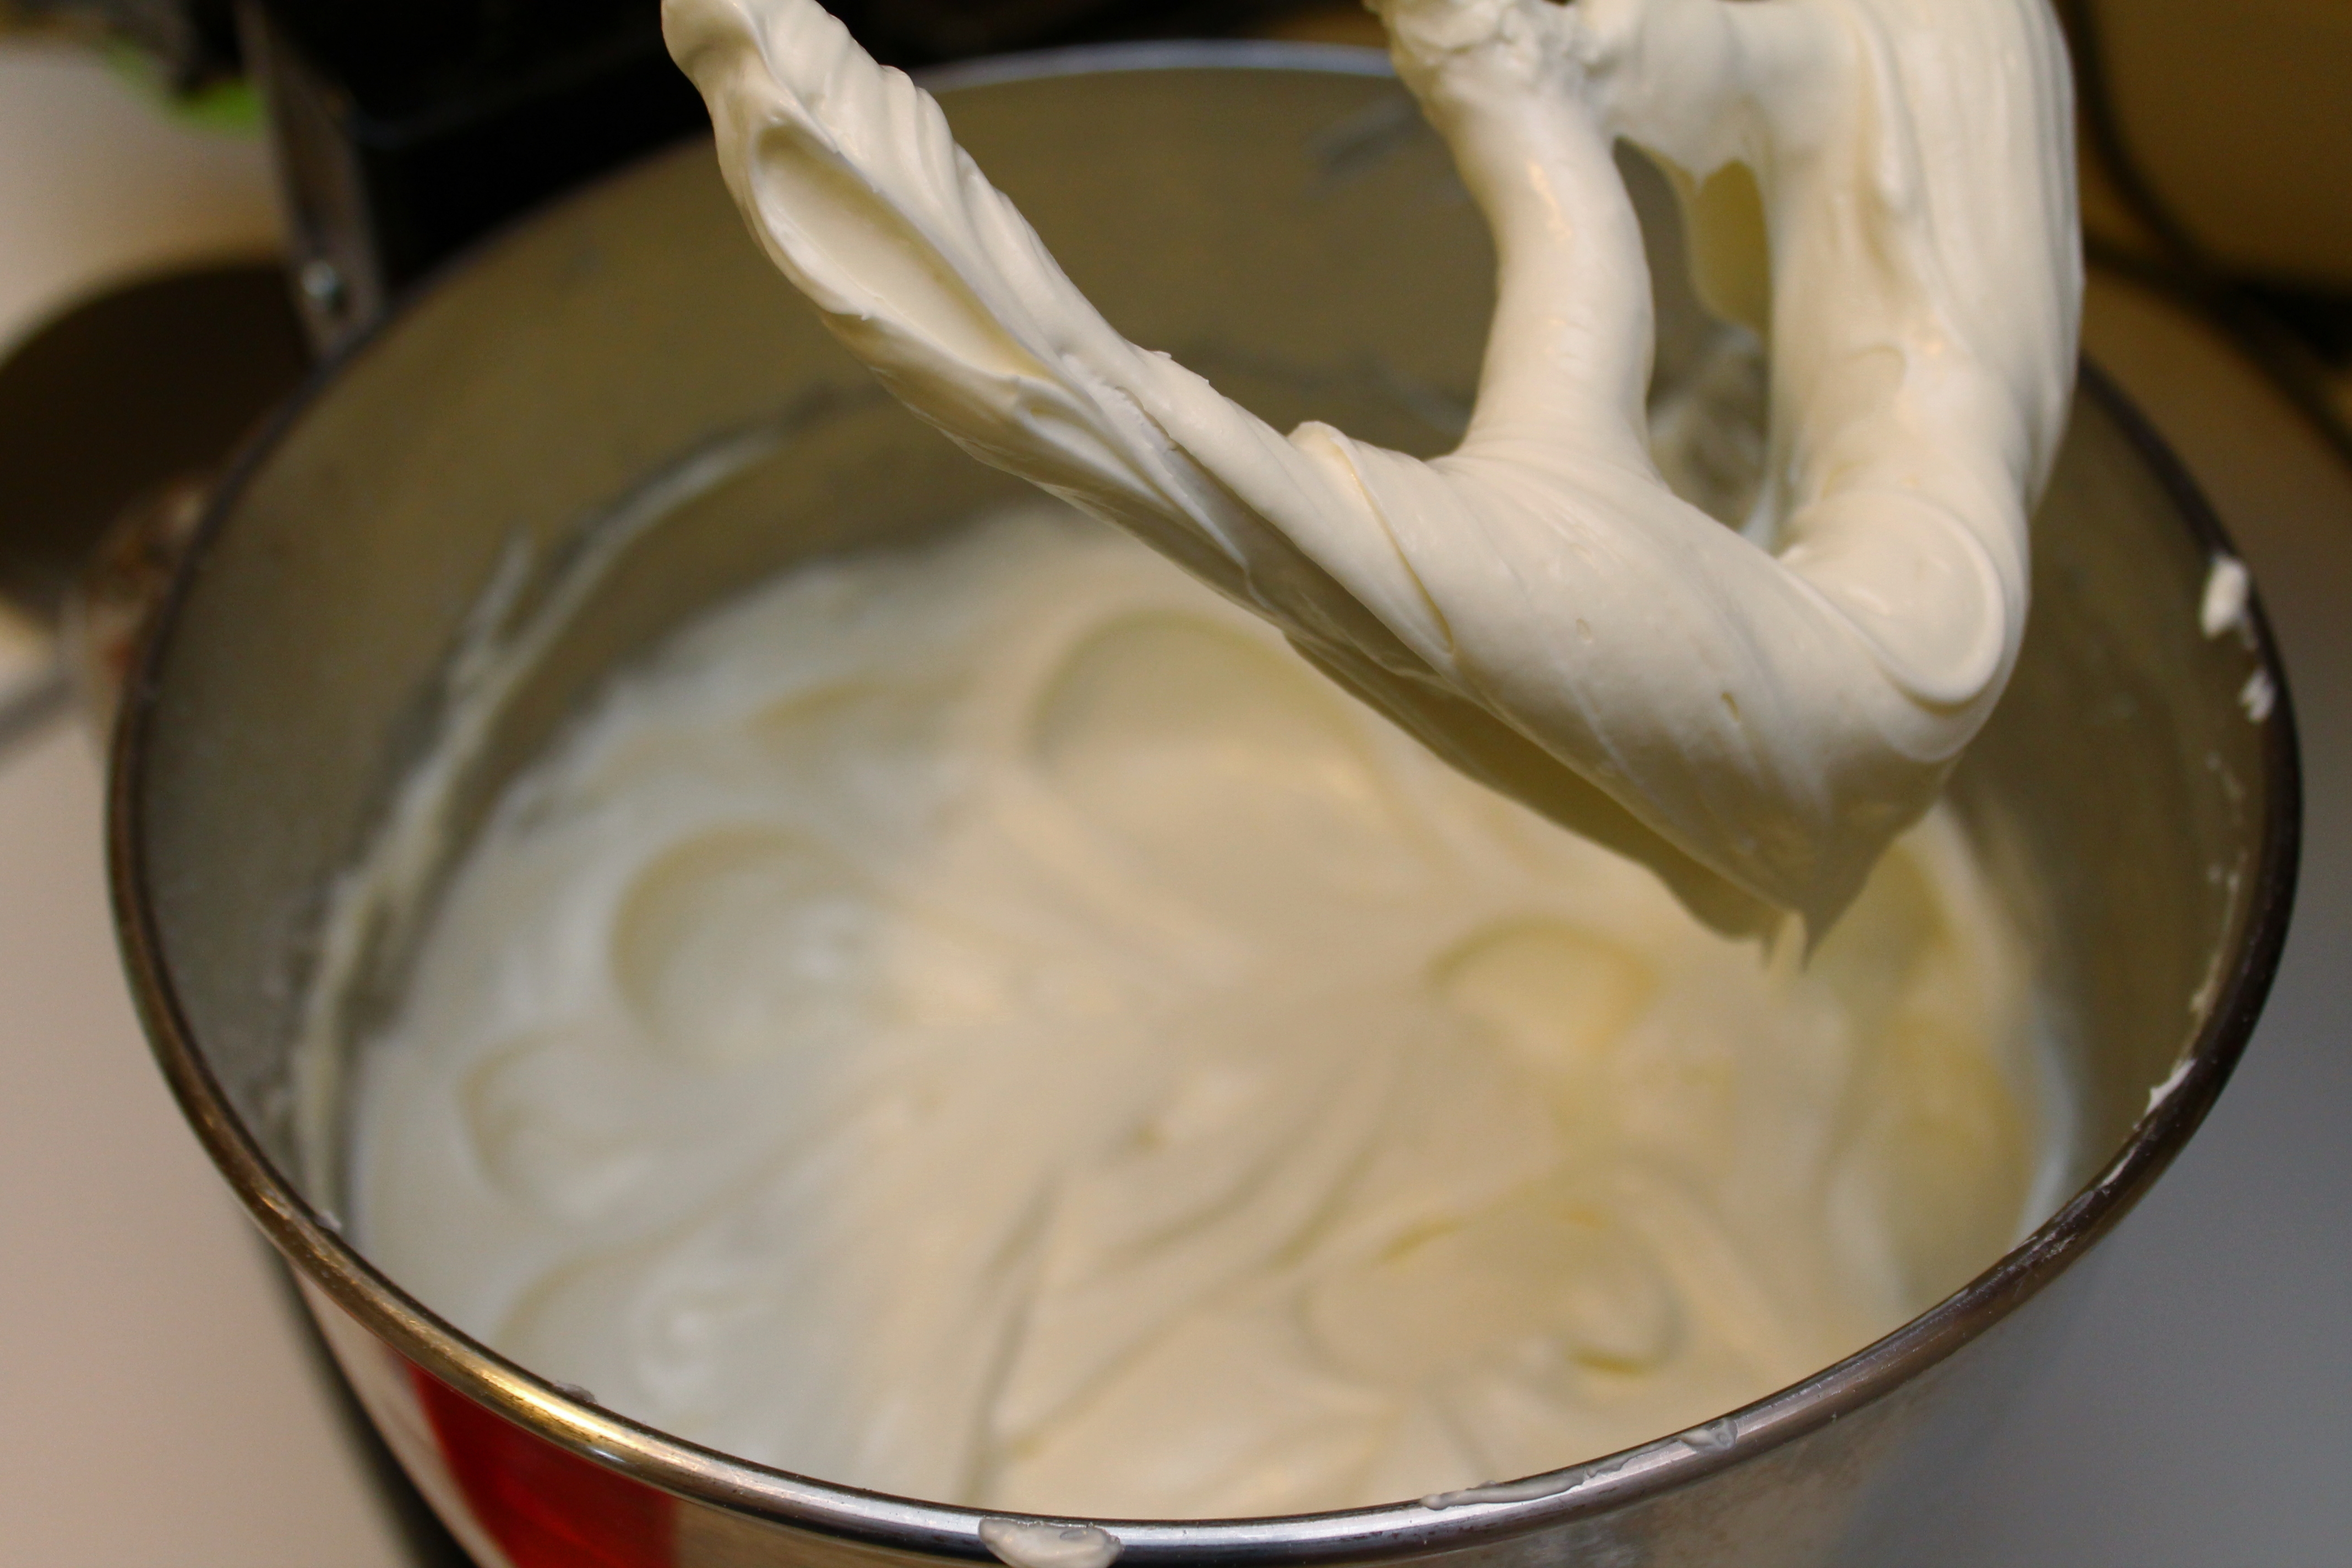 Beat the room temperature cream cheese until it is smooth and light, about 3 minutes. Add in the sugar and mix it in completely. There should be absolutely no lumps or globs of stiff cream cheese at this point.
Set the mixer on low speed and add the eggs one at a time. It is absolutely vital that you scrape the bowl between each addition, otherwise the more solid bits of sweet cream cheese at the edges of the bowl will never get mixed in properly with the soupier, eggy batter.
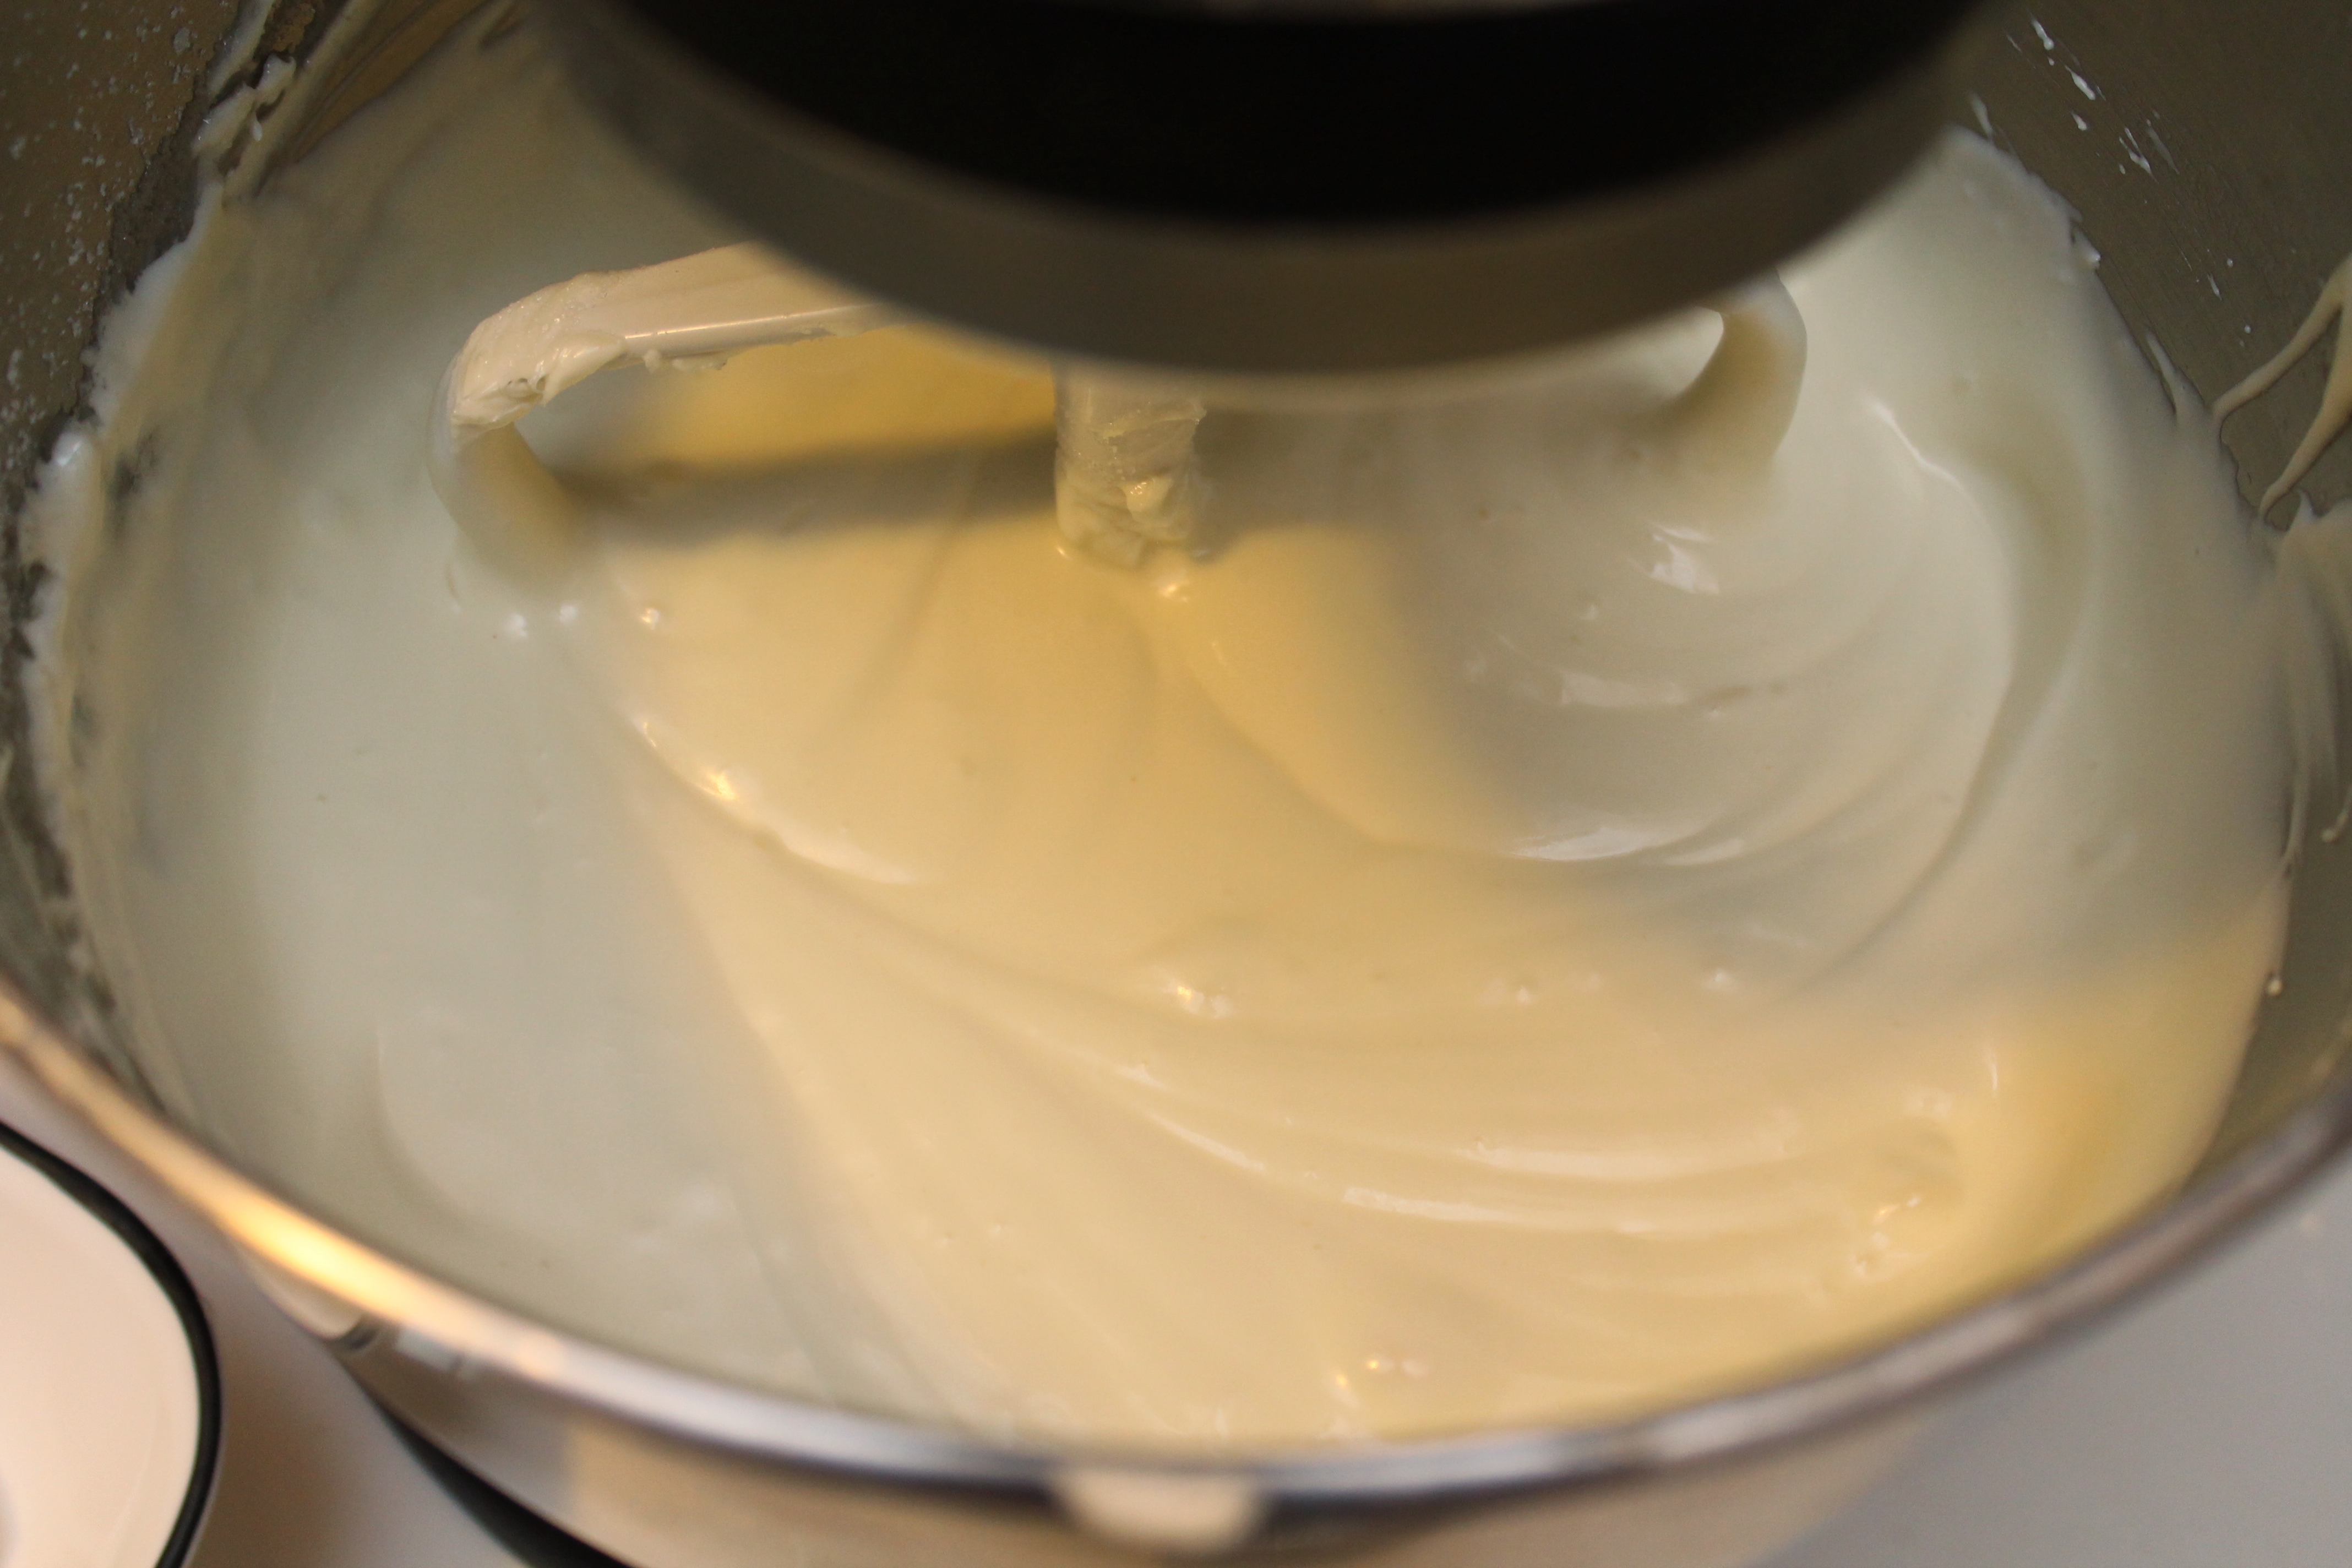 Add the sour cream and vanilla and mix well. You could beat the cheesecake batter for 2 minutes or so at this point, to really make sure all the lumps are removed without introducing too much air, which could make the cheesecakes crack.
Realize, however, that a crack in this particular cheesecake isn’t the end of the world, since we will be inserting it between two layers of pumpkin cake rather than serving it as is.
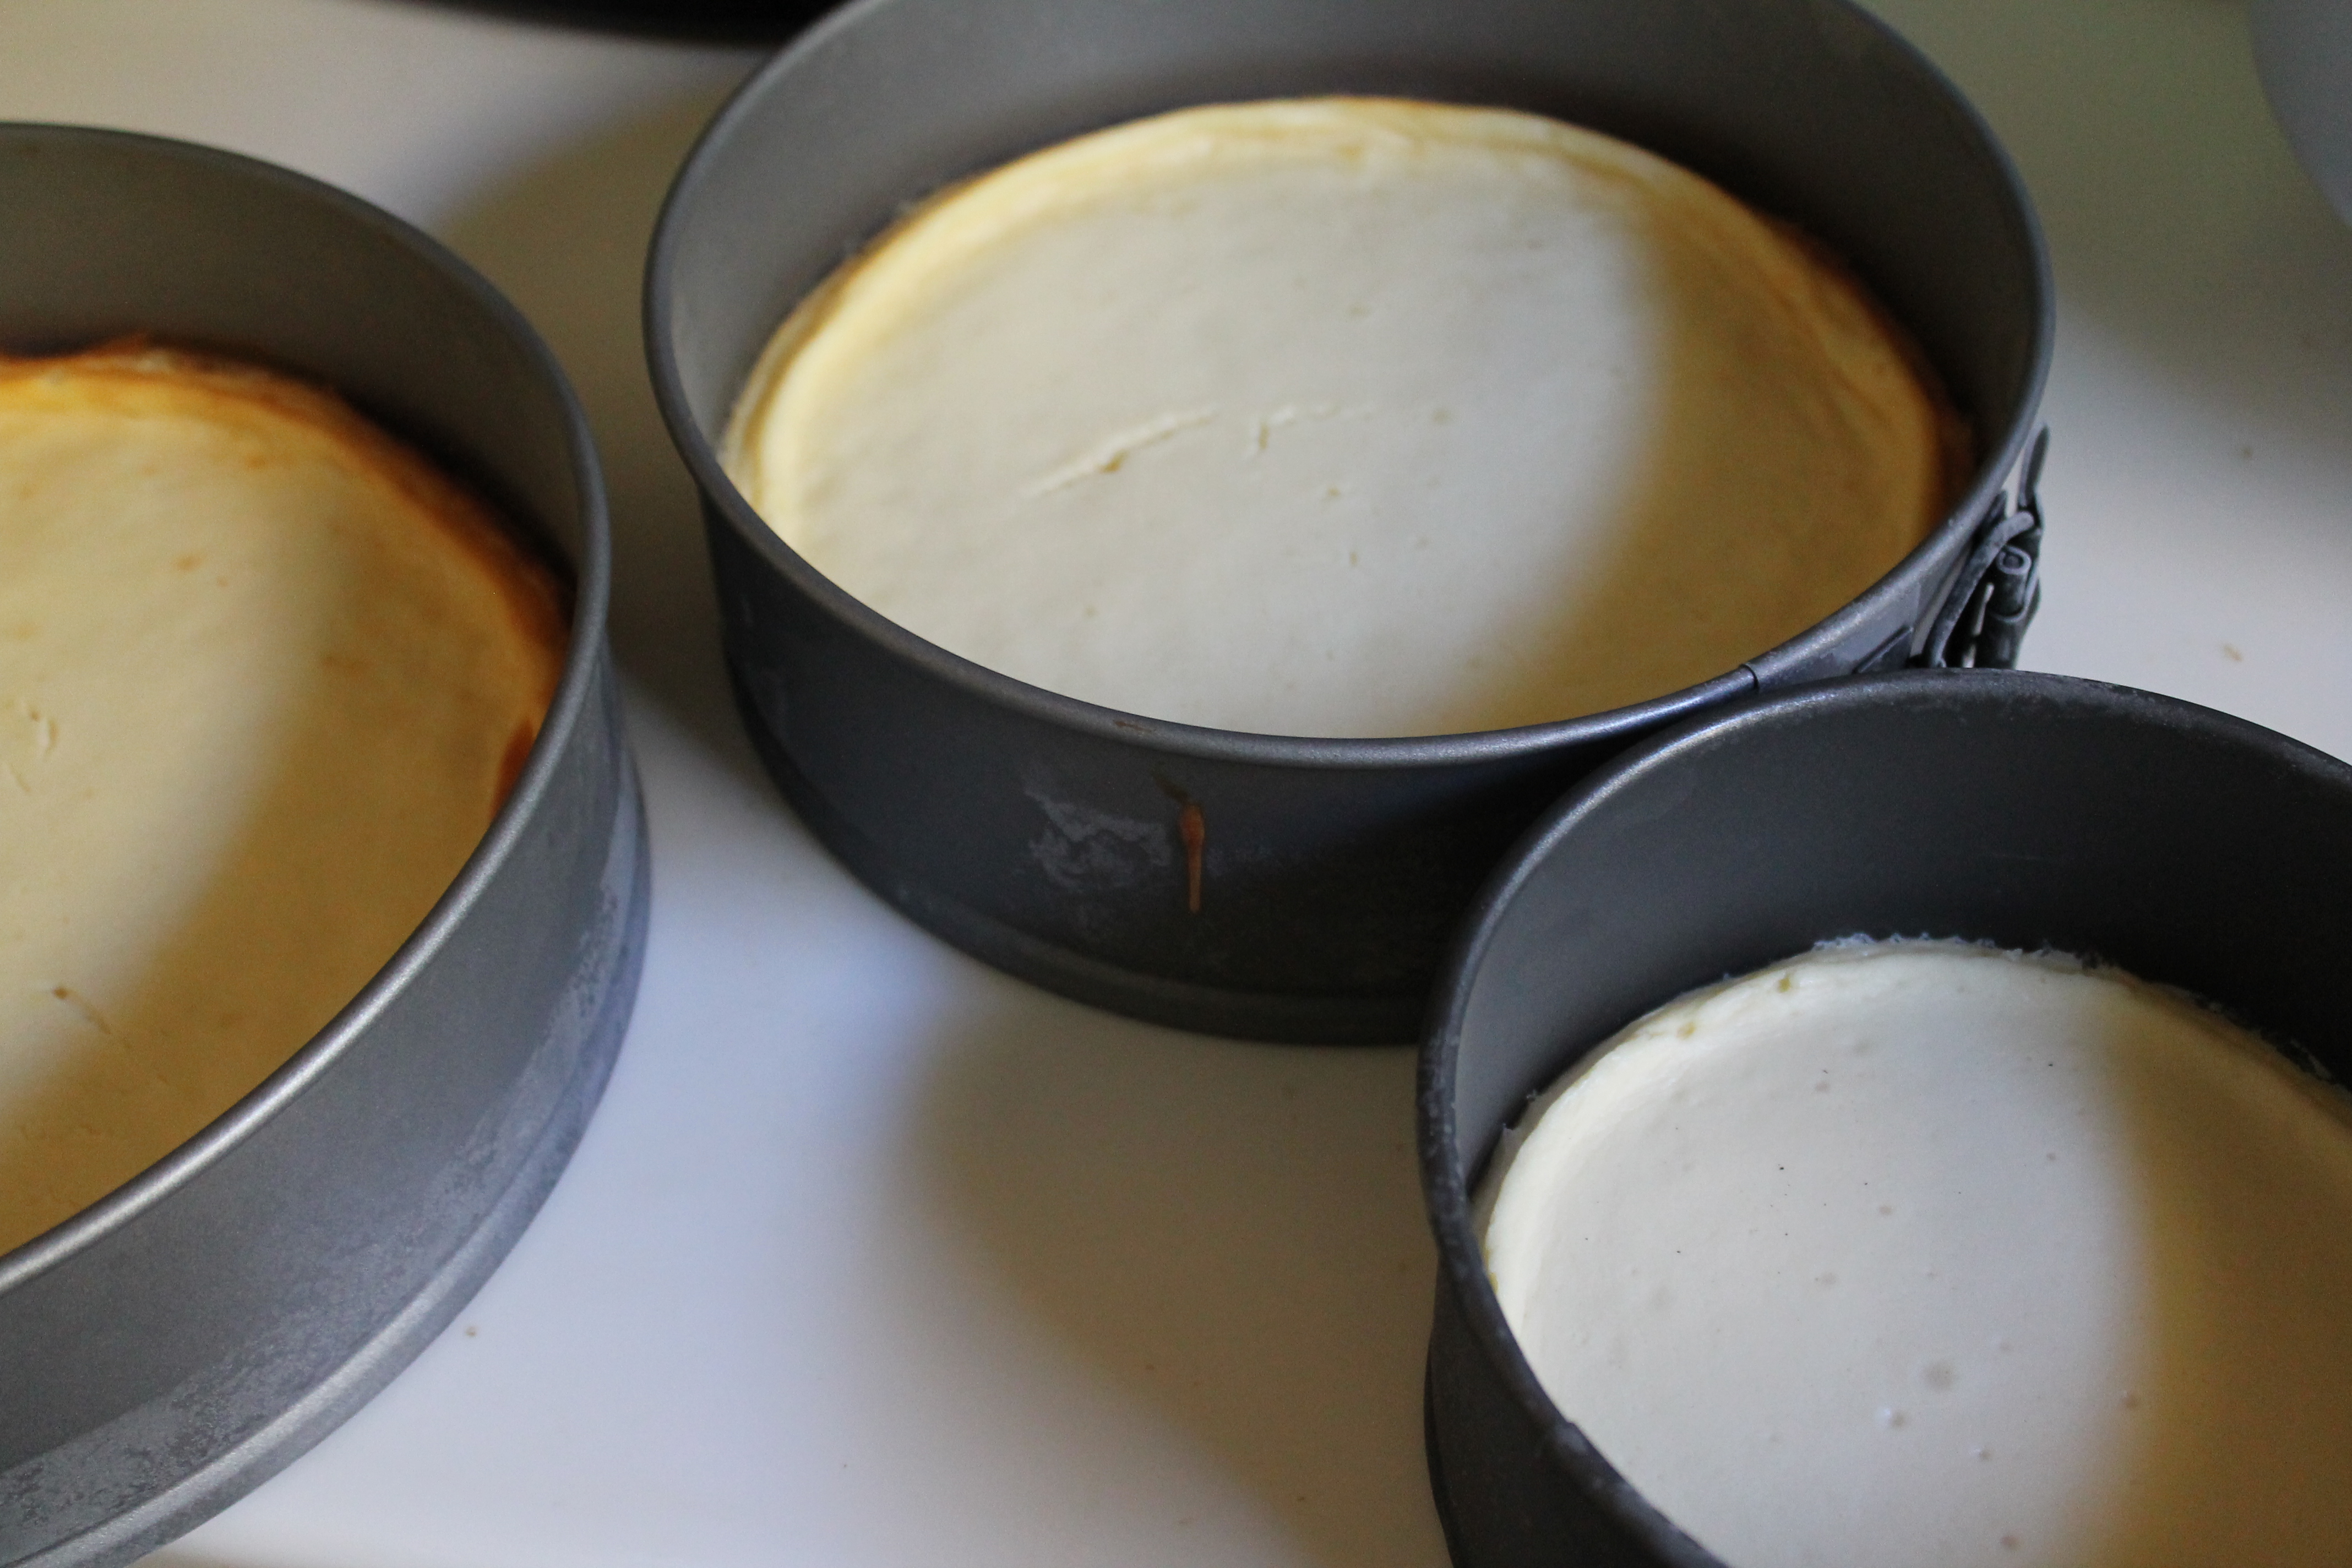
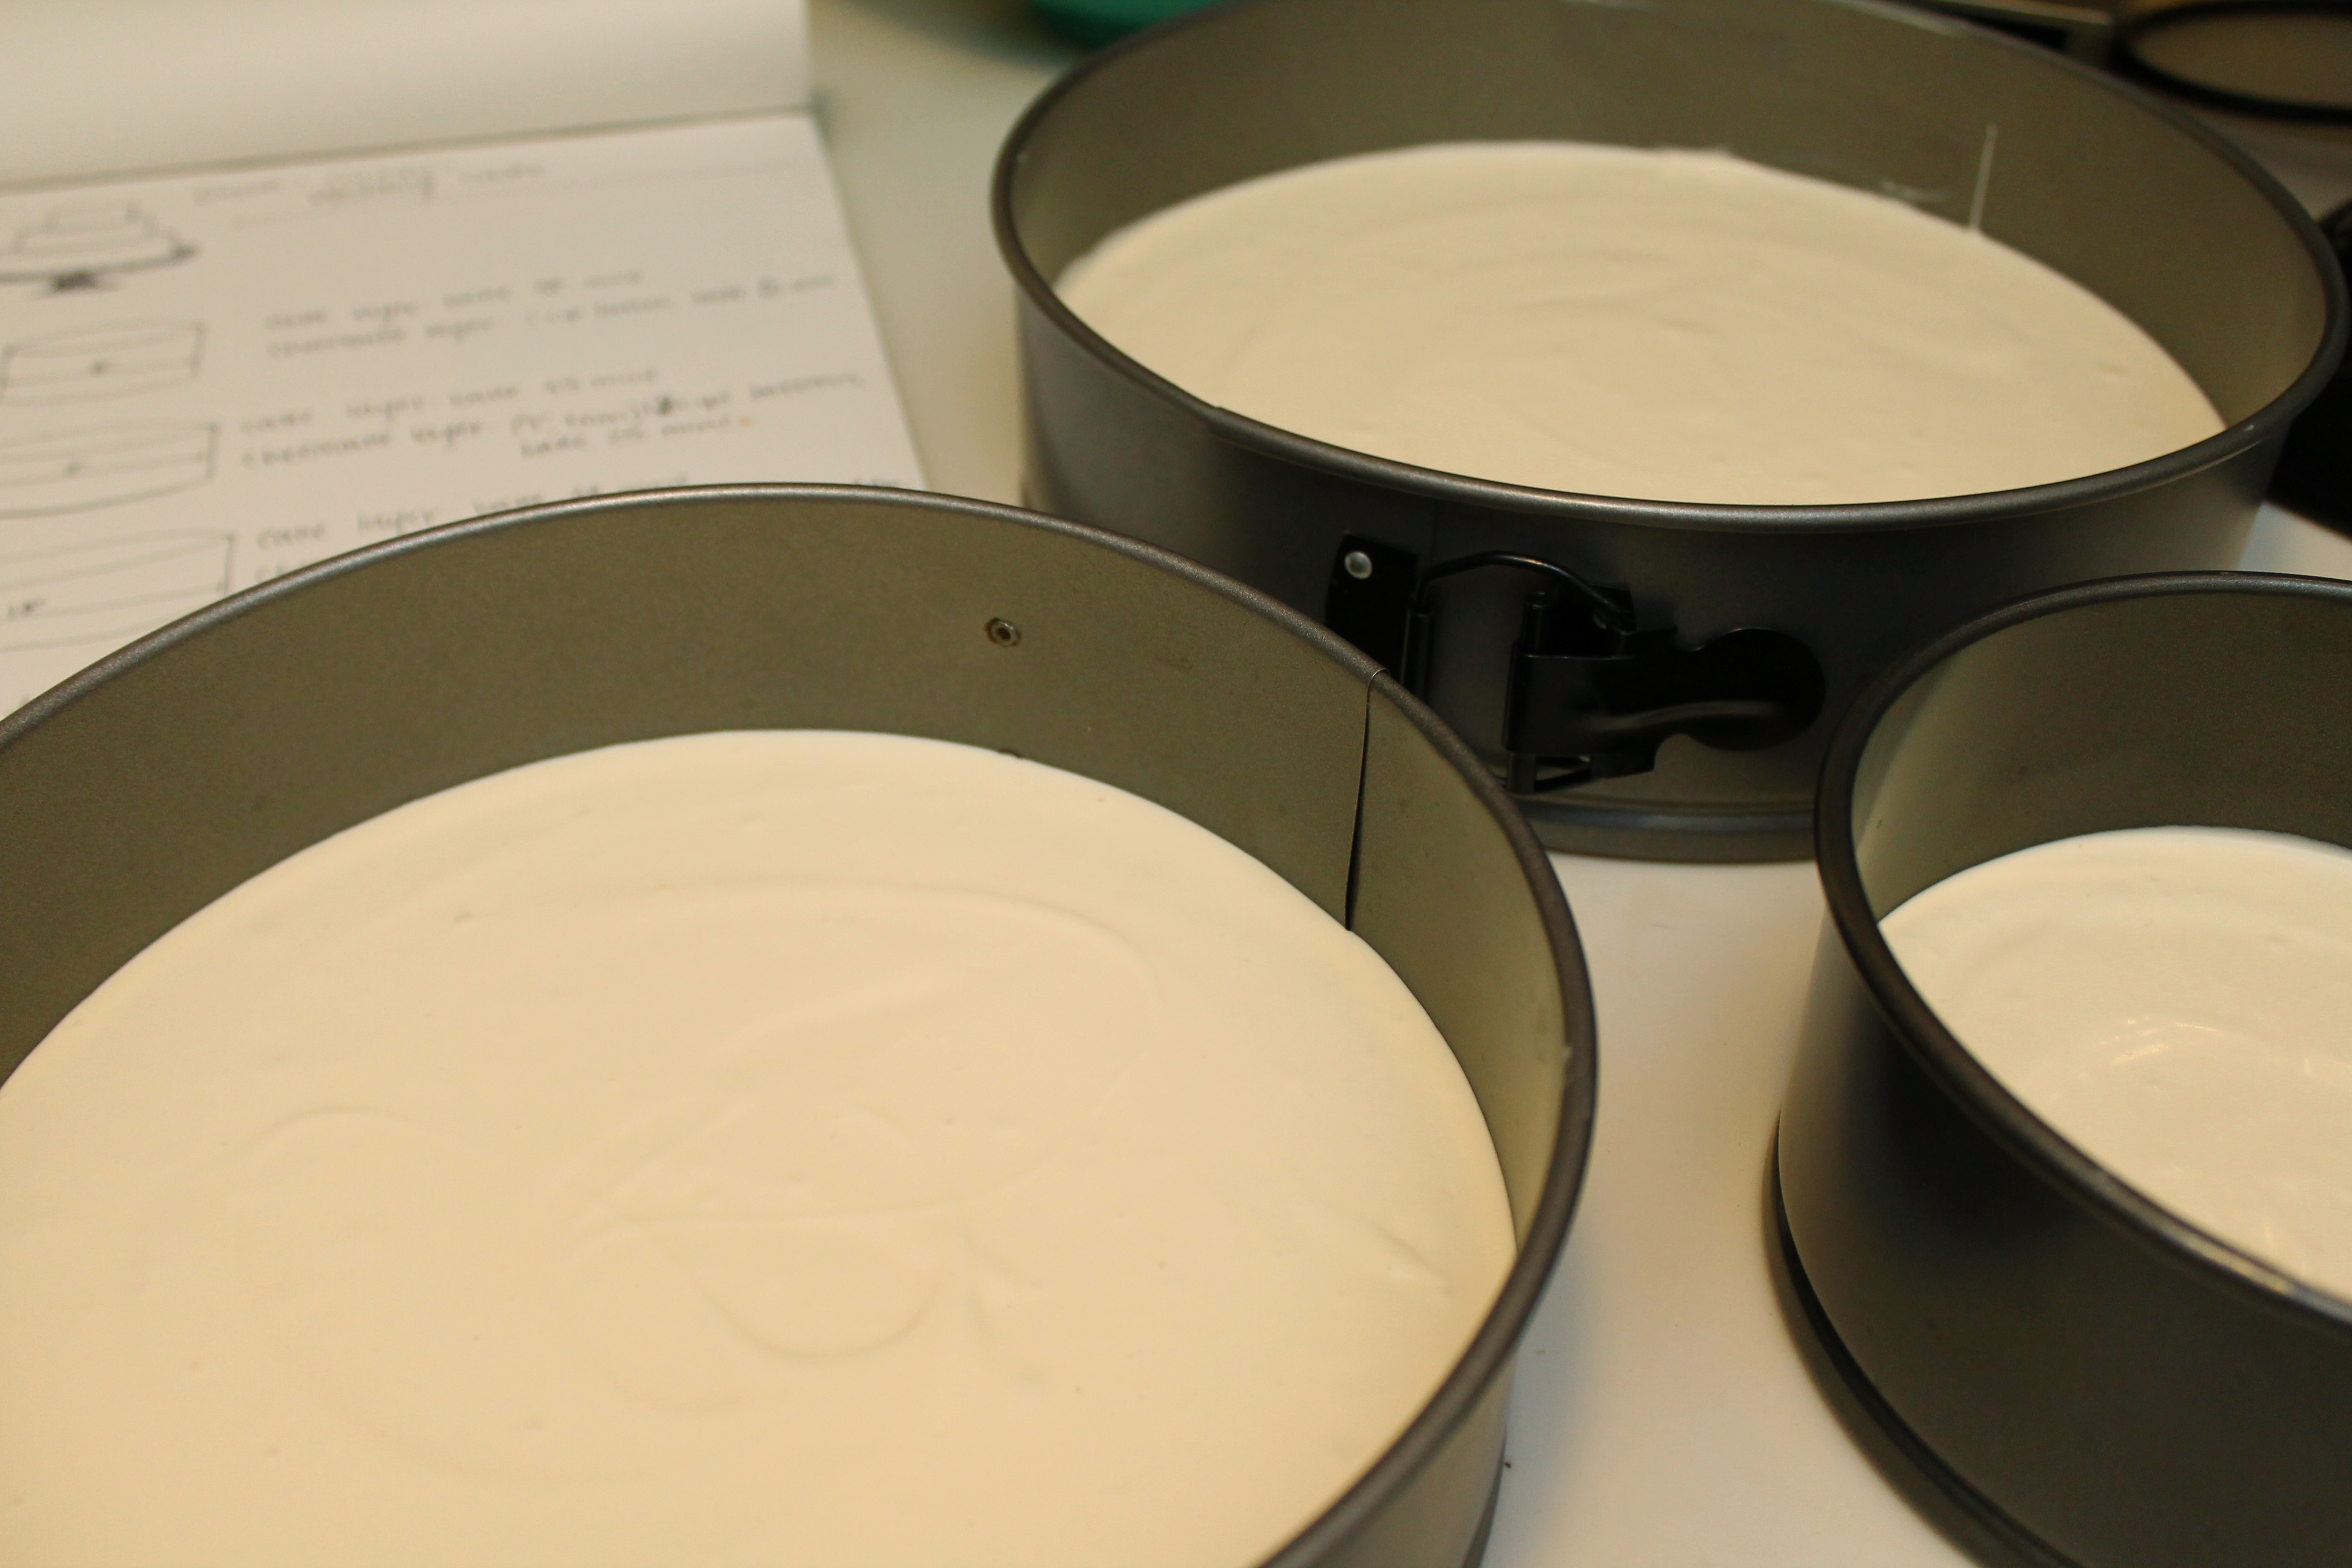
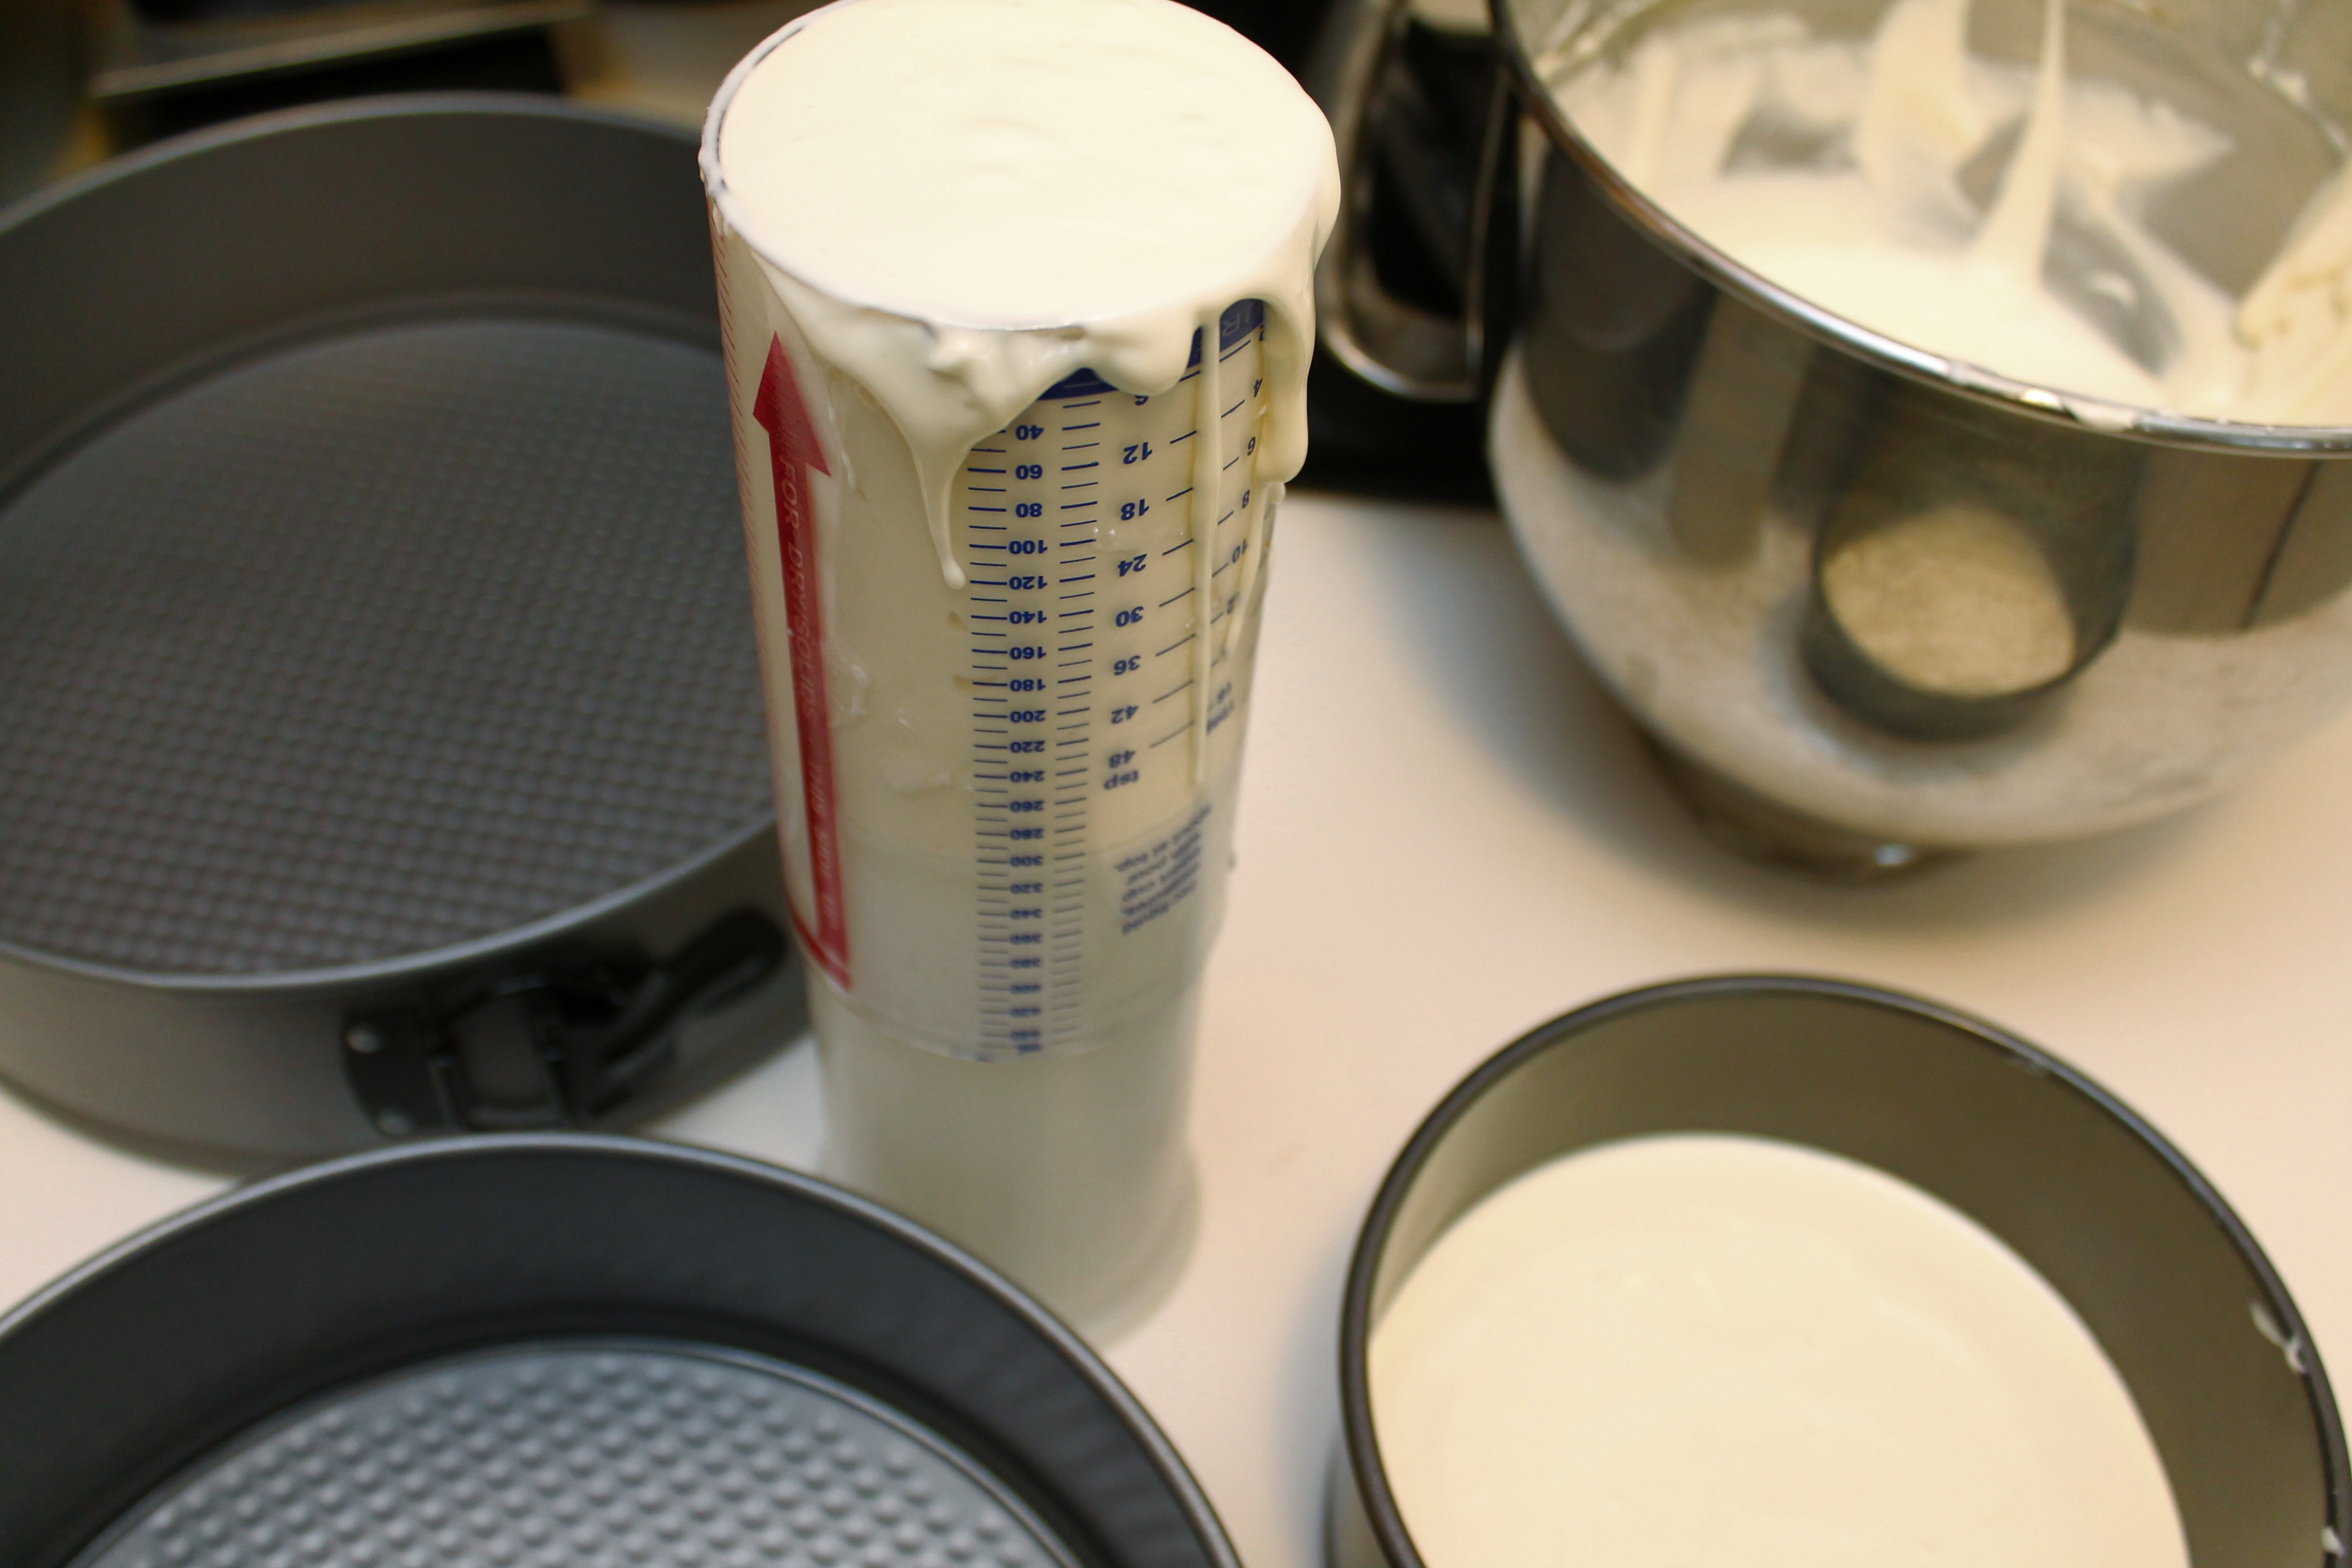 Now we have to divide the batter among three springform pans. I used a 6″ springform, a 9″ springform (which I planned to trim to 8″ during assembly) and a 10″ springform.
Normally, springform pans are put together so that the bottom of the pan is flat against the counter, and ultimately you have to dig down slightly with your knife or scooper in order to reach the bottom of the cheesecake’s crust for serving. However, if you are making a cheesecake-filled cake, there is no crust, and you really don’t want to leave any of the cheesecake behind in the pan! This means you need to insert the bottom of the cheesecake pan upside-down, so that the lip of the springform bottom doesn’t get in the way of releasing the baked cheesecake.
I started with the 6″ pan and measured 1 cup cheesecake batter into that pan. The other two pans were slightly more challenging. A 9″ springform can hold about 2¼ times as much batter as a 6″, and a 10″ springform can hold about 2¾ times as much batter as a 6″.
I initially put 2 cups of batter into the 9″ pan and 3 cups batter into the 10″. Because my goal was really to have all three cheesecakes be equally thick, I dipped a toothpick into the center of each springform pan and compared the toothpicks. I ended up scooping a little out of the 10″ and adding it to the 9″. It doesn’t matter how you get there, as long as the three pans end up with the same depth of batter, so they will bake to the same height (about 1″ after baking).
 Now we come to baking!
Everyone has a different theory about baking cheesecakes. Some recommend water baths, which do really work spectacularly for helping the cheesecakes to rise evenly and preventing cracks. But no matter what I do or how well I wrap my springform pan with foil to prevent leaks, I find that water always seeps into my cheesecakes, leaving soggy crust—or in this case, soggy, soft cheesecake. Not cool.
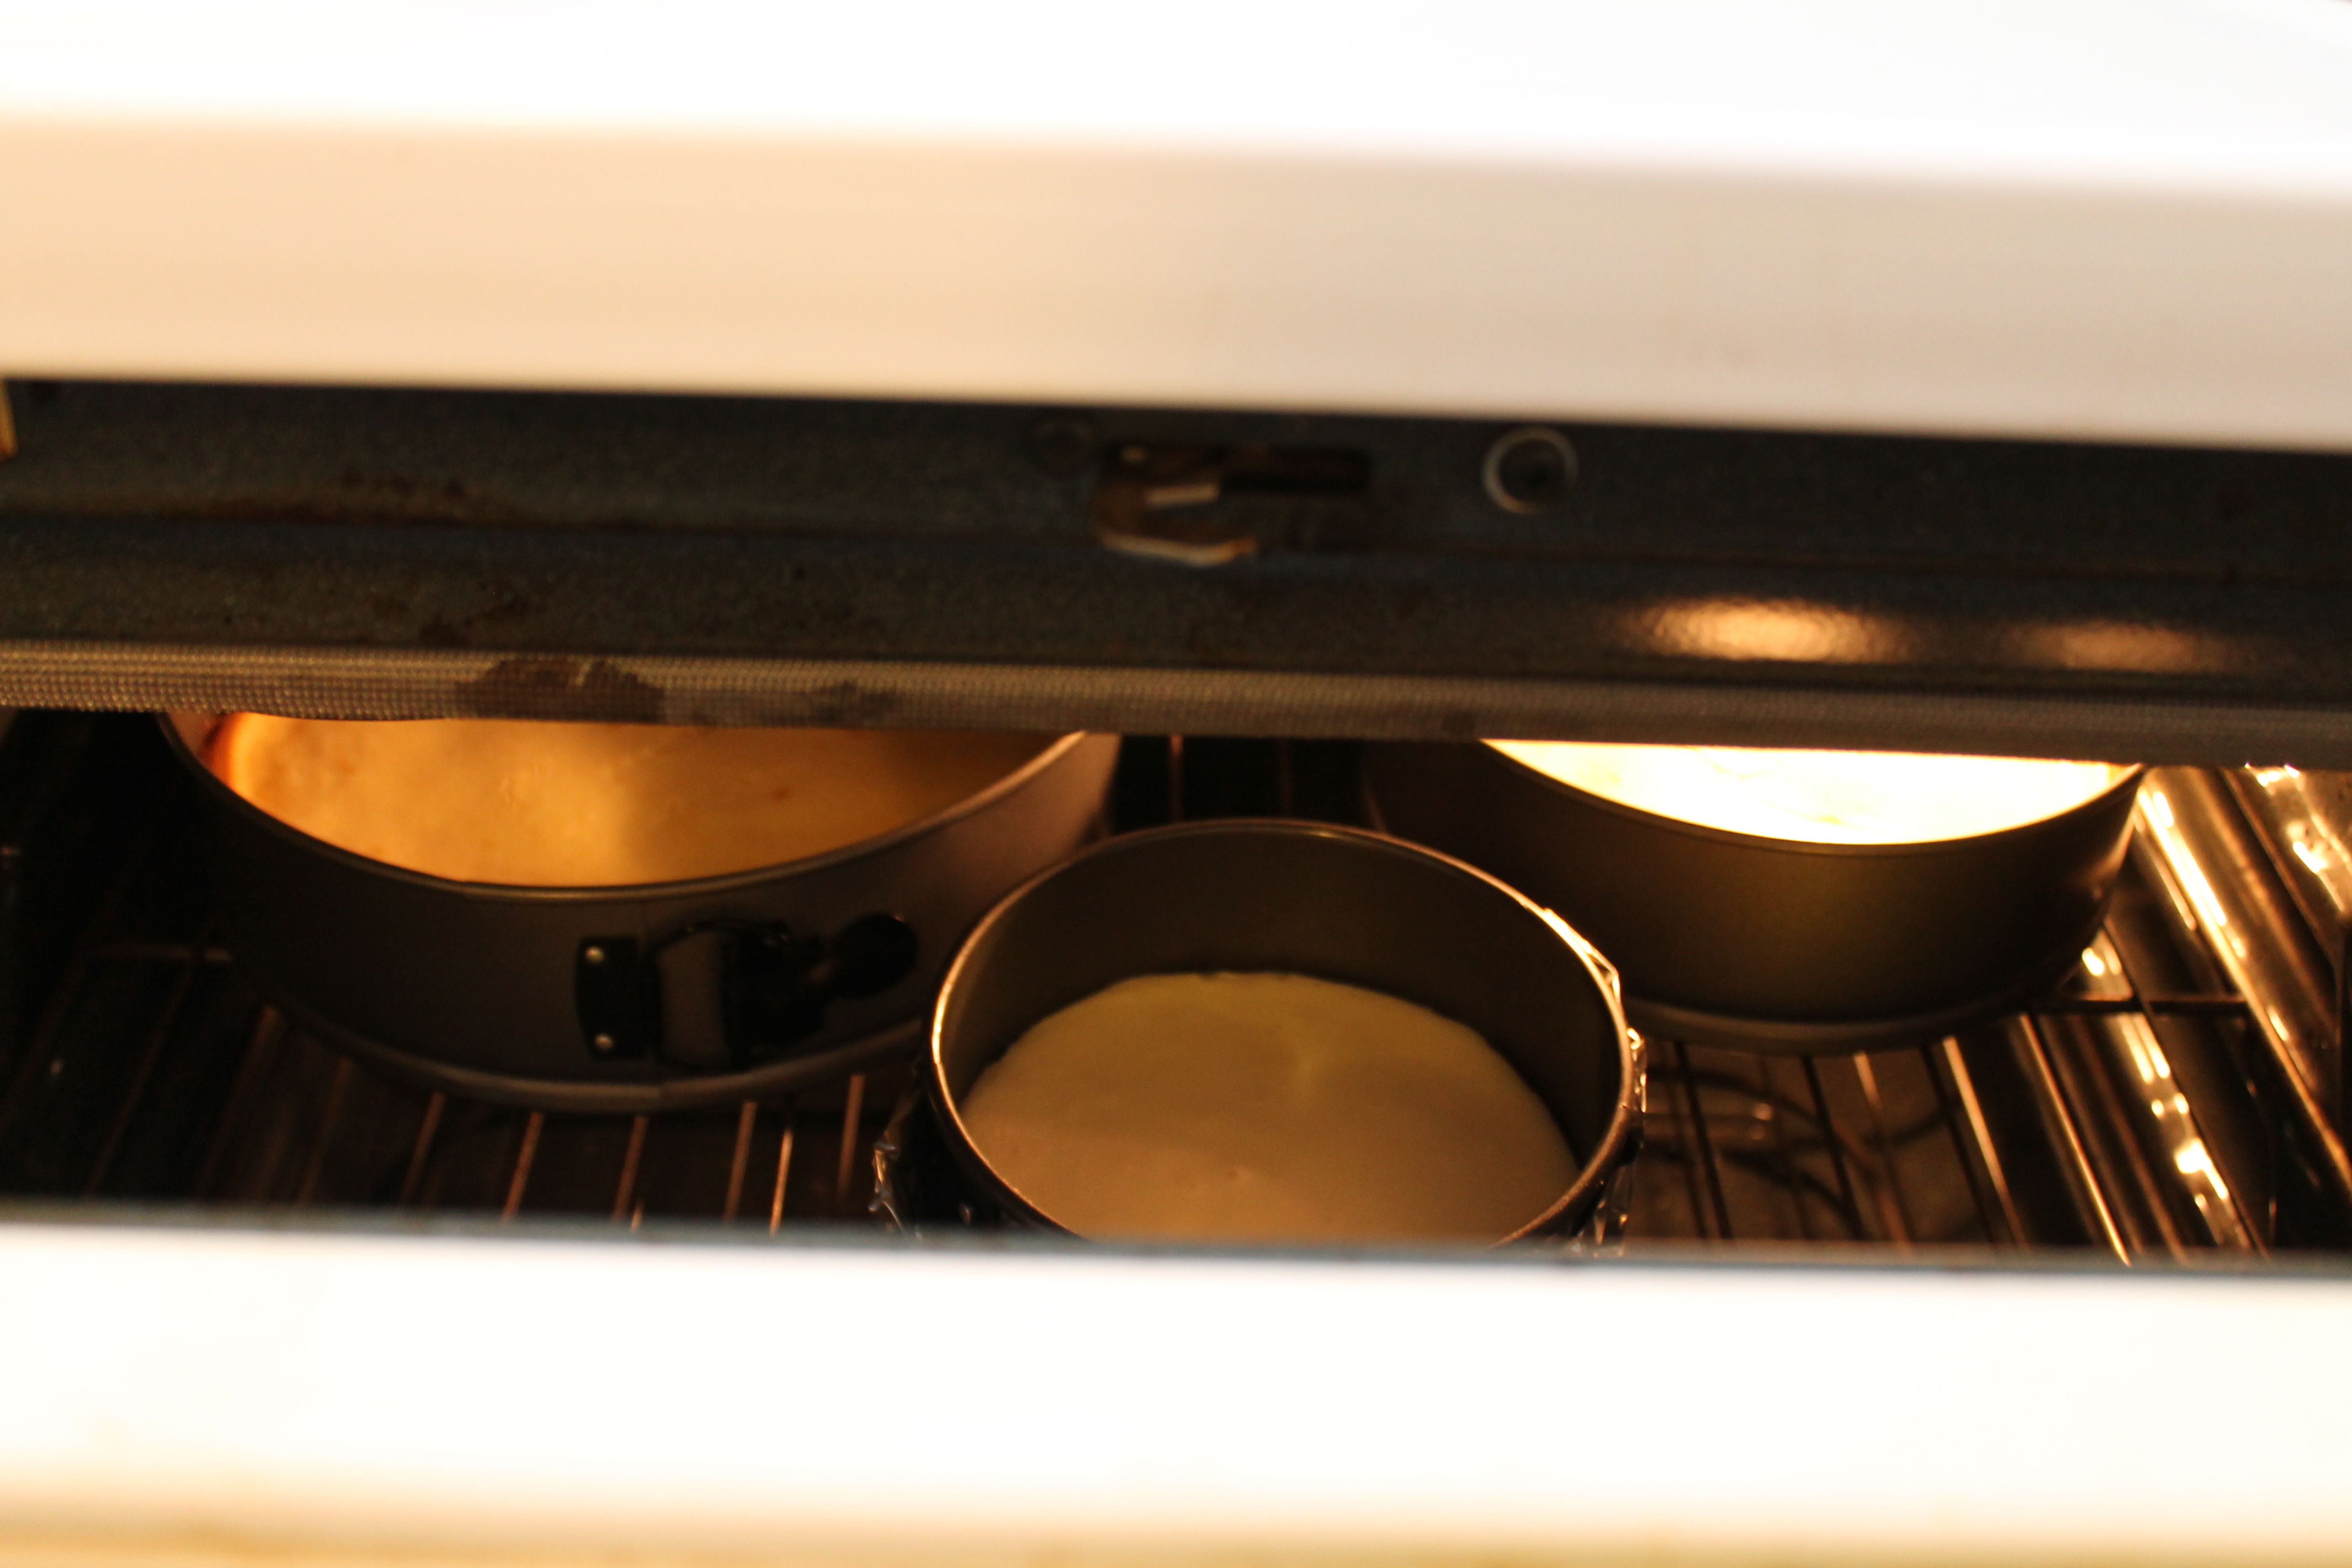
Again, because these cheesecakes are destined to be sandwiched between two layers of cake, I decided on an alternate strategy. I put the largest cheesecake in first, followed by the middle, and then the smallest. (I had previously determined how long each layer needed to bake.) They all finished baking at the same time, and then I cracked the oven door so they would cool down slowly as the hot air in the oven cooled.
 Although none of the cheesecakes was deeply cracked, the largest one did have a thin fissure, and all of the cheesecakes had a higher rim around the edges of the pan, minor annoyances that a water bath would not have produced. None of these things were really big problems given how we are planning to use these cheesecakes! The crack was not deep enough that the bottom cake layer would have any structural problems supporting the upper layers after the wedding cake was assembled, and I simply trimmed the rims off with a sharp knife when I was ready to put the cake layers together.
However, if you are making this recipe into a regular, 9″ cheesecake, I do recommend wrapping the pan thoroughly in several layers of heavy-duty foil and setting the pan into a hot water bath in the oven for baking. This increases the baking time, and may indeed make a soggy crust, but the resultant cheesecake will be beautiful and flat on top!
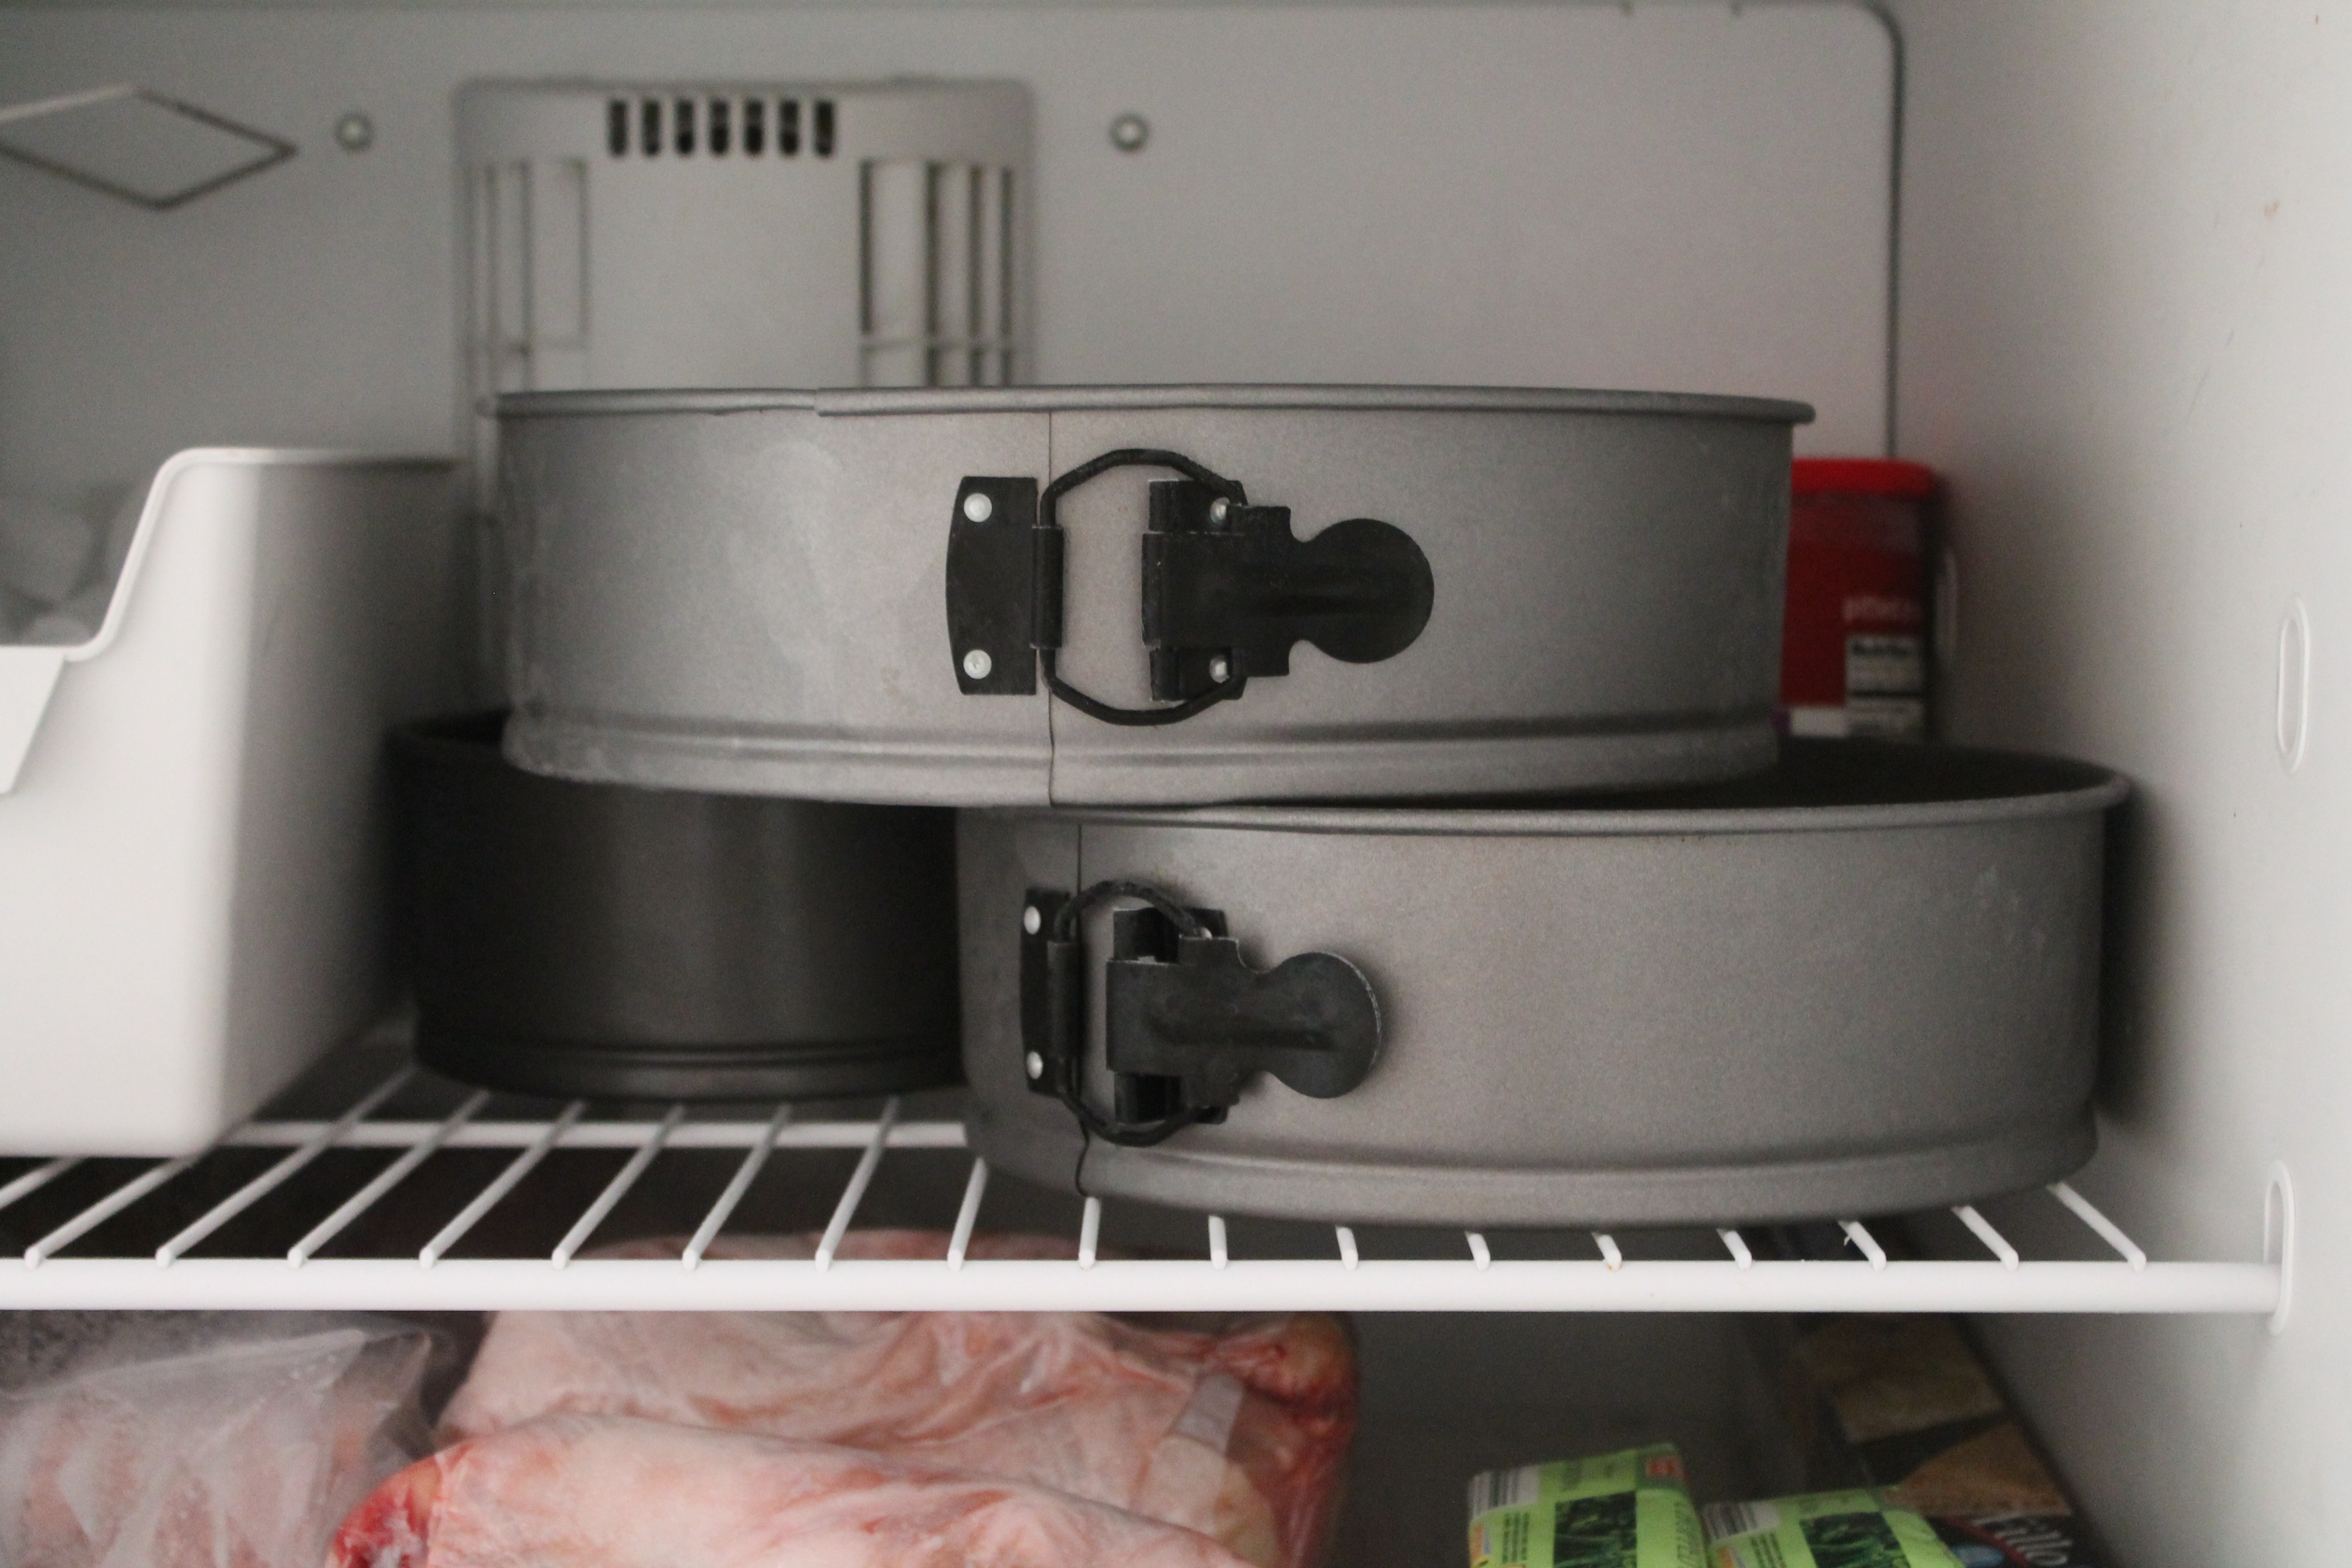 But back to wedding cake fillings! Once the cheesecakes are cooled, remove them from the oven and transfer them to the freezer. You can cover them if you like, but keep them in the springform pans. They won’t be in the freezer more than 2 days, so it’s highly unlikely that freezer burn could become a problem!
Cheesecake Filling for a Three-Tiered Wedding Cake
heavily adapted from Hummingbird High
makes 3 thin cheesecakes or a 9″ cheesecake
Ingredients:
2 lbs. full fat cream cheese, room temperature
1 cup plus 2 tbsp. sugar
4 eggs, room temperature
½ cup full fat sour cream
1½ tsp. vanilla extract
Directions:
Preheat oven to 350°.
Beat the room temperature cream cheese on medium speed for 3–5 minutes, until it is soft and fluffy. Add the sugar and beat again to combine.
Mix in the eggs, one at a time, scraping well after each addition.
Blend in the sour cream and vanilla. Beat the cheesecake batter for another 3 minutes, until it is completely smooth and light. If there are any lumps at all, strain the mixture to remove them.
Scoop 1 cup of the batter into a 6″ springform pan. Scoop 2¼ cups of the batter into the 9″ springform pan. Scoop 2¾ cups batter into the 10″ springform pan. Check the depth of each cheesecake with a toothpick to ensure that the cheesecakes are all the same height. Drop each pan onto the counter several times from a height of about 2″ to pop any large air bubbles in the batter.
Place the largest pan into the oven and bake for 5 minutes. Add the medium-size pan to the oven and continue baking another 5 minutes. Add the smallest pan to the oven and bake for 20 minutes.
Check all of the cheesecakes by jiggling the pan slightly. The centers should be set and the tops very lightly browned. If they are not, bake another 2–5 minutes, until the centers are not jiggly.
Turn the oven off and crack the door. Allow the cheesecakes to cool completely in the oven.
Transfer the cheesecakes to the freezer.
Next Time…
We will be baking the pumpkin spice cake layers! And don’t worry, those cheesecakes will be just fine in the freezer for a day or two until we are ready to assemble the tiers!
- One year ago: Harvest Pumpkin Soup
- Two years ago: Pecan-Crusted Salmon
- Three years ago: Thai Red Curry with Tempeh
4 comments to “How to Make a Wedding Cake: Cheesecake Filling”
Claire Desrochers - August 17, 2017
Do you think this cheesecake filling could be made in a 14″ pan.
Melissa - August 17, 2017
Claire, are you trying to make it in a 14″ springform, or a large size baking dish, as bars? You can definitely try baking this in a larger pan than what I used, but you will need to play with the amount of batter you make, and the baking time will increase proportionally (try, perhaps, 35-40 minutes?). As I noted in the post, the cheesecake layer in the largest size pan I used (mine was 10″) did crack, so I am guessing you will fight cracking issues in a 14″ pan. Also, I’m not sure whether you plan to make a very thin layer, as I did, for a layered dessert, or a typical, tall cheesecake; I have never baked such a large cheesecake, but anything is worth trying once, as an experiment! Let me know how it goes!
Jan - January 27, 2019
Can I add strawberries to the cheesecake filling in the mix before baking?
Melissa - January 28, 2019
I’ve never tried that, and to be honest, I’m not sure I would. I think the moisture of the strawberries would change the chemistry of the cheesecake and make it less likely to set correctly. Possibly jam would work in small amounts? Let me know how it turns out if you decide to experiment with it!