It’s been a while since I began the saga of making a wedding cake for some good friends of ours. First, I told you all about selecting flavors and then we made cheesecake filling, pumpkin spice cake, and Baileys cream cheese frosting.
Now all that’s left is just assembling the cake! And believe it or not, while this step is a little scary, it’s actually not that hard. (We already did all the hard work when we frosted each layer!)
And when we are done, we will have a beautiful, delicious tiered wedding cake! At last!
I also just want to heap some praises on the wonderful wedding photographer, Lisa Rice of Lisa Rice Photography, who graciously sent me a few of the official cake photos after my camera battery died! If you are looking for a stupendous photographer, especially if you are based in Ohio, go take a look at her work!
Okay, let’s be honest: Assembling a wedding cake is terrifying.
But let’s just take it a step at a time. I watched this wonderful YouTube tutorial that totally set me at ease.
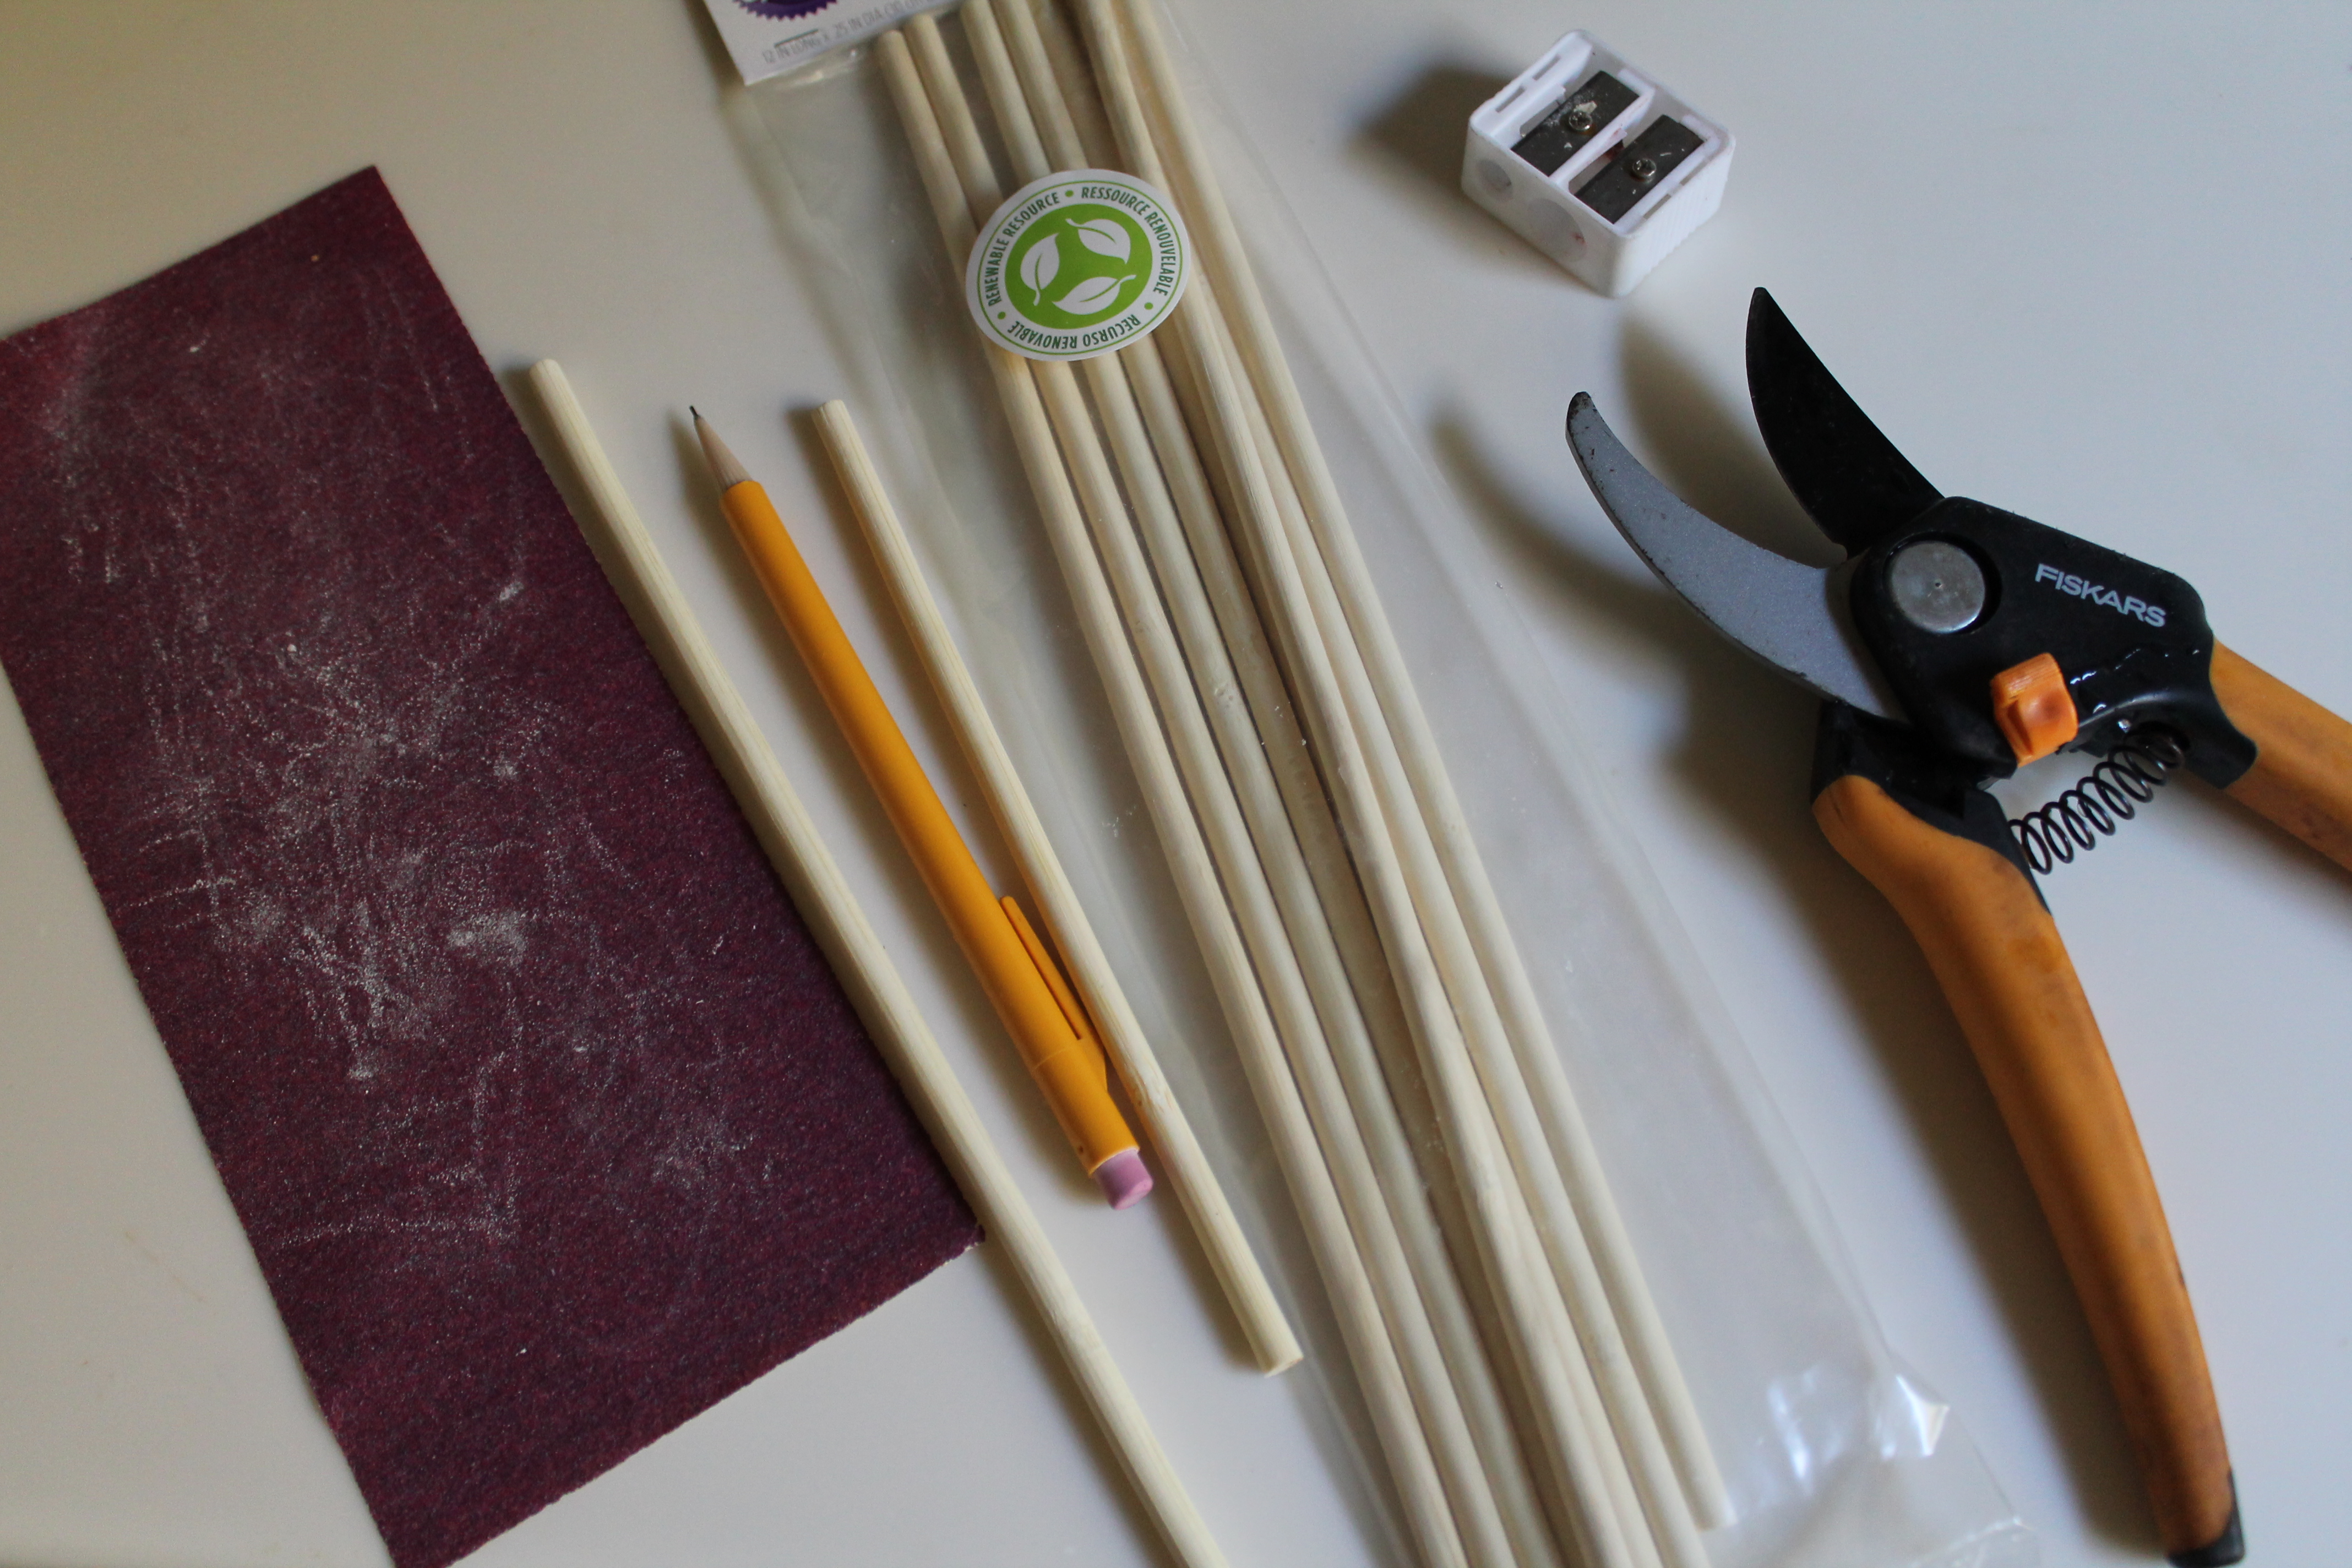 Here’s what we need: food grade wooden dowels (I bought mine at Michaels), a pencil, a cutter (I used a very well washed garden pruner), a large angled spatula, a small tub of extra frosting, and a piping bag full of frosting fitted with a small round tip. It would also be handy to have a clean pencil sharpener and a piece of fine-grain sandpaper.
The key to stacking a tiered cake is proper support. These tiers are heavy! We want them to stay in place, not sliding or tilting or squashing each other!
So we are going to do as it says in Napoleon Dynamite. We are going to build a cake.
 Start with the 10″ cake tier. Ideally, the tiers would have chilled for 24 hours at this point, so it will be less likely that the frosting will get dinged while you work. Grab the cake pan from the 8″ cake and carefully center it on the 10″ cake. Press down gently to make a small indentation. We do this so that when we dowel the cake, we can be sure to position the dowels where they won’t be visible.
Take one of the dowels and gently press it into the cake about an inch in from the indentation. (Probably about 2″ from the edge of the cake.)
Grab a pencil and carefully make a park down by the top of the frosting. Please don’t get pencil on the cake, just make a tiny mark.
Pull the dowel all the way out of the cake so you don’t get any wood shards on the cake. Carefully cut the dowel with the pruning tool, then sand any rough spots on both the cut ends.
Push the trimmed rod down into the cake in the exact hole you removed it from.
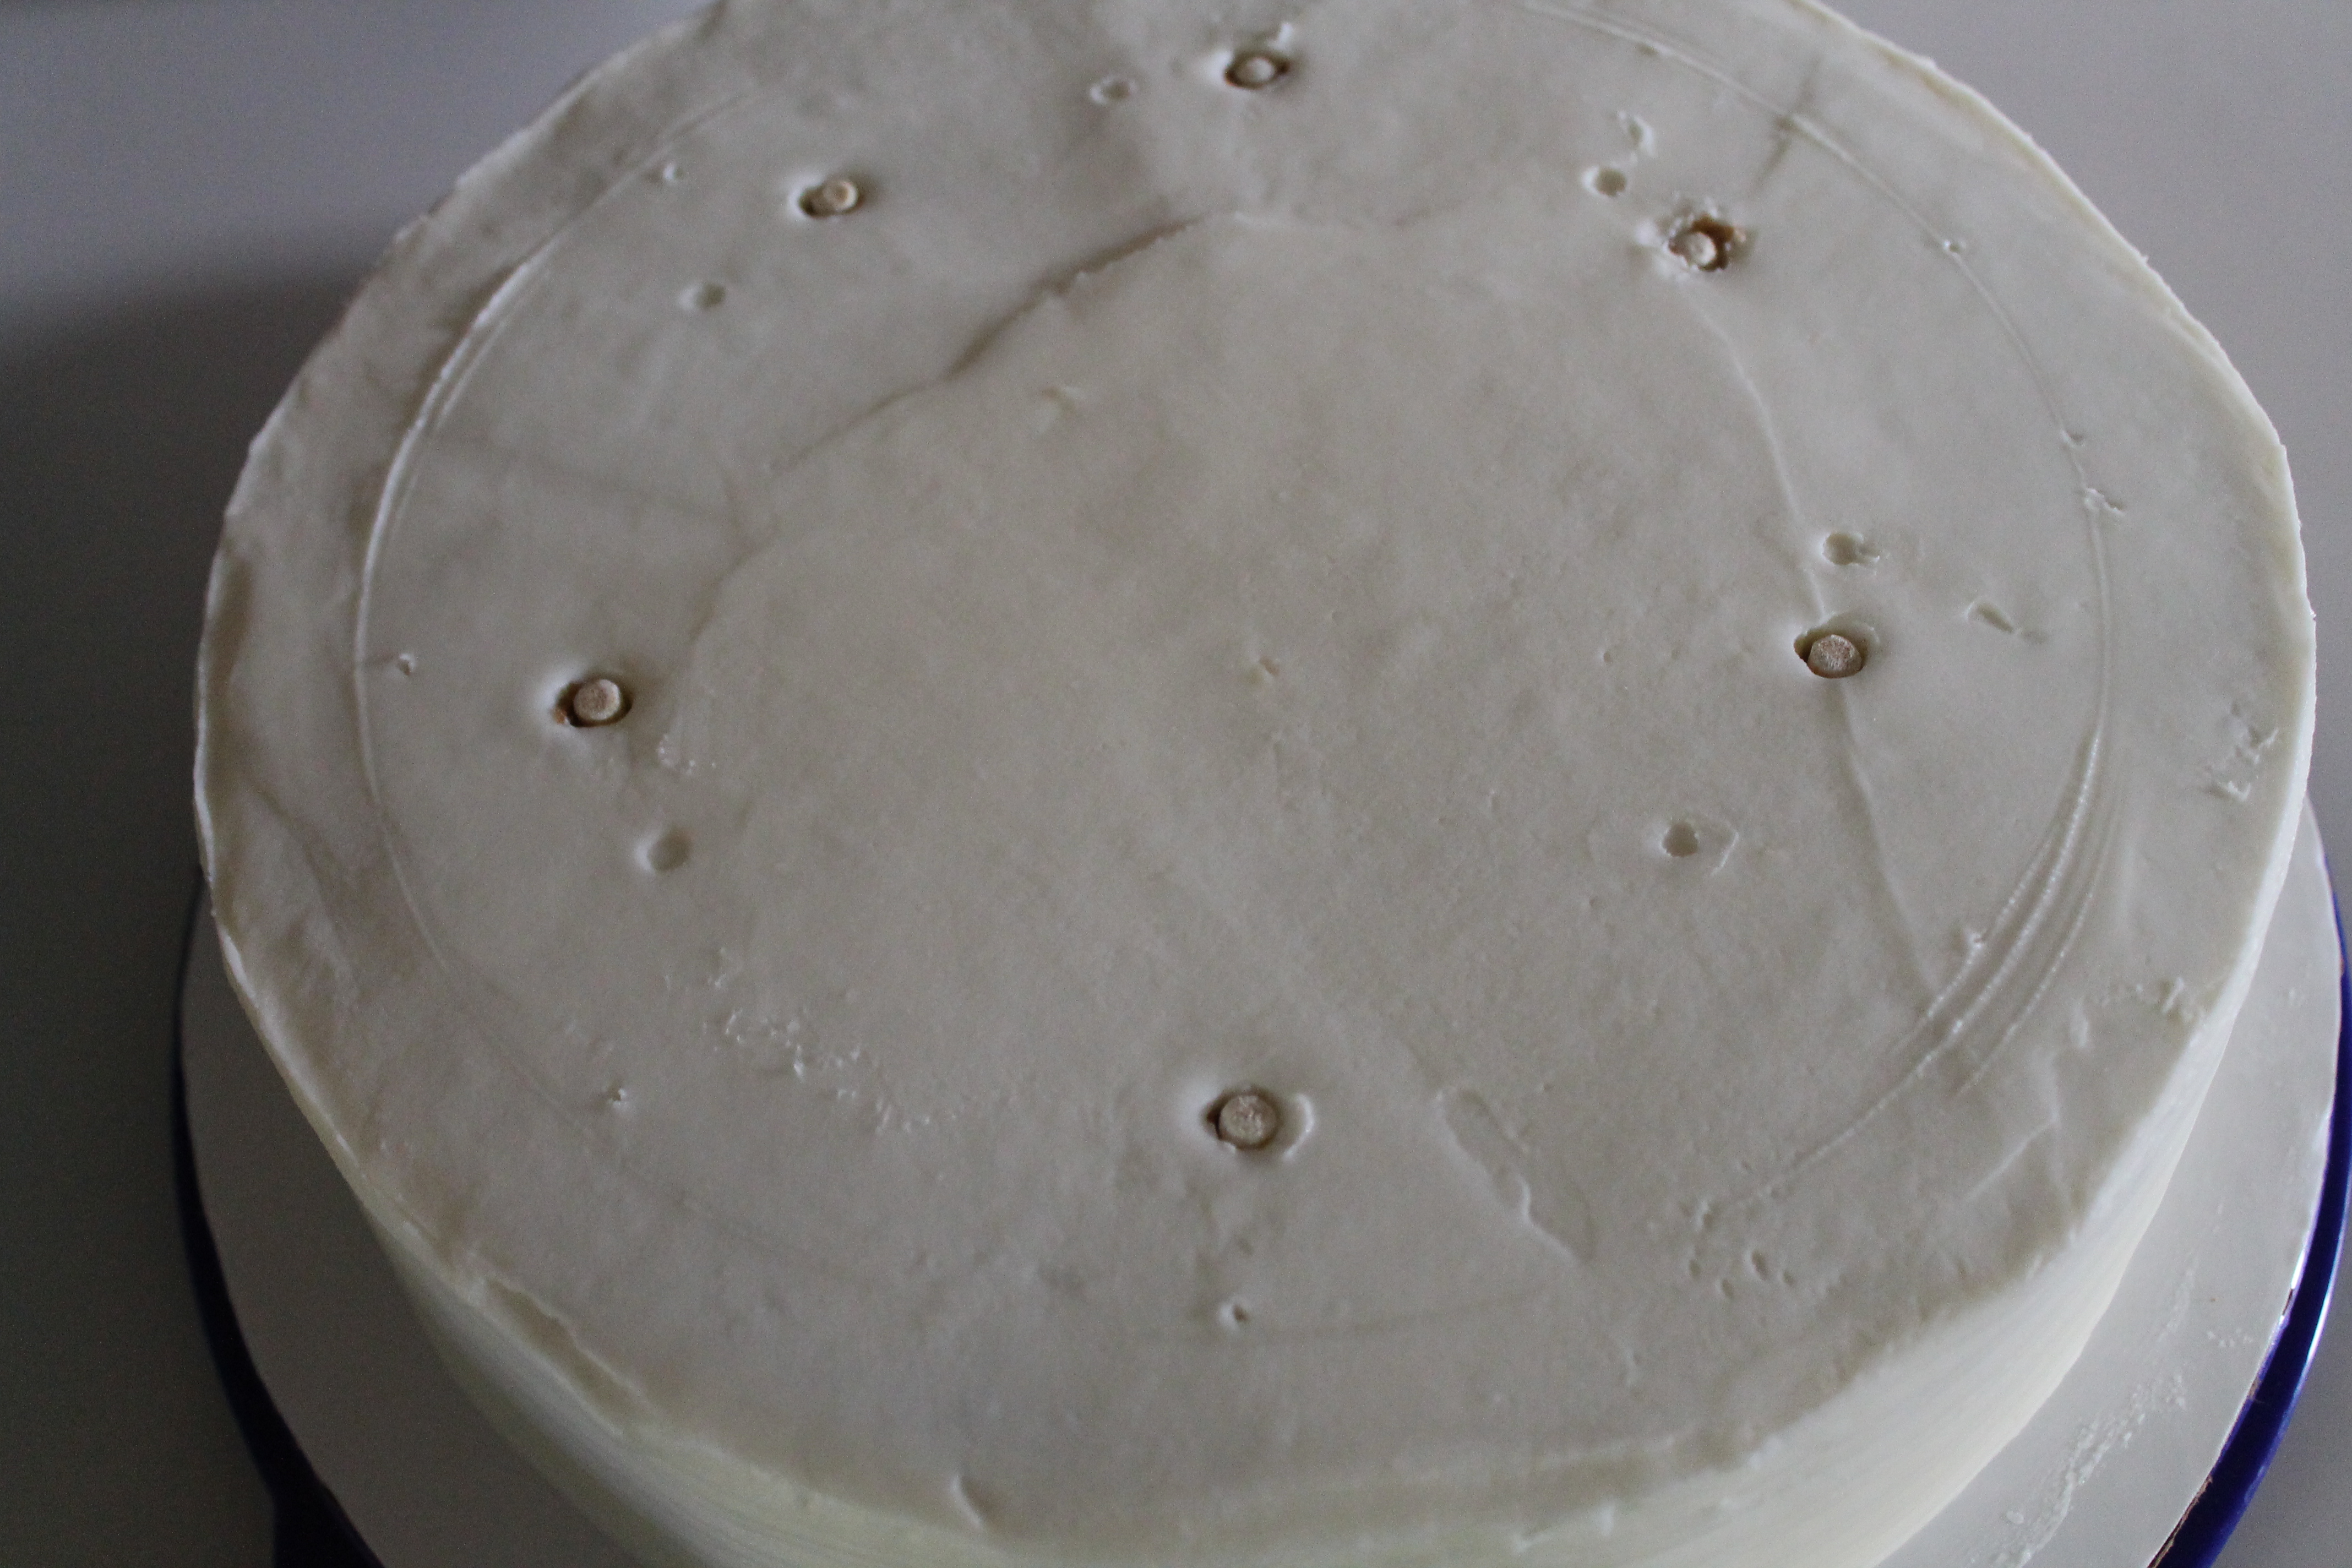 And repeat! I used six dowels in the 10″ tier and five in the 8″ tier. The top tier doesn’t need any dowels, so just leave that one alone!
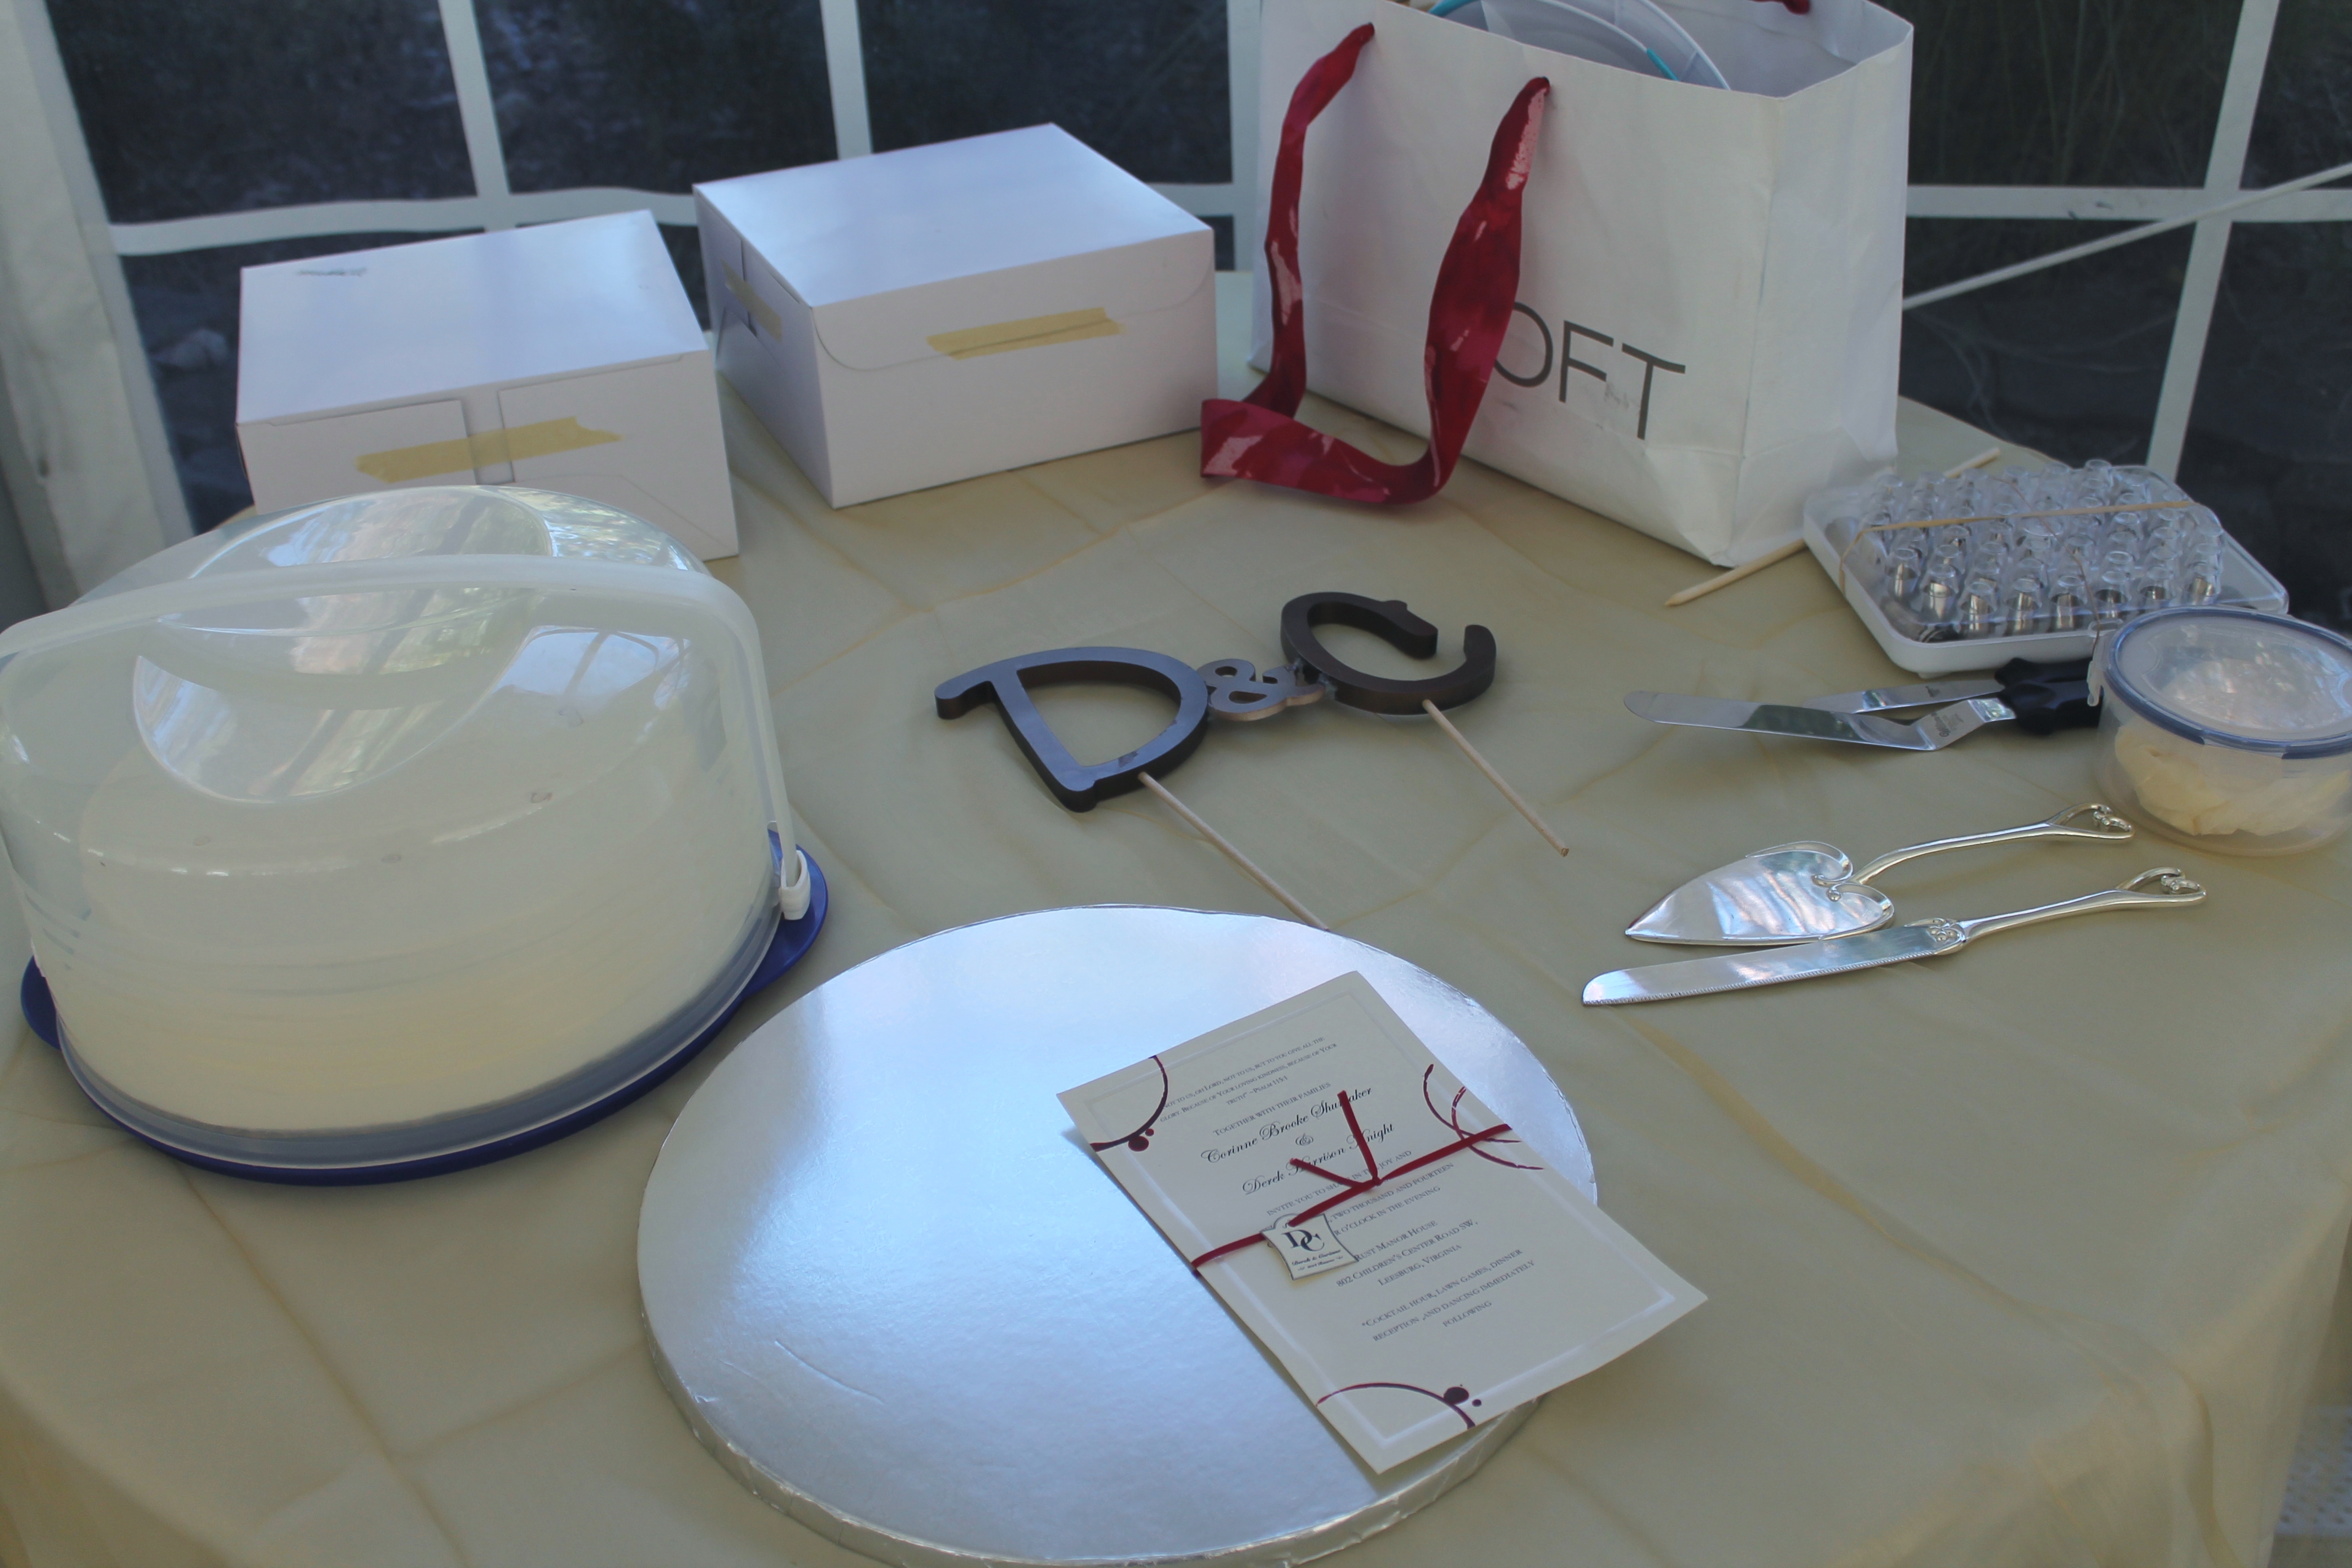
At this point, I set all the cake layers into individual boxes. I had decided to transport the cake tiers separately and stack them on site…which is not the typical way to do things, but honestly, it just made me feel safer. I thought if there was a problem, I could more easily repair the layers if they weren’t already stacked.
But! Thanks to verrrryyy cautious driving by my mother (thanks!!) and some non-skid pads under each cake layer, the transport went brilliantly!
 When I got to the wedding venue, a beautiful manor in the middle of Leesburg, the cake tiers were still lovely and unblemished. I was so relieved! I carefully carried them over to the table to set up and got to work.
Make sure you have a display plate for the cake. It wouldn’t do to just plunk a lovely cake down on a tablecloth without a plate! I actually used a foil-covered cake board to keep it simple (and also, very stable).
Carefully center the 10″ tier on the cake board or plate, using the angled spatula to set it down. The angled spatula helps to prevent finger marks in the base of the tier.
Now. VERY IMPORTANT. Pipe a swirl of frosting over the center of the cake. I don’t have pictures of this because—epic fail—my camera battery was dying!! But this step is absolutely vital. Piping a thin layer of frosting between each cake tier means that when the caterers are removing the tiers to cut the cake, they won’t end up with all of the frosting from the lower tiers stuck to the cake board of the smaller upper tiers. That would basically be a frosting nightmare.
This small little frosting swirl will help keep the cake tiers pristine and well-frosted so that the cake cutting can go smoothly!
Pick up the 8″ tier and carefully center it over the 10″ tier, laying it down gently with the help of the angled spatula. This step is a little scarier, but that’s why we brought some extra frosting! If you accidentally make a ding in either layer, you can smooth it over with a little extra frosting.
Repeat the frosting swirl in the center of the 8″ tier, then center the top tier on the cake.
 I almost had a disaster with this top tier…I totally bobbled it when I was about to set it down on the cake! Luckily, I managed not to drop it on the ground or smash the rest of the cake, and the top tier made it safely onto the cake!
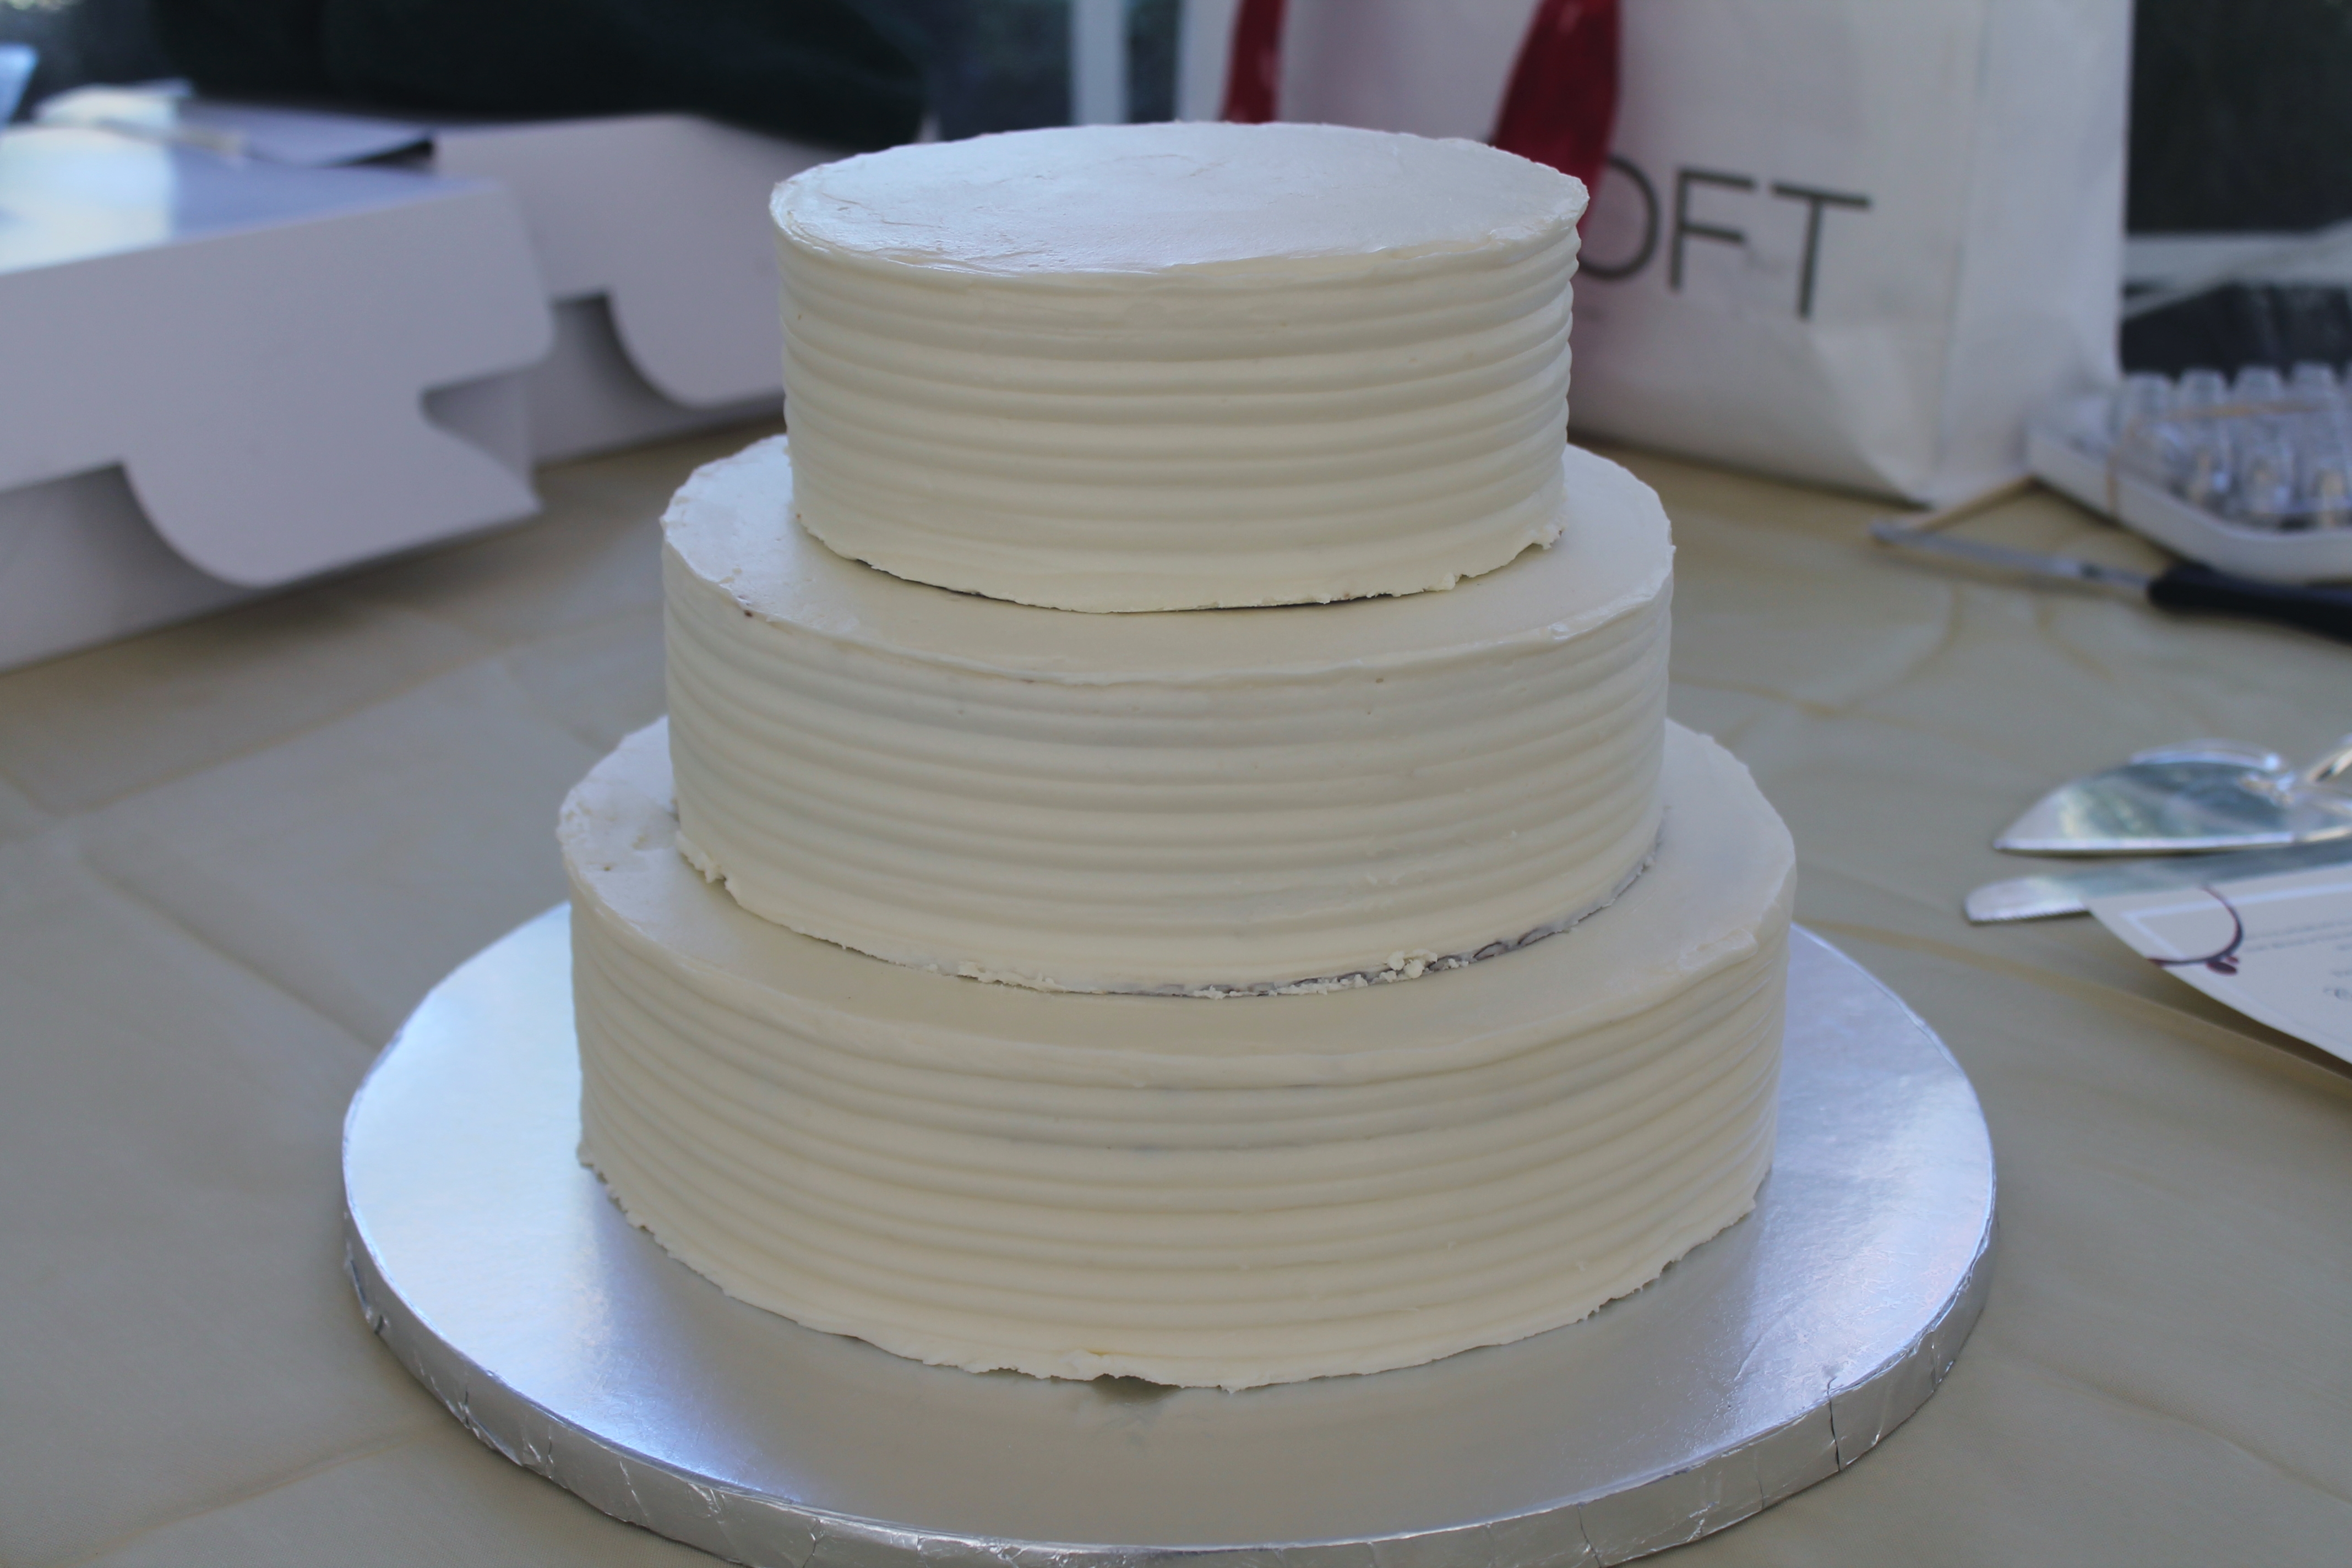
Now the tiers are stacked and we are nearing the finish line! Woo-hoo!
Time to grab one final dowel rod. Sharpen one end of this dowel with a pencil sharpener; we are going to drive it down through the center of the cake, through the cake boards supporting the 6″ and 8″ tiers. This center rod provides stability for the cake so that it won’t slide around if, say, a bunch of groomsmen decide to pick up the cake table and carry it (heart attack, heart attack) to the center of the dance floor so the bride and groom can cut the cake there. Or if you are stacking the tiers at home and transporting the cake that way, this center rod will help the cake stay beautiful and the layers neatly stacked while you drive!
Carefully push the sharpened dowel rod down through all three tiers of cake, turning the rod as you hit each cardboard piece to bore through it. Do be gentle, but firm. When you hit the bottom of the cake, grab a pencil and make a mark just below the frosting line. Pull the rod out slightly and carefully cut it so that the top of the dowel will end just below the frosting.
Now frost over the hole made by the dowel. In my case, the cream cheese frosting on the tiers was still quite stiff from being refrigerated, which worked in my favor at every single moment except this one. I had a difficult time getting the repaired frosting to smooth seamlessly with what had already been atop the cake. Luckily, the bride and groom had a cake topper for the cake, so no one was going to be inspecting the very top of the cake to see if it was perfectly smooth.
Okay. The cake tiers are stacked! The structure is sound! Time to pipe little pearls all around the base of each tier so you can’t see the seams between each tier. This is simple: just grab the piping bag fitted with that same small, round tip (the one you used to pipe a swirl between the cake tiers before you stacked them) and squeeze small, even amounts all the way around each tier. It’s okay if they are not perfect, or if some of them end up with little peaks instead of being rounded. The effect will still be simple and beautiful!
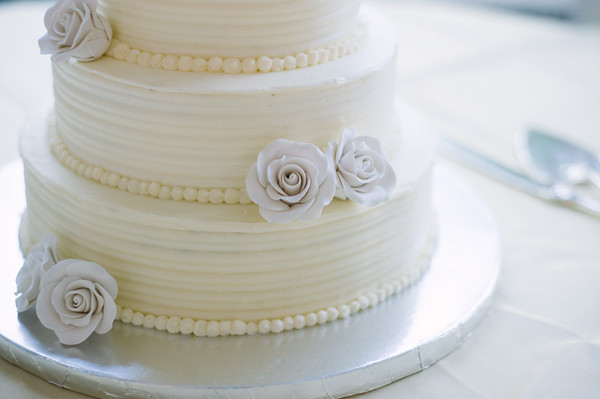
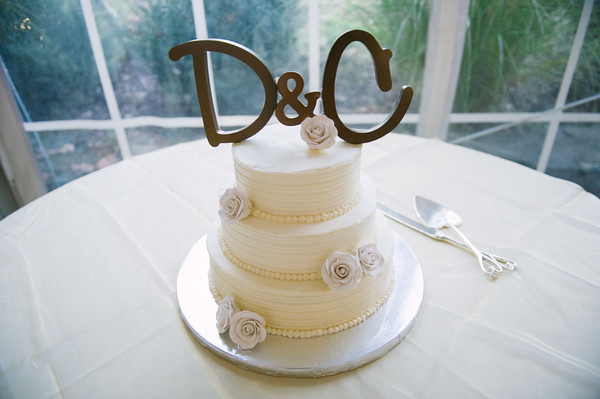
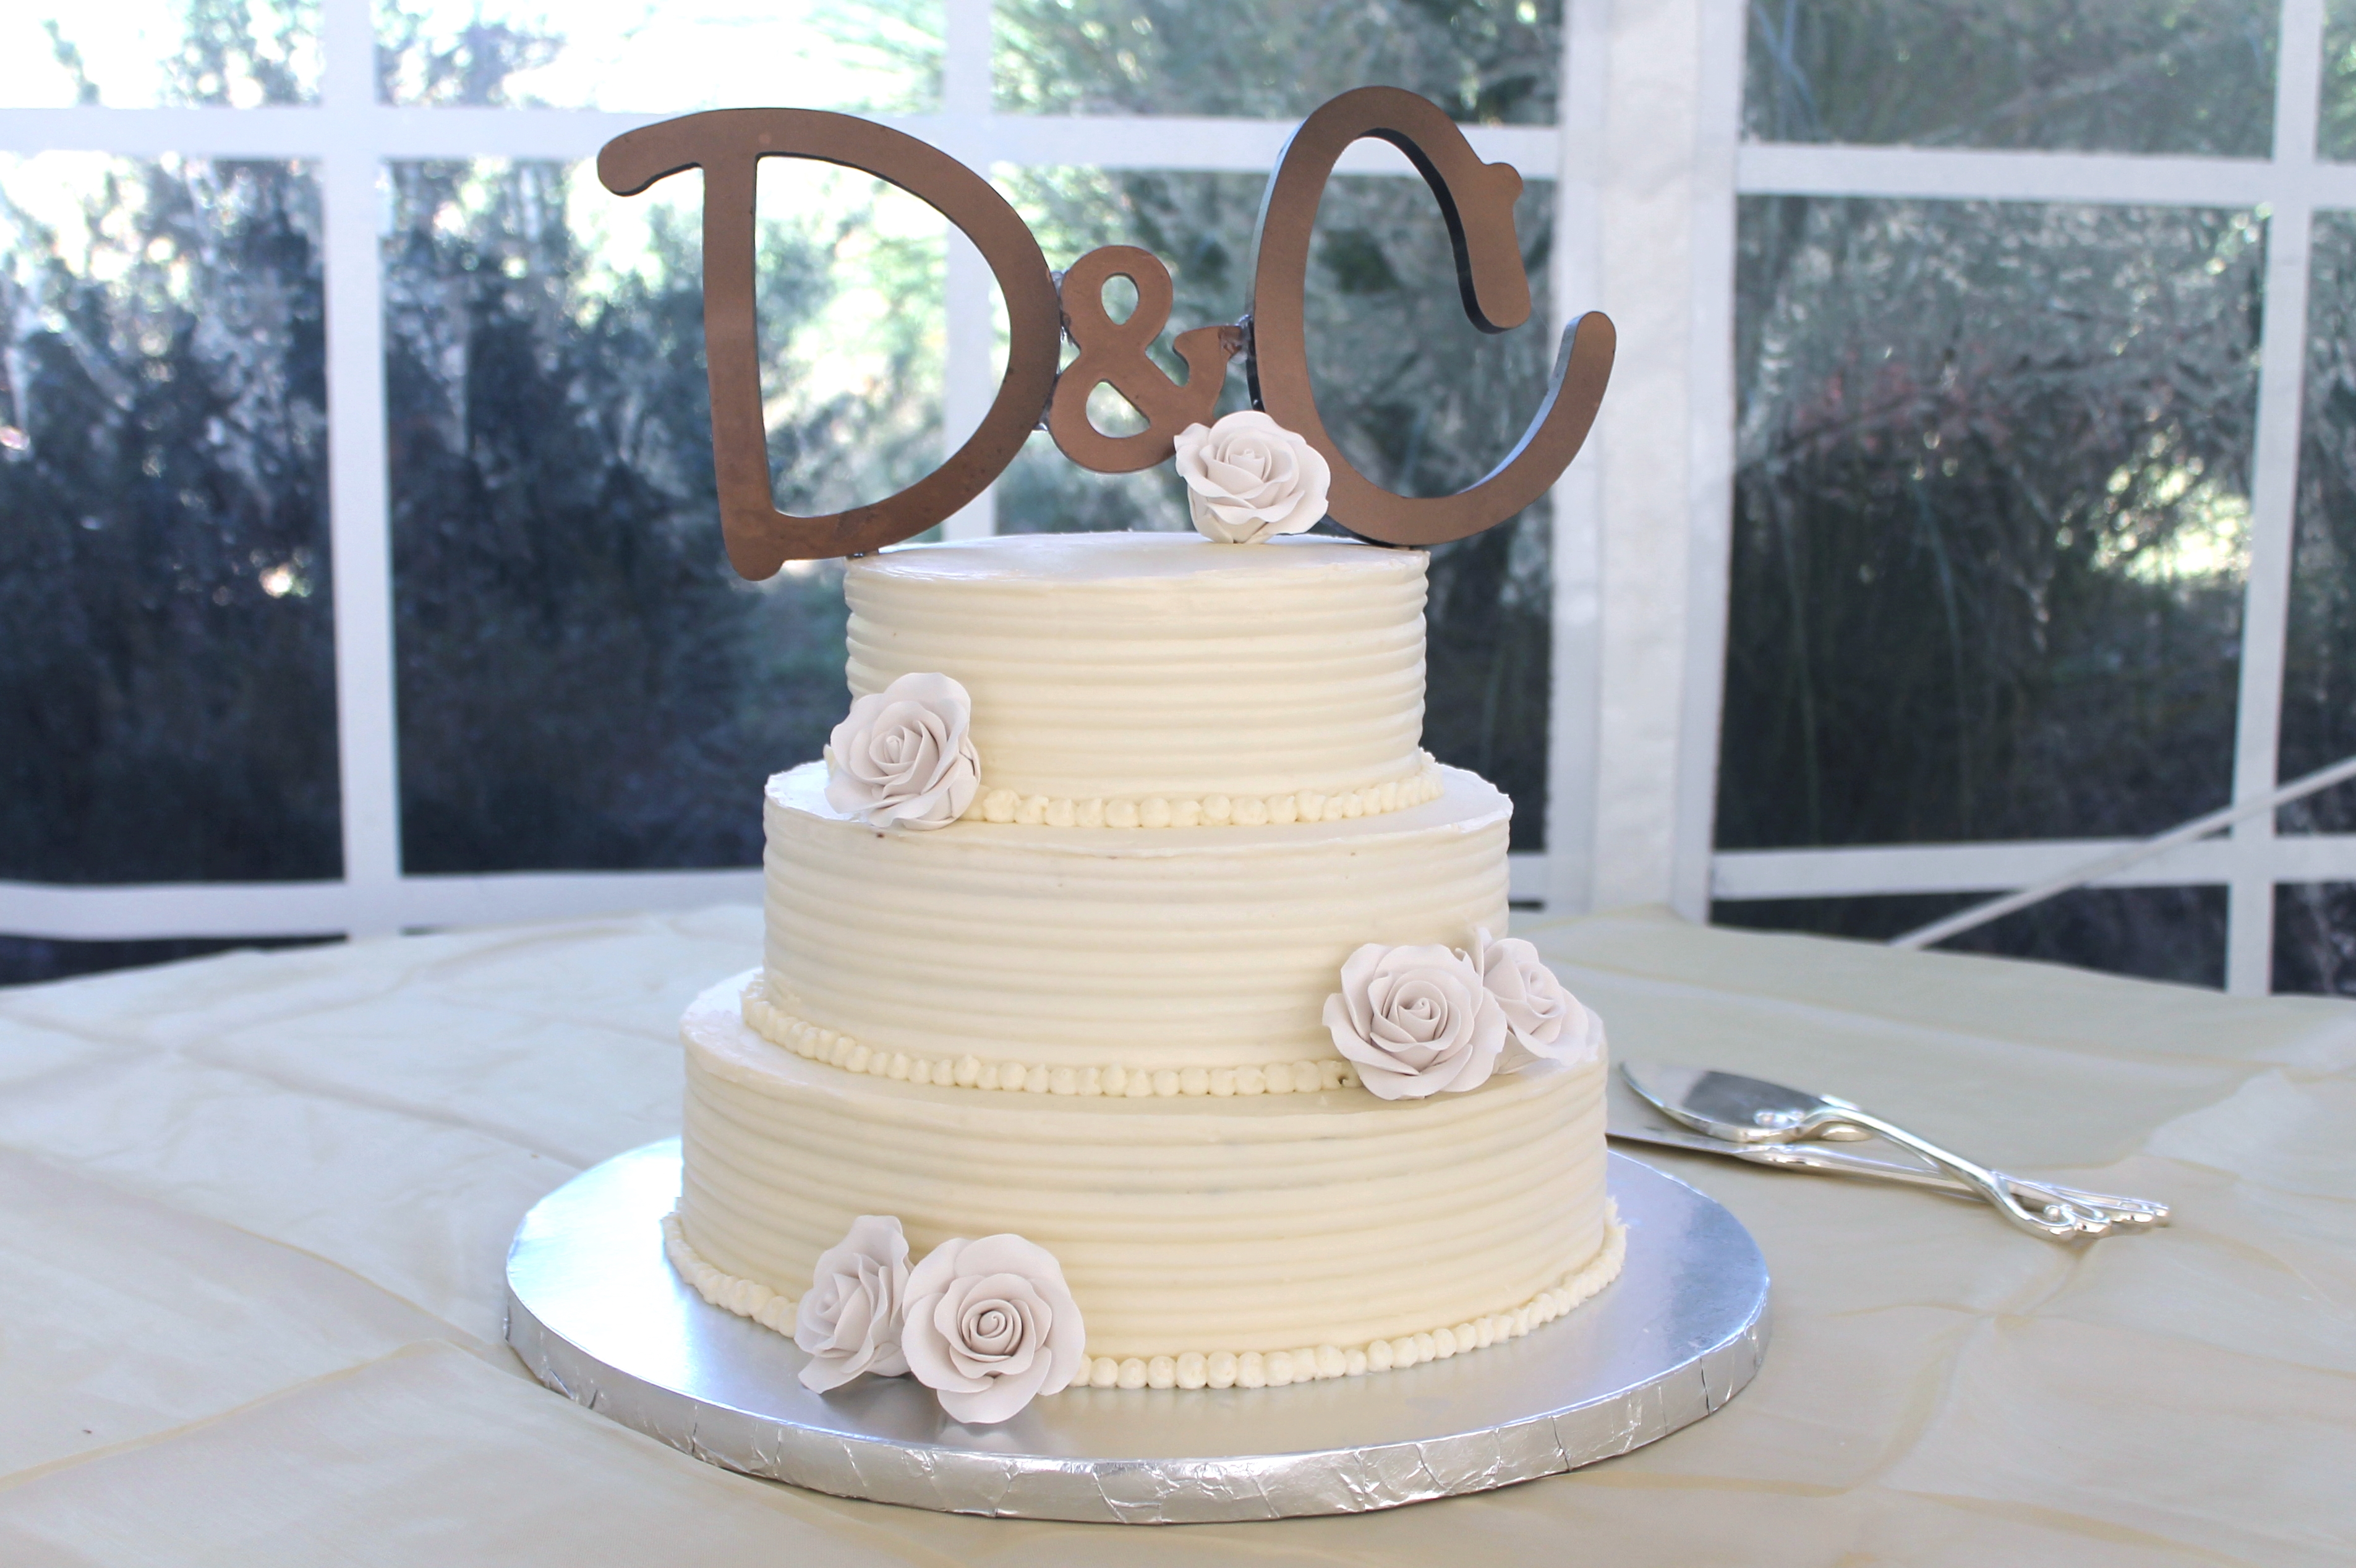 Now you can top the cake or adorn with flowers or other decorations, whatever the bride and groom have chosen/supplied!
And your work is done! Time to kick back and party!
 Here I am with the cake (sorry for my blurry cell phone photo…wish my camera battery had been charged!) after they decorated the table!
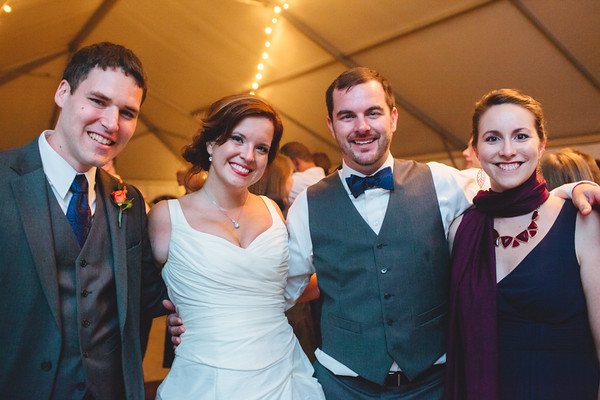
Here are Dave and I flanking the newlyweds! This was seriously one of the best weddings I have ever attended, and I am so glad I got to be part of it!
- One year ago: Citrus Ginger Kale and Tofu Salad
- Two years ago: Buttermilk Pie Bars
- Three years ago: Mexican Hot Chocolate Crackle Cookies
5 comments to “How to Make a Wedding Cake: Assembly and Finishing Touches”
Shini @ The Introverted Chilli - January 14, 2015
lovely post 🙂
Melissa - January 14, 2015
Thanks so much!
Natasha Forcier - September 20, 2017
Love your posts! I’m making a wedding cake for my sister in law. Her future husband wants cheesecake and she wants yellow cake. I’m happy to see I can combine the two similar to what you did! How long do you think this cake could set out without being refrigerated? Do you think the decorative frosting would start to sag if it was left out on the dessert table?
Melissa - September 21, 2017
Thanks, Natasha! This cake was left out for several hours with no problem before the bride and groom cut it. I would just recommend keeping everything cold until you bring the cake to the reception site. And I think the frosting will stay in place and be lovely, as long as you don’t do an incredibly think layer (like over half an inch), and it isn’t meltingly hot in the place the cake is sitting. What a sweet gift you are giving your sister-in-law! Good luck, and send me a picture after the wedding!
Diane Michalski - April 8, 2022
How much do you charge for a three tier wedding cake? Do you make the batter from scratch or cake mixes. Trying figure out how many mixes I need and how to charge for the cake I’m doing.
Thanks