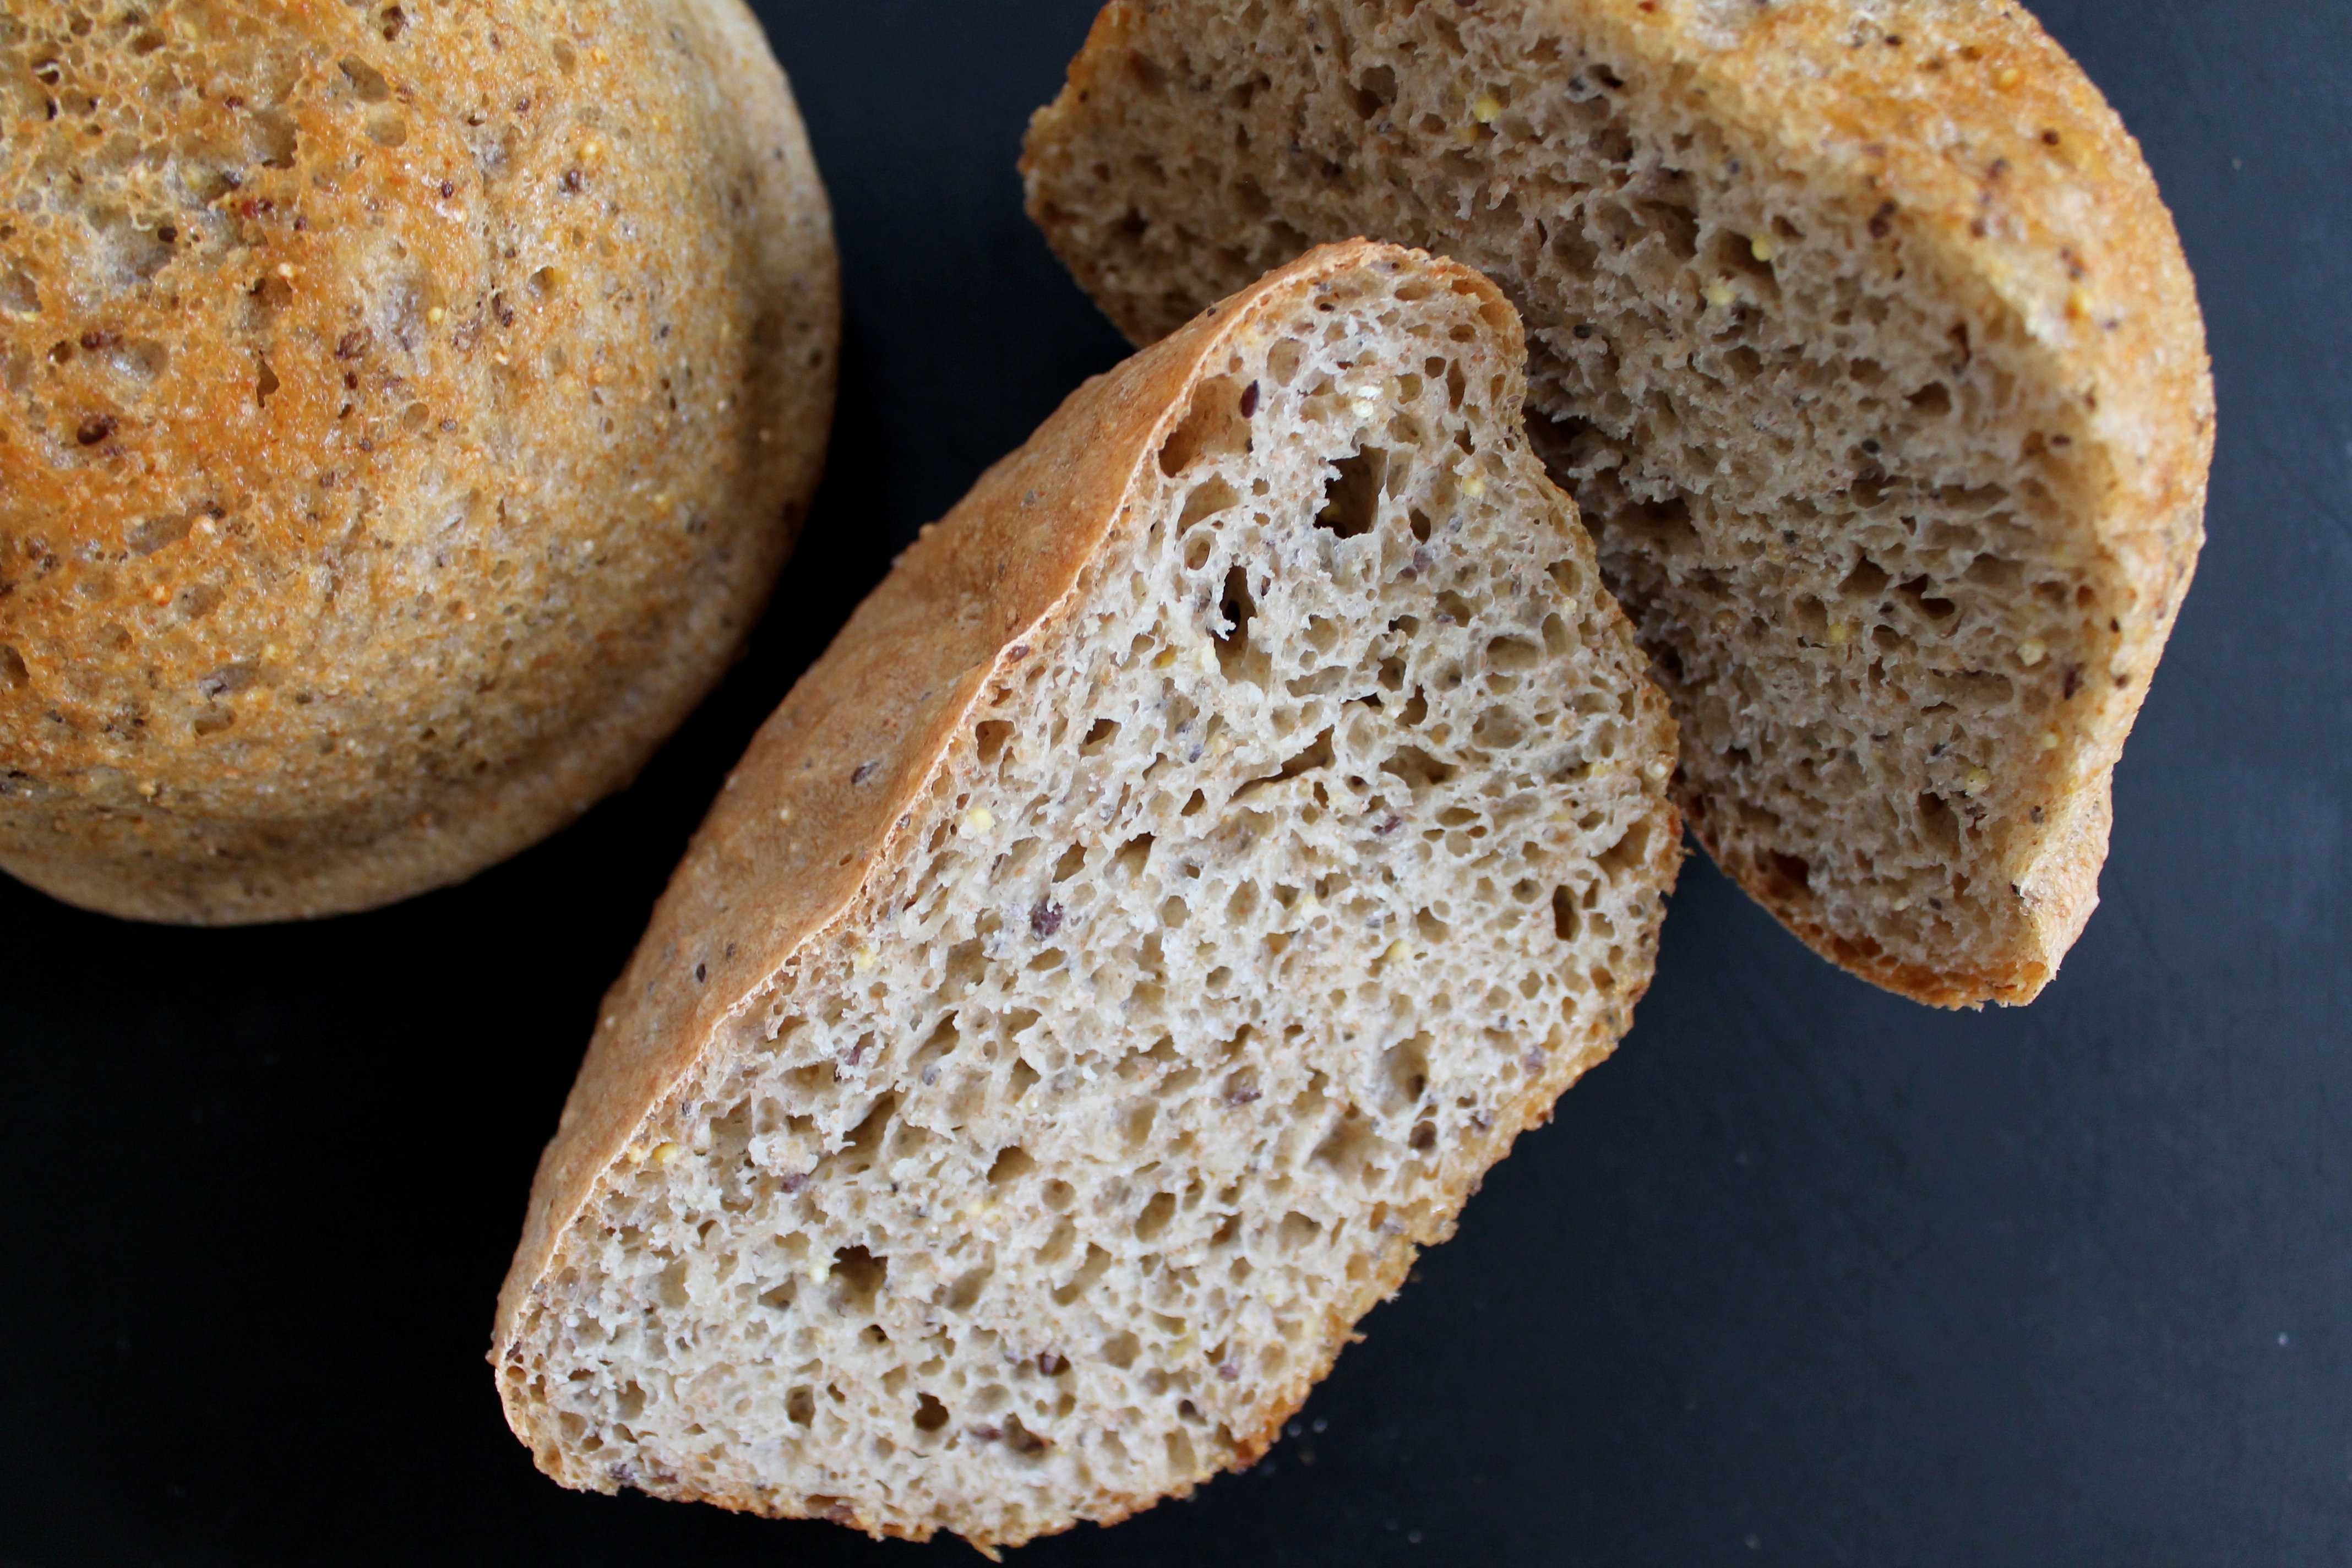
You know the phrase, “It’s the best thing since sliced bread”?
This is the best thing since sliced bread. (And then, you can slice it and butter it…and the irony will only make it more delicious.)
I can’t stop baking this peasant bread! I convinced myself a few weeks ago that it was worth it to buy a second set of Pyrex bowls, and then I immediately baked bread three days in a row. This peasant bread is so easy and so airy and so chewy and so wonderful, you may never buy bread in the store again.
There really is nothing that quite compares to the amazing smell of fresh bread wafting through your house. Except maybe that first warm bite, as the bread is still steaming…you can’t tell me that doesn’t make your mouth water.
 Folksy explanations of peasant bread claim that it is typically a crusty, round loaf made from coarse flour and other cheap ingredients peasant farmers may have had access to. A more modern take has peasant bread squarely within the no-knead category, similar to the ever-popular free-form artisan breads that have made homemade bread a possibility for busy bakers.
But this bread is better than that, simpler than that, and it still only takes 5 minutes of effort! I am an artisan bread convert. The best thing about this batter bread, I think, aside from the fact that you can make from start to finish in just over 2 hours, is that you don’t have to worry about shaping it. It never turns into a flat little blob because it “rose” sideways instead of reaching for new heights. And you can customize it almost any way you like, which is exactly what I did by swapping in some spelt and adding seeds.
Don’t be afraid of making bread! You can make bread without a bread maker! It won’t be hard, and you will not regret getting started. This bread is delicious fresh from the oven, even more wonderful with a smear of butter, and just divine toasted (and French-toasted). You can serve it with a fancy meal or turn it into a sandwich for a midnight snack. Just do it!
 Start by stirring together warm water, yeast, and sugar. I love that the measurements for this bread are so easy to remember! 2 cups, 2 teaspoons. Your water should be warm to the touch, but not hot. Warm, sugary water will make the yeast activate very quickly! I always make sure to set mine on the stove or on a coaster, so that cold stone of my counters doesn’t slow the yeast down.
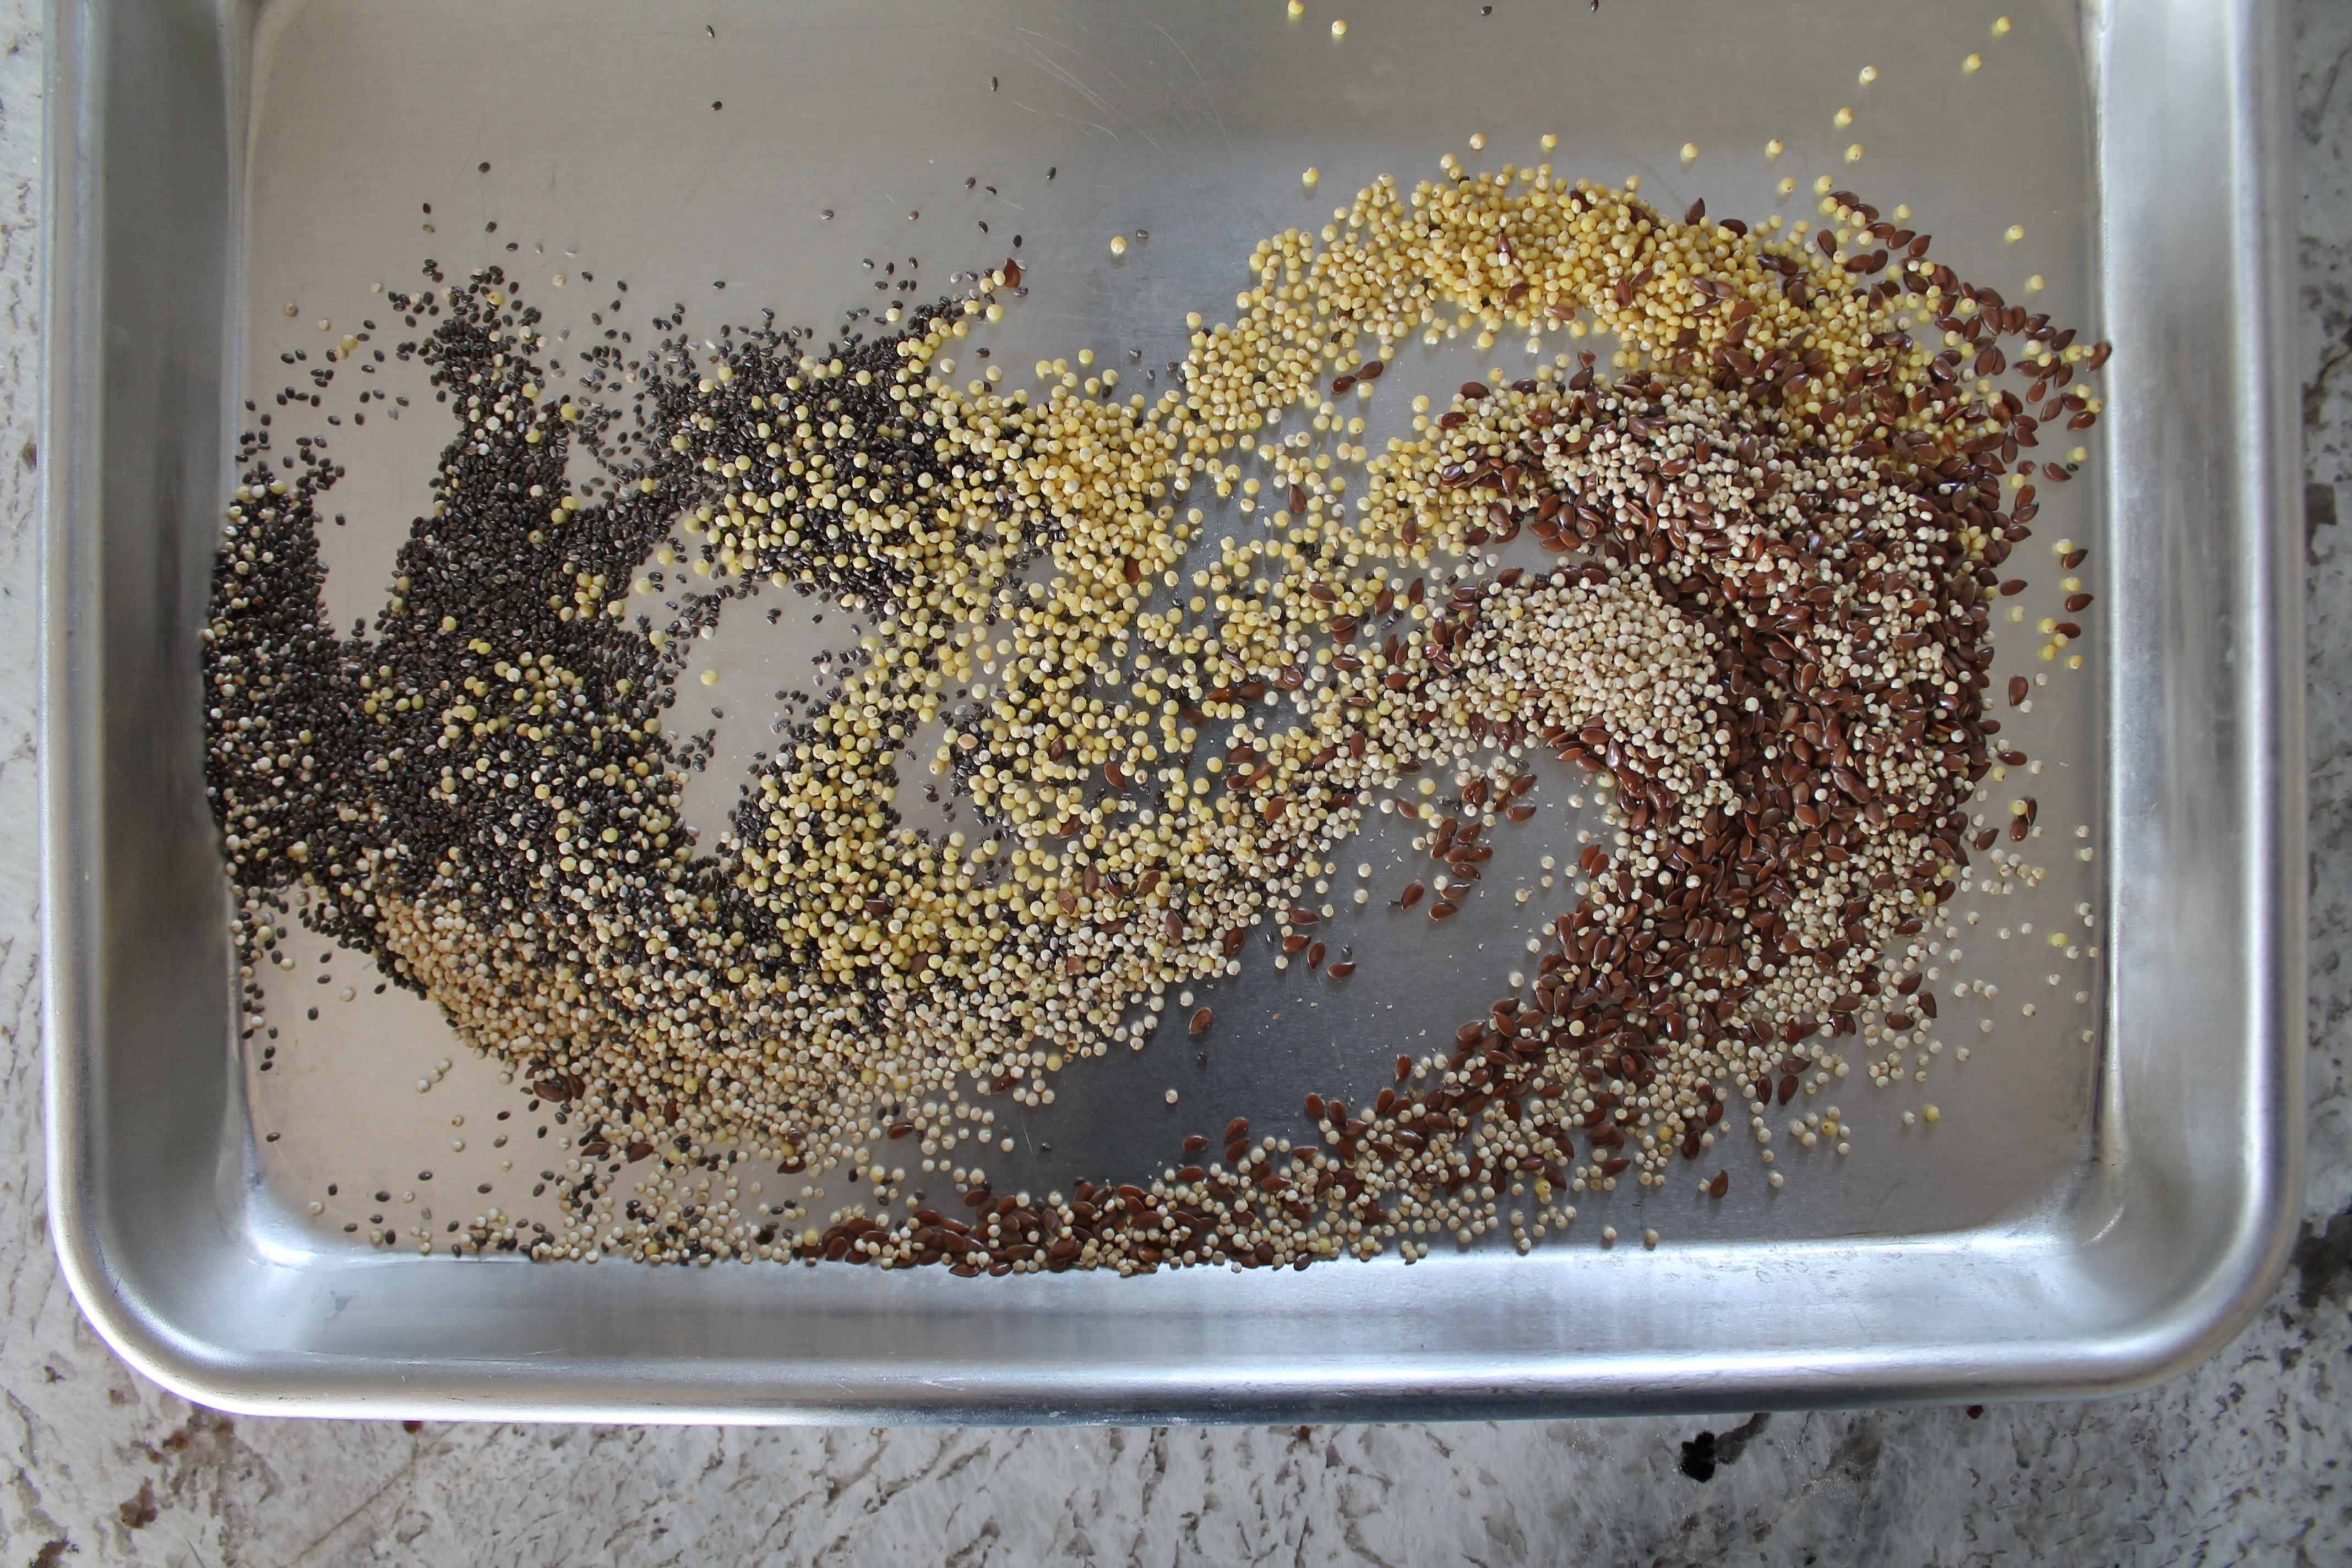 While the yeast is getting nice and foamy, measure out and toast your seeds. Seeds are a great way to add a tiny nutritional kick to bread—fiber, protein, omega-3s, and many important minerals. The toasting is actually optional, but I thought it added a nice touch!
You can use ¼ cup of any seeds you like or have on hand, but I really like to do 1 tbsp. each chia seeds, flax seeds, dry quinoa (yes, it’s a seed!), and whole millet (okay, technically not a seed…but it is the most common ingredient of birdseed, and it’s exactly the right size and not too hard, so I think we can count it here). I toasted my seeds for 6 minutes at 325°, shaking the pan halfway through.
While the seeds toast, whisk together the flours and kosher salt. You can use any flour you want, really, but the recipe was originally written for all-purpose flour. By the way, it would make a wonderful white bread if you chose to use only AP flour, but I really like to substitute 1 cup of spelt flour. It gives the bread a little more oomph to have the nutty whole grain in there, but using just 1 cup of spelt flour doesn’t make the bread too tough, dense, or dry. You could also substitute whole wheat flour if you don’t have spelt on hand! This bread is supposed to be easy, and you should take advantage of whatever ingredients you can find in your pantry.
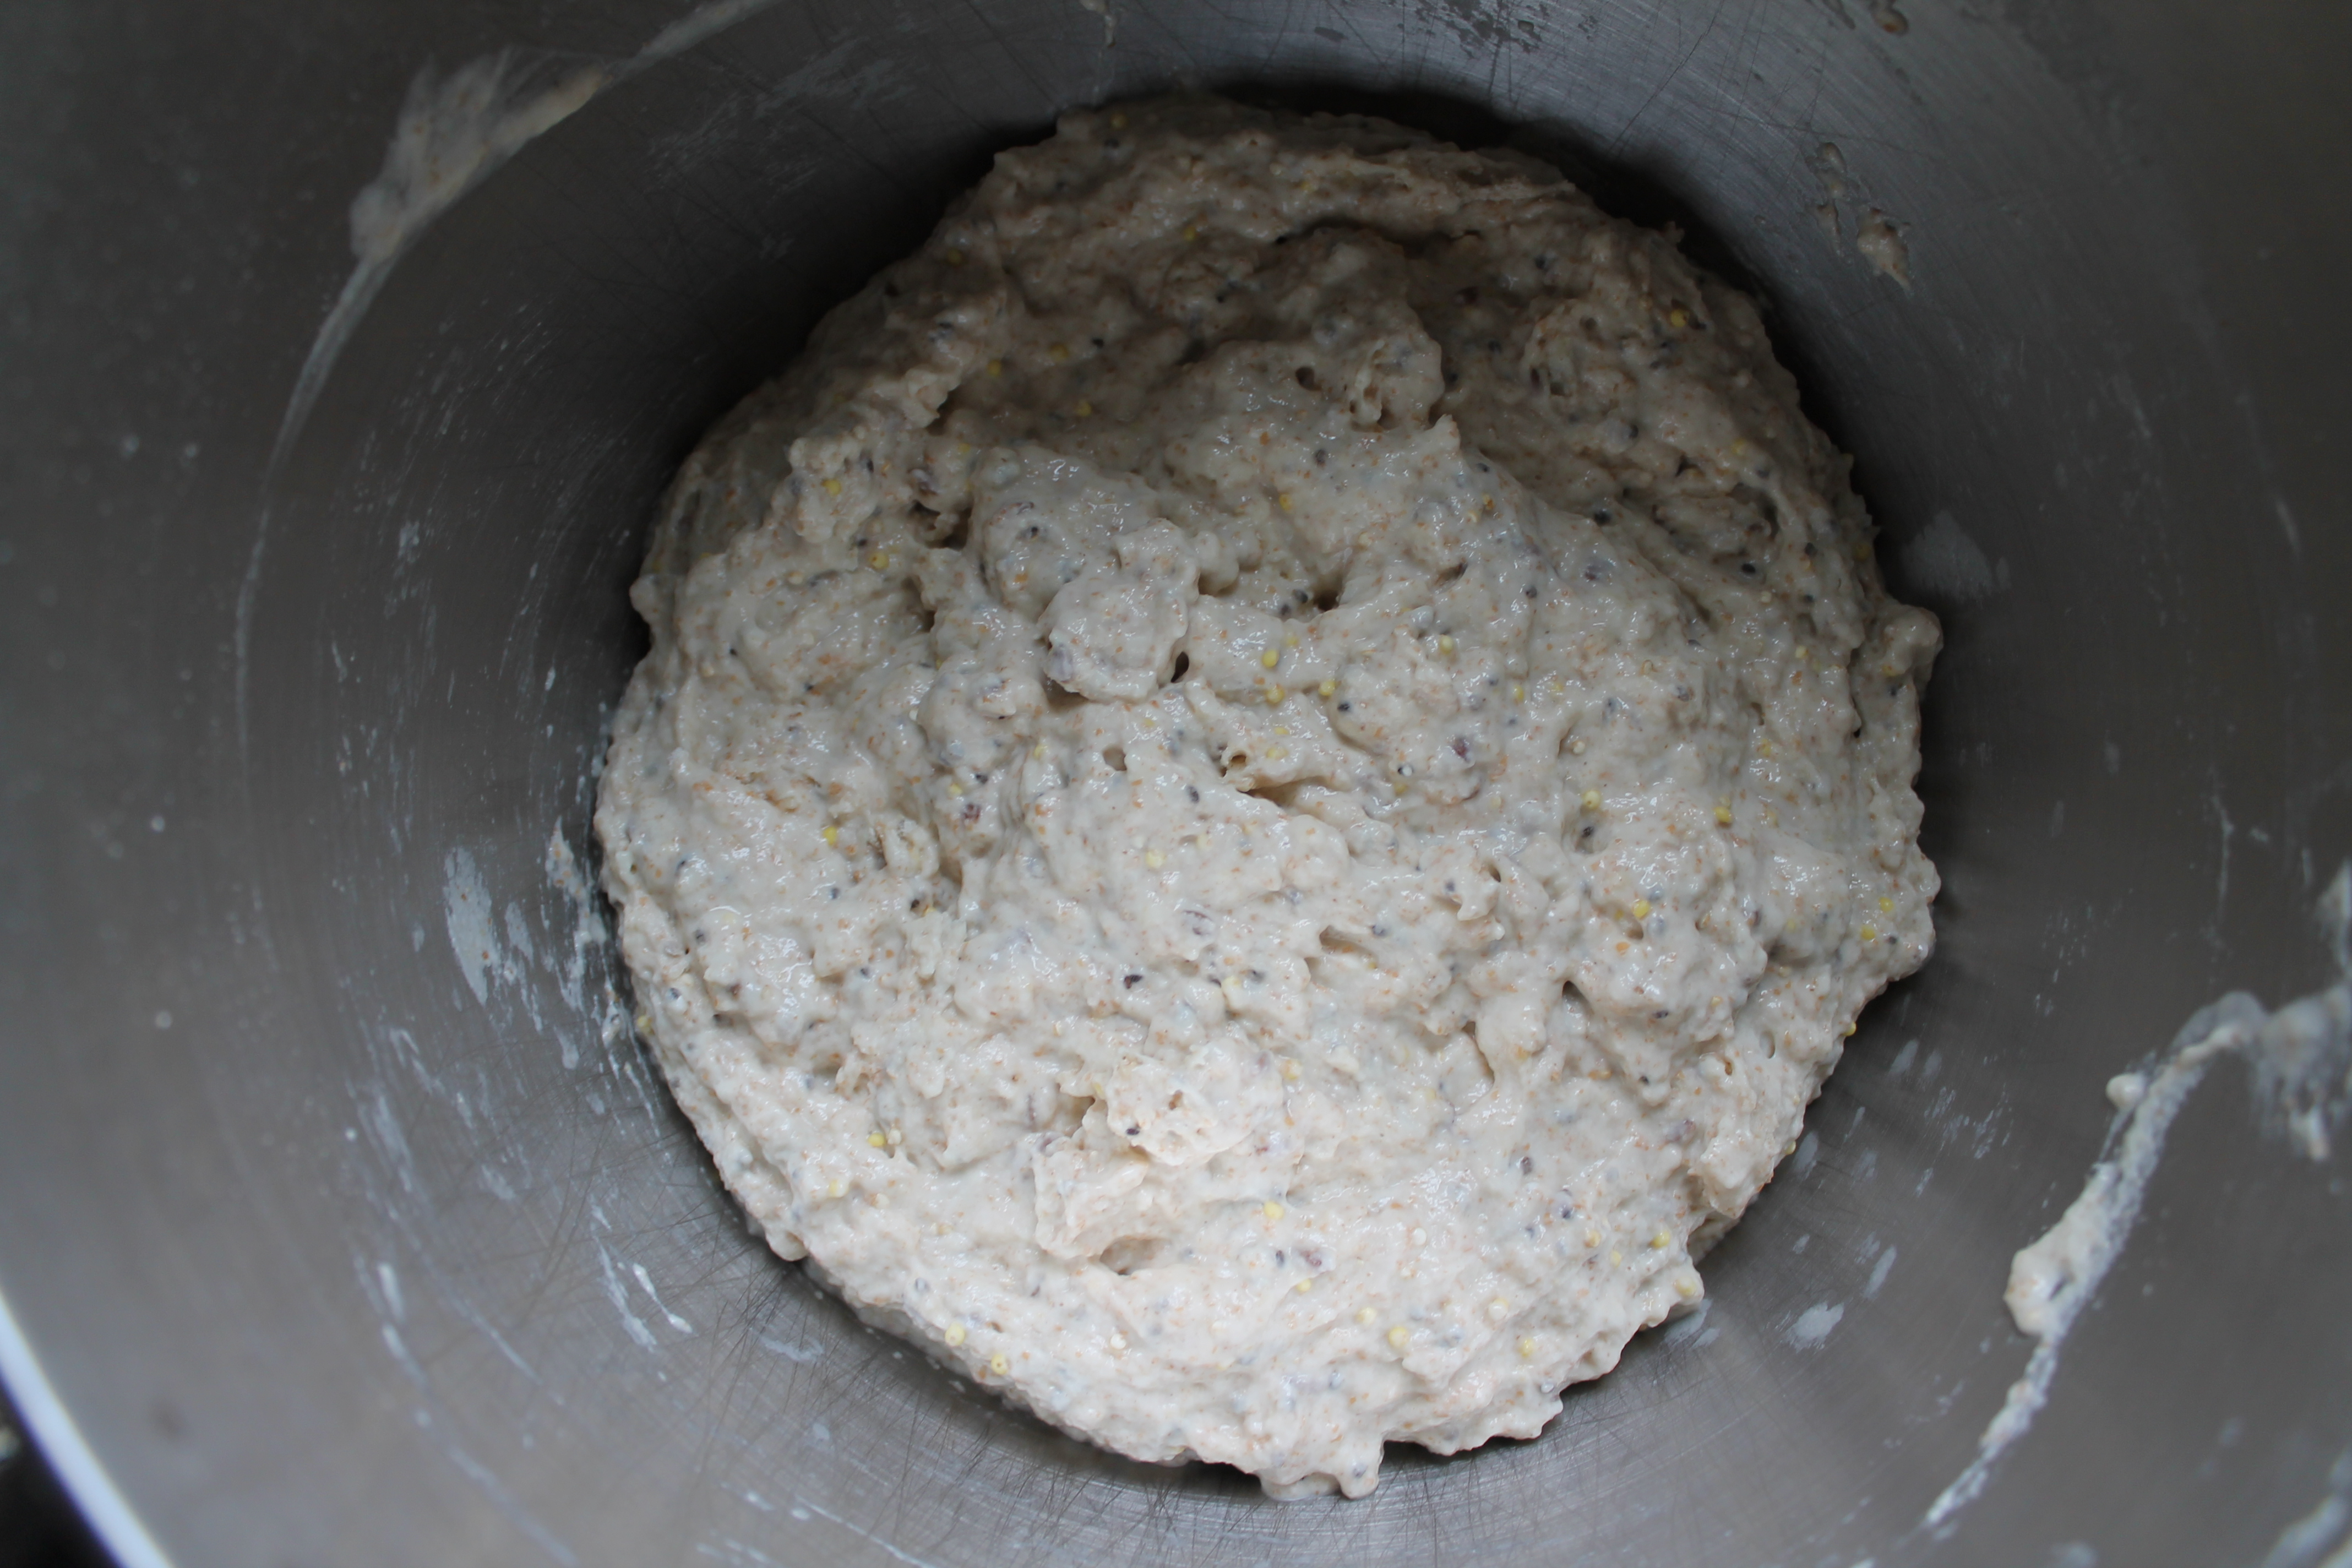 When the yeast is nice and foamy, stir it into the flour mixture along with all the seeds.
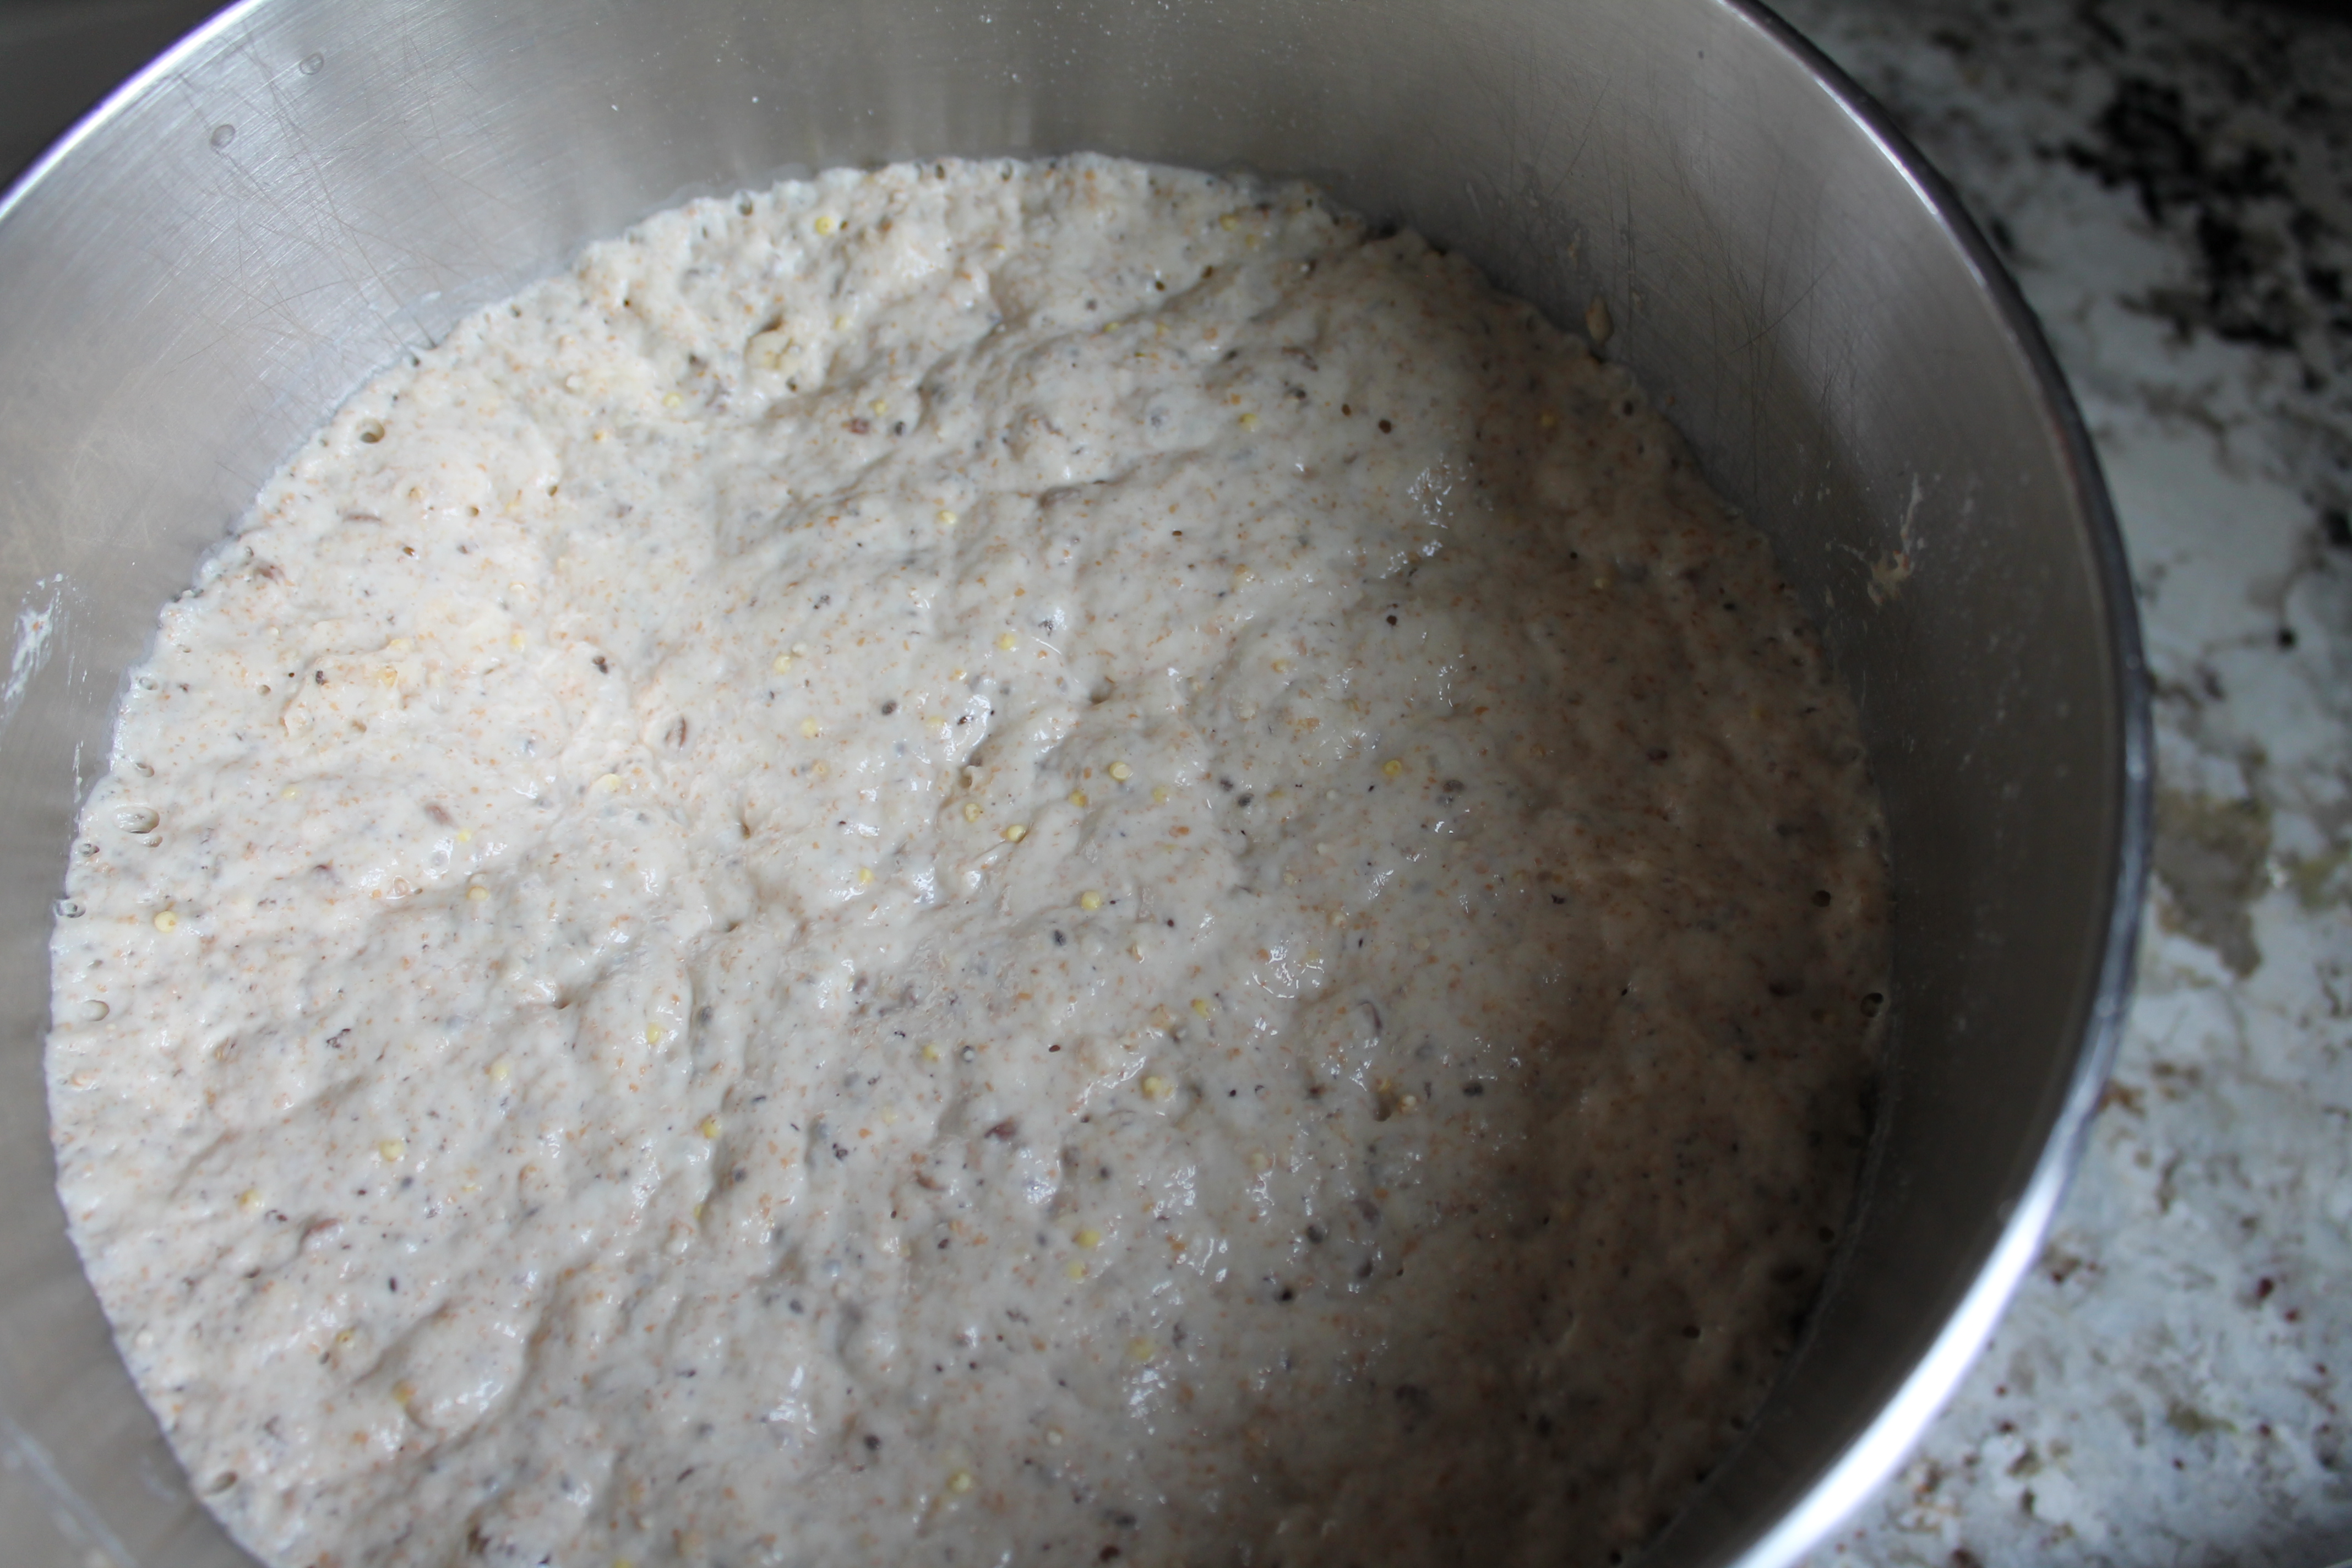 Cover the bowl with a towel and let the bread rise for 1 hour, or until doubled. Bread likes a nice, warm spot to rise. I learned my favorite trick from my grandmother, and it produces the same conditions every time: warm 1 cup water for 2 minutes in the microwave, then open the door, stick the dough bowl in, and close the door behind it. My bread doughs always rise beautifully when I do this, no matter what season it is or what else the weather is doing!
Okay, so far we have exerted about 3 minutes of effort measuring and mixing things. Good start!
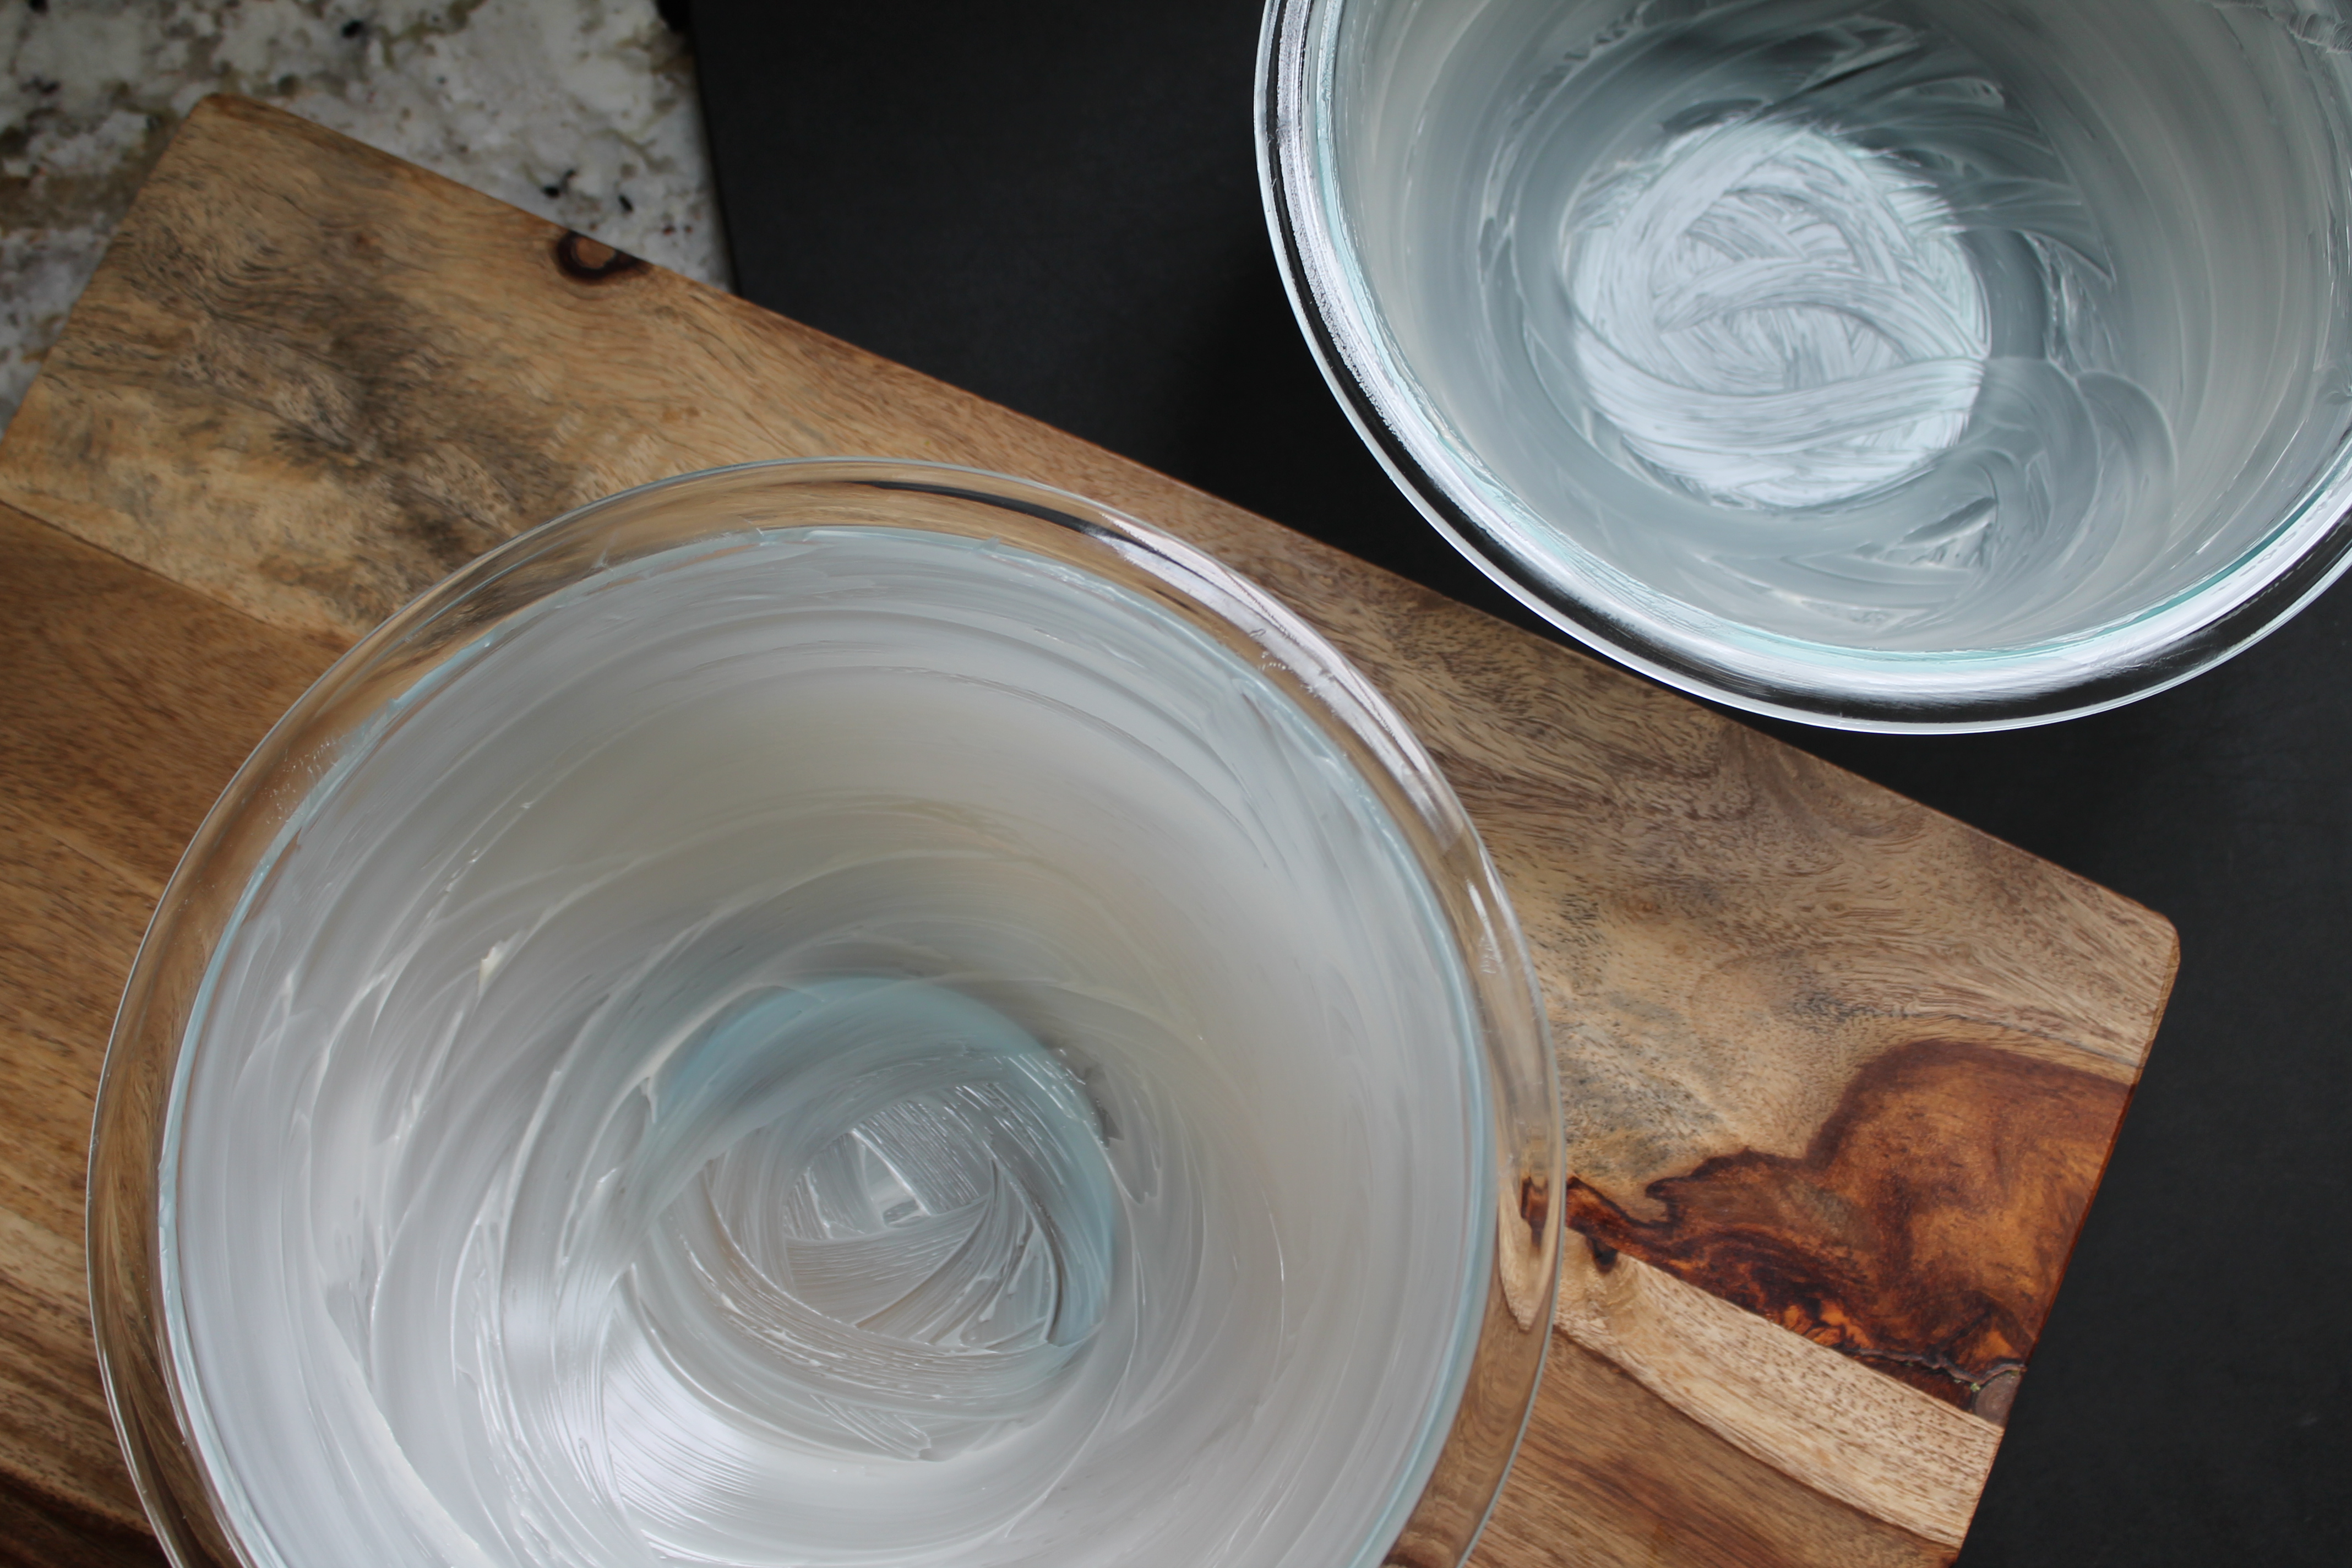 Now we need to get ready to divide the dough. Grab 2 small Pyrex (or other heatsafe glass) bowls. I prefer to use the 1qt. rounded bowls, but 1½ qt. bowls work just as well! Also, if you can’t quite bring yourself to buy two sets of mixing bowls, you can easily just use one of each size! The loaves will bake in the same amount of time either way, but they will be slightly different shapes based on the size bowl you choose.
Butter the bowls thoroughly with softened butter. I use salted butter, but unsalted would also be fine! Or, if you are avoiding dairy for any reason, just use a thorough coating of cooking oil.
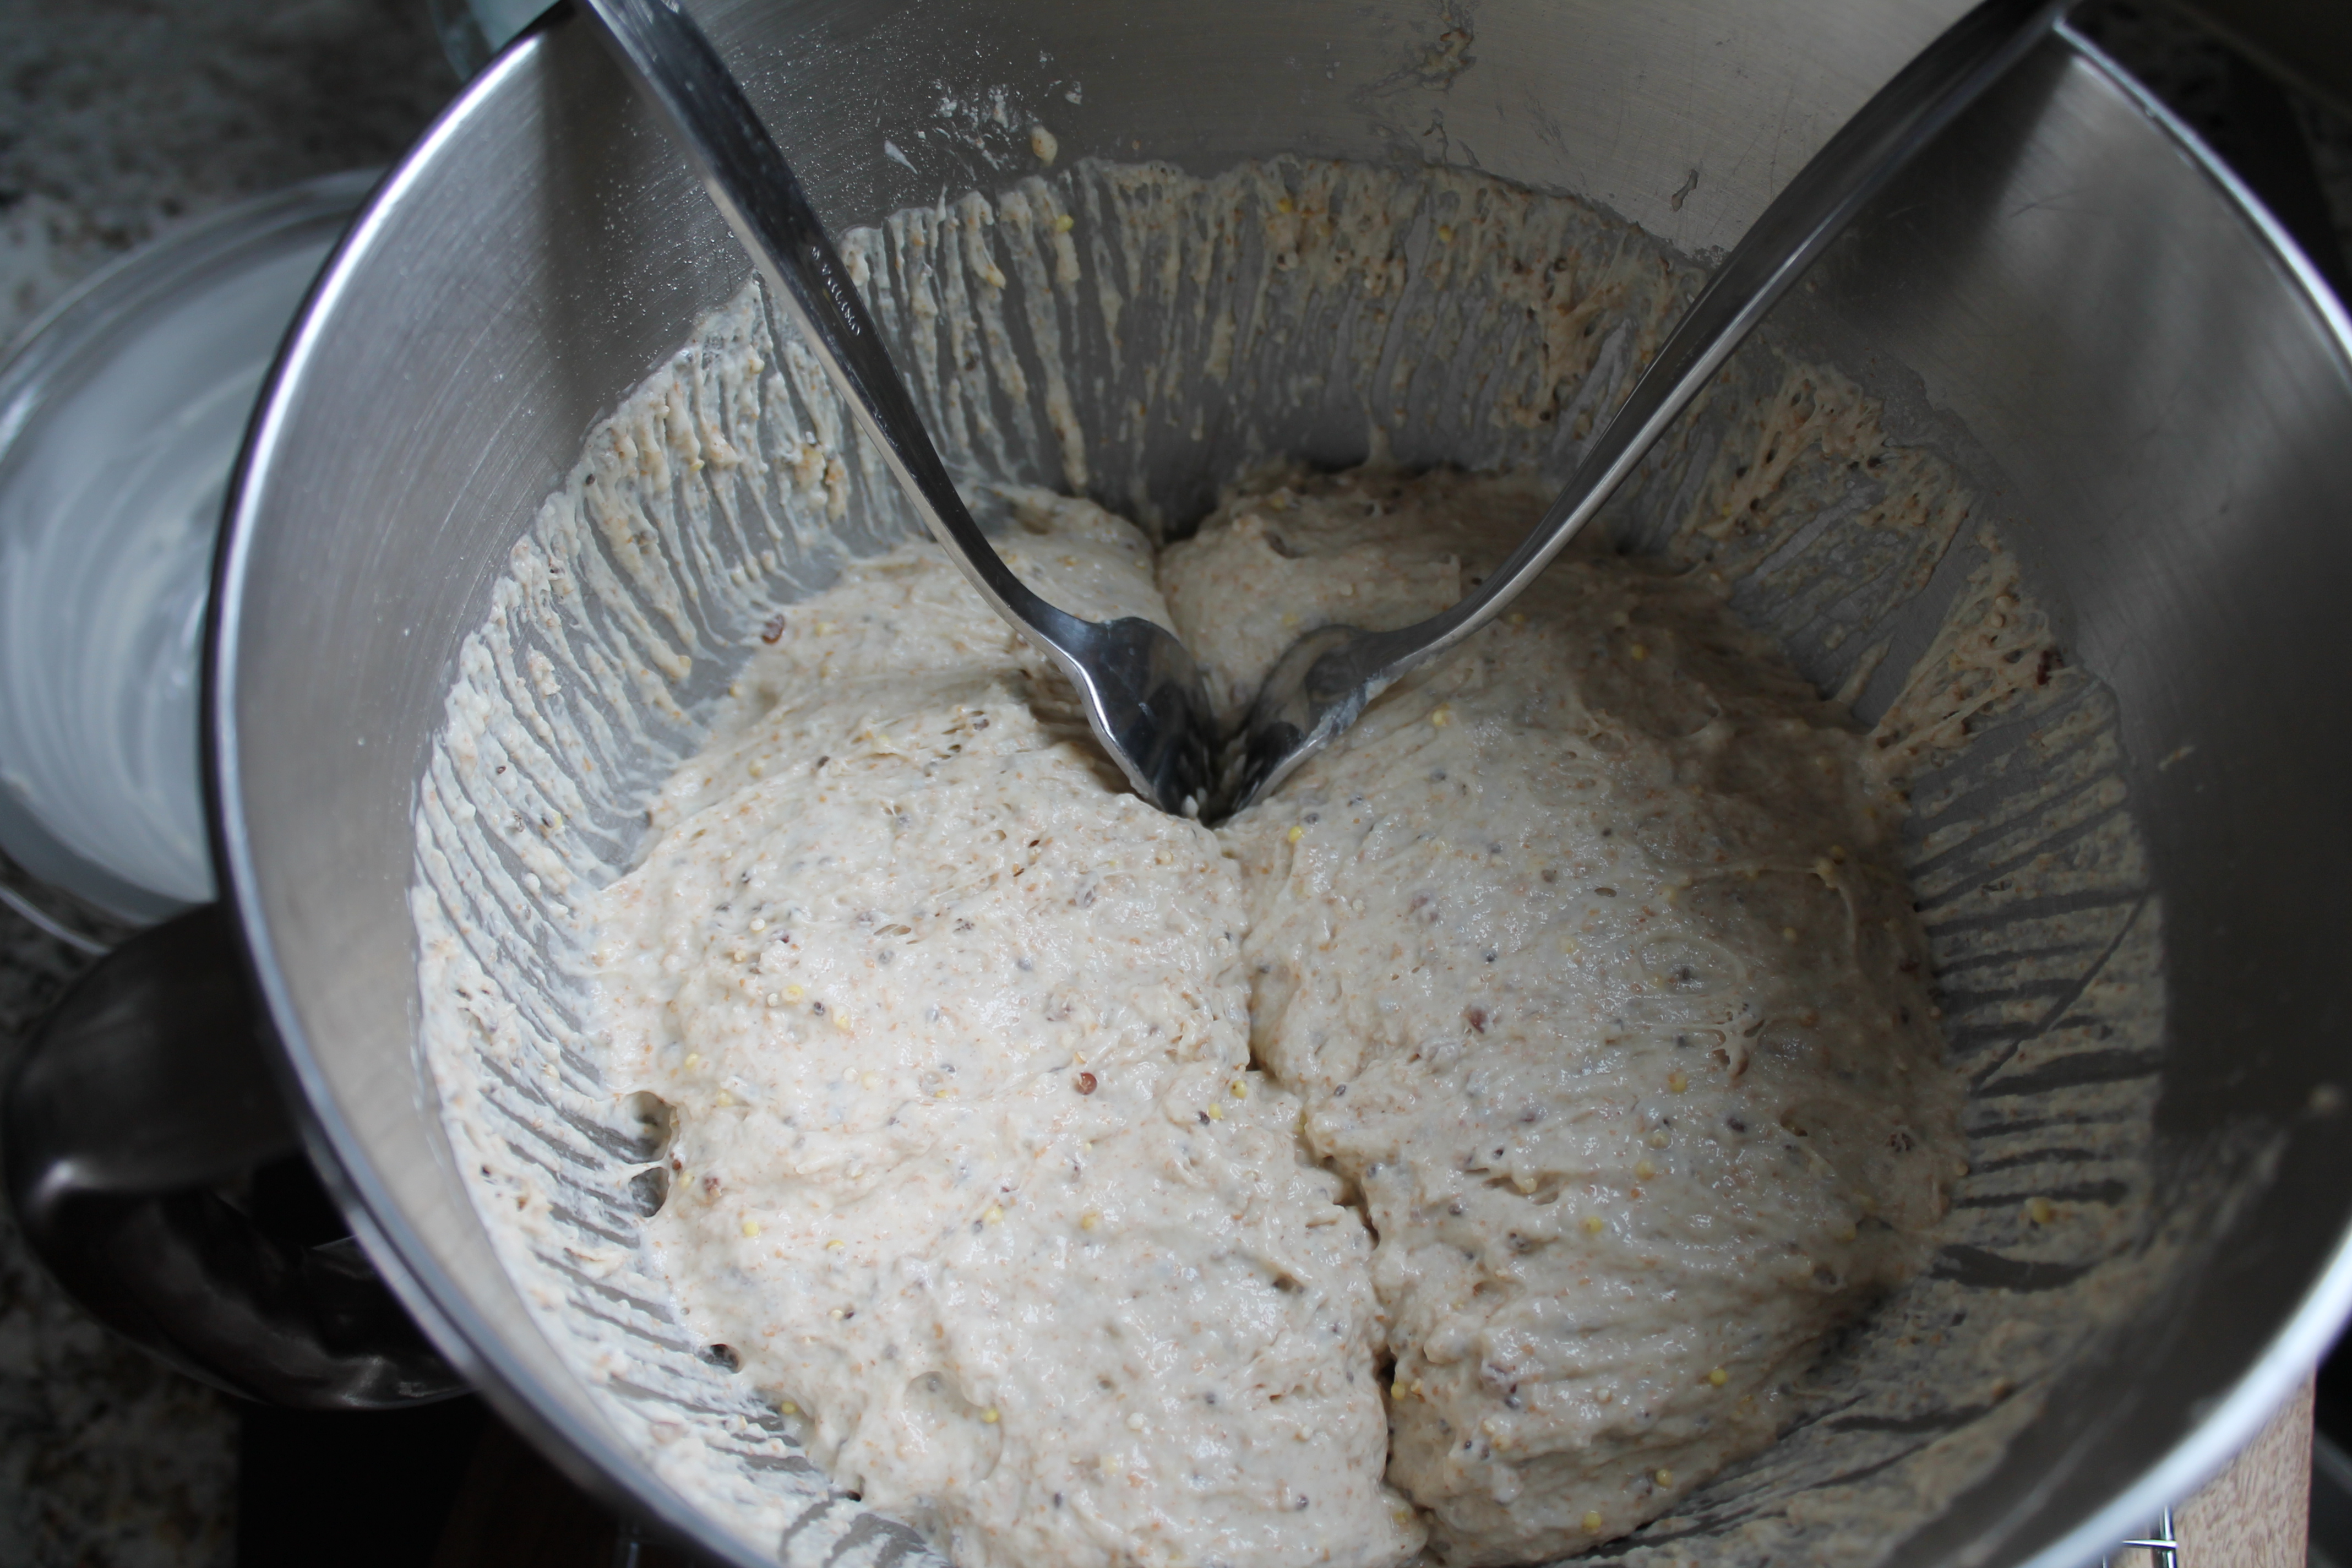 Pull the dough out of the microwave (or wherever you set it to rise). Using two forks, scrape it away from the sides of the bowl, pulling up slightly so that the bottom also becomes unstuck. Pull the dough apart in a straight line down the center of the bowl.
 Scoop one half of the dough into each of the buttered bowls. This sometimes takes me a few tries…the dough is pretty sticky, and forks are not a very large tool to work with! Don’t stress. Just make sure roughly half of the dough ends up in each bowl.
 Let the dough rise again until doubled, about 30 minutes. If you used the smaller, 1qt. bowls, then the dough will be slightly domed over the top rim of the bowls; if you used the larger, 1½qt. bowls, then the dough will still be about ½″ below the top edge of the bowl.
Heat the oven to 425°. Bake the bread for 15 minutes, then lower the heat to 350° and bake another 17 minutes more.
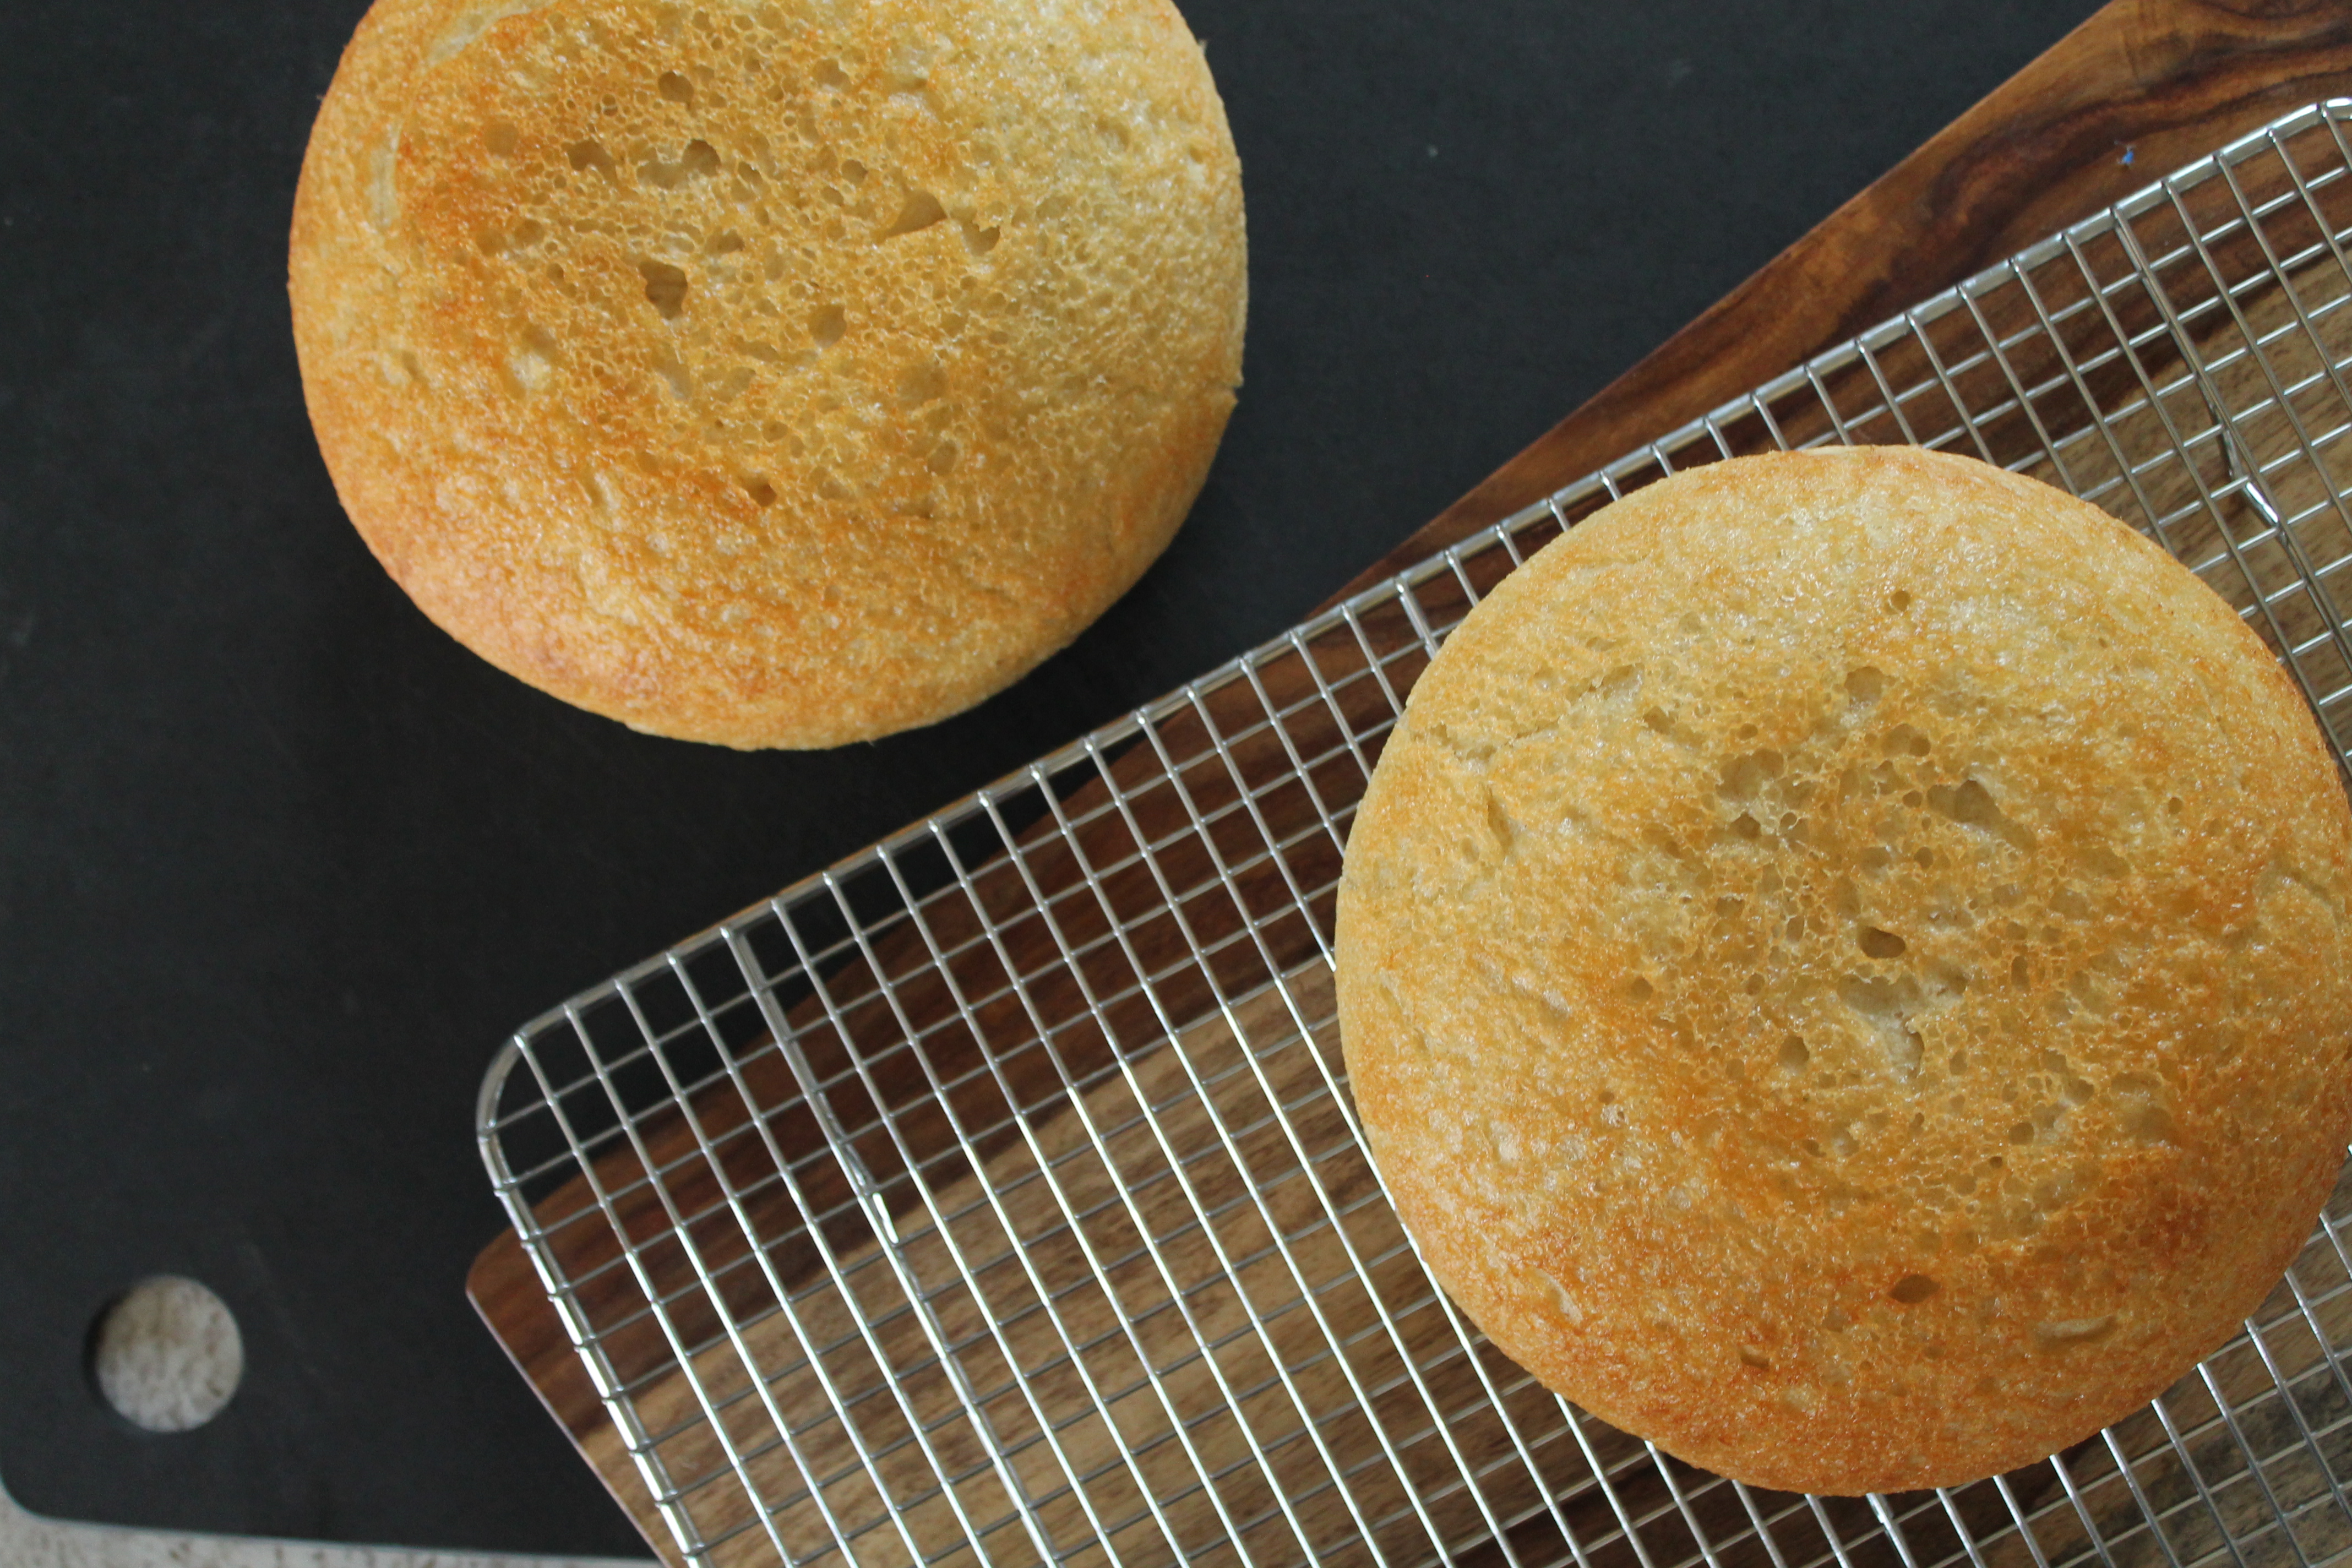
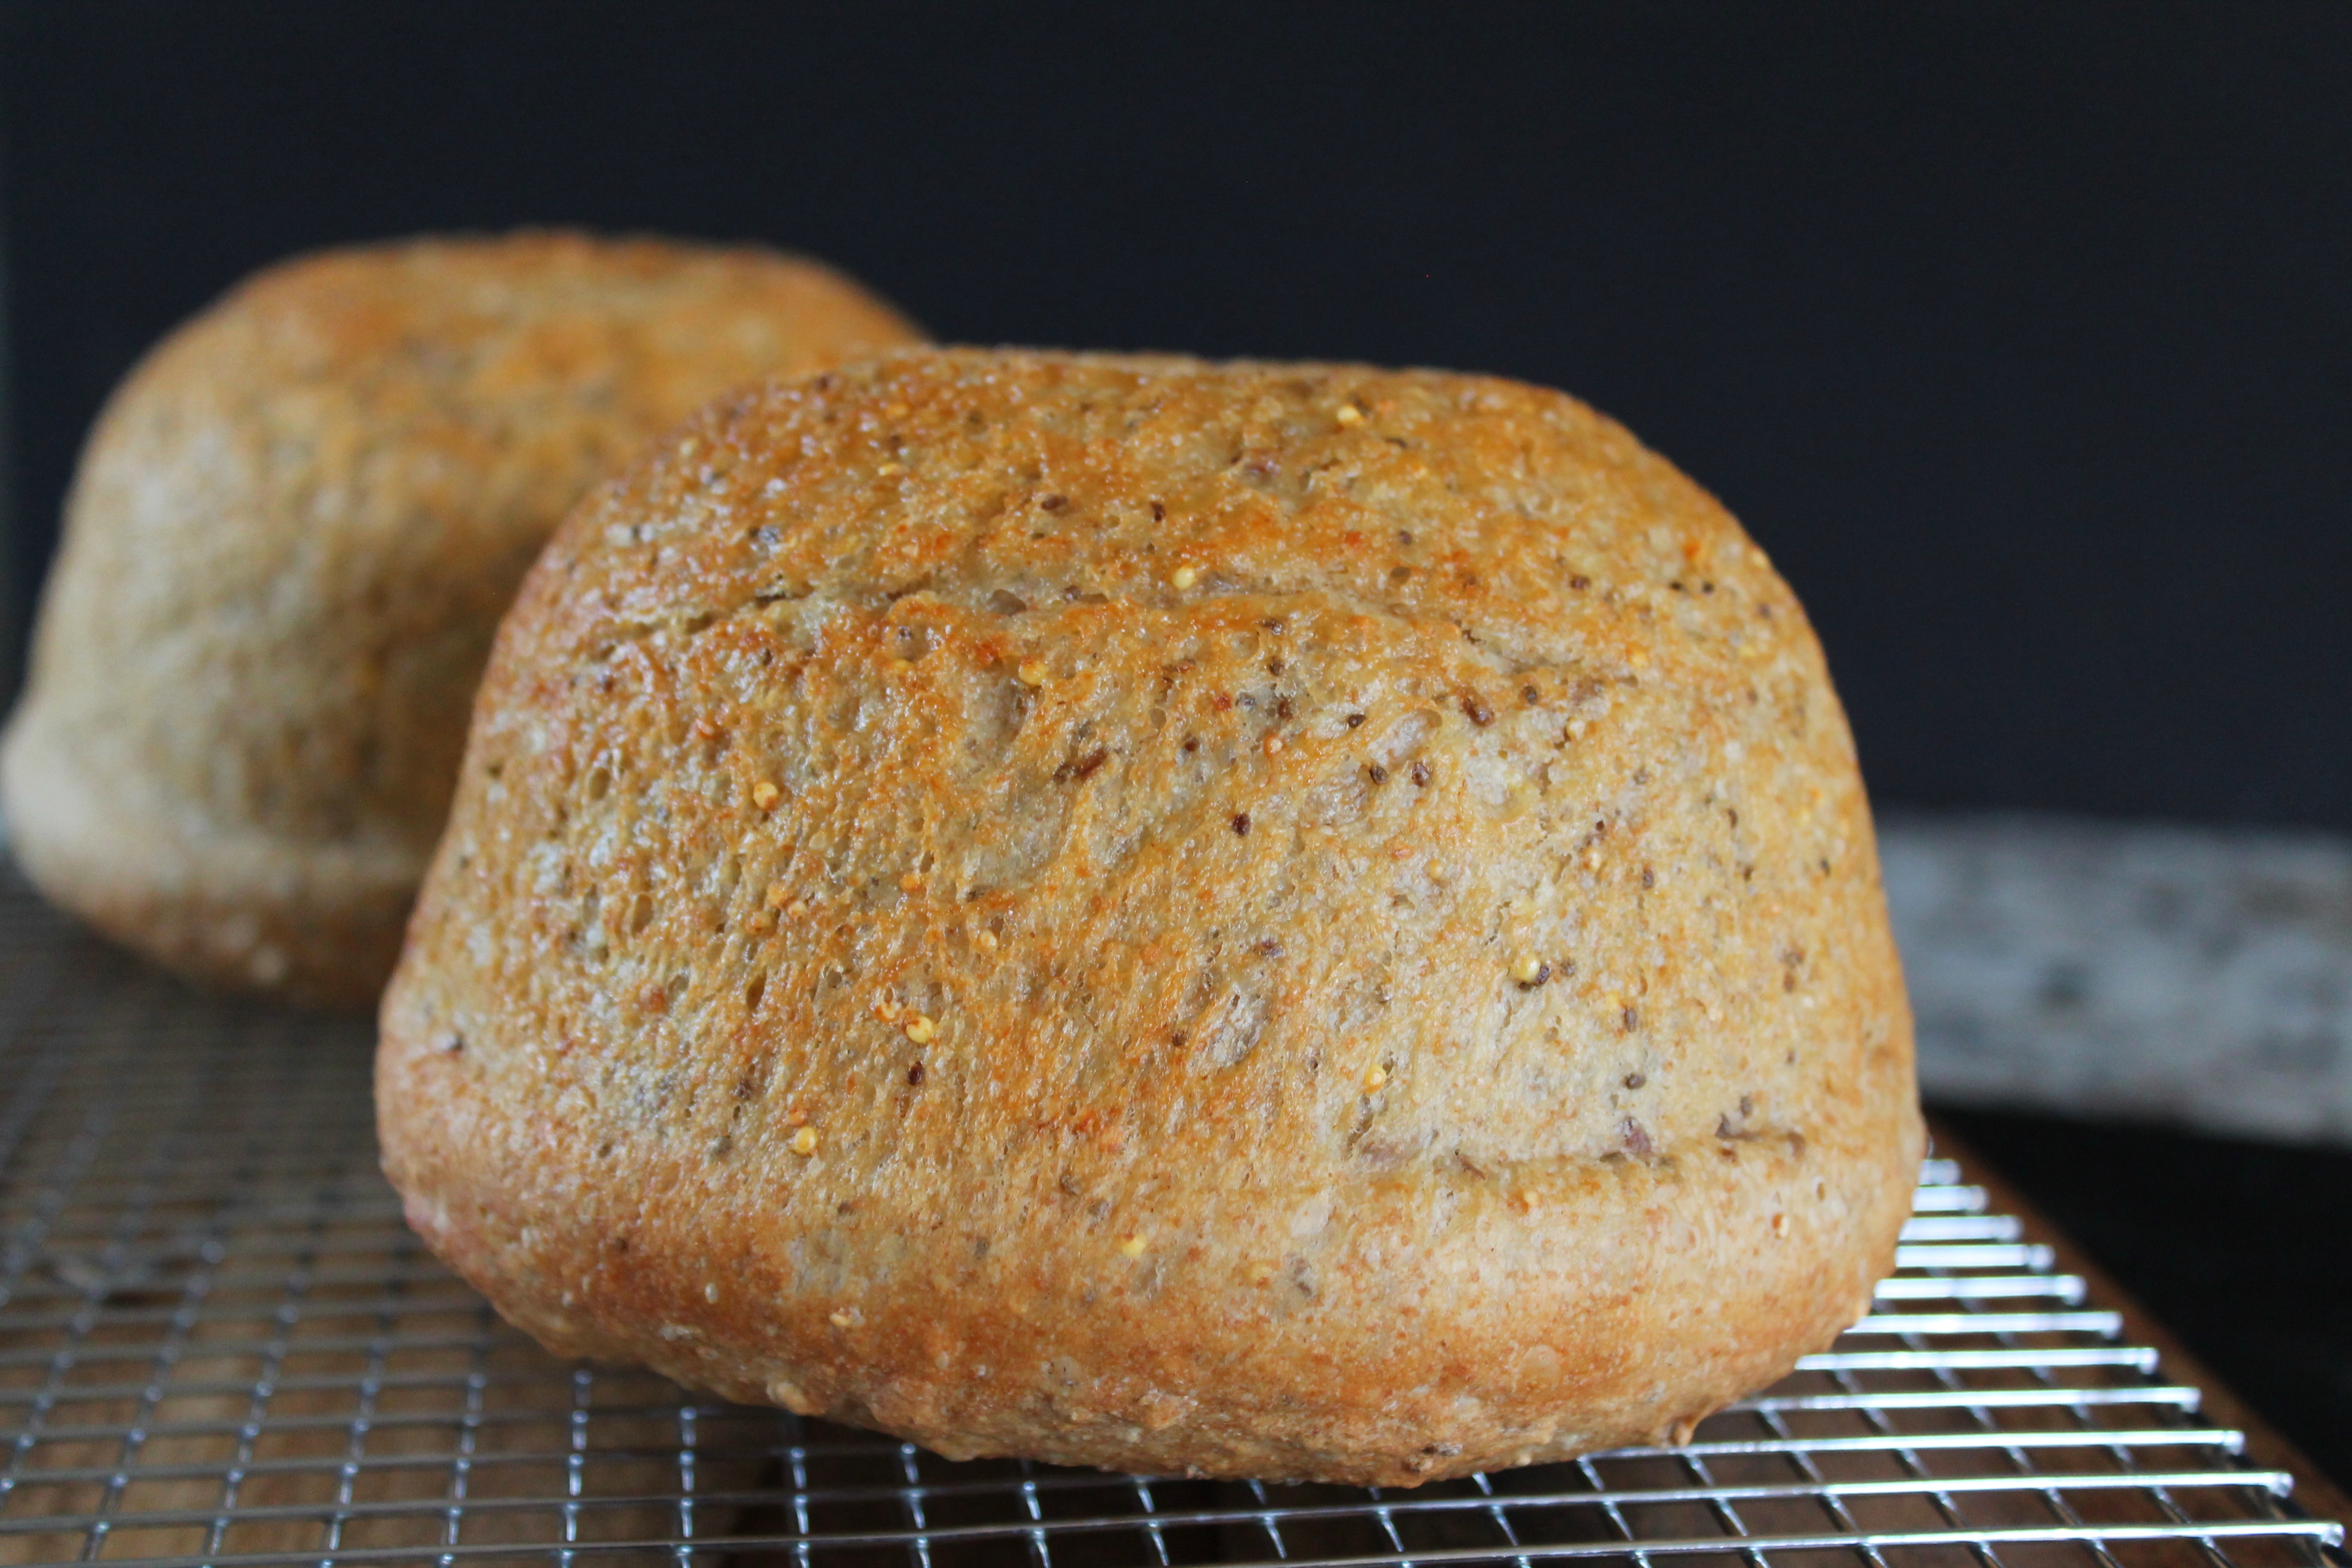 Immediately turn the loaves out of the bowls onto a cooling rack. They should fall right out! If you suspect they are not quite cooked through (if the top was too soft or not browned), set the bread rounds on a baking sheet and bake another 5 minutes or so. Mine have always been done: the bread is soft in the center but not doughy. But I doubt an extra few minutes in the oven would have hurt them!
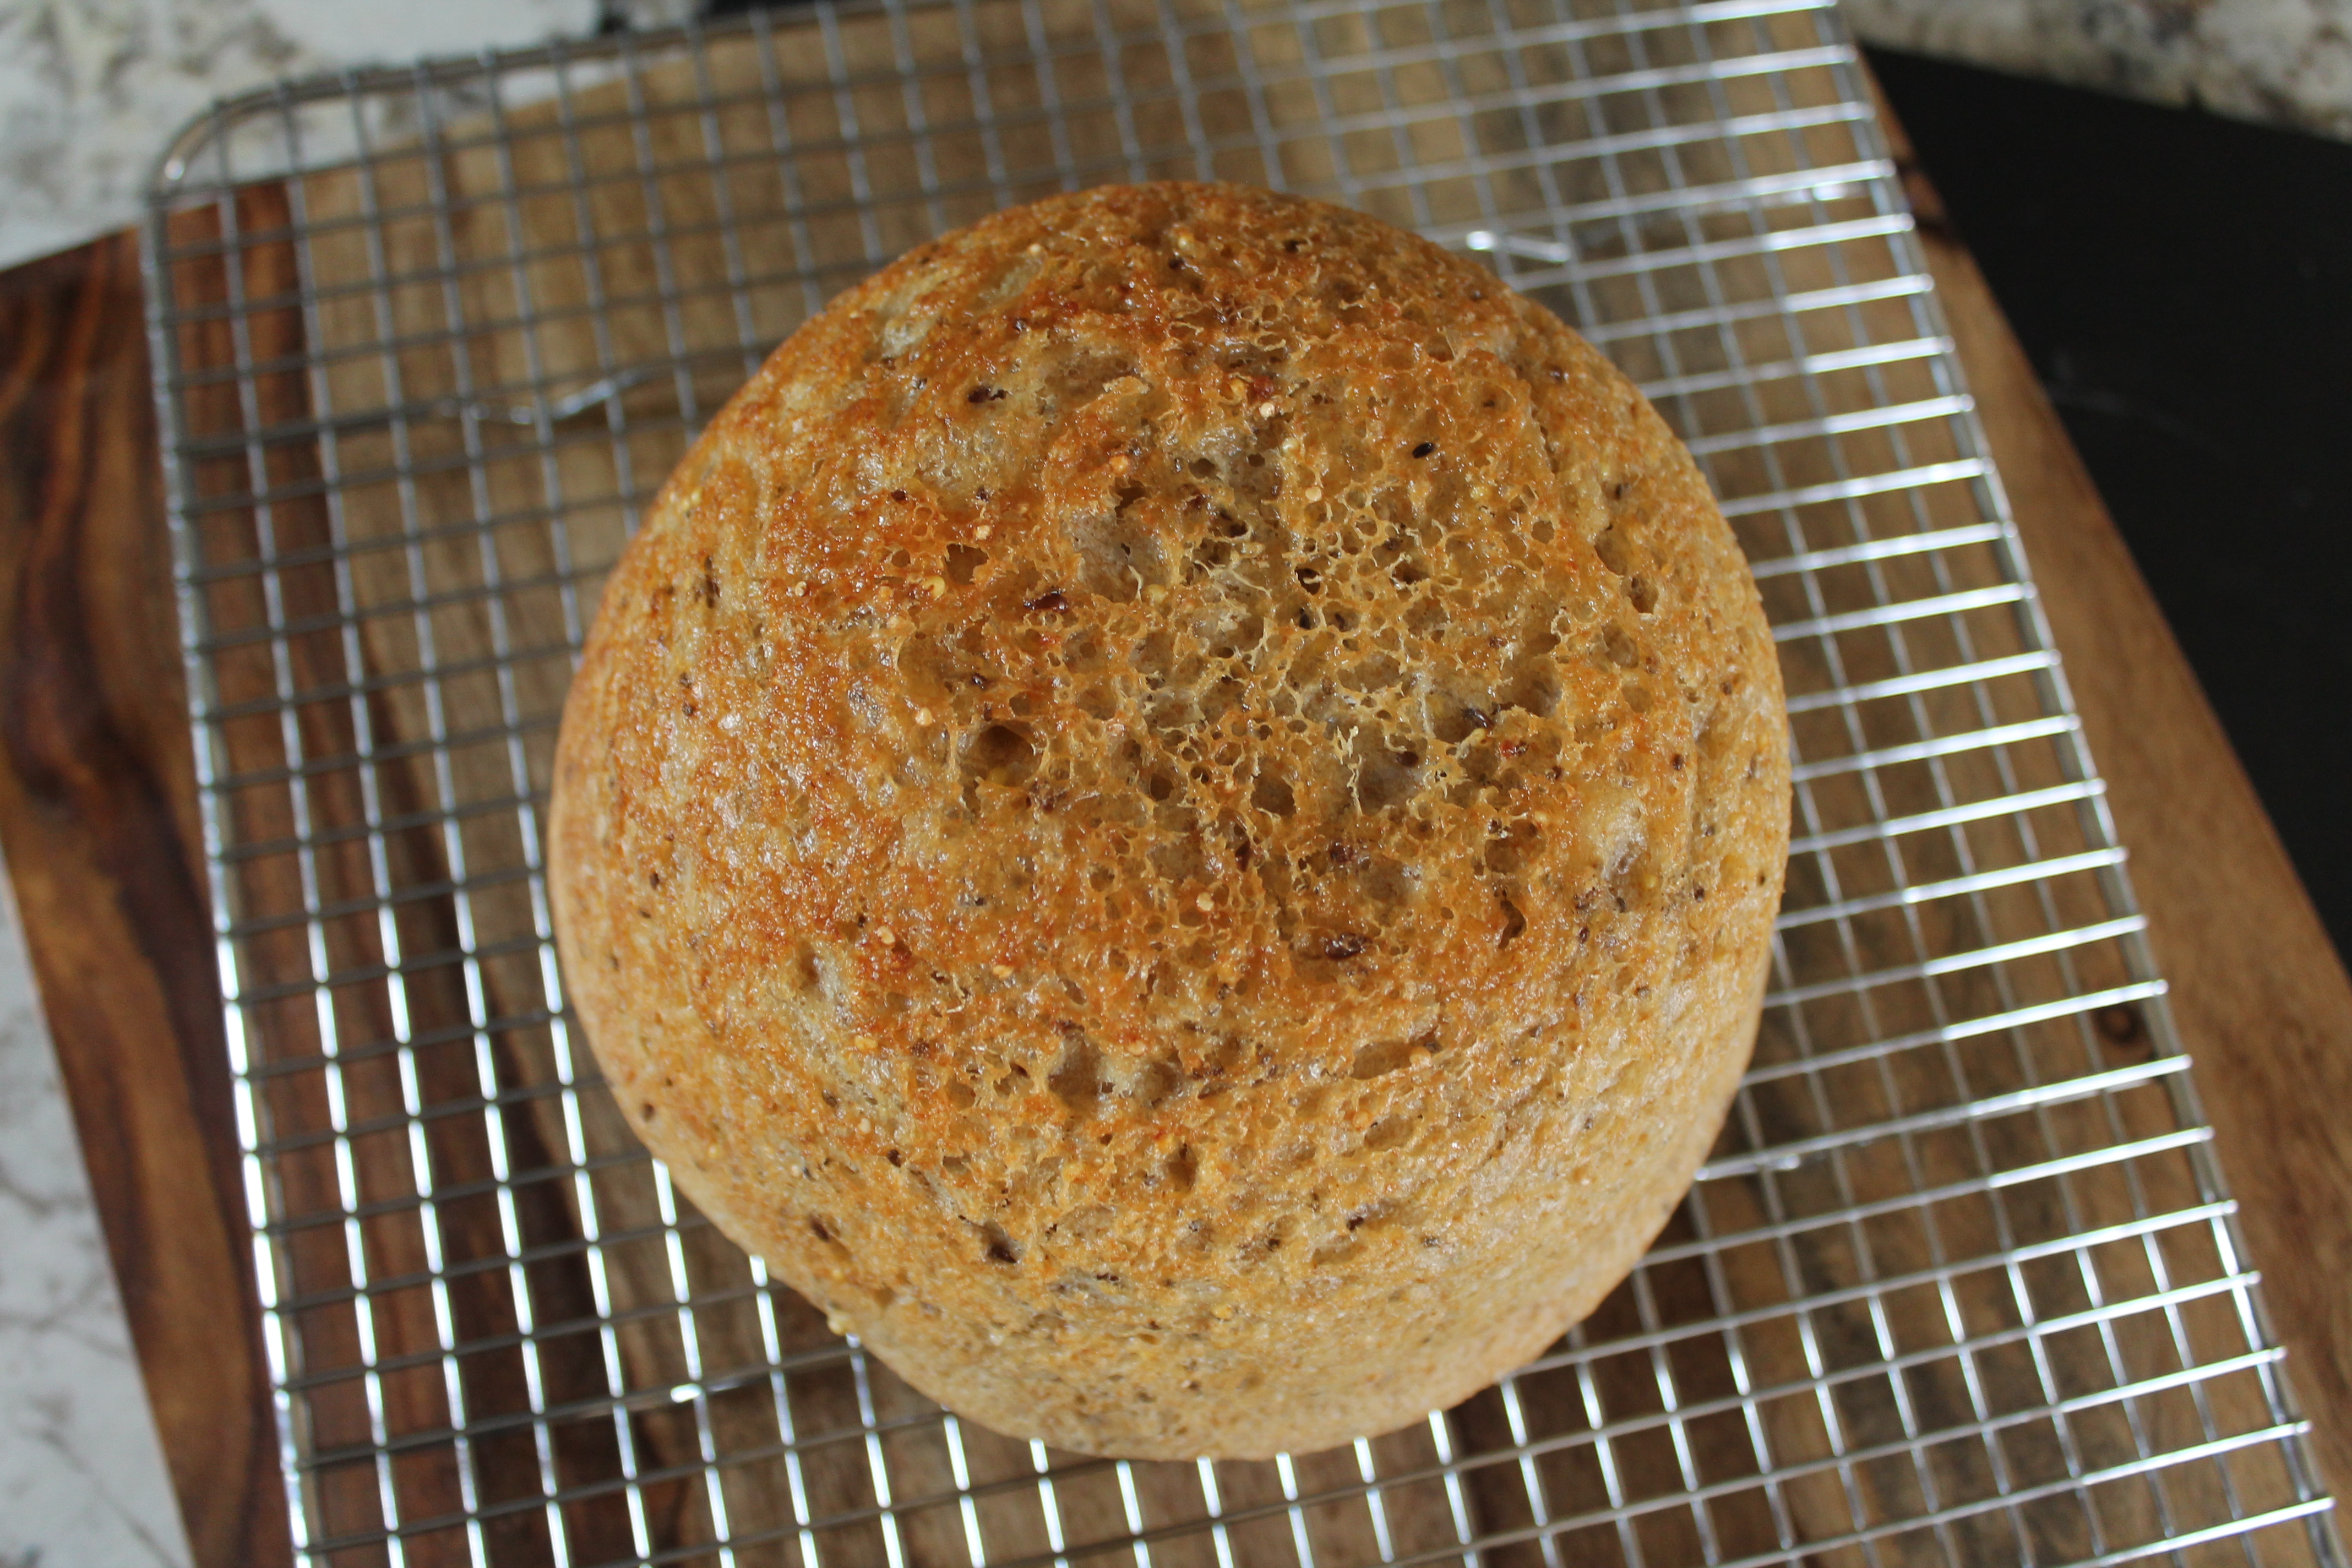 Let the bread cool for 10 minutes before slicing.
Try not to eat the whole loaf by yourself! (If you do, it will be delicious, but the stomach full of carbs will feel like a rock. Just saying.)
Seeded Peasant Bread
lightly adapted from Alexandra’s Kitchen
makes 2 small loaves
Ingredients:
2 cups warm water
2 tsp. sugar
2 tsp. active dry yeast
3 cups all-purpose flour
1 cup spelt flour*
2 tsp. coarse kosher salt
¼ cup mixed seeds (1 tbsp. each quinoa, flax, chia, and whole millet, or other seeds of choice), lightly toasted
2 tbsp. softened butter or oil-based cooking spray
Directions:
Stir the sugar and yeast into the warm water and let the mixture sit on the counter for 10 minutes. The yeast will begin to activate and foam.
Meanwhile, whisk together the flour, spelt, salt, and seeds.
When the yeast mixture is foamy and fragrant, pour it into the flour and stir to combine.
Cover the bowl with a clean towel and set it in a warm place to rise until doubled, about 1 hour. (An easy way to create a perfect environment for yeast to grow is to heat 1 cup water in the microwave, then stick the dough in the hot, moist microwave to rise.)
While the dough rises, thoroughly grease two 1qt. Pyrex (or other heatsafe) bowls, using either butter or cooking spray.
When the dough has risen, take two forks and punch it down, scraping it away from the edges and bottom of the bowl. Using the forks, divide the dough into two equal portions, pulling apart down the center of the bowl. Scoop up each half of dough and deposit in the prepared bowls.
Let the dough rise again until doubled, about 20–30 minutes.
Heat the oven to 425°. Bake the bread in the bowls for 15 minutes.
Reduce the oven temperature to 350°. Continue baking the bread another 17 minutes, until browned and firm on top.
Remove the bread from the oven and turn it out of the bowls onto a wire cooling rack. If the bread seems pale or soft, return to the oven on a cookie sheet to bake another 5 minutes.
Let the bread cool at least 10 minutes on the wire rack before slicing and serving.
*Note: Spelt is wonderful, but whole wheat flour or even all-purpose flour may be substituted 1:1 for the spelt flour with minimal effect on the texture of the bread.
Enjoy!
- One year ago: Spring Wheatberry Salad
- Two years ago: Mini Cherry Clafoutis
- Three years ago: Whole Wheat Zucchini Waffles
- Four years ago: Triple Chocolate Coffee Brownies
4 comments to “Seeded Peasant Bread”
Sarah@WellDined - June 18, 2015
That was seriously the best bread I’ve ever had!
Sarah@WellDined - August 31, 2015
Finally posting about it!
spiceinthecity - June 18, 2015
That loaf looks beautiful!
Melissa - June 18, 2015
Thanks! It was fairly amazing. Baking another batch tomorrow!