It’s almost Thanksgiving, the day I affectionately think of as Pie Day. (Yes, yes, I know that we already have a pie day in March.)
Pie has always been my favorite part of the Thanksgiving meal. And even though I try not to indulge in sugar too much anymore, I still think it’s important to get the pie right!
Which is why I really, really, want to teach you to make your own pie crust.
Buttery, flaky pie crust is essential to a good pie. There is literally nothing that can make your pies taste better than making your own pie crust. If you have been buying pre-made crusts for years, it’s time to take your pie to the next level!
Pie crust is actually really easy to make. It takes only 4 ingredients and about 15 minutes of effort.
The very first thing to do is measure ½ cup water into a glass measuring cup and stick that in the freezer. (Or, you can accomplish the same goal by adding ice cubes to ½ cup water, but I, personally, am annoyed by having to work around the ice cubes, so I prefer quickly chilling the right amount of water instead.)
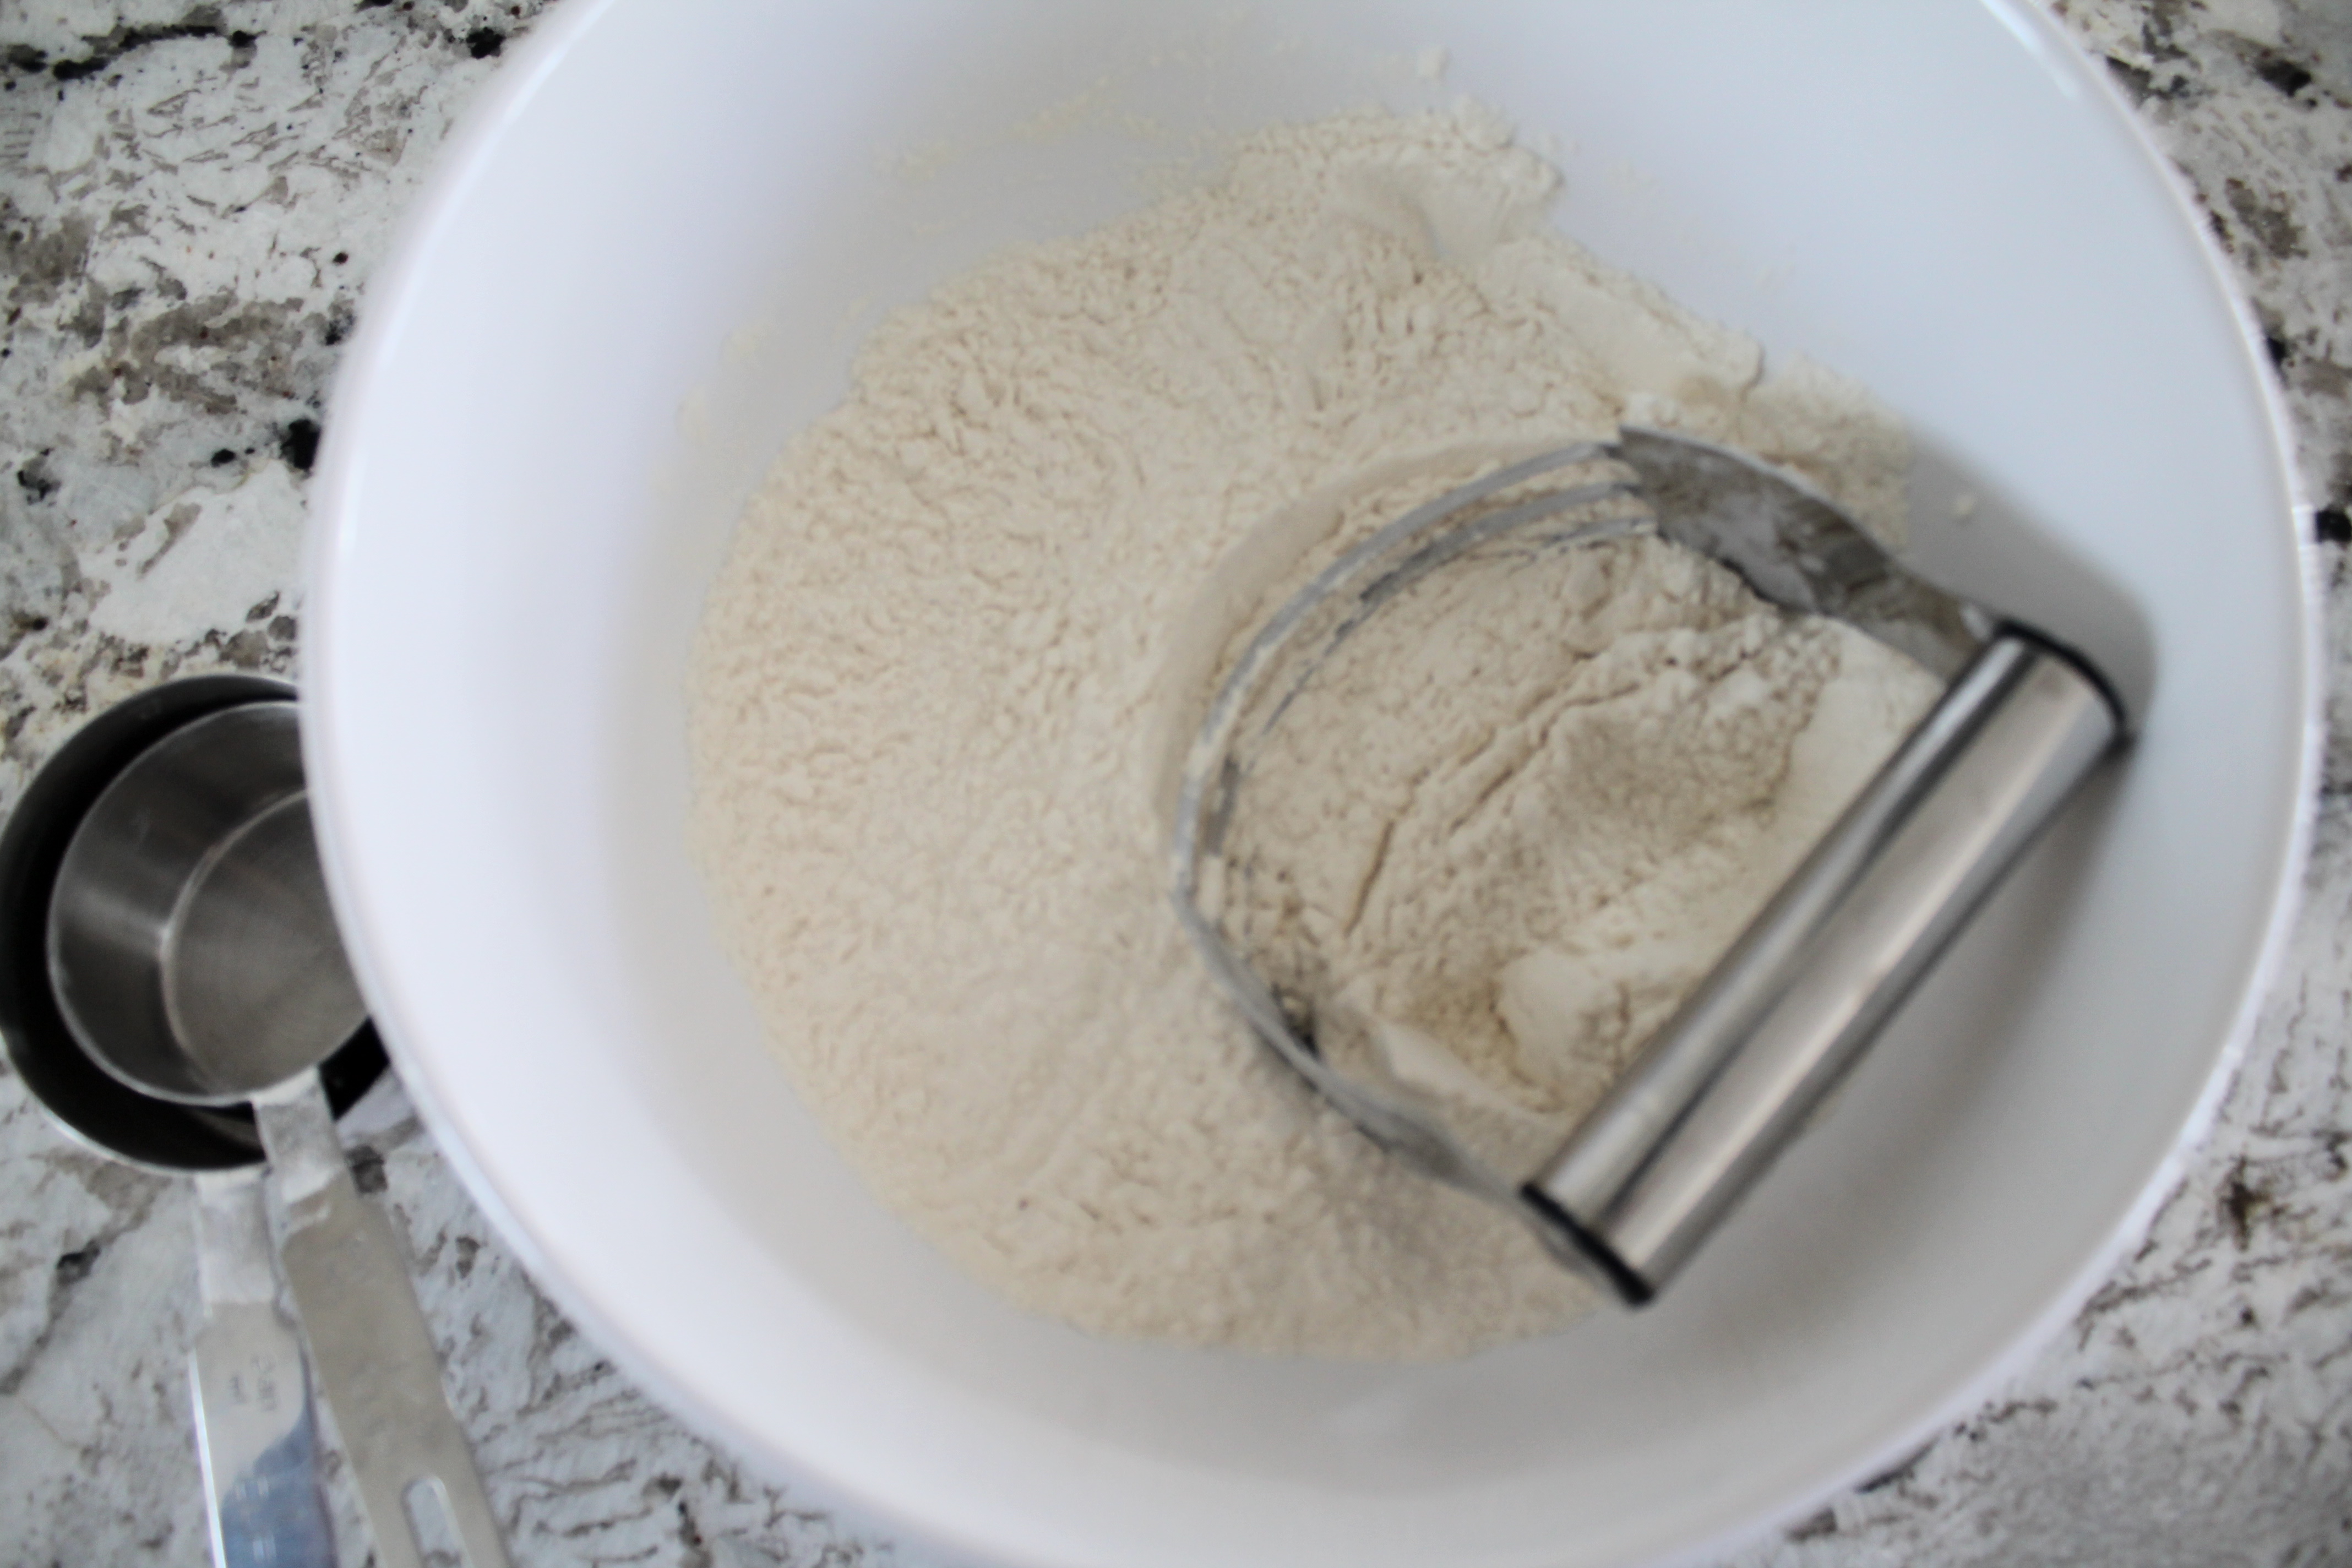
Next, combine flour and salt in a large bowl and whisk them together. I usually just use my pastry cutter or a fork—no need to get too precise about it.
By the way, if you don’t have a pastry cutter, you really should get one! Pastry cutters will make this process much easier.
Please, whatever you do, don’t try to make pie crust from start to finish in a food processor. Food processor pie crusts are usually over-processed, which means they burn easily and have a very hard, cardboard-like texture. (If you absolutely have to you can cut the butter into the flour with a food processor, using a very light hand and just a few quick pulses. But the actual mixing of water must be done the old-fashioned way.)
But I’m getting ahead of myself.
ANYWAY. Whisk together the flour and salt.
You may be wondering whether you should add sugar to your pie crust if you are making a sweet pie. Don’t. Sugar is totally unnecessary, and I think often adversely affects the flakiness of the dough. Trust me, your pie fillings will be sweet enough. I use the same crust recipe for pecan pie, quiche, rhubarb pie, and chicken pot pie. It is perfect every time, and I love the simplicity of using the same recipe everywhere!
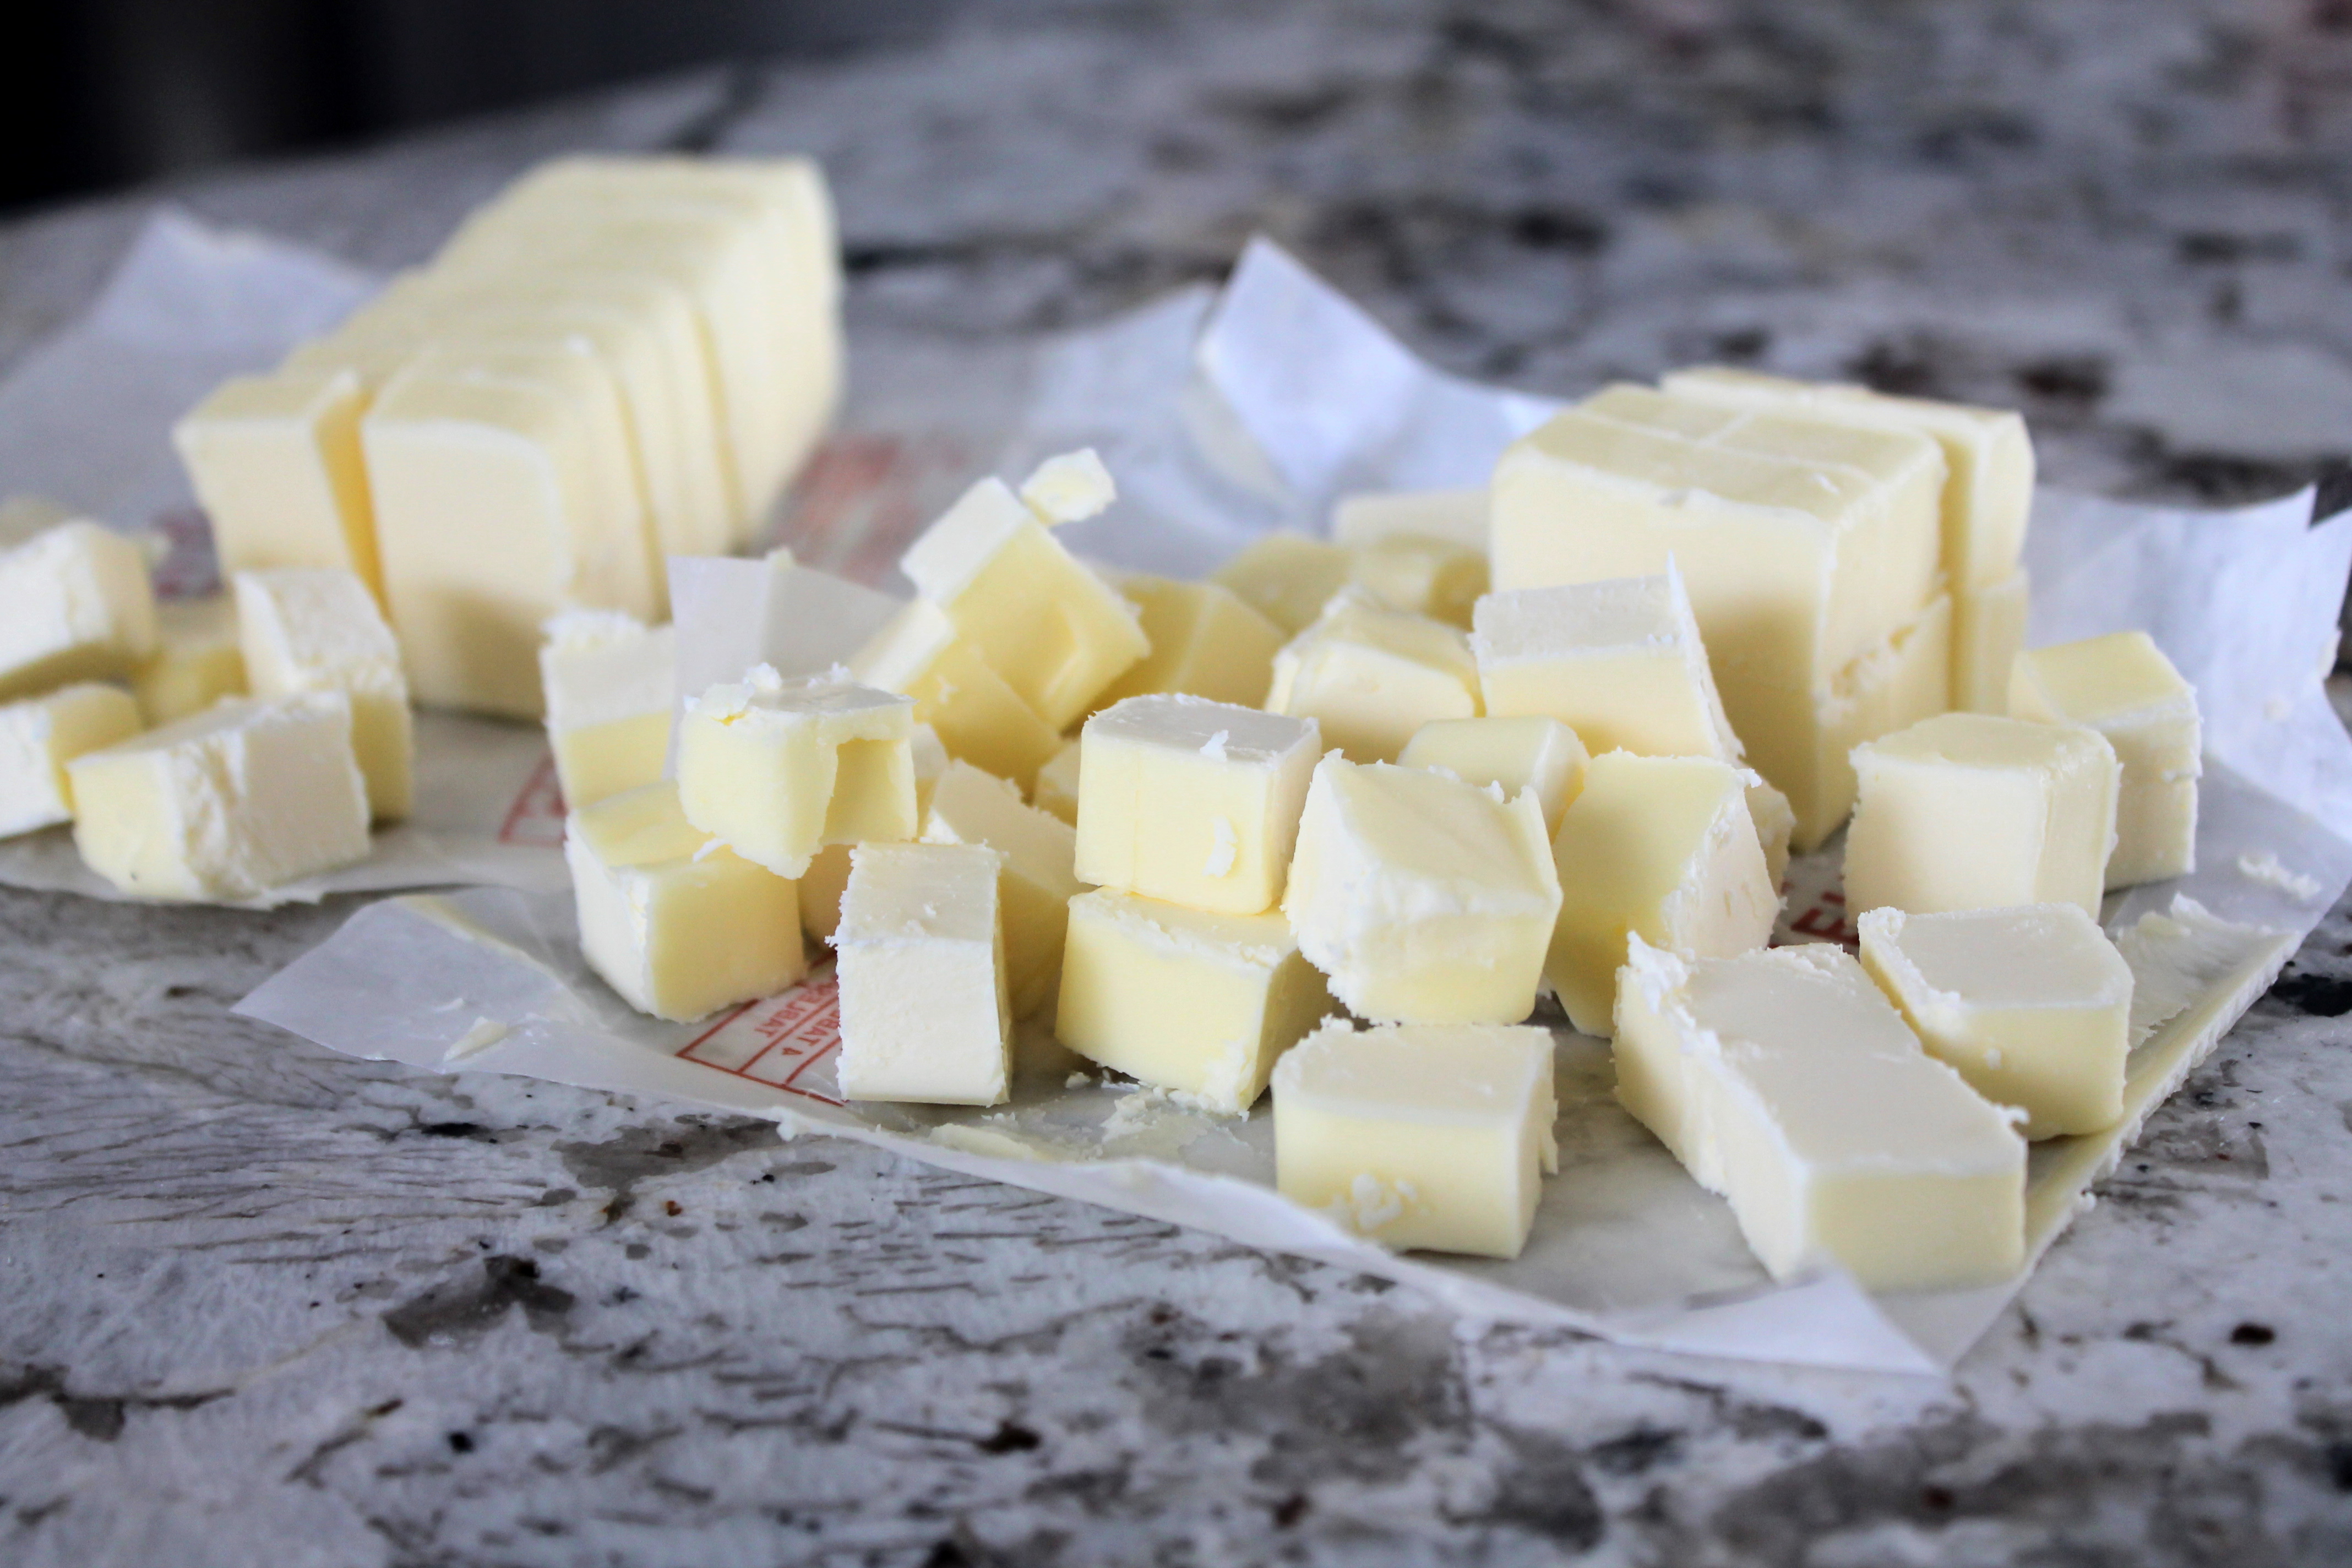
Next, quickly cut two sticks (1 cup) of cold, unsalted butter into small cubes. I typically cut lengthwise through the center twice, forming four long, thin rods of butter, and then cut crosswise 8-10 times.
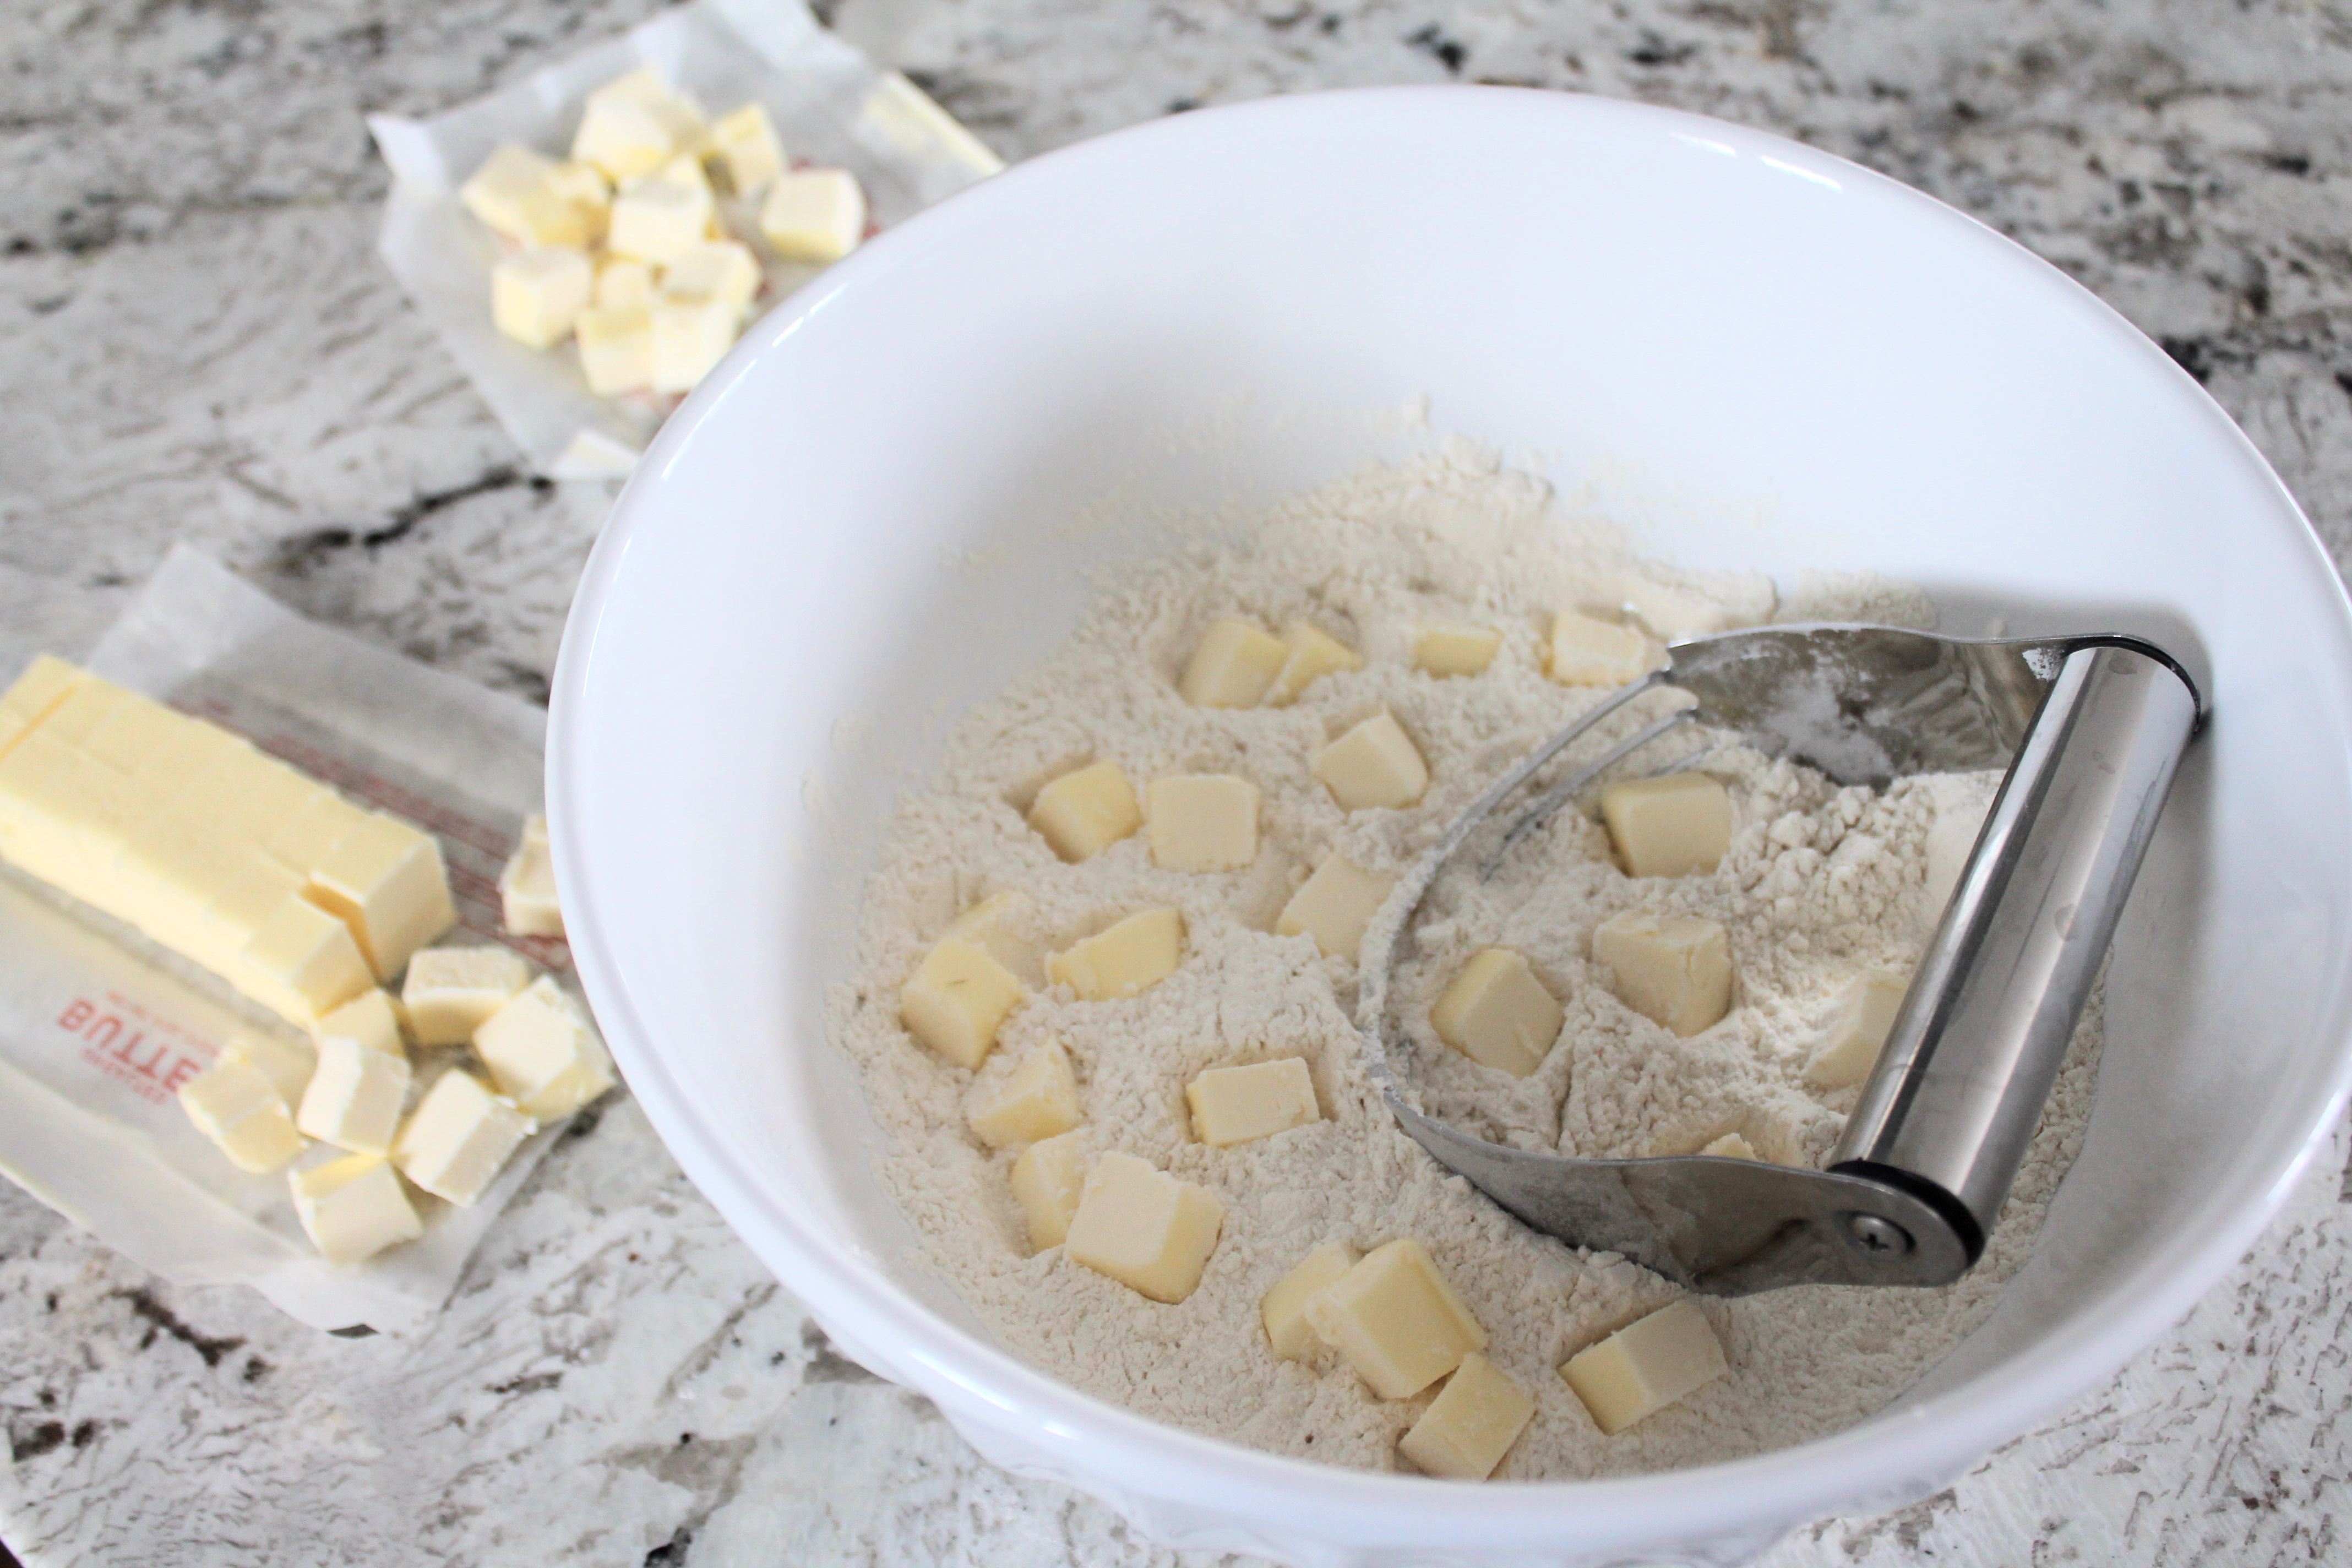
Drop the butter cubes into the flour mixture, tossing them lightly in the flour so they won’t stick back together.
Now it’s time to cut in.
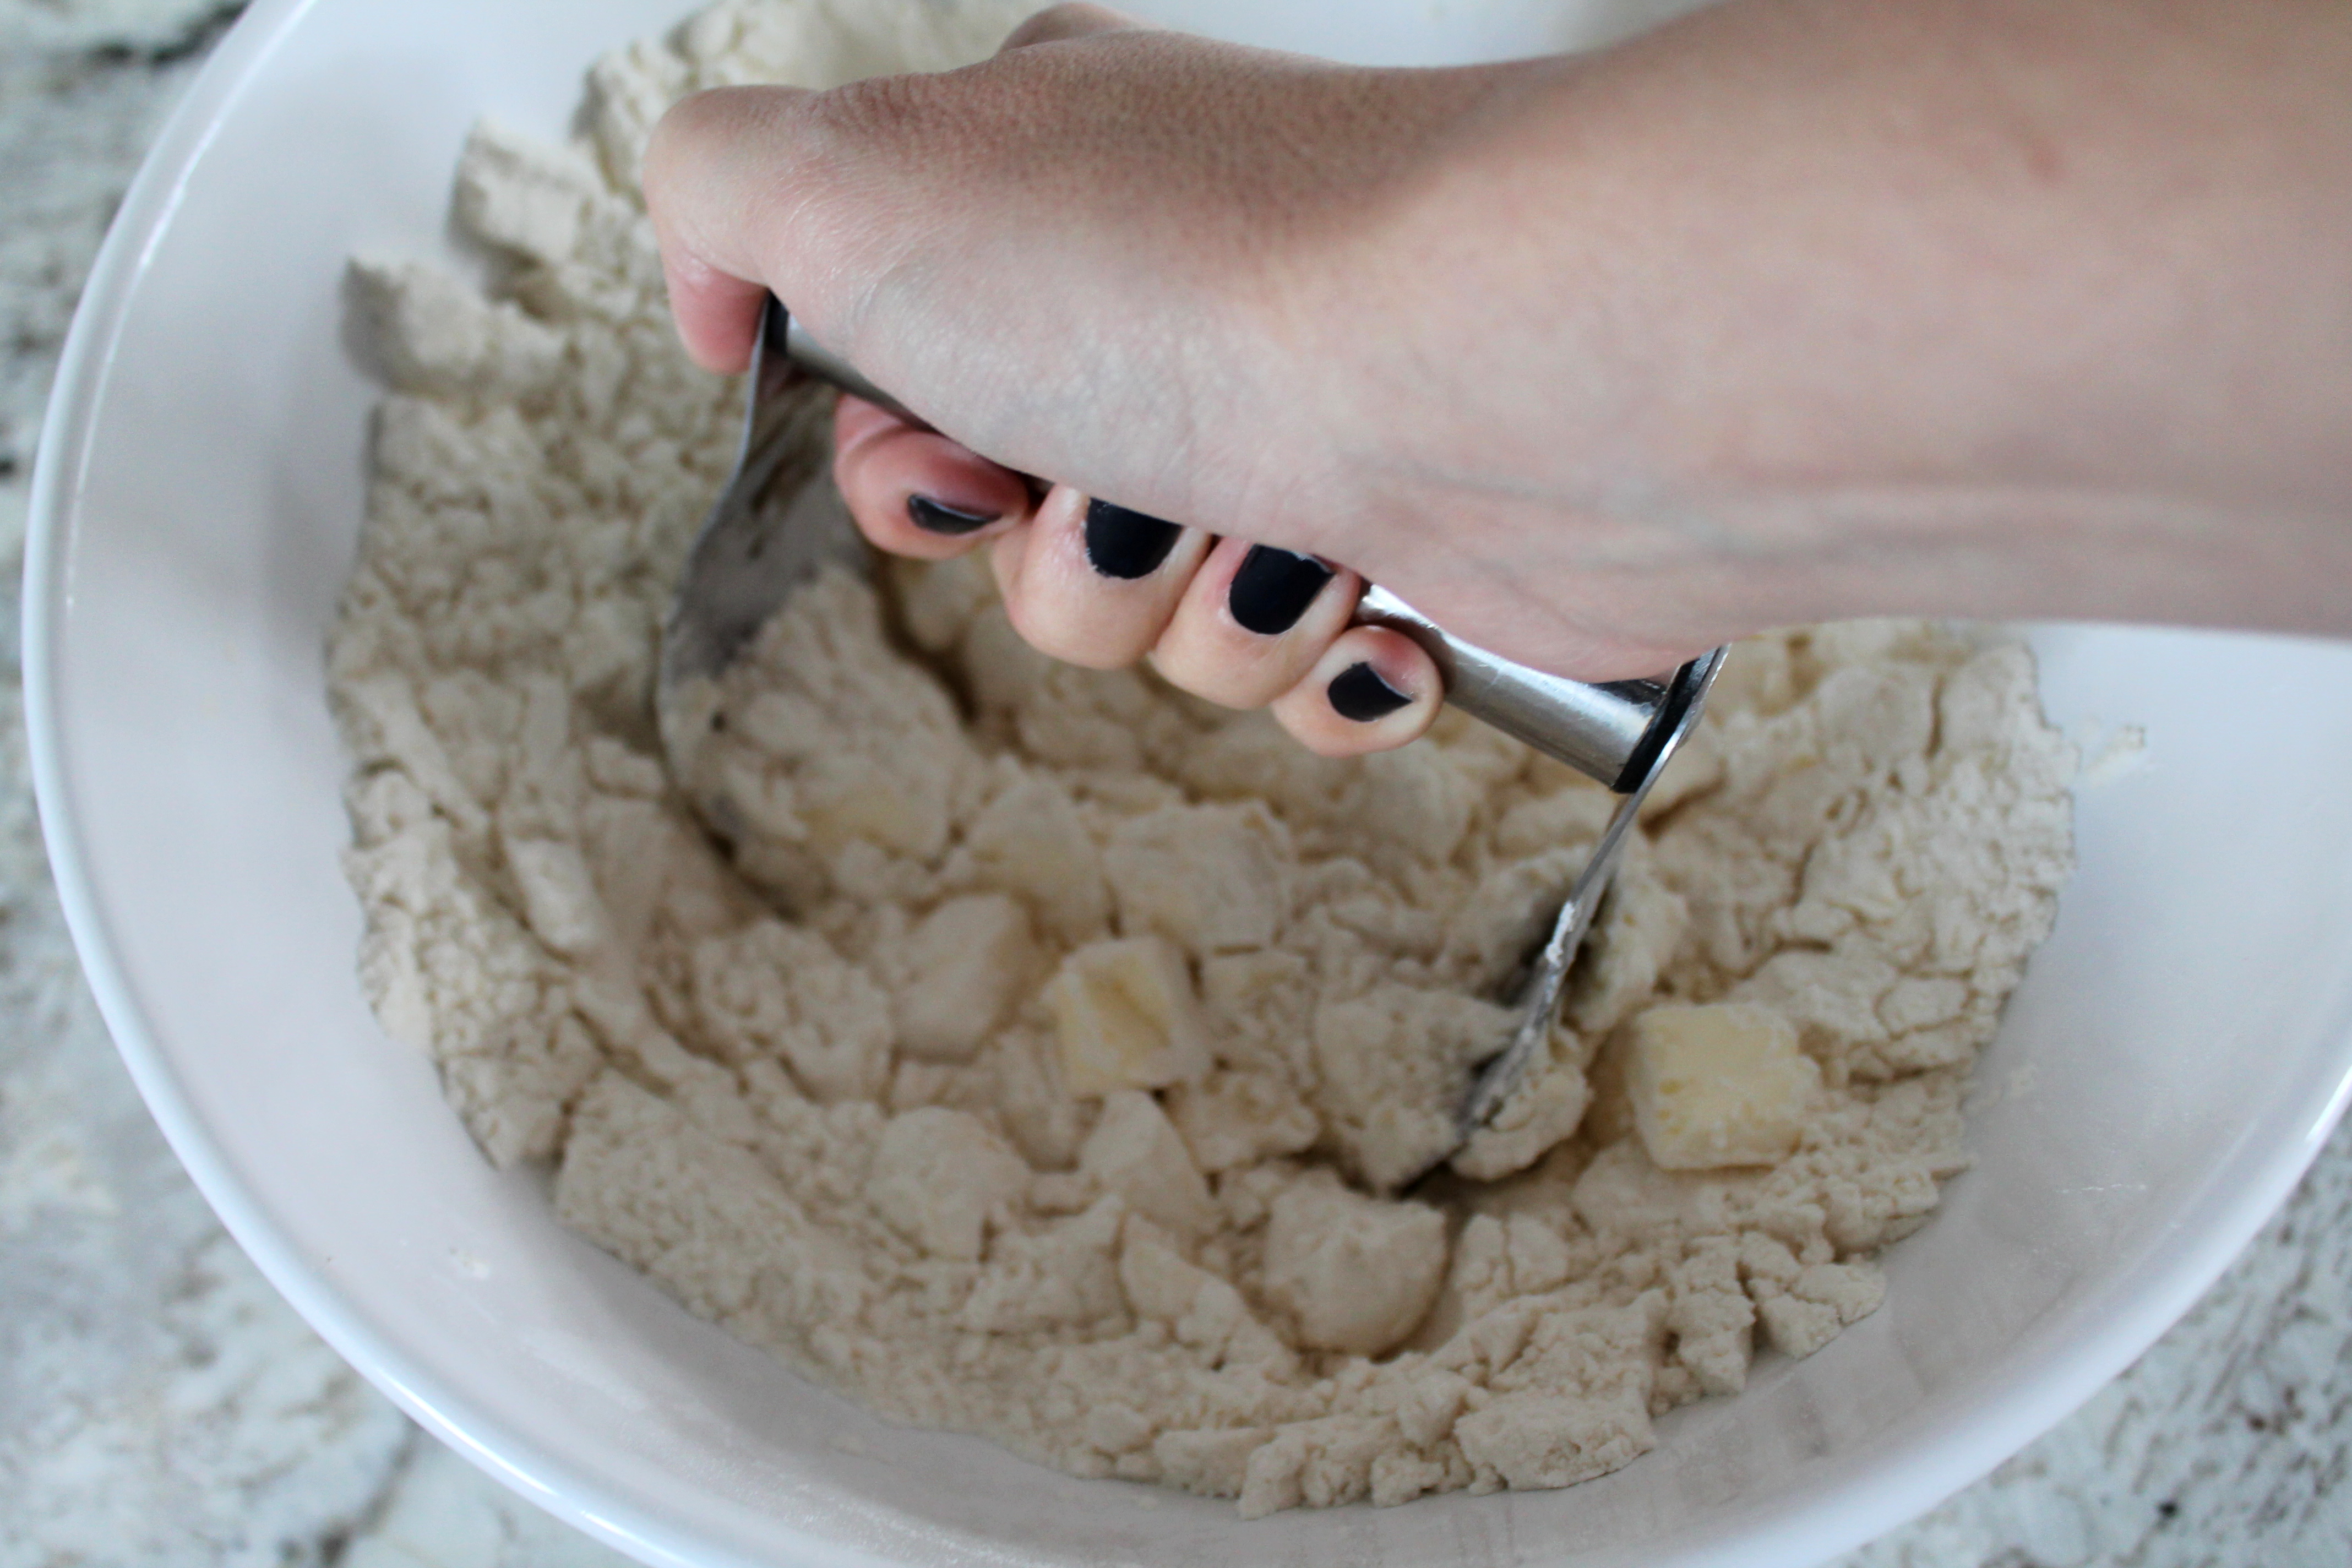
I use a sort of rounded slicing motion, rolling the blades of the pastry cutter through the flour and butter (rather than just smushing down repeatedly).
You may need to clean off the blades when cubes of butter stick, but this is easily done by simply running your finger across the bottom of the pastry cutter to release the butter.
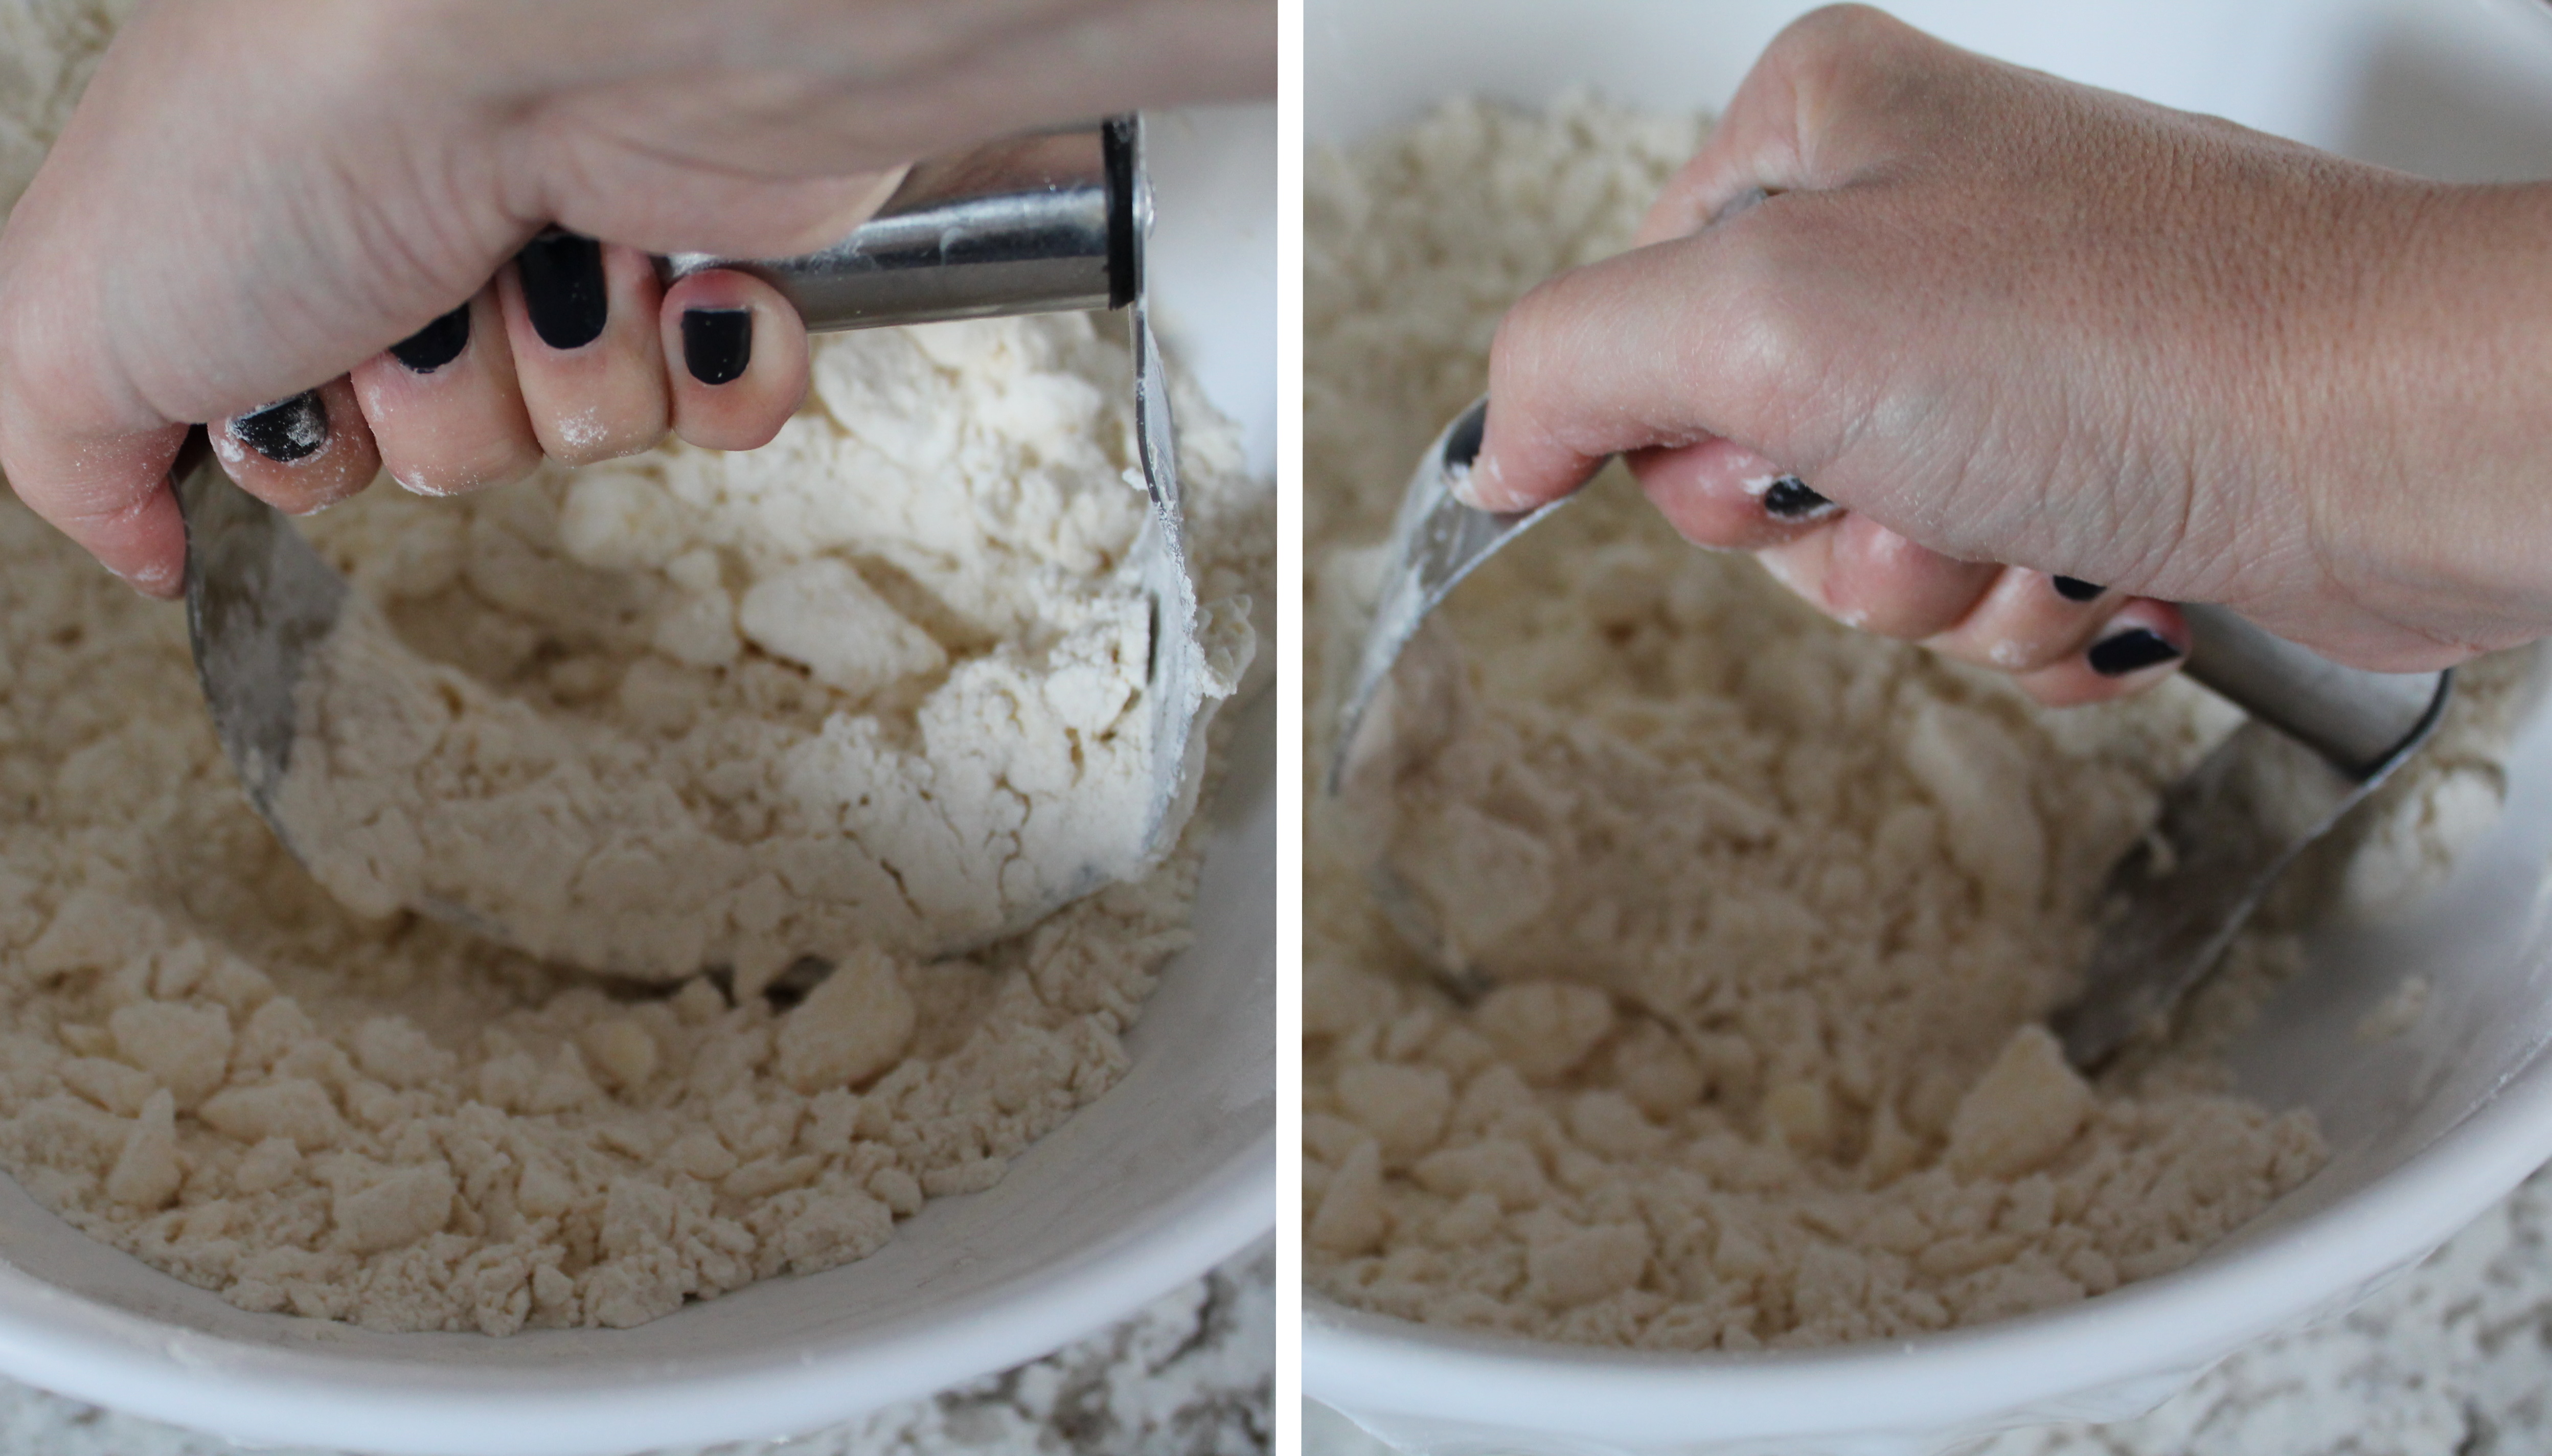
The goal of cutting in is NOT to achieve a uniform texture of butter and flour. If you do that, you have gone way too far.
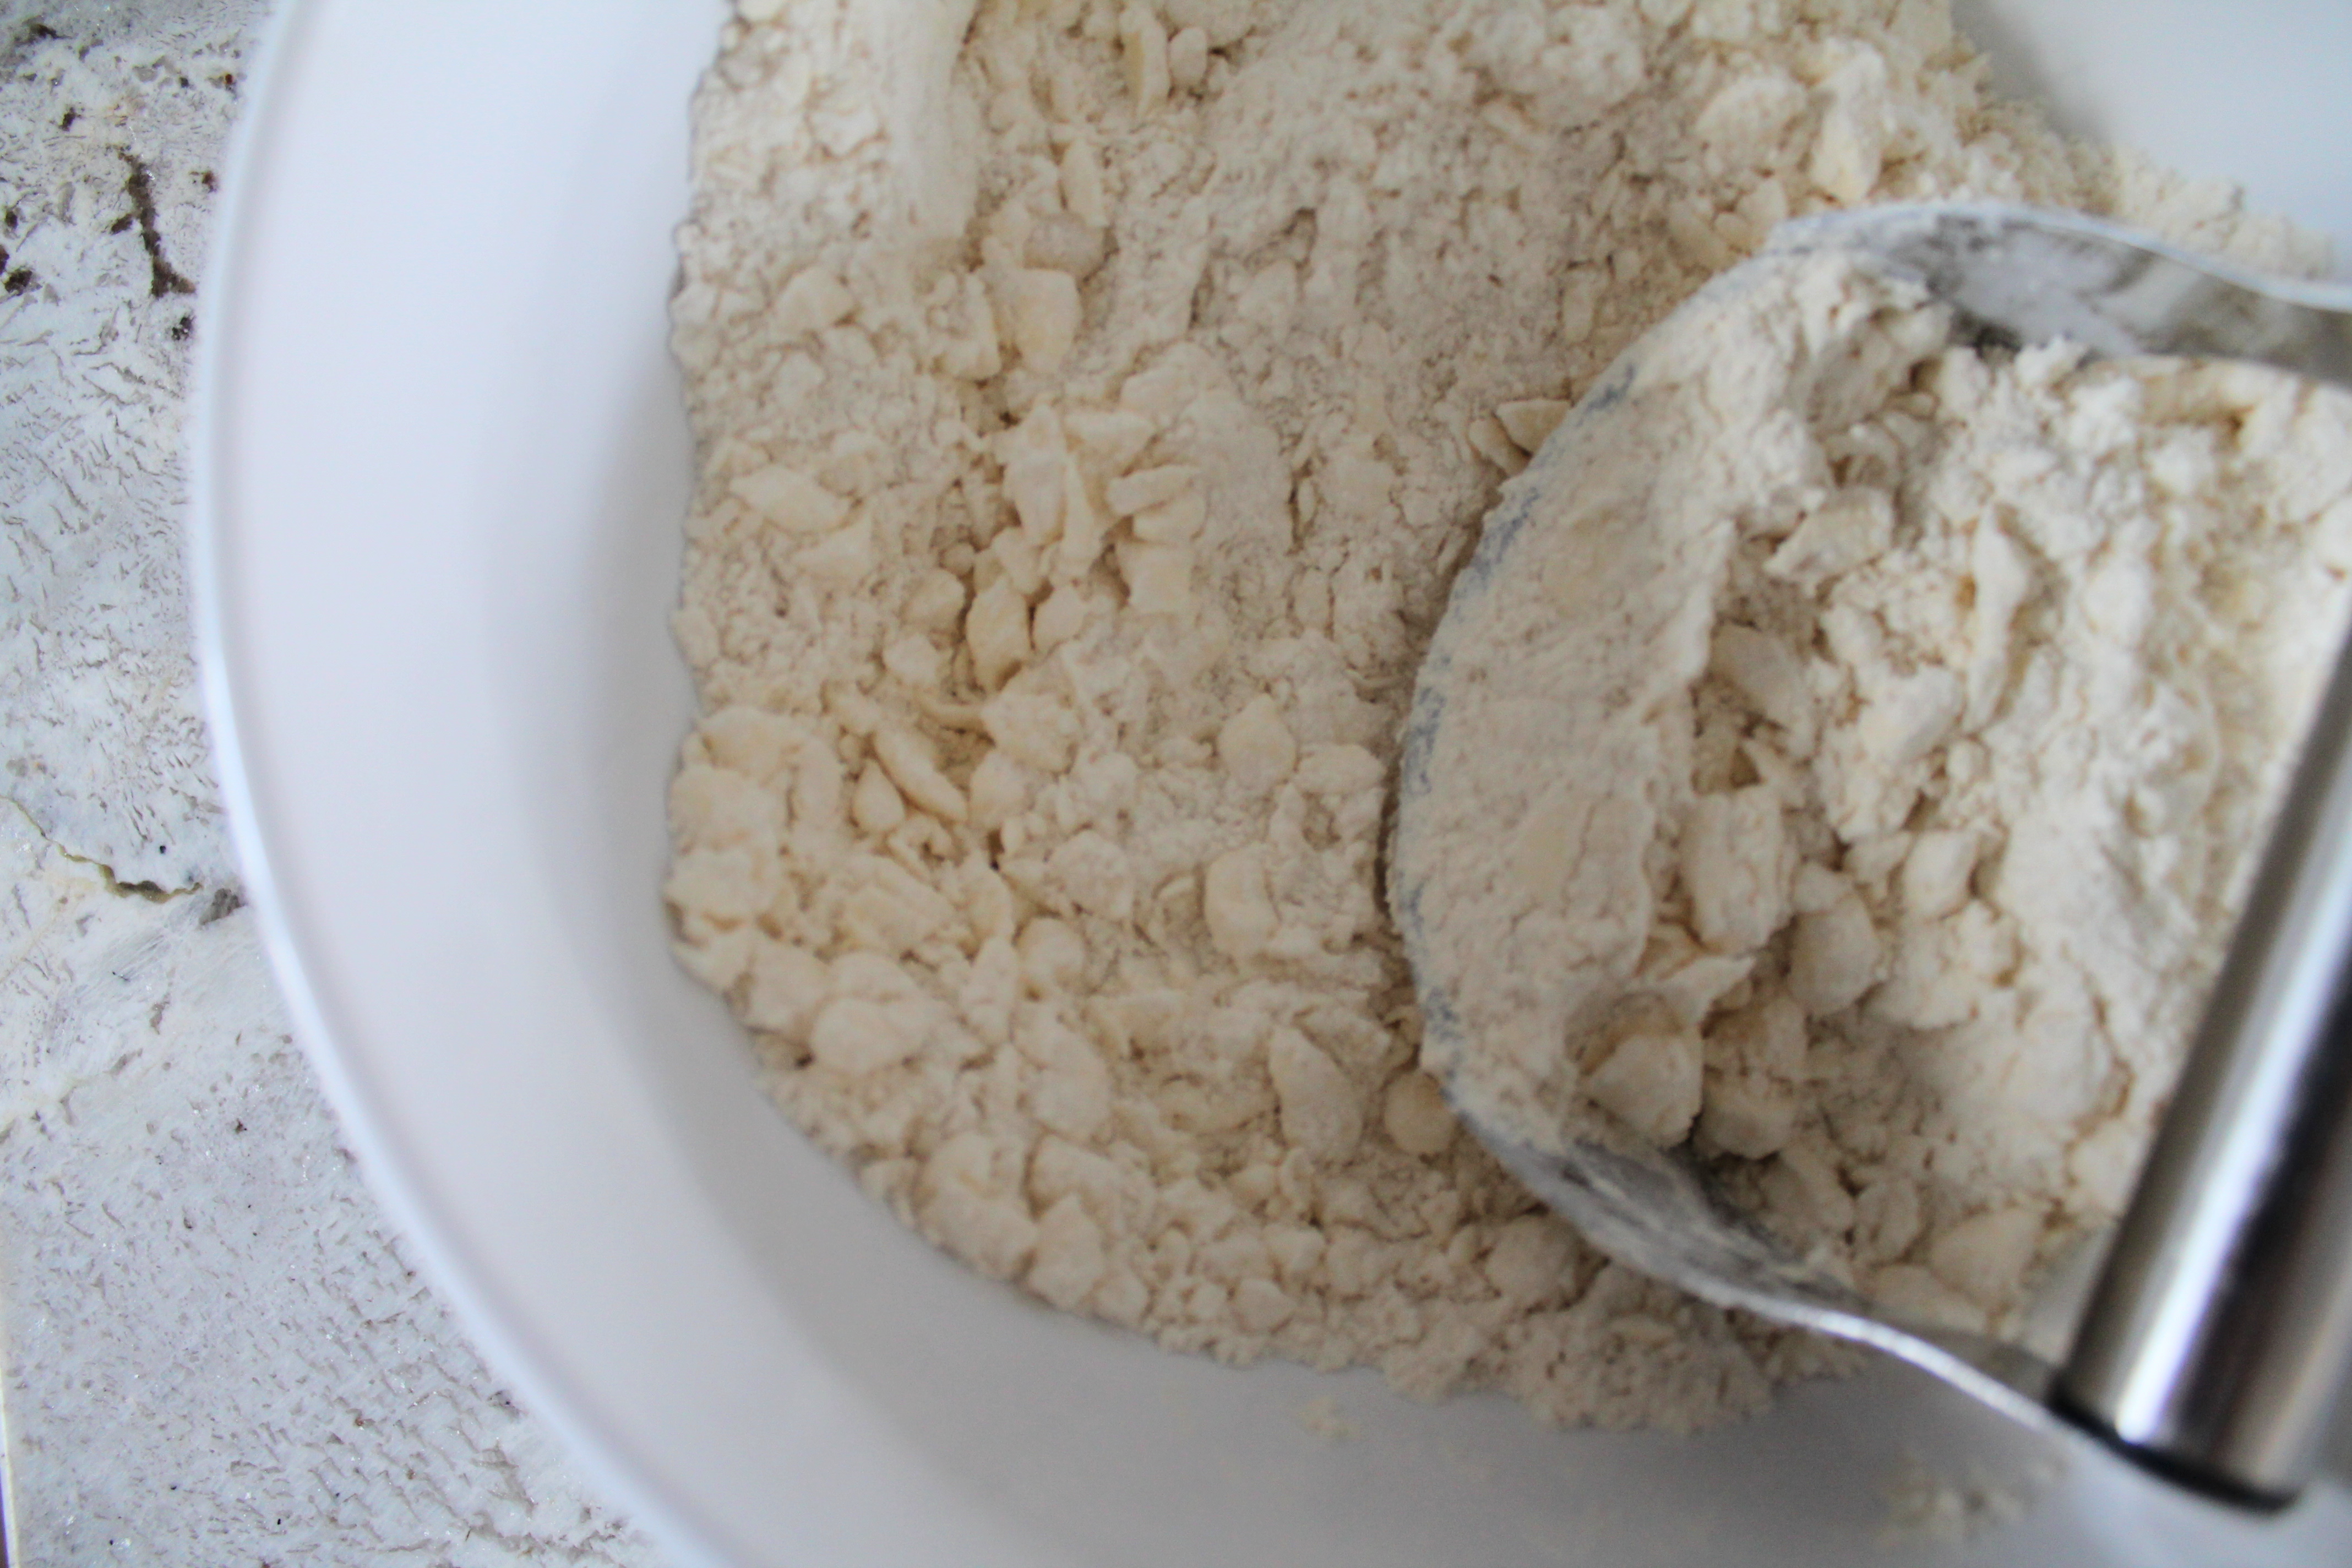
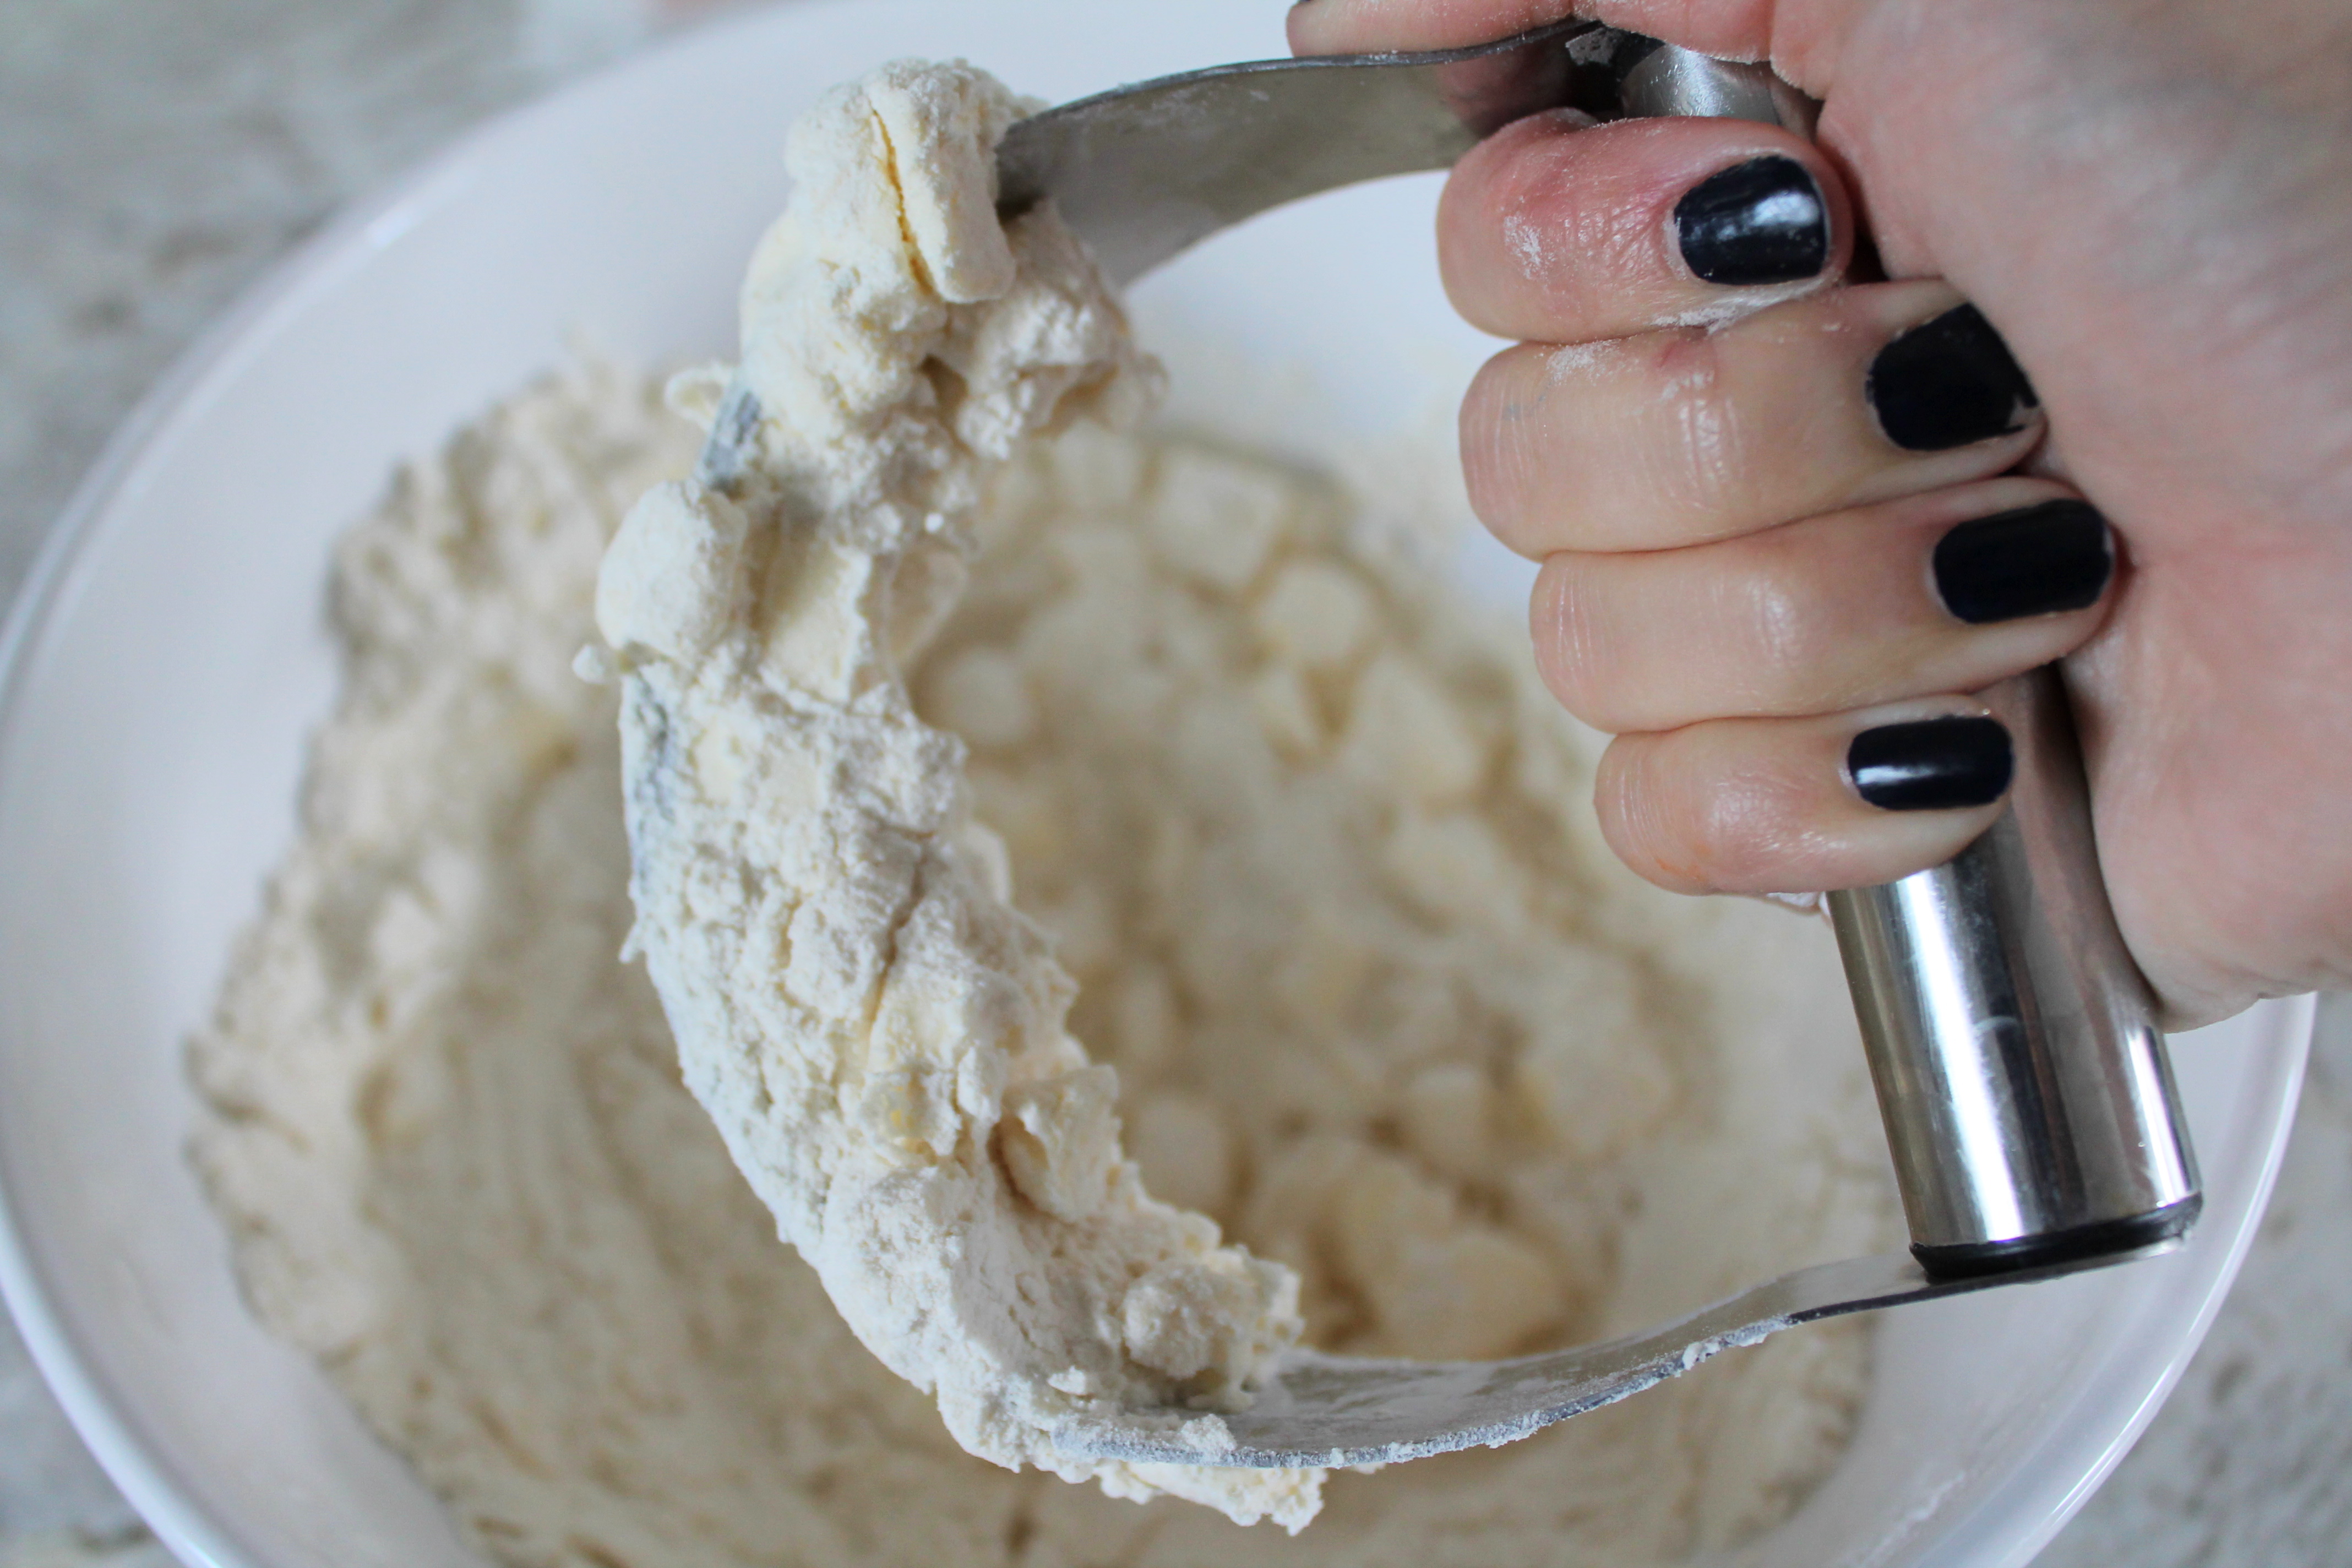
The goal of cutting in is to get bean-size pieces of butter (somewhat larger than pea-size) tossed into the flour. Remember when I was talking about not using a food processor a few paragraphs ago? This is why. Larger pieces of butter throughout your dough are actually what make this crust so flaky: the butter melts during baking and creates layers in the crust.
If you were to use a food processor and essentially grease your flour by creating a perfectly uniform flour-butter mixture, you would eliminate any possibility of having a flaky crust.
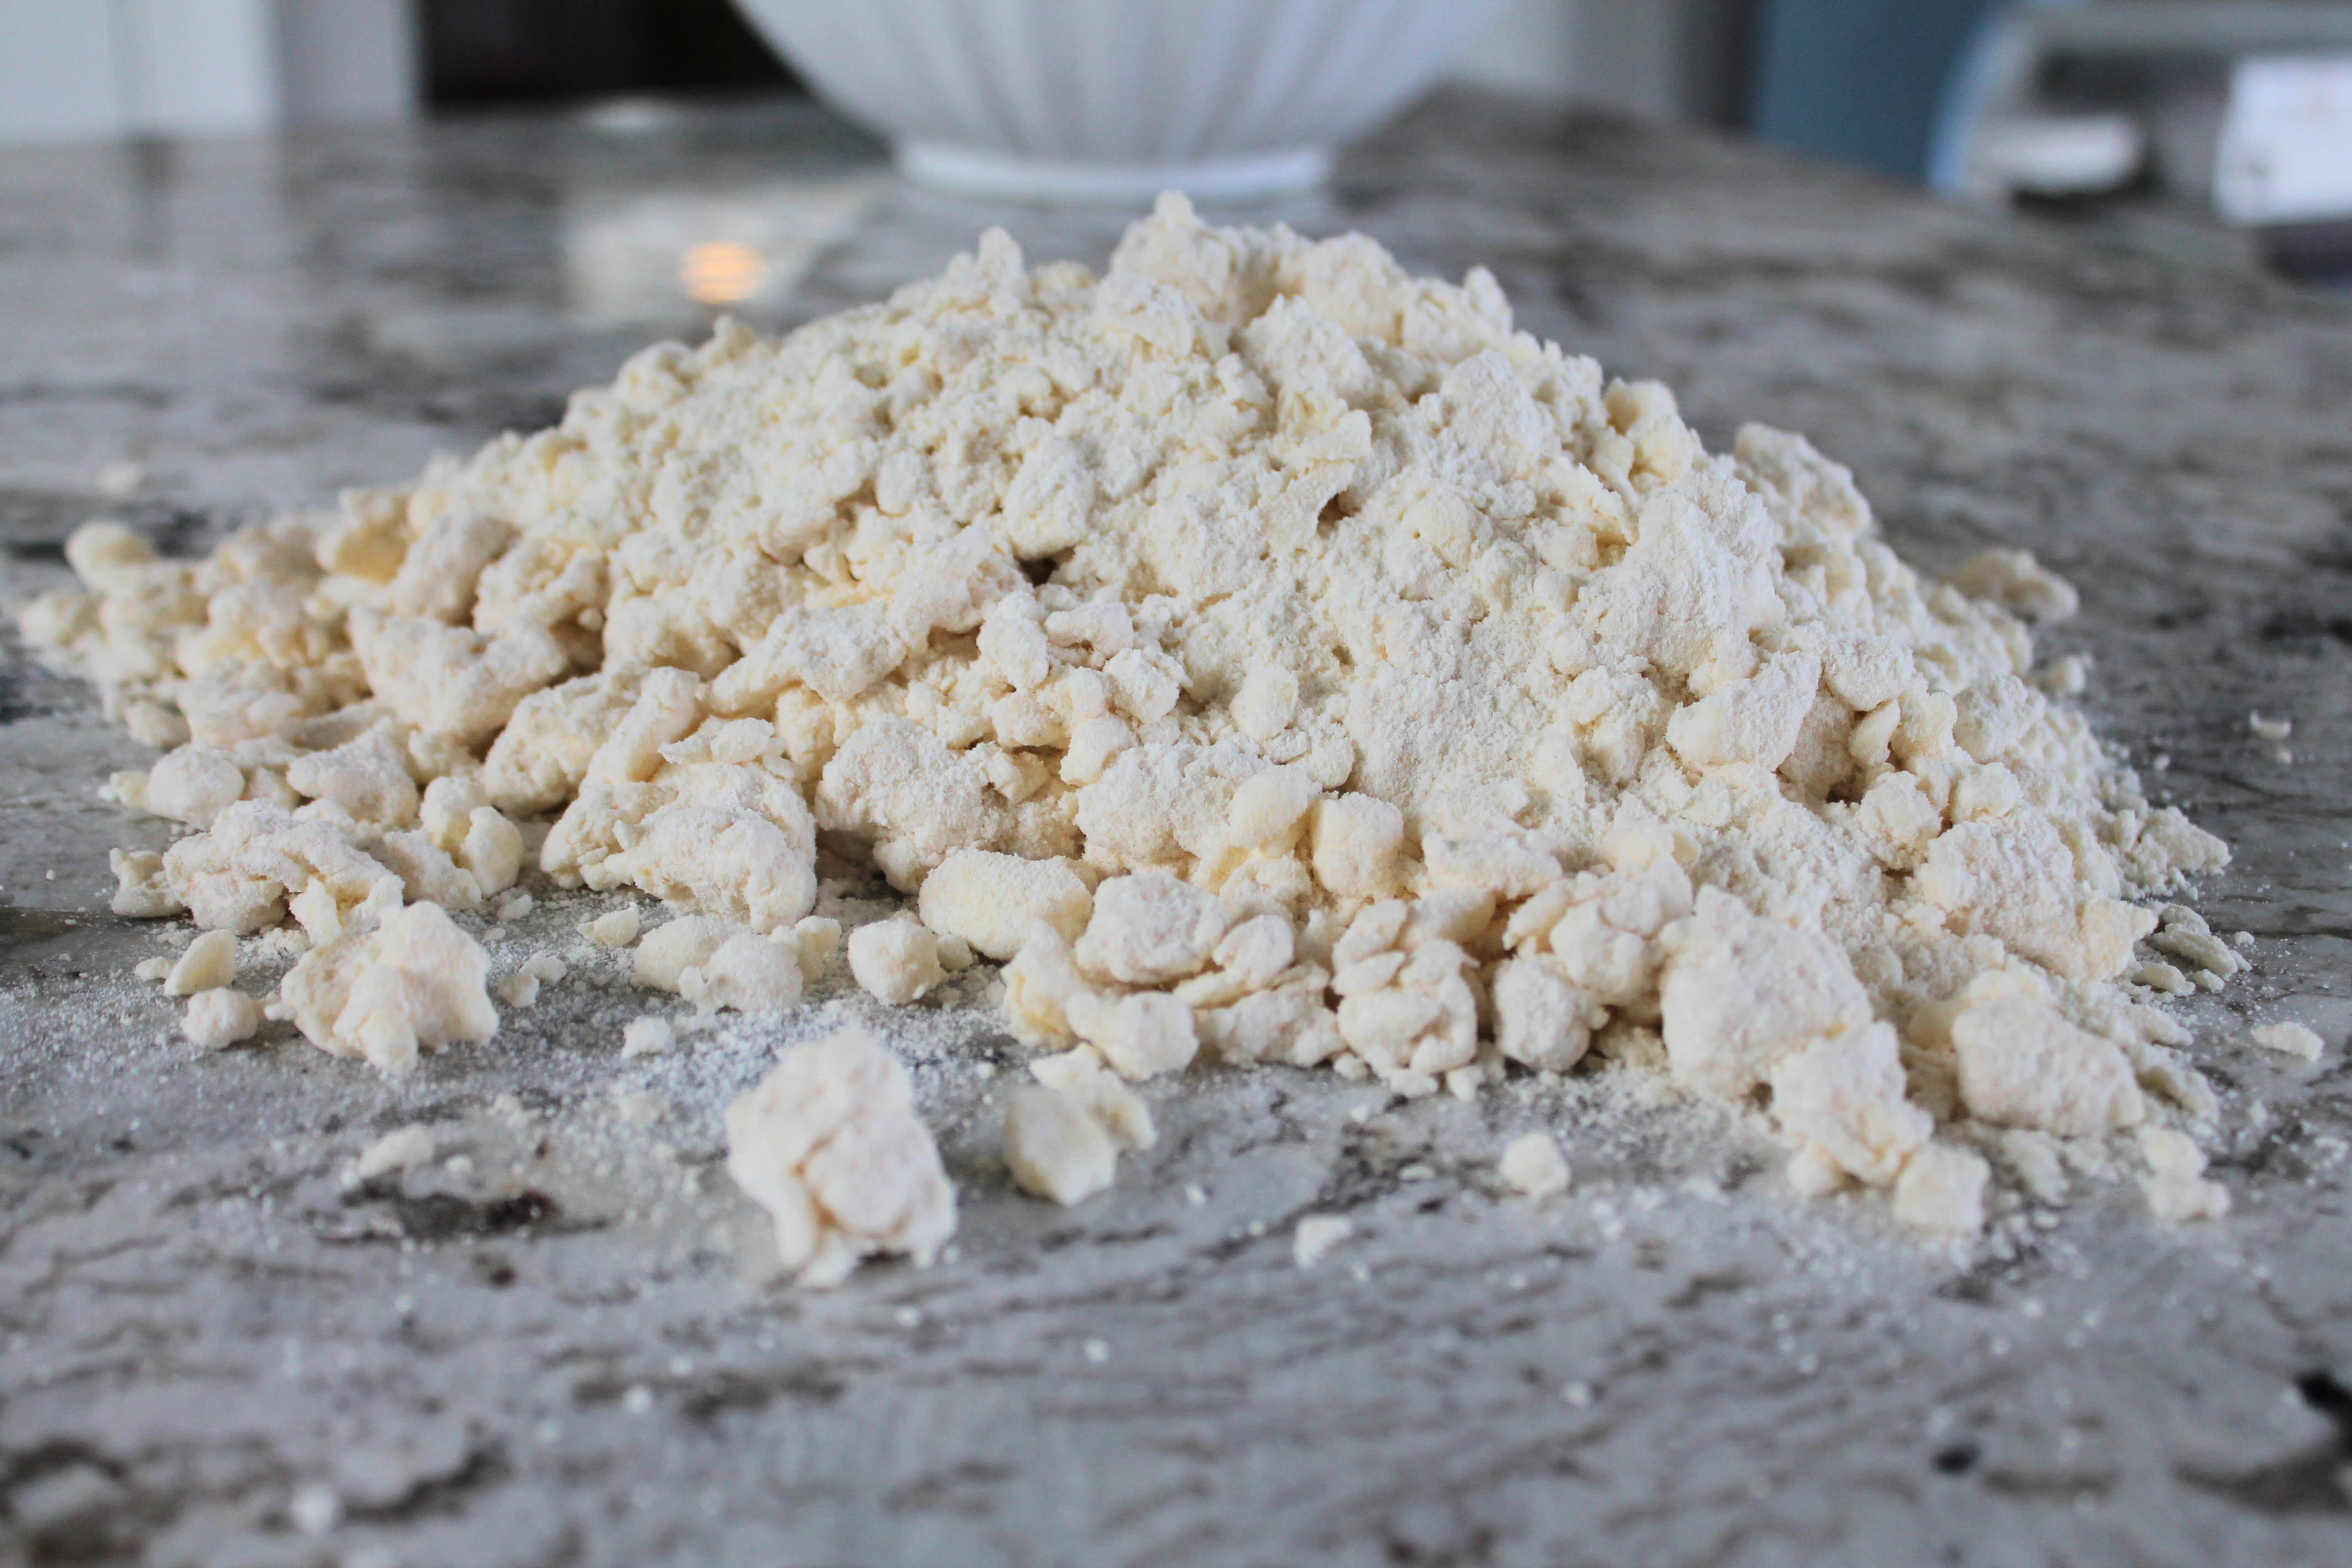
When you have bean-size chunks of butter mixed with your flour, it’s time to add water.
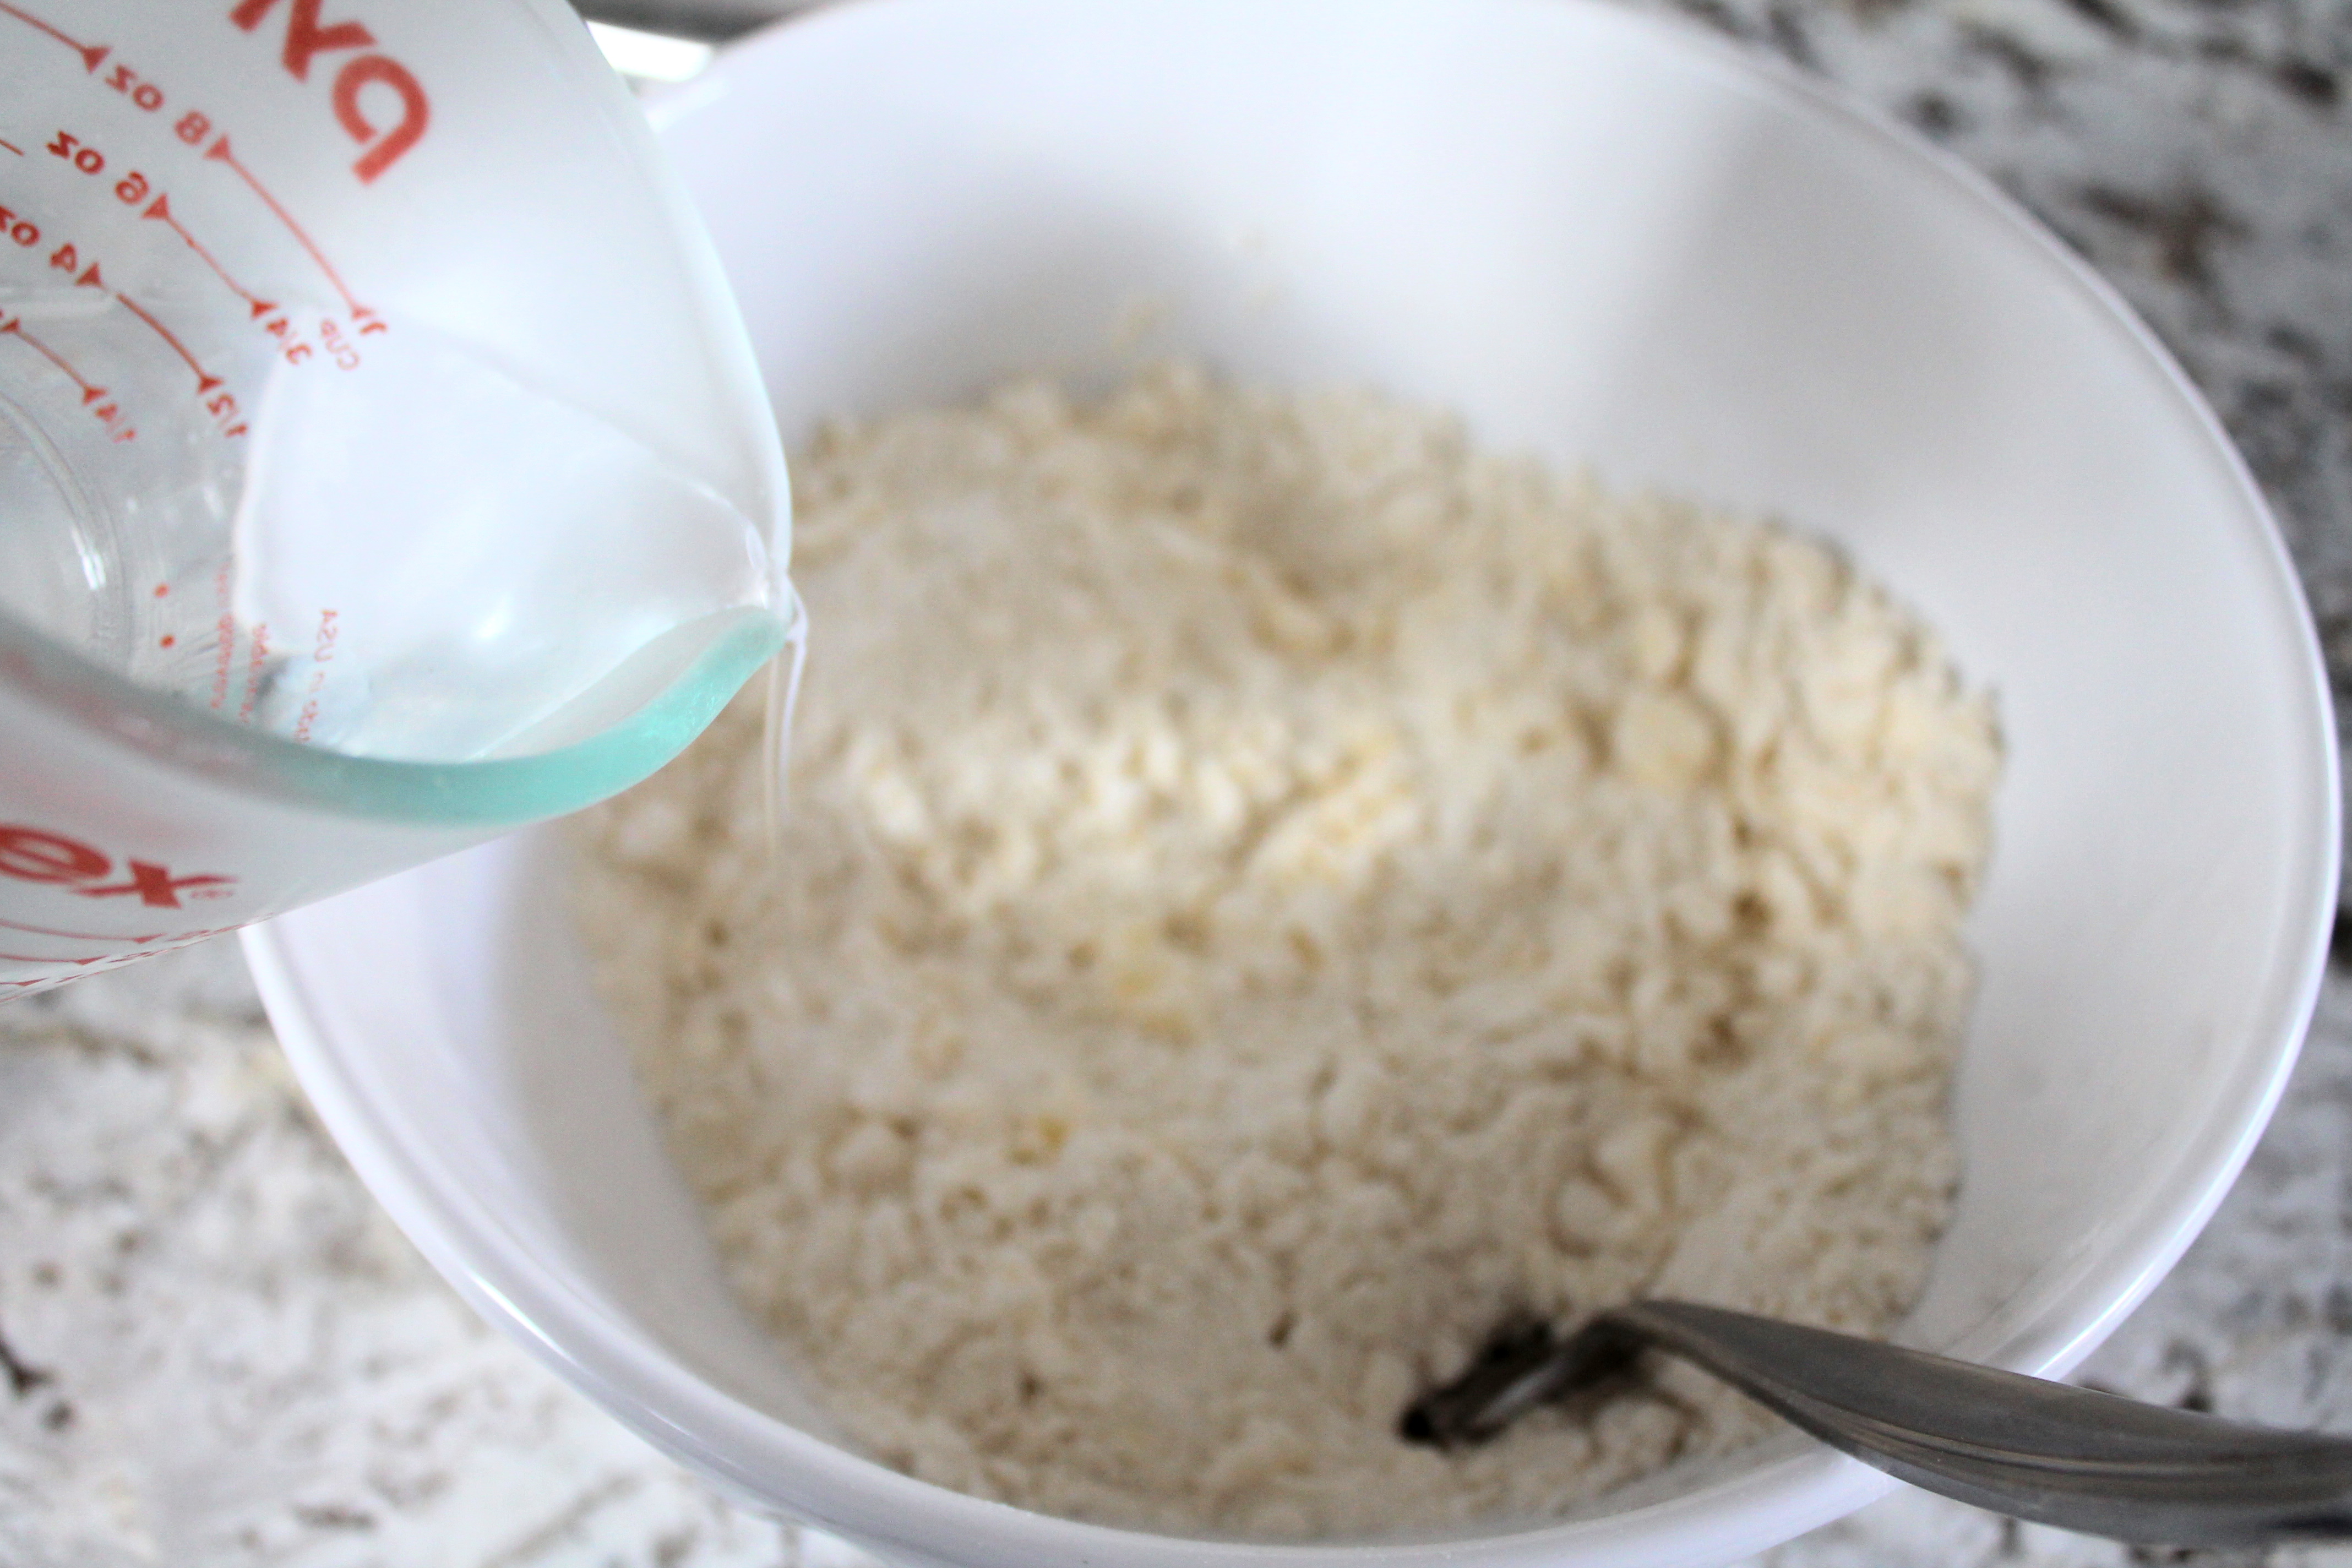
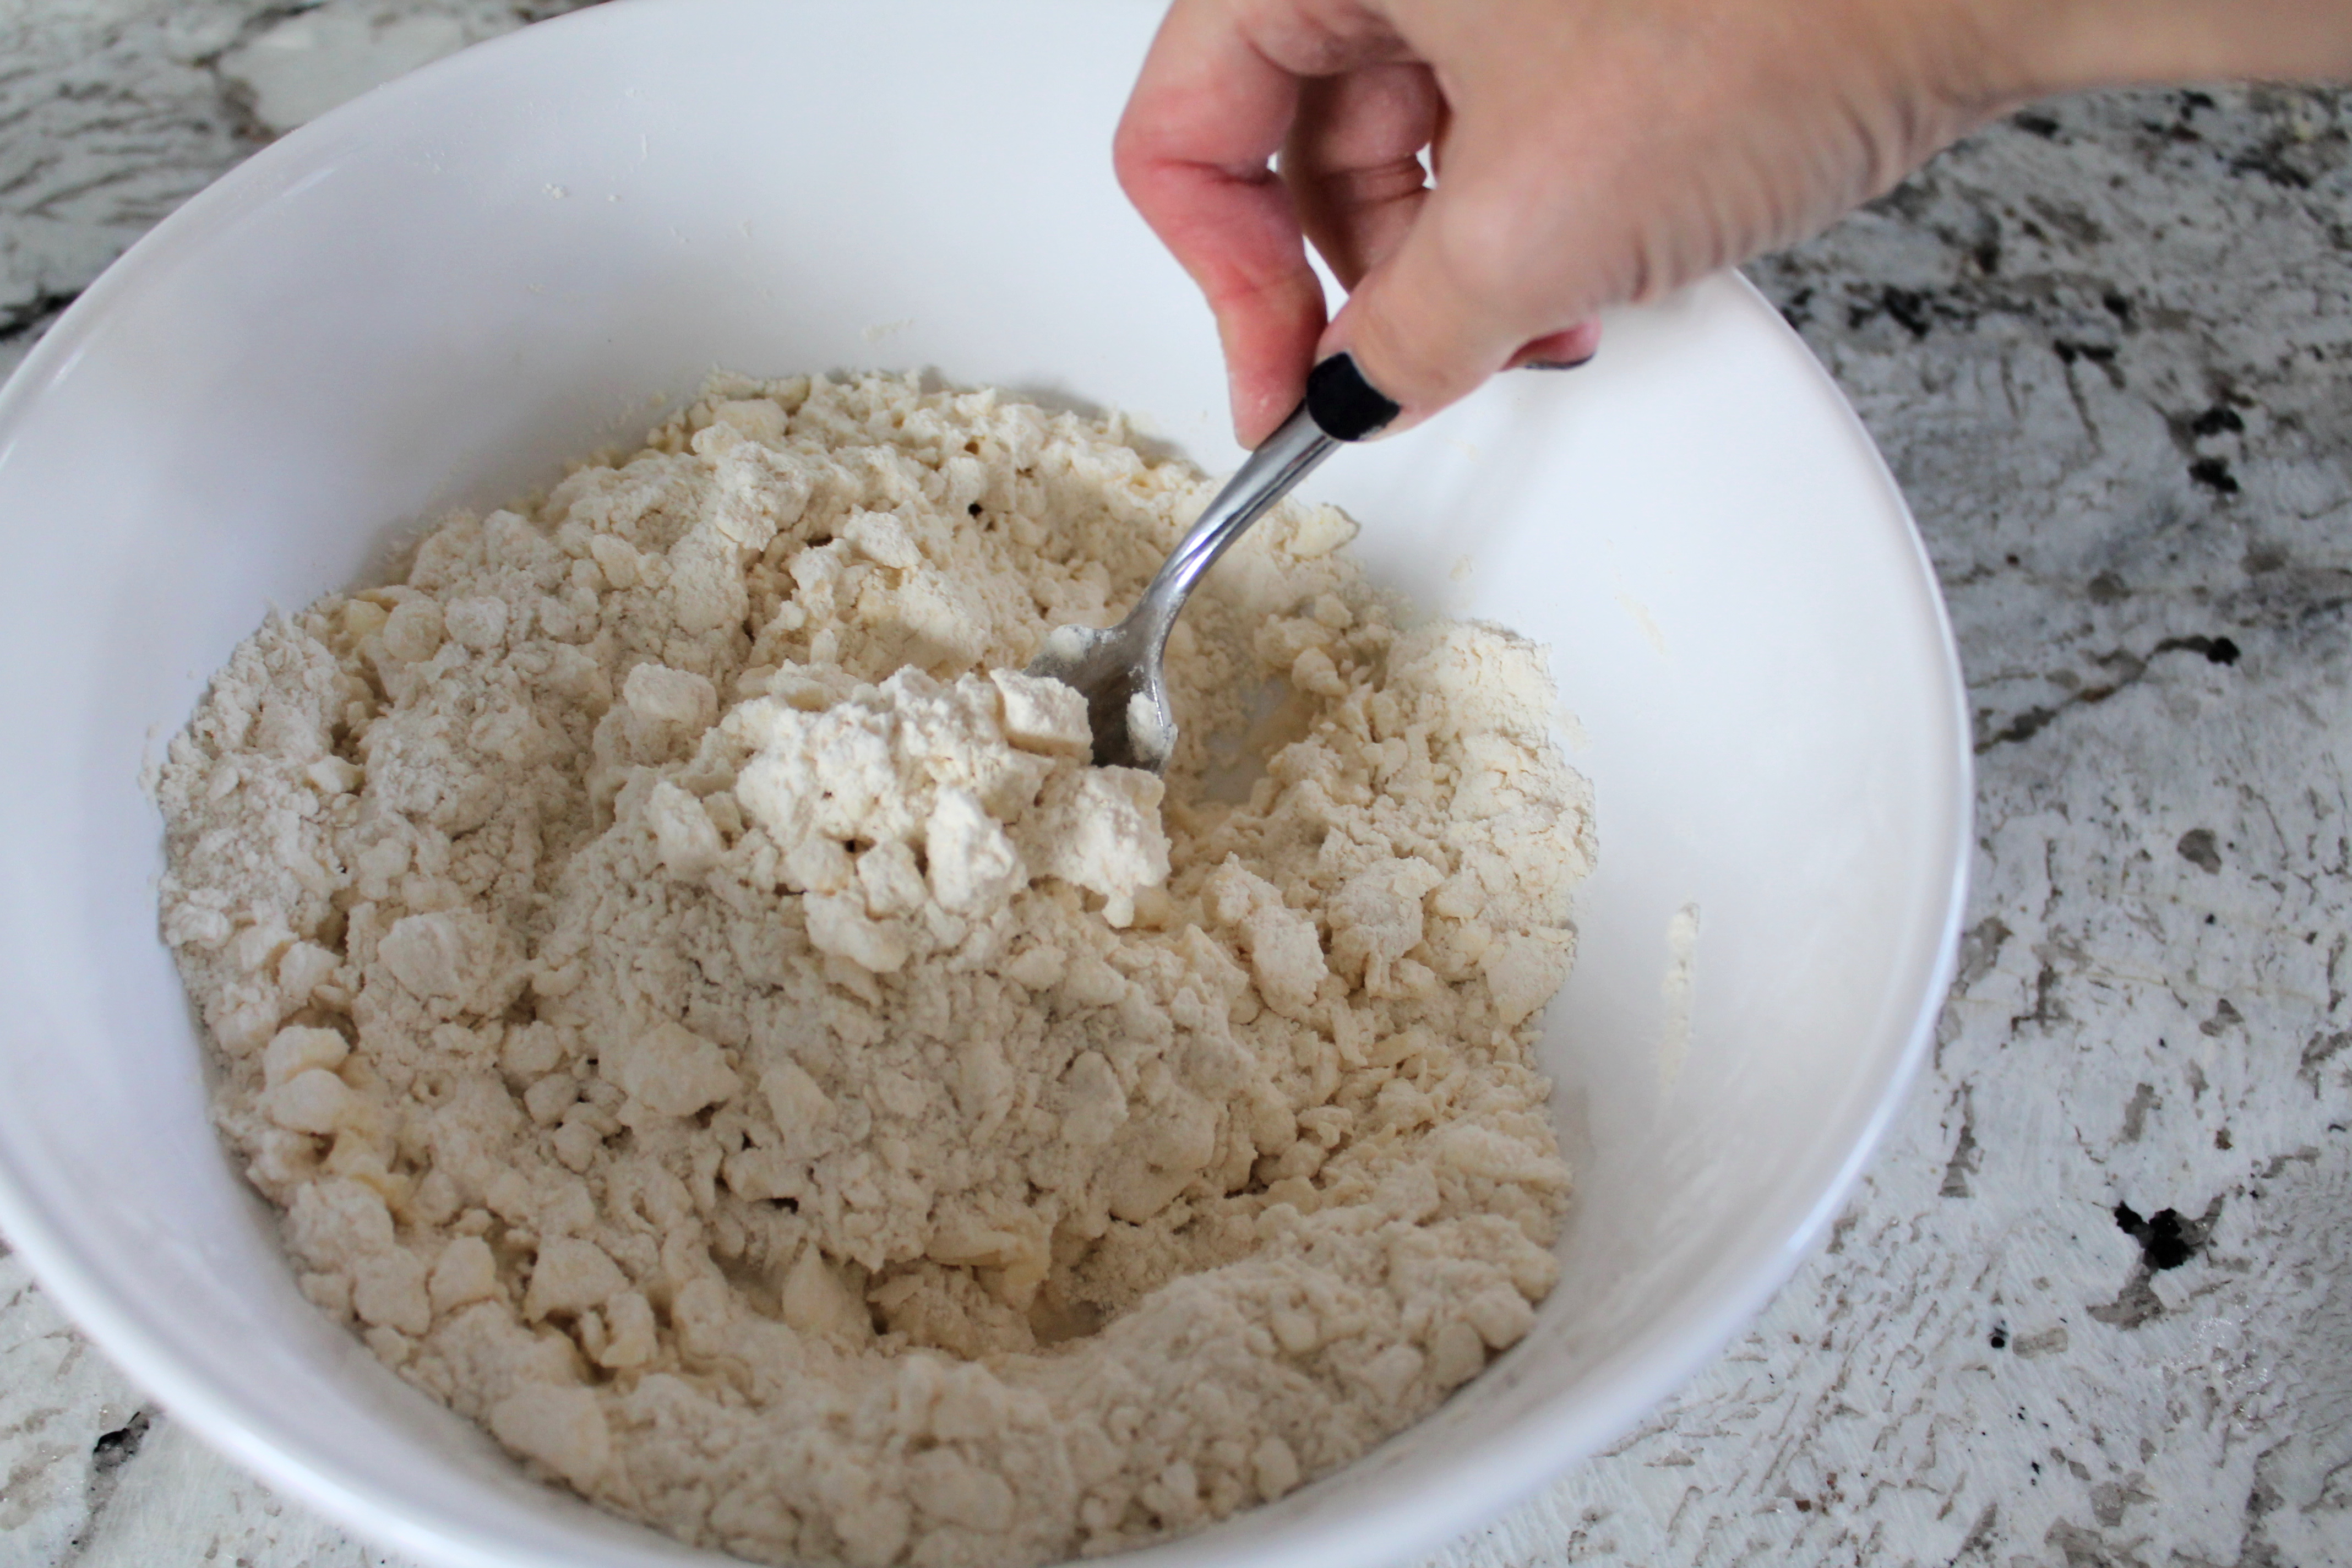
Grab the cold water out of the freezer. Pour a few tablespoons at a time into the bowl, and then fluff the flour mixture with a fork to pull the dry ingredients at the bottom of the bowl through the rivulets of water on top. Continue until you have used 6-8 tbsp. water.
Water is obviously essential to binding the ingredients together. BUT. Water also releases steam while baking. This is good from the flakiness point of view, and less good if you want perfectly crimped edges on your crust. My advice is this: if you care most about presenting a perfect-looking pie crust, err on the side of less water (but beware, your crust will be less flaky). If you are okay with your crust edges possibly puffing up and losing their original shape a little where the crust extends above your filling, but instead gaining the perfect flaky texture, then err on the side of more water.
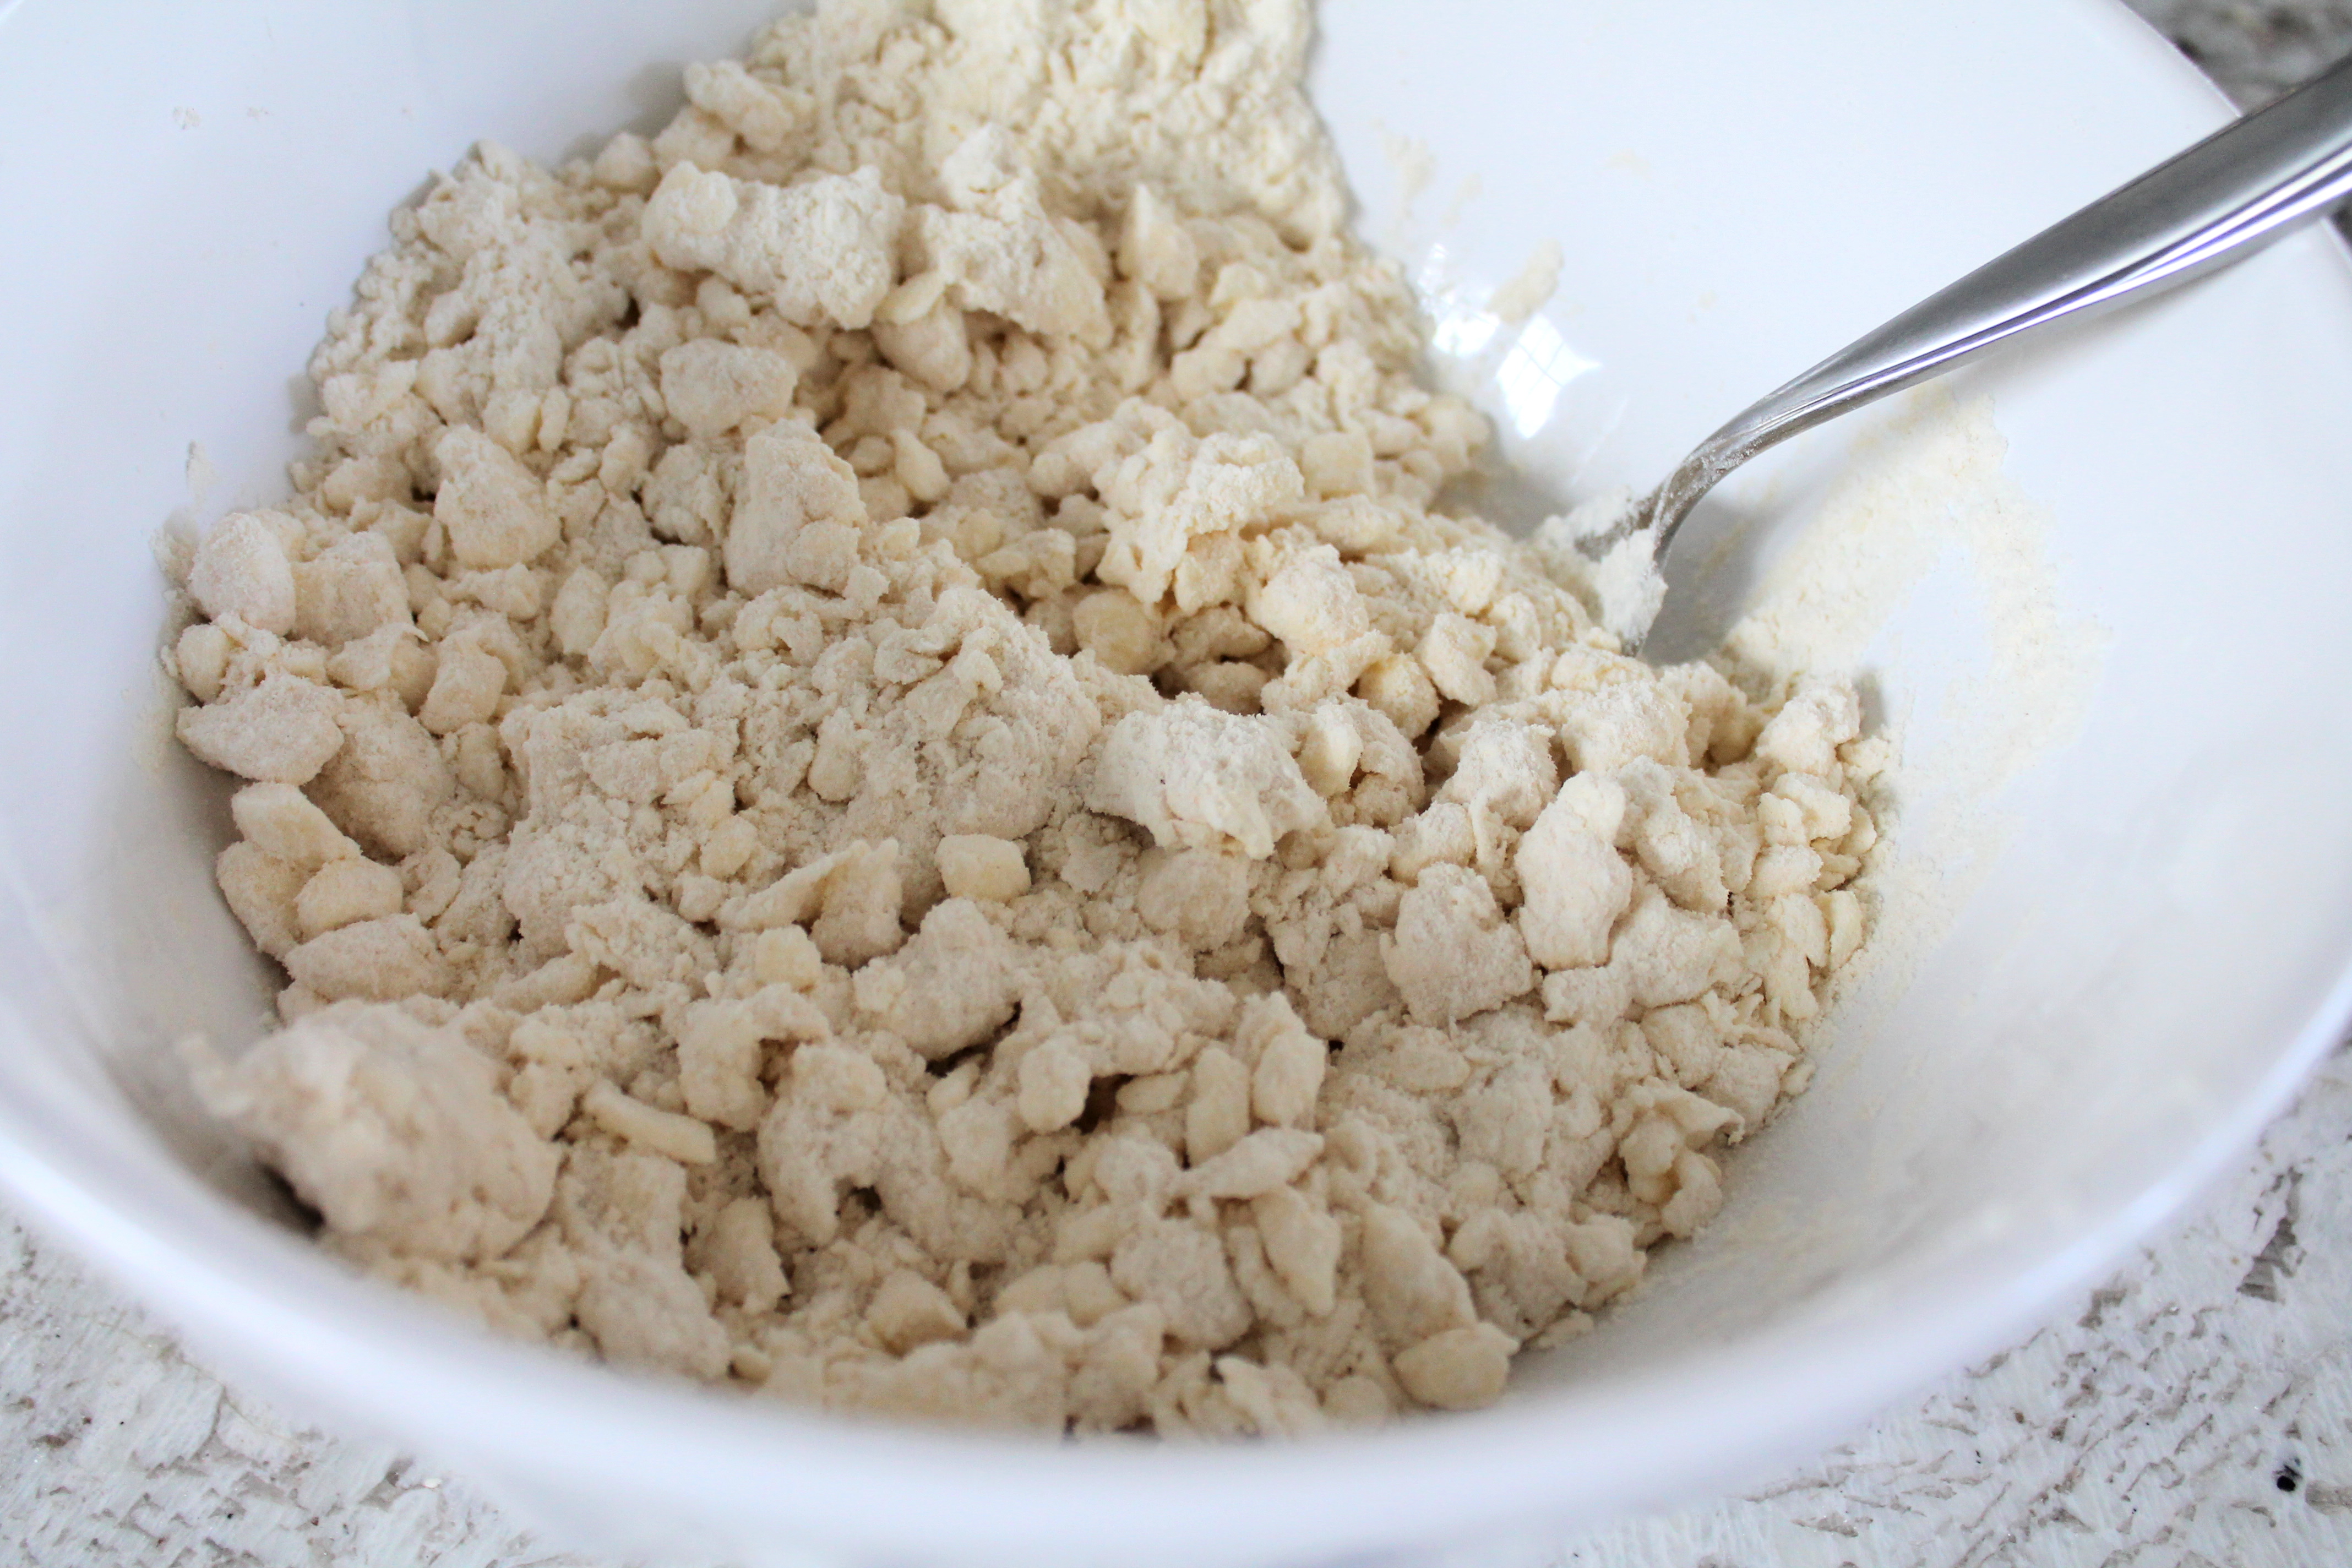
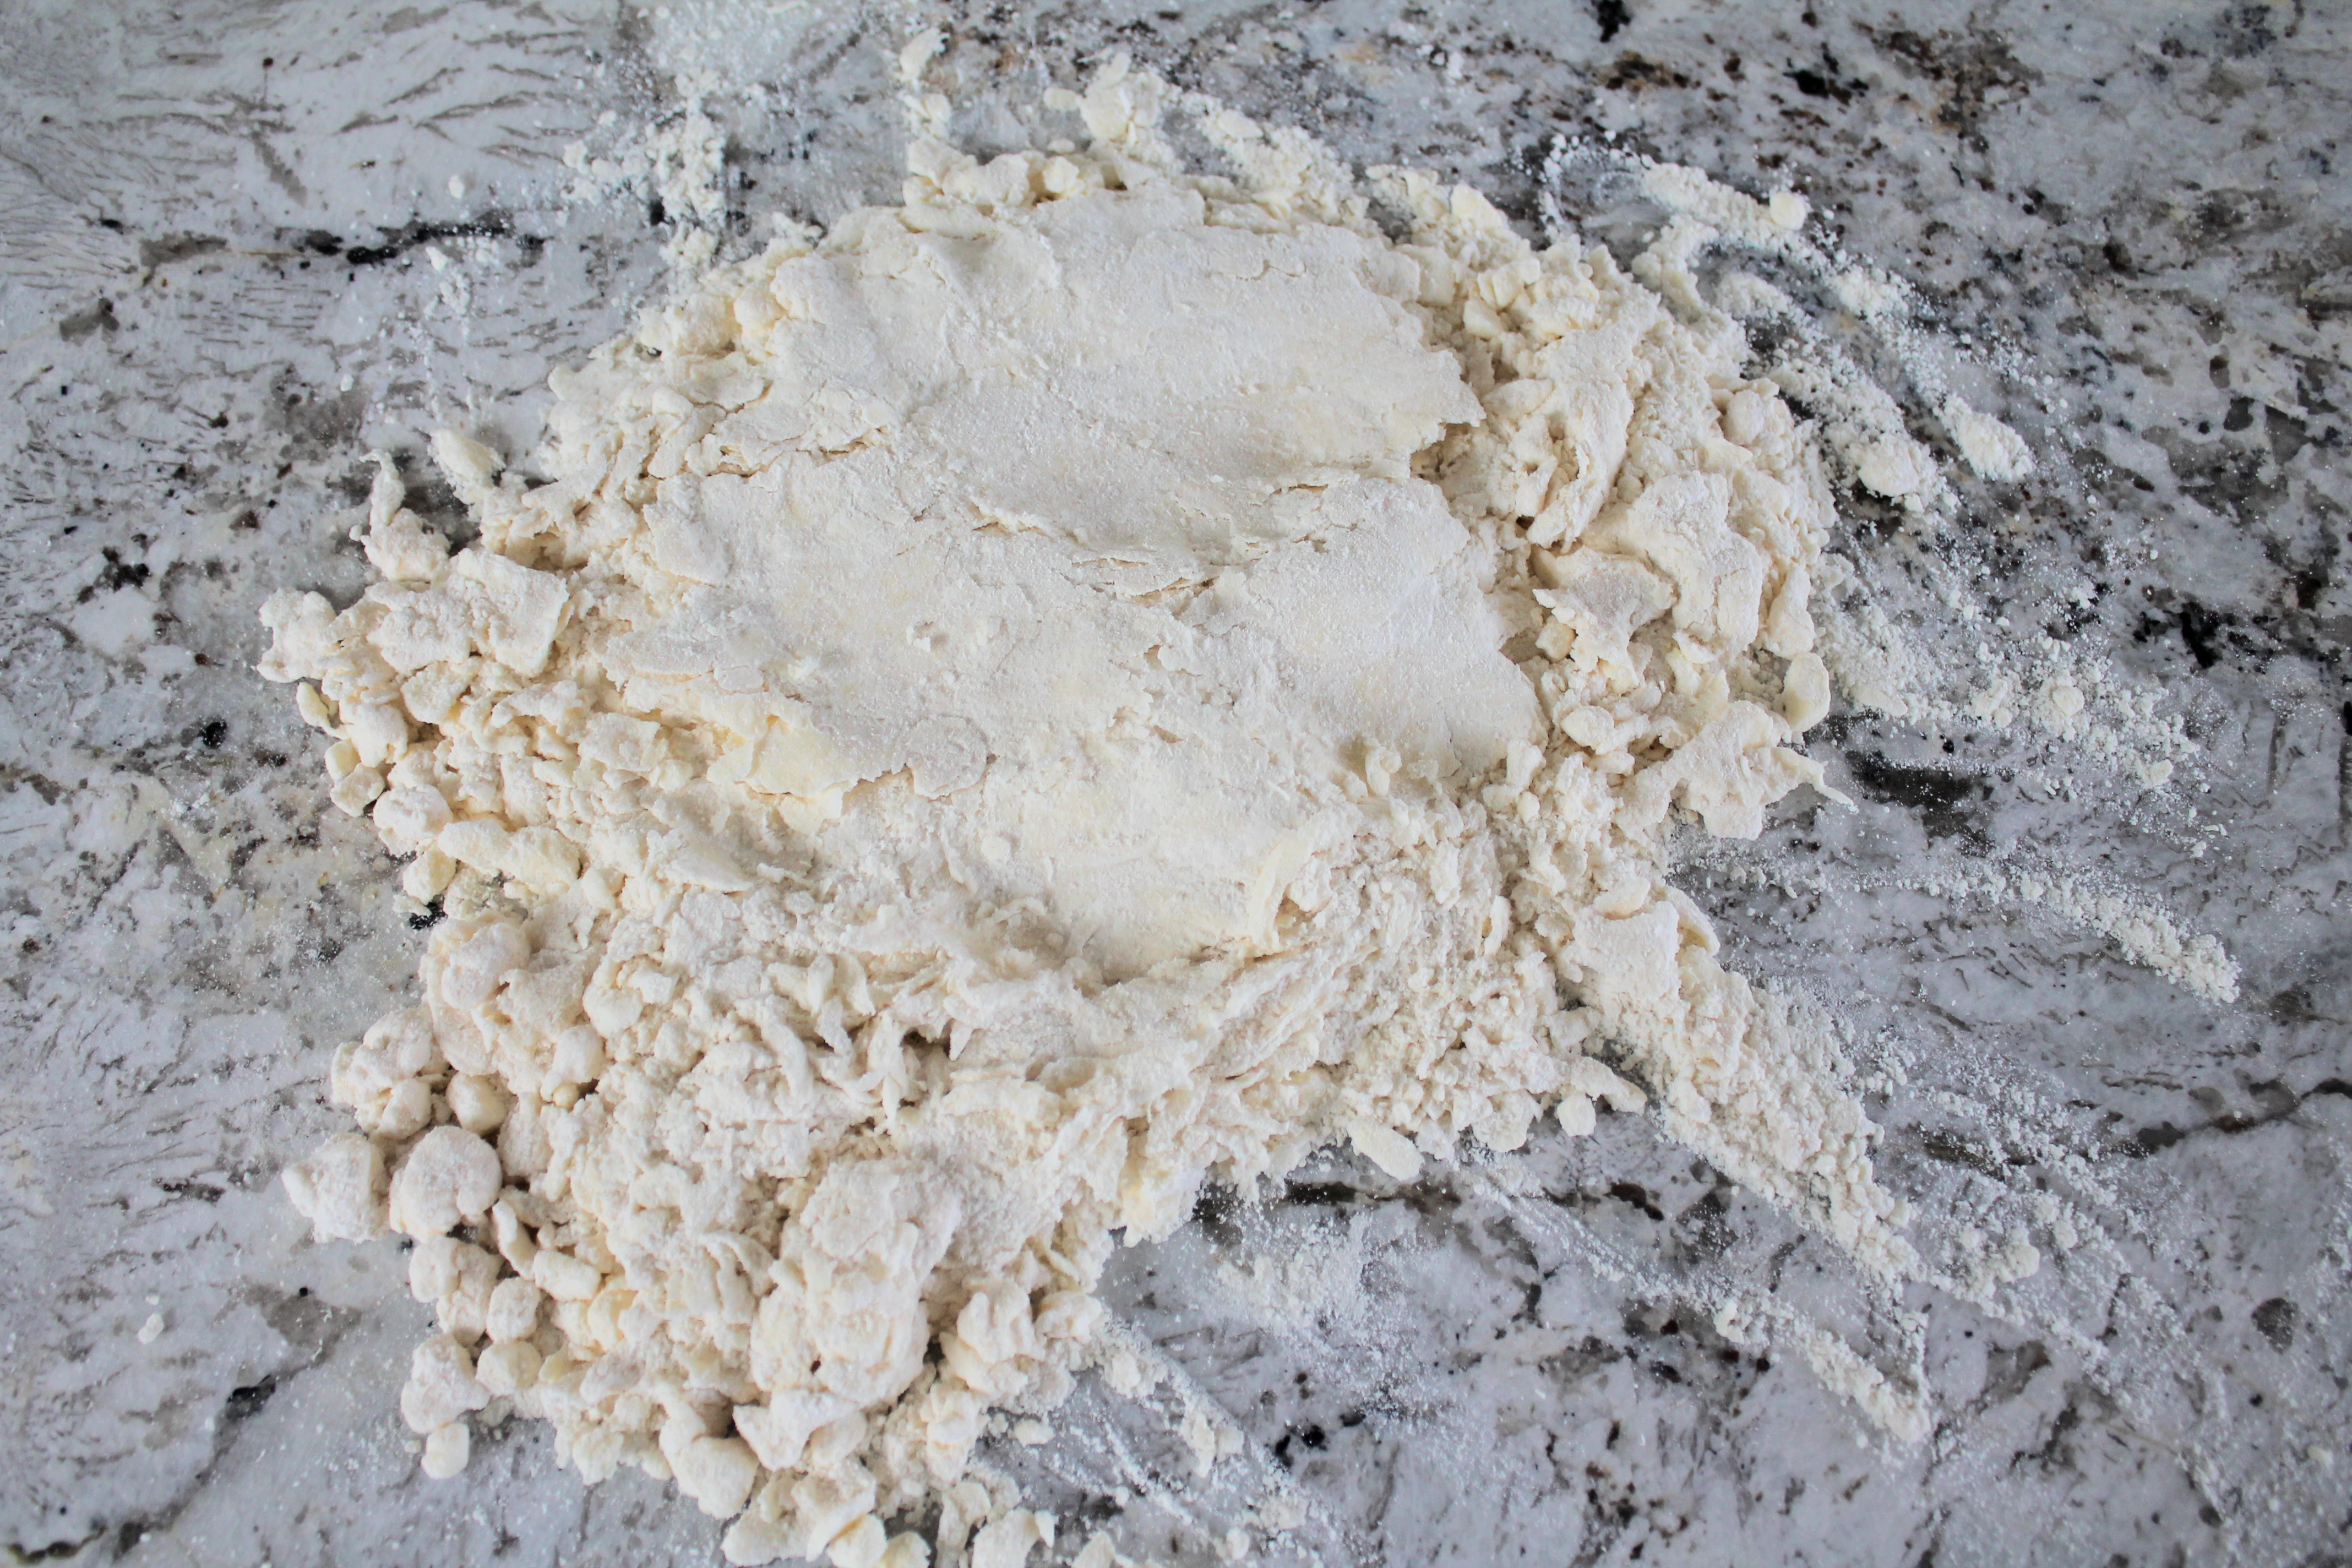
Either way, you are not using enough water to create a sticky dough ball. Even if you use the entire ½ cup water, you will still have lots of dry, shaggy bits of flour in your bowl.
So dump the entire mixture onto a clean countertop.
Now it’s time to press and fold (knead) the dough until it holds together. This takes about 2 minutes, so don’t freak out when you see the word knead.
Start by squishing everything together. Then lift one side (it’s okay if it crumbles) and fold it on top of the other side and press down. Repeat. After two or three folds, you should notice that the dough is beginning to stick together more and crumble less.
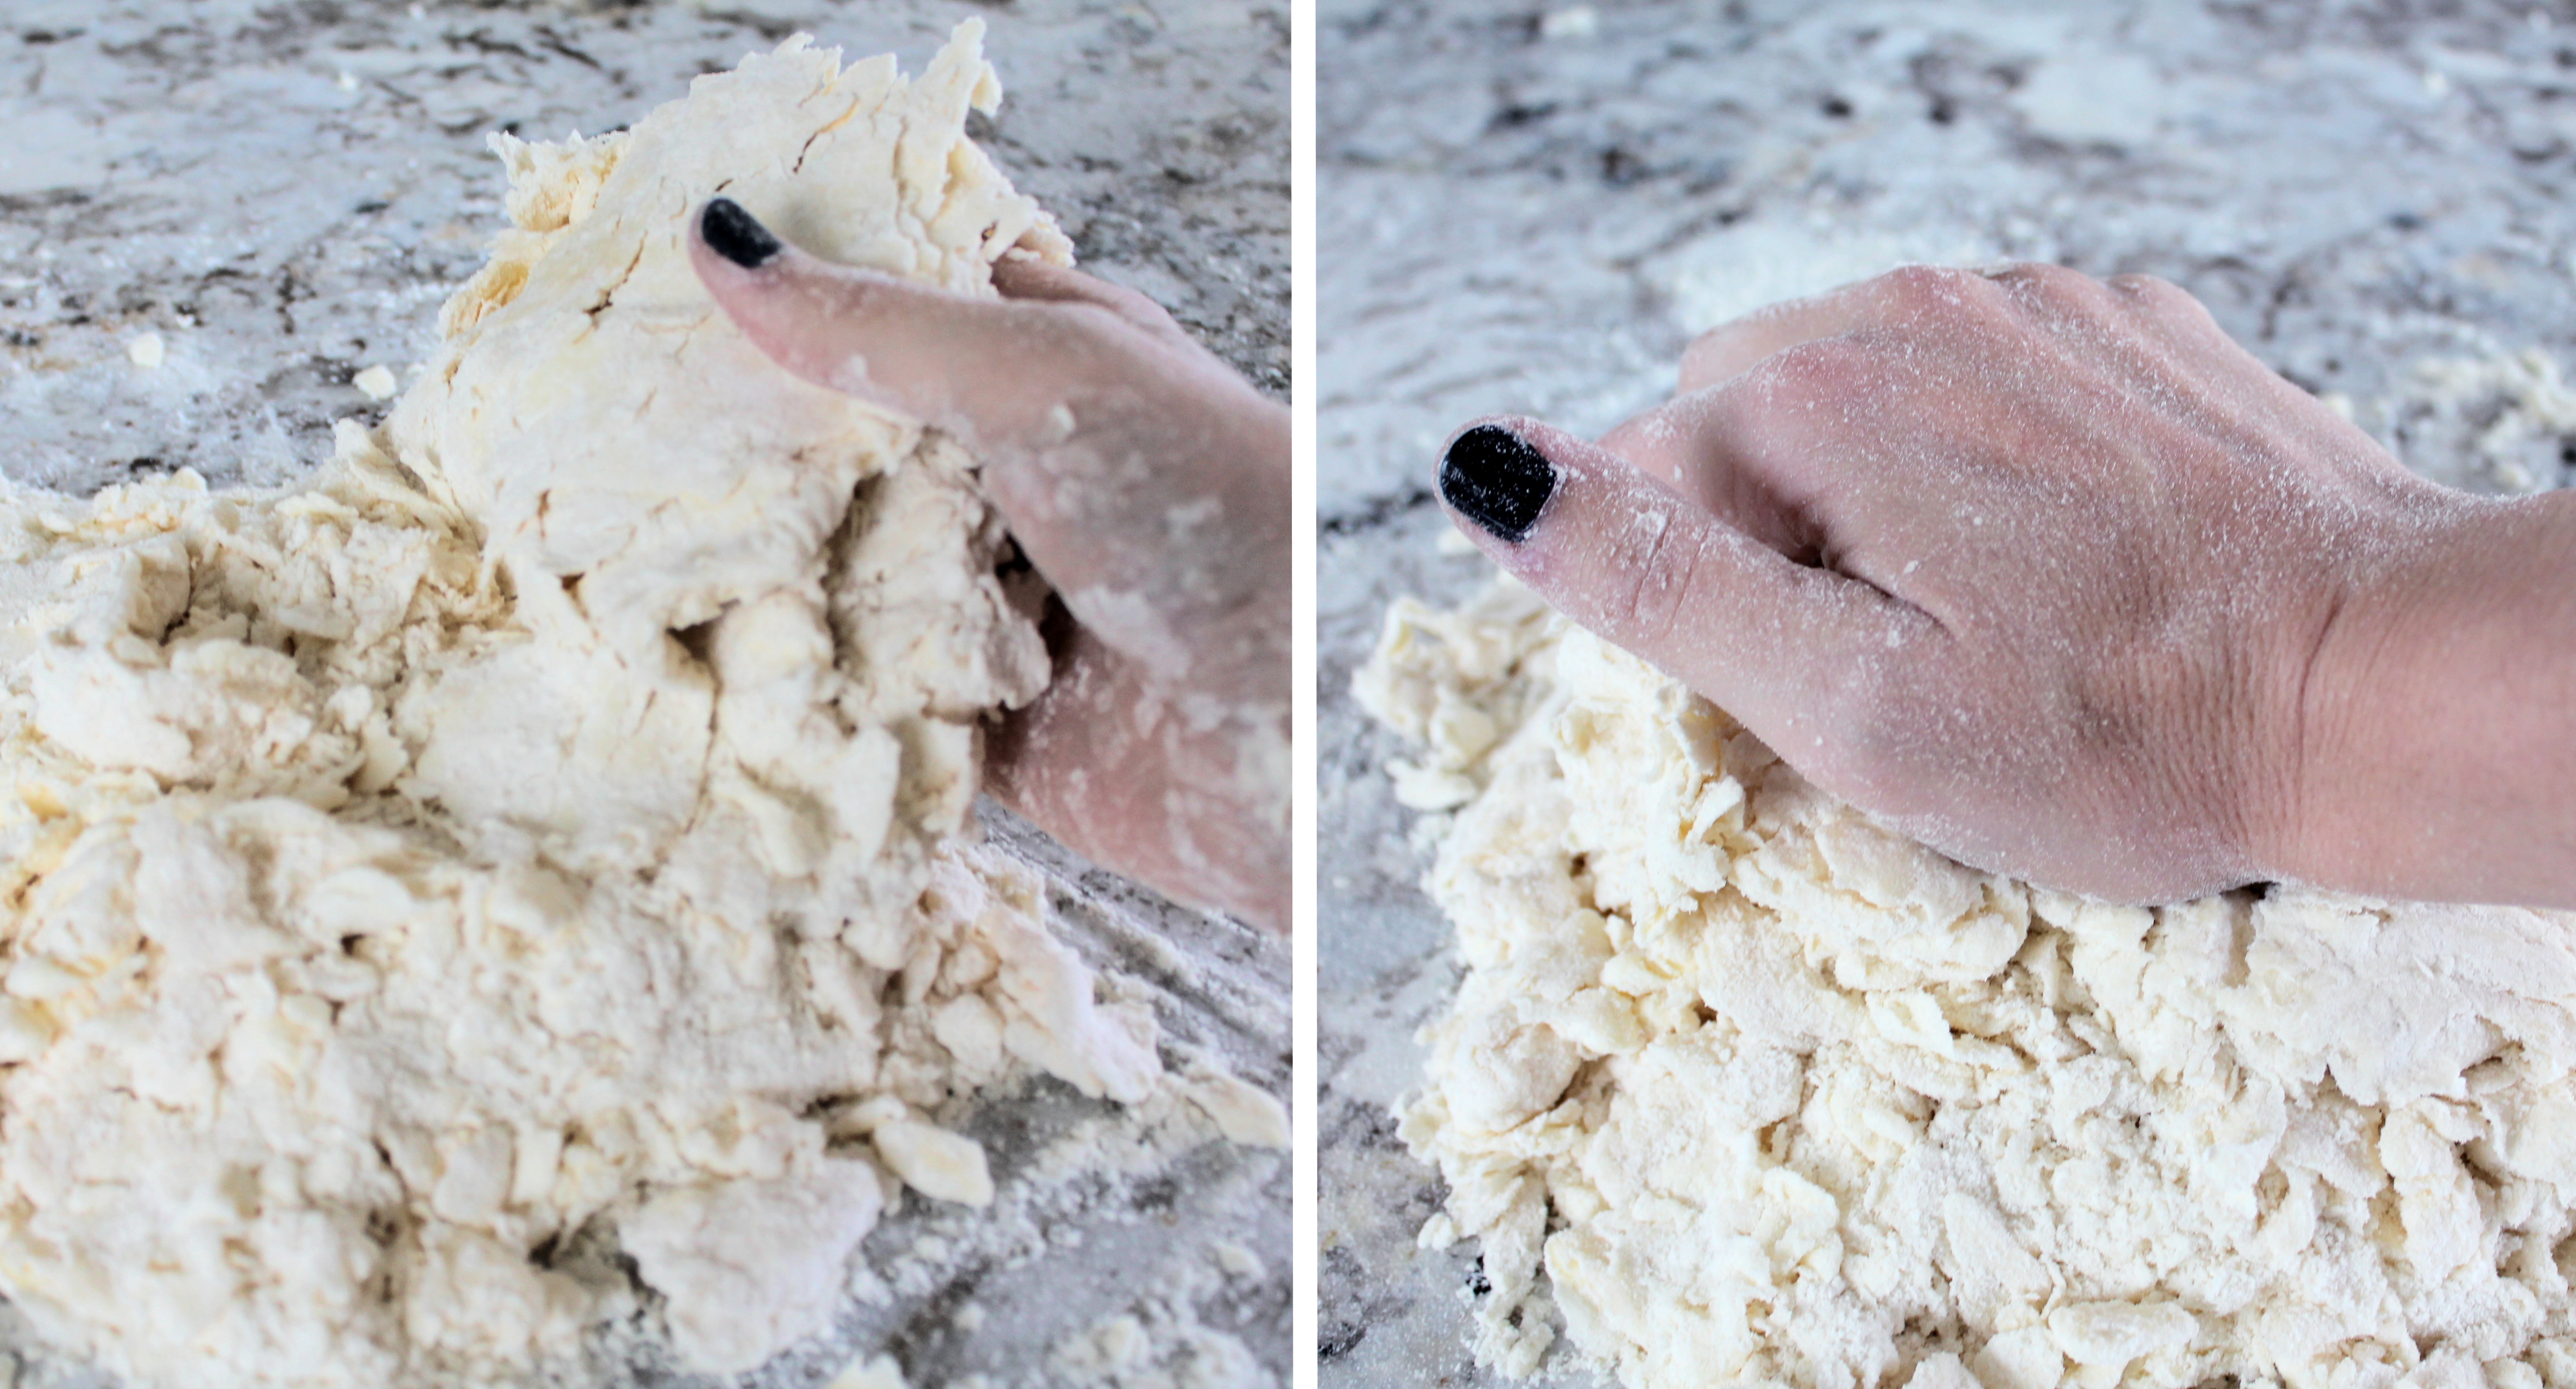
Scoop the loose, shaggy bits up and place them on top of the lump of dough before you fold. This will also help to create flaky layers in your pie crust.
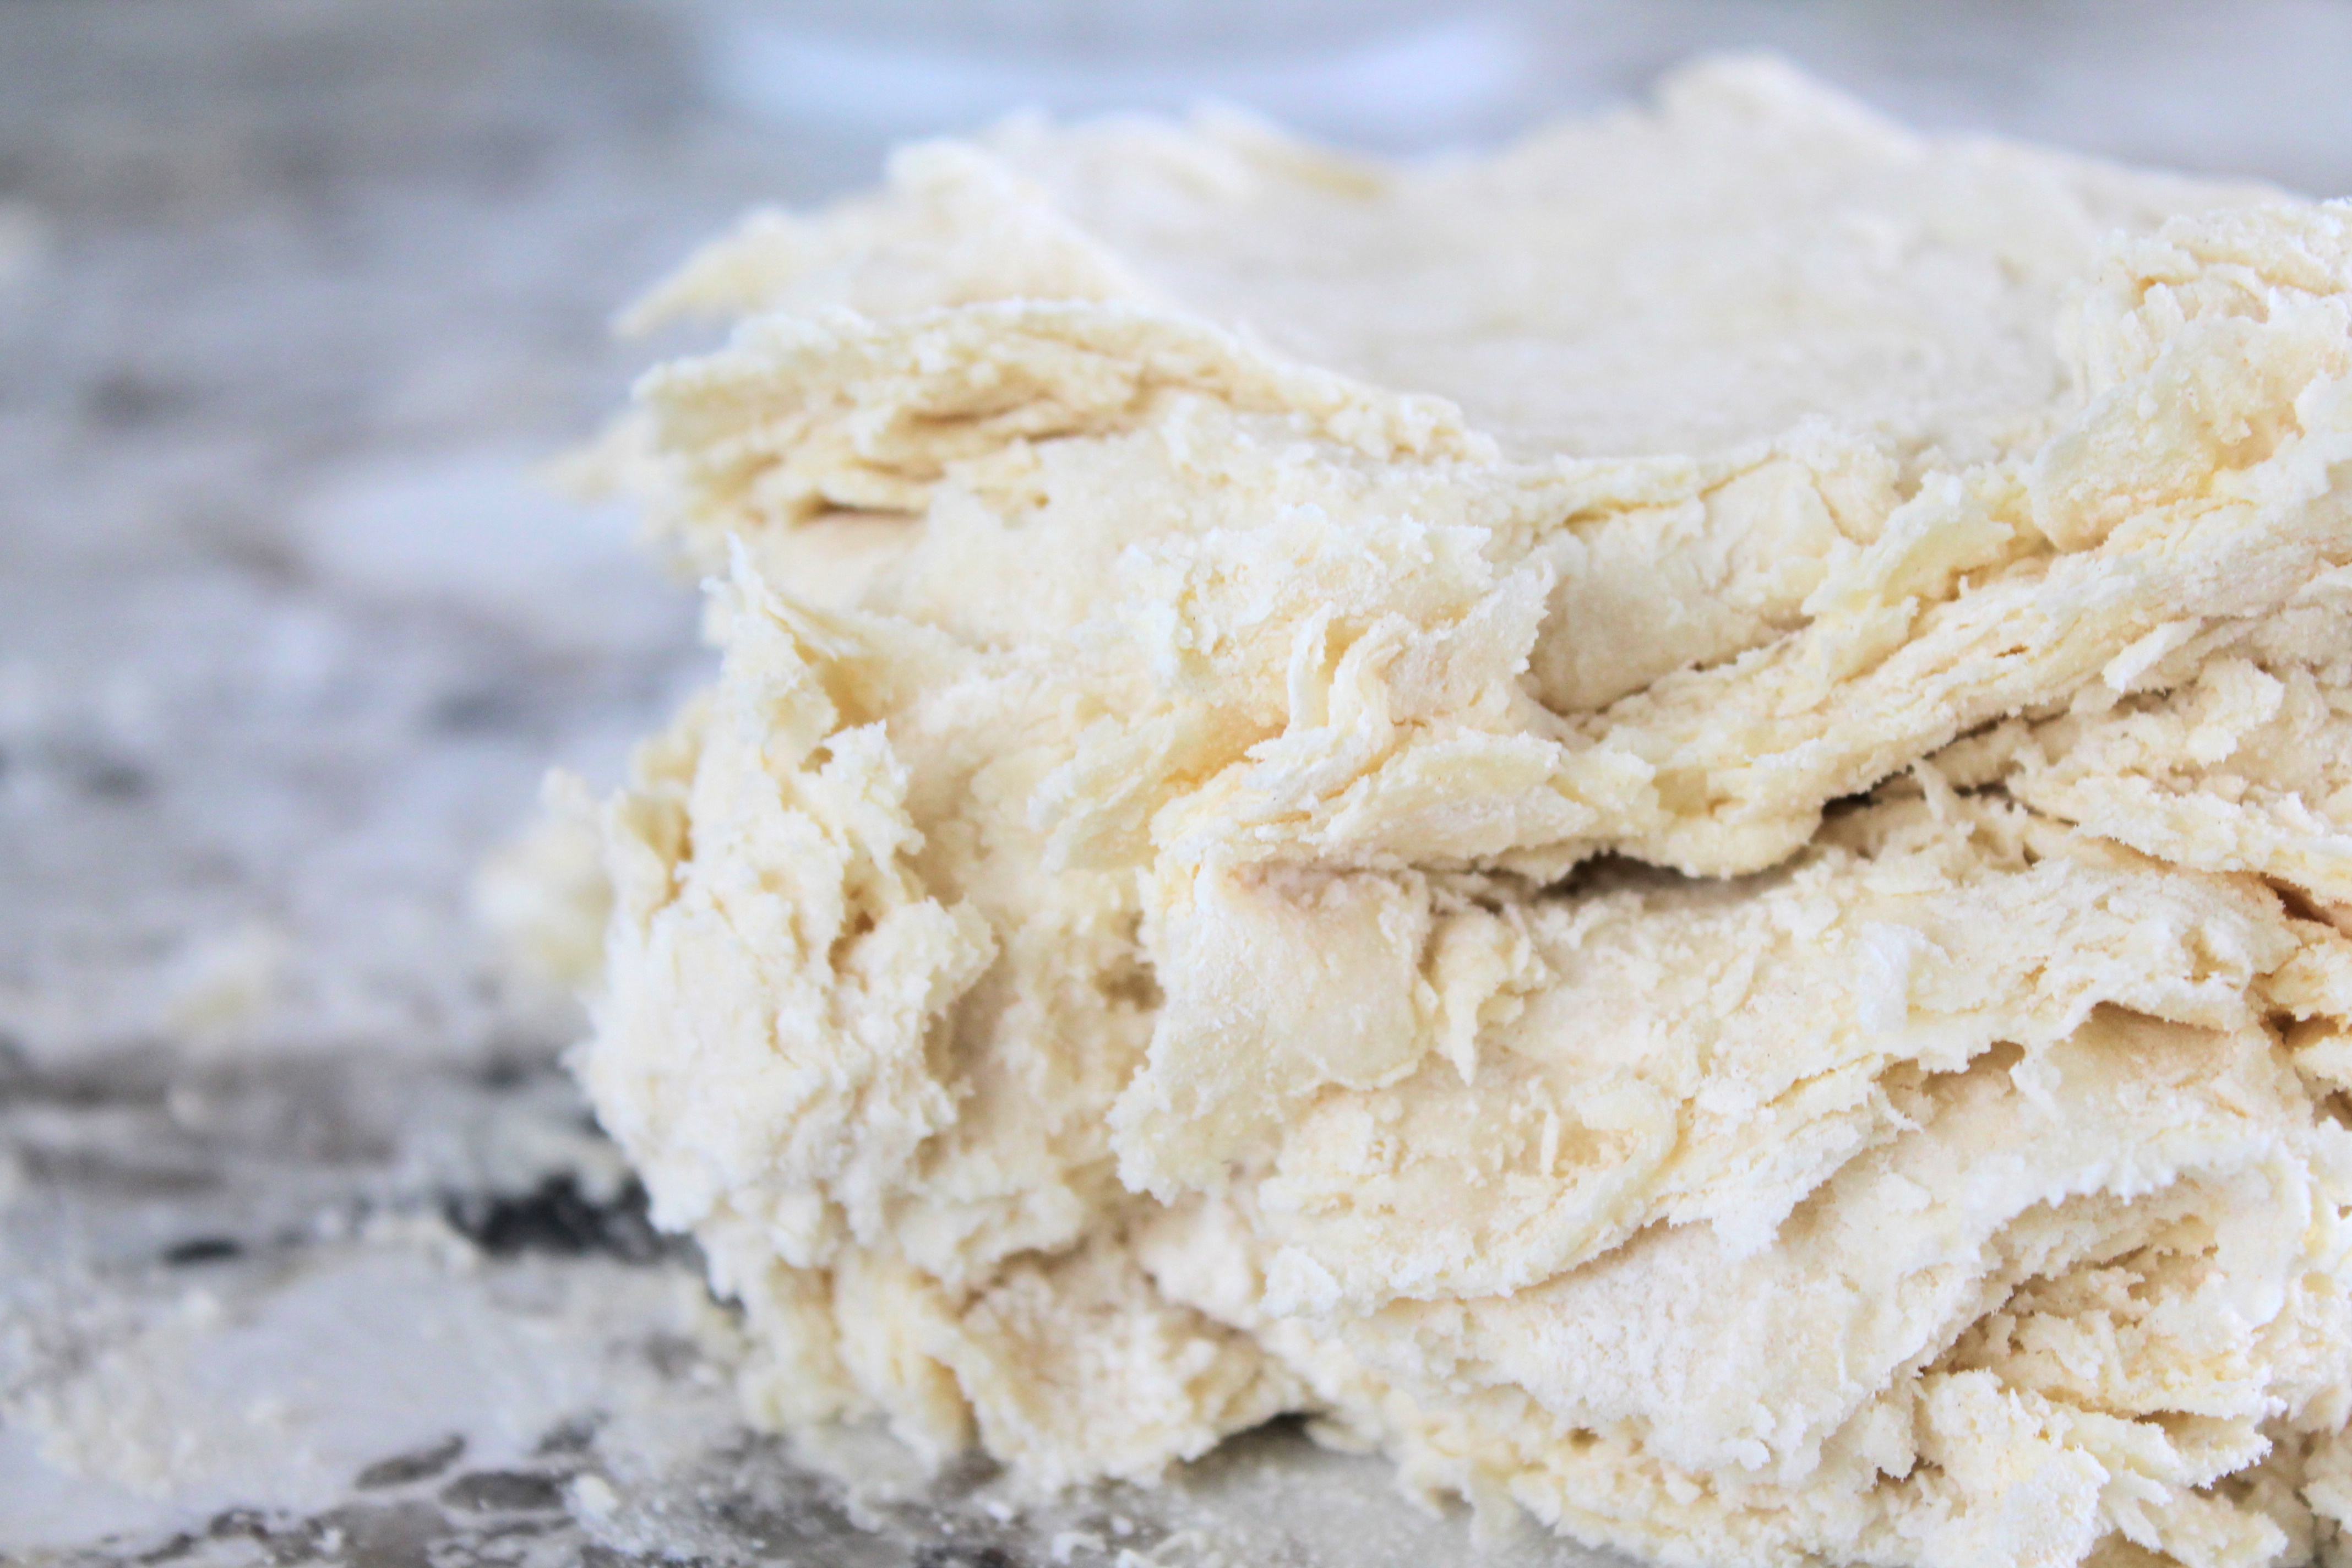
Basically, this folding process is a much-abbreviated version of the fraisage technique used to make puff pastry. Yes, I am comparing this pie crust to puff pastry.
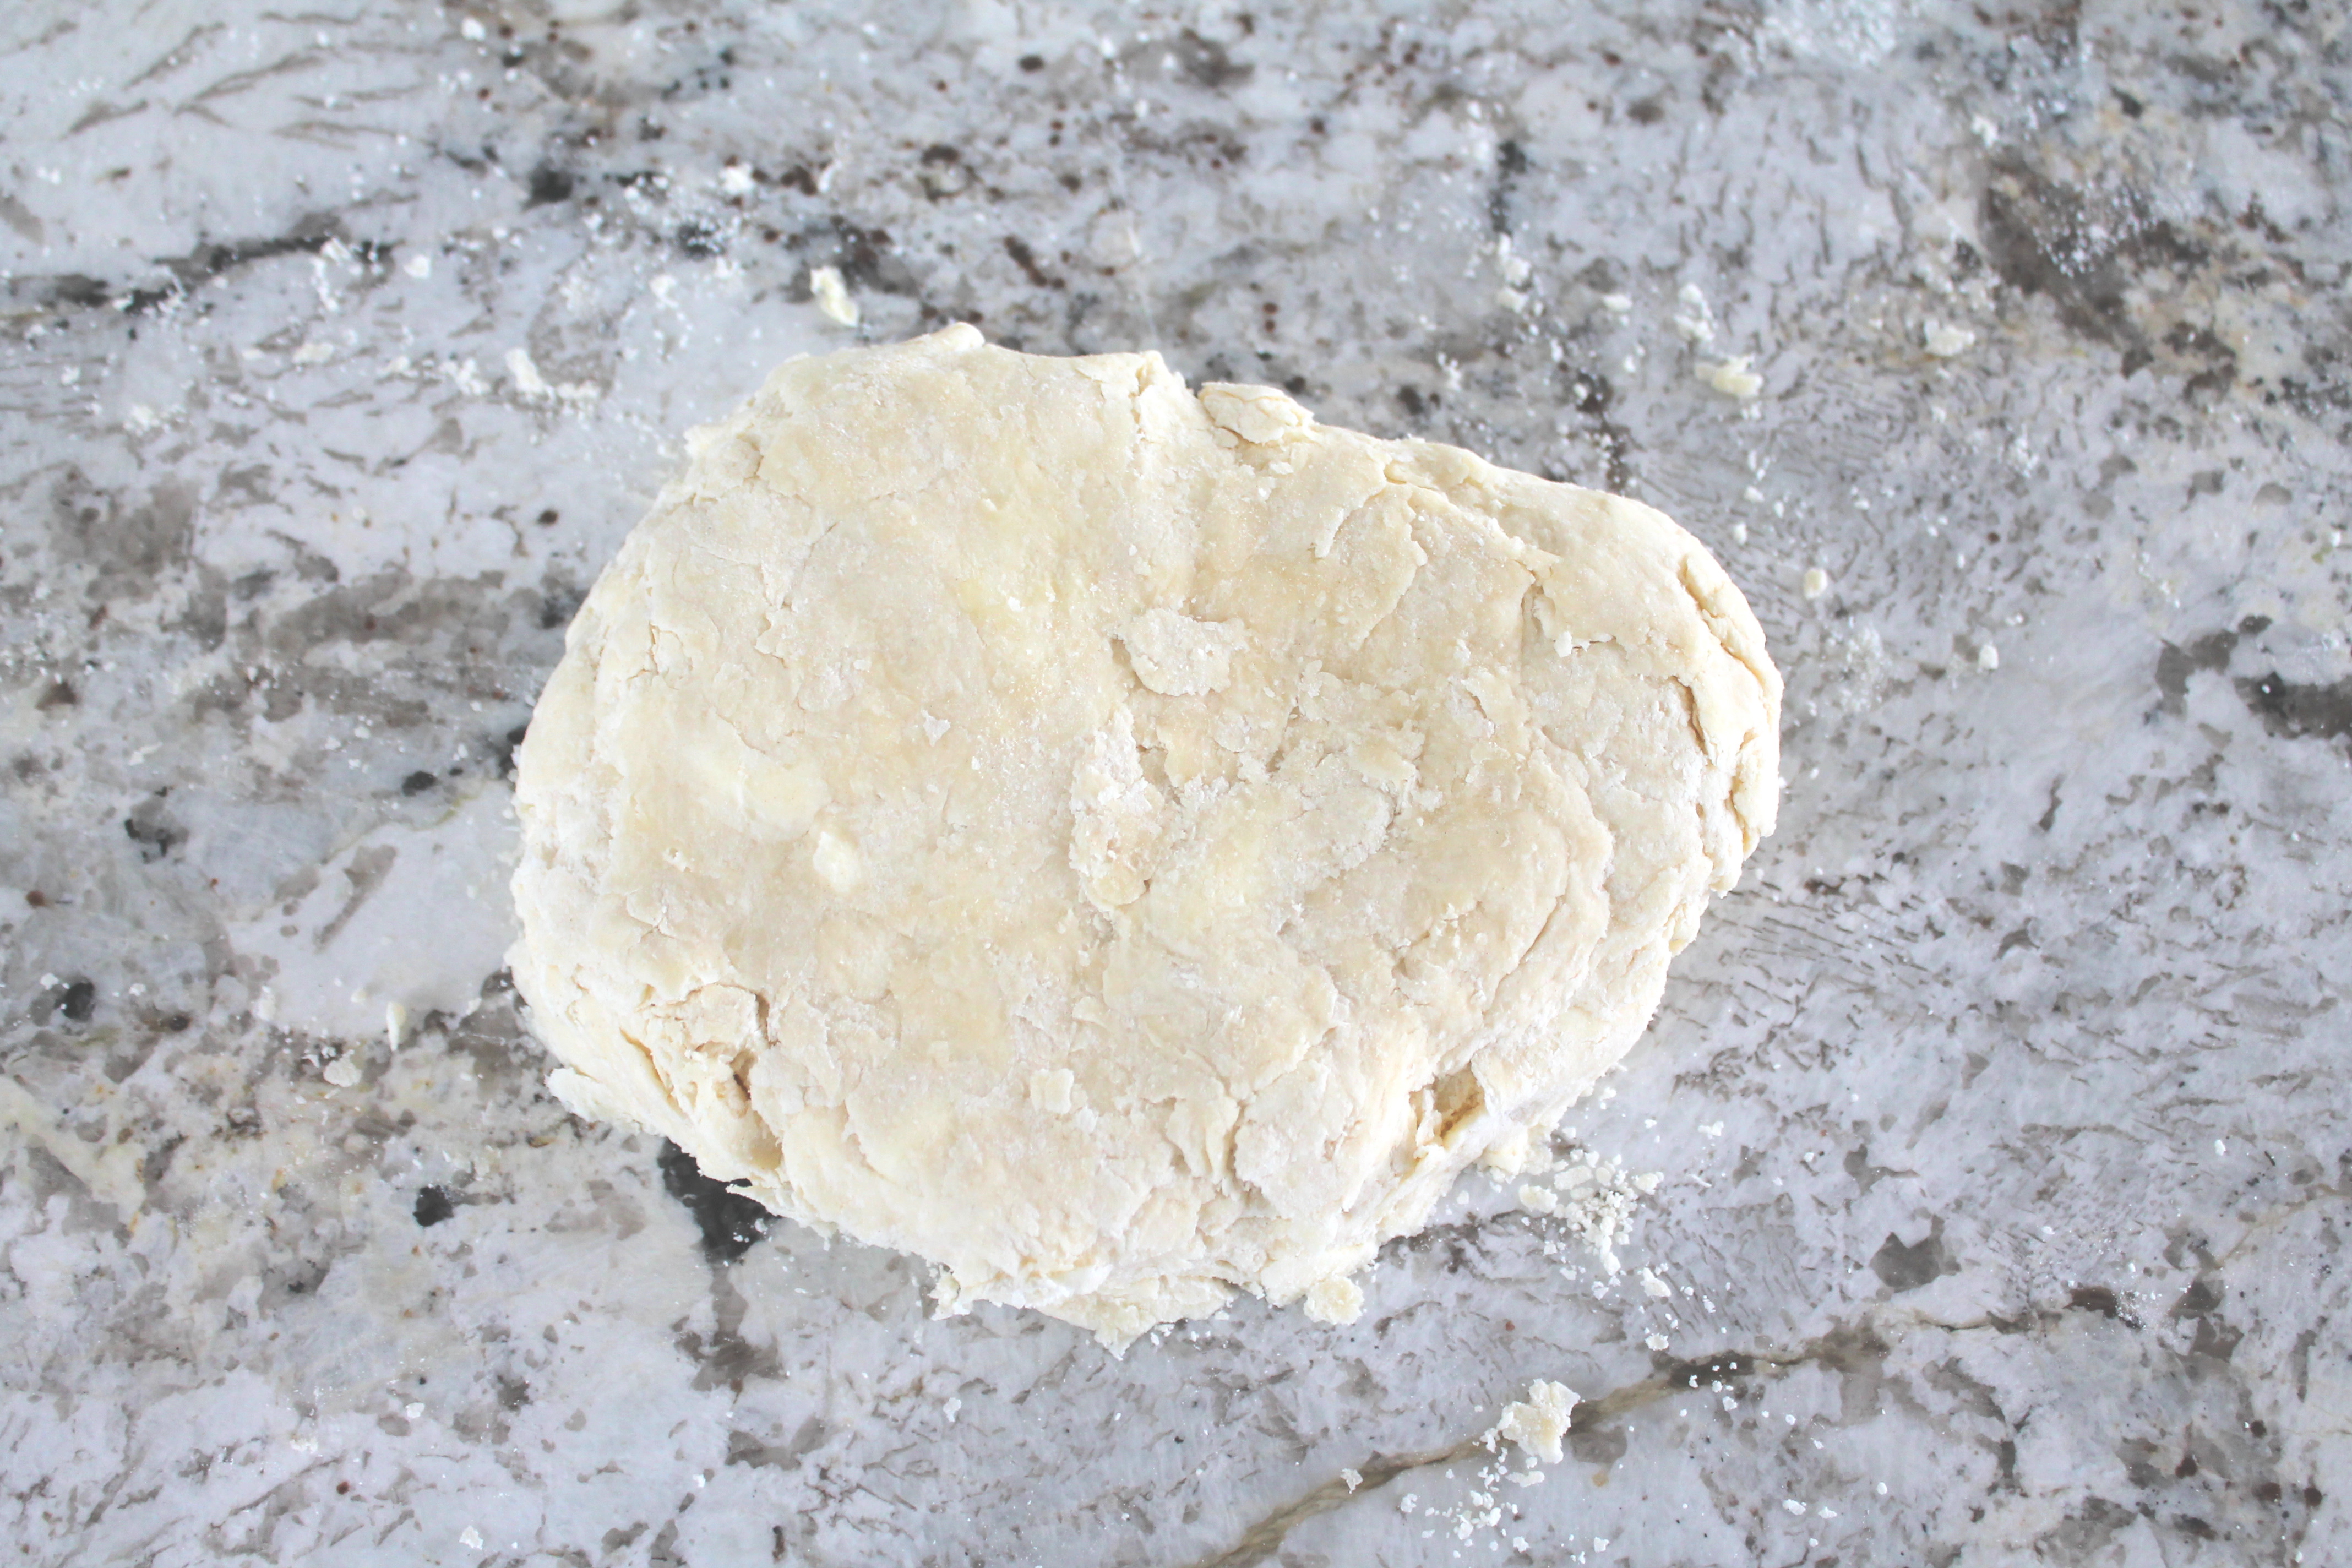
The goal is to get all the floury bits to stick together while keeping the crust fairly cold, so that the lumps of butter hold together. You will know you are done because the crust won’t appear so dry or cracked at the edges.
Also, the more times you fold, the more flaky layers you will have when you roll your crust out. Plan to knead/fold about 12-15 times.
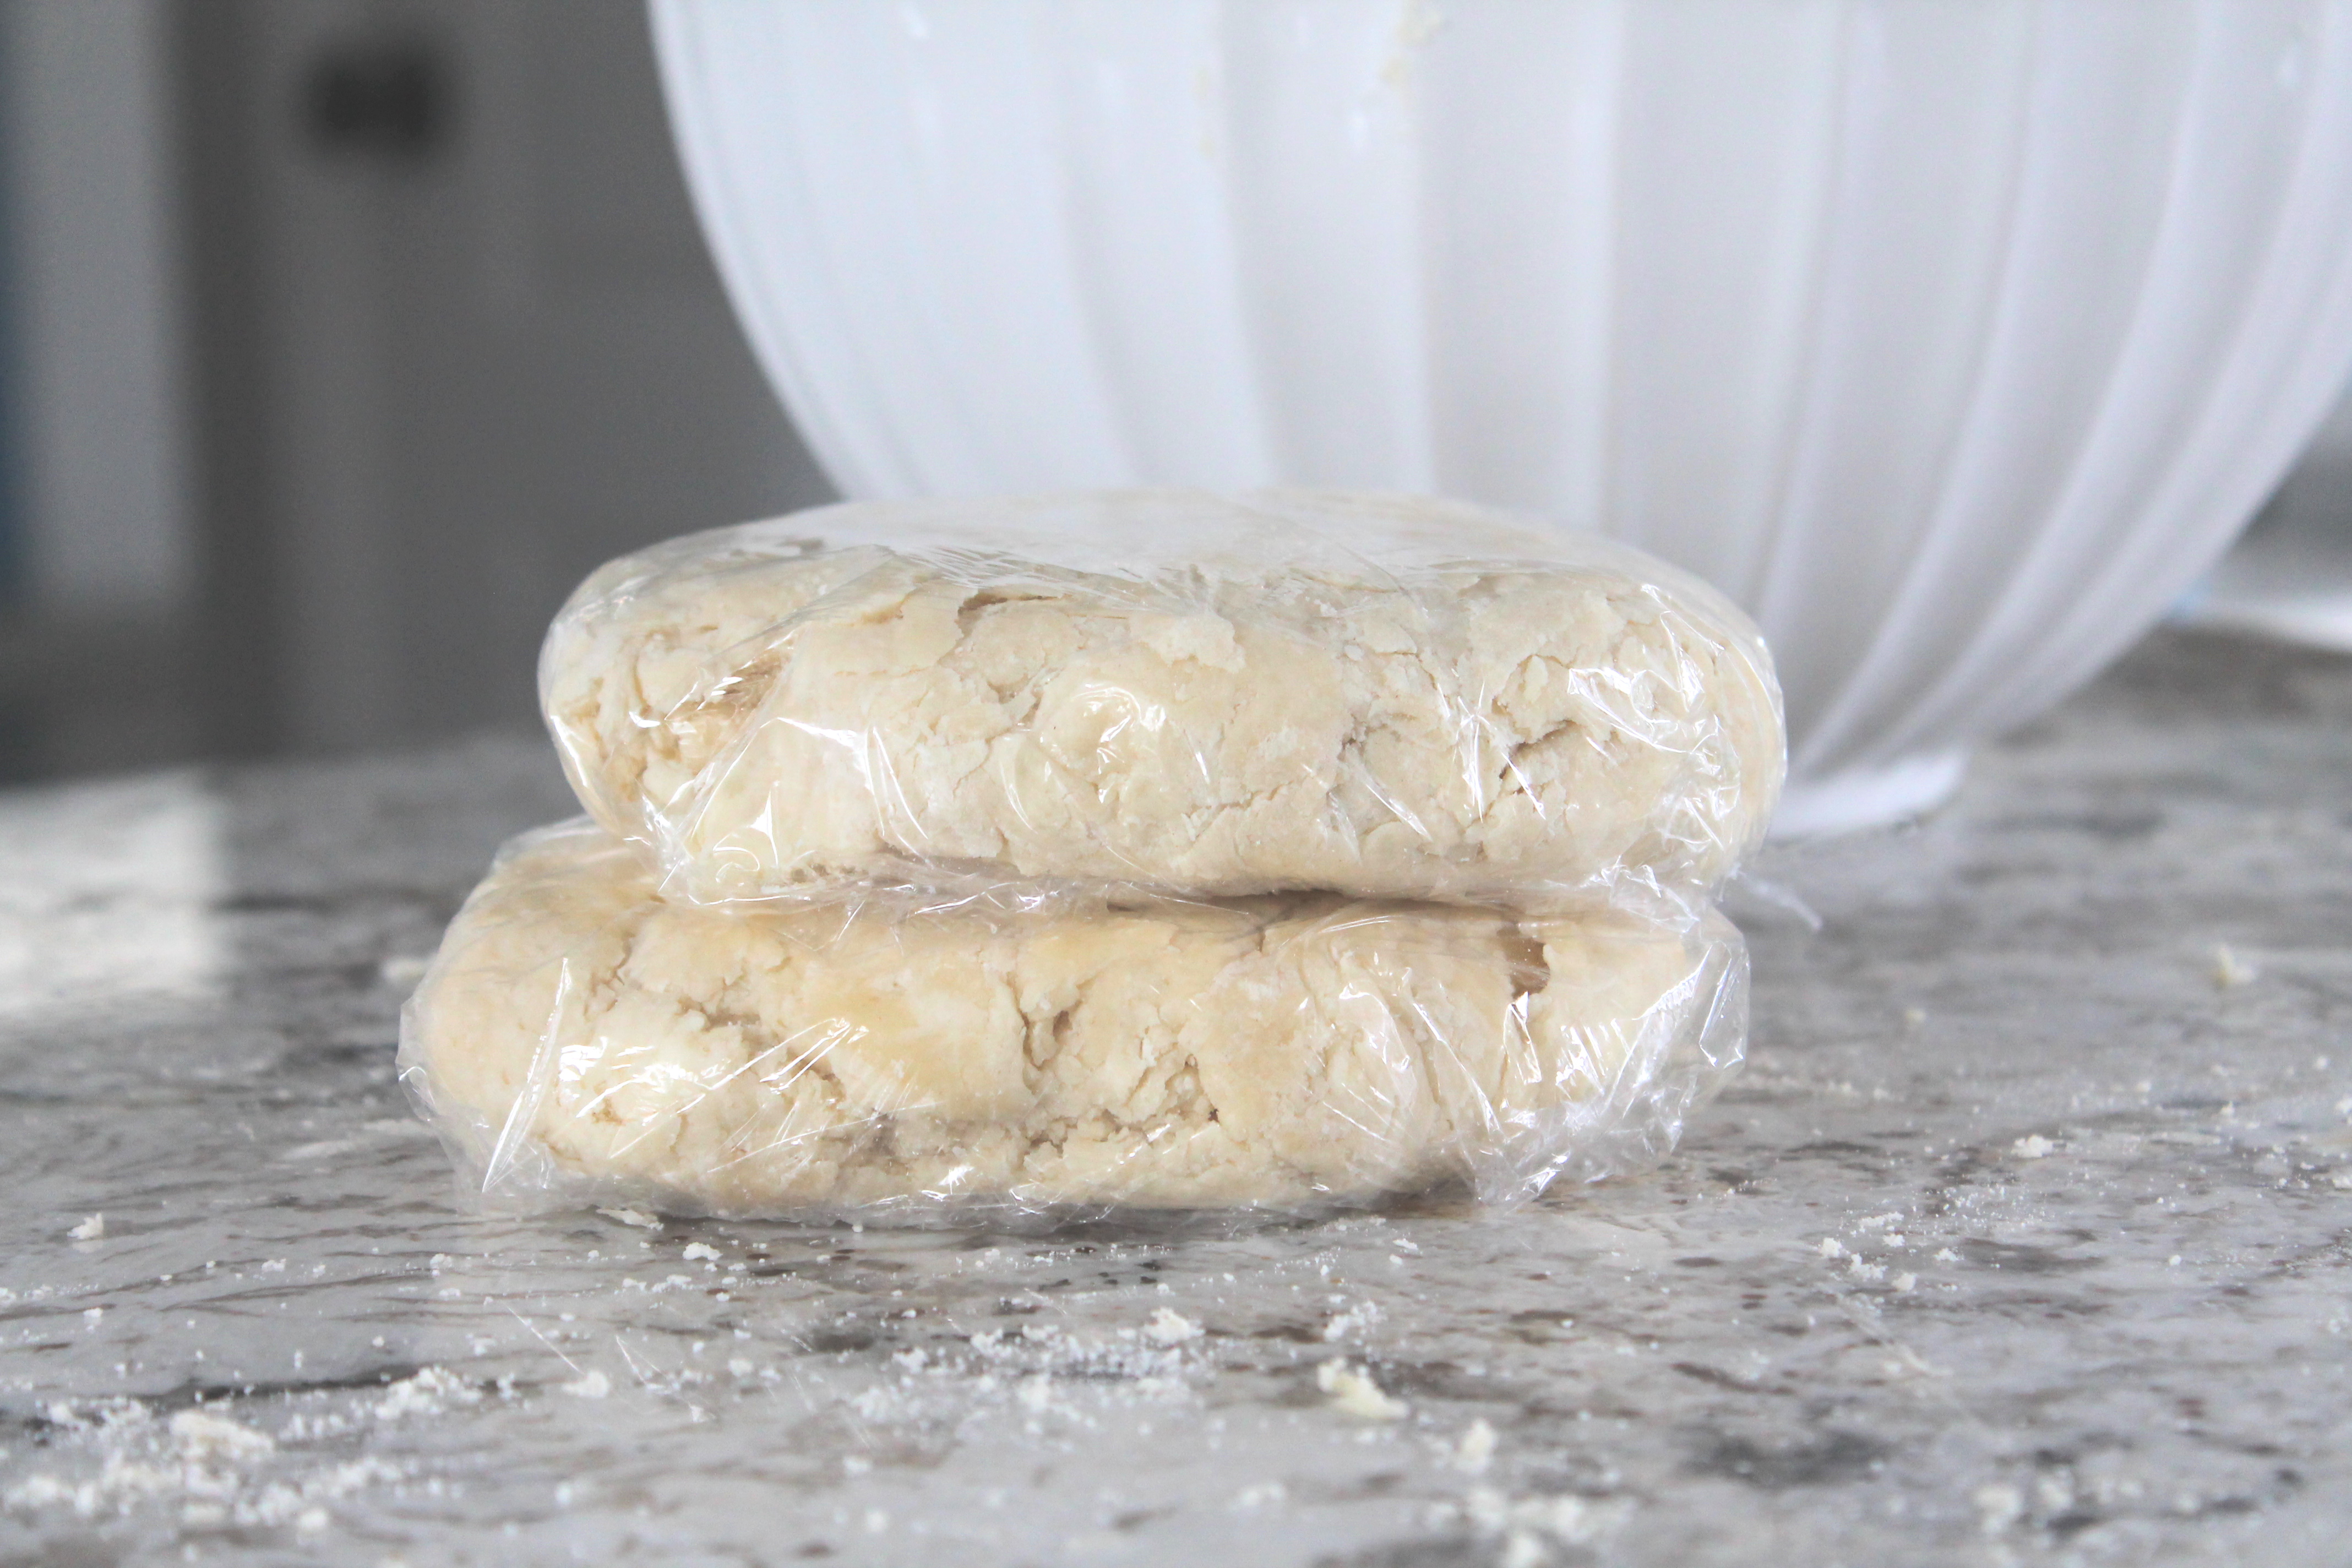
This recipe makes enough for two pies, or a double-crust pie. Cut or break the chunk of dough in half and press down into 2 discs. Wrap in plastic wrap and chill at least 30 minutes.
I find the dough easier to roll out when it is colder, because it sticks less (to the rolling pin, to the counter). If you are making it way ahead of time, you may need to let it warm up slightly out of the fridge, because the butter firms up quite hard after chilling for more than an hour.
Please note that if you make this crust several days in advance, you should double-wrap it and freeze it to prevent it from going bad or turning gray before you are ready to bake it. It will keep for 2 days in the fridge, max. Beyond that, consider freezing.
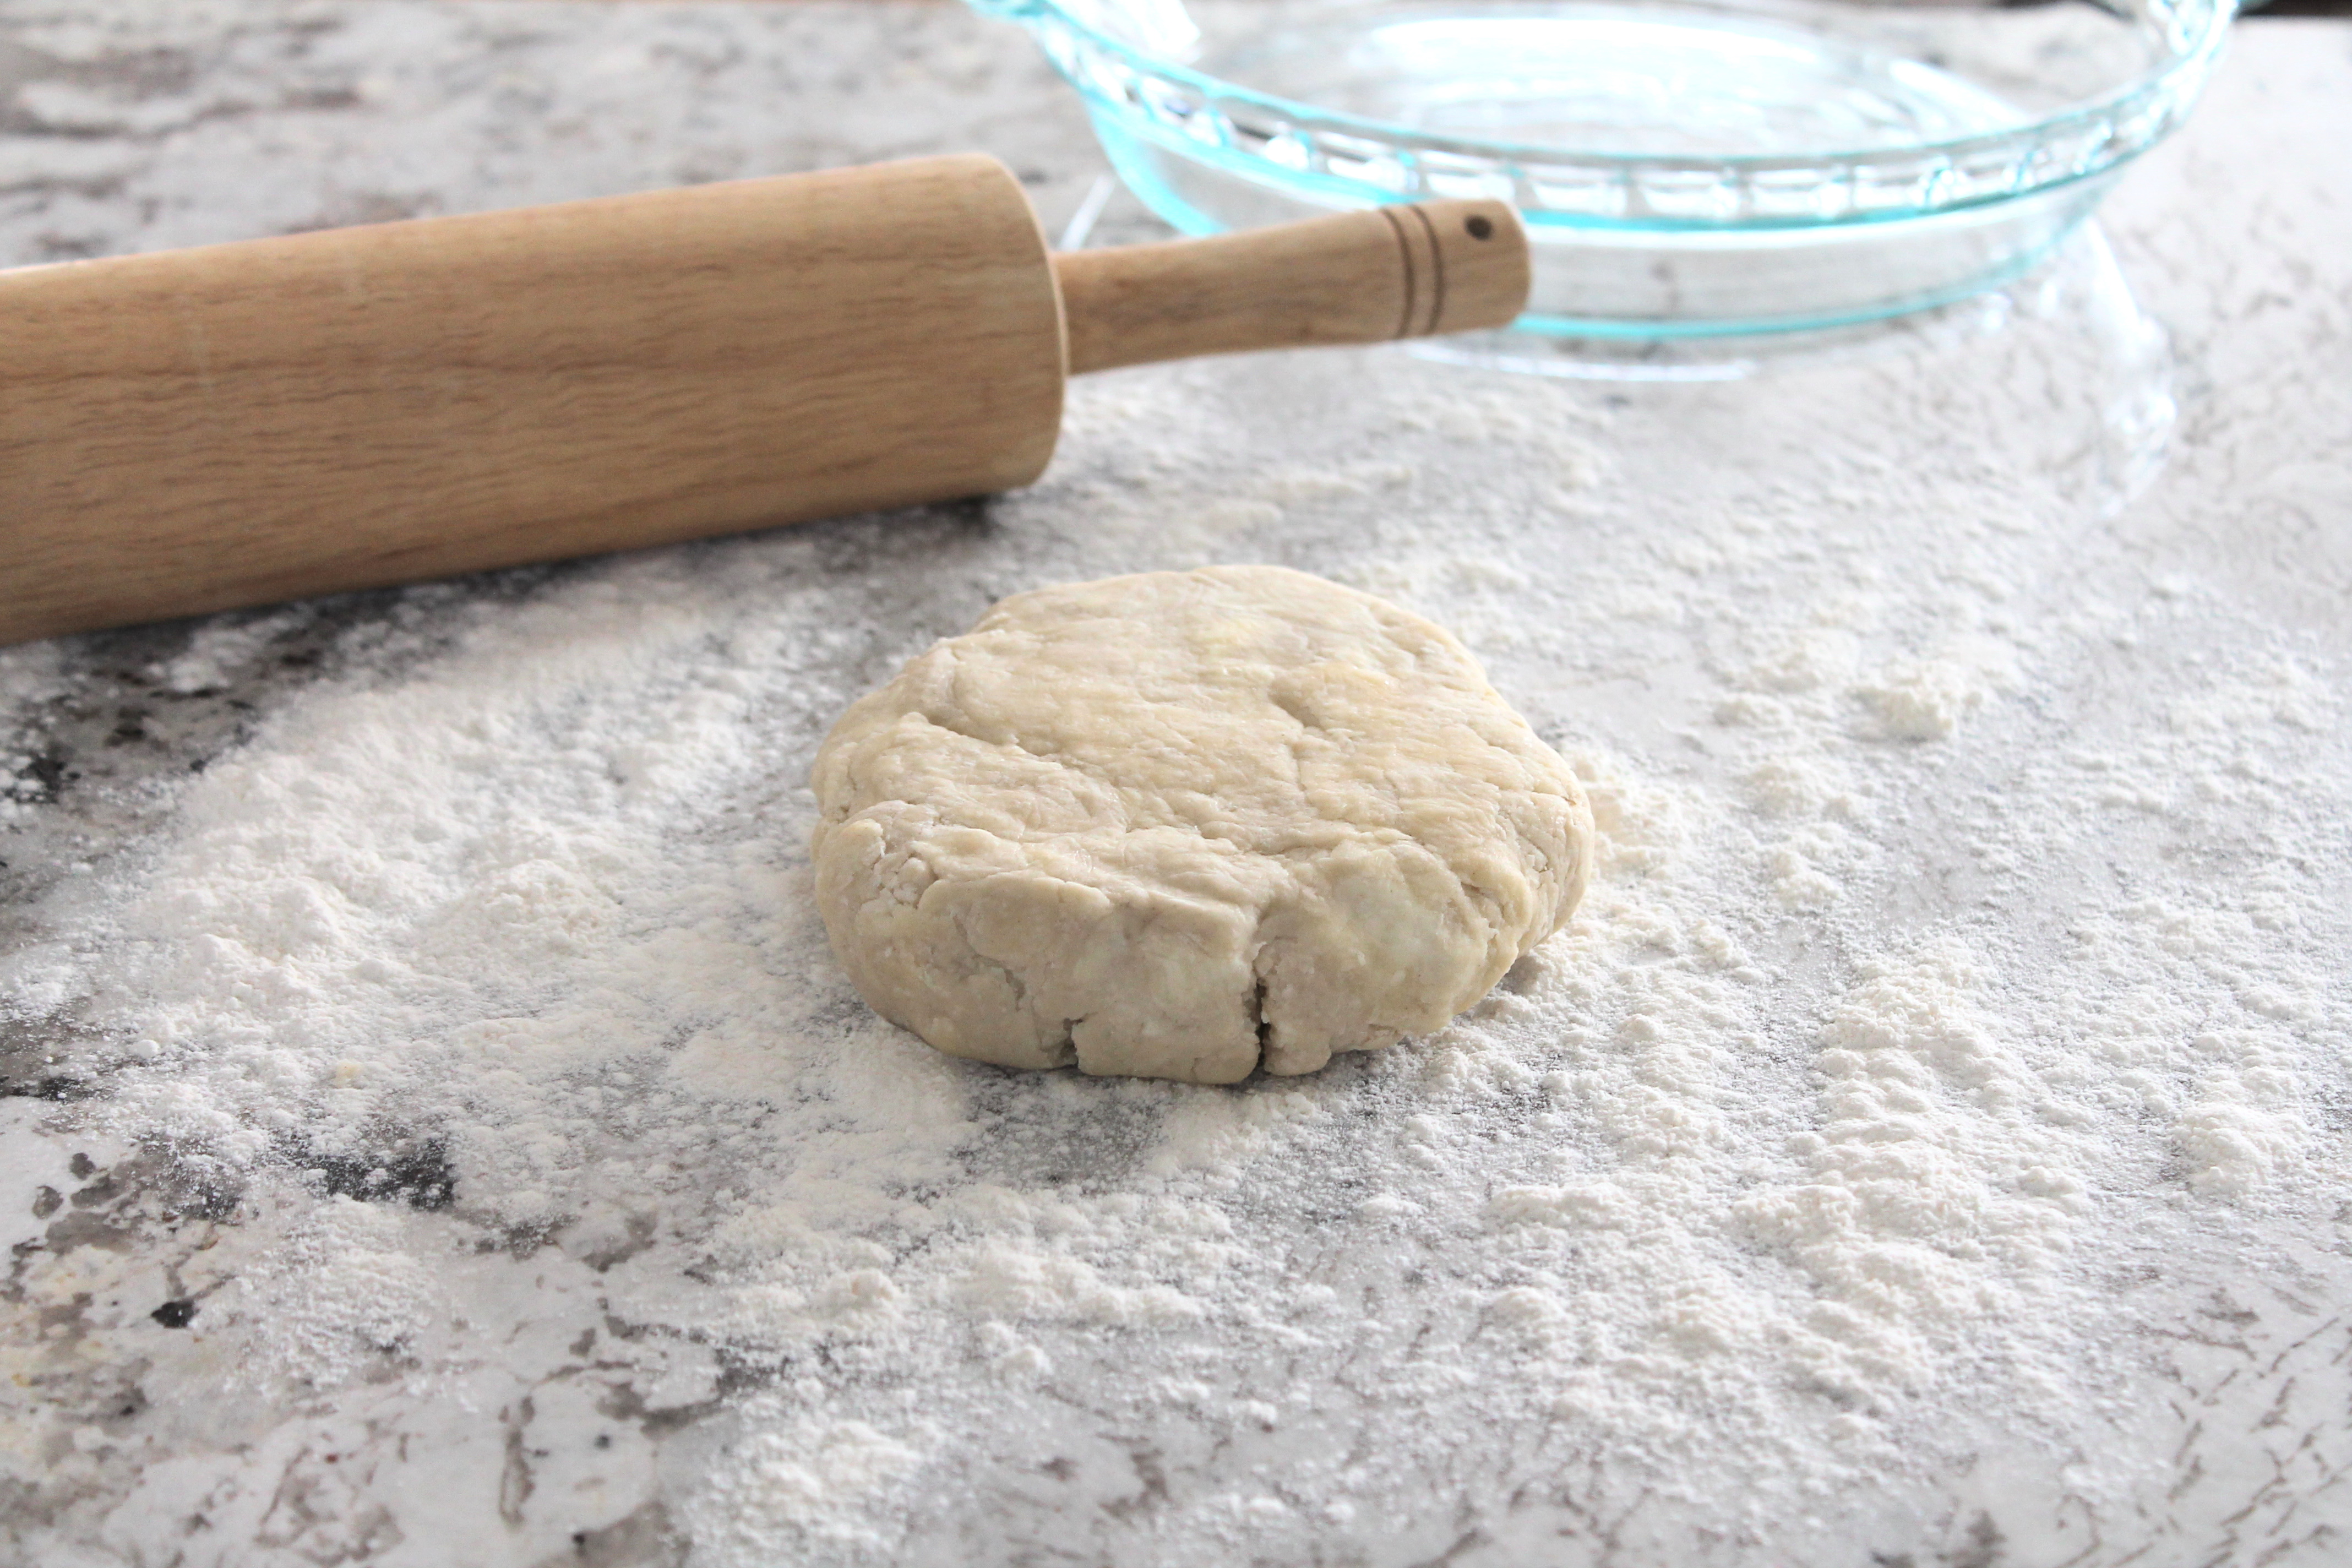
When you are ready to roll the crust out, sprinkle a clean counter with flour and roll until the dough is very thin, only a few millimeters thick.
If your crust rolls out to a funny shape (which happens to me all the time), you can always cut a corner off and glue it down in a new location using a few drops of water, followed by a very thin layer of flour on top to prevent the dough from sticking to your rolling pin in that spot.

To cut your dough into a large enough circle for a pie crust, simply lay your pie plate face down on the dough and use it as a guide. I recommend cutting about 1½″–2″ wider than the pie plate, so you will have enough dough to fill the plate and tuck the top edges.
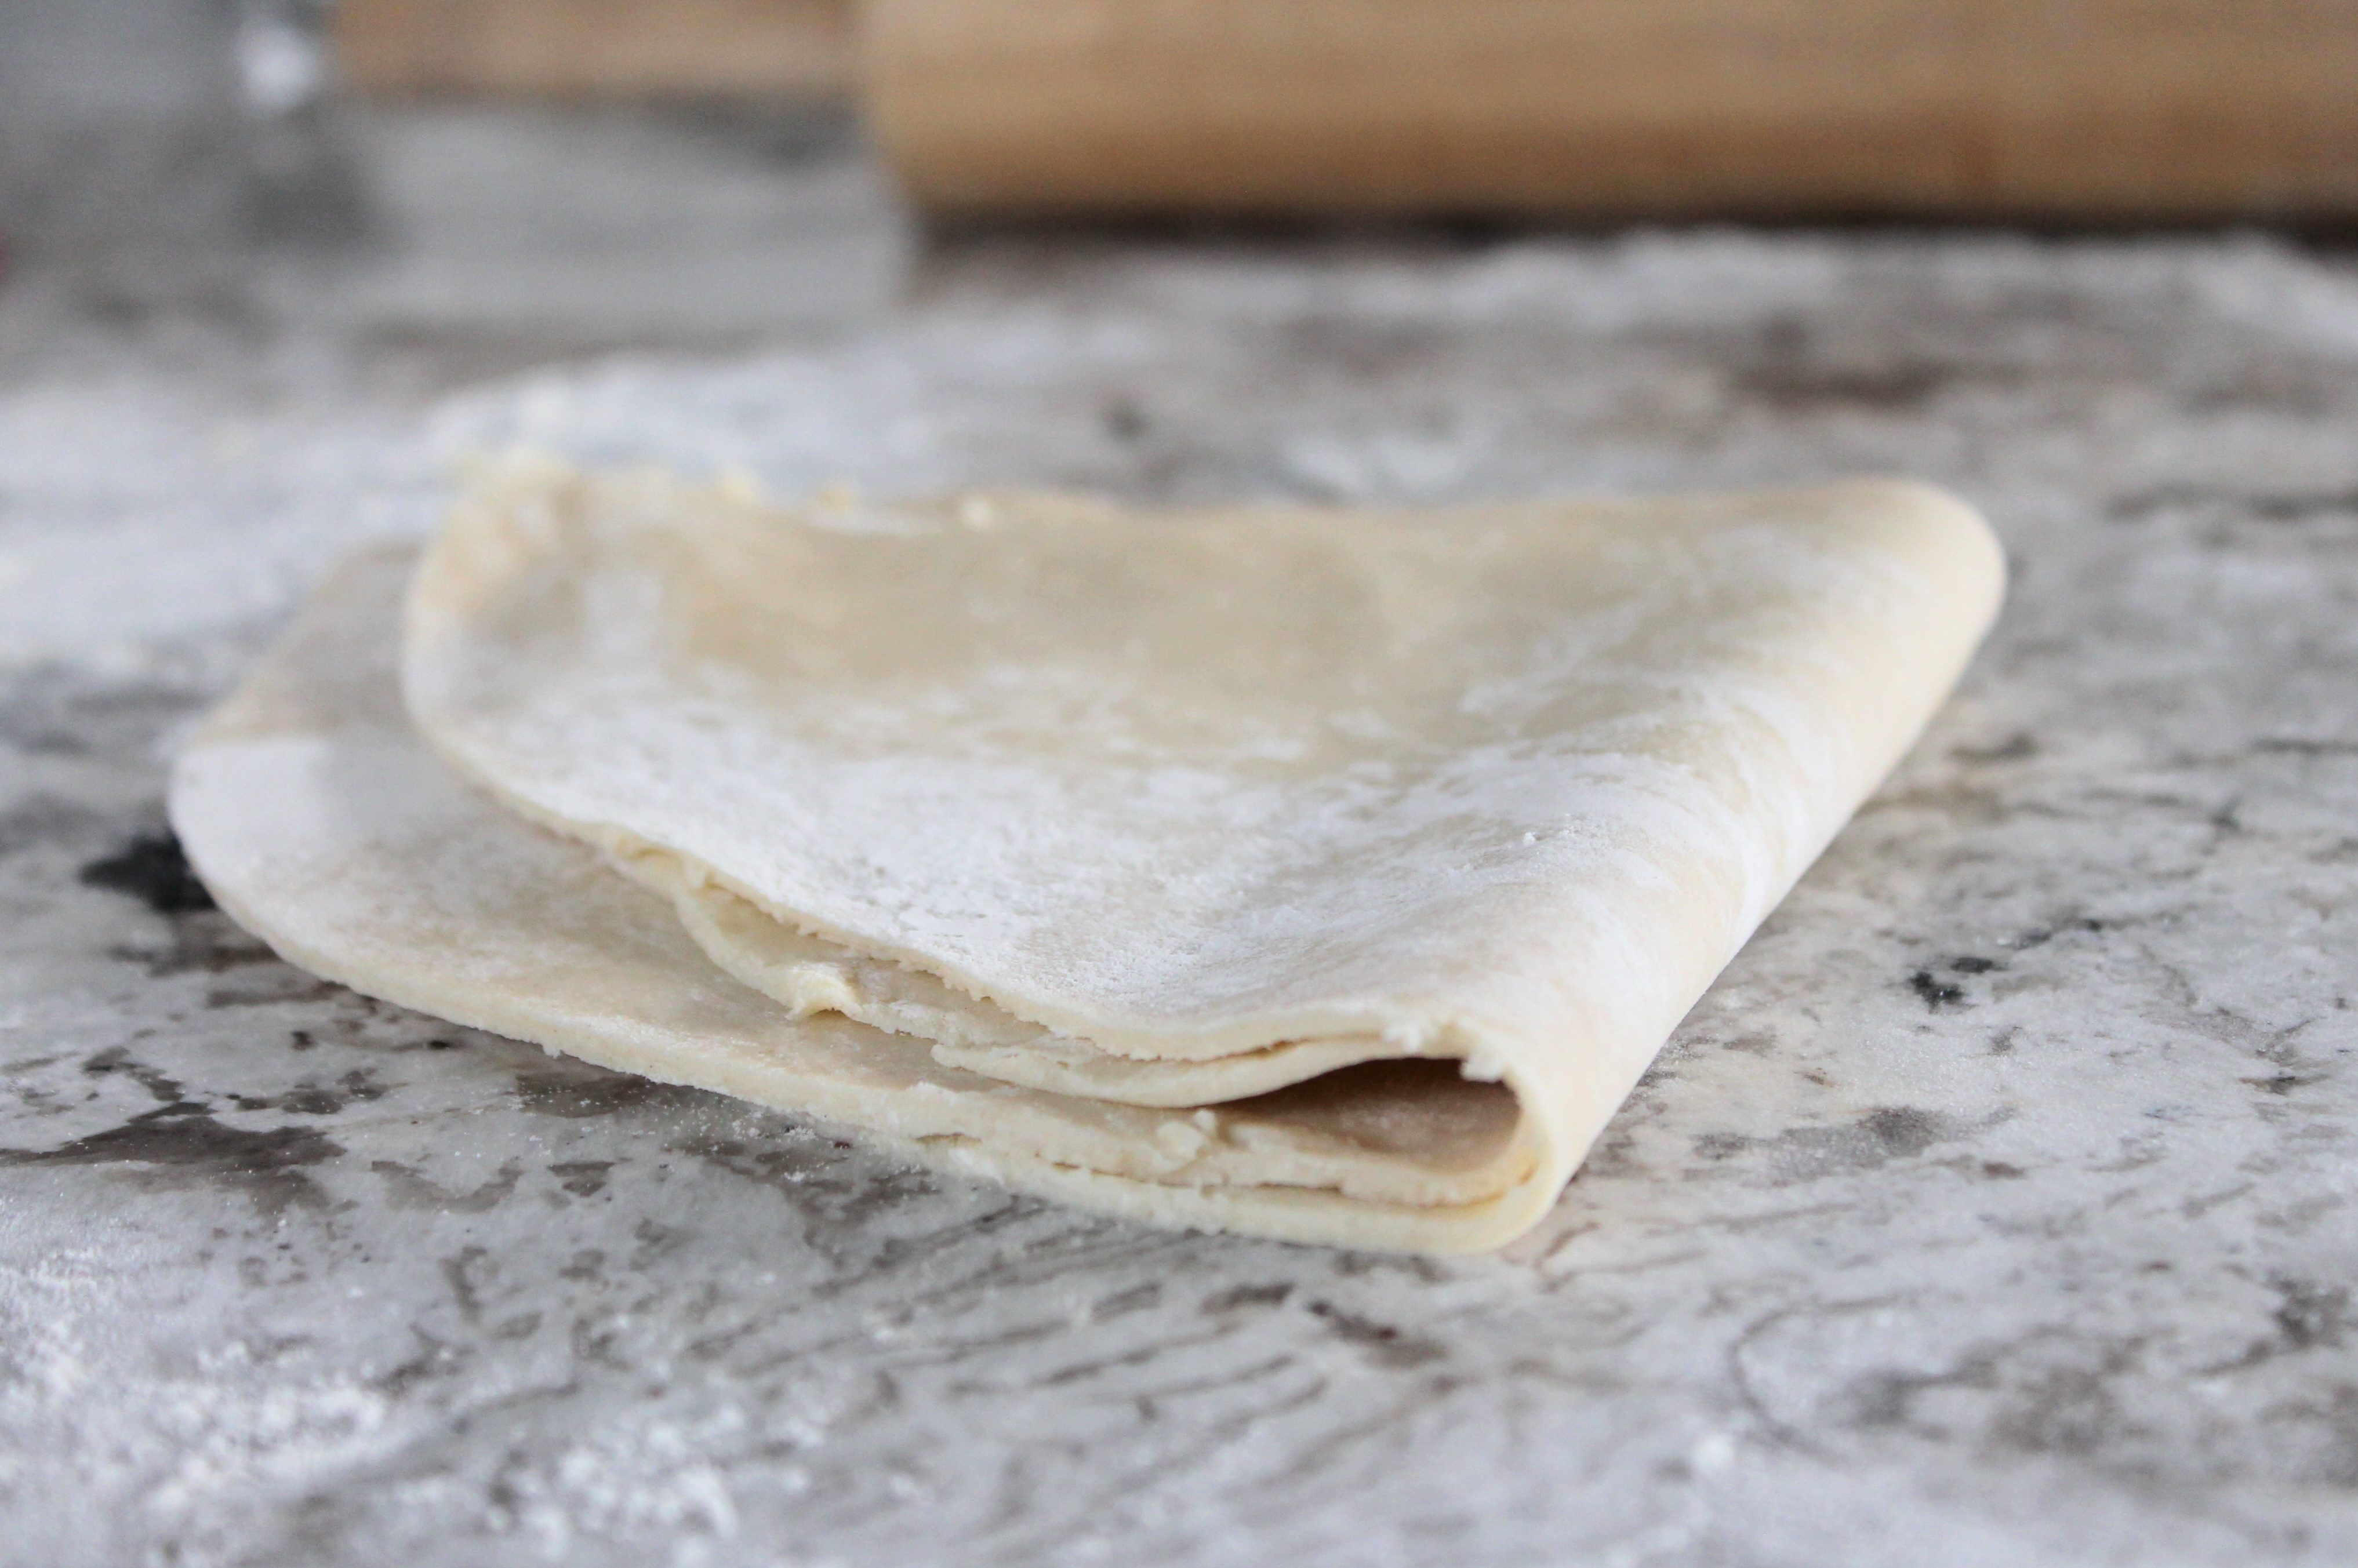
Carefully fold the dough circle into quarters, pick it up, and transfer it to the pie plate. Trust me, this method is a LOT easier than trying to roll it up on your rolling pin, which is awkward.
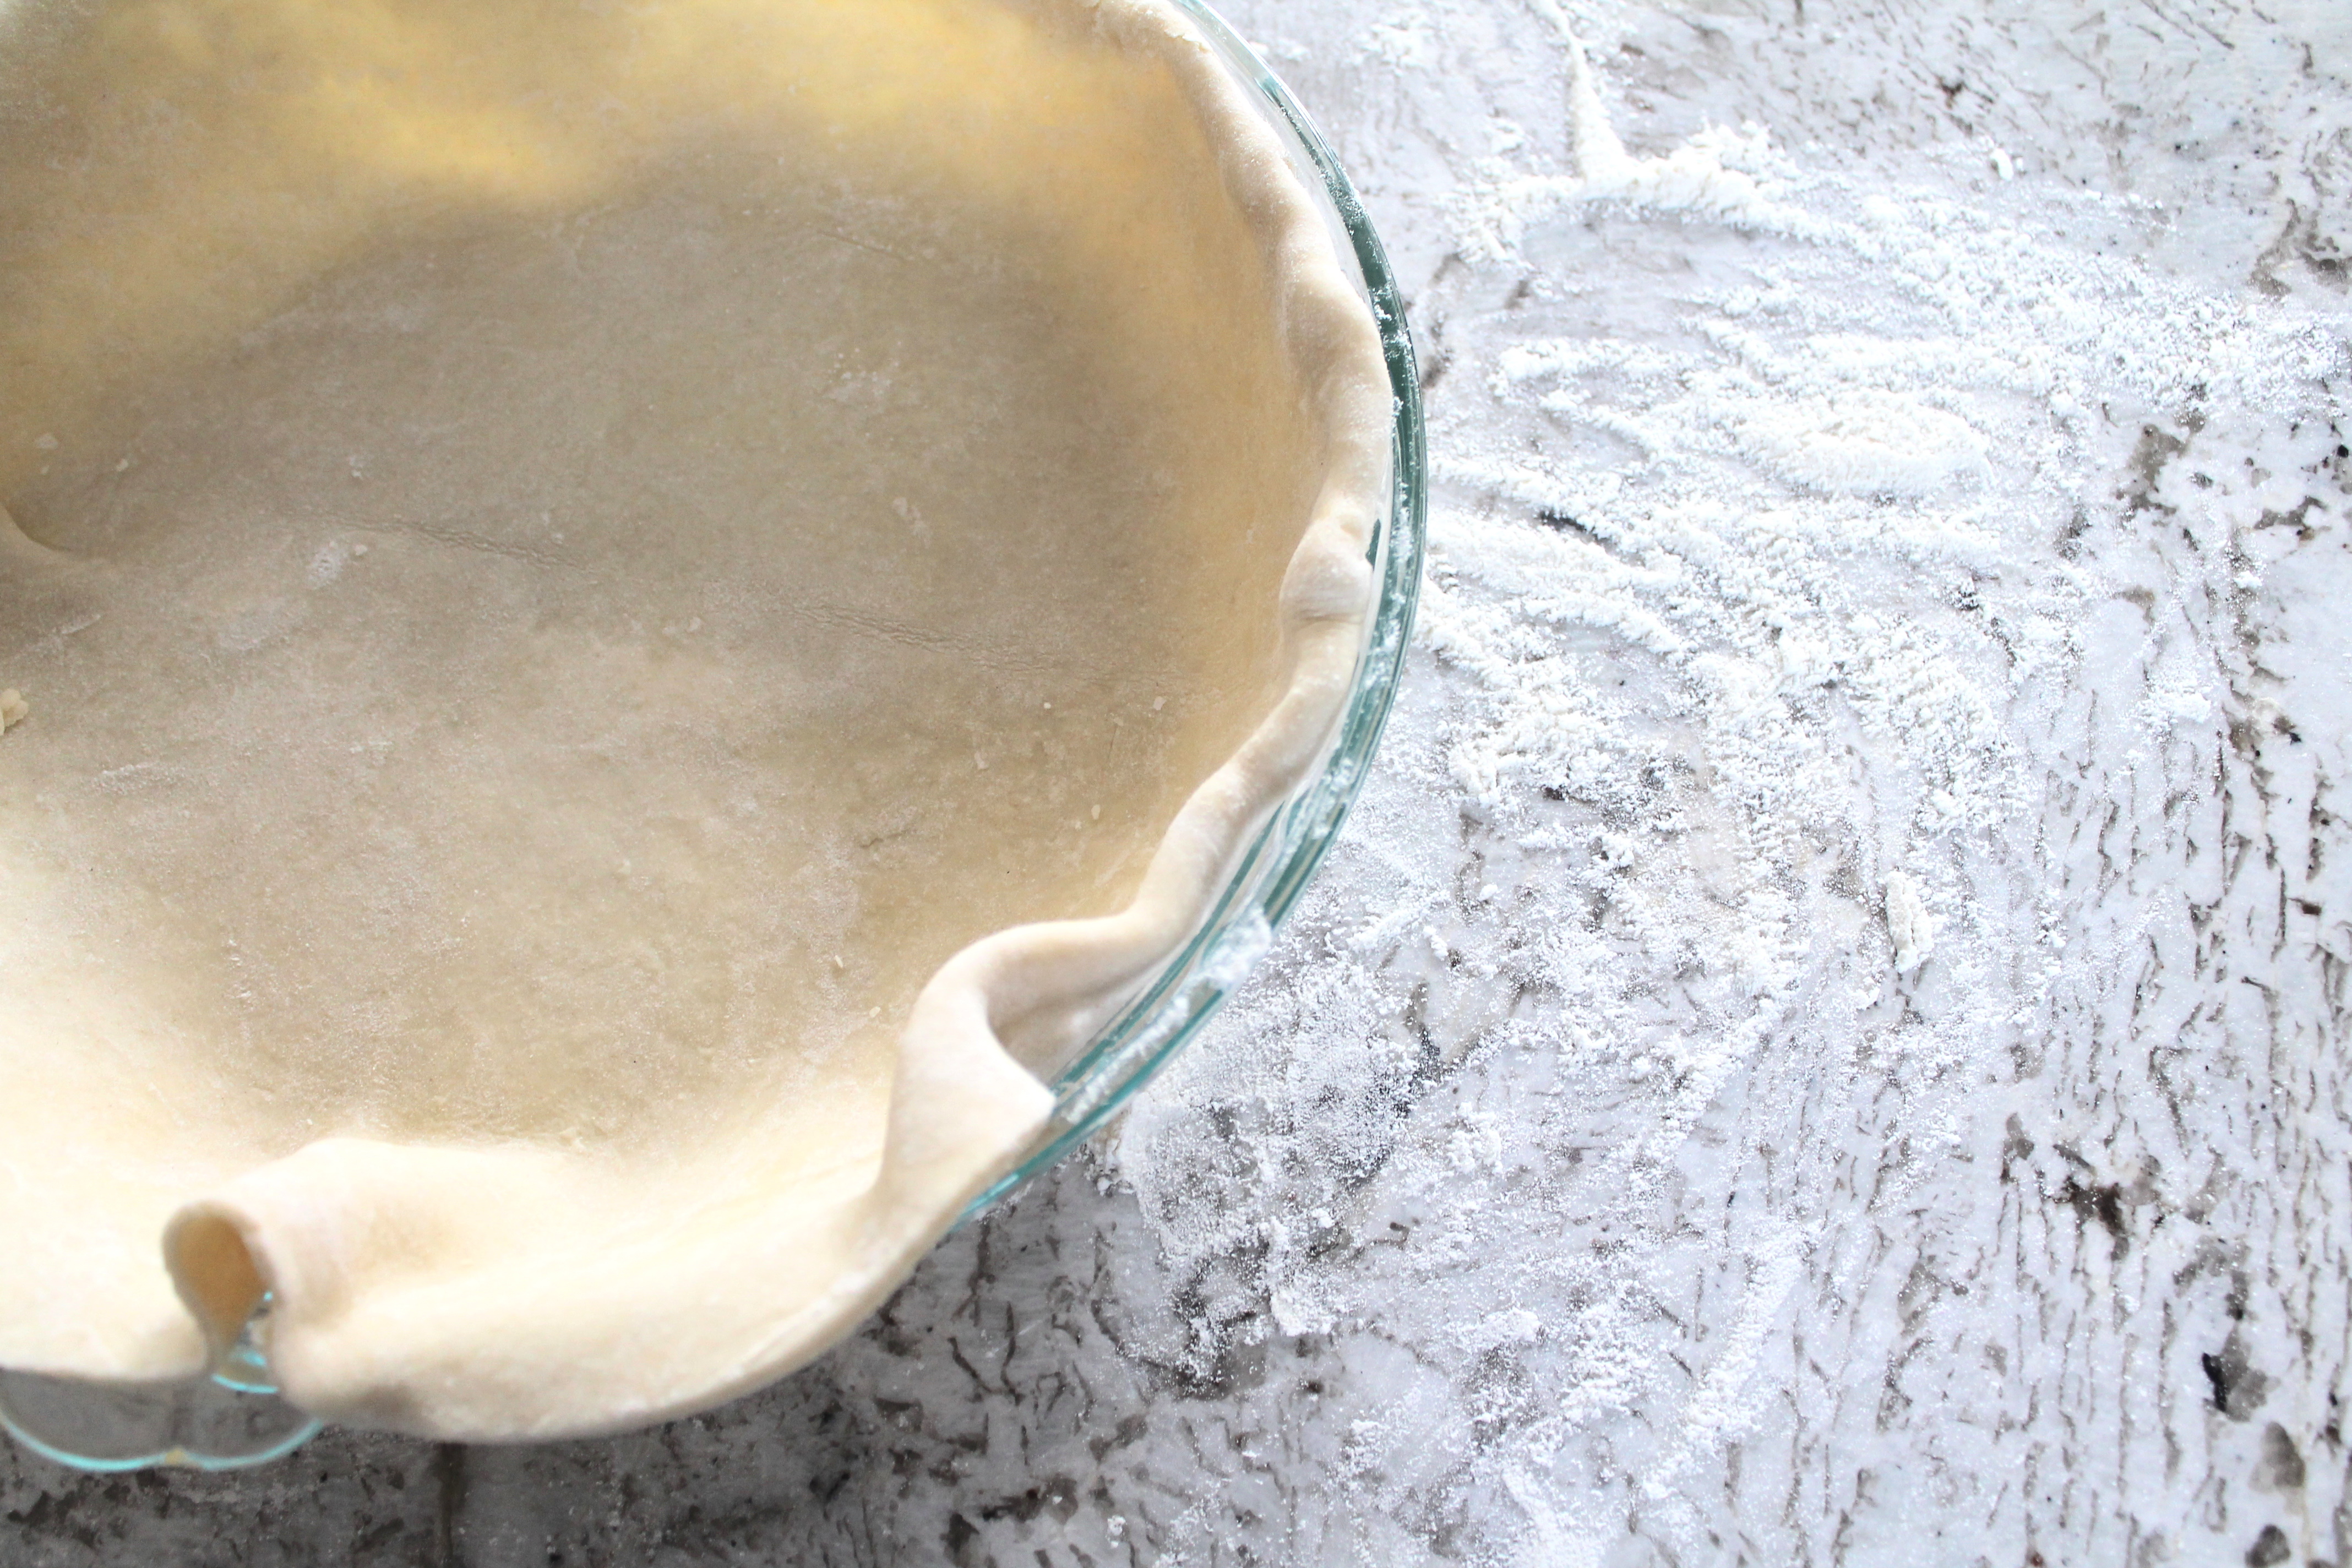
Tuck the crust down into the plate, fold any excess crust underneath (tucking it between the pie plate and the rest of the crust). Crimp the edges by pinching with your fingers at an angle, if you like to do that sort of thing.
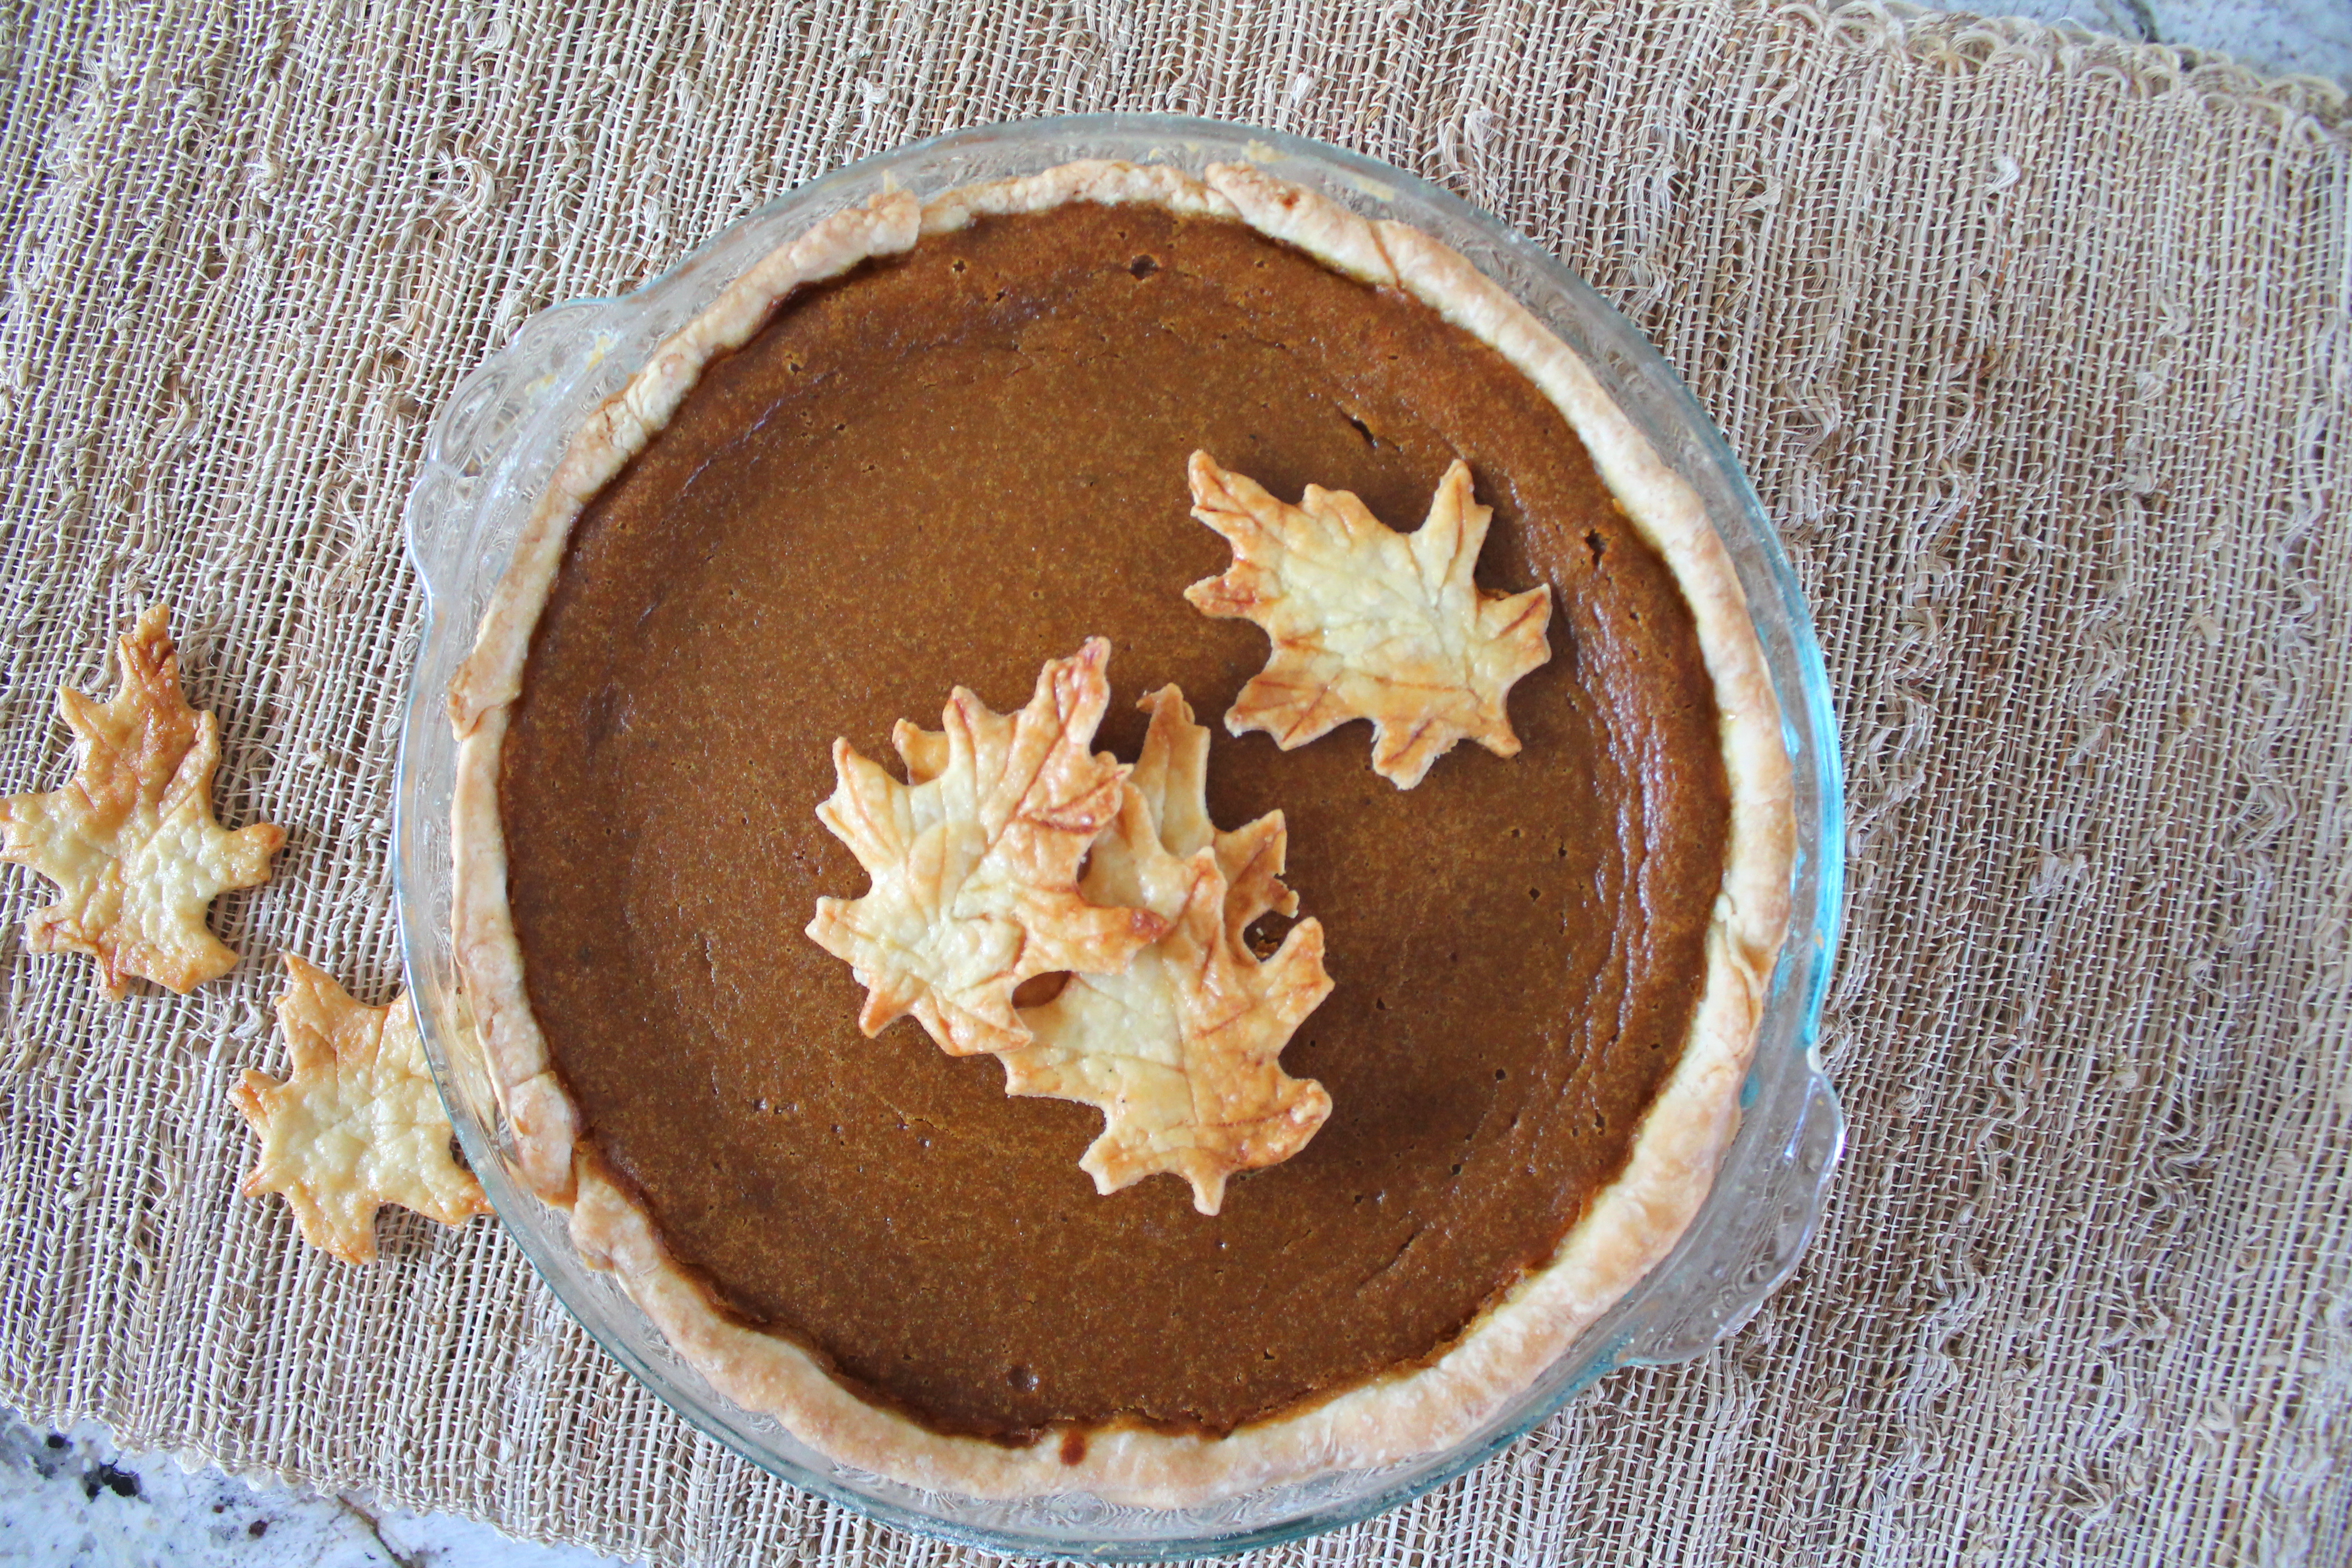
Hey, remember when I warned you that this crust might puff as it bakes, because this recipe is a cousin of all-butter puff pastry? You can actually combat this and still have your flaky day! Simply whisk a whole egg with a tablespoon of water and brush the crimped edges of your pie crust, where it will stick up above the filling. Bonus, this will also give the crust a golden sheen when it bakes up. (But it’s totally unnecessary, and I only typically do this if I am making a double-crust pie. You do you.)
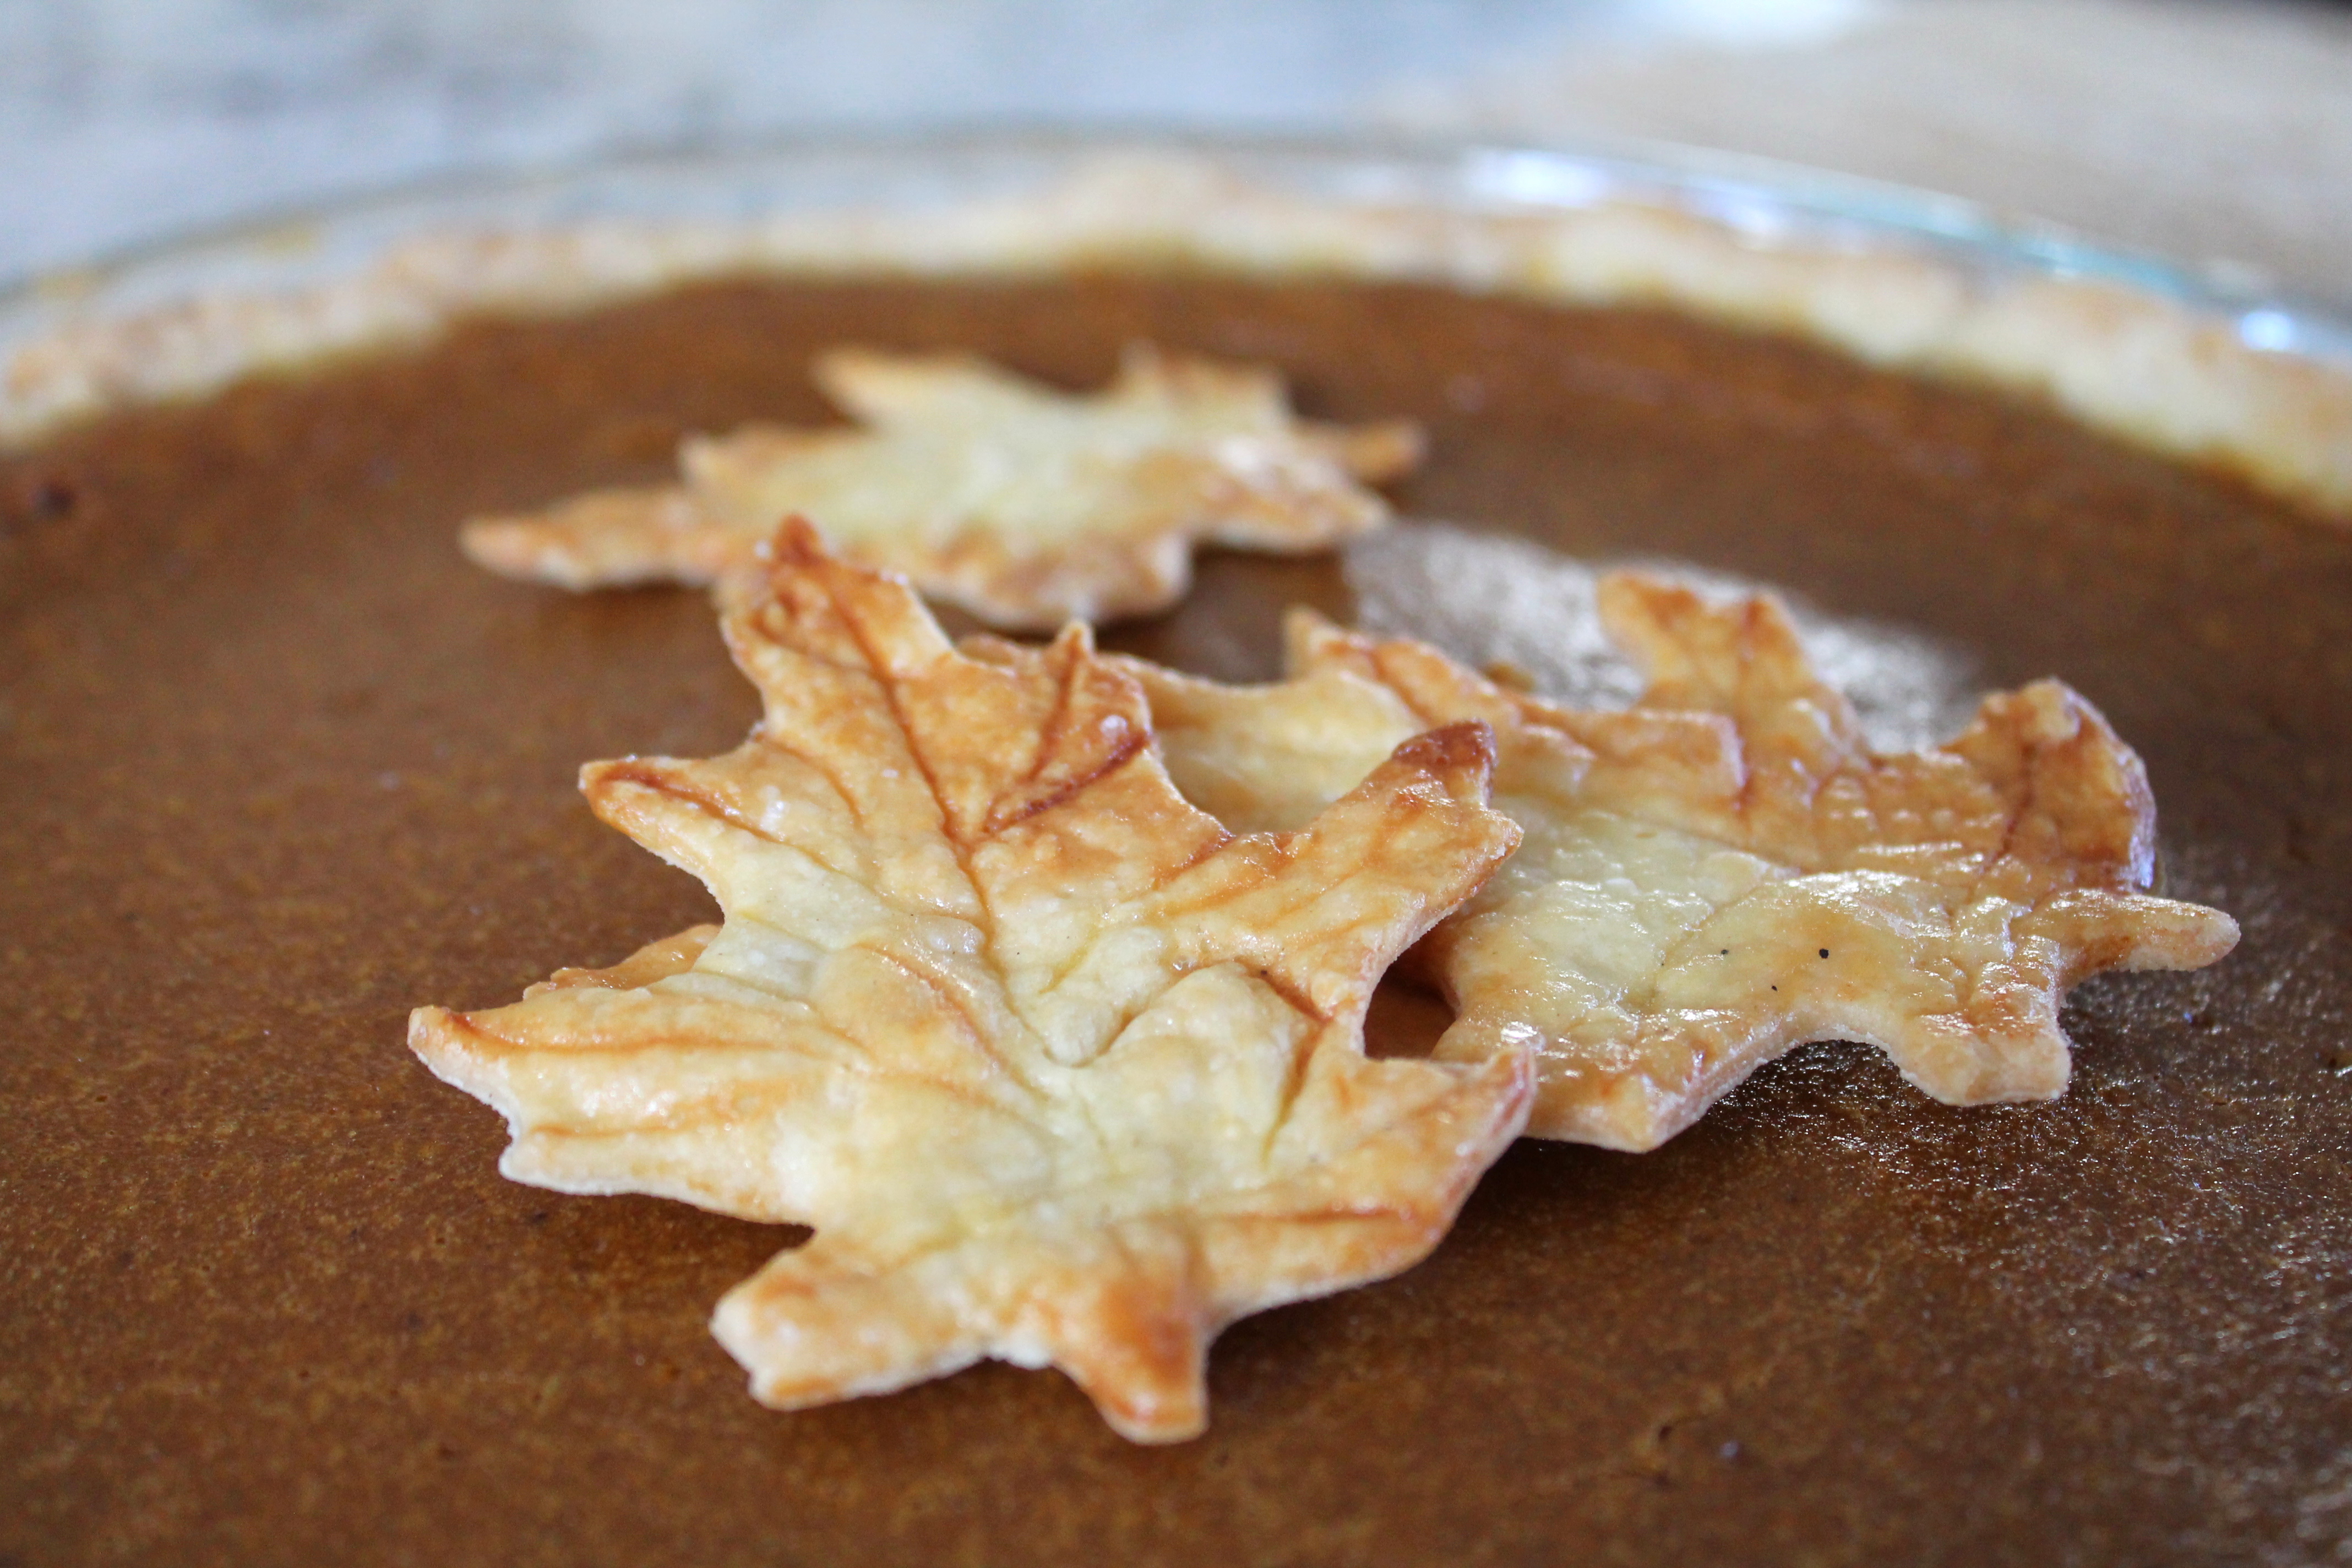
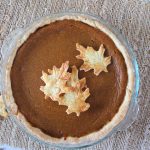
Now you’re ready to fill the pie as desired! I’m quite partial to chocolate pecan pie, as well as Sally’s Baking Addiction Pumpkin Pie. Bake according to the filling directions (but a fair estimate is that you will need to bake at 375° or above, for 45 minutes or more; if you are going to par-bake this crust, like for a quiche or a French silk pie, then you MUST fill the crust with pie weights or raw rice to prevent it shrinking).
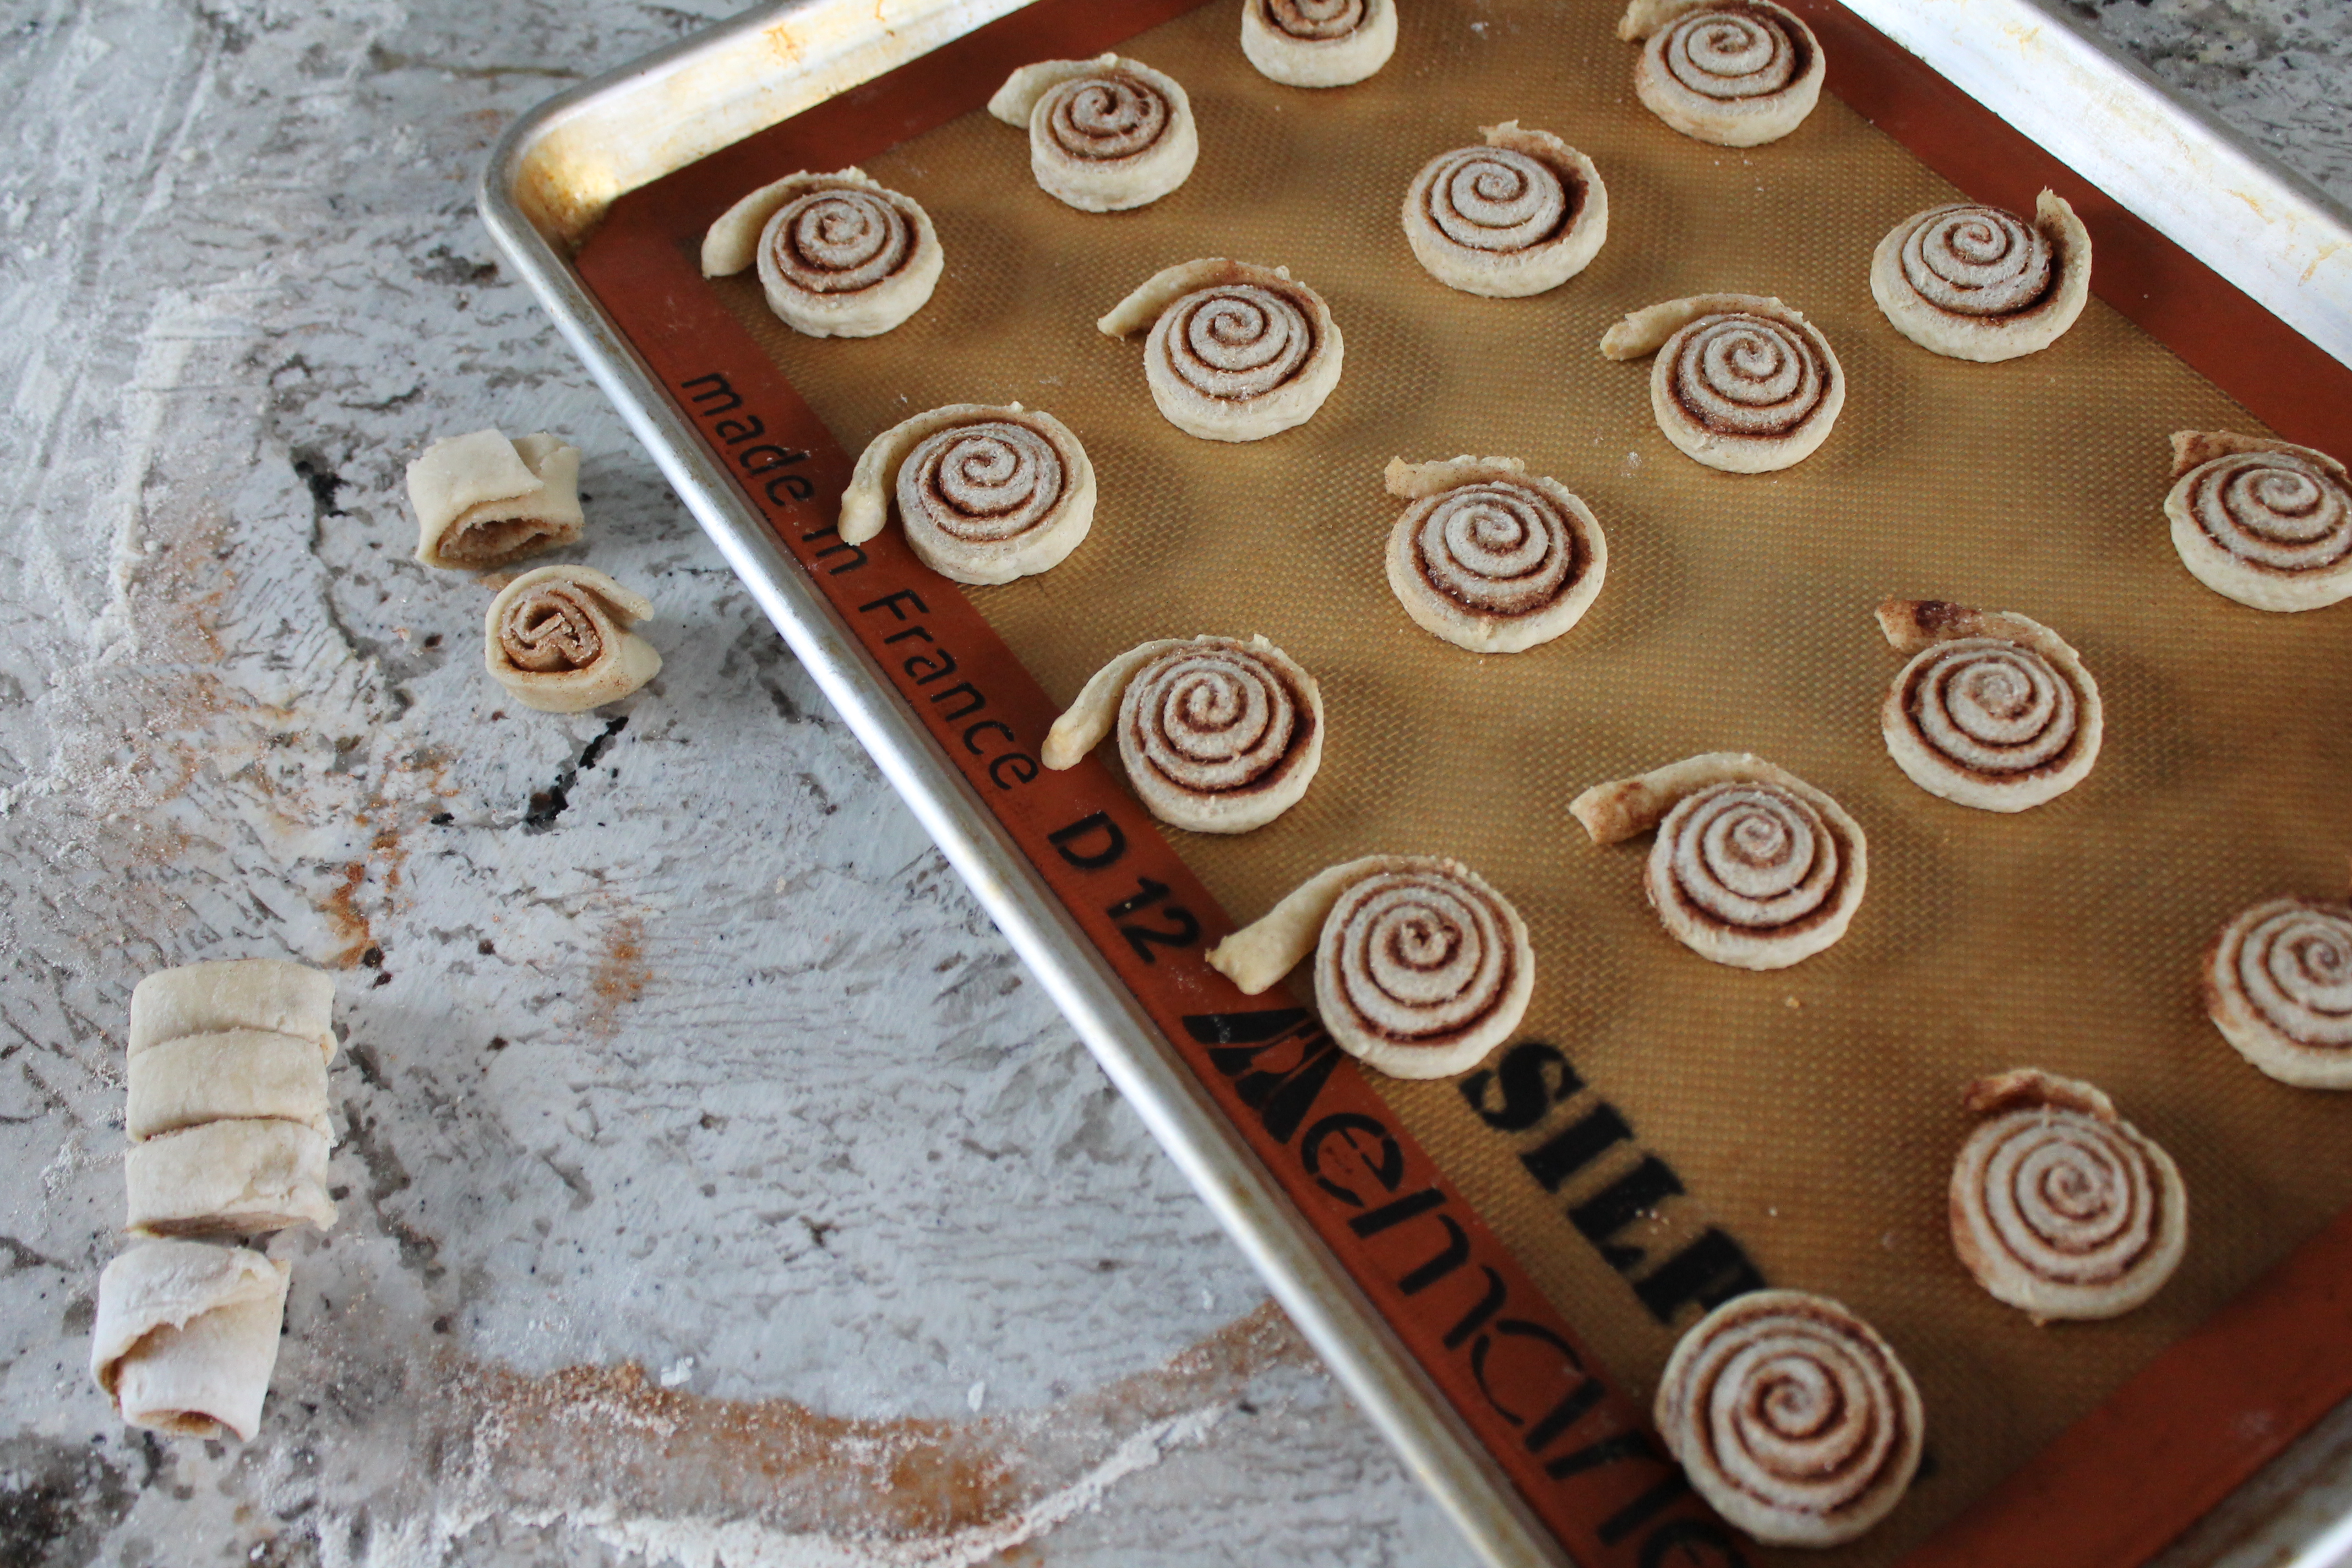
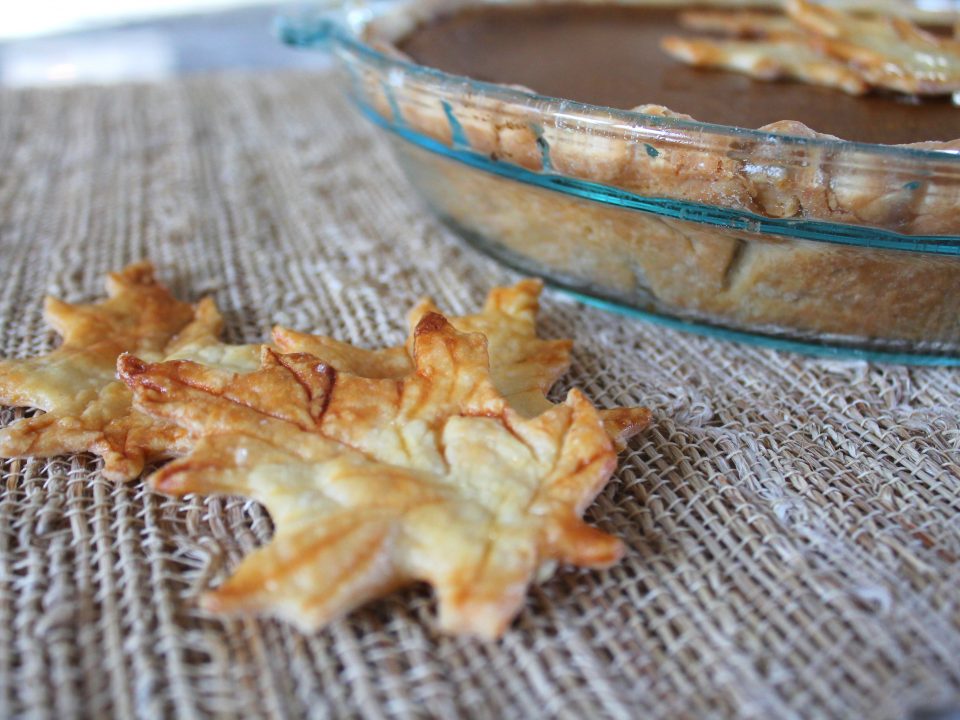
By the way, if you were wondering what to do with all the scraps of crust that are left over, you should definitely make t’dootskies with them! That’s what my family always called pie crust pinwheels when I was growing up. Squish them together, roll them back out into a rectangle, and sprinkle with cinnamon and sugar. Roll them up like a log, slice, and bake for 10 minutes at 400°. The centers will still be a little moist while the outer edges will be crisp and flaky. And these simple, addictive little cookies are what I usually eat at Thanksgiving nowadays, because it has comparatively so little sugar in it!
Perfect, Flaky Pie Crust
Ingredients
- 2½ cups all-purpose flour
- 1 tsp. salt
- 1 cup unsalted butter, cold
- ½ cup water, cold or iced
- egg wash (optional)**
Instructions
For the Dough
- Whisk together the flour and salt in a large bowl.
- Cut the cold butter into small cubes (about 40 cubes per stick of butter). This will make it easier to cut the butter into the flour!
- Drop the butter pieces into the flour mixture, keeping them as separate as possible. Using a pastry cutter, cut the butter into the flour, aiming for bean-size pieces of butter. Larger pieces of butter will result in very flaky pie dough, so do not overwork the dough or aim for a fine, even texture.
- Pour the water in, a few tablespoons at a time, and fluff the flour mixture using a fork, dragging the bottom of the mixture up through the water. Use all of the water*; there will still be a lot of dry flour and shaggy bits in the bowl, but do not be tempted to add more, or the dough will be too sticky to work later.
- Turn the contents of the bowl out onto a clean counter. Knead together by hand. Press the mixture together, then begin folding it, scooping the remaining dry bits of flour onto the center of the dough before folding. Continue to fold and knead until no dry bits of flour are left and the dough comes together smoothly. The more times you fold, the more flaky layers you will end up with.
- Divide the dough in half. Wrap tightly in plastic wrap and press down into 1″ thick discs. Chill in the fridge for 30 minutes, or up to 2 days. (Beyond 2 days, the dough will begin to turn gray; to avoid this, double-wrap the discs and store in the freezer until ready to bake.)
To Roll and Bake
- When ready to roll the crust, remove a disc from the fridge. If the dough chilled longer than 30 minutes, it may need to thaw for 15-20 minutes, to return to a somewhat softer, rollable temperature.
- Sprinkle a clean countertop with flour. Place a disc of dough on the flour, and sprinkle the top with more flour.
- Roll the dough out, until it is about 10″ wide, then carefully lift and redistribute flour underneath so it won't stick to the counter. Continue rolling until the crust is very thin and at least 18″ wide all around.
- Place the pie plate on top of the crust and cut a wide circle around it. Fold the circle into quarters and transfer to the pie plate, unfolding and tucking any excess crust down into the pie plate.
- Fill and bake according to the filling instructions.
Notes
Any extra pieces of crust can be rolled together and baked into pie crust cookies.
Has one comment to “Perfect, Flaky Pie Crust”
Dorcus Kleinschuster - November 28, 2022
This is an awesome tutorial, the best I’ve seen. Thank you!